RECIPE: Vegan Cauliflower Alfredo

Vegan Cauliflower Alfredo– But Make It Vegan
for Environment911.org


Vegan Cauliflower Alfredo 

 
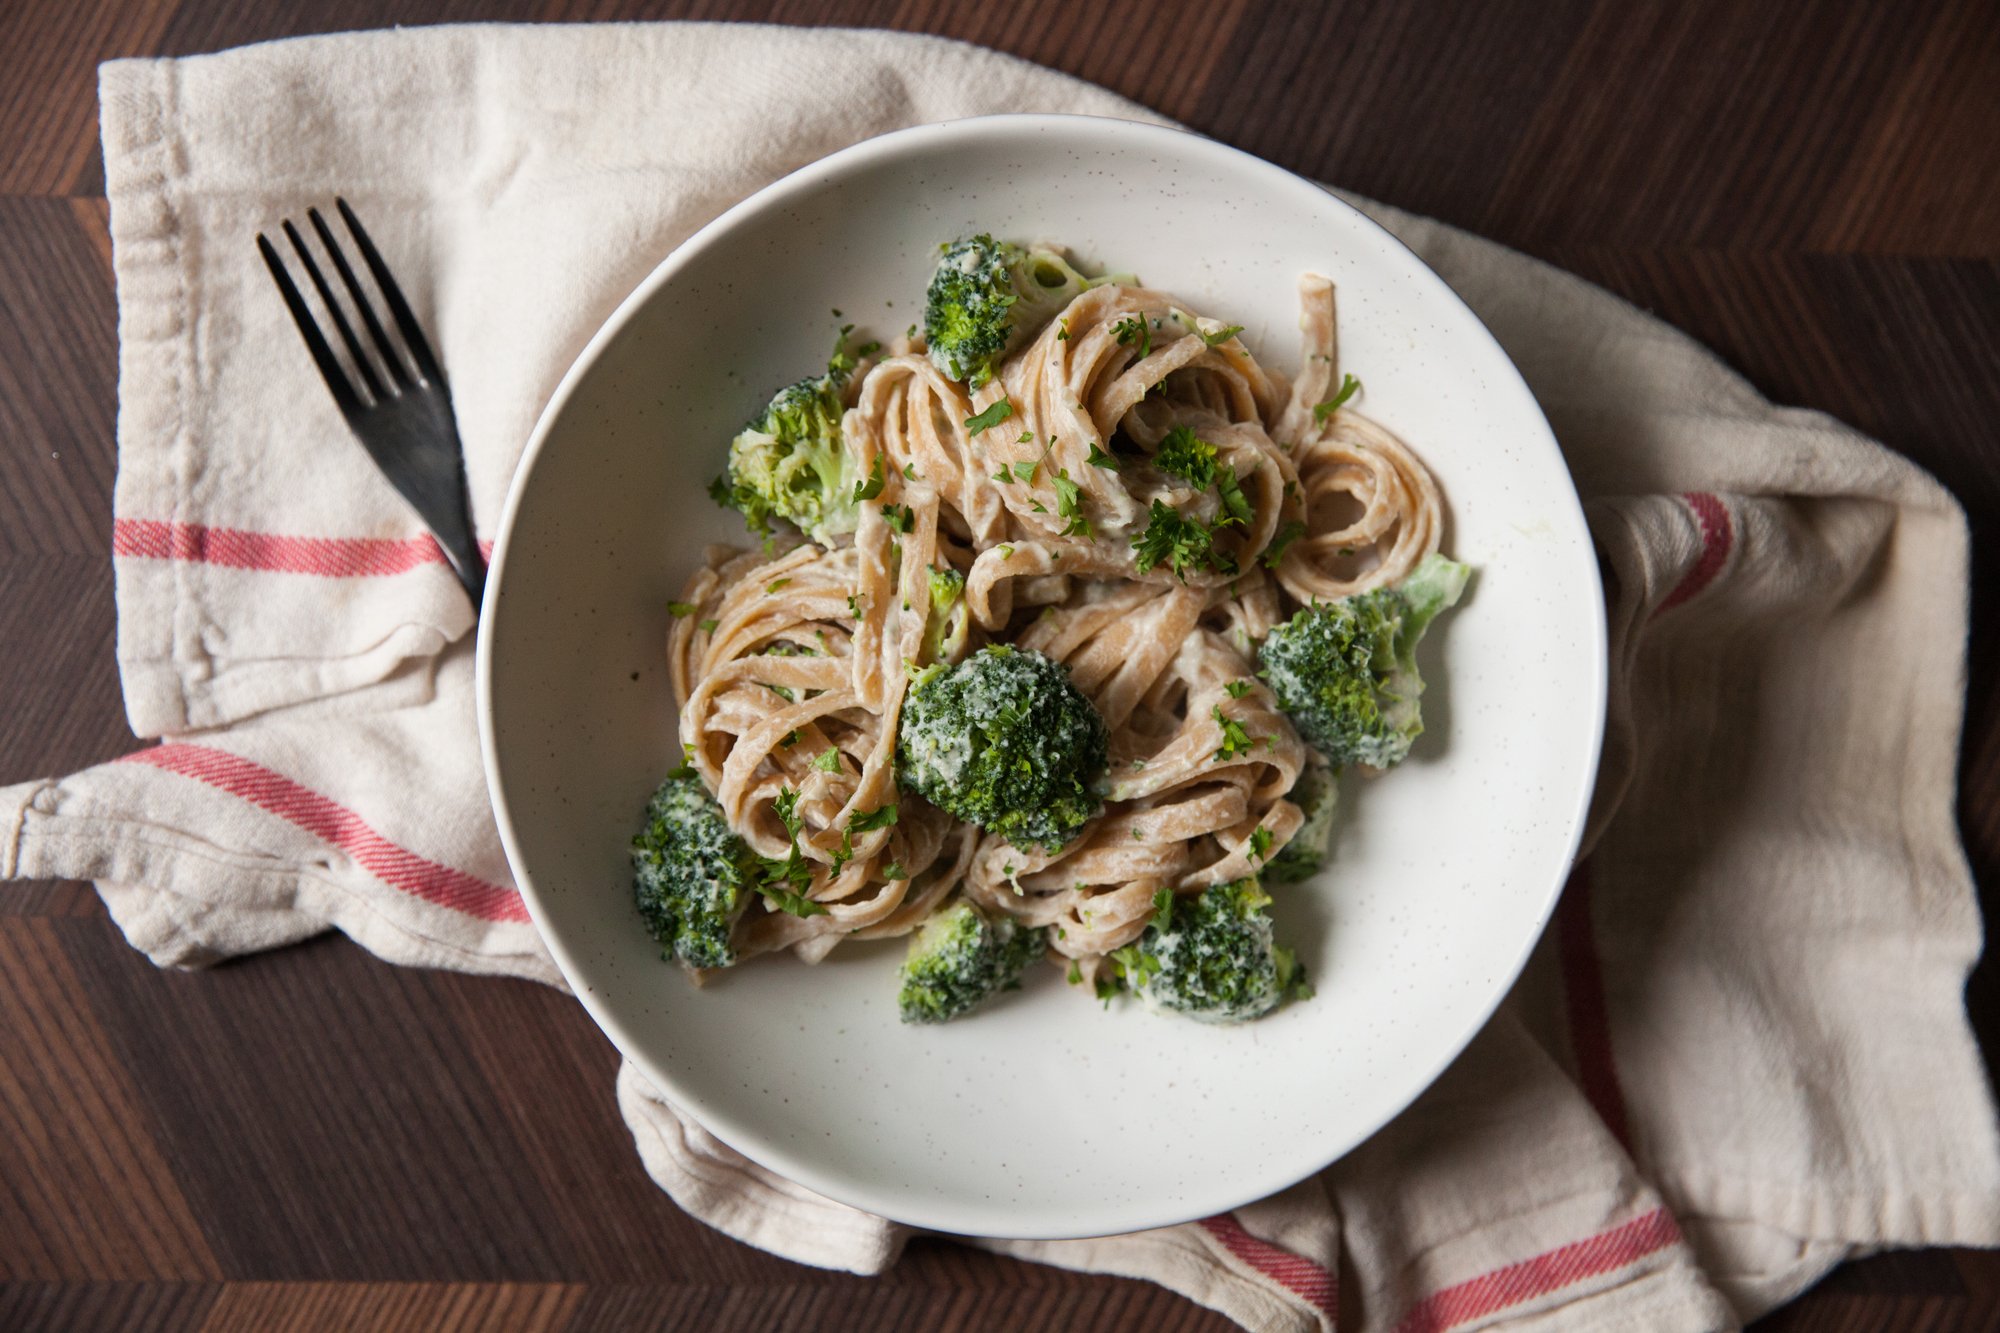
This alfredo sauce isn’t the same as it’s cream and cheese-based counterpart, but it's delicious in its own right. Whether you’re looking for something to mix into your pasta, use as a base for a white pizza, or top off your vegetables, it’s an incredibly versatile vegan recipe. 
 
I’ve even frozen it after making a big batch, so there’s a quick option for a weeknight meal! 
 
INGREDIENTS 
 
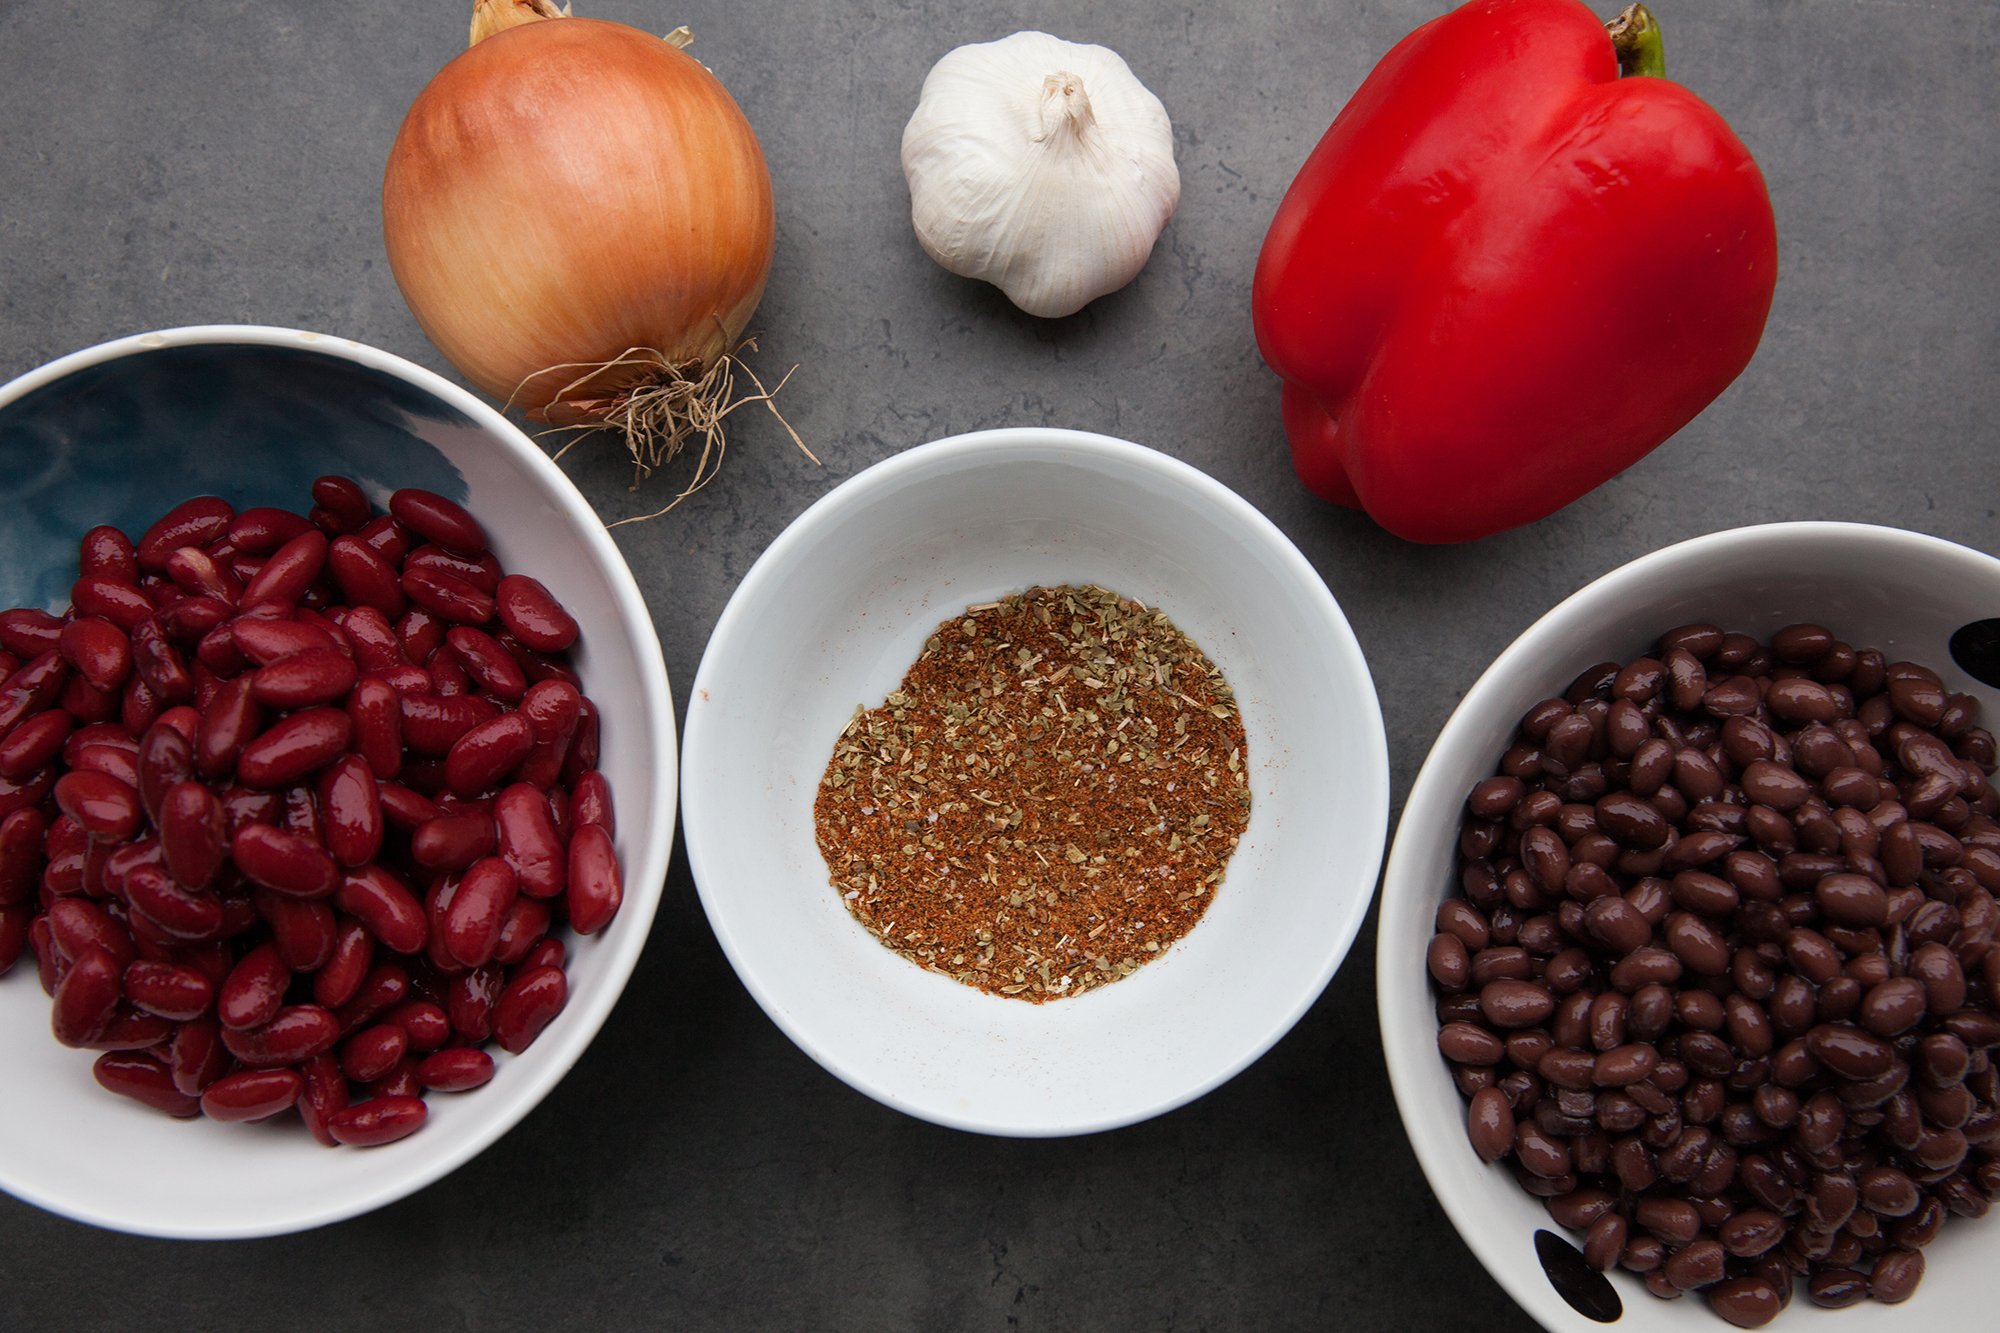
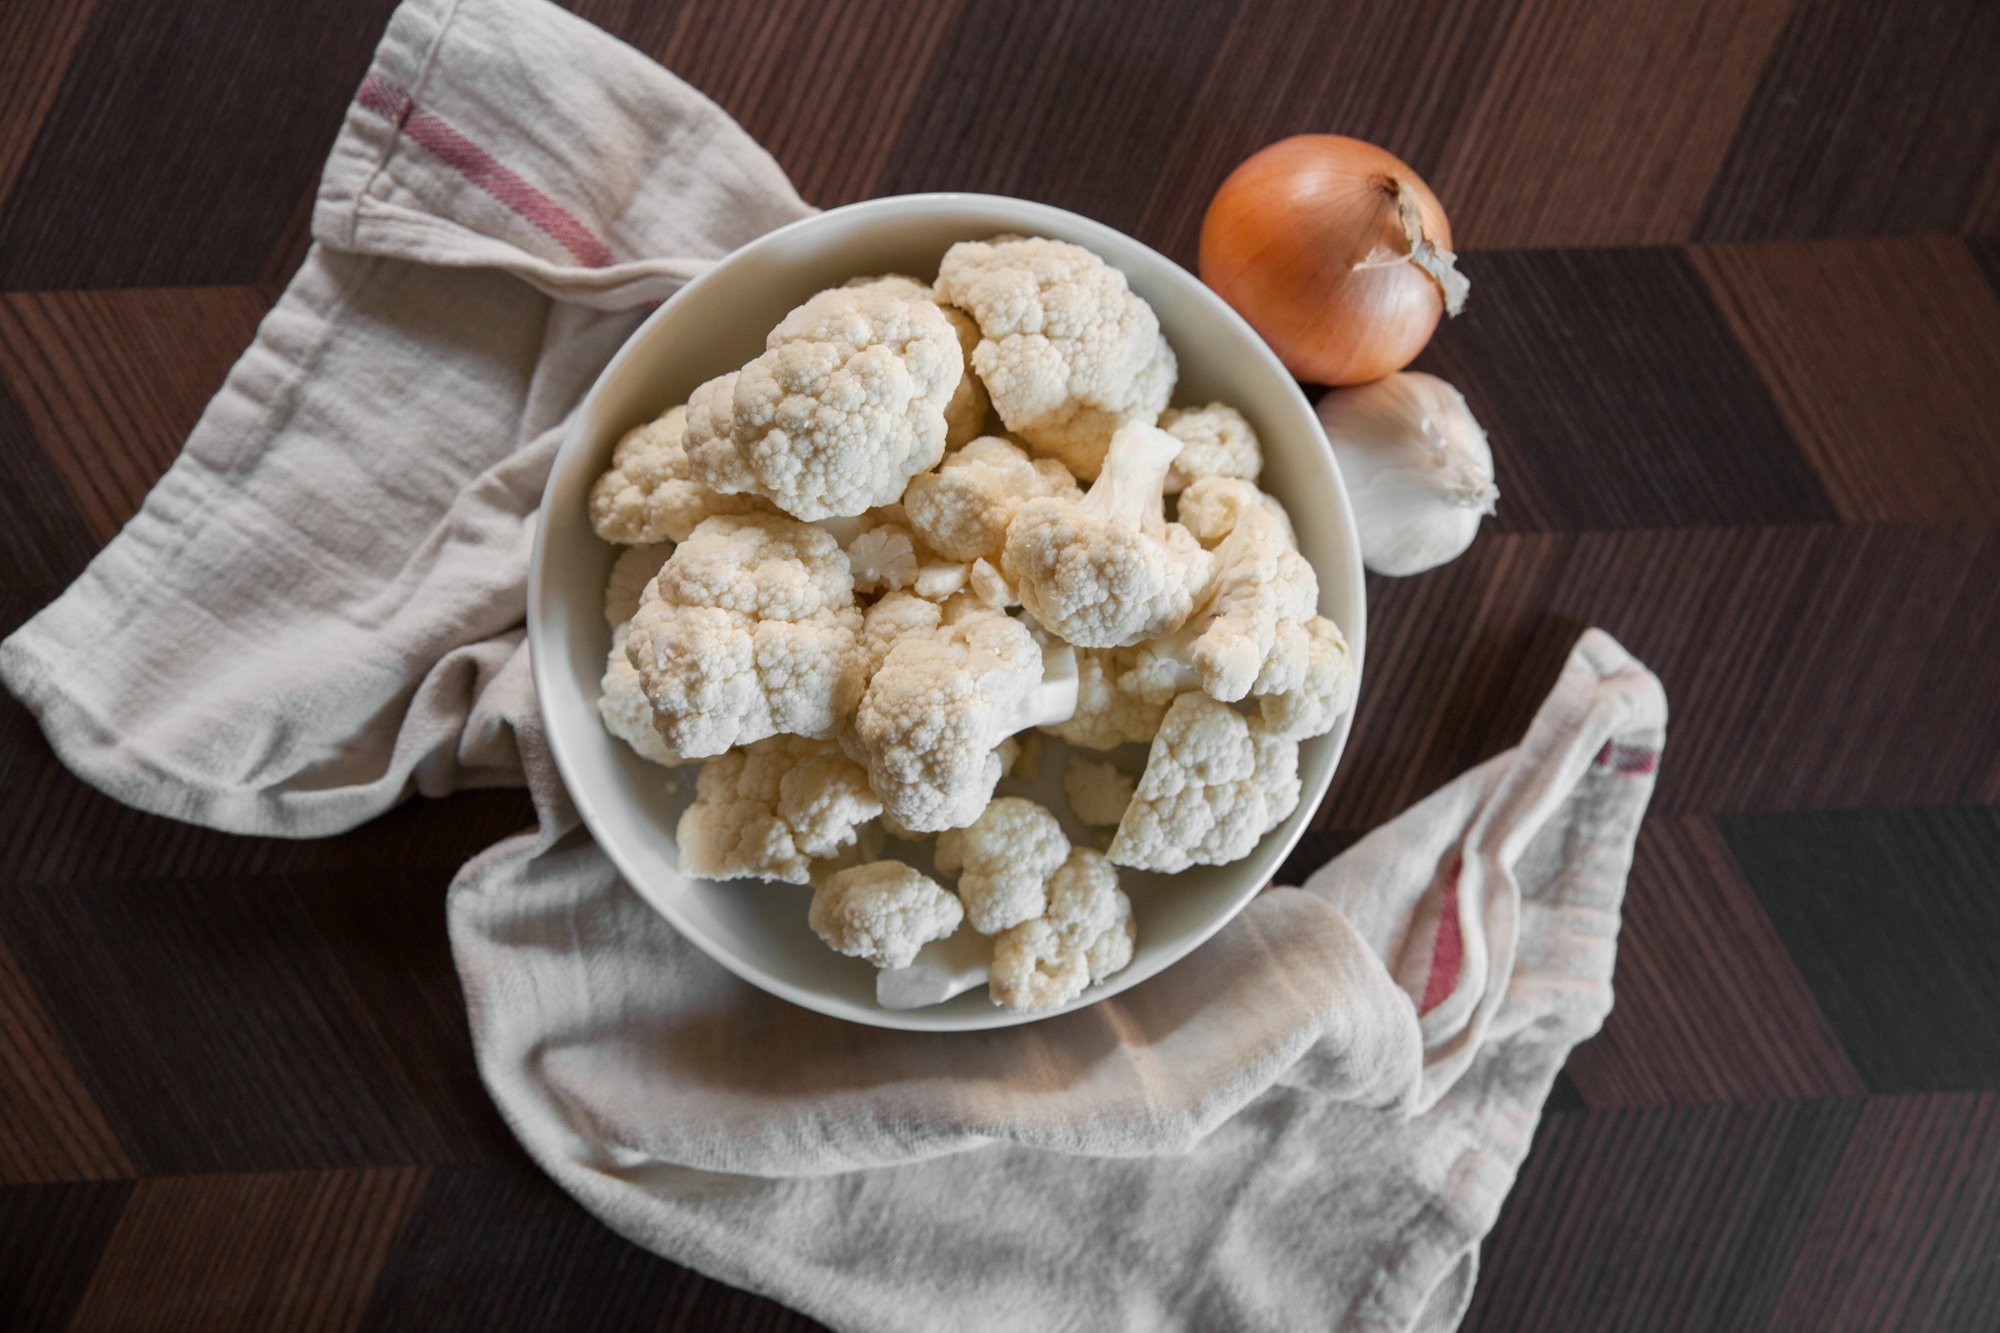
- 4 cups of cauliflower florets 
- 2 cups of non-dairy milk (or vegetable stock) 
- 4 (or more) cloves of garlic, minced 
- 1 tsp vegan butter 
- ½ cup nutritional yeast 
- 2 tsp oregano 
- salt & pepper 
- optional: 1-2 tbsp olive oil 
- optional: vegan parmesan 
 
INSTRUCTIONS 
 
In a large pot, bring the non-dairy milk, or stock, to a low boil. 
Add the cauliflower, cover and cook for 7-10 mins depending on the size of your florets. Cauliflower is done when easily pierced with a fork. 
 
While the cauliflower is cooking, melt butter in a small pan, add minced garlic and cook until fragrant, then set aside. 
 
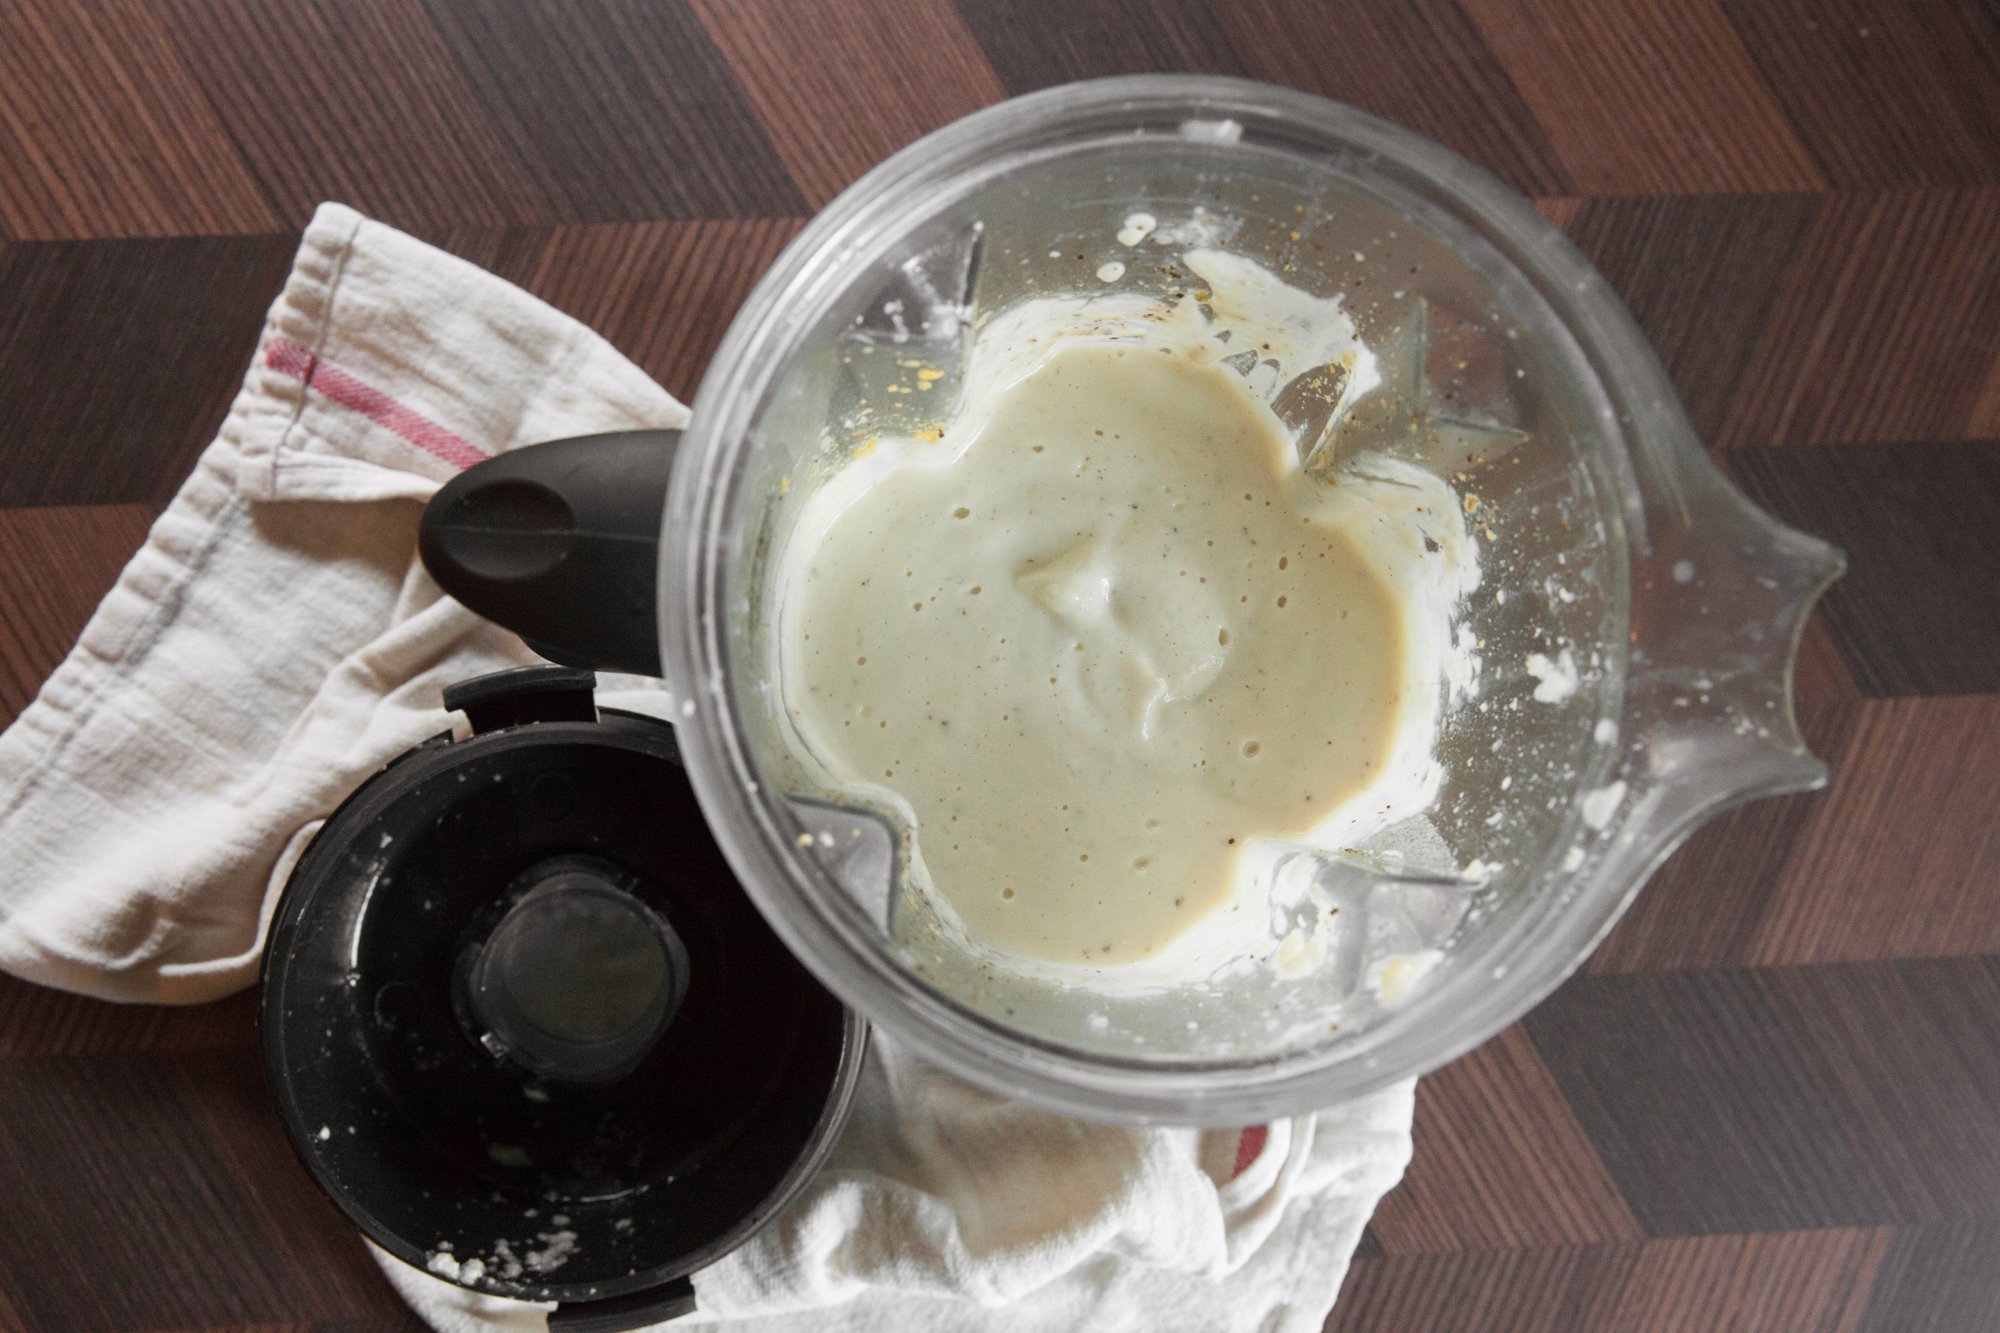
Scoop the cauliflower out of the pot with a slotted spoon, reserving the milk/stock, and place in a high-speed blender. Add in the cooked garlic, spices, and nutritional yeast. Add in about 1 cup of the cooking liquid in and blend on high until smooth. At this time, while the cauliflower is blending, you can slowly add in some olive oil to help make an even creamier sauce. 
 
Taste for seasoning, (if you’d like you can add other ones in here, such as Italian seasoning, and more nutritional yeast, and/or vegan parmesan) and if the sauce is too thick, add more of the cooking liquid.  
 
If you’re making pasta, heat in a pan and add the pasta JUST before it’s done cooking – the pasta water will help make the sauce even creamier (add more pasta water if it’s too thick). 
 
This sauce reheats well on its own (on low, covered so it doesn’t splatter), but when reheating it mixed with pasta, you may need to add a little water to rehydrate everything. 
 
Store in the fridge for a few days, or freeze (do NOT fill all the way to the top as it will expand while freezing) for up to 3 months (if you can resist that long!).

RECIPE: Homemade Bagels

RECIPE: Bagels
for BC Living column “From Scratch”
November 2021


There’s a certain quality about baking something from scratch that you almost always would get from a grocery store or bakery, and bagels is definitely one of them for me. They’re much easier than you’d expect, and with trials you can nail down the texture you prefer. Not to mention the toppings. And you likely have everything you need in your cupboards already.

INGREDIENTS 

  • 450 grams (approx. 3.5 to 4 cups) of bread flour (unbleached)

  • 2.5 teaspoons of dry active yeast

  • 1.5 cup of warm water (more if needed)

  • 4 teaspoons granulated sugar

  • 1.5 teaspoons salt

  • Sweetener: 2 tablespoons barley malt syrup, brown sugar or honey

  • Toppings (like sesame seeds, 'everything bagel' seasoning or poppy seeds)

INSTRUCTIONS

  1. In a small bowl, add the yeast, sugar, and half a cup of the warm water and let sit for five minutes. Then, stir to combine until all is dissolved.

  2. While the yeast mixture sits, add the salt and the flour into a large bowl and mix together, then make a well in the middle.

  3. When the yeast is ready, pour it into the well, and gradually stir in the flour. Add more of the warm water as needed and continue stirring (hands work well here), until a loose dough has formed.

  4. Turn over onto floured countertop and continue kneading until dough has become a smooth ball (this may take up to 10 minutes). You might need more water, or more flour if they dough is too dry, or too wet.

  5. Grease a large bowl, and place the smooth dough into it, and cover with a greased piece of plastic wrap (or a wet tea towel), and let the dough rest for at least an hour.
    If you’d like to make the bagels in the morning, you can let the dough rest in the fridge at this point, covered overnight, and remove it in the morning. Let it stand for at least 30 minutes to come to room temperature.

  6. Once the dough has risen, punch it down slightly to release some of the air.

  7. Set the oven to 425 F, and fill a large pot with about eight cups of water, and add in the sweetener and bring to a rolling boil.

  8. Meanwhile, divide the dough into eight to ten equal pieces (or more if you want smaller bagels). The best way to do this is to weigh the dough, and then divide the pieces equally, but eyeballing it works just fine. Roll each of the pieces into smooth balls, and then, to make the hole, pinch your index finger and thumb through the center, and stretch slightly until you get the desired size.

  9. Place the bagels on a parchment lined baking sheet. Cover and let rest while the oven preheats and water comes to a boil.

  10. Lowering in the bagels one at a time with a slotted spoon, doing this in small batches (Three or four at a time max), let them cook in the water bath for approx. 30 seconds to one minute per side, flipping with the slotted spoon. The longer they are in the water bath, the chewier the outside of your bagel will be. Once they’ve cooked, remove them, letting them drain, and placing back on the parchment paper.

  11. While the water comes back up to a boil, this is the time to season your bagels, as the toppings will stick to the bagels now.

  12. Repeat until all of the bagels have been cooked in the bath, and had the toppings added, then transfer into the oven.

  13. It will take about 20 to 30 minutes to fully cook and brown, depending on your oven, and how toasty you want them, so keep an eye on them. You can also flip them over (carefully) halfway through if you’d like.

  14. Once done, remove and let cool before cutting into them so they keep their shape.

  15. Serve with cream cheese, or maybe make into a breakfast sandwich!

Makes eight to 10 bagels

RECIPE: Vegan Chilli

Vegan Chilli – But Make It Vegan
for Environment911.org


It’s cold. You want something hearty, easy and vegan. You need chilli.

INGREDIENTS

  • 2 tbsp olive oil

  • 4 to 6 cloves of garlic

  • 1 red onion

  • 1 or 2 red peppers (1 if large, 2 if small)

  • 1/2 tsp salt

  • 2 tsp cumin

  • 2 tbsp of chilli powder (I used two different kinds for more variety)

  • 1 tsp smoked paprika

  • 1 tsp dried oregano

  • 540 mL can of black beans, drained

  • 540 mL can of red kidney beans, drained

  • 796 mL can of tomatoes, crushed or diced works, depends how chunky you like them in your chilli

  • 1 cup vegetable broth

INSTRUCTIONS

  1. Finely chop onions and red pepper.

  2. Heat the olive oil in a heavy-bottomed pot over medium heat and then add in the onions and pepper, cooking until soft (about 8 minutes).

  3. Mince the garlic and add it to the pot, along with all the spices (chilli powder, cumin, paprika, oregano, salt). Stir to combine and cook for an additional minute.

  4. Add the beans, the tomatoes and the broth to the pot and stir. Bring to a low boil, then reduce to a simmer, cooking for another 35 mins with the lid on the pot. Stir the mixture occasionally making sure the bottom isn't burning.

  5. Serve with your choice of (healthy) topping and over rice (if desired).

  6. Should last at least 3 days in the fridge, and can also be frozen for up to 3 months.

*Tip I found on the internet: Scoop up a cup or two of the mixture and place it in a blender, then fold back into the chilli. It will thicken it/give it a bit more consistency.