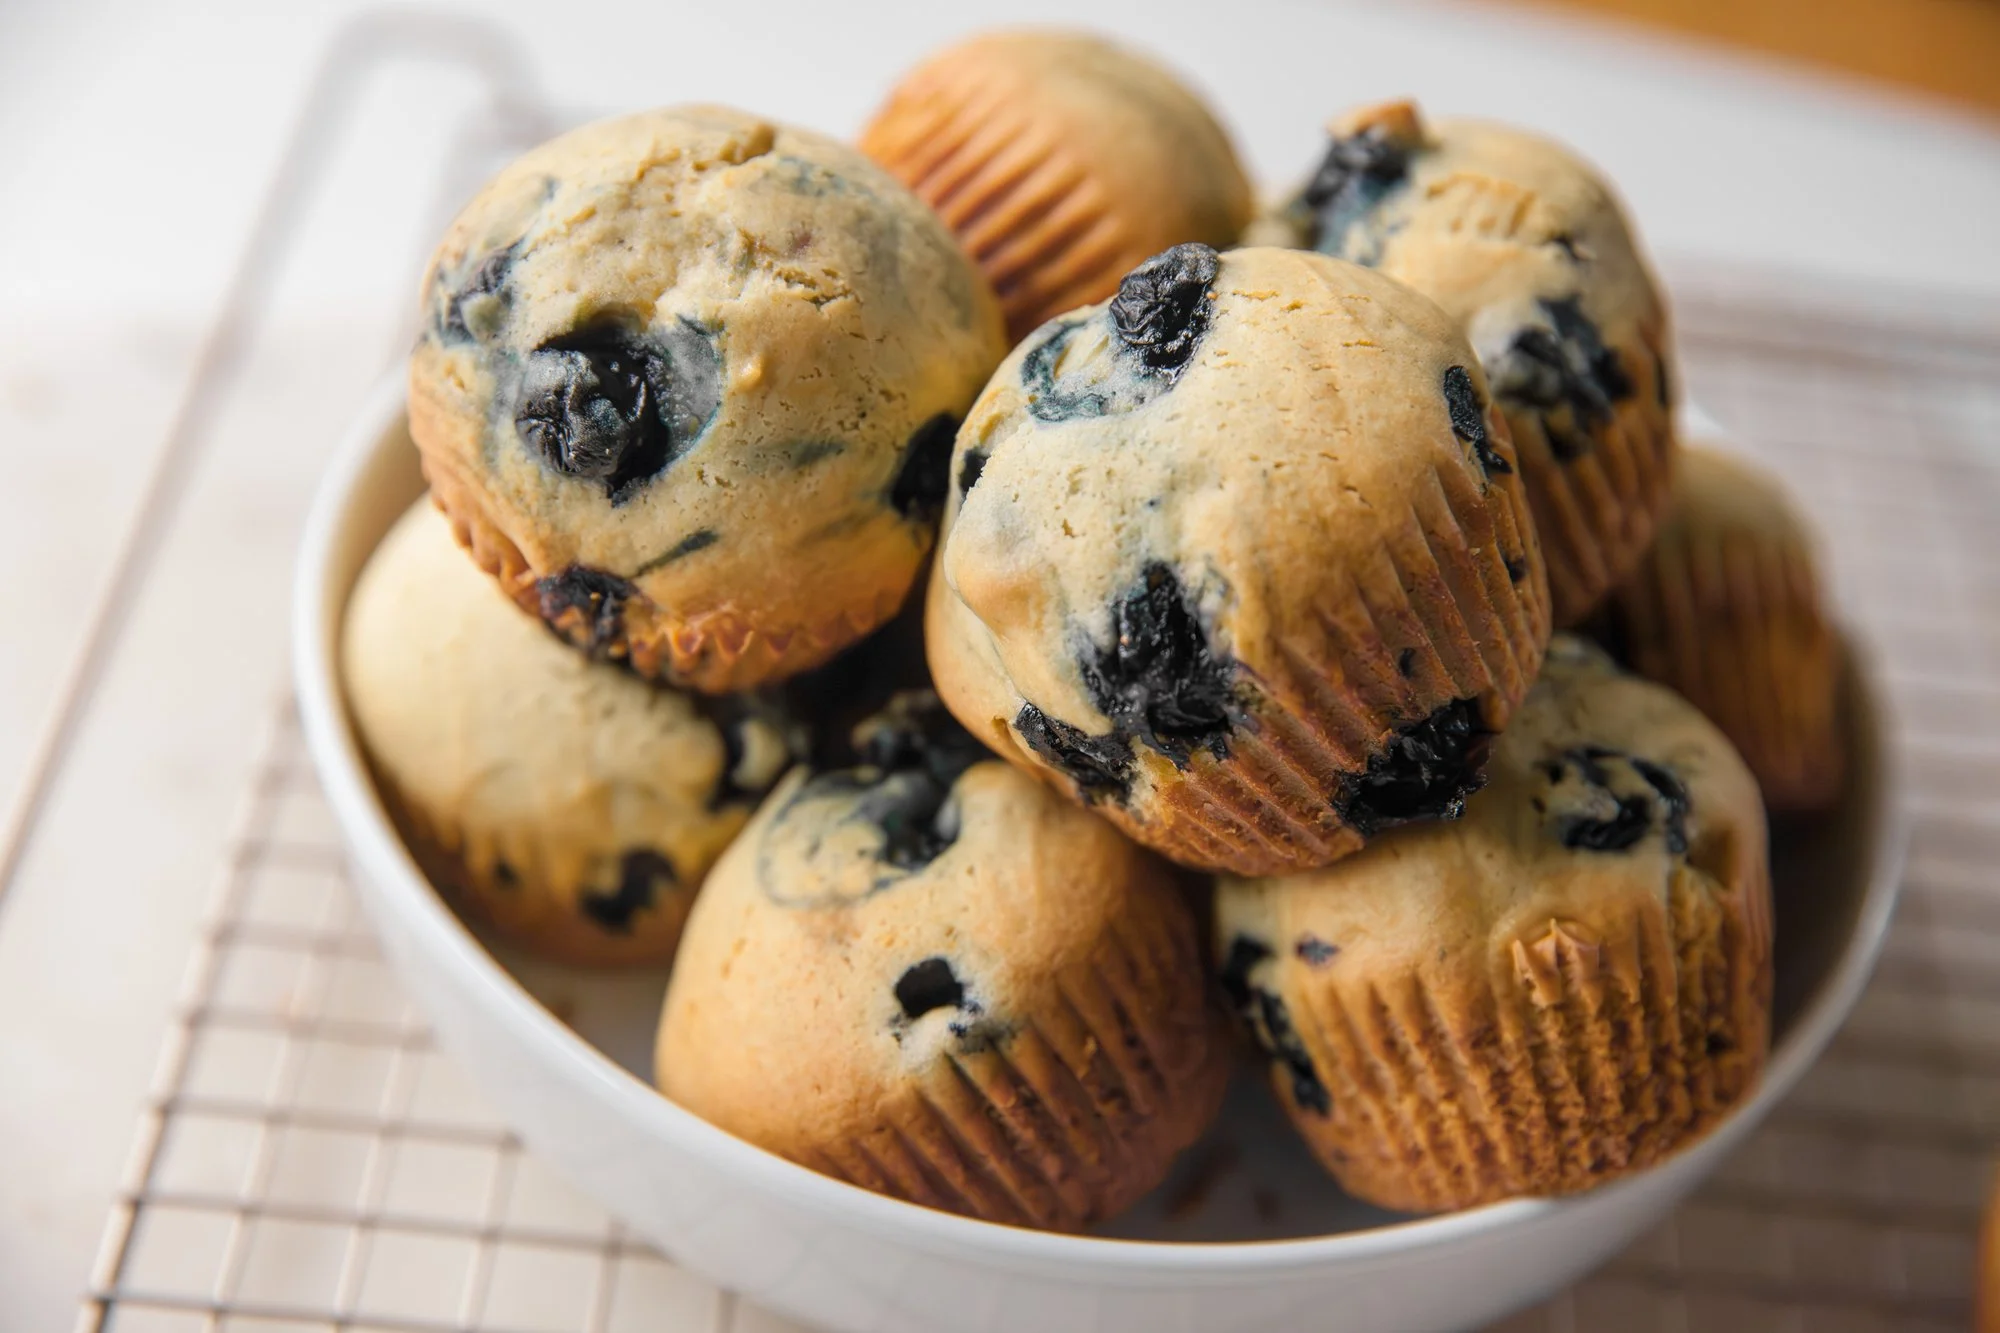
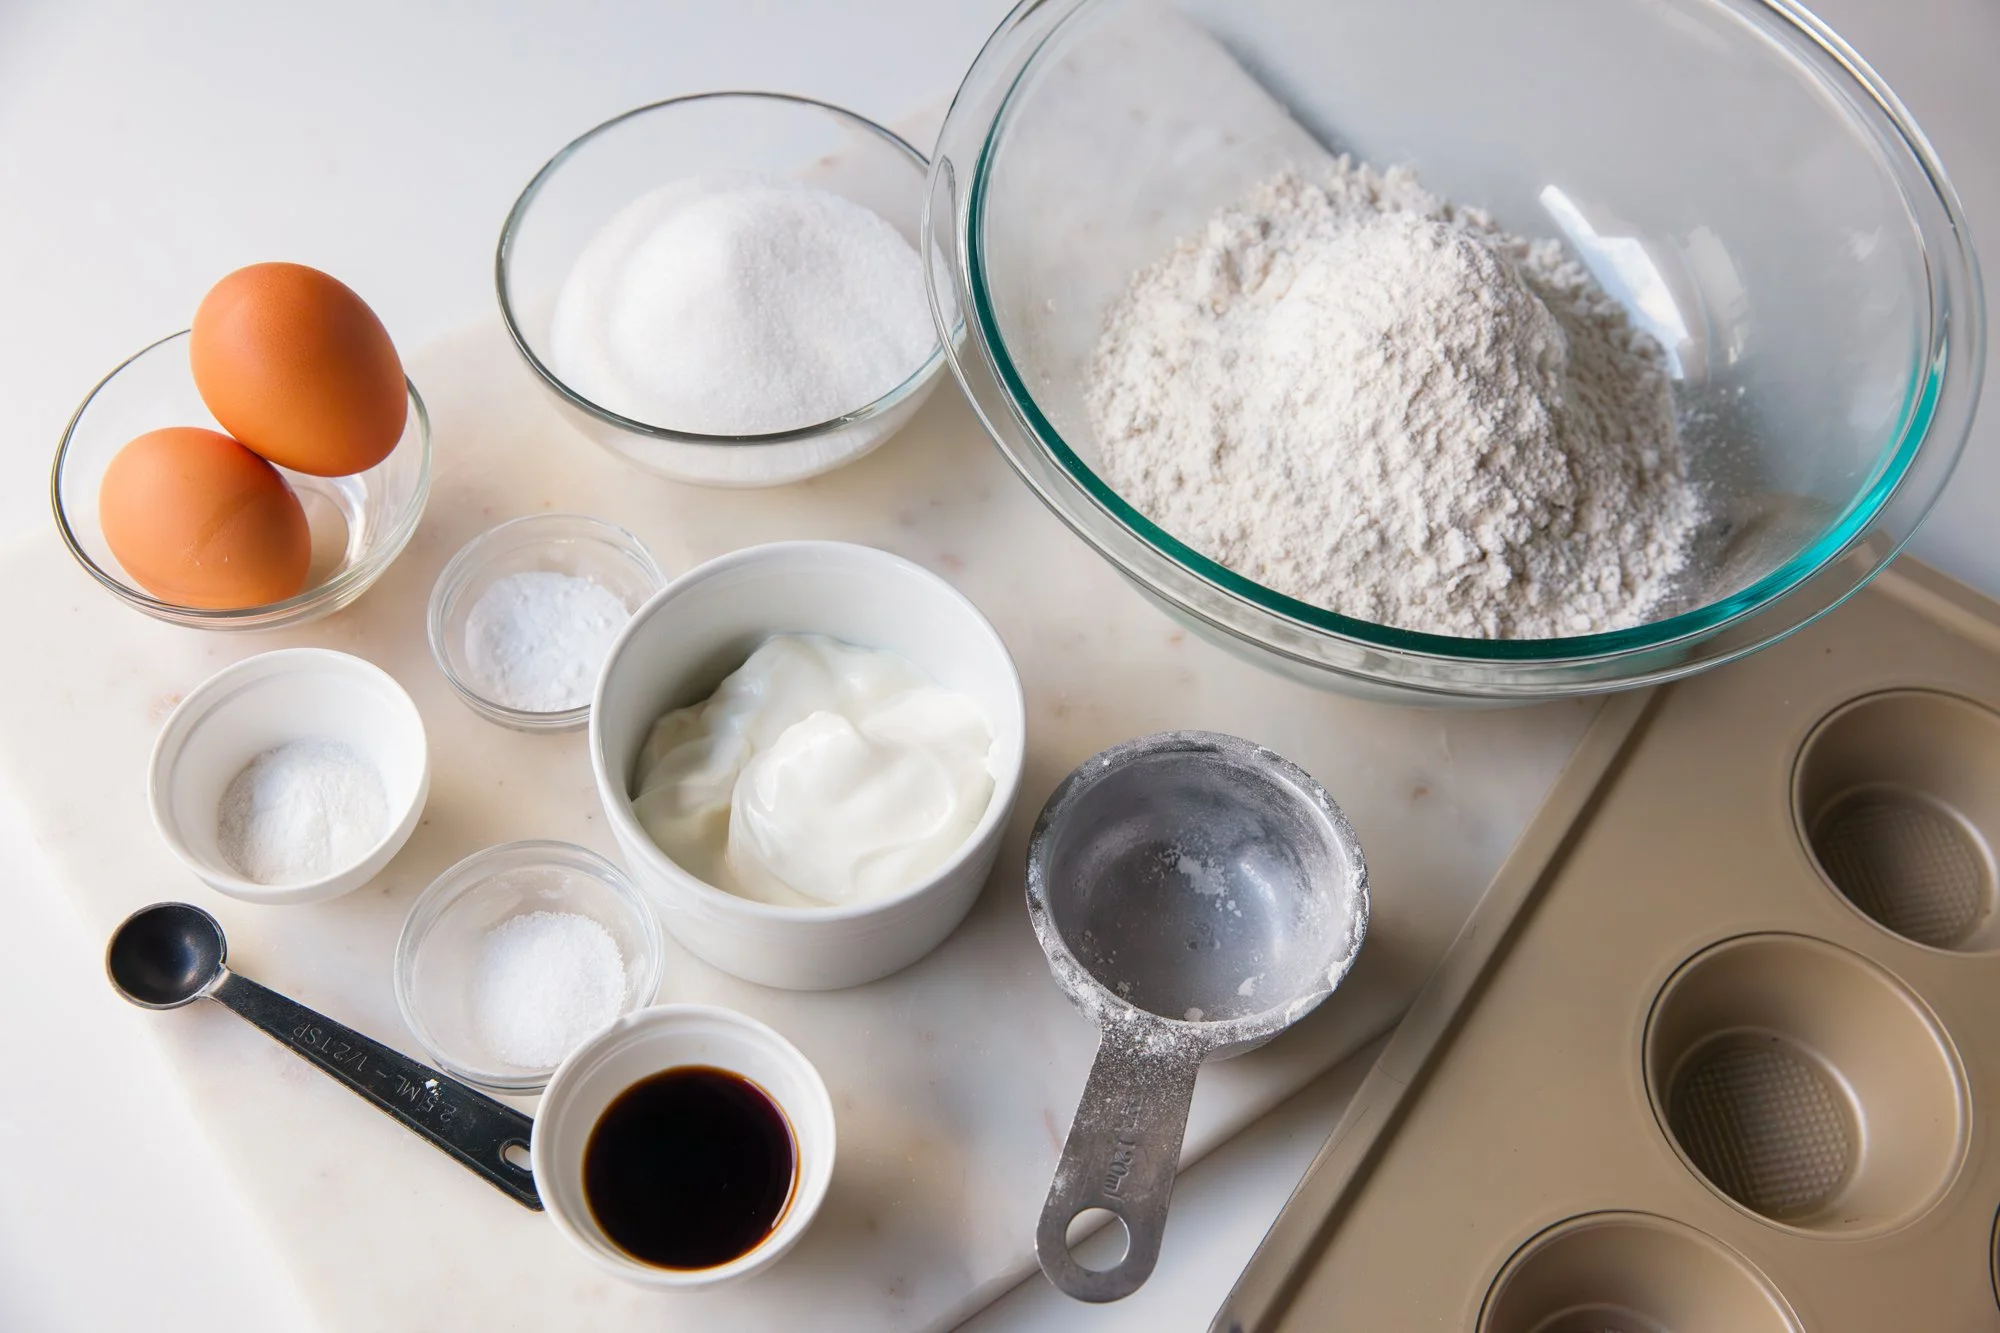
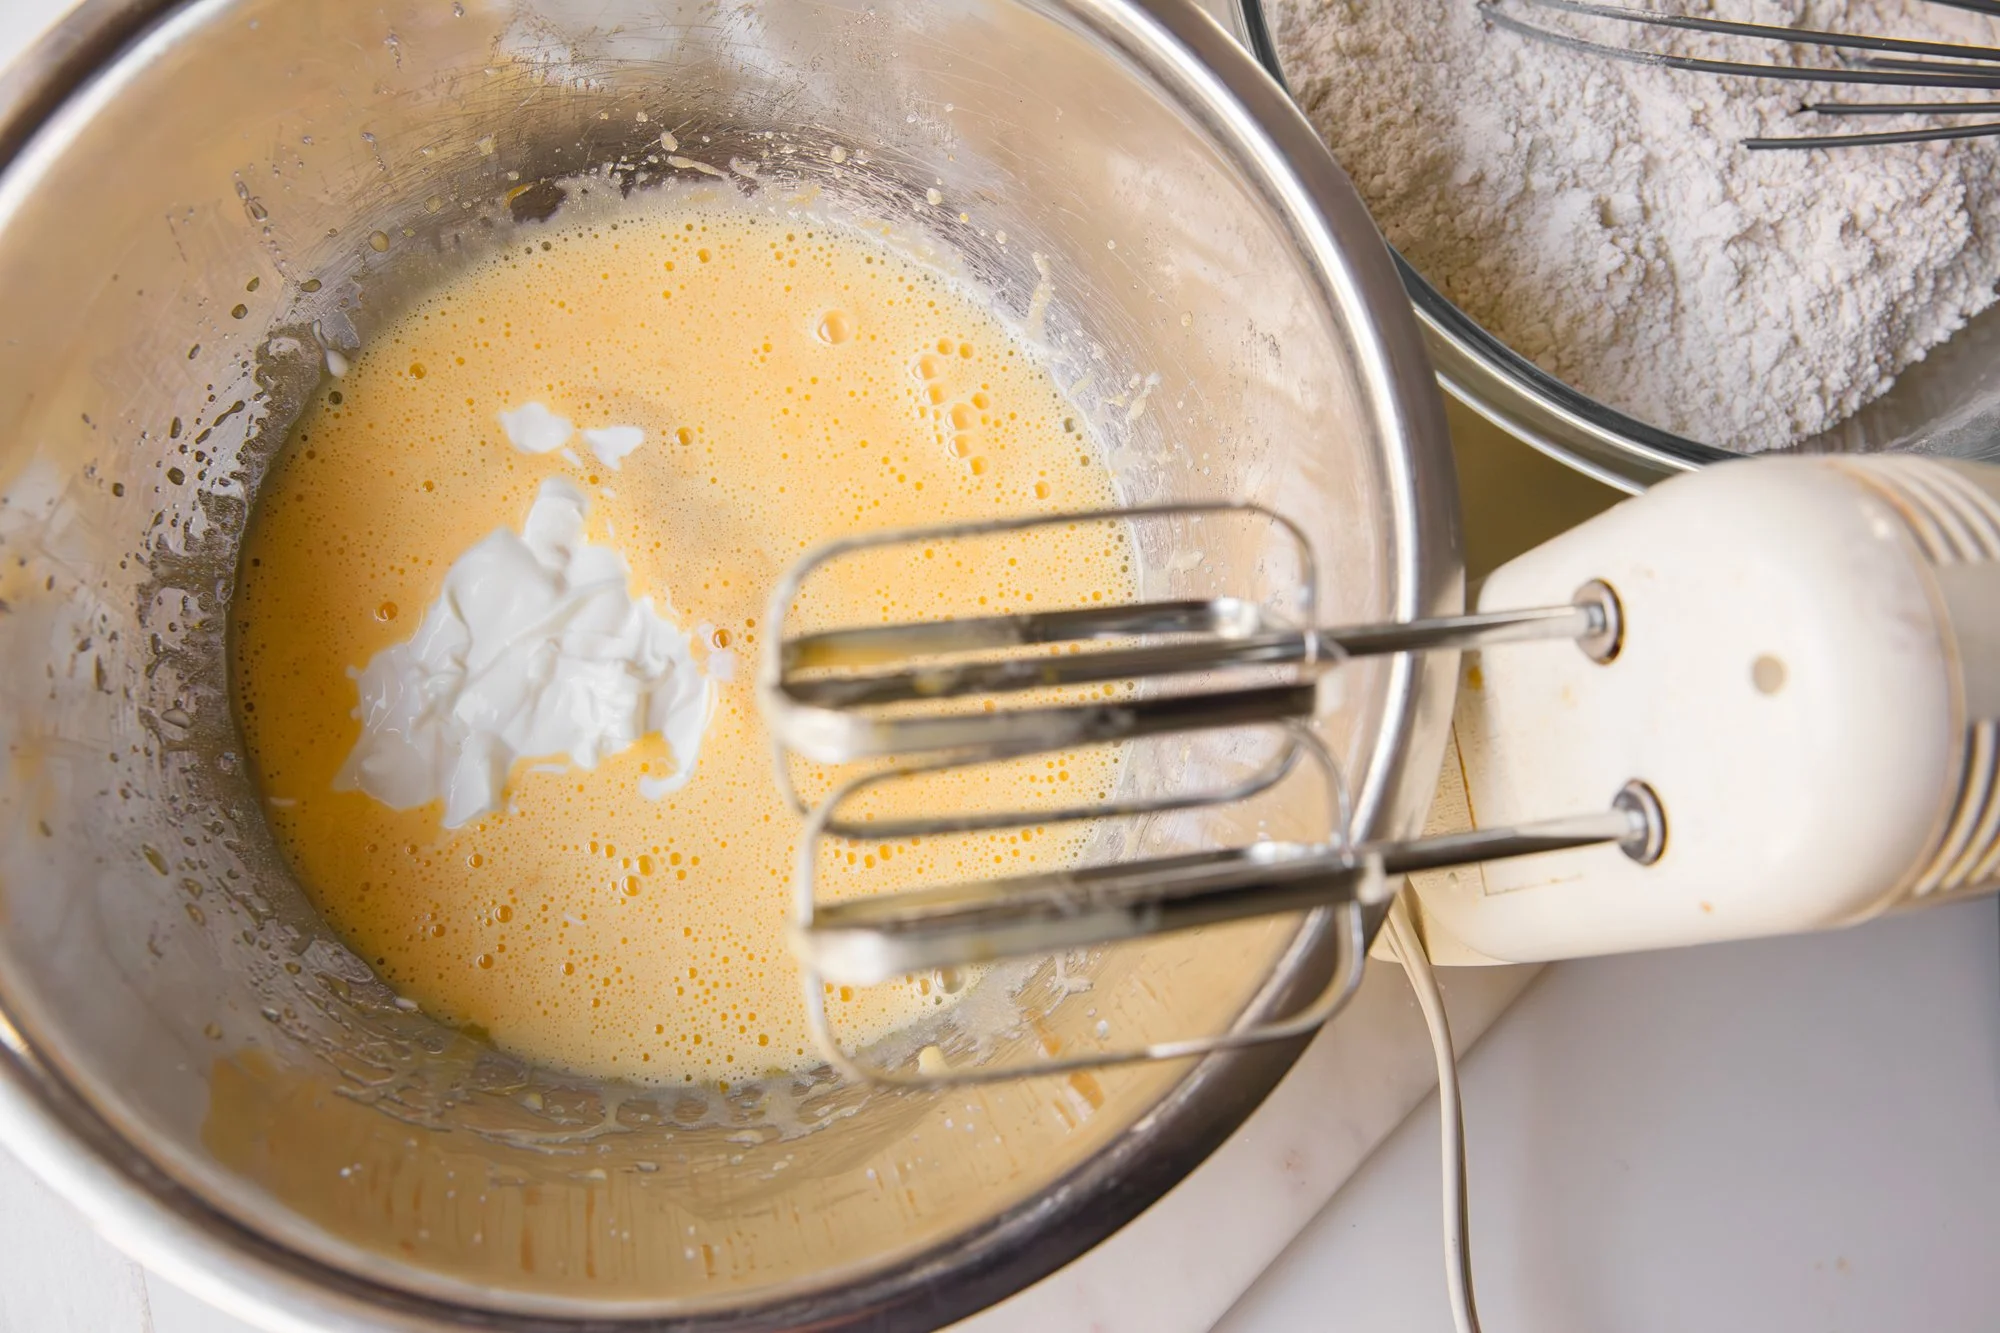
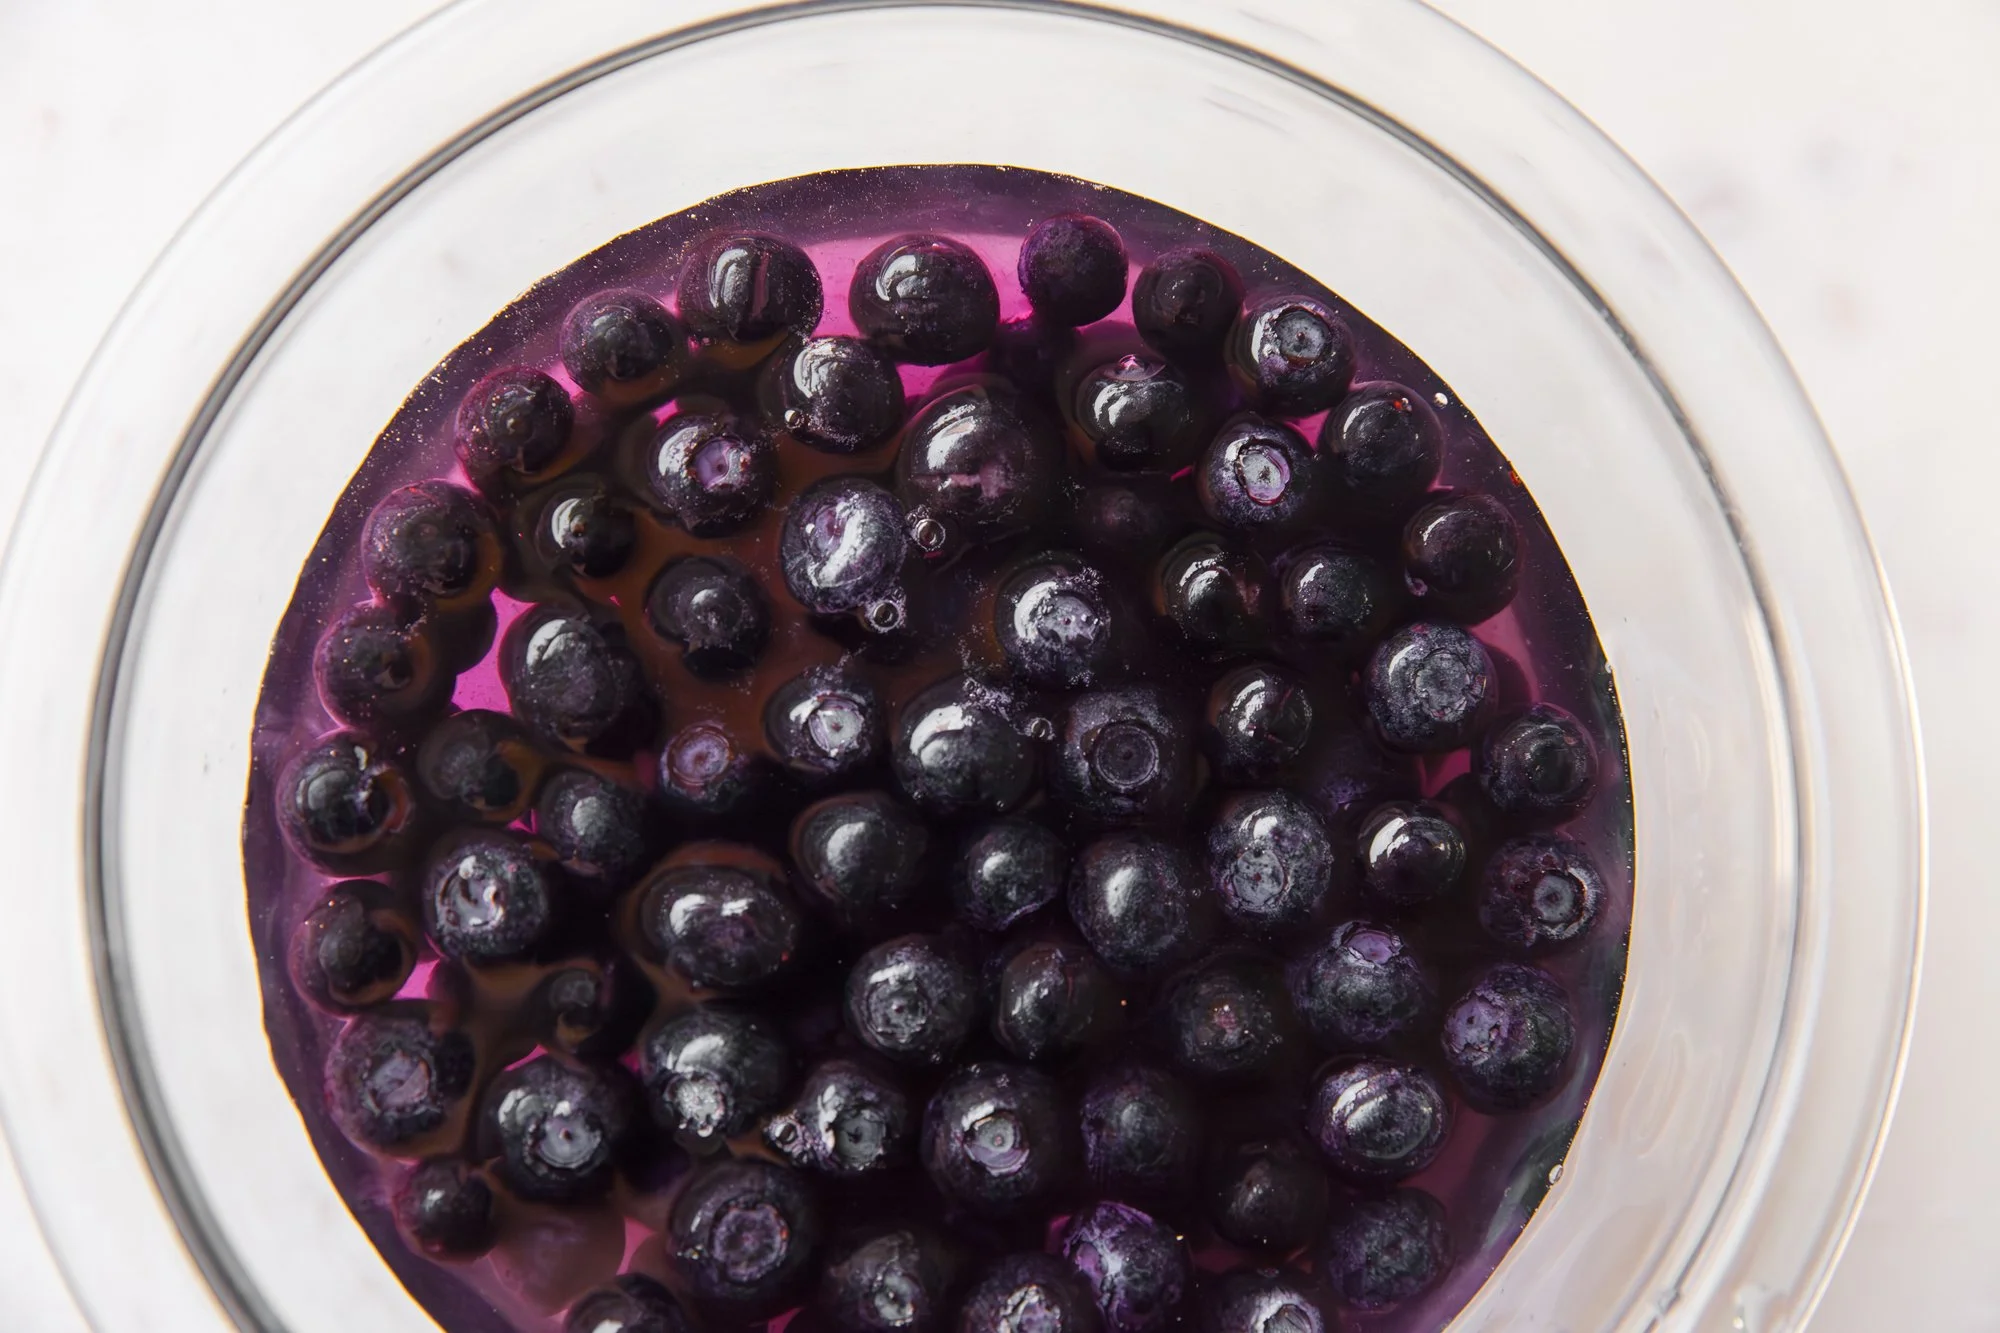
Marshmallows
for BC Living “From Scratch”
November 2025
I’ve been tinkering with making homemade marshmallows throughout the year, and I think I’ve finally got it down – just in time for cozy season!
And now that it’s also getting closer to the holidays, I thought maybe it might be fun to give them out as gifts (in lieu of cookies). So, I looked into local companies (support local!) that sold individual packets of hot chocolate, and I found that Murchie’s Tea & Coffee had just what I was looking for!
Because they had three flavours (Original, Mint, and White Chocolate), I’ve decided I’m going to make different flavours of the marshmallows (more on that in the recipe) throughout the holiday season and hand them out to friends and family.
I got some festival ribbons, stickers, and bows to complete the look, and I can’t wait to start delivering them.
Now, the recipe is fairly straight-forward, just be prepared to be a bit sticky for a few days while you make the different batches and cut them to size.
Makes ~30-40 Medium-Sized Marshmallows
INGREDIENTS
- 2 envelopes unflavoured gelatin (7g each)
- 1 cup cold water
- 1.5 cups granulated sugar (300g)
- ½ tsp salt
- 1 cup corn syrup (white/light)
- 1 cup icing sugar
- ¼ cup cornstarch
* 2 tsp vanilla extract
* additional flavouring (mint extract, almond extract, spices)
* additional colouring (whatever colours you feel like making)
INSTRUCTIONS
NOTES: This recipe is best made in a stand mixer, but if you don’t have one, you can use a hand mixer, it just might take longer to get it to the consistency you need.
You should also have access to a candy thermometer, if you don’t, there are ways to check if the syrup mixture is hot enough, but the thermometer will make life easier.
You will need to grease a baking dish (should be glass or ceramic, so you don’t get a metallic taste) - I used a 9x13 size dish, but you can use a 9x9 square or another size. The difference in the size of the dish will just change how tall the marshmallows are going to end up. Decide what you are going for before you grease the pan.
Spray the pan with cooking spray or grease it with vegetable oil.
In a bowl, sift the icing sugar together with the corn starch, and then lightly dust the greased dish with some of the mixture, setting the rest aside.
In the bowl of the stand mixer, pour in ½ a cup of the water and then sprinkle the two packets of gelatin over it to hydrate/bloom.
Meanwhile in a medium-sized saucepan (best with a heavy-duty bottom) over medium heat, add the granulated sugar, the salt, the corn syrup, and the other ½ cup of water.
With a wooden spoon stir the mixture until the sugar dissolves and attach the candy thermometer to the side of the pan without touching the bottom.
NOTE: This is going to bubble up a lot while it heats, so be cautious and don’t walk away!
Cook the sugar mixture, wiping down the sides with either a non-stick spatula or a wet pastry brush, until it reaches about 235° - 240°F and then remove from heat.
Place the whisk attachment to the mixer and mix the gelatin on low for a moment, then slowly (and carefully) start to pour the sugar mixture into the bowl.
Gradually increase the speed of the mixer until it is on high, and whip it until it is white, thick, and glossy. This could take up to 5-10 minutes (longer if you’re using a hand mixture), so to test if it is thick enough, tilt the mixer head up and if it falls in thick ribbons, it’s ready.
During the last minute of whisking, this is the time to add any extra flavouring like vanilla extract, food colouring, spices etc.
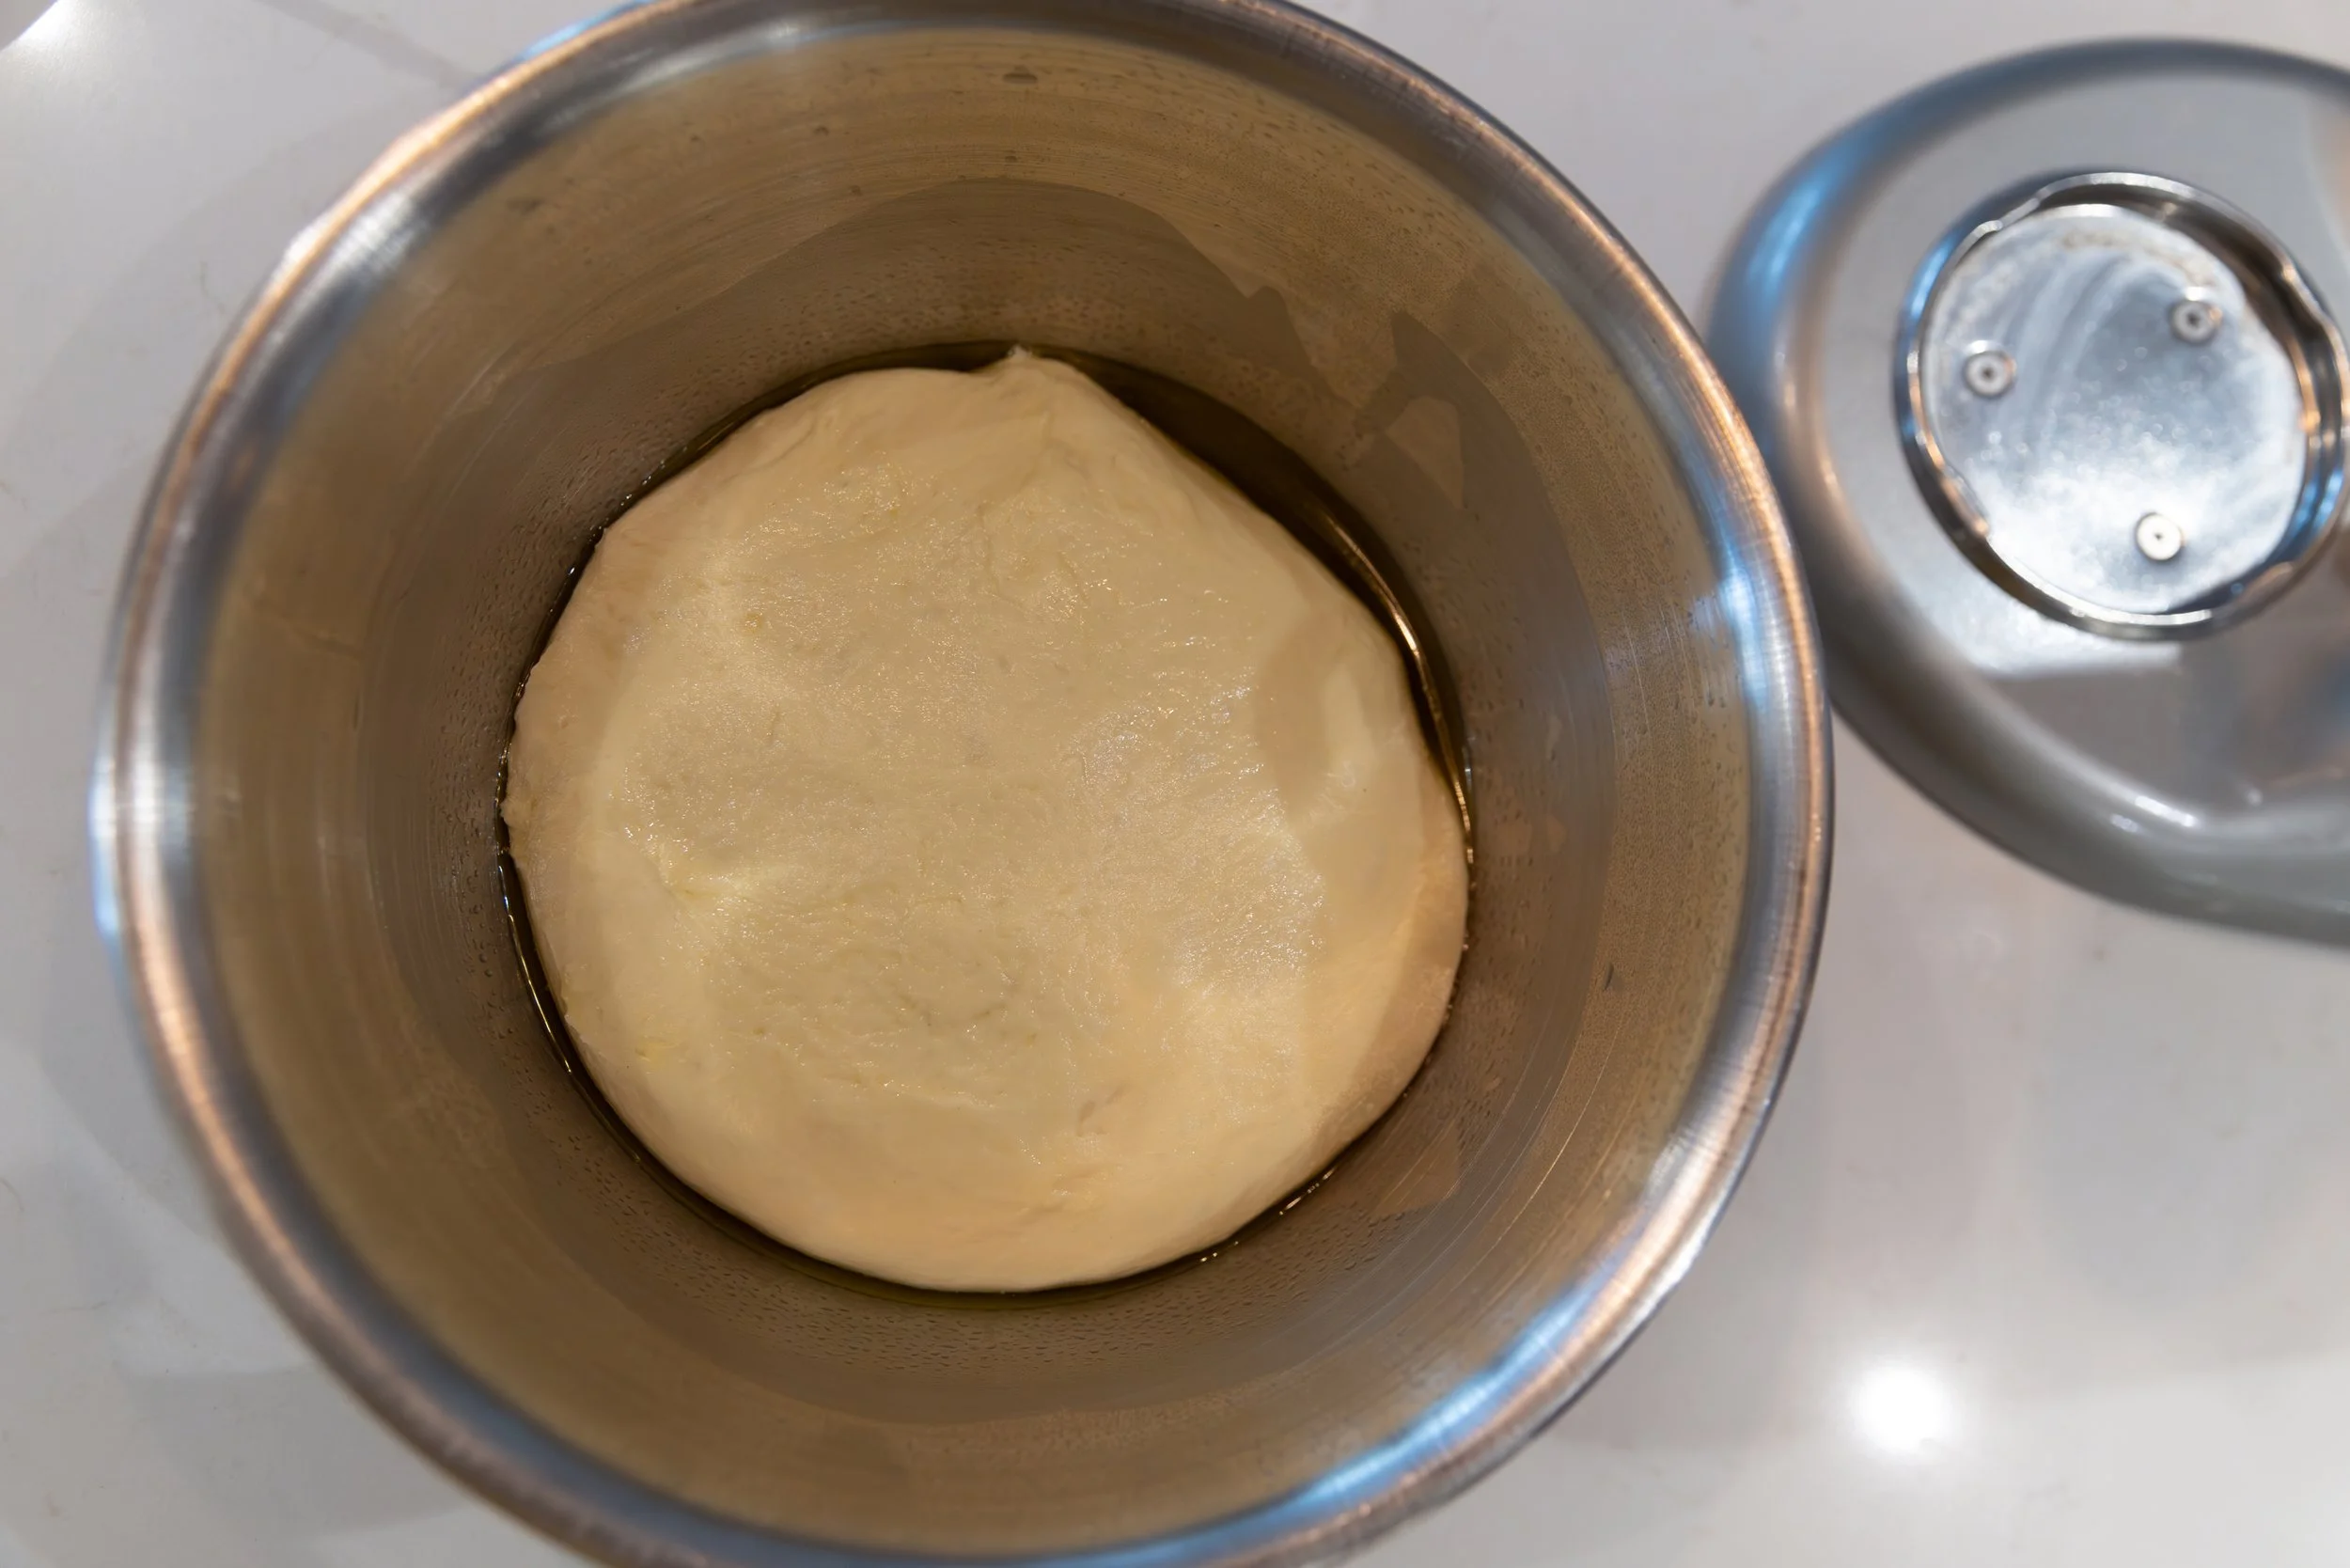
Transfer the fluff into the prepared pan and use a greased spatula to smooth the marshmallows until the top is mostly flat.
Now you wait! Leave it uncovered for at least 6 hours, but ideally overnight or longer for them to cool and set.
On a clean cutting board or counter, sift the icing sugar/corn starch mixture generously.
Using a clean knife, separate the marshmallows from the sides of the pan and then flip onto the dusted surface. Sift the now top-side with more of the sugar-starch mixture until all surfaces and sides are covered (this is how the marshmallows won’t stick together).
Now you will cut the marshmallows to the size you desire, using a sharp knife. Cleaning and drying the knife between cuts will make it easier to cut through the marshmallows.
With every marshmallow you cut, make sure to coat the newly exposed sides in the icing sugar mix, so they don’t stick together (be generous!).
You can store your marshmallows in an air-tight container, putting parchment paper layers between if desired. They should last up to two weeks without beginning to get stale, but they will still be great if you melt them in the hot chocolate well after that! I have had some stay soft for months!
If you’re going to deliver these to friends in your cute packages, make sure you measure it so that you are cutting the marshmallows to the right size so they fit in whatever you’re handing them out in.
Enjoy!!!