pasta

RECIPE: Ravioli for BC Living "From Scratch"

Ravioli
for BC Living “From Scratch”
May 2026

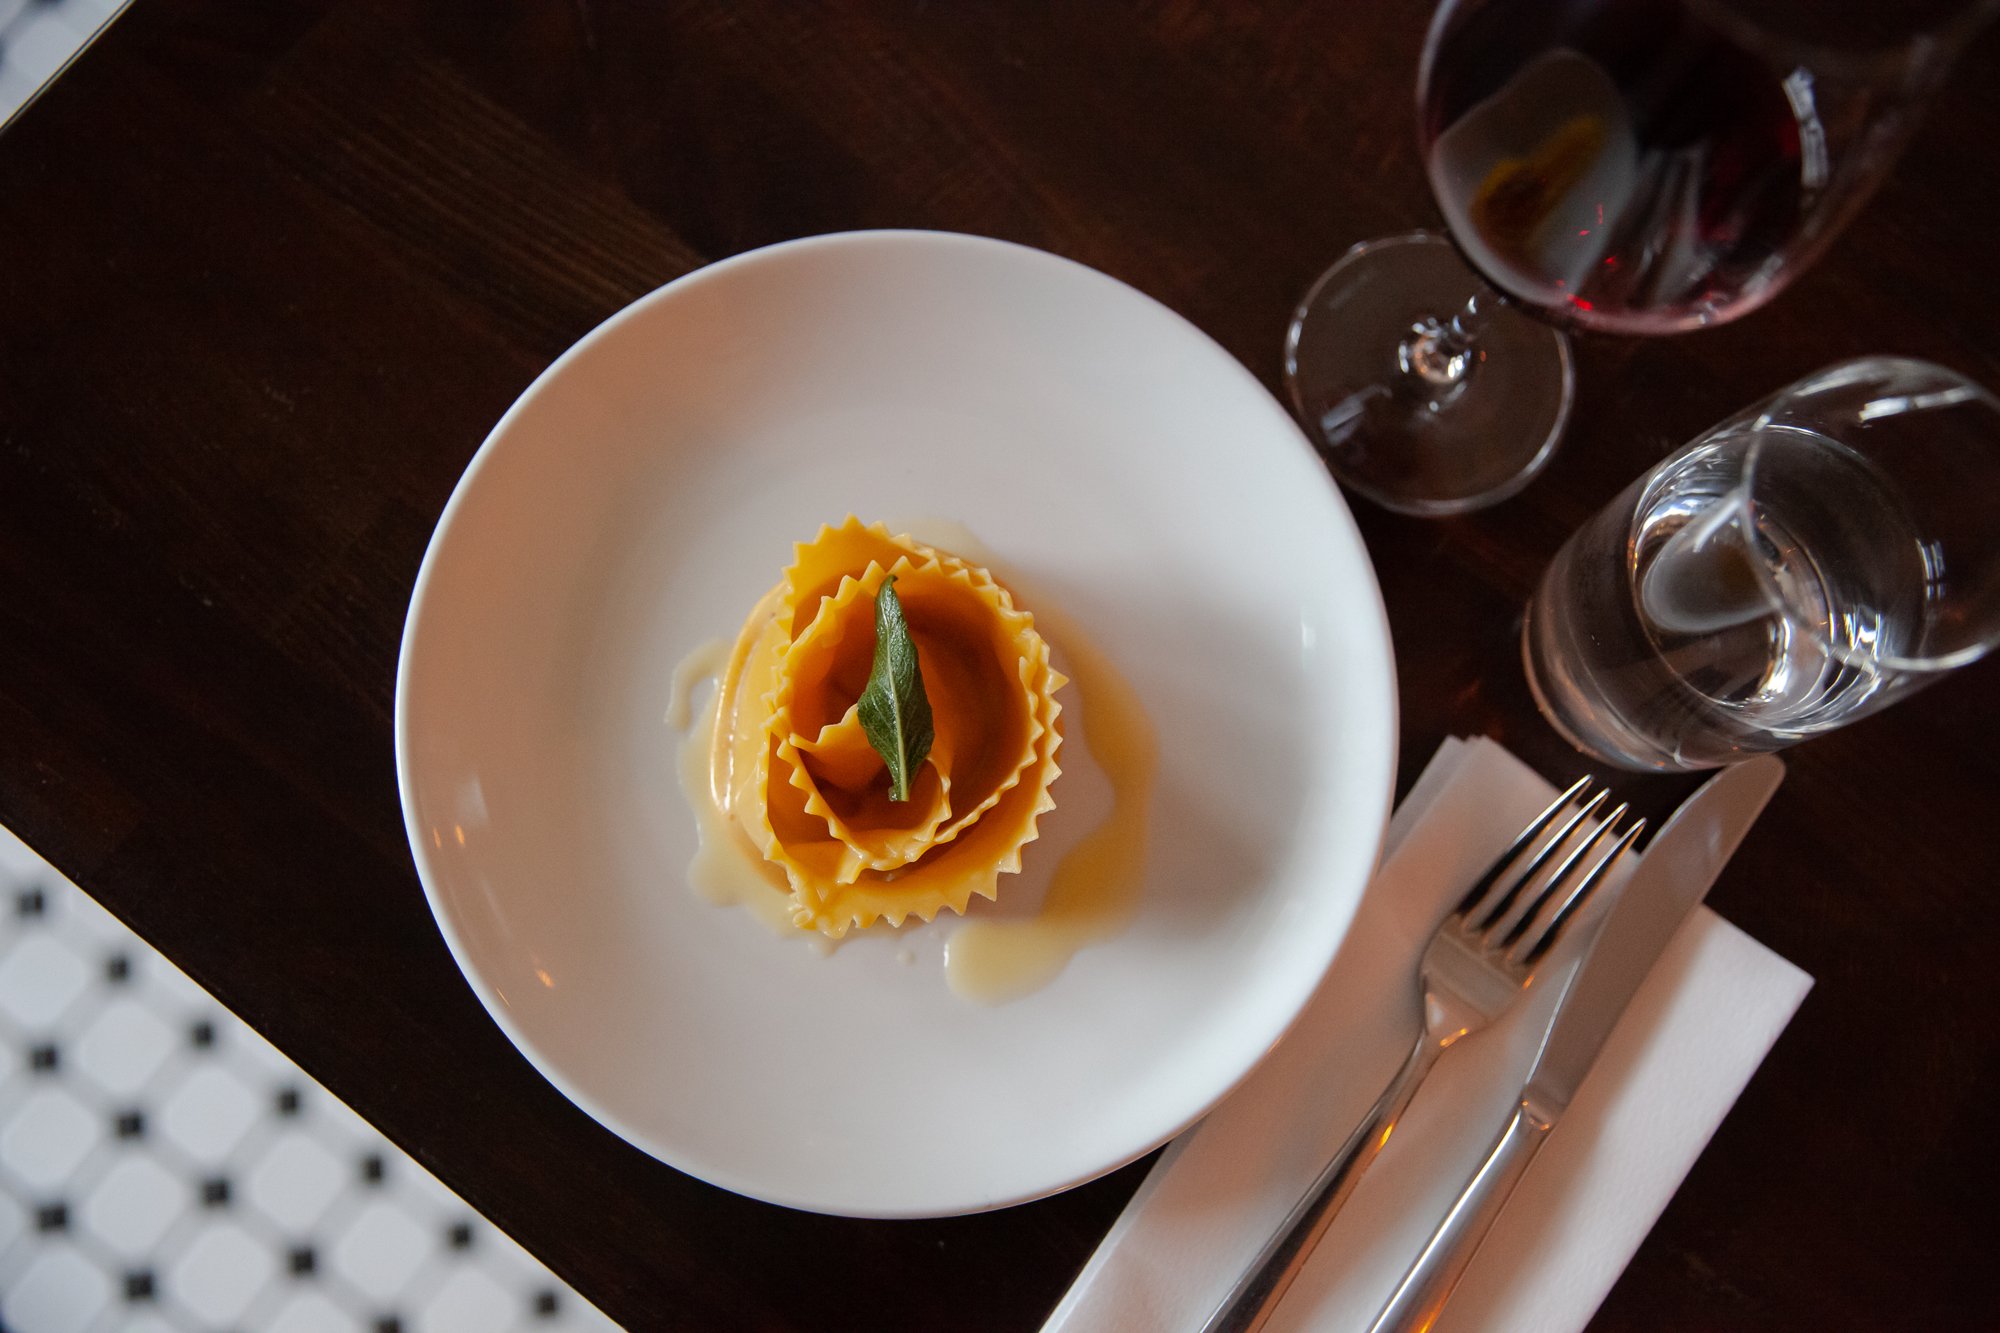
Do you consider ravioli a dumpling? It’s one of those amazing and versatile stuffed pastas that you can take in any direction for its filling. For simplicity in this recipe, I went with a classic ricotta with fresh basil and lemon so that I could play around with sauces as I saw fit.  
 
This might take you a few tries to get the amount of filling or pasta width correct, but always err on the side of less filling, so you don’t have explosions in your pasta water. 
 
I already taught you how to make pasta from scratch – so follow that recipe first by clicking here

INGREDIENTS:  

For Pasta 

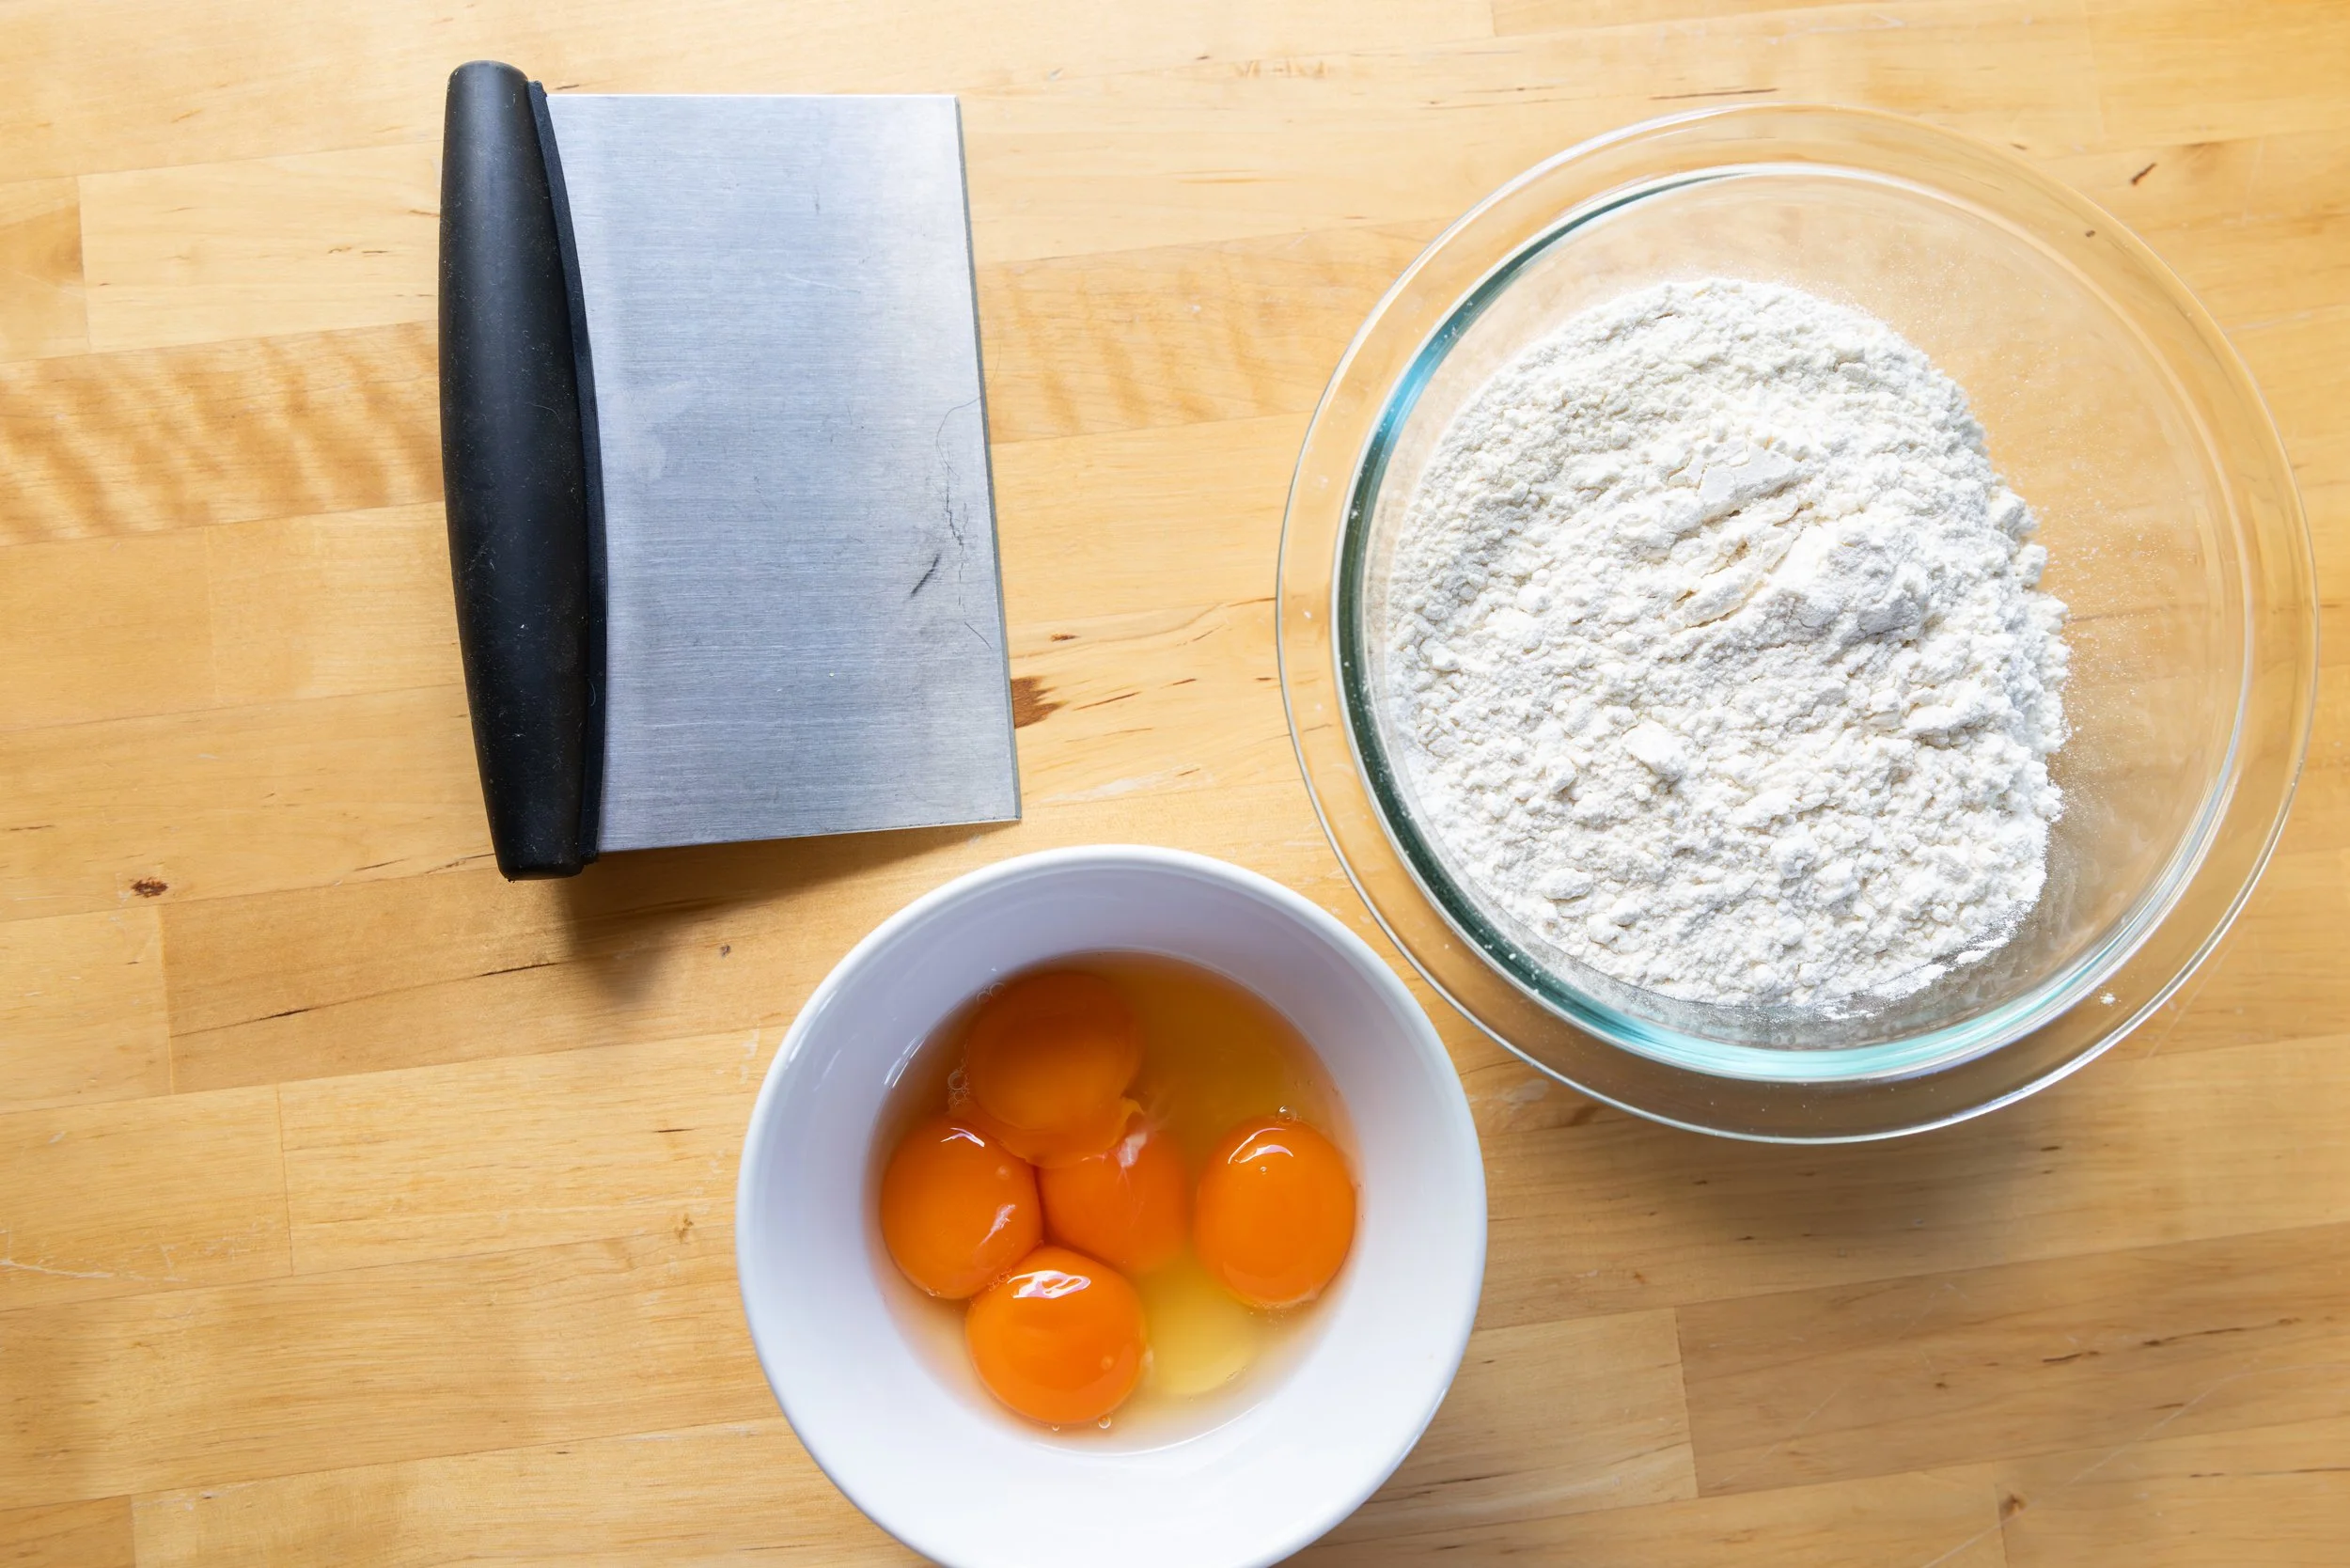
  • 2 cups 00 (or AP) flour 

  • 4 eggs 

For Filling 

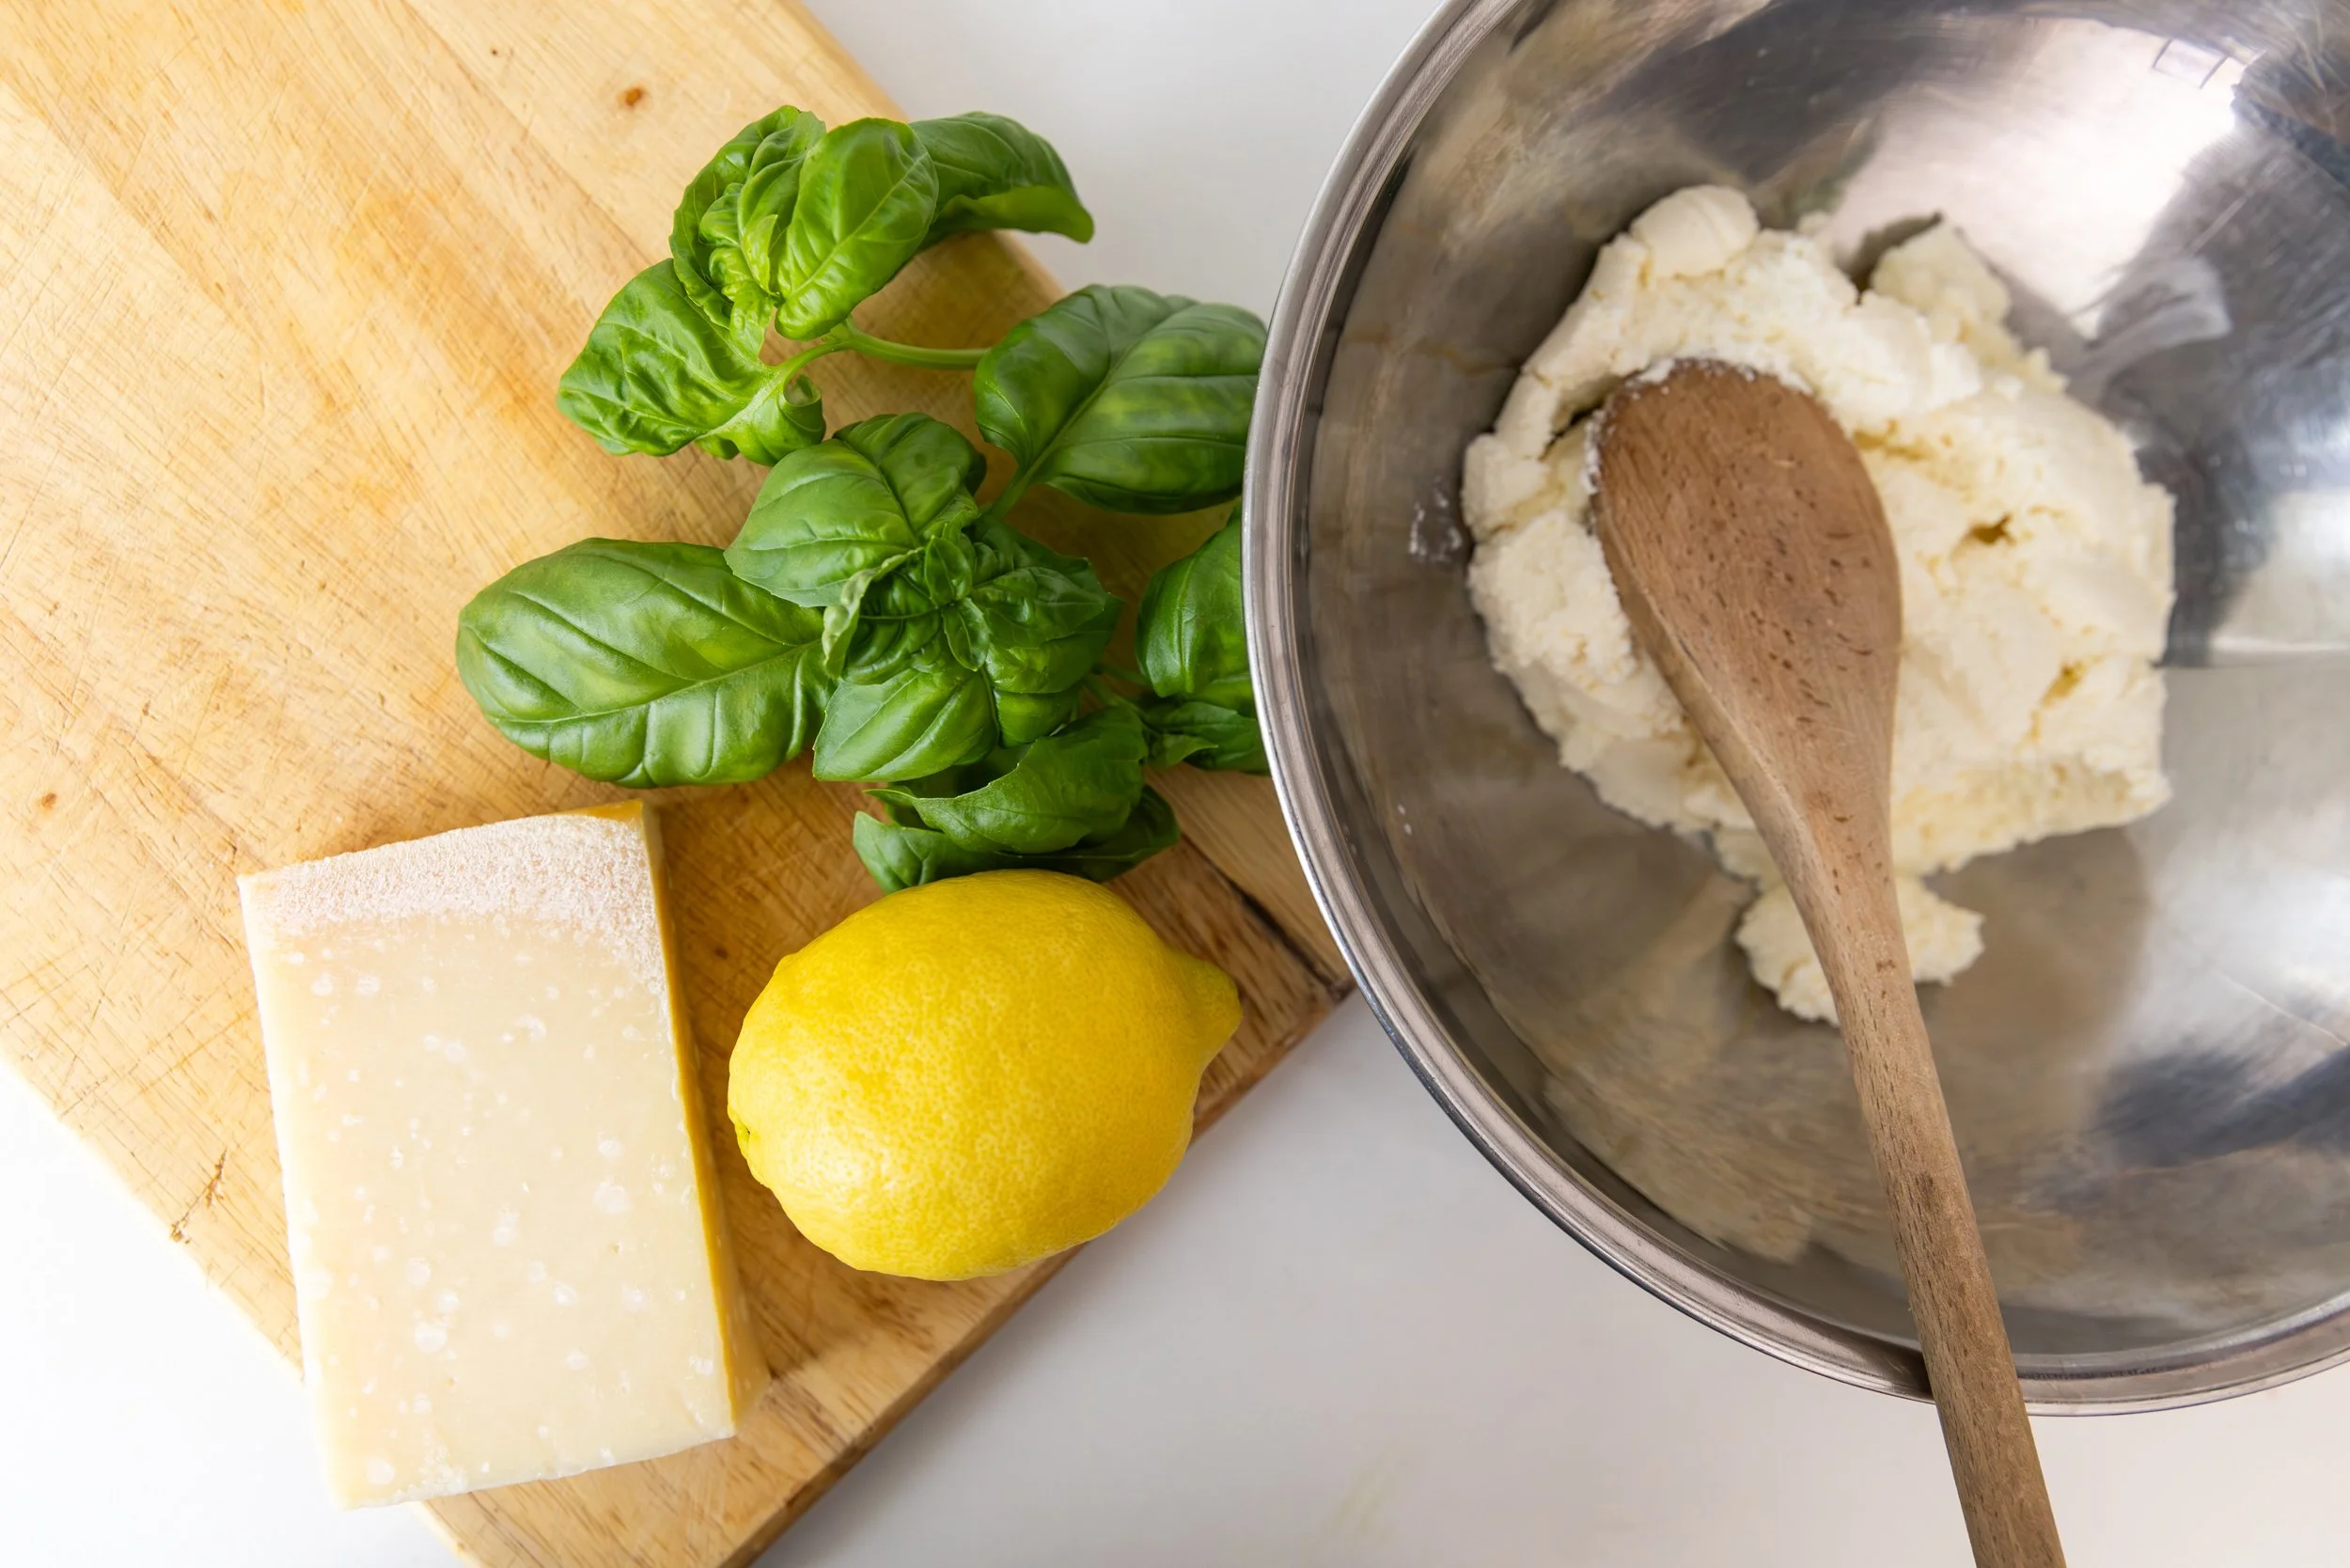
  • 250g of fresh ricotta  

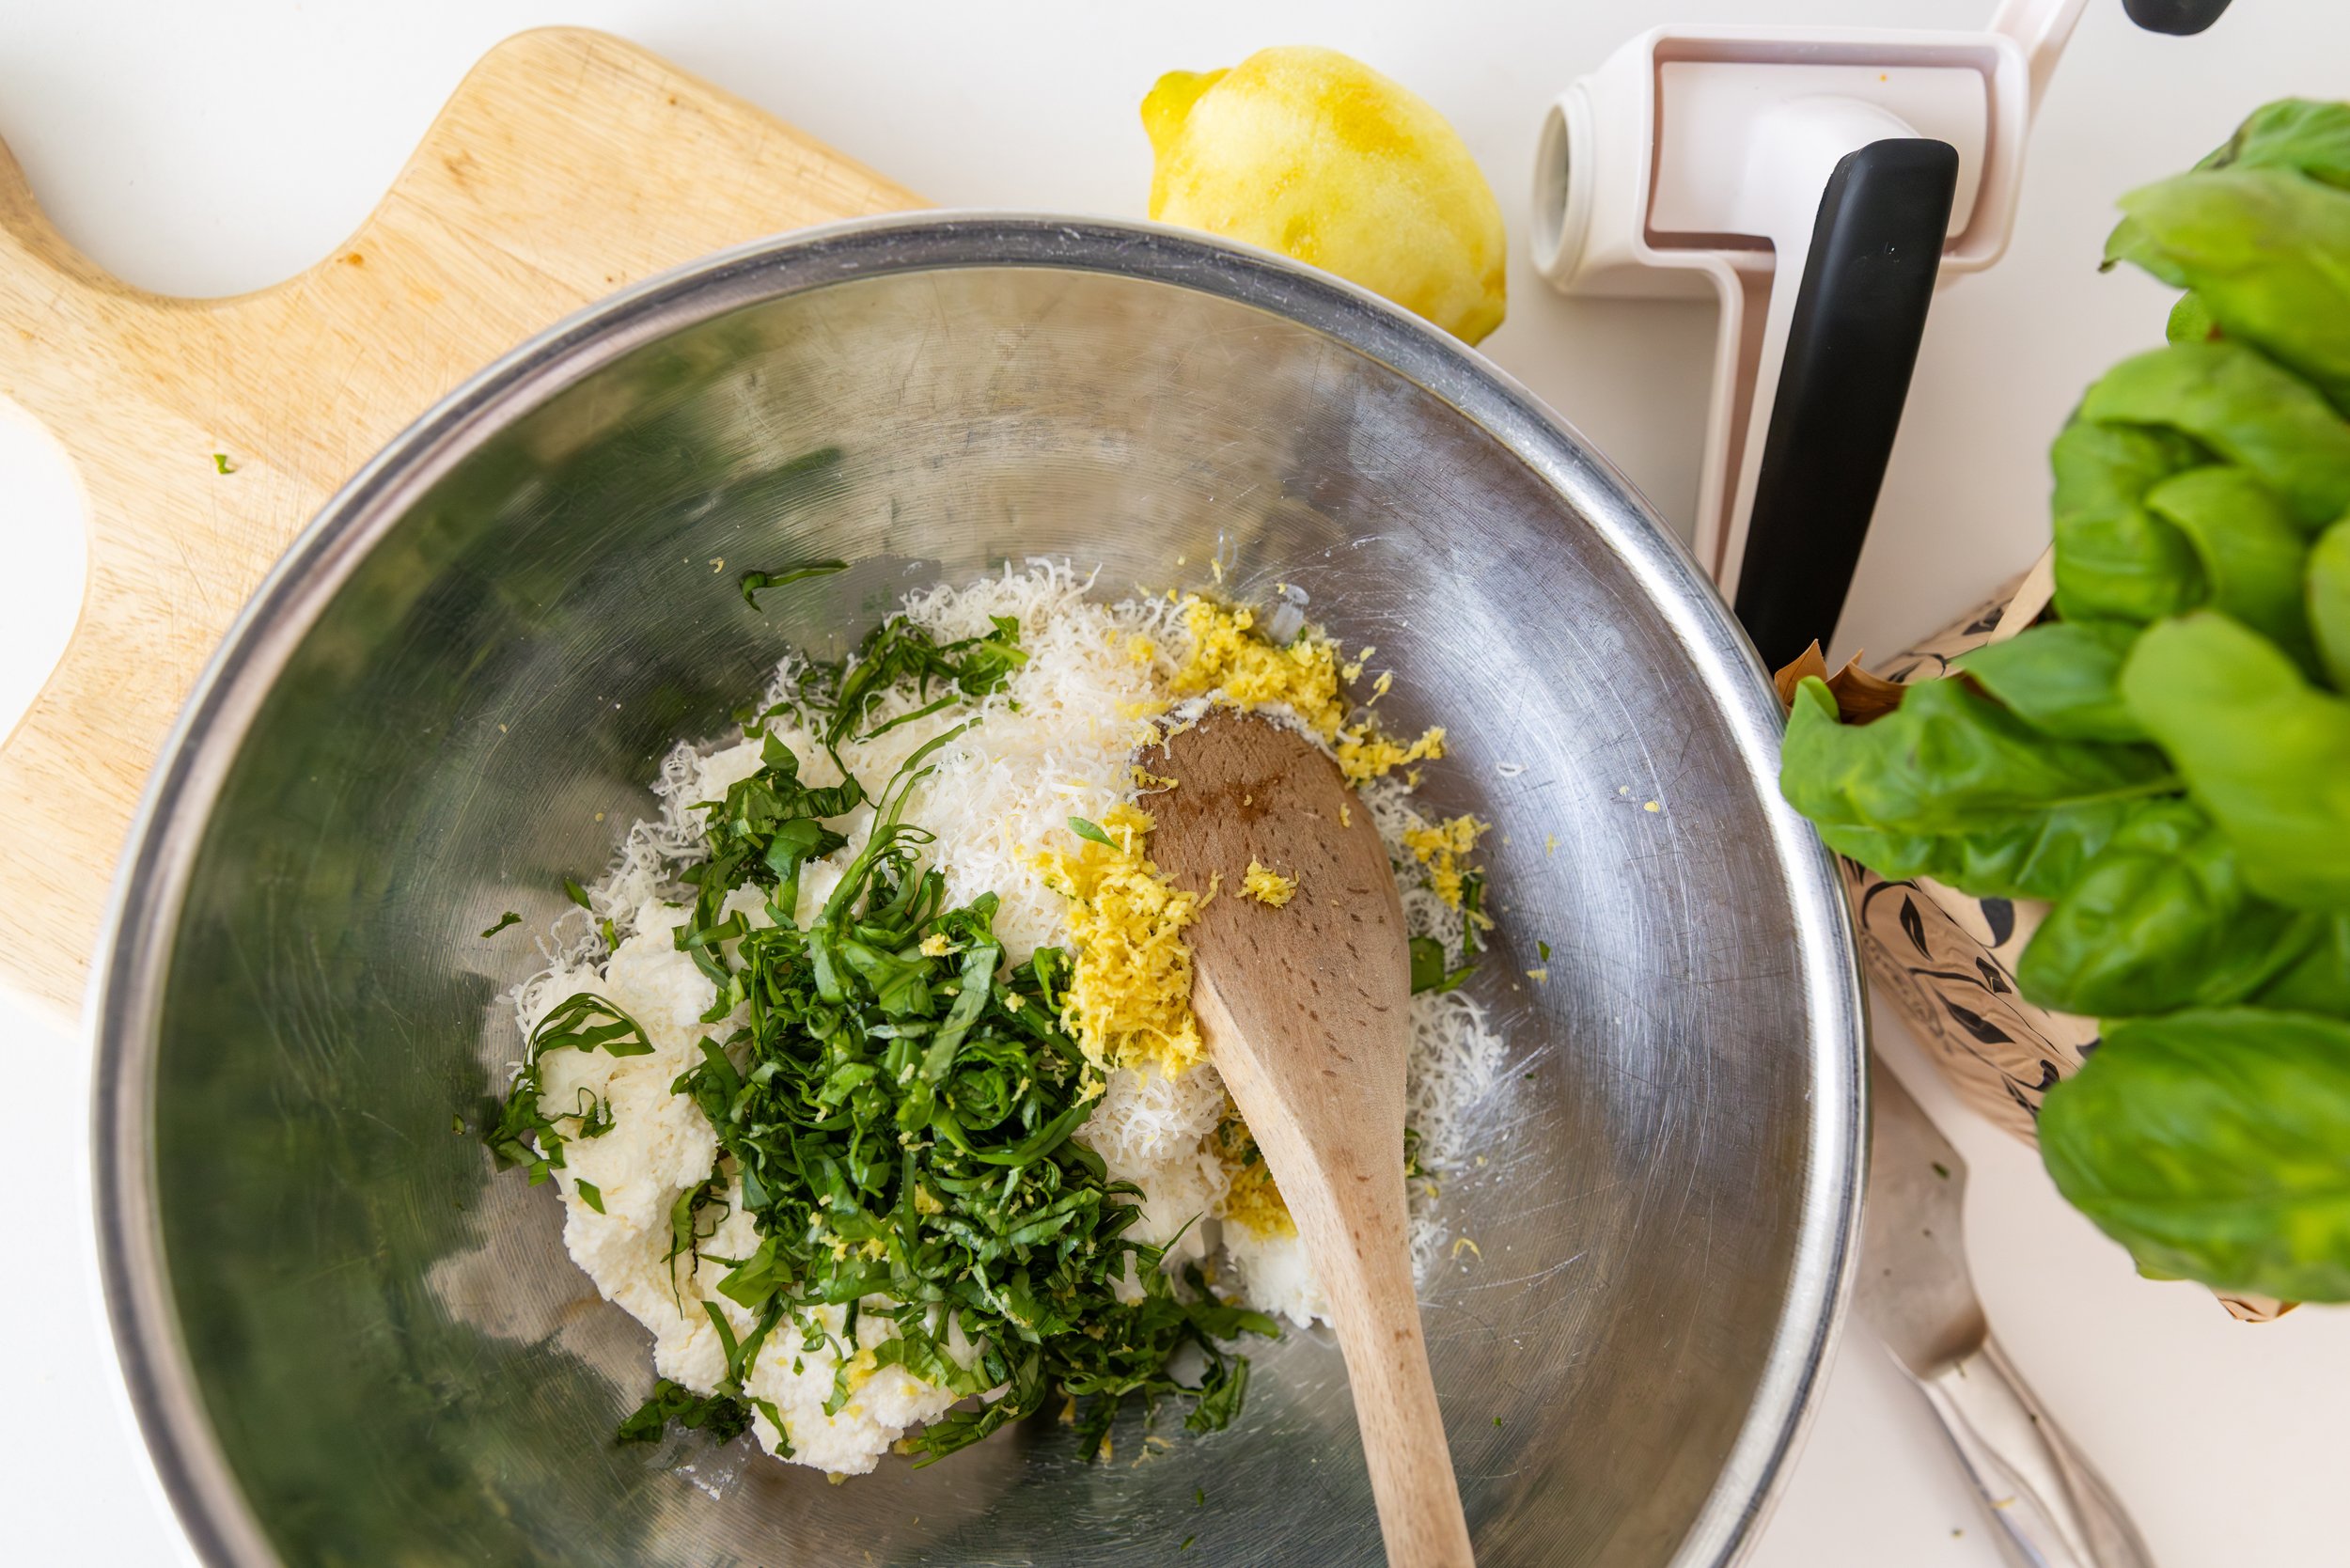
  • fresh basil (5-6 leaves), cut into thin strips 

  • Zest of one lemon, approx. 1 tbsp 

  • ½ tsp each of salt and pepper 

Optional Tools (if unavailable, use a rolling pin and sharp knife): 

  • Pasta maker 

  • Ravioli crimper 

INSTRUCTIONS:  
 In a large bowl, mix the flour and salt together, and then create a well in the center. 

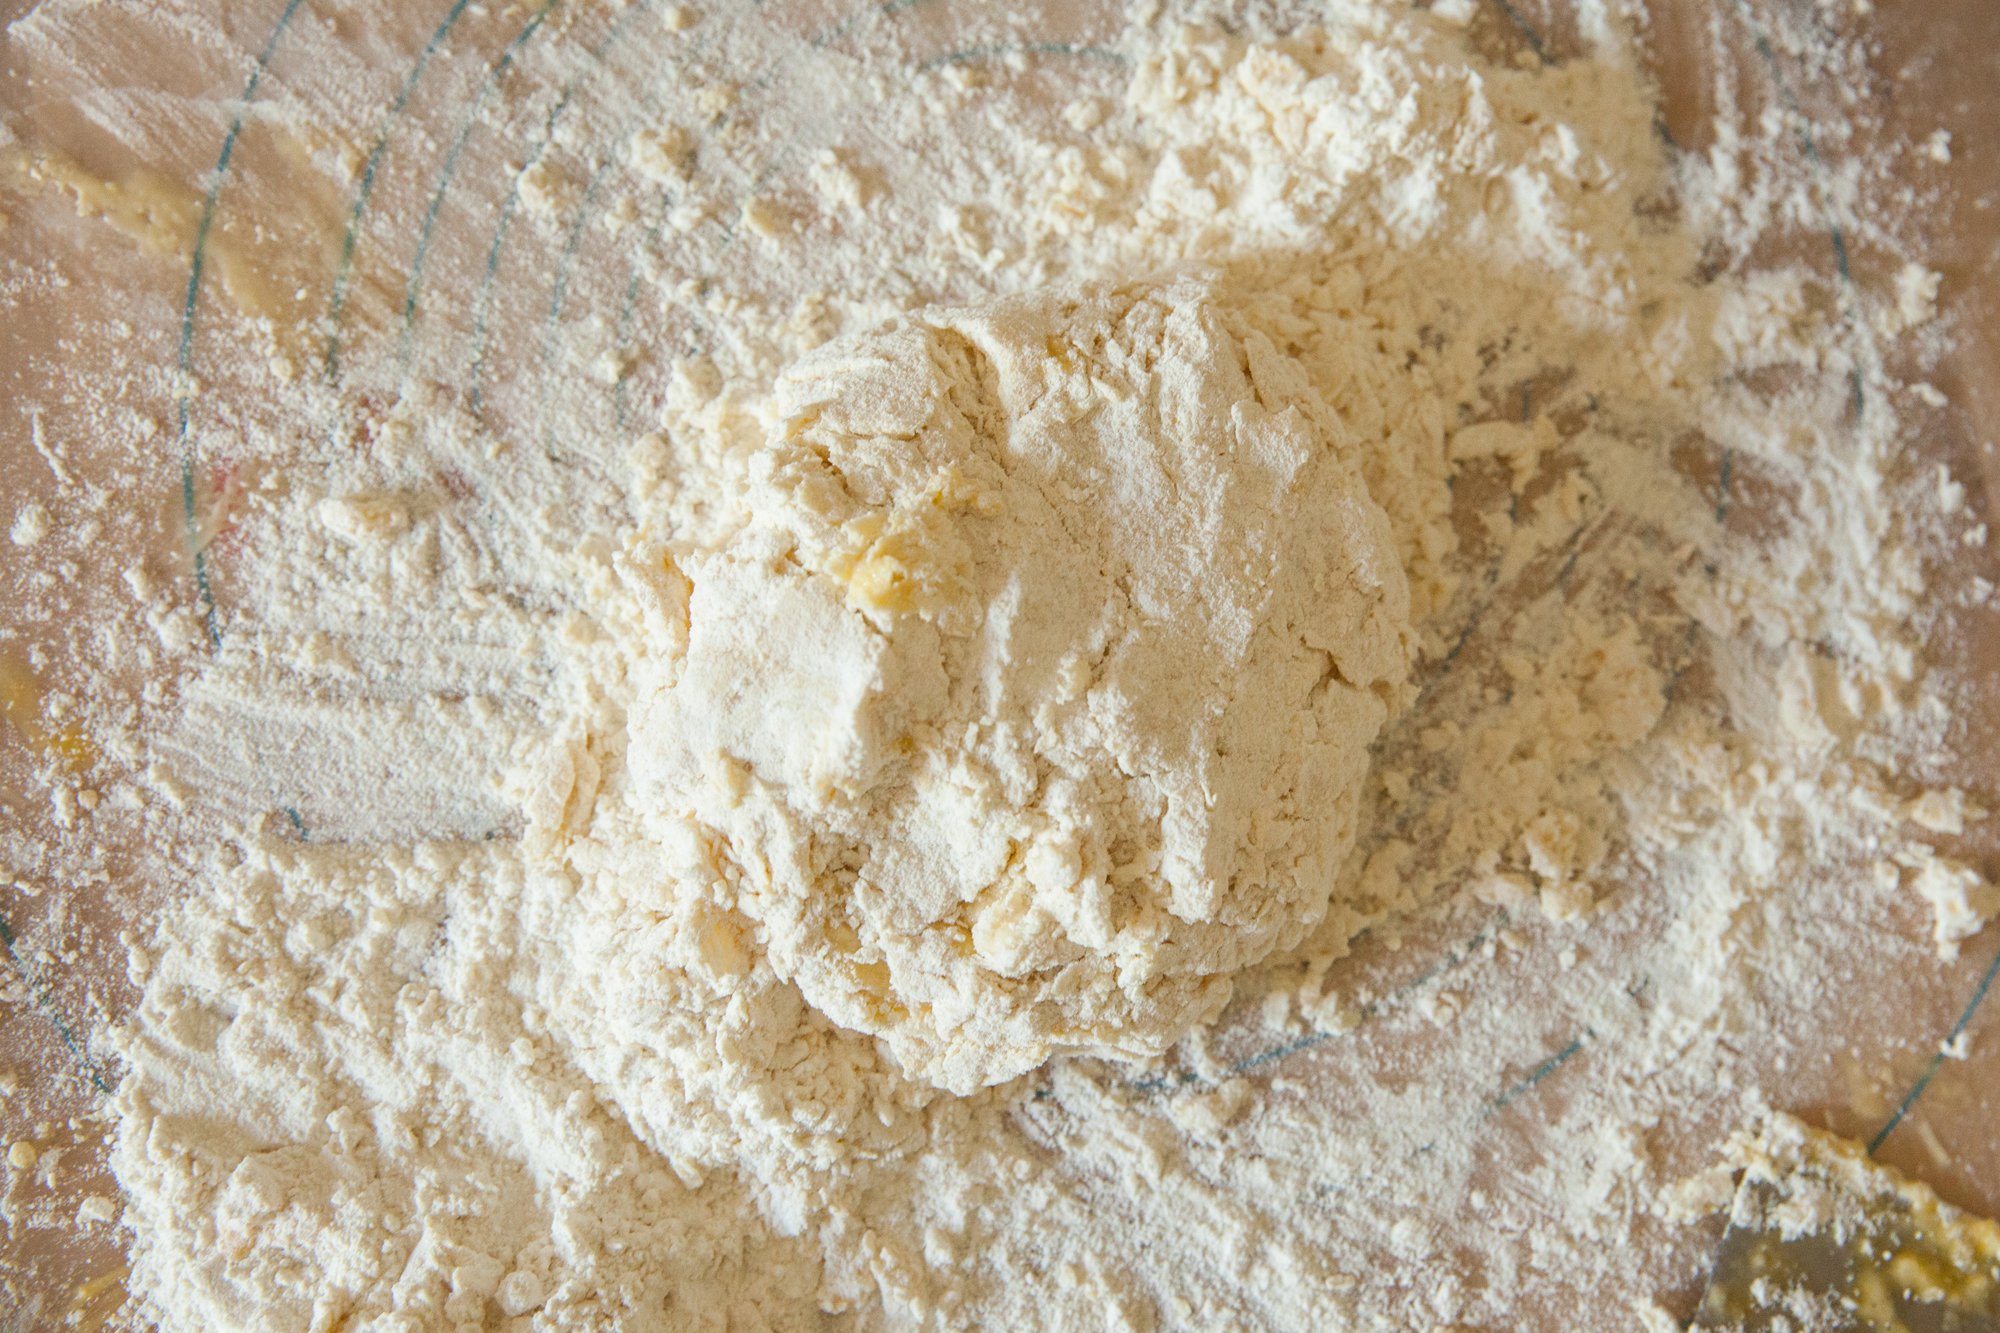
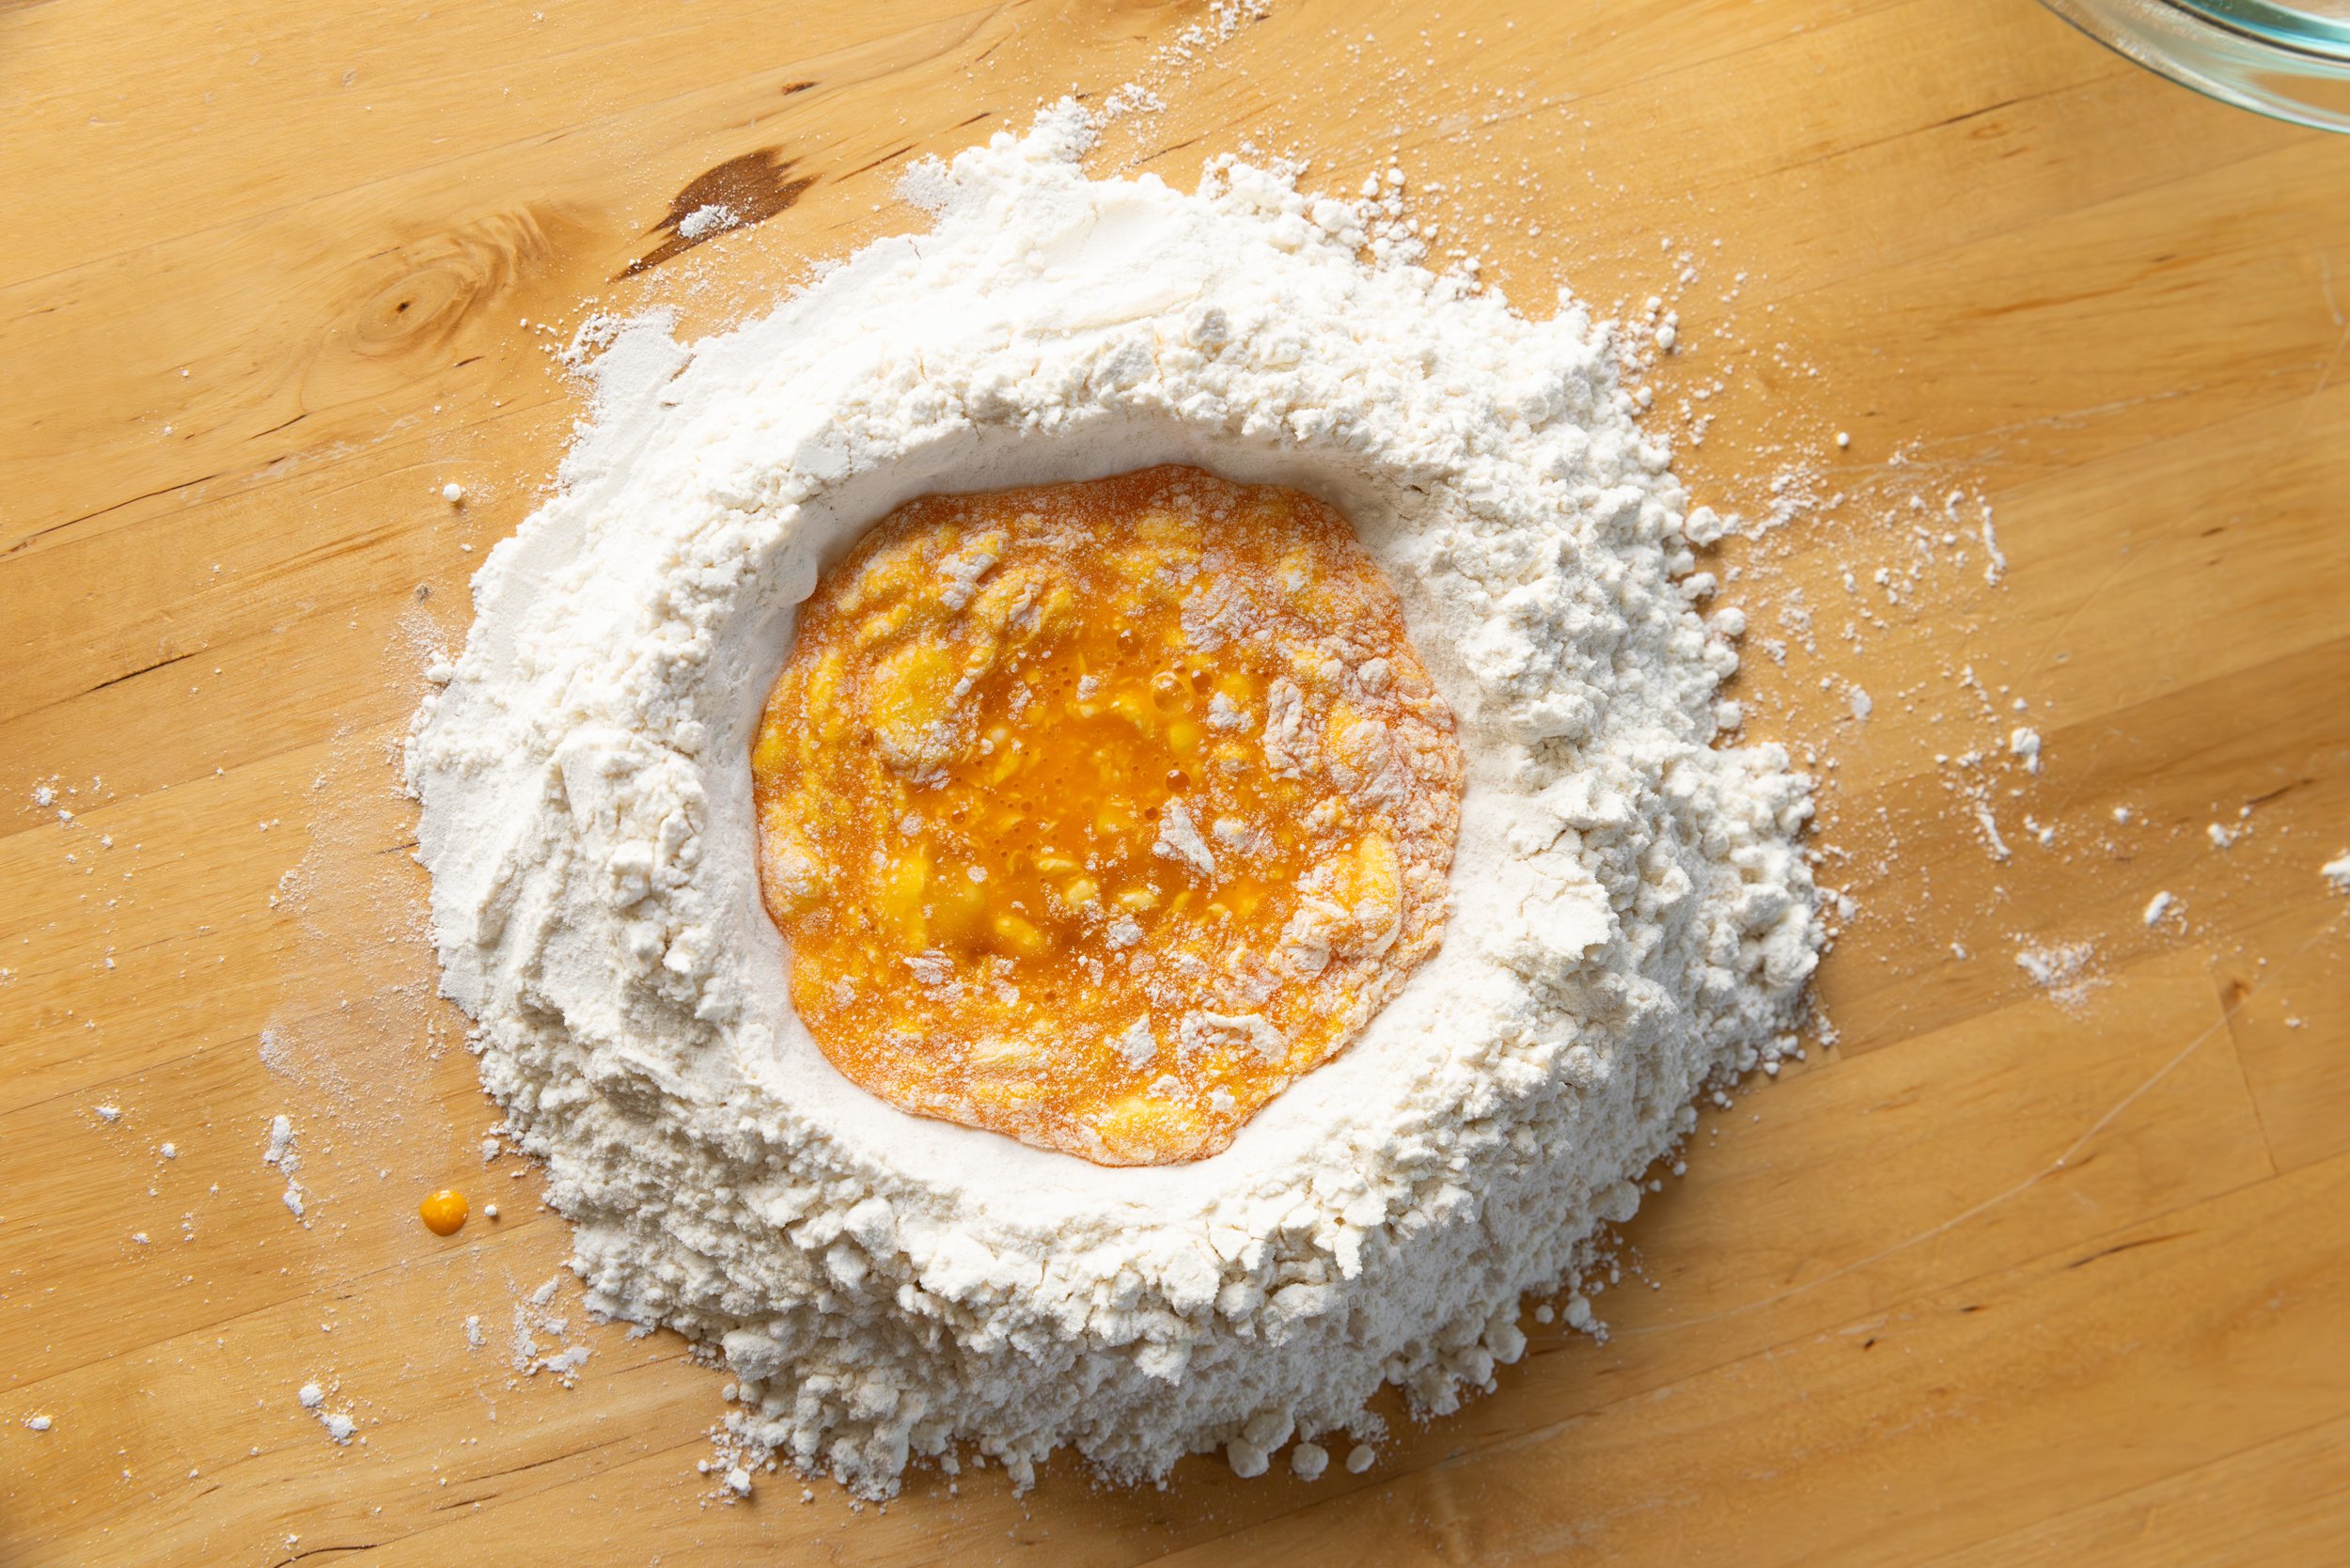
Crack the four eggs into the well, and then with a fork or your fingers, beat them together slightly. Once broken up, start adding the flour from the sides to the mixture, until a loose dough has formed. 

On a floured surface, dump the dough out and begin kneading it for five to seven minutes, adding flour as needed if it is too wet. The dough is ready when it is smooth, and if you poke it, it slowly springs back. 

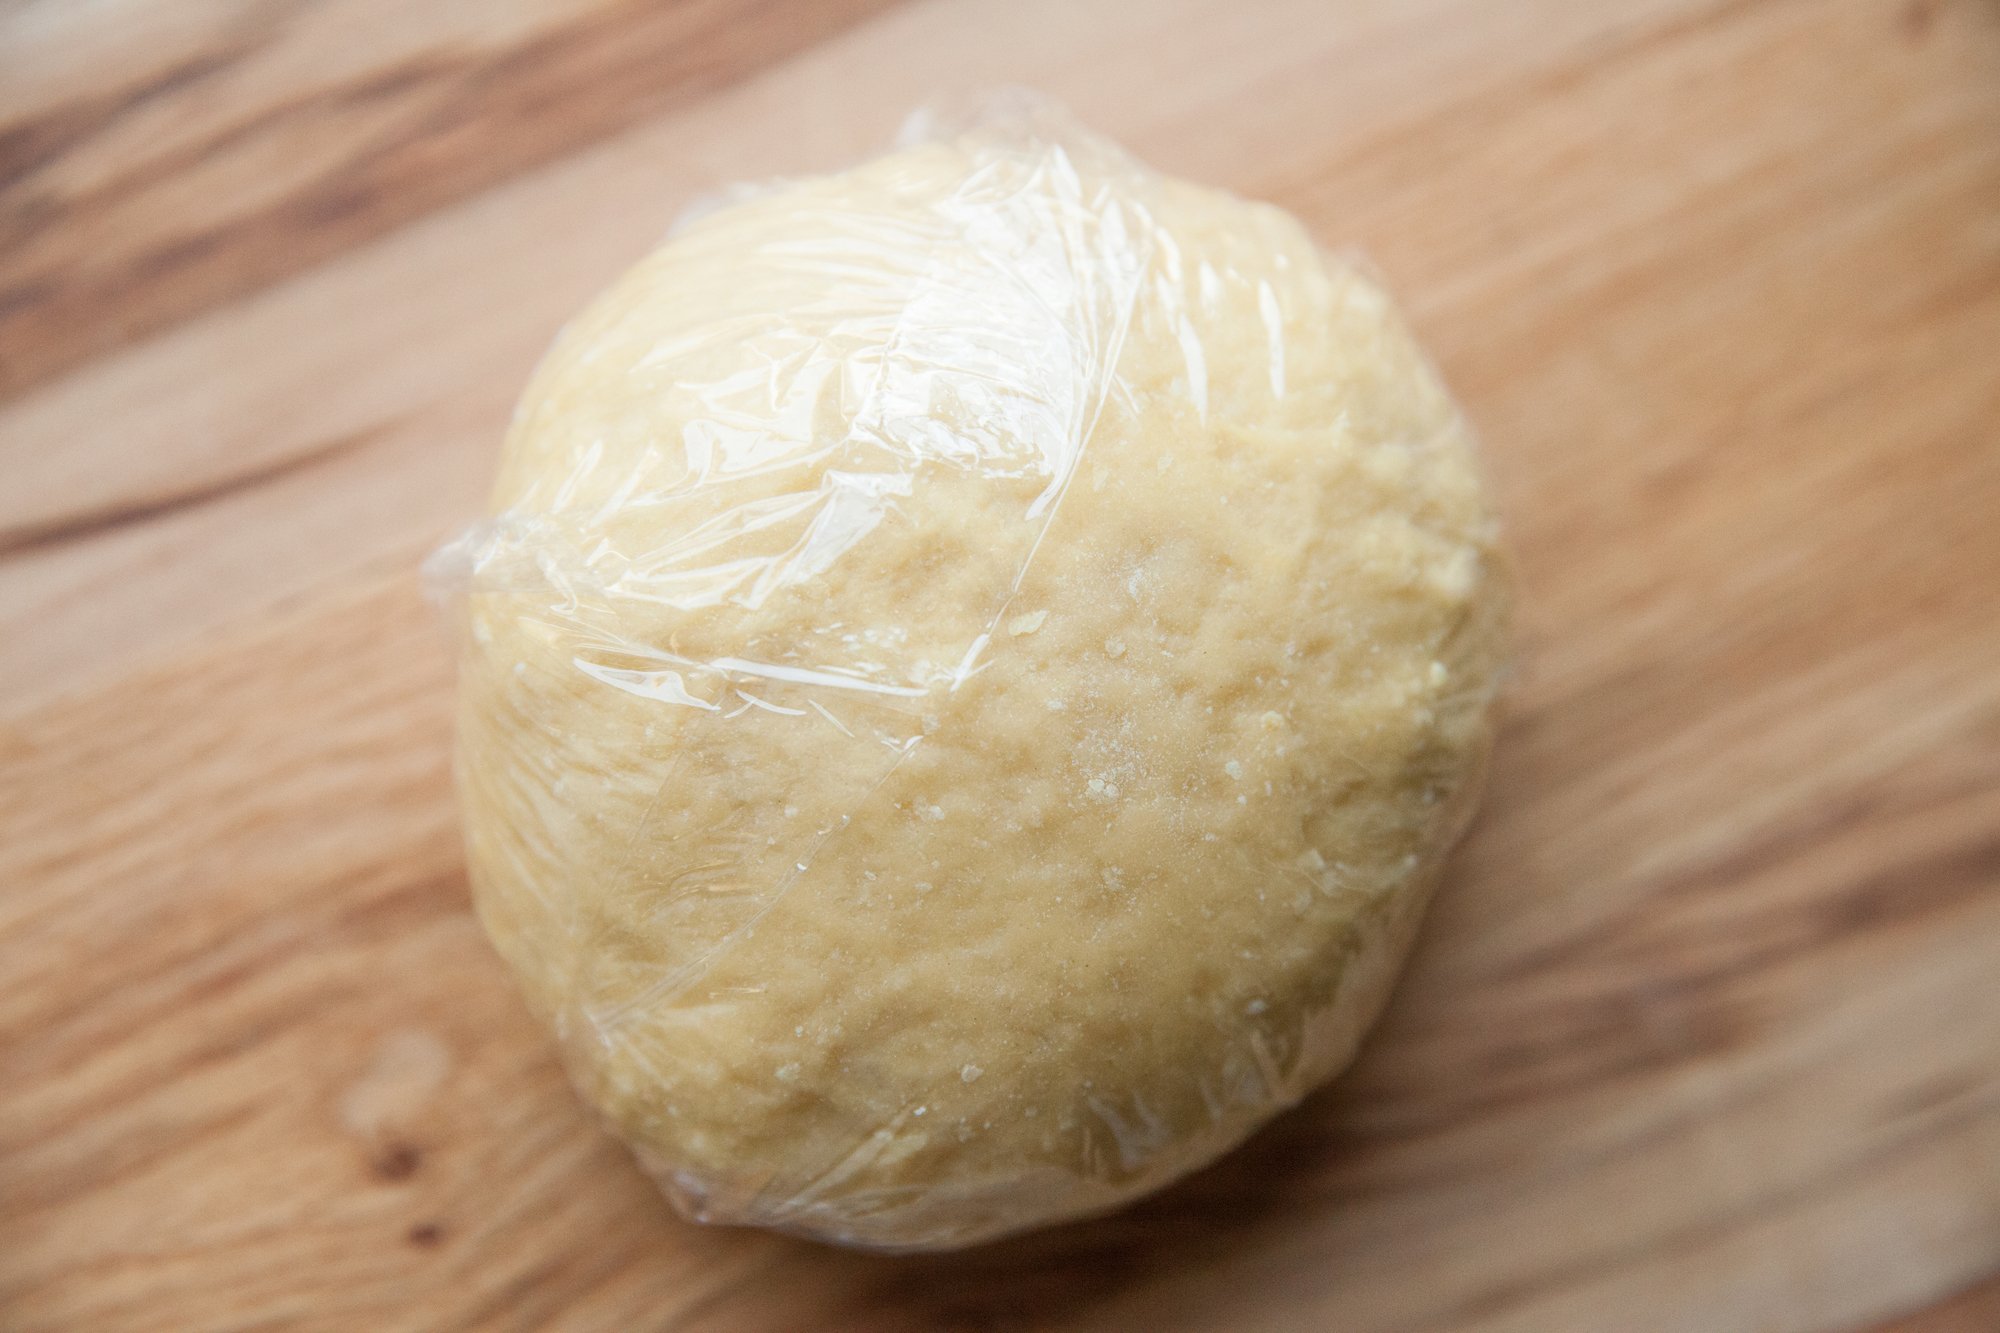
Cover with plastic wrap and let sit at room temperature for 30 minutes. 

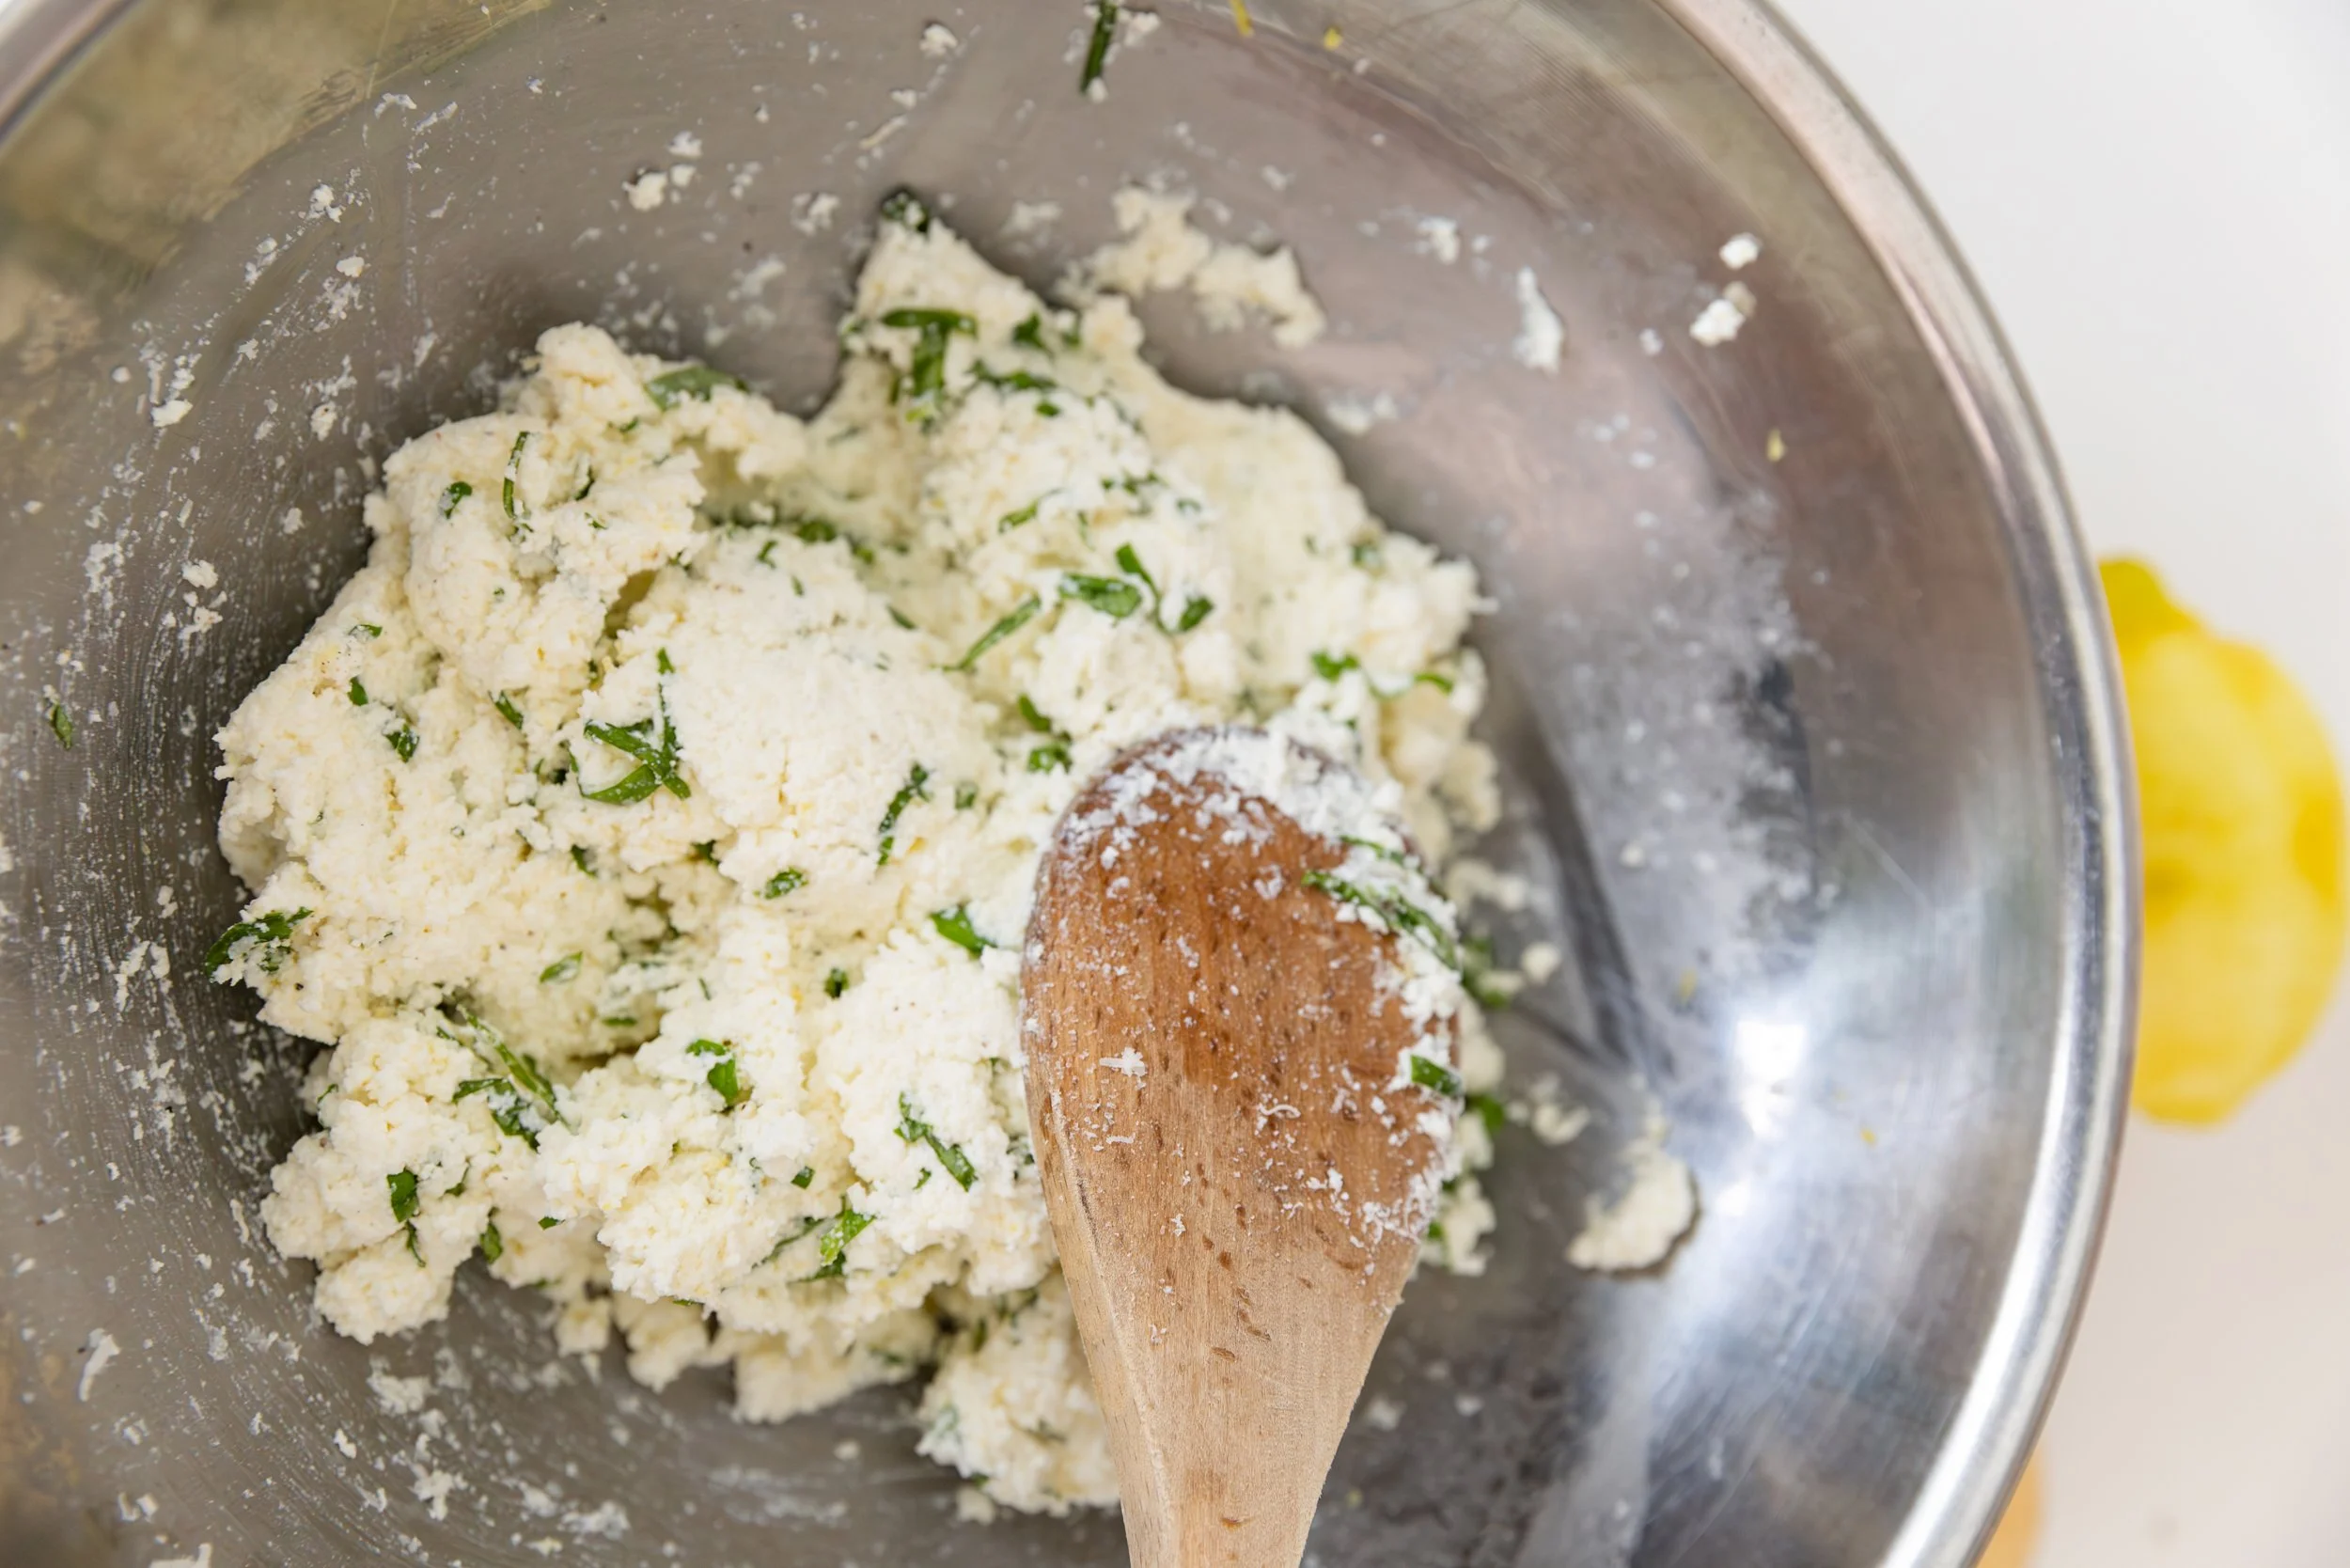
While the dough rests, make the filling by combining ingredients into a bowl and mix well. Taste for additional salt and pepper or basil, cover and place into the fridge. 

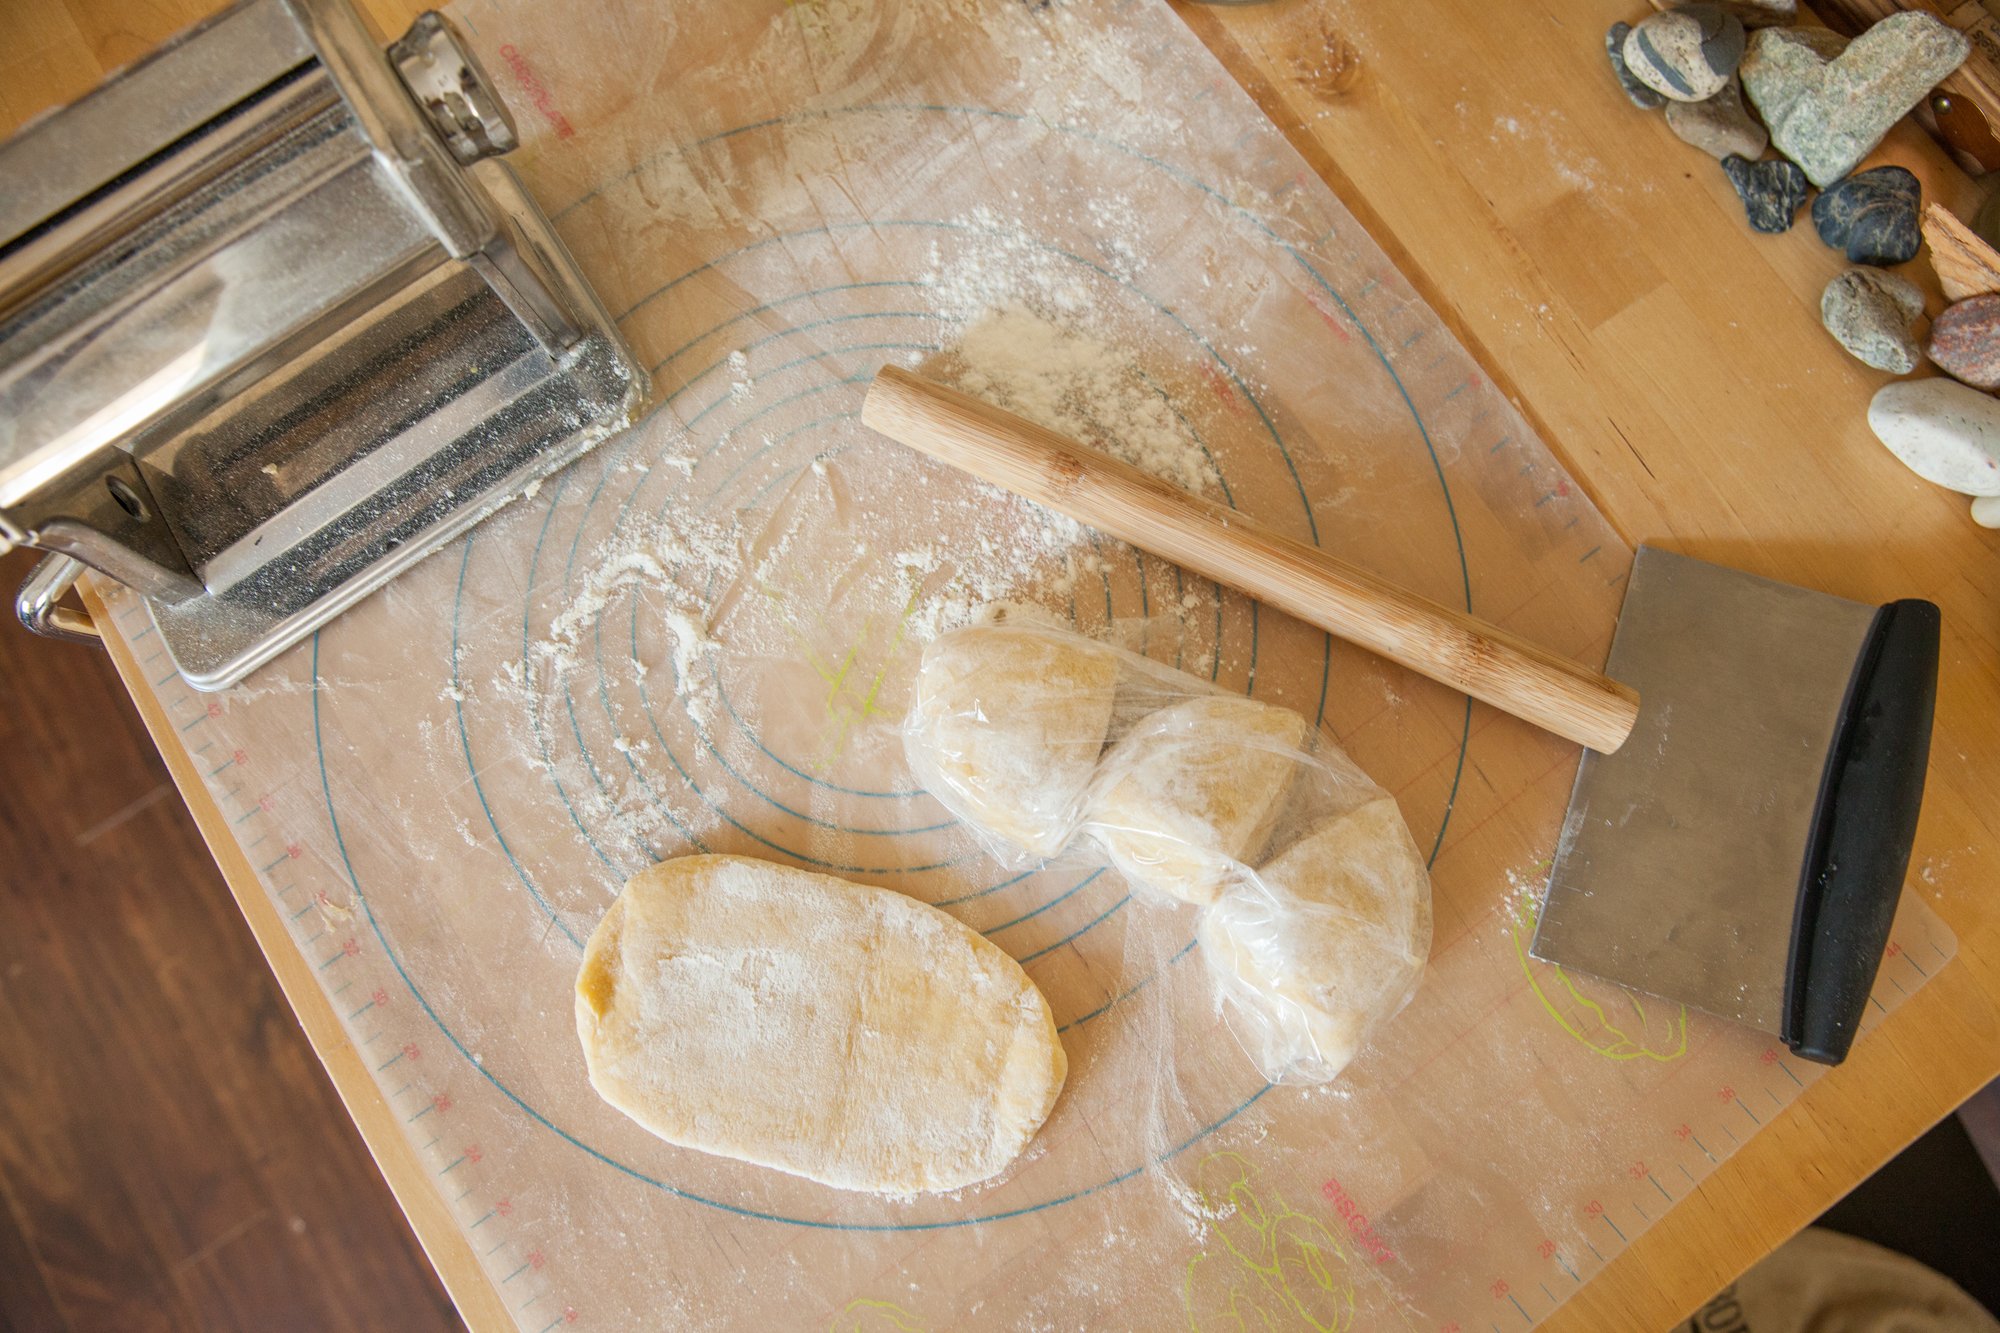
Cut the dough in half and return the second half to the plastic wrap to keep from drying out. 

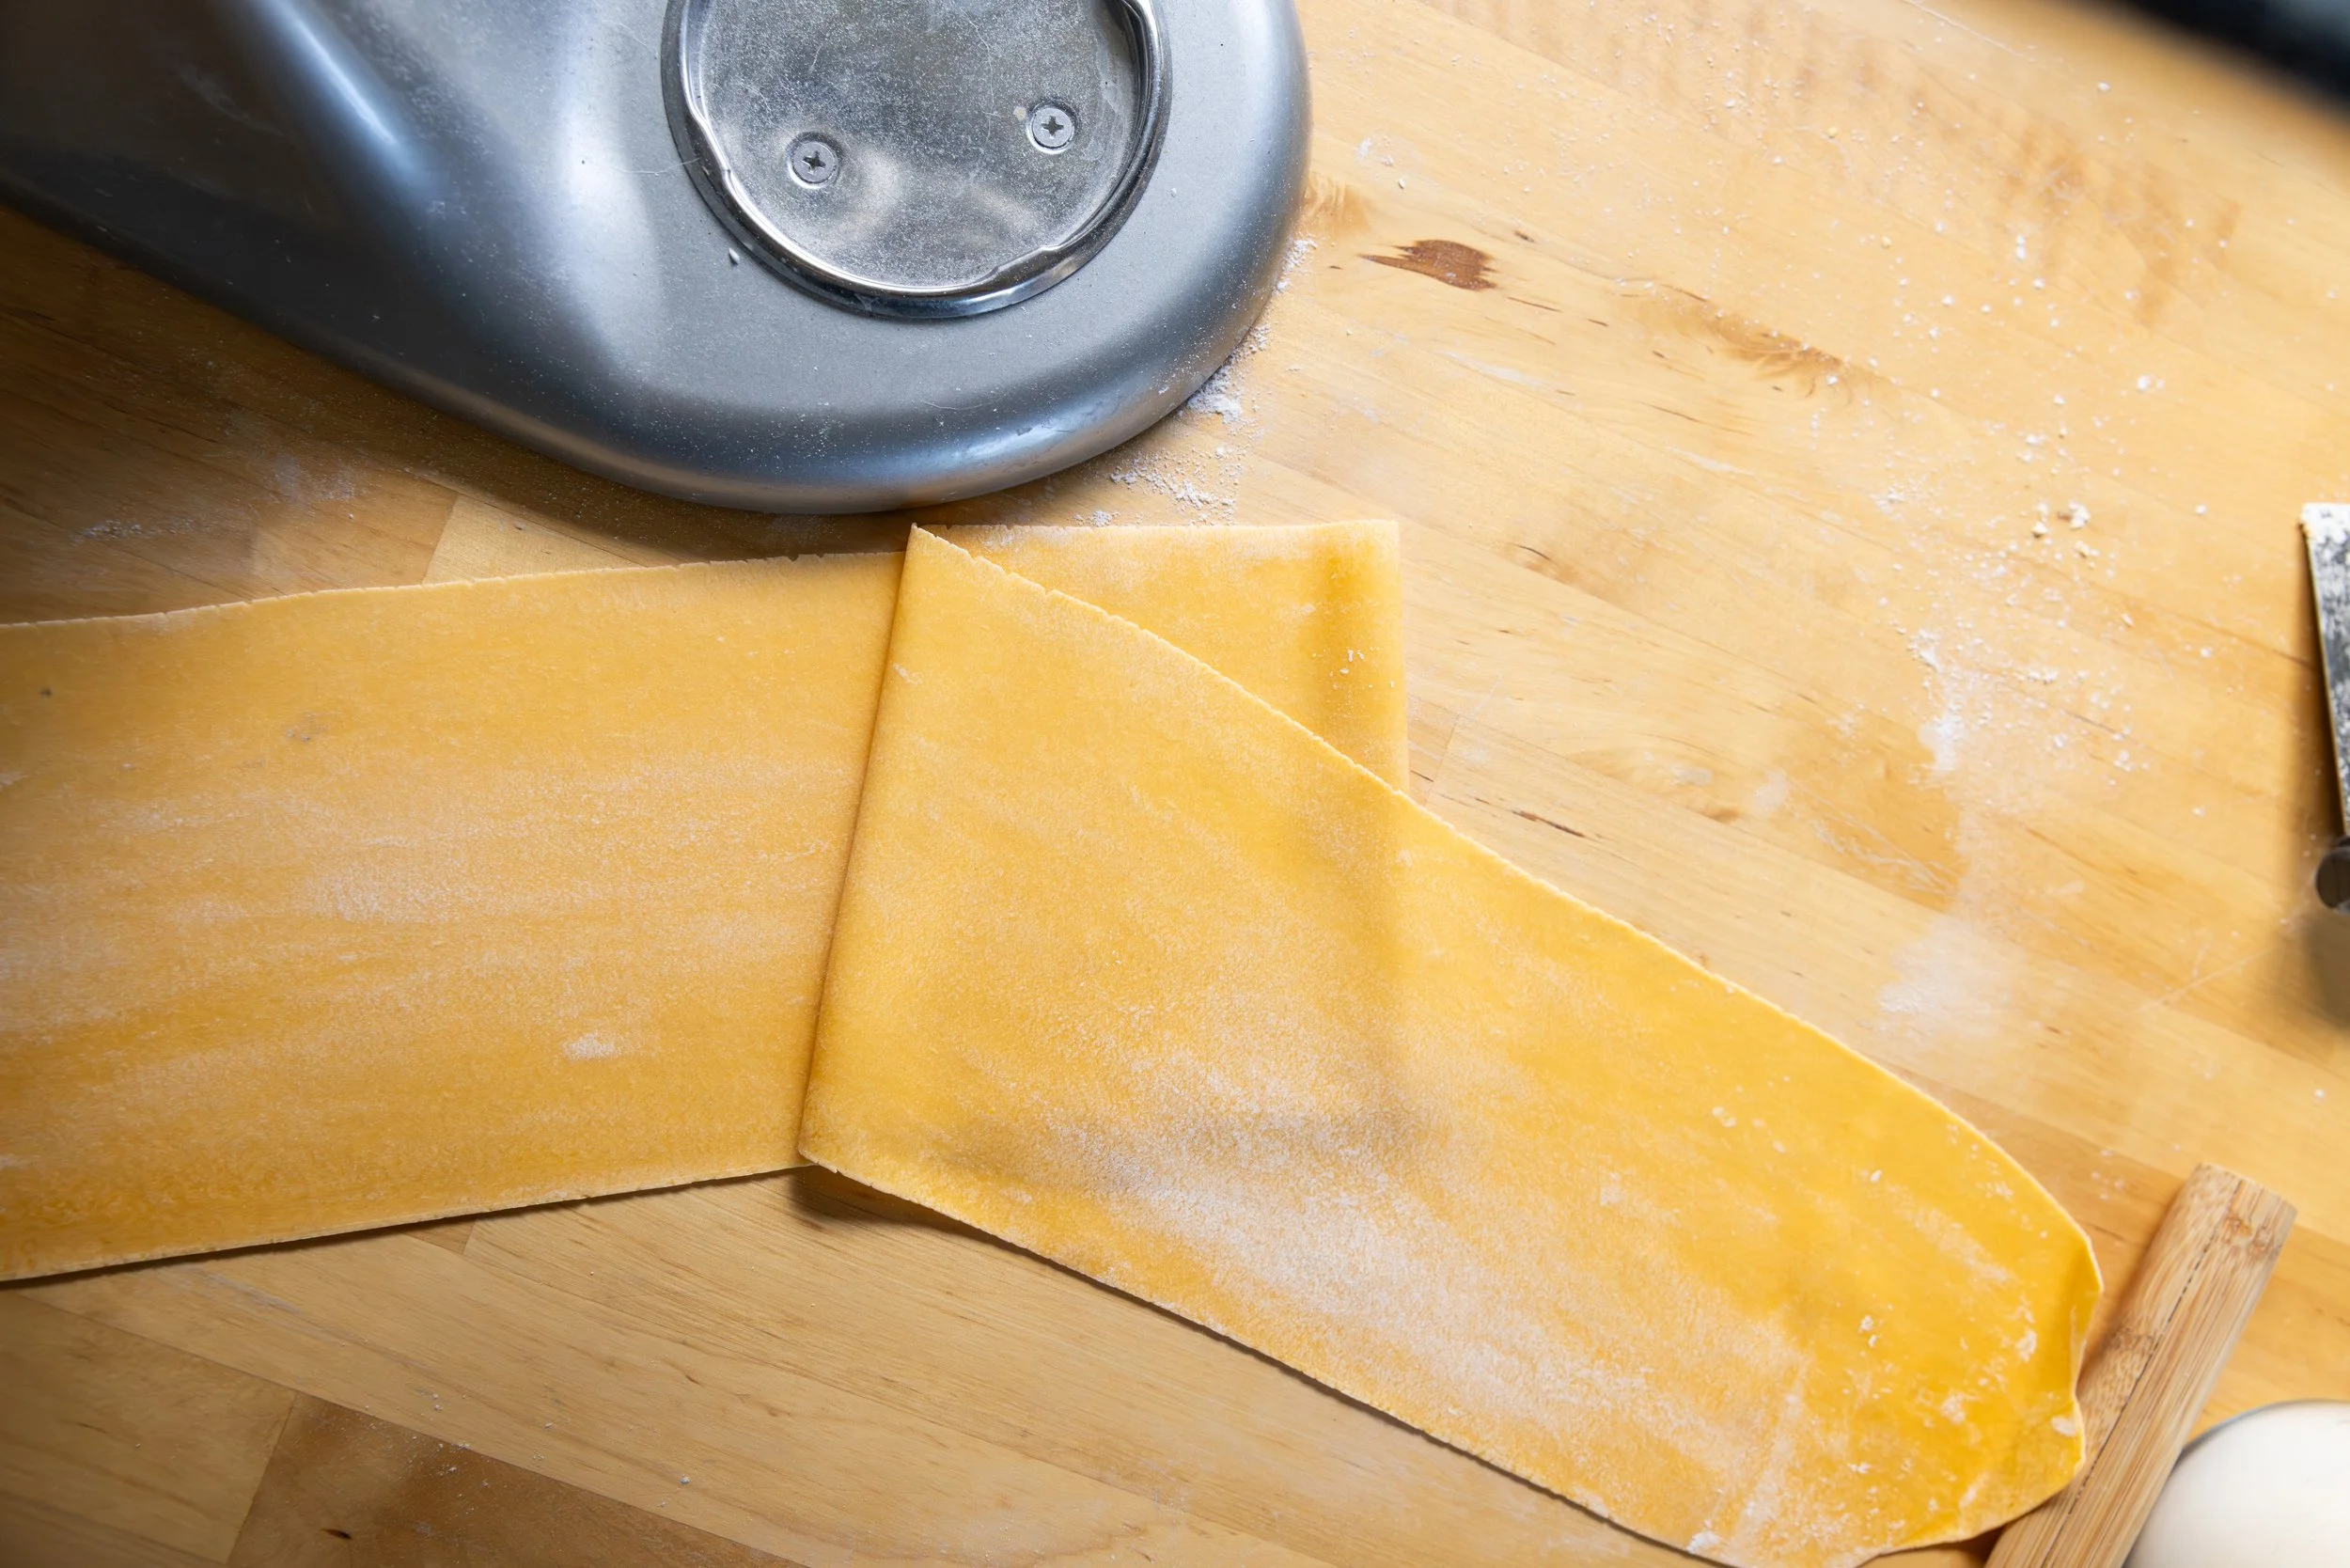
On the floured surface begin to roll the dough into a rectangle, then fold together like an envelope (if you are using a machine you can begin to pass it though). After laminating it a few times, start to roll it (either physically, or on smaller and smaller settings on your pasta maker) until about the second last setting. Continue to thoroughly dust it with flour as needed. 

This amount of dough should make enough for two sheets – you may need to cut it in half as you’re rolling depending on the size of your workspace. 

You'll want two evenly sized and shaped rectangles of dough – set one to the side and flatten the other out. You’re now ready for filling. 

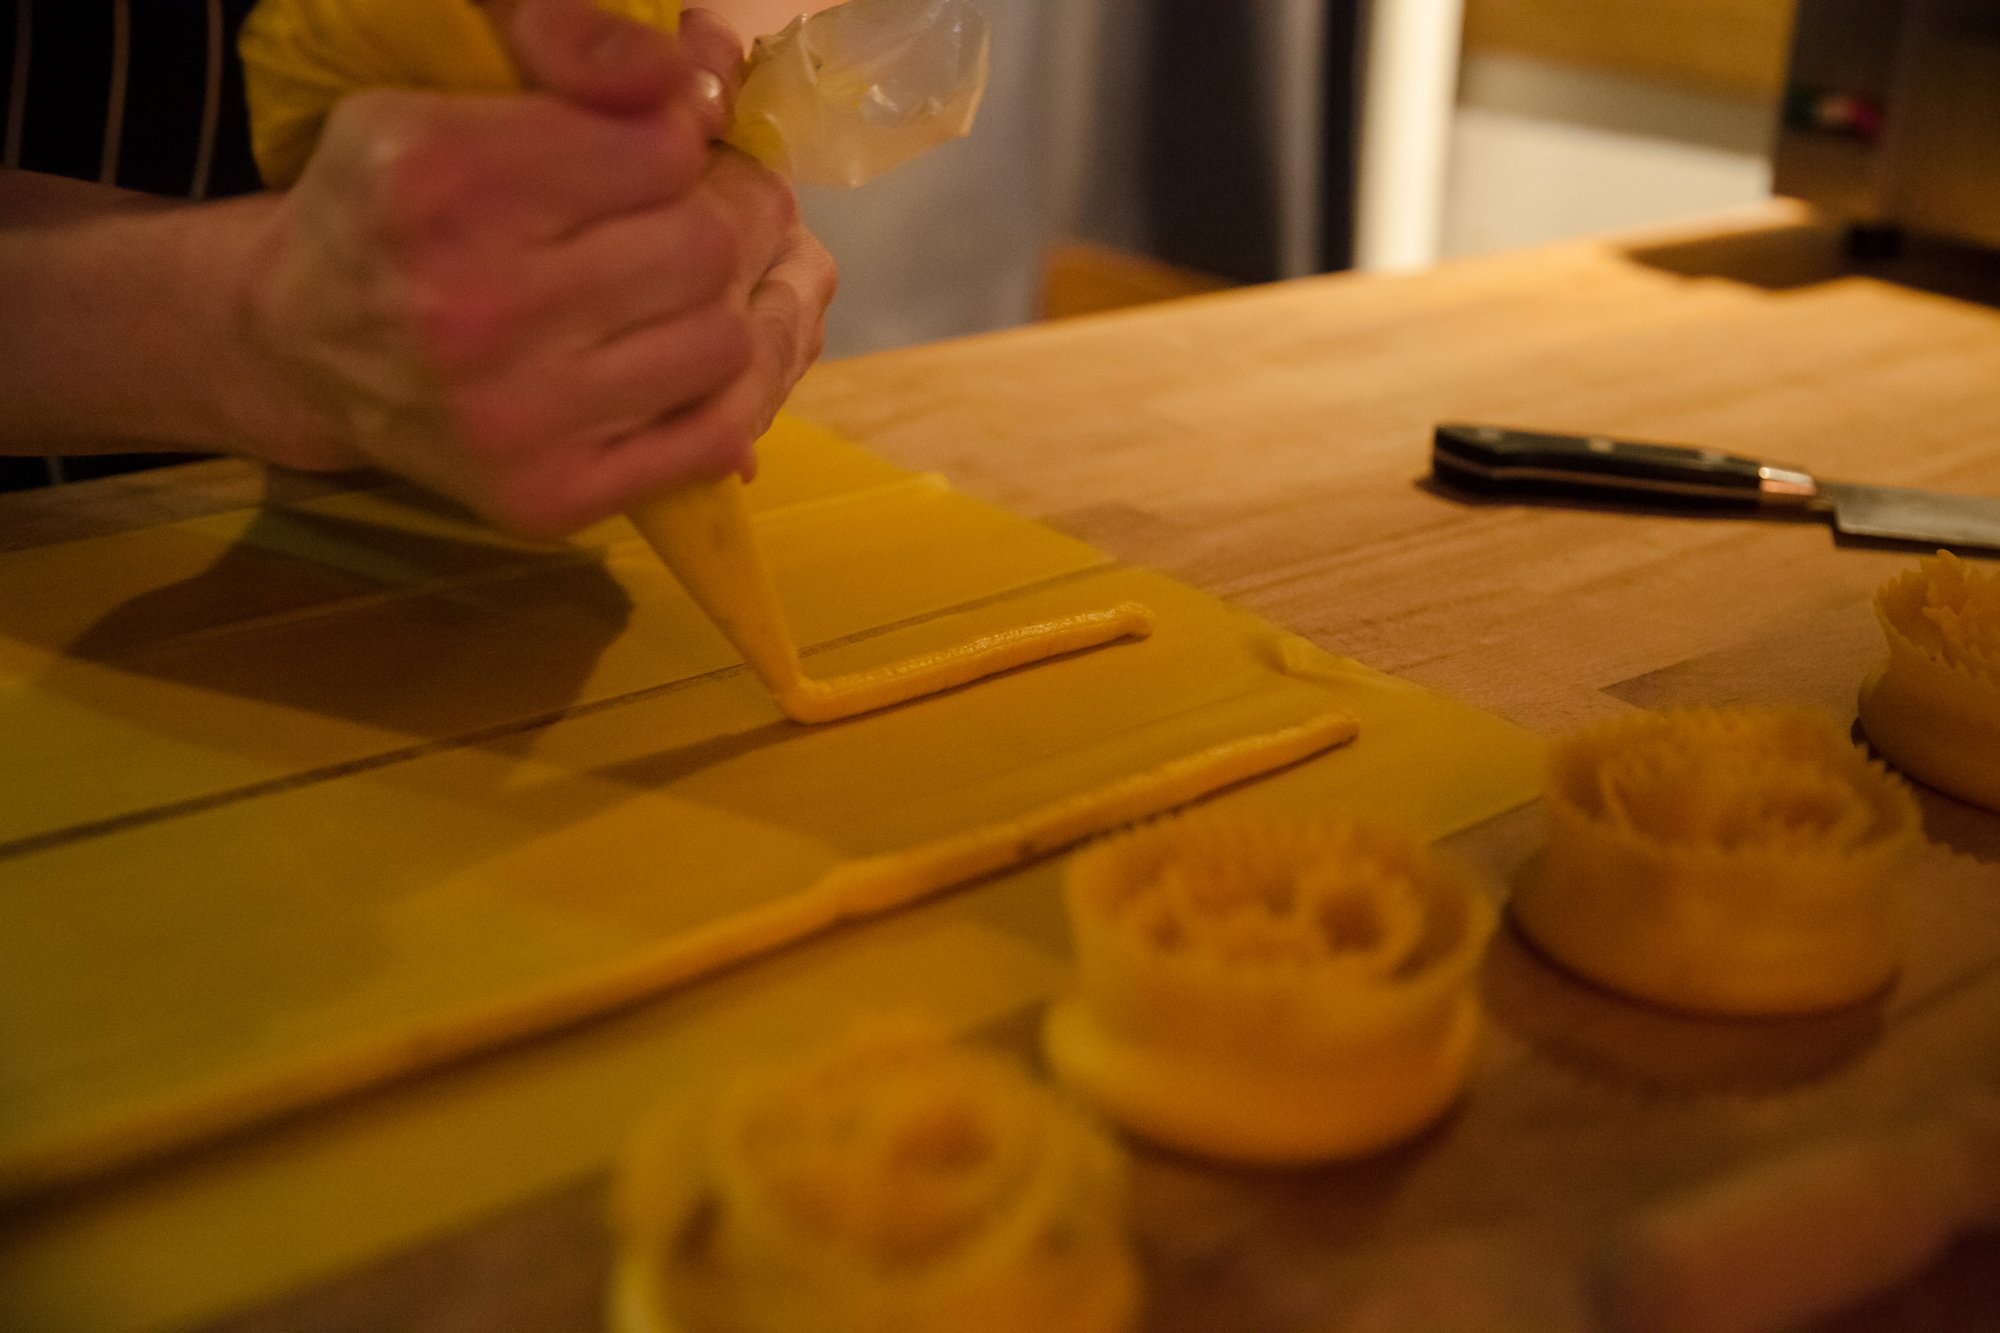
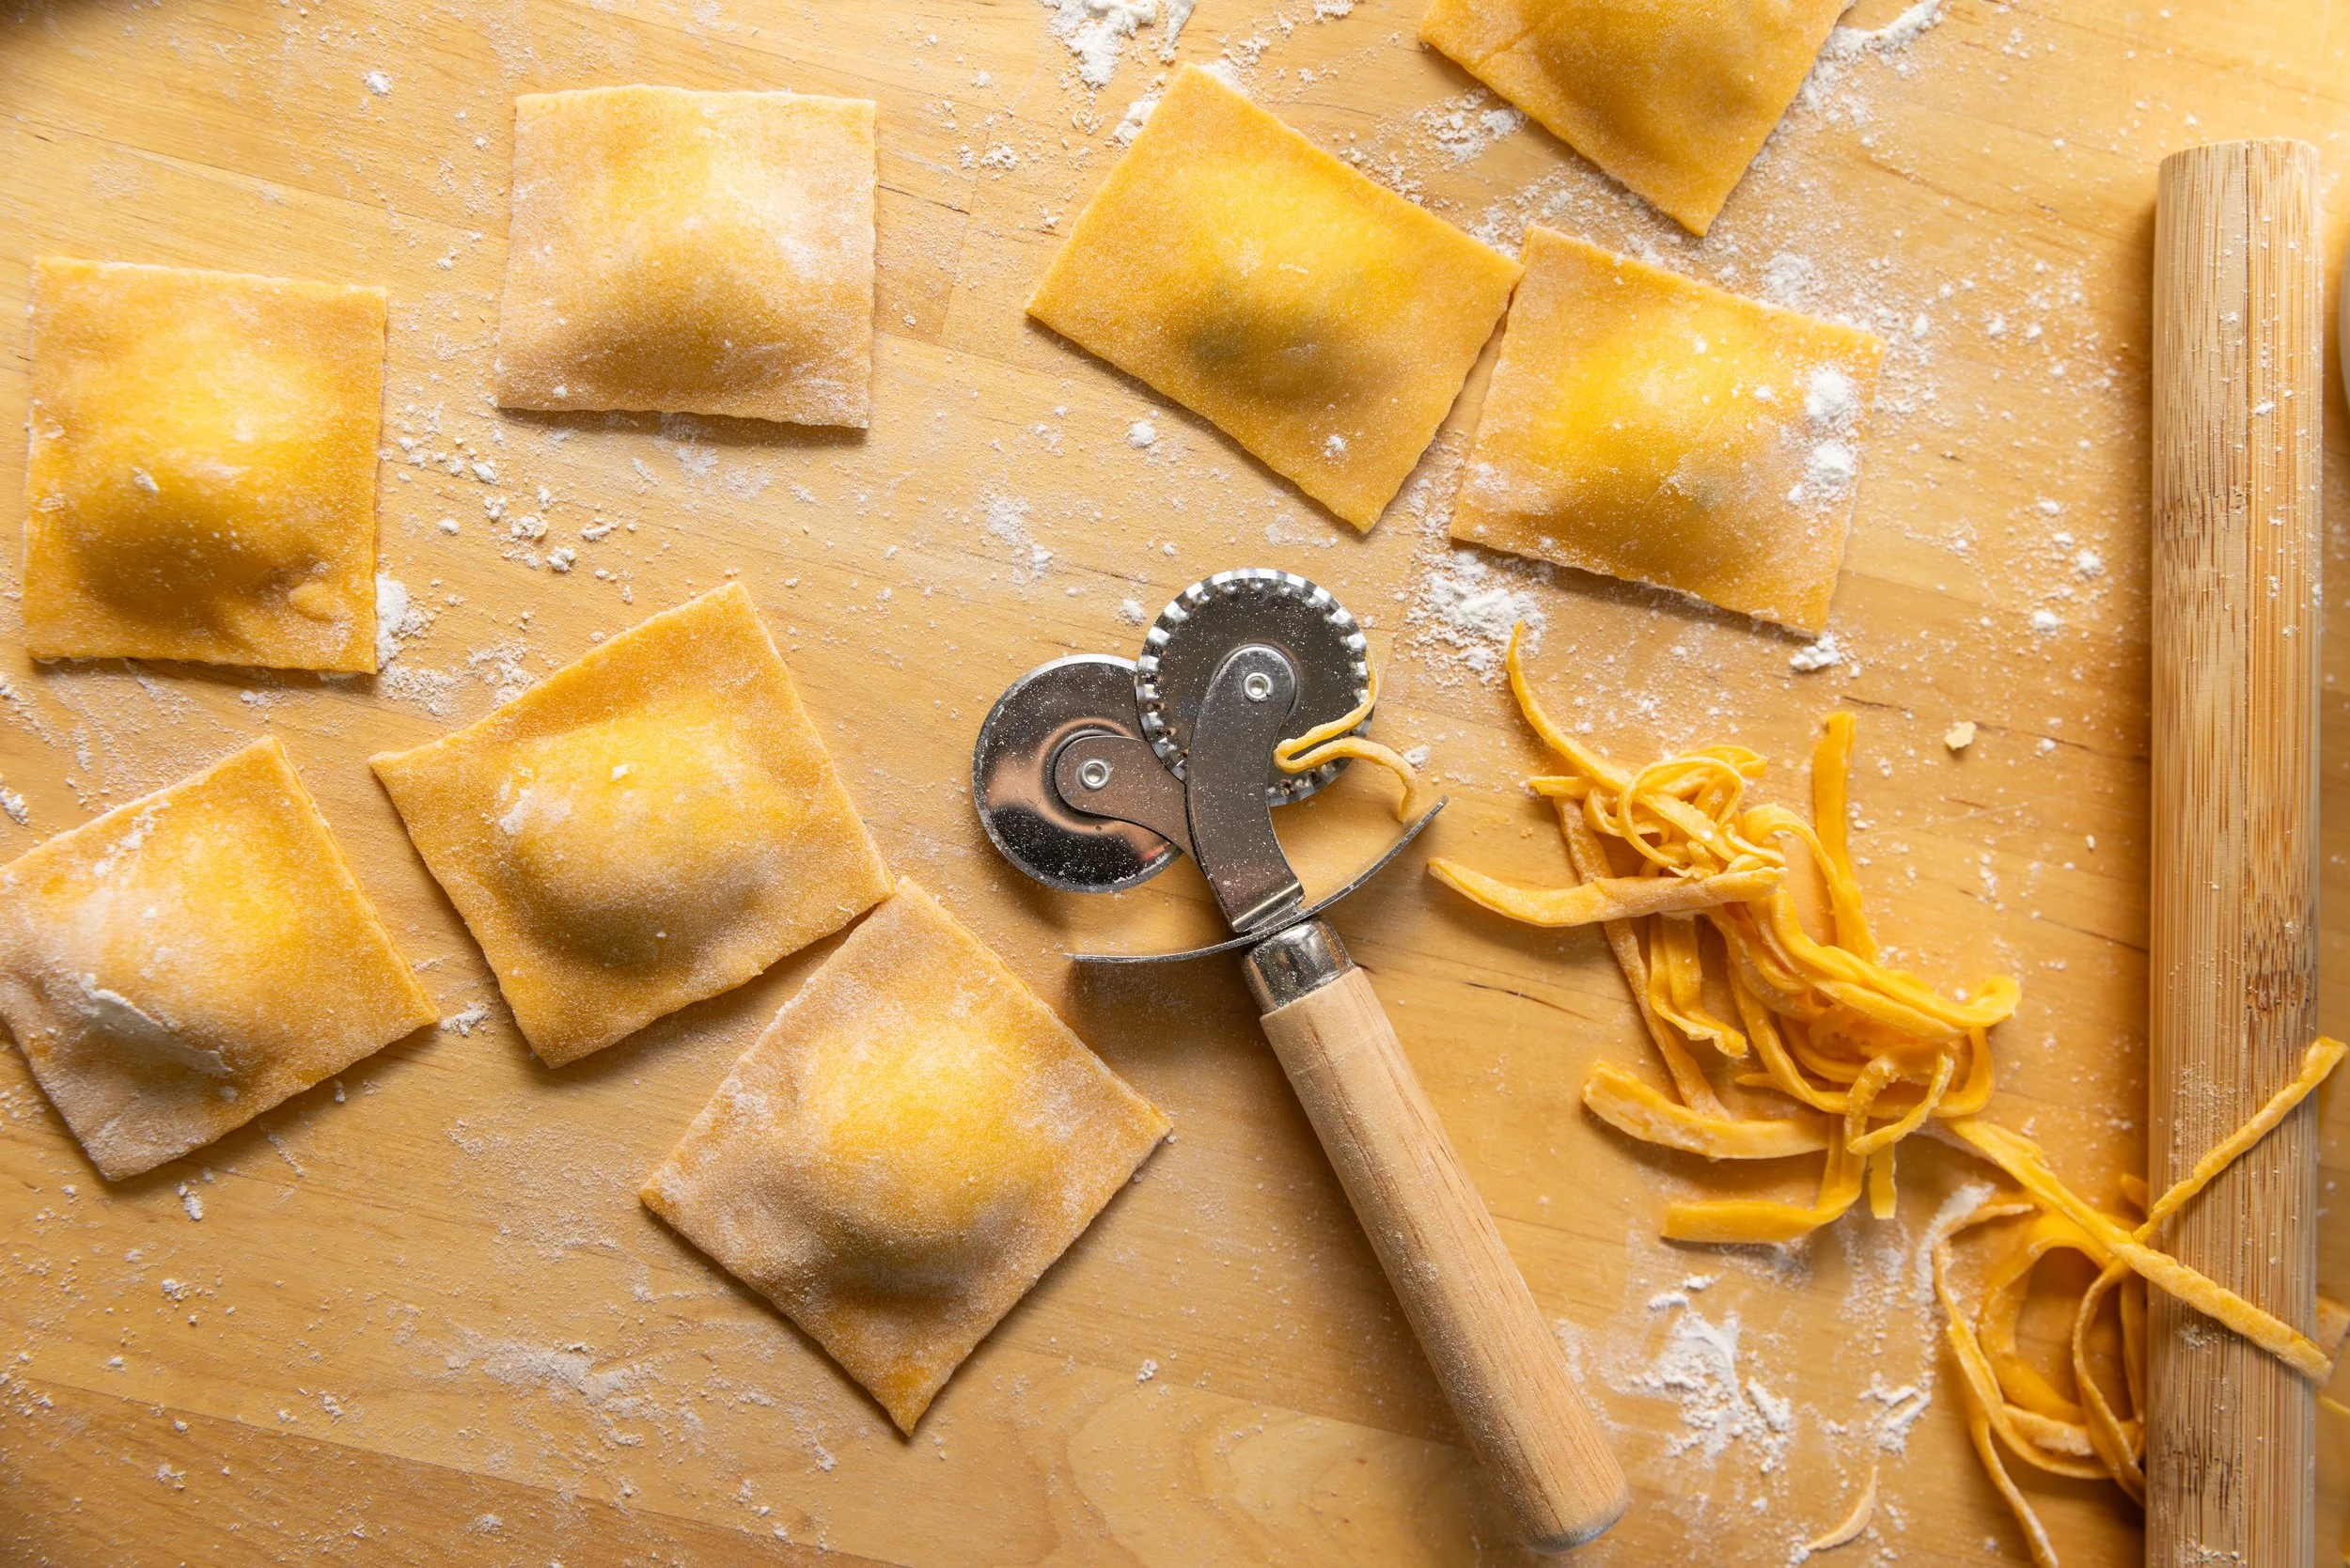
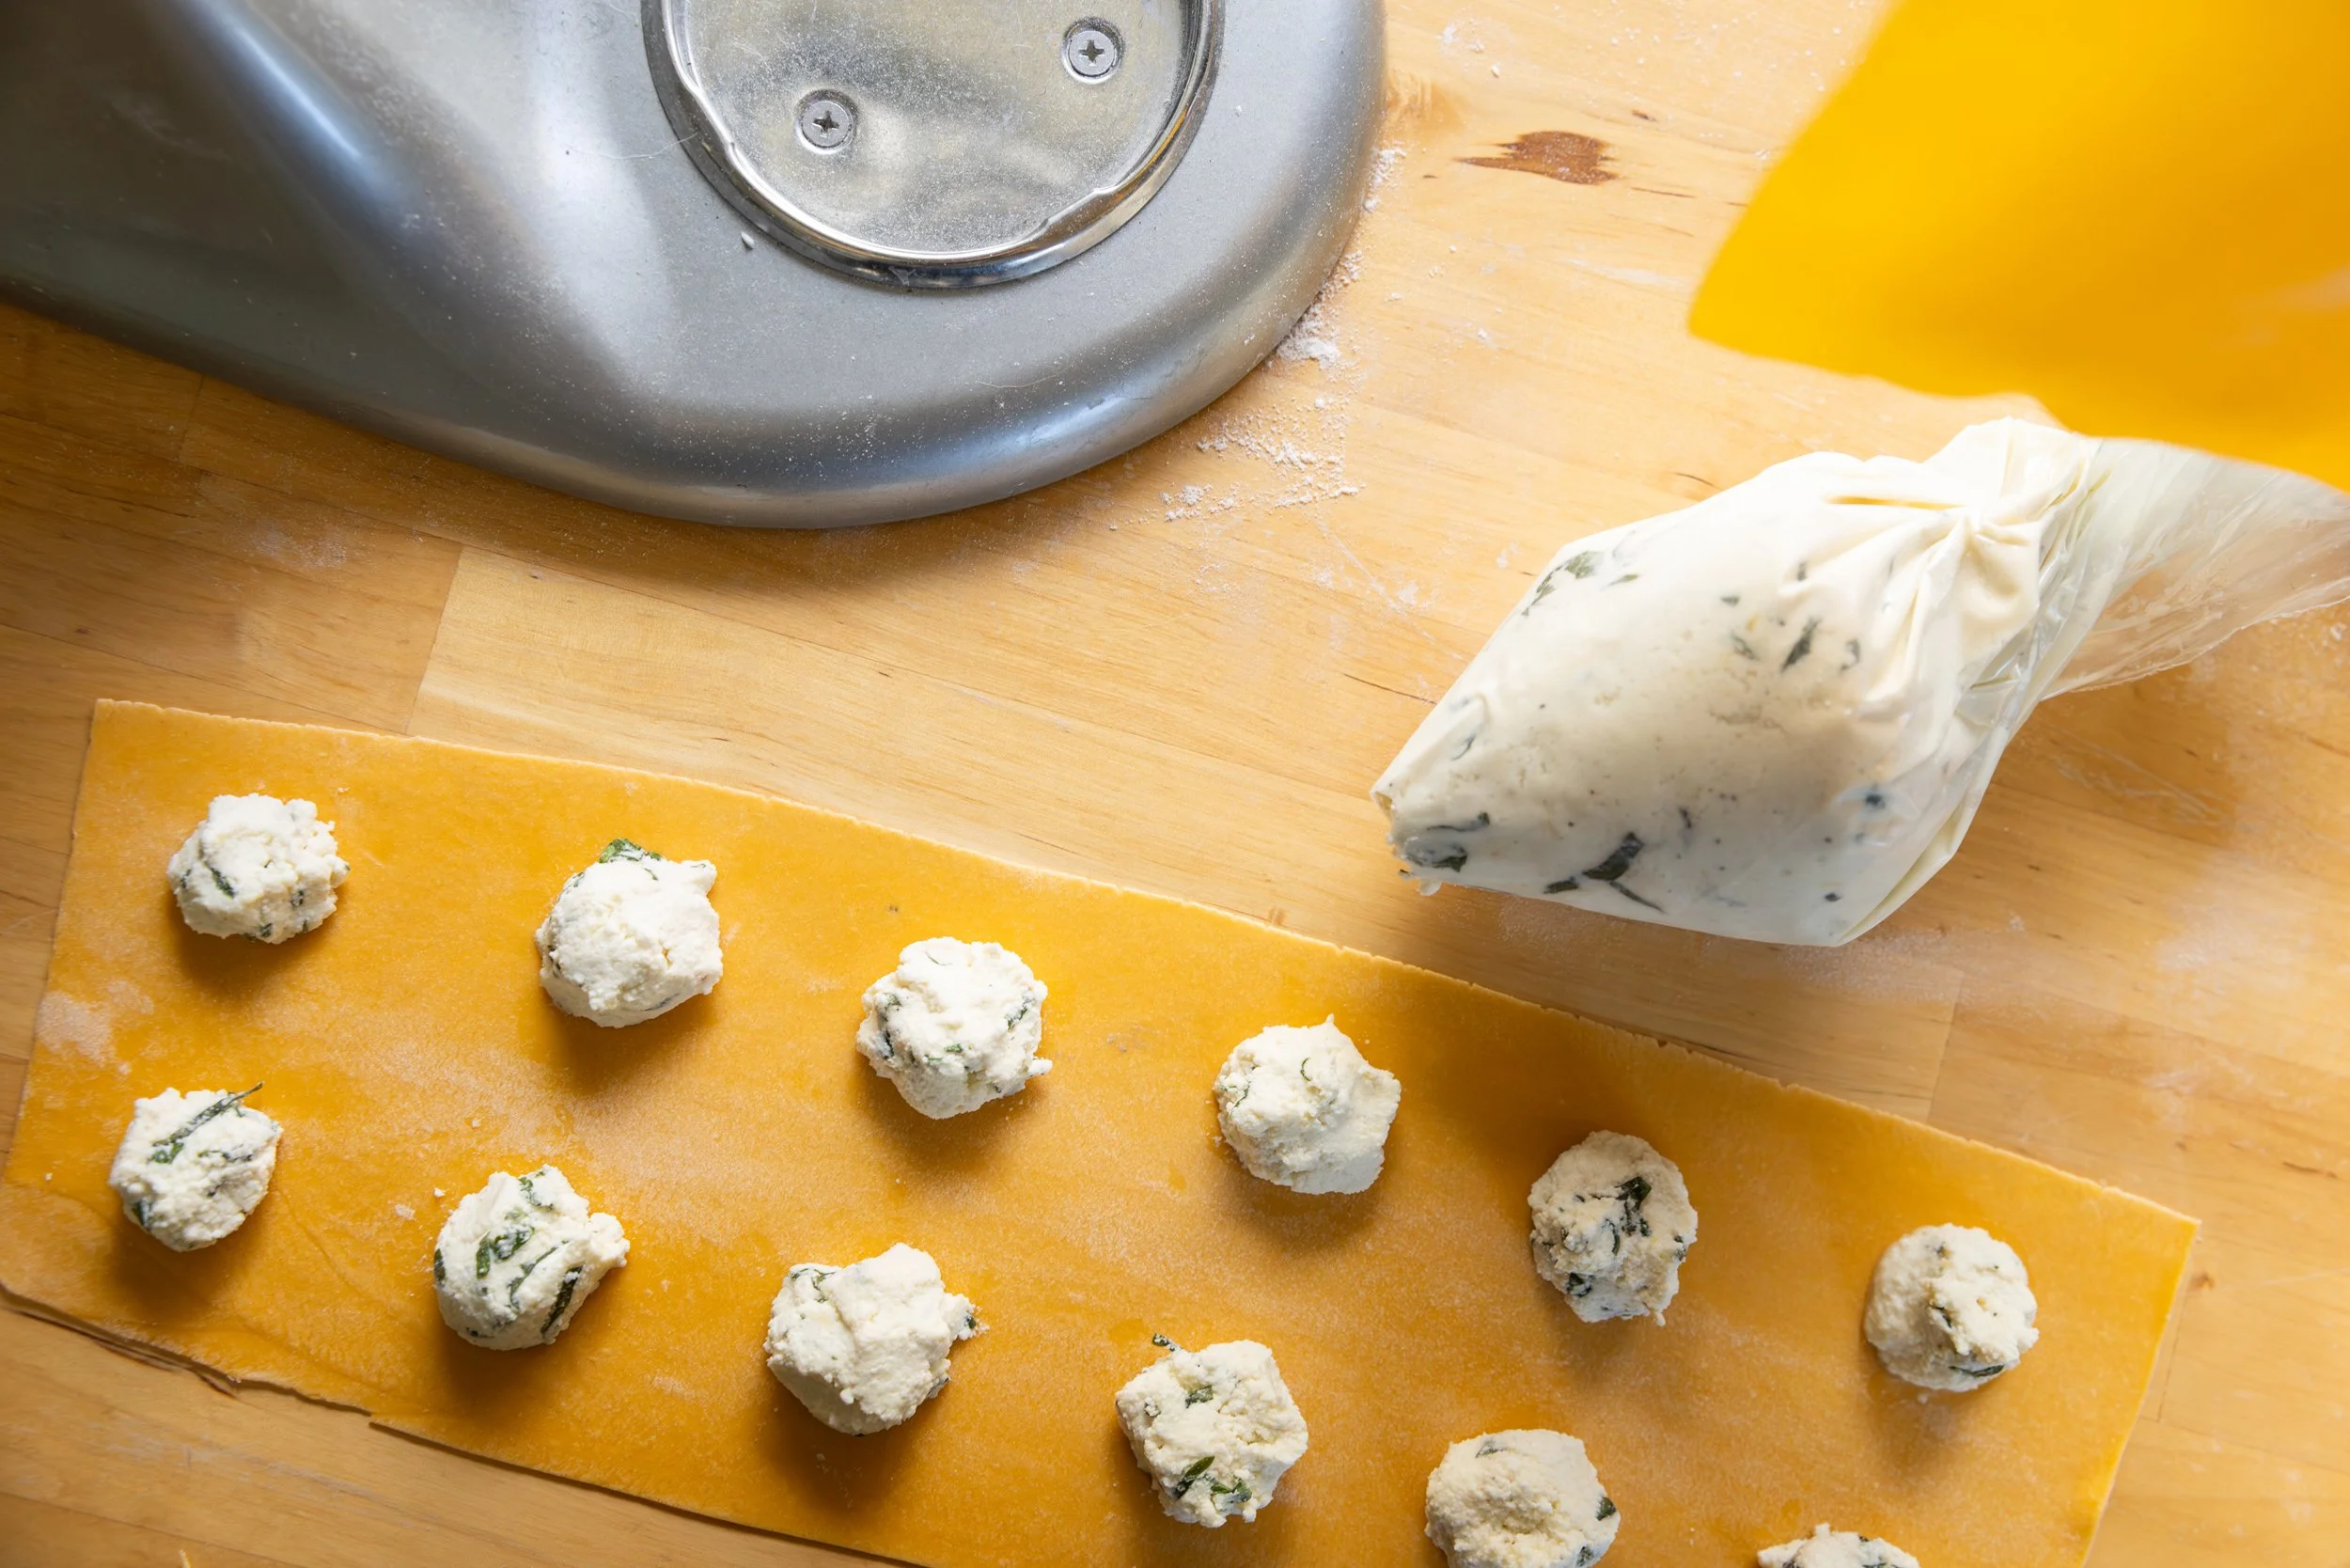
Place your filling in a piping bag (I used a Ziplock that I cut the corner of) or use a tablespoon and evenly place the filling across the pasta sheet, leaving enough space around it for cutting. 

Grab a small bowl and add some water to it – this is going to help you seal the sheets together. Either with your finger, or with a pastry brush, lightly water around each dollop of filling. 
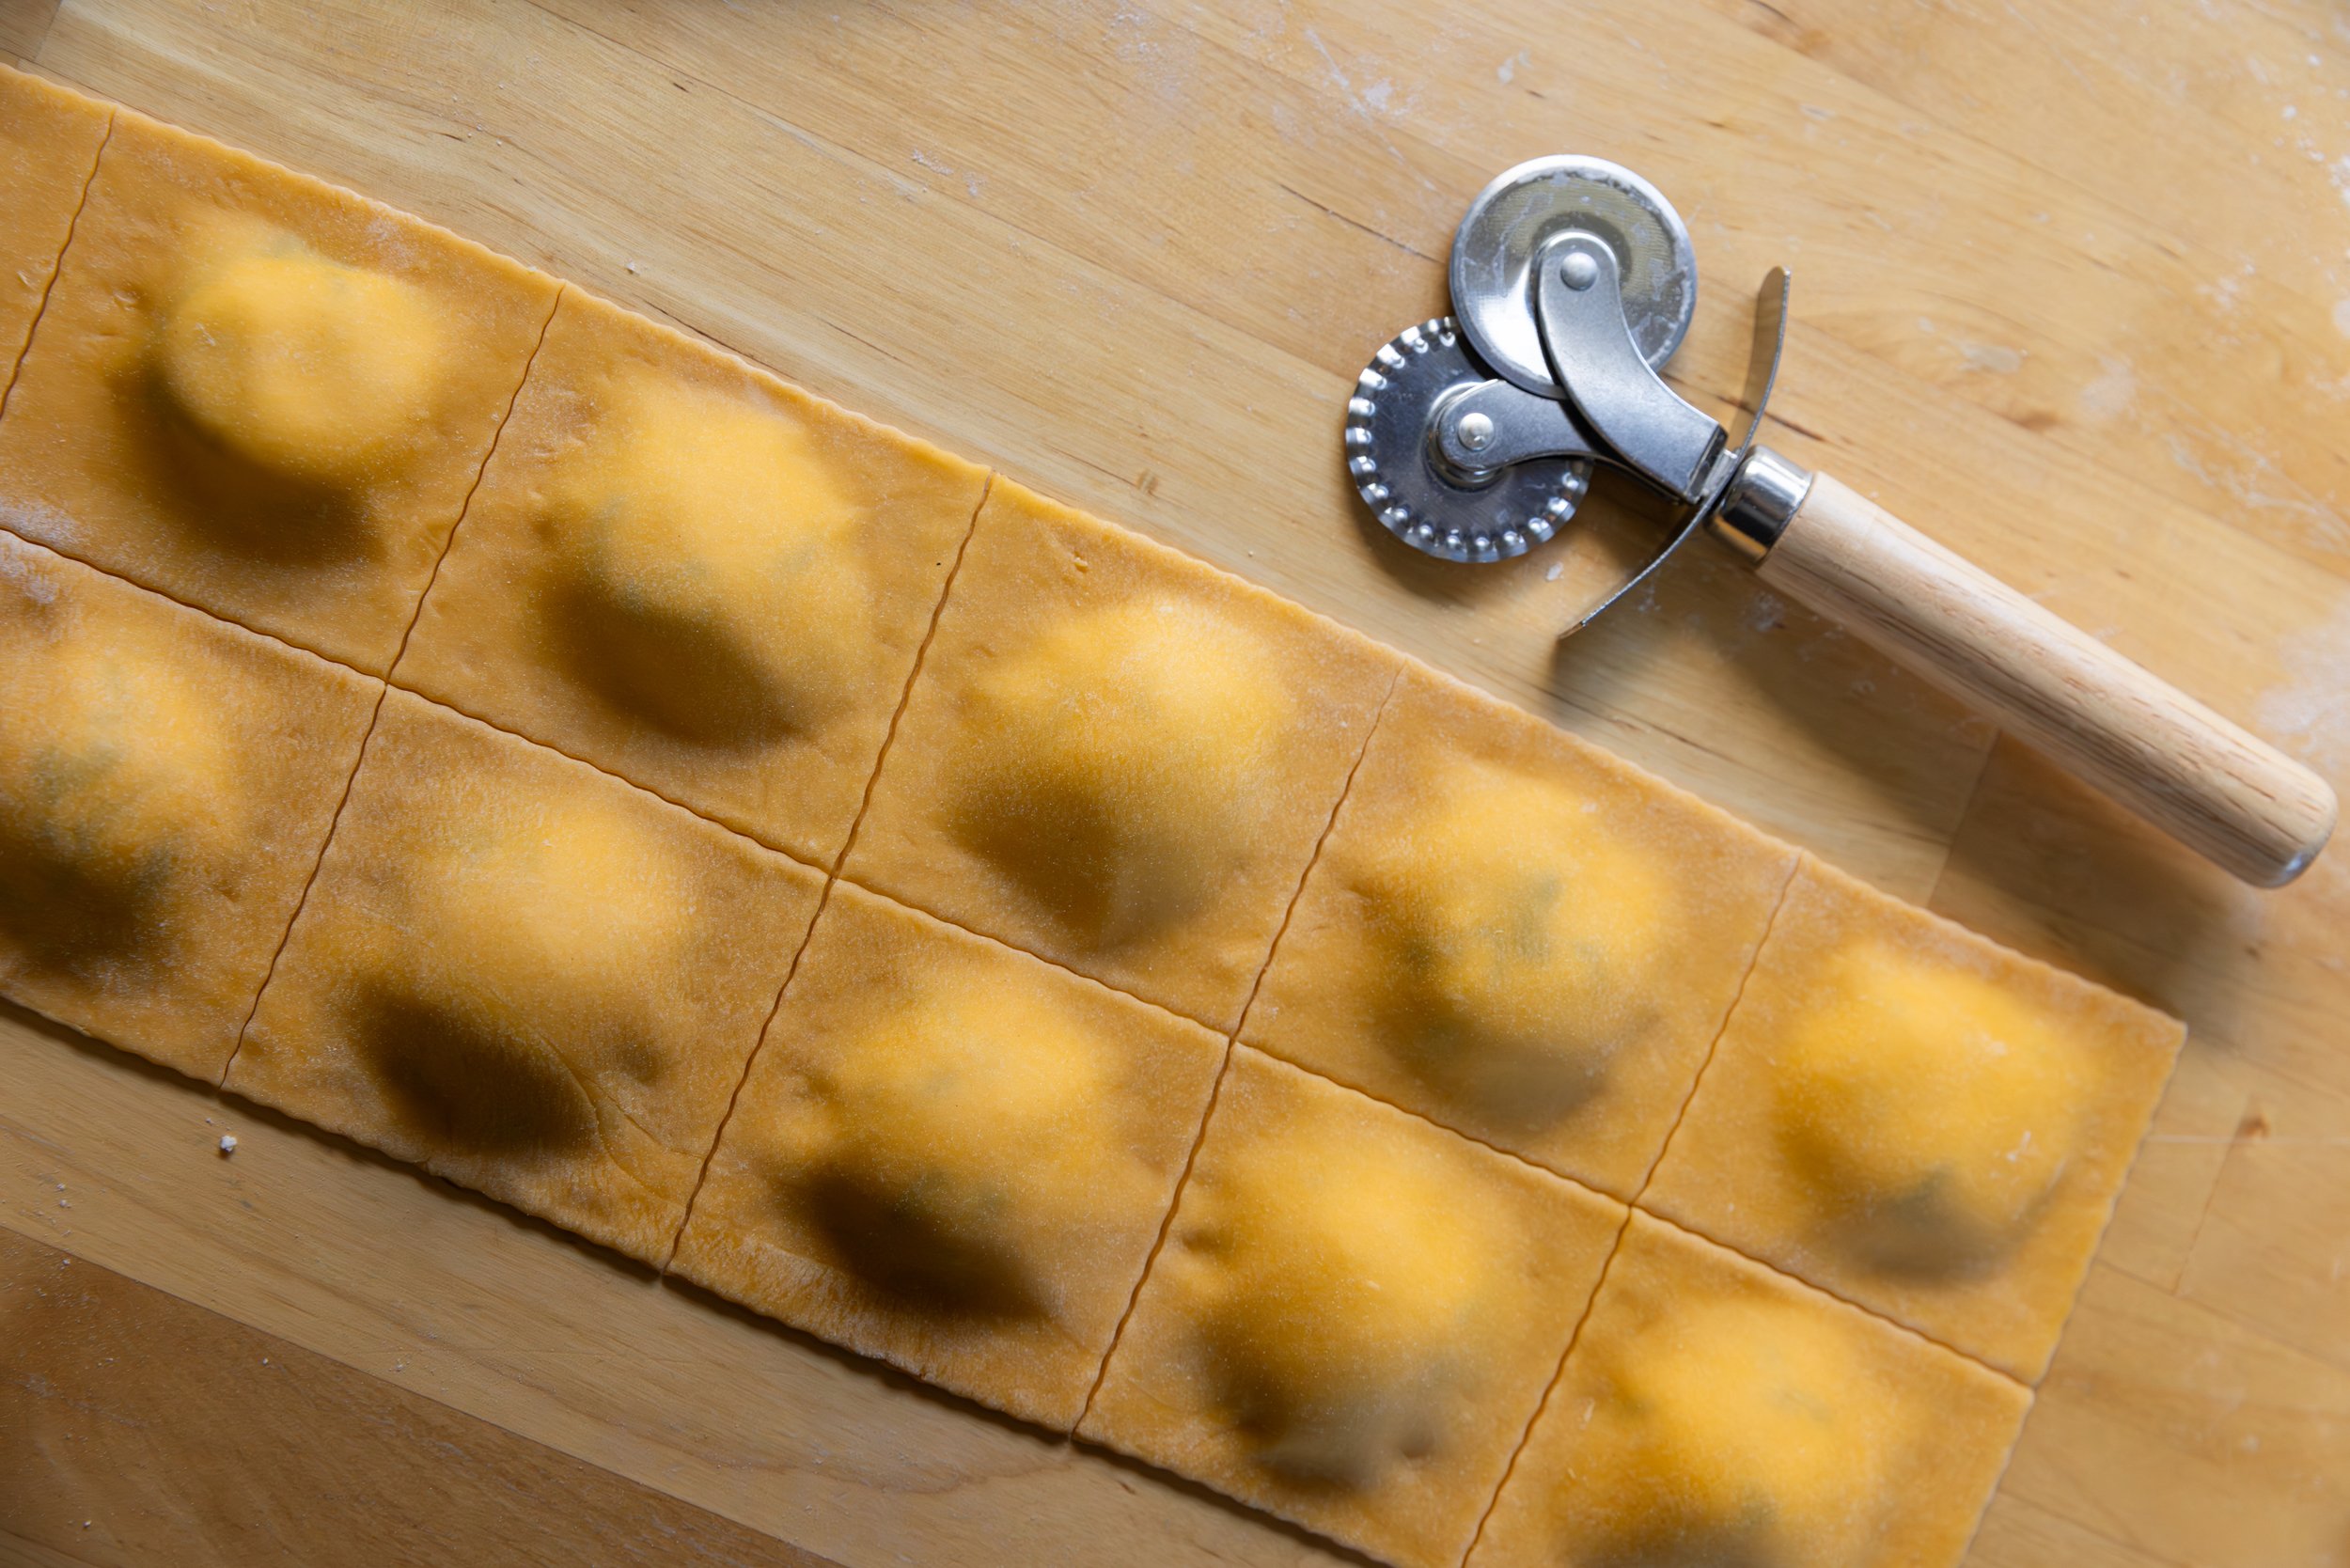
Once it is wet, you can gently place the second sheet over top of the first. Use your fingers to work the dough over the filling and seal the two sheets together as you go, doing your best to avoid air bubbles. 

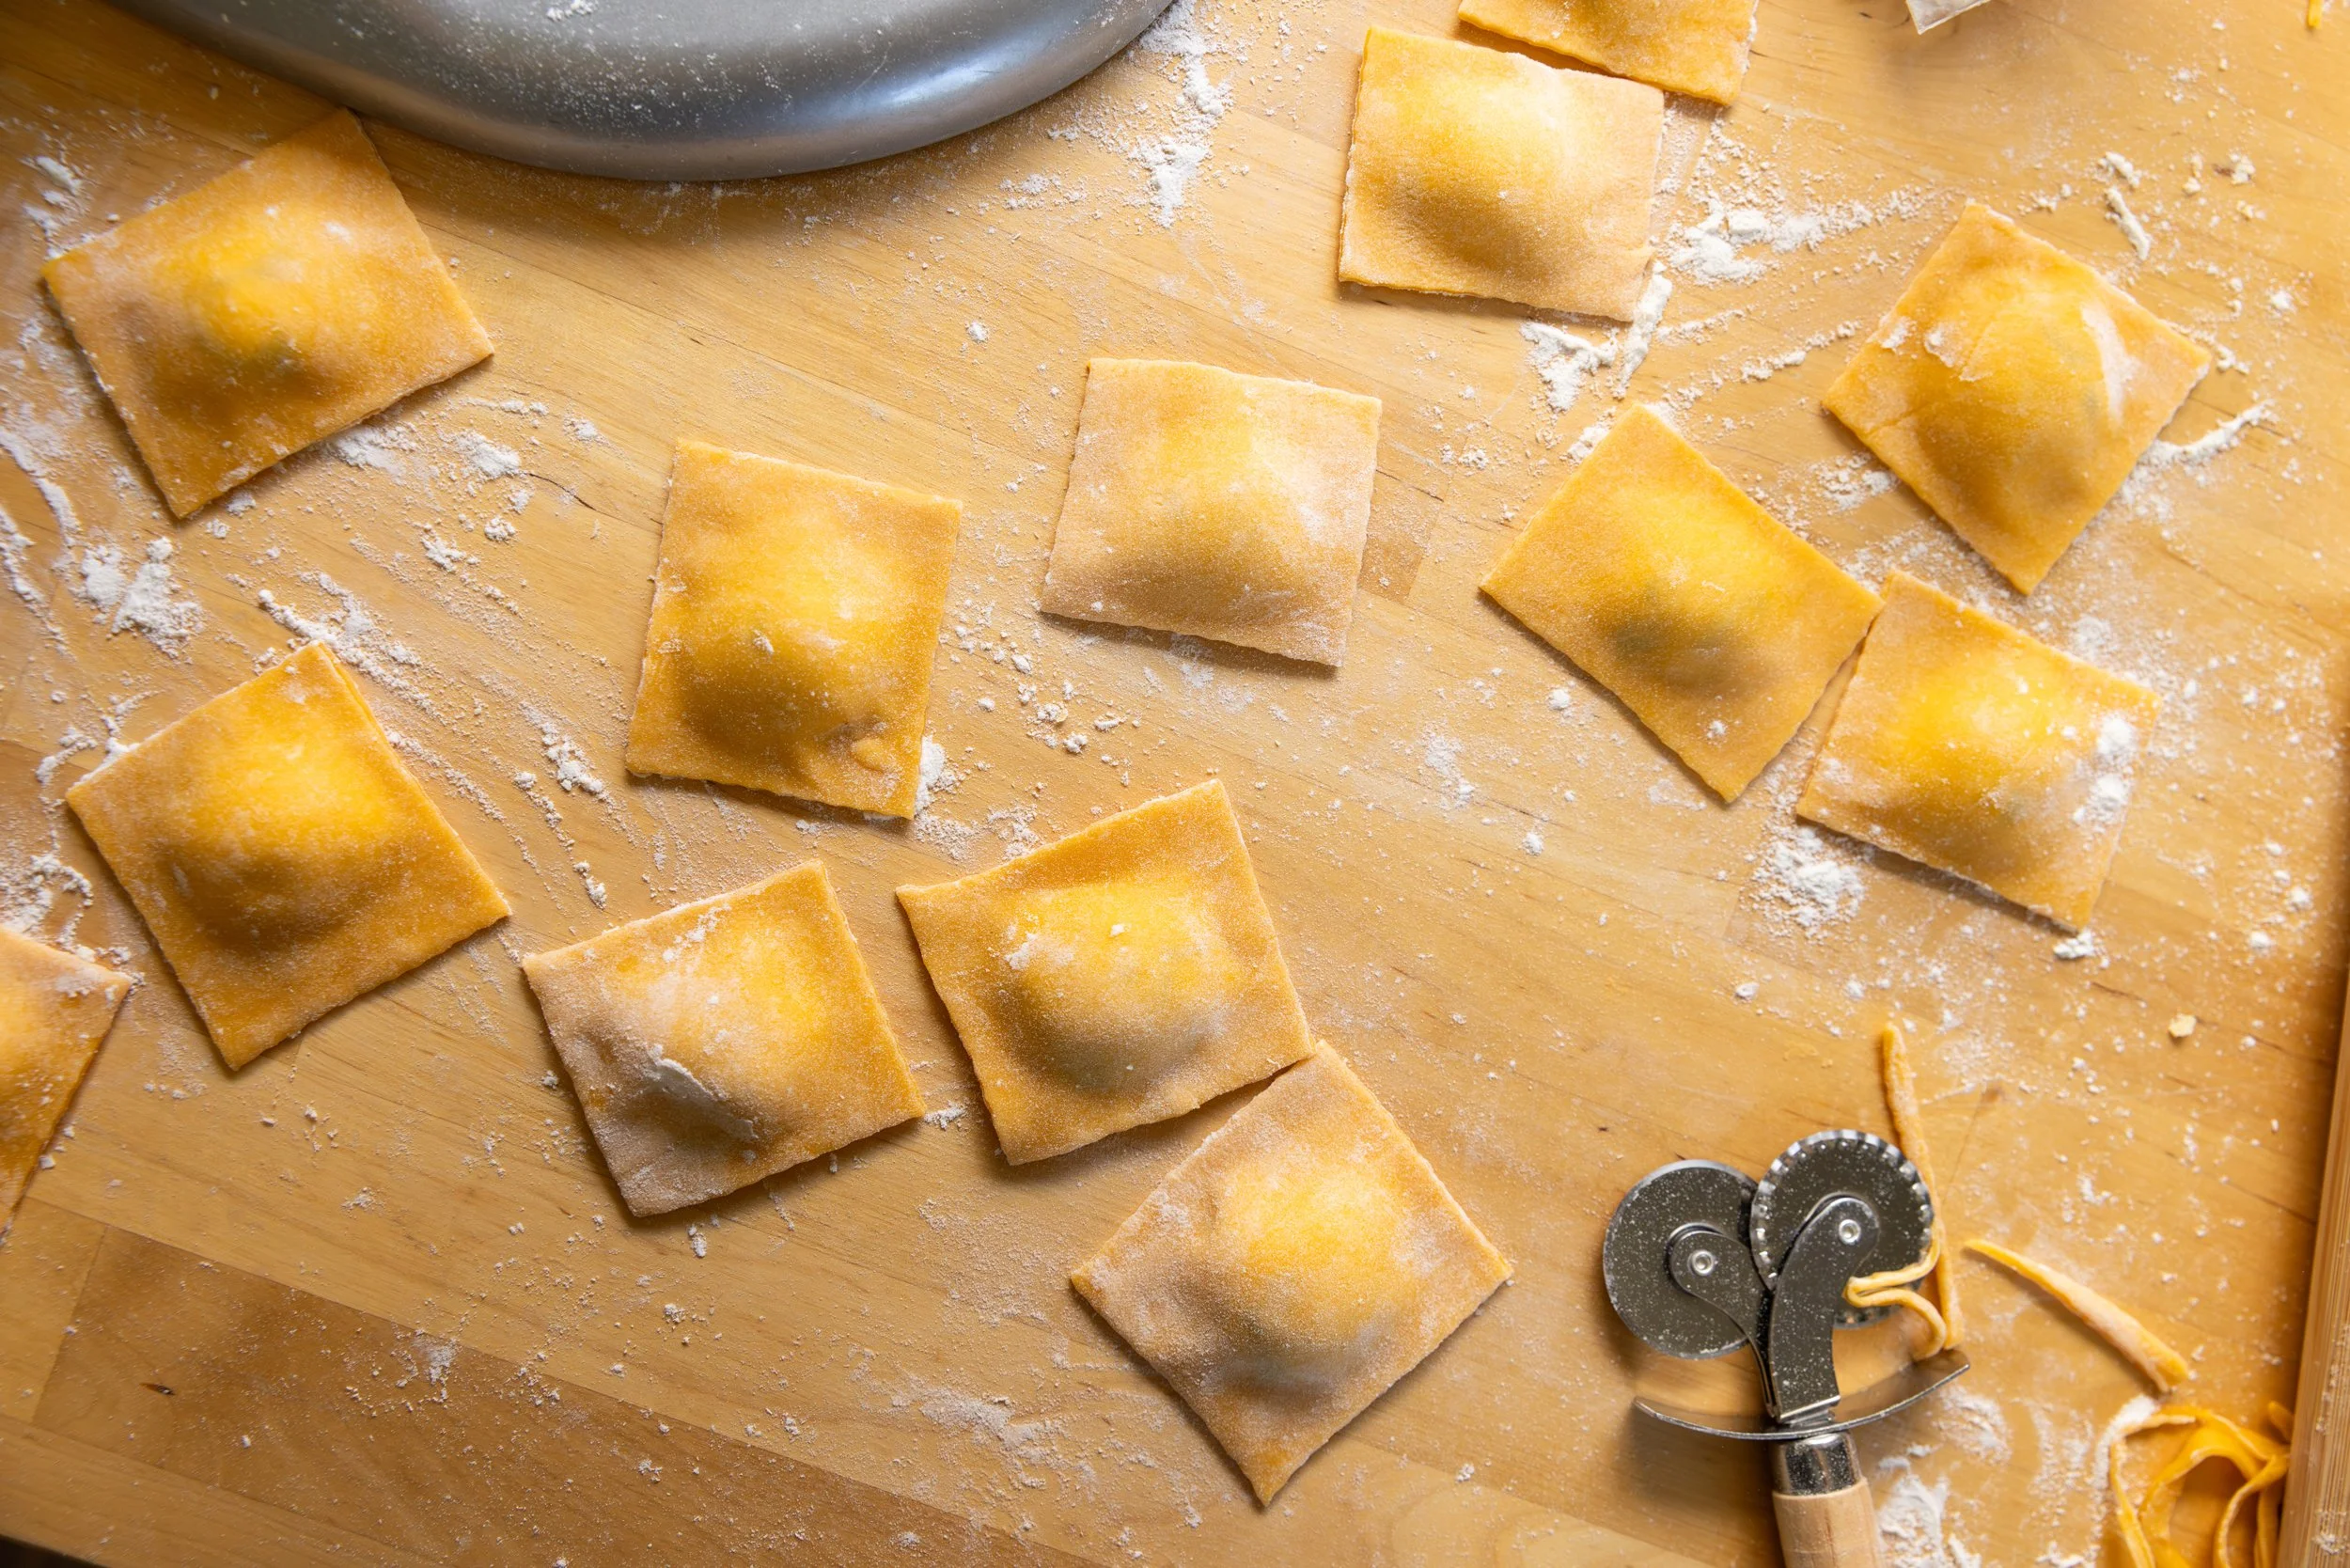
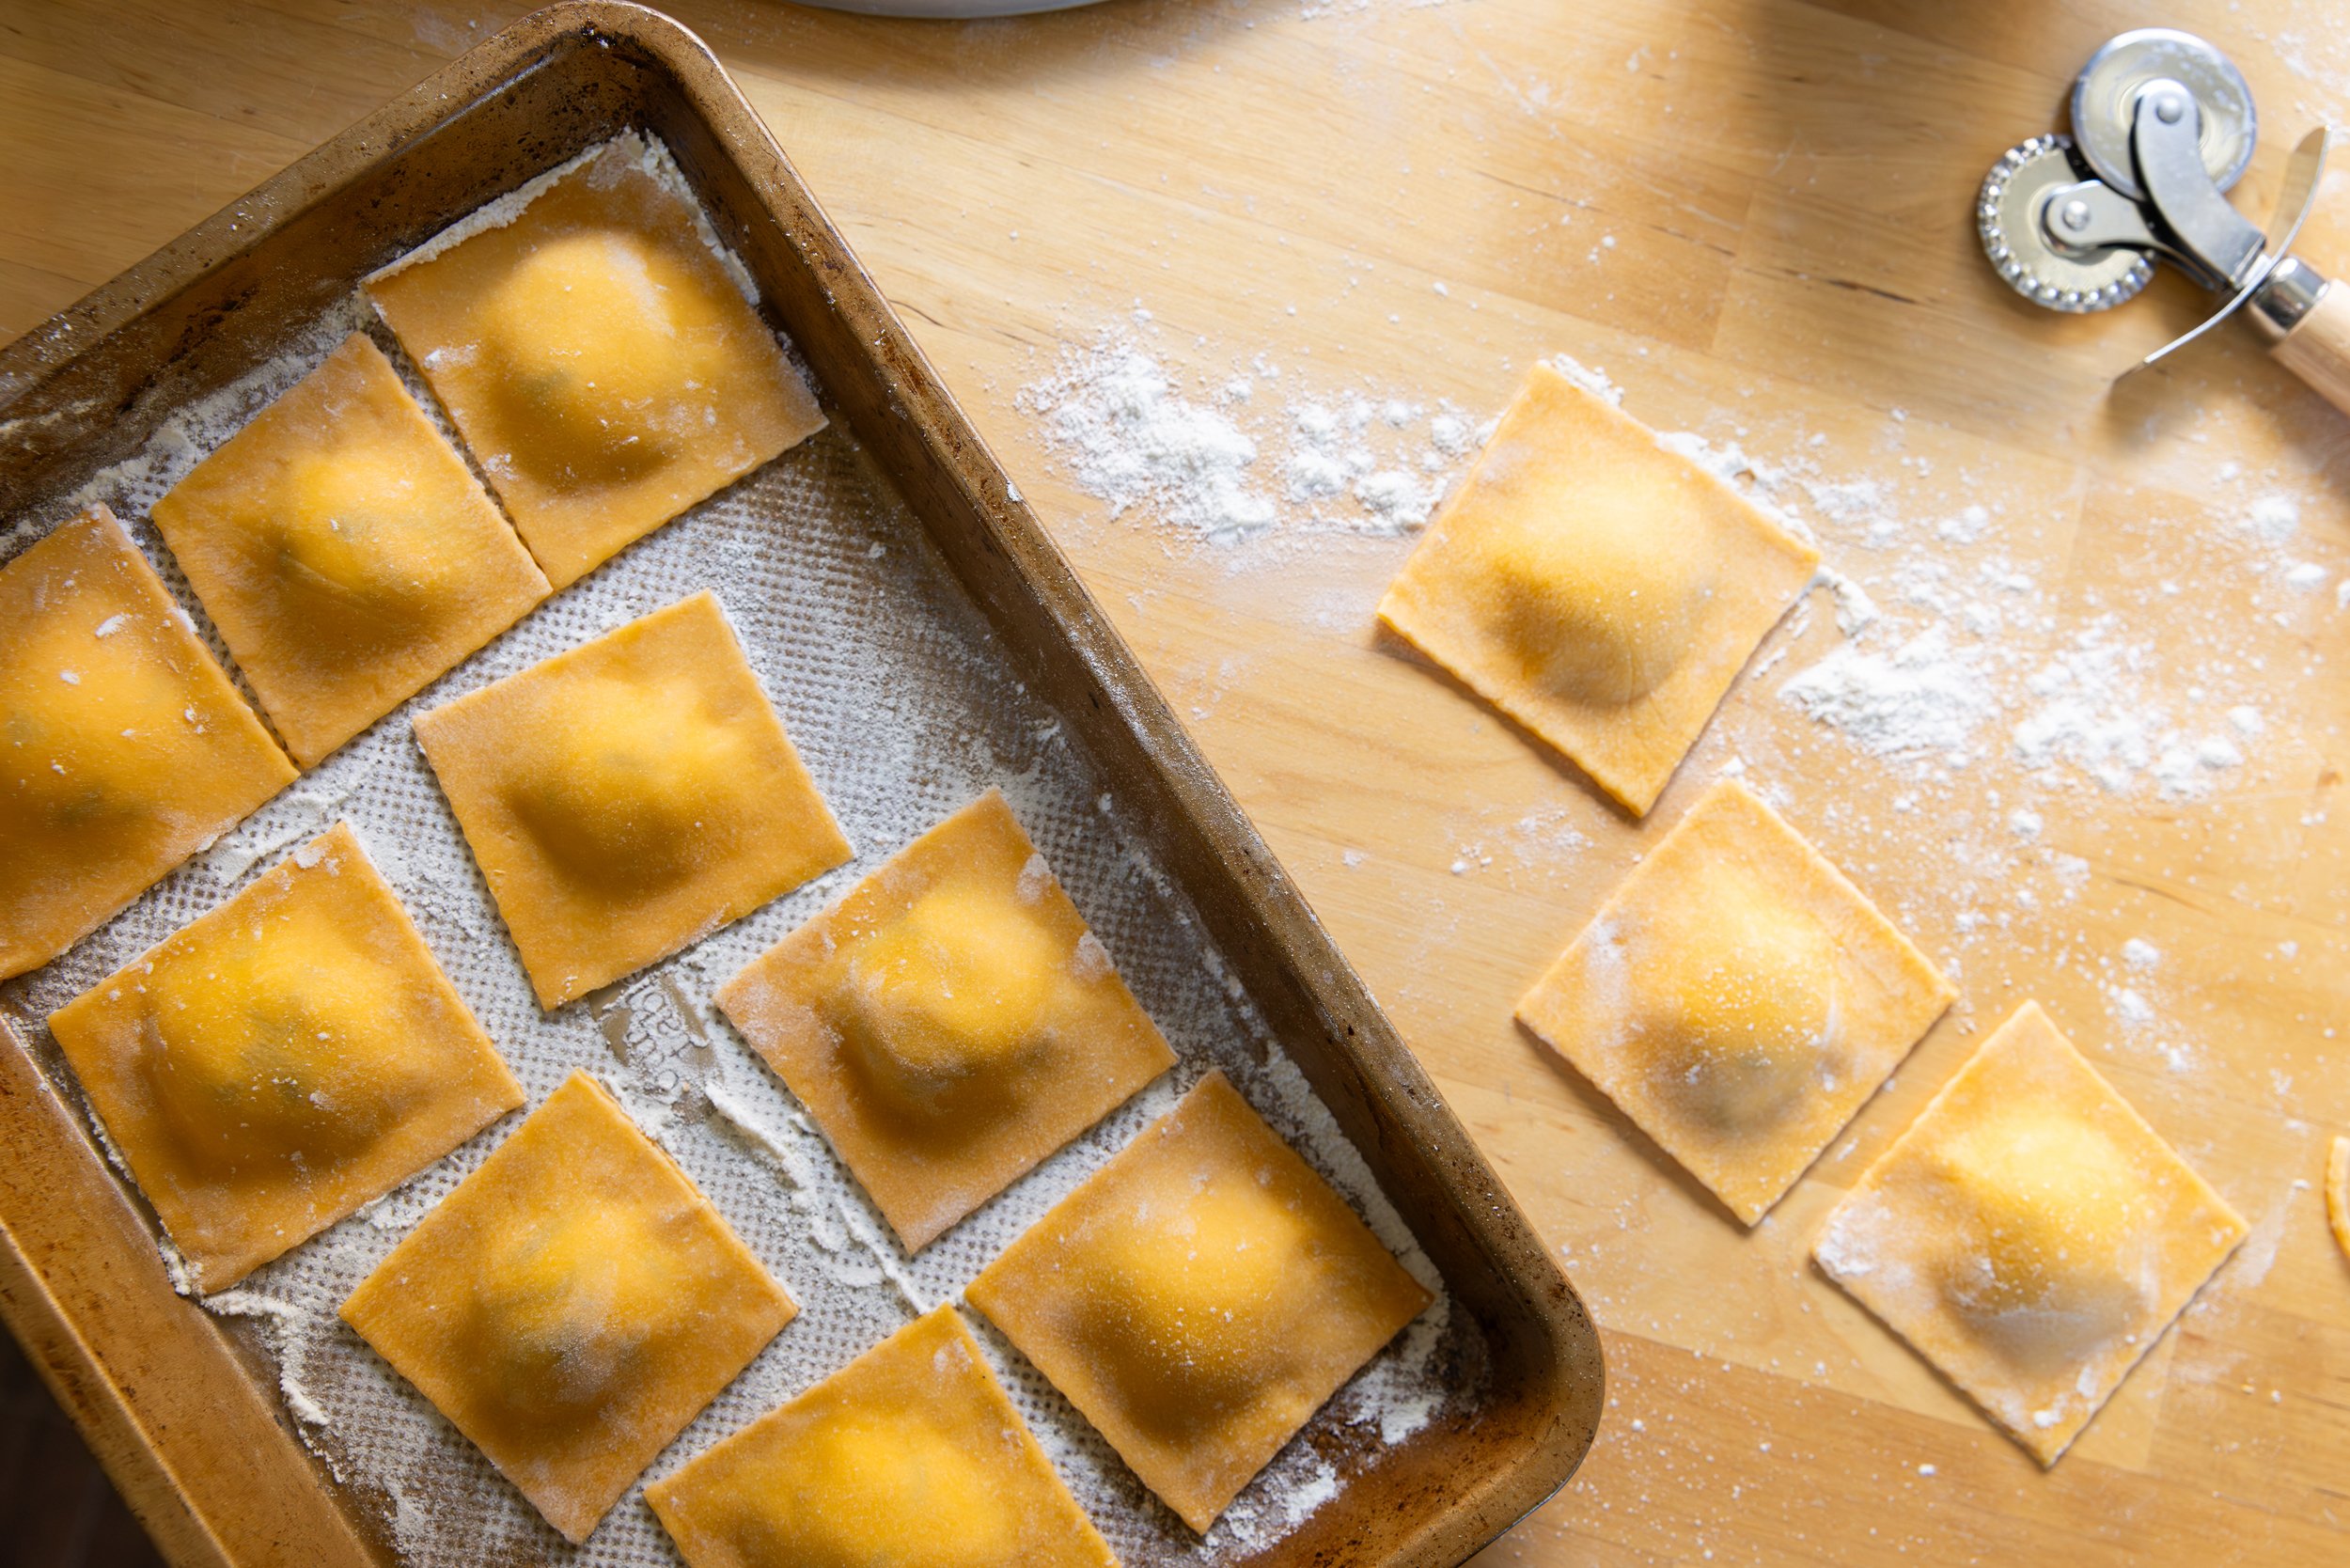
Sprinkle with a bit more flour and then using your ravioli crimper (or a sharp knife) trim off any excess pieces you need to. After that you can cut the pasta into evenly sized raviolis! 

If you’re not using immediately, place the ravioli on a floured baking sheet, cover and place in the fridge. You can also put them (uncovered) in the freezer, if you want to make a large batch. Wait until the ravioli is frozen through and then add them to a seal freezer bag to keep for a month or two. 

Repeat the process with the remaining dough and filling. 

To cook, place in a well salted pot of boiling water – fresh pasta will only need a few minutes to cook – it might be a good idea to test with a single ravioli so you know how long yours should take. Frozen will take an extra minute or two. 

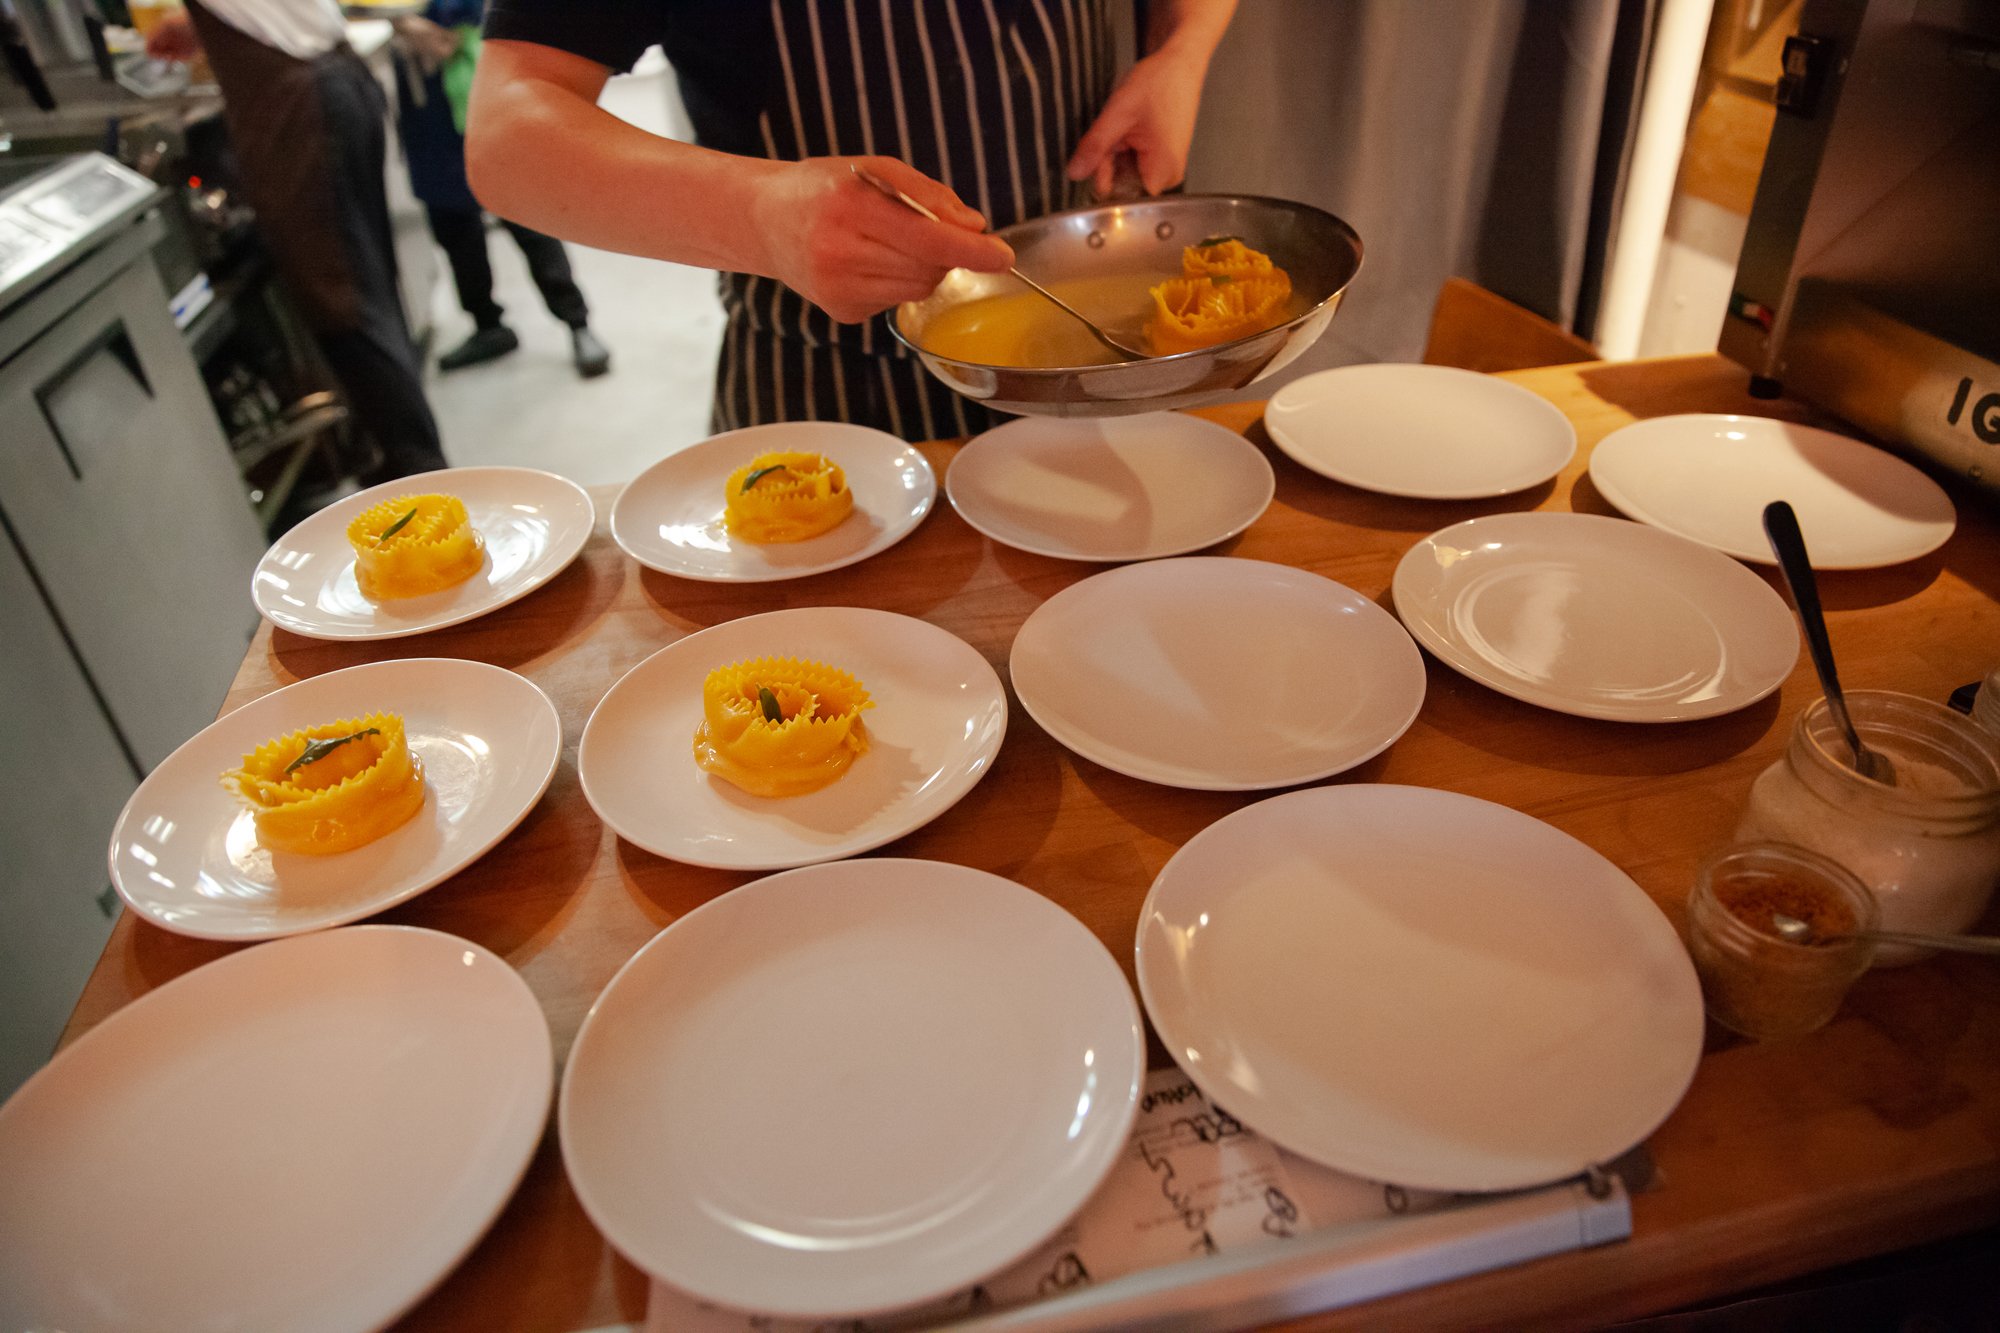
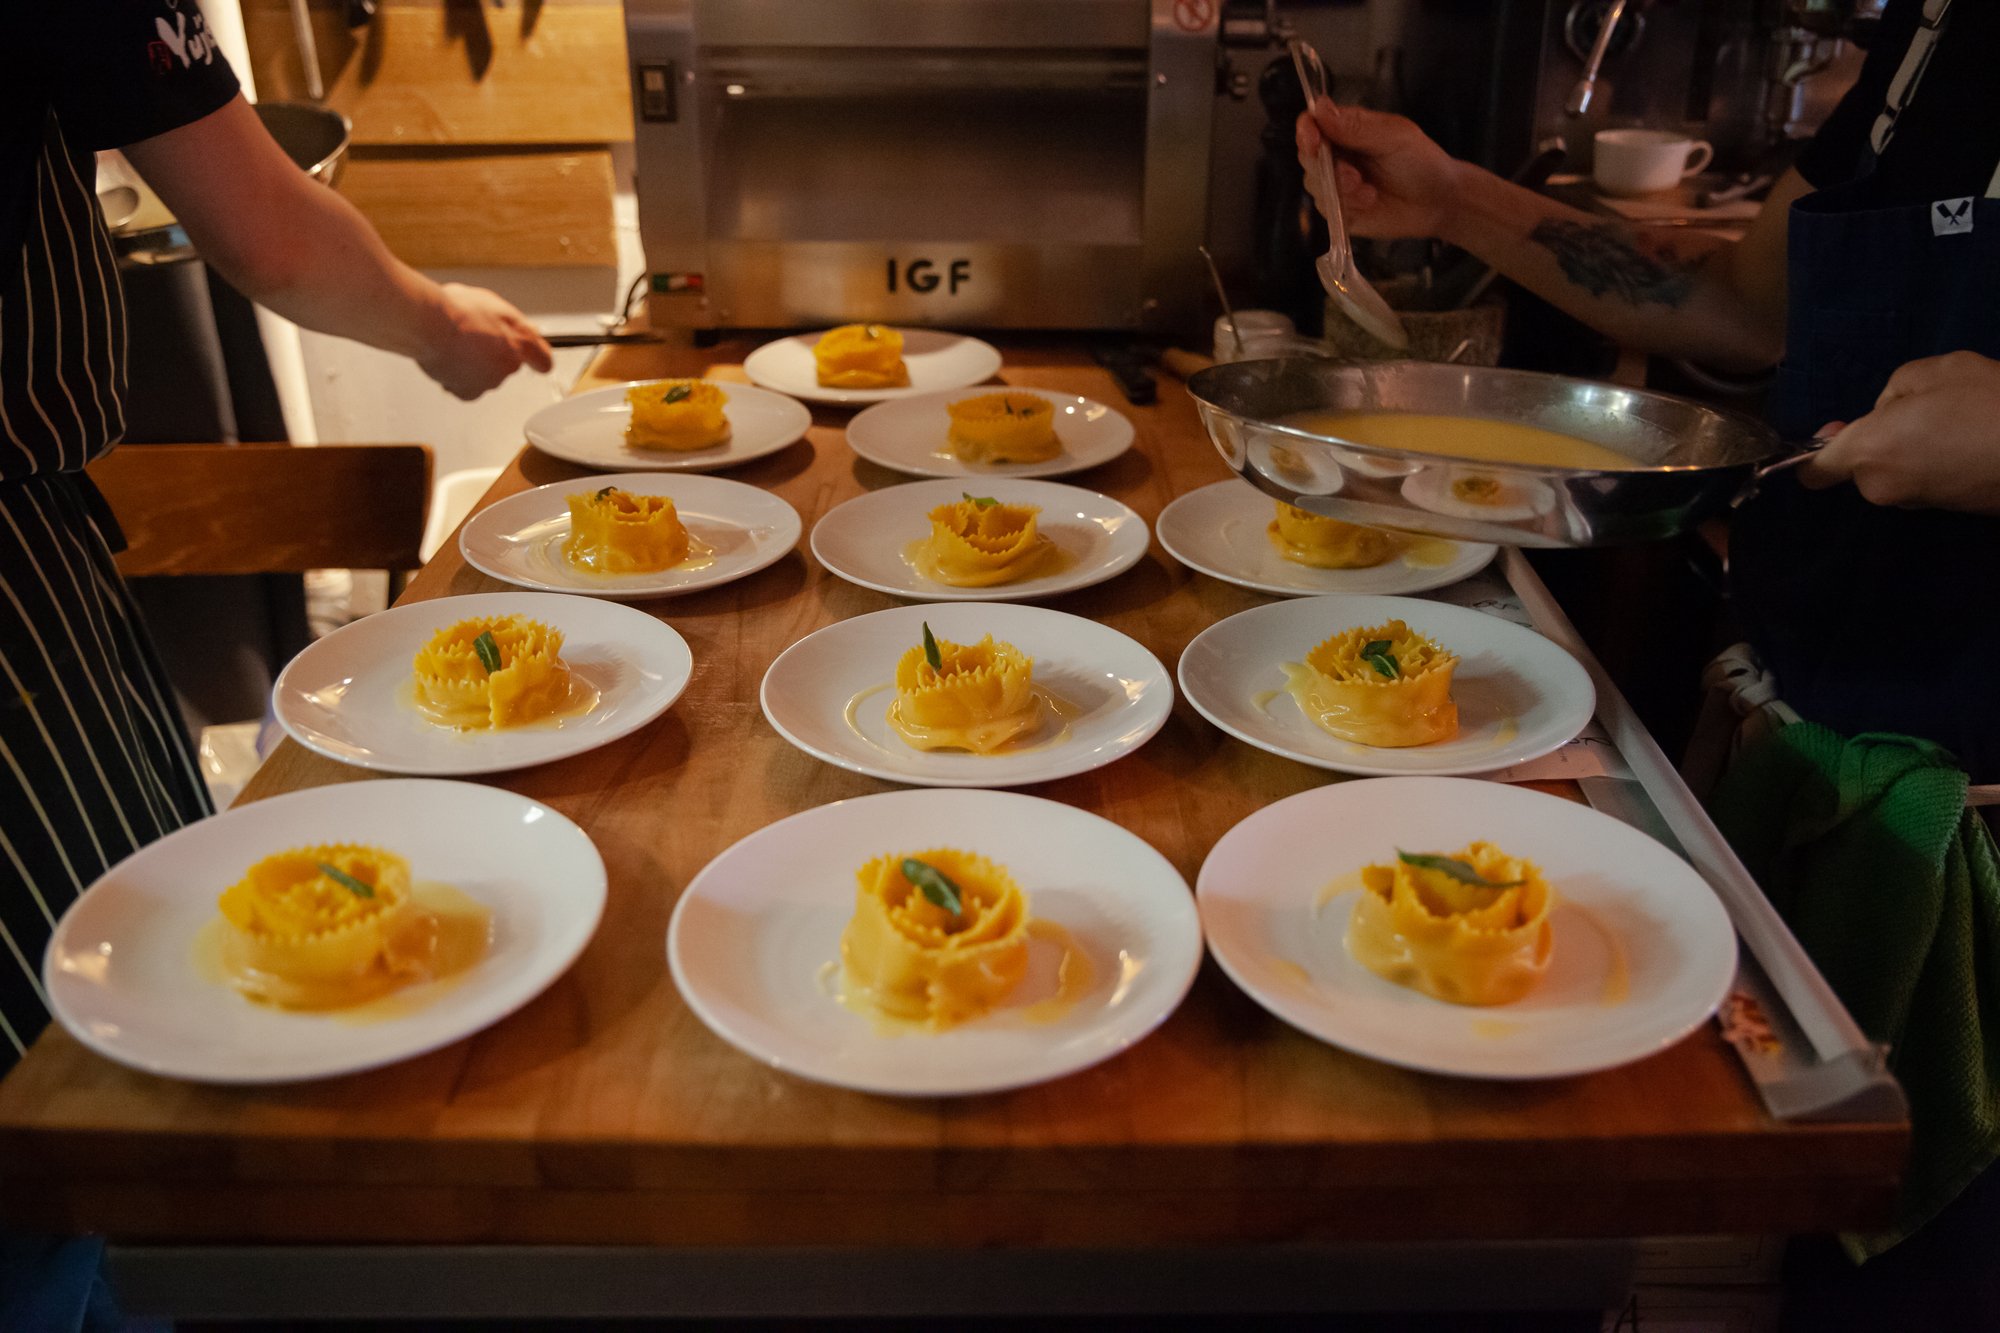
As for sauce, that’s up to you. I like browned butter sauce, or white wine and garlic sauce so that the ravioli can shine on its own. Whatever you feel like making, make sure that the sauce is ready to go before you put the ravioli into the pot. 

Enjoy the process and don’t be afraid if your first batch isn’t pretty – it will take good either way! 

RECIPE: Tomato Feta Pasta with Fresh Herbs

Tomato Feta Pasta with Fresh Herbs
recipe with Windset Farms Greenhouse
May 2024

Serves 4 
 
When I’m out of ideas for dinner, I can always count on having the ingredients to make the baked feta and tomato dish that blew up on TikTok during in early 2021. 
 
While you can make it year-round, using fresh BC Tomatoes (in this case, from Windset Farms) just makes it extra nice. 
 
Instead of just going the simple route, here is a recipe to elevate it with the use of fresh BC grown herbs (these were from my backyard garden), and adding some garlic and shallots into the roasting process. Plus, choosing a funky pasta makes it look as spectacular as it tastes! 


INGREDIENTS 
 
- 2 pints of cherry or grape tomatoes 
- 1 block feta (approx. 1 cup) 
- 1 shallot, quartered 
- 2-3 cloves of garlic, smashed 
- 2- 3 tbsp olive oil 
- 1 tbsp fresh parsley, chopped 
- 1 tsp fresh thyme, removed from stem 
- 2 tsp fresh oregano, chopped 
- salt and pepper 
- 1 pound pasta of your choice – anything with tubes or ridges is great to catch the sauce 
- 1 tbsp fresh basil chopped 
- lemon zest (optional) 
 
INSTRUCTIONS 
 
Preheat oven to 400°F. 
 
In an oven-proof dish (wider is usually better so everything touches the surface area), place the (drained) block of feta in the center, and surround it with the tomatoes. Nestle in the quartered shallot and the smashed garlic. 
 
Sprinkle the oregano, parsley, and thyme on top, drizzle everything with olive oil (you may need more, take a look), and add a few twists of fresh ground pepper and a bit of kosher salt. 
 
Place in the oven and bake for 30 minutes, and then turn up the heat to 450°F and bake until the feta is golden brown. 
 
When the pasta has about 20 minutes left, bring a pot of water (lightly salted, as the sauce is going to be salty to start with), and cook your chosen pasta according to the package directions. 
Drain the pasta, reserving some of the pasta water. 
Drizzle a small amount of olive oil on the pasta to keep it from sticking together while you prepare the sauce. 
 
Remove the feta bake from the oven. Depending on your preference for chunky or smooth sauce, you can either mash the mixture with a fork or potato masher, or for a smoother sauce, use an immersion blender to break it down (especially the shallot and garlic). 
 
Add the pasta to the sauce in the dish (or a new bowl for a nicer presentation), and sprinkle with fresh basil, and serve. 

RECIPE: Lasagna From Scratch - for BC Living

Lasagna 
for BC Living
March 2023
 
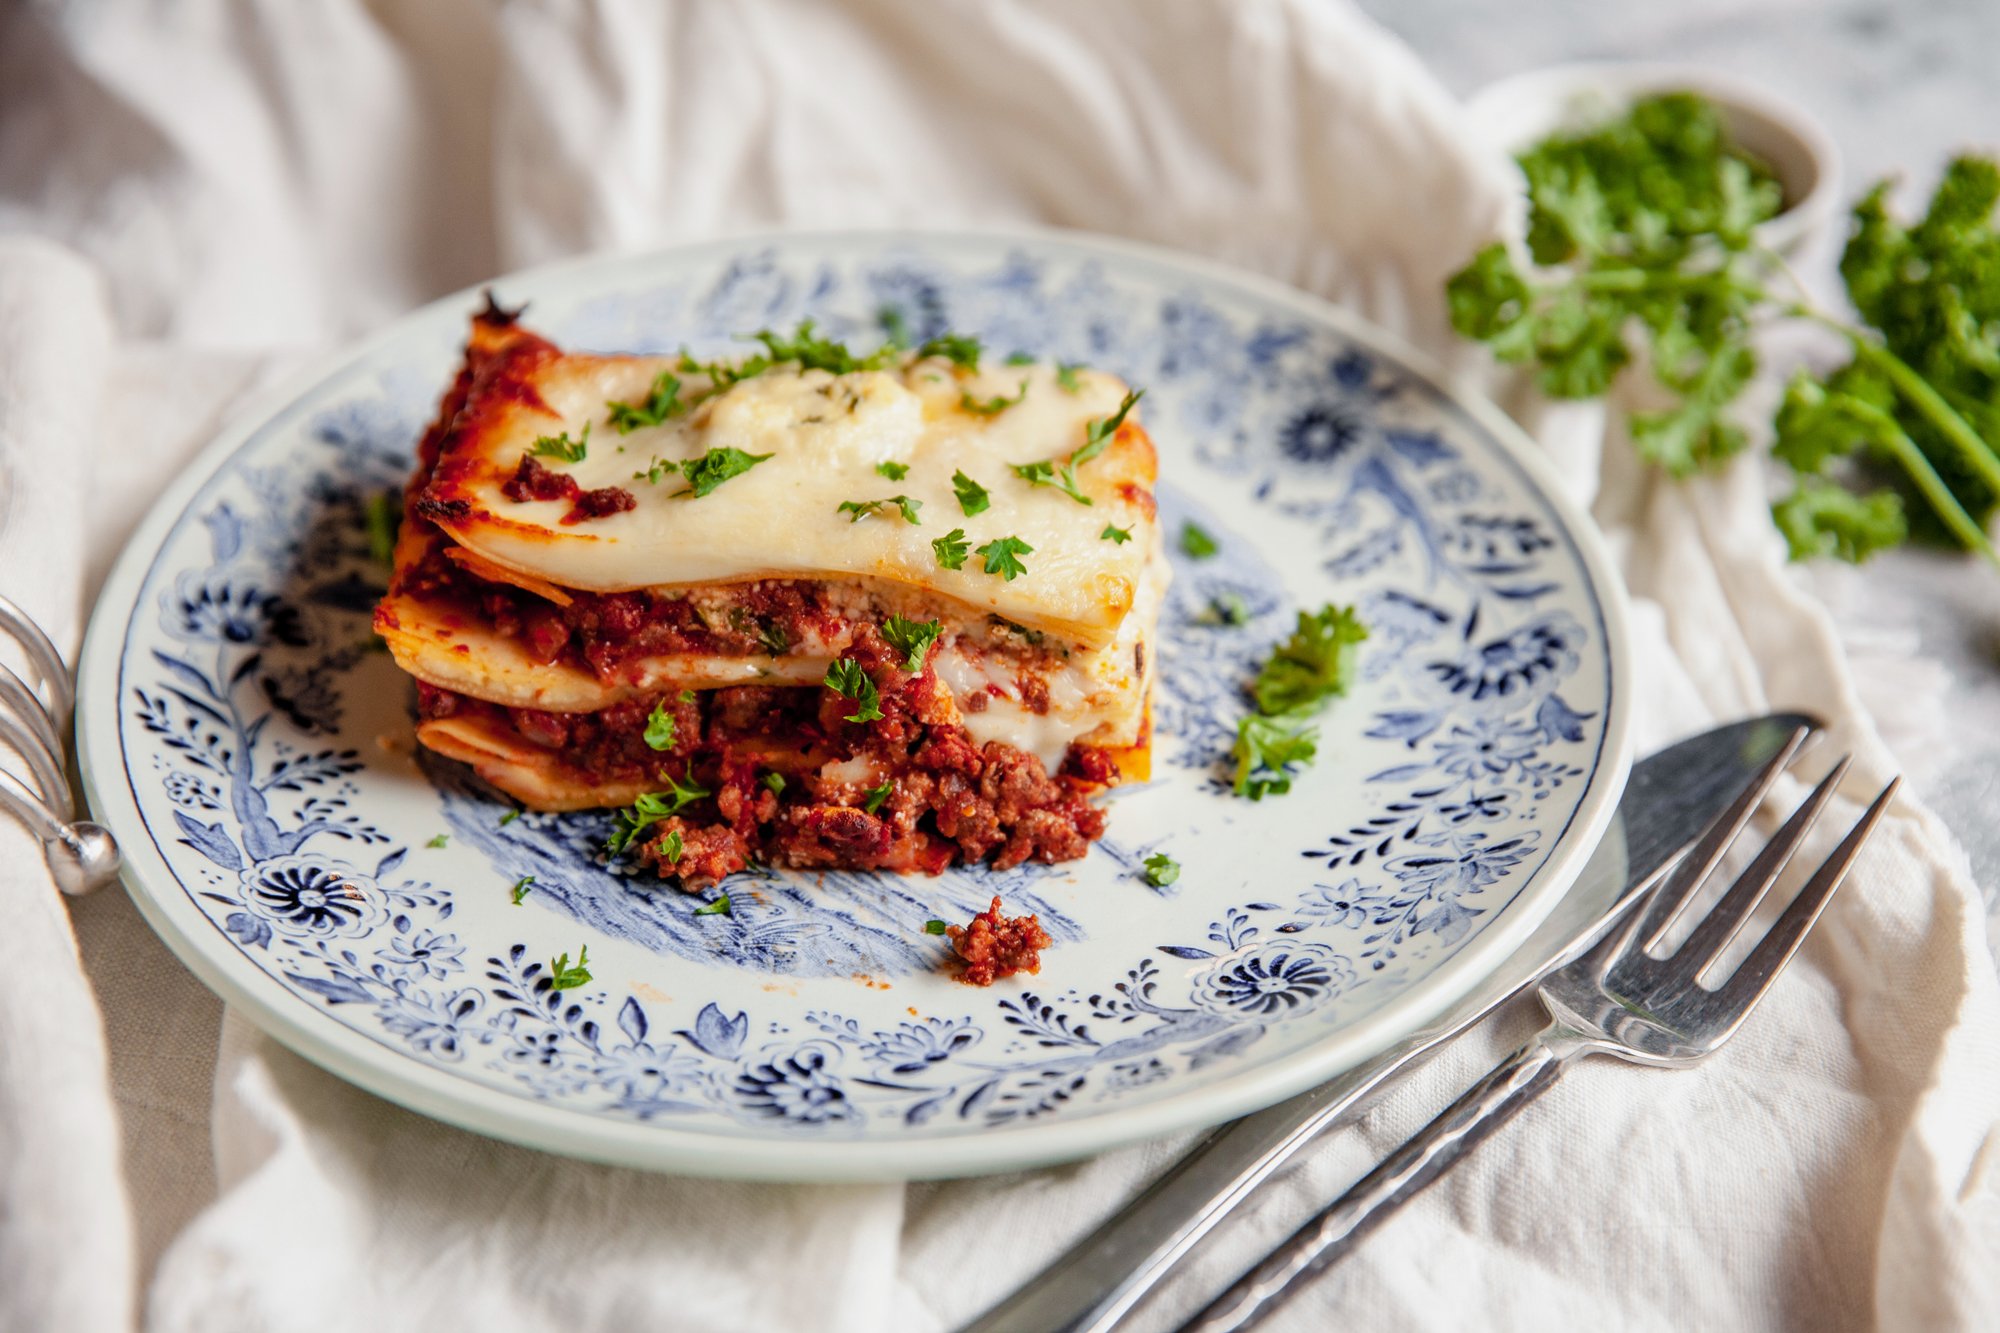
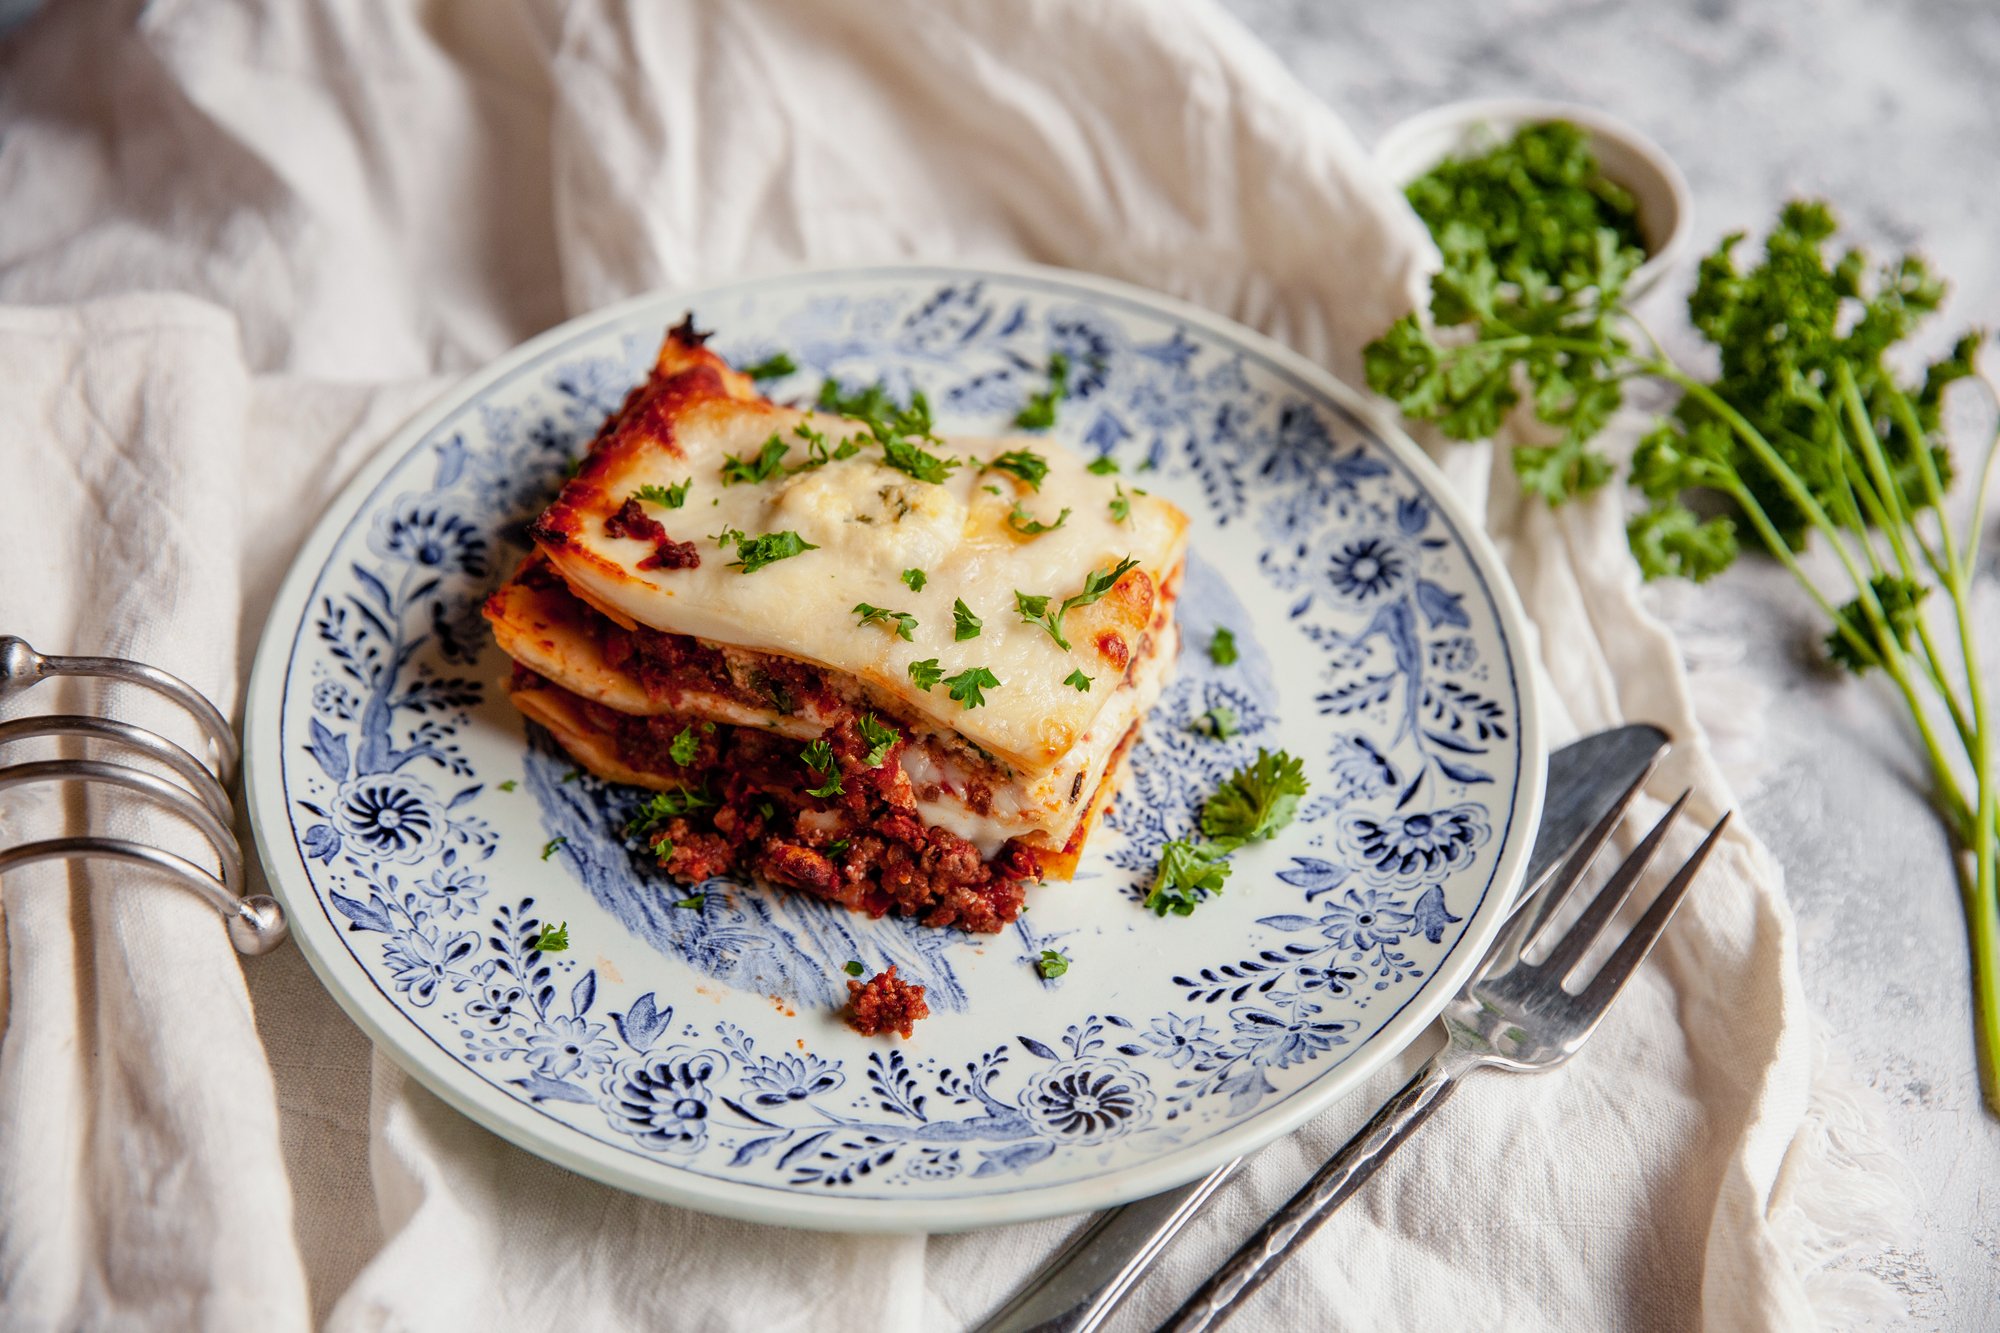
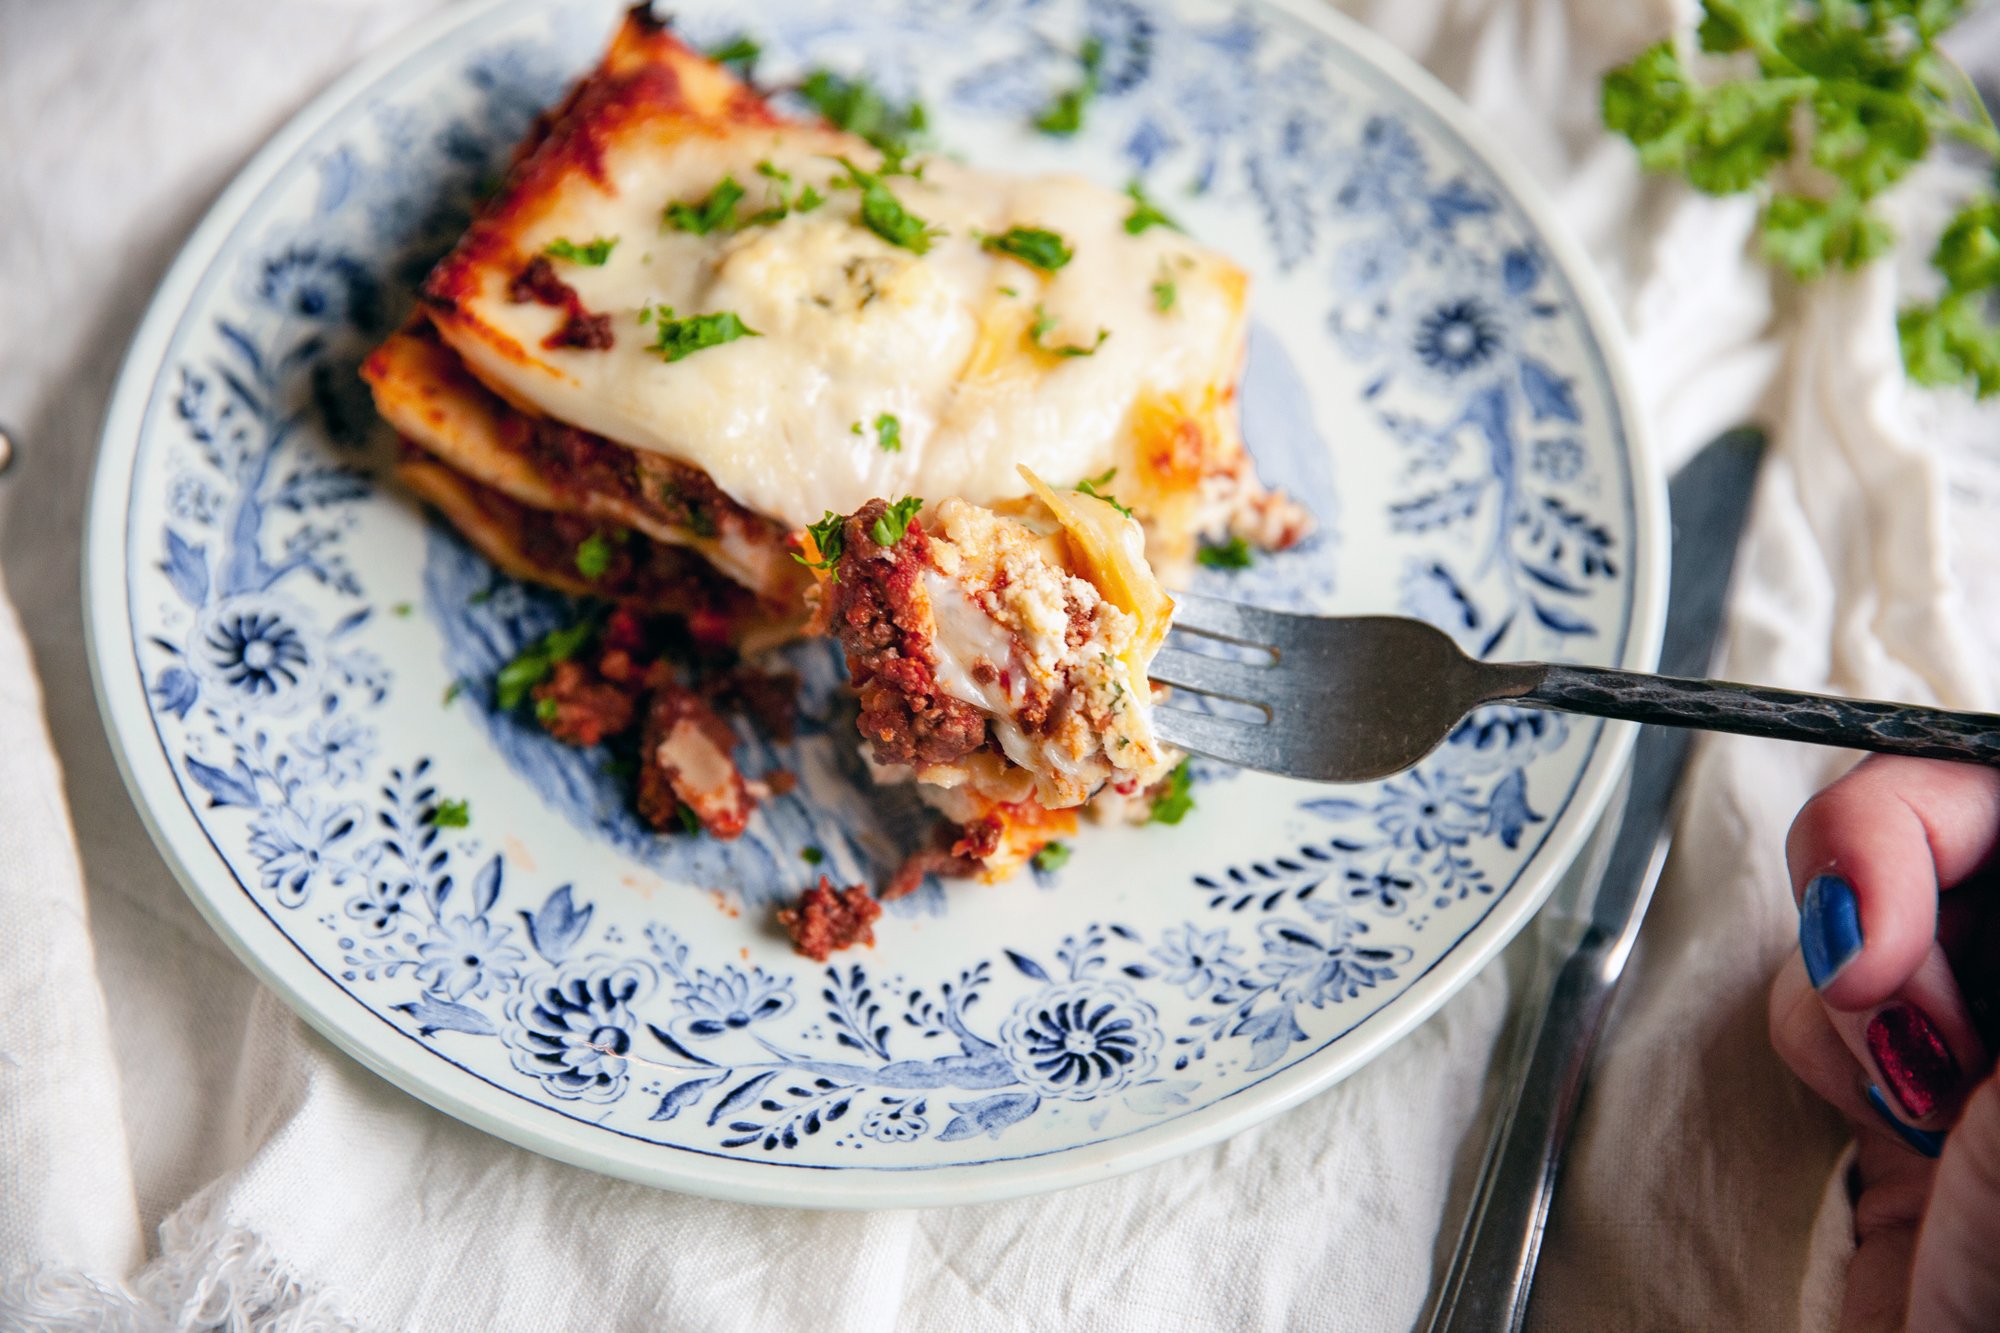
Last year I posted a recipe on how to make homemade pasta (click here), and now you can put it to good use by creating a lasagna all the way from scratch.  
 
This recipe is for a large, full-sized lasagna, but you can cut it in half, or separate it into two, cook one, and freeze the other. Plus, you can eliminate the meat, add spinach, or anything else you’d like – this is just a base for your basic (but extremely tasty and worth it) lasagna from scratch. 
 

INGREDIENTS 

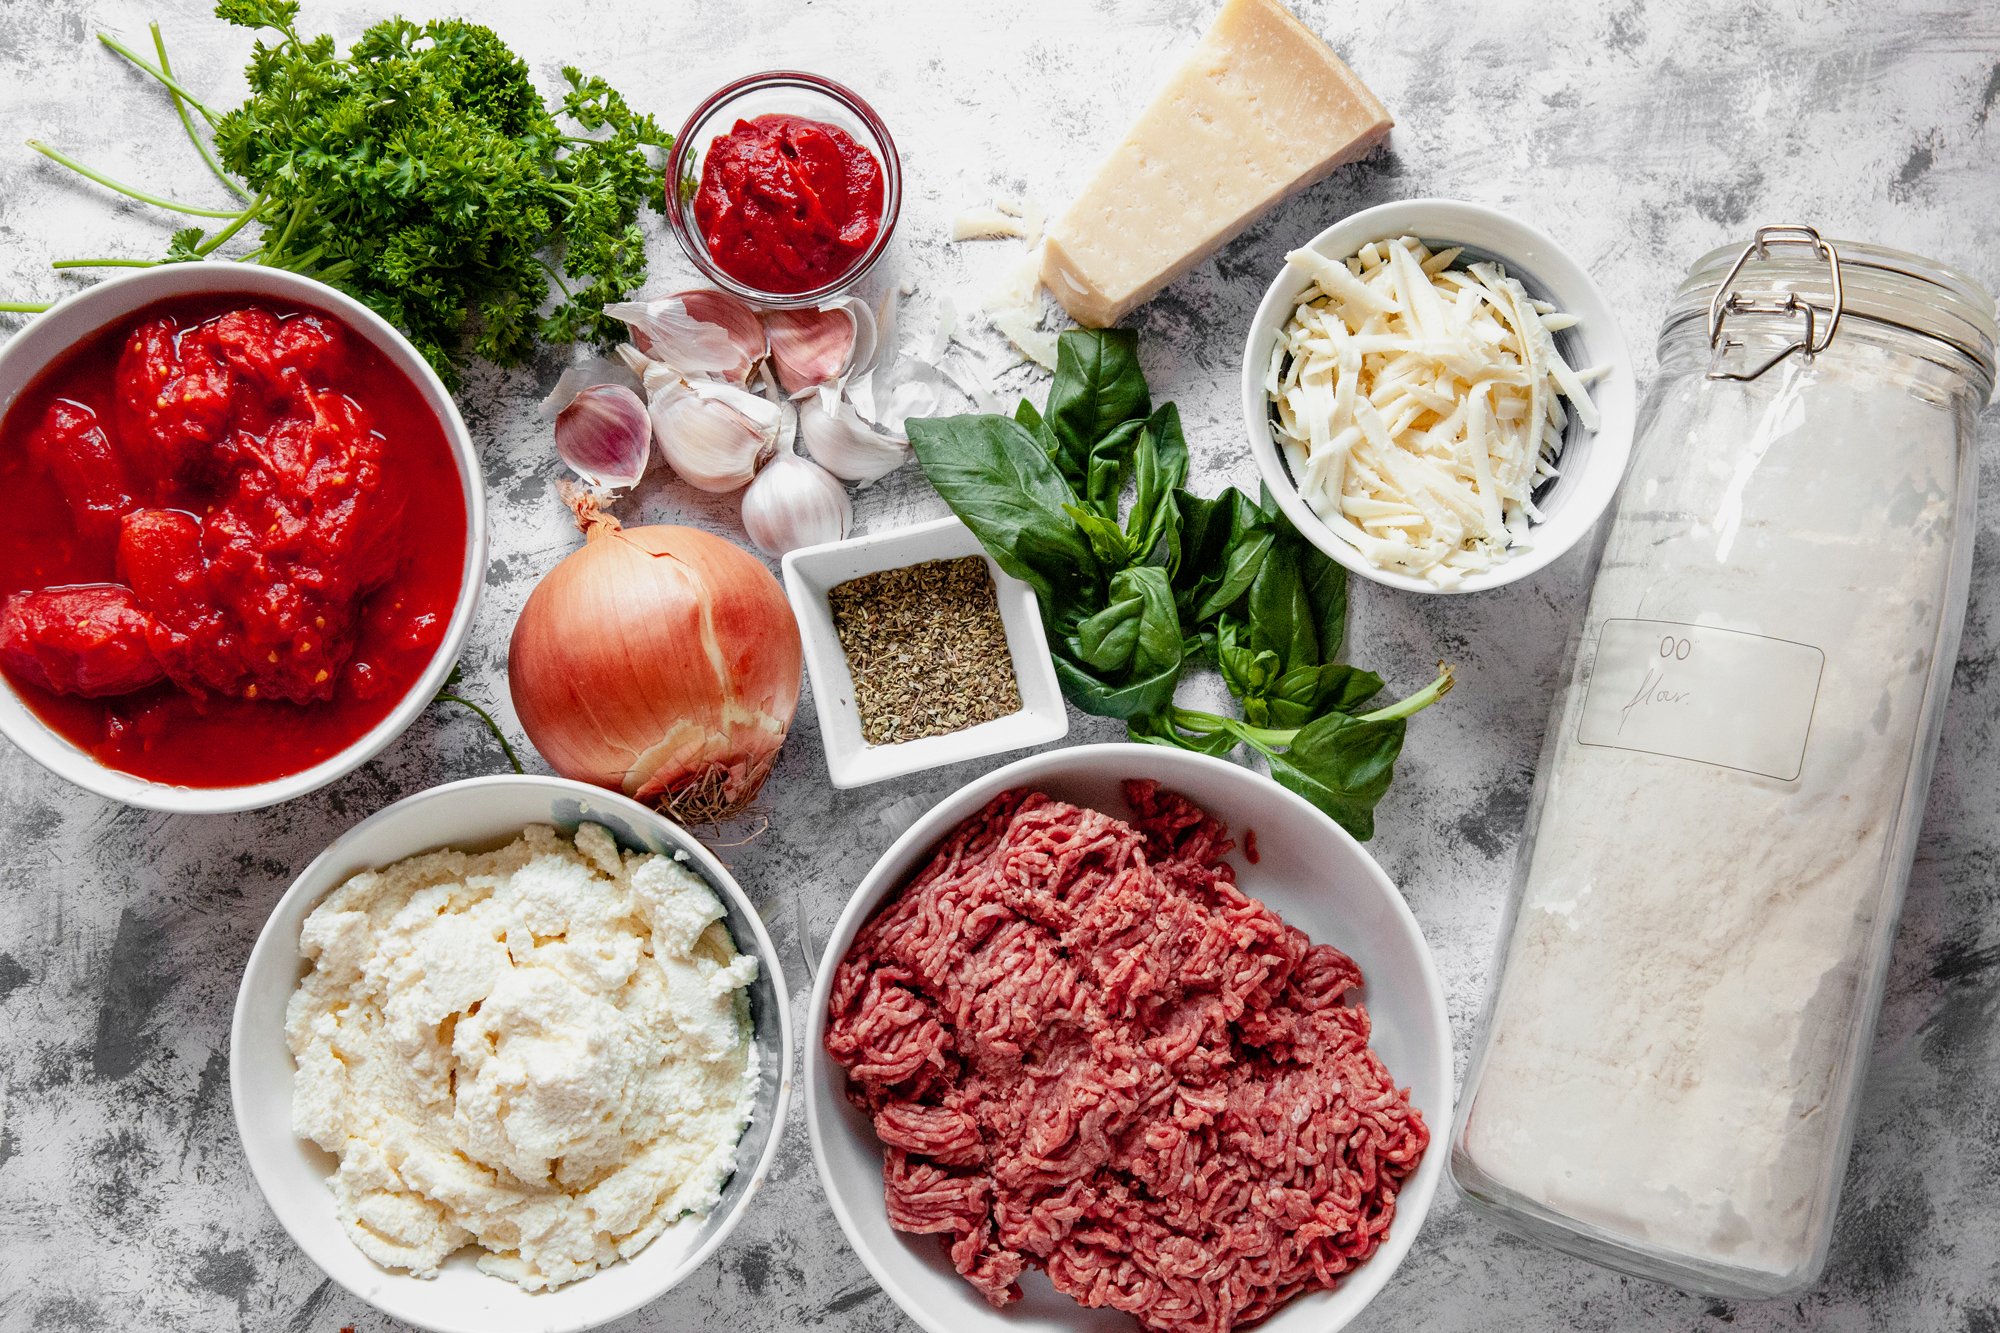
To make your pasta from scratch, follow the instructions here, and cut your pasta into lasagna noodles
 
- 1lb ground beef (or your choice of meat) 
- 1 onion, finely diced 
- 4 or 5 cloves garlic, minced 
- 796mL San Marzano tomatoes  
- 1 tbsp tomato paste (optional) 
- Italian seasoning 
- salt and pepper 
 
-4 75g ricotta cheese 
- 1 eggs  
- approx. 2 cups mozzarella, shredded,  
- approx. 1.5 cups grated Parmesan 
- salt & pepper 
- dried basil approx. 2 tsp 
 
- fresh parsley for topping 
 
INSTRUCTIONS 
 
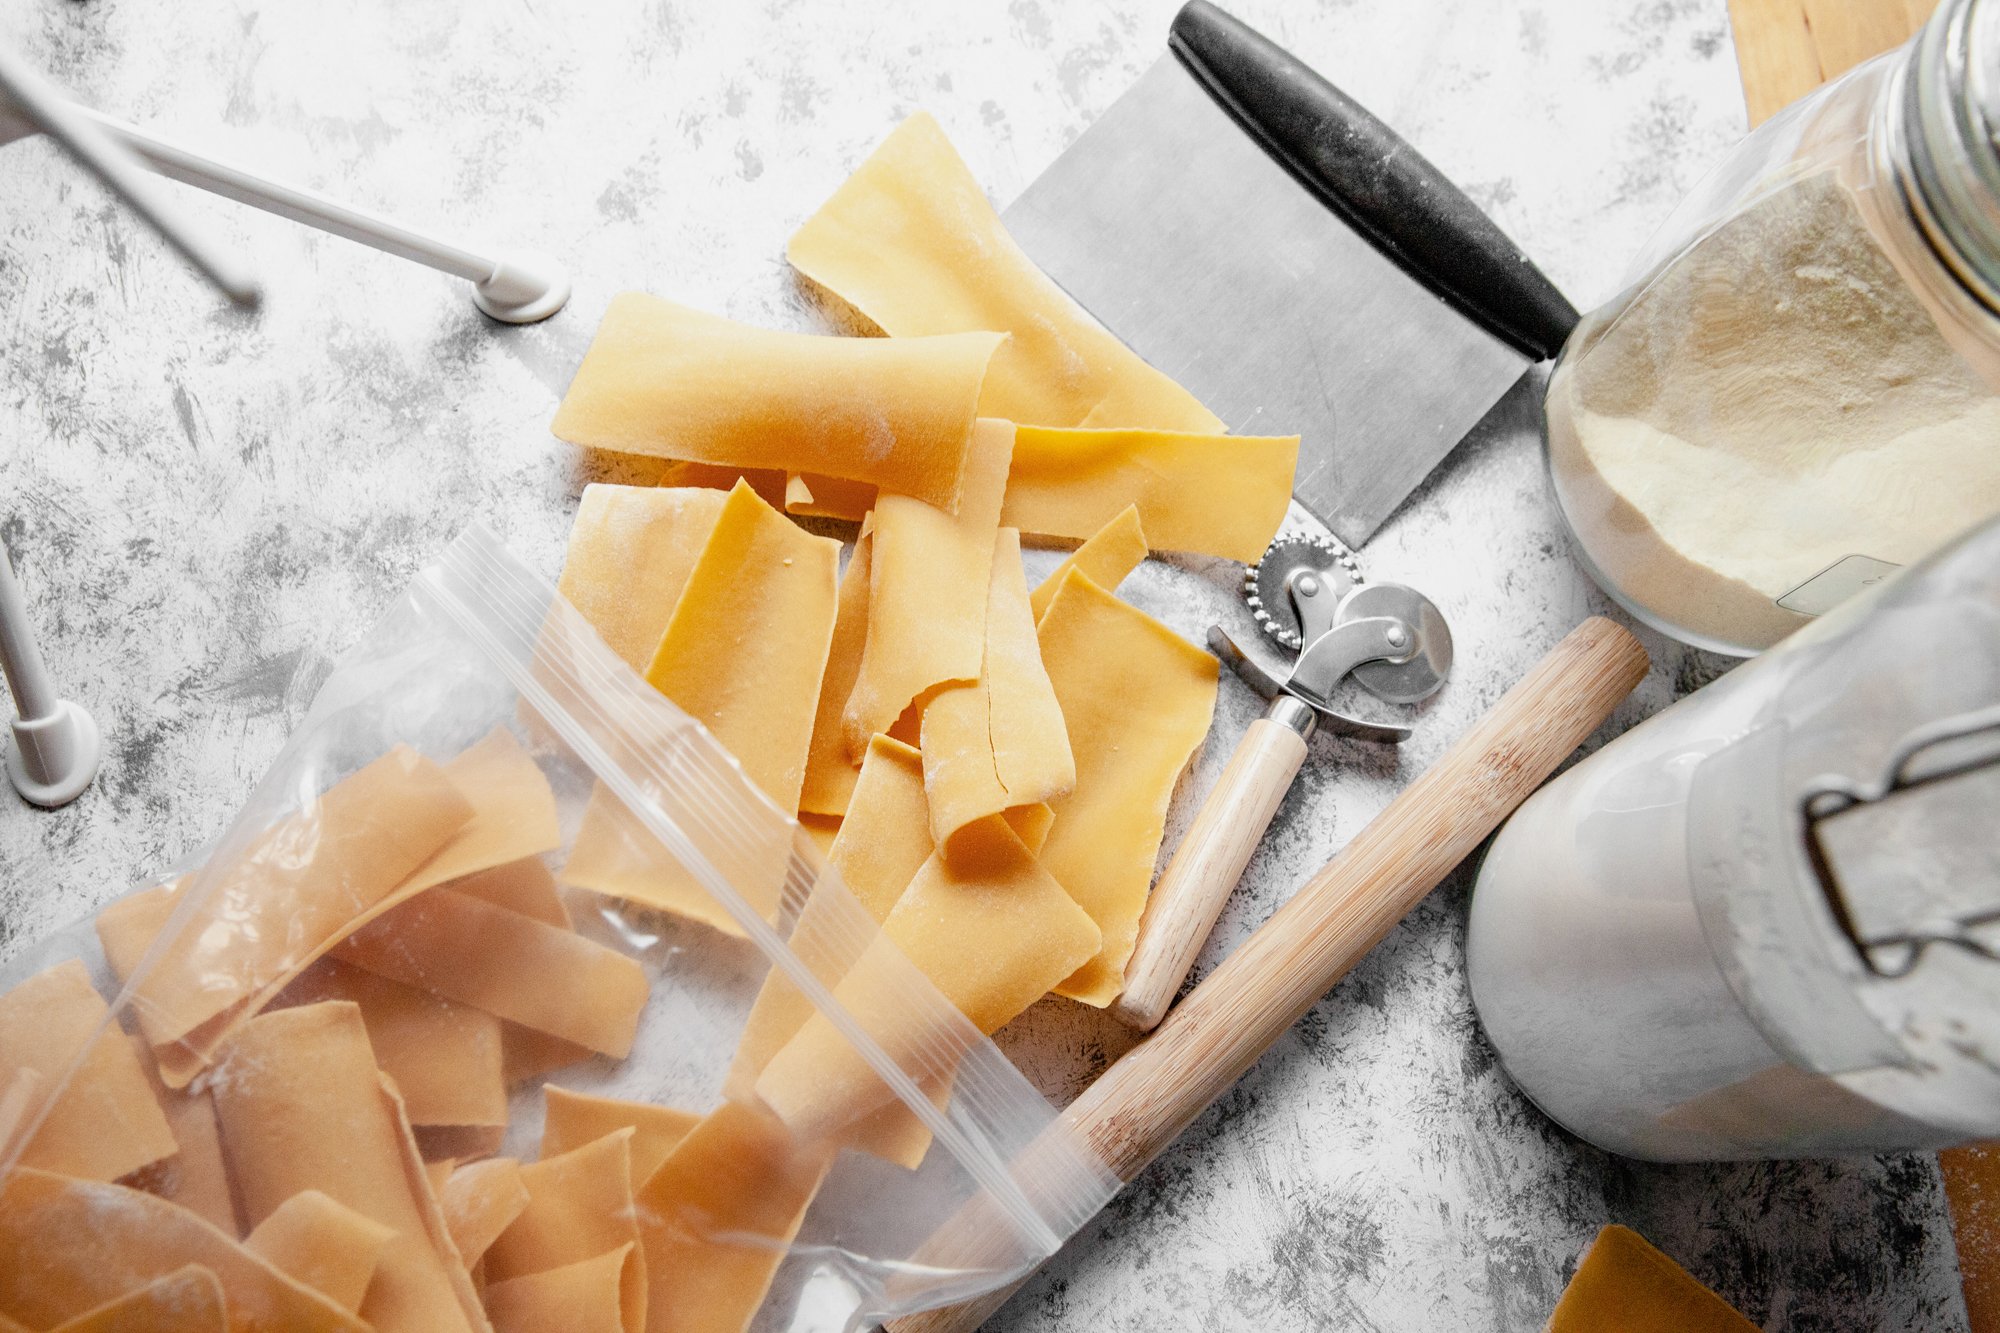
To make your pasta from scratch, follow the instructions here, and cut your pasta into lasagna noodles
For lasagna noodles it’s best to roll them on the thinnest setting, so you can layer more into the dish. 
 
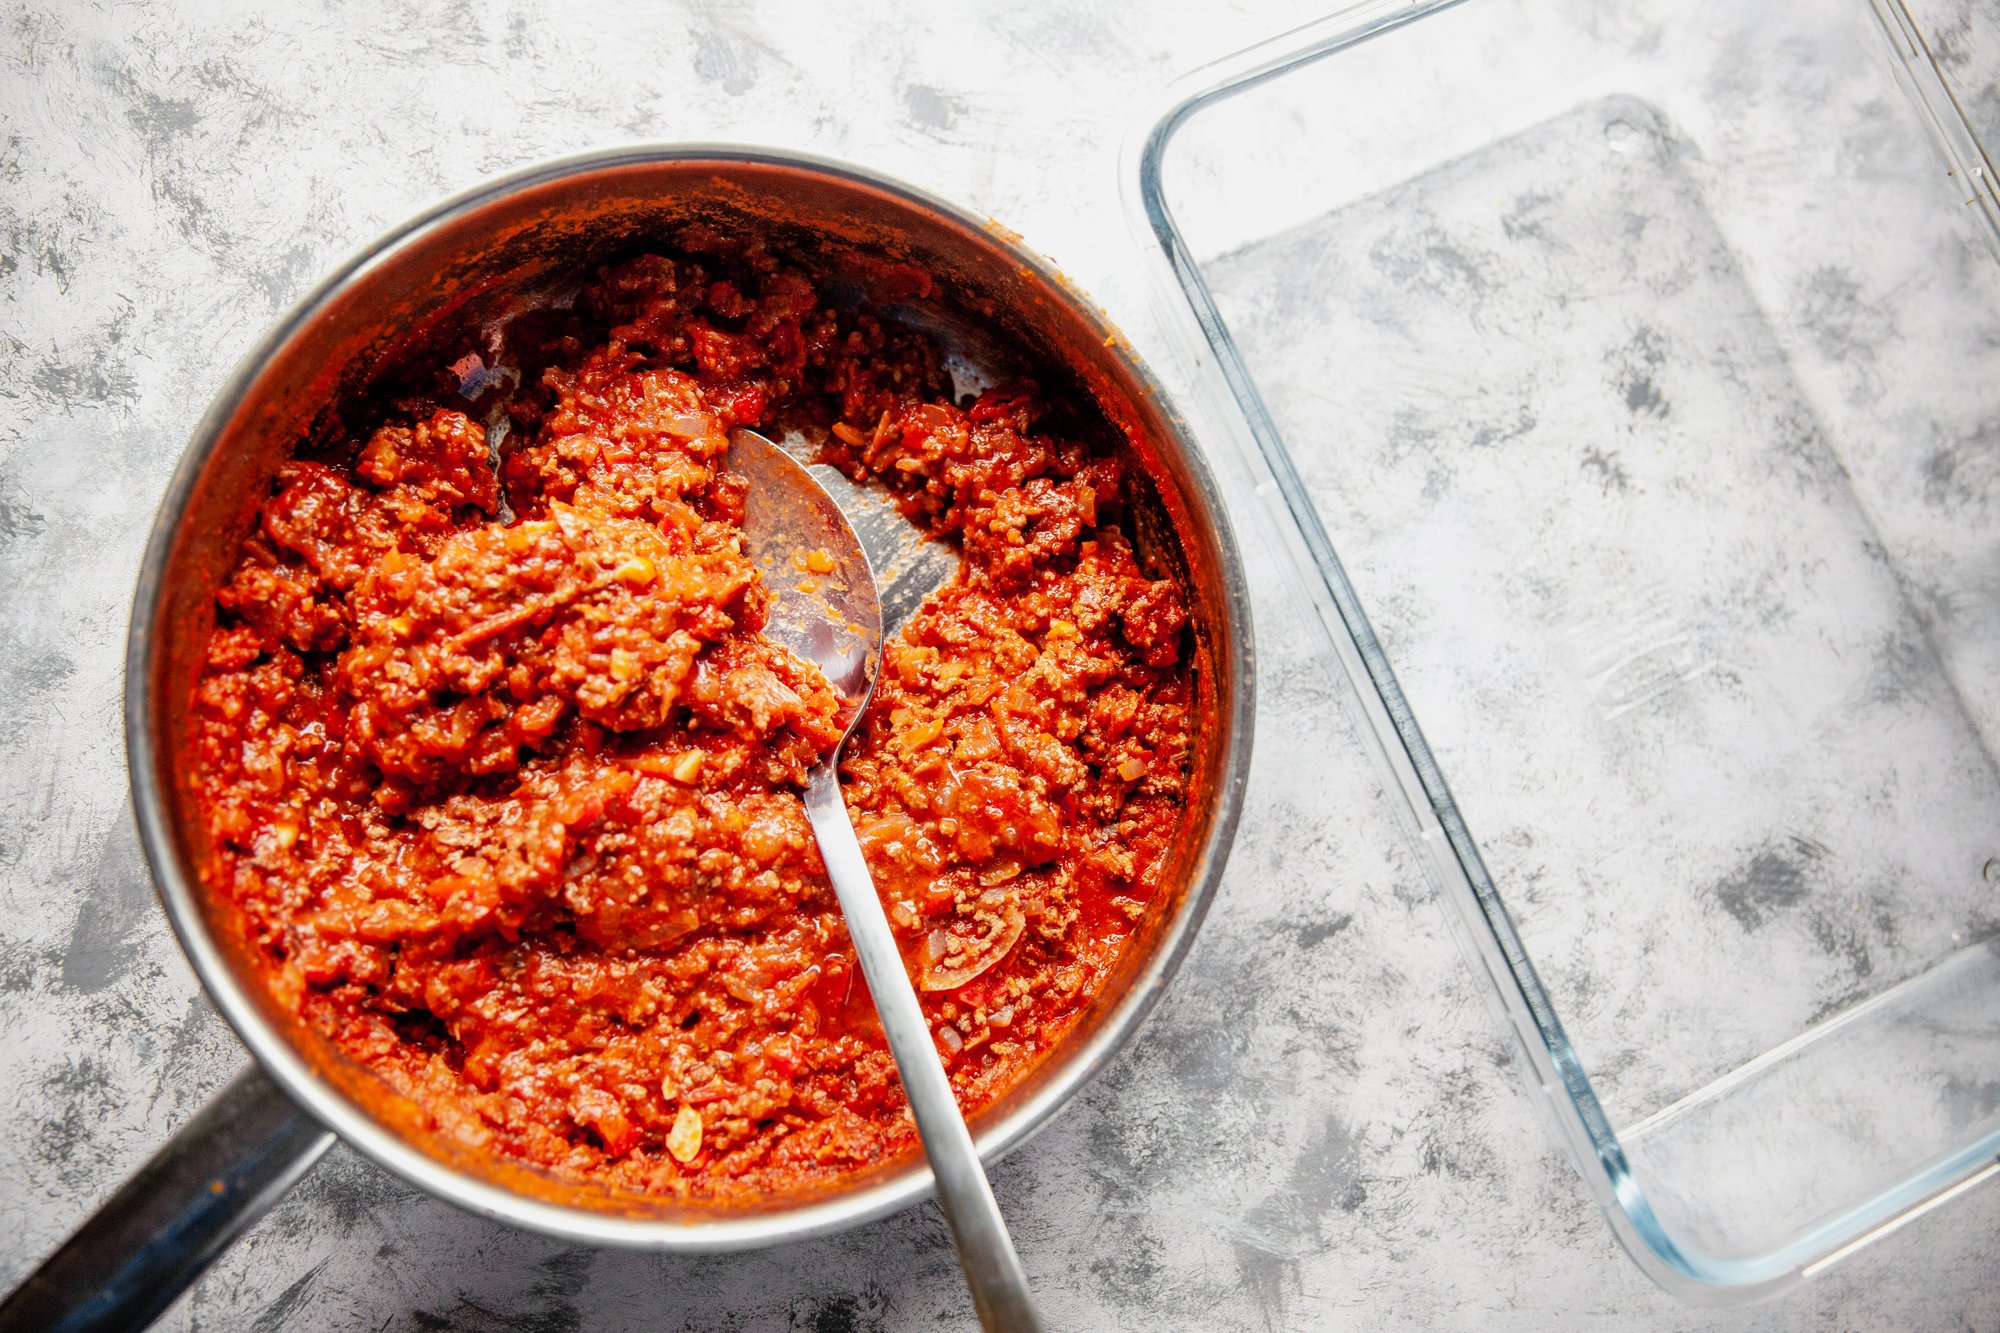
For the meat sauce, brown the beef in a pot or a high-walled pan until browned. Drain the beef, leaving the juices in the pot, and place the beef in a bowl and set aside. 
 
Add the onions to the pan and cook for 5 minutes, and then add the garlic, cooking until the onion are soft and transparent.  
Add the tomato paste and cook for a minute to two until caramelized. 
 
Add in the tomatoes, and bring to a simmer, crushing the tomatoes with your spoon (or whichever utensil works for you), as you go. Cook for about 45-50 minutes, stirring occasionally, and add water if the sauce gets too thick. 
 
While the sauce is cooking, in a bowl, place the ricotta cheese, a cup of the mozzarella and a cup of the parmesan cheese, as well as the egg, salt and pepper, and dried basil, and stir until combined. 
 
To puree your sauce, use an emersion blender (careful with the heat), and then stir in the seasoning, meat and salt and pepper, adjusting the spices to taste. 
 
Cook your pasta until al dente (it will continue to cook when baking, so don’t overdo it), drain and reserve. 
 
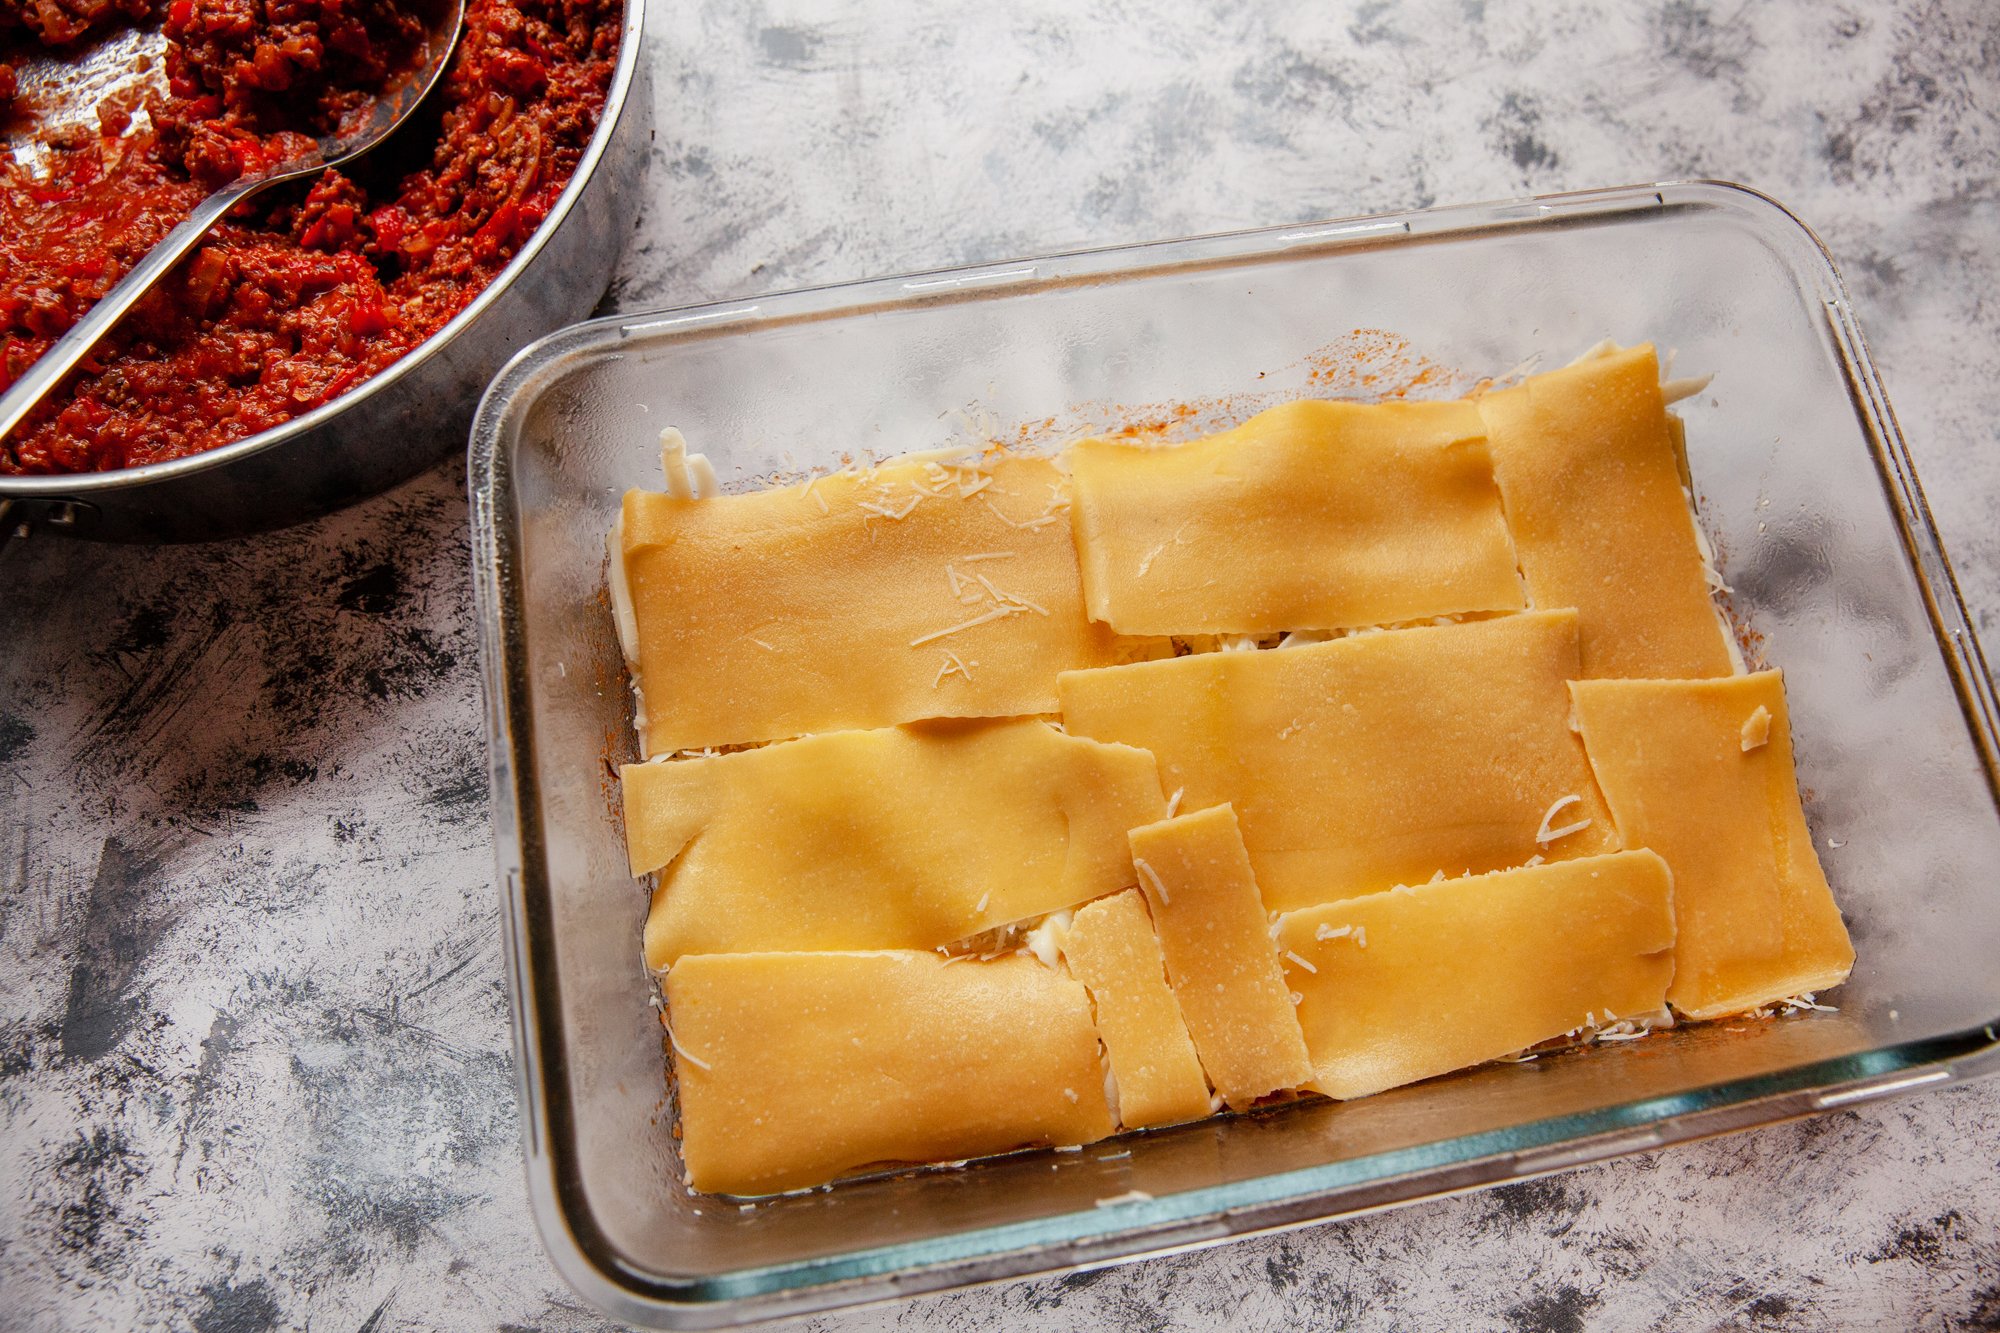
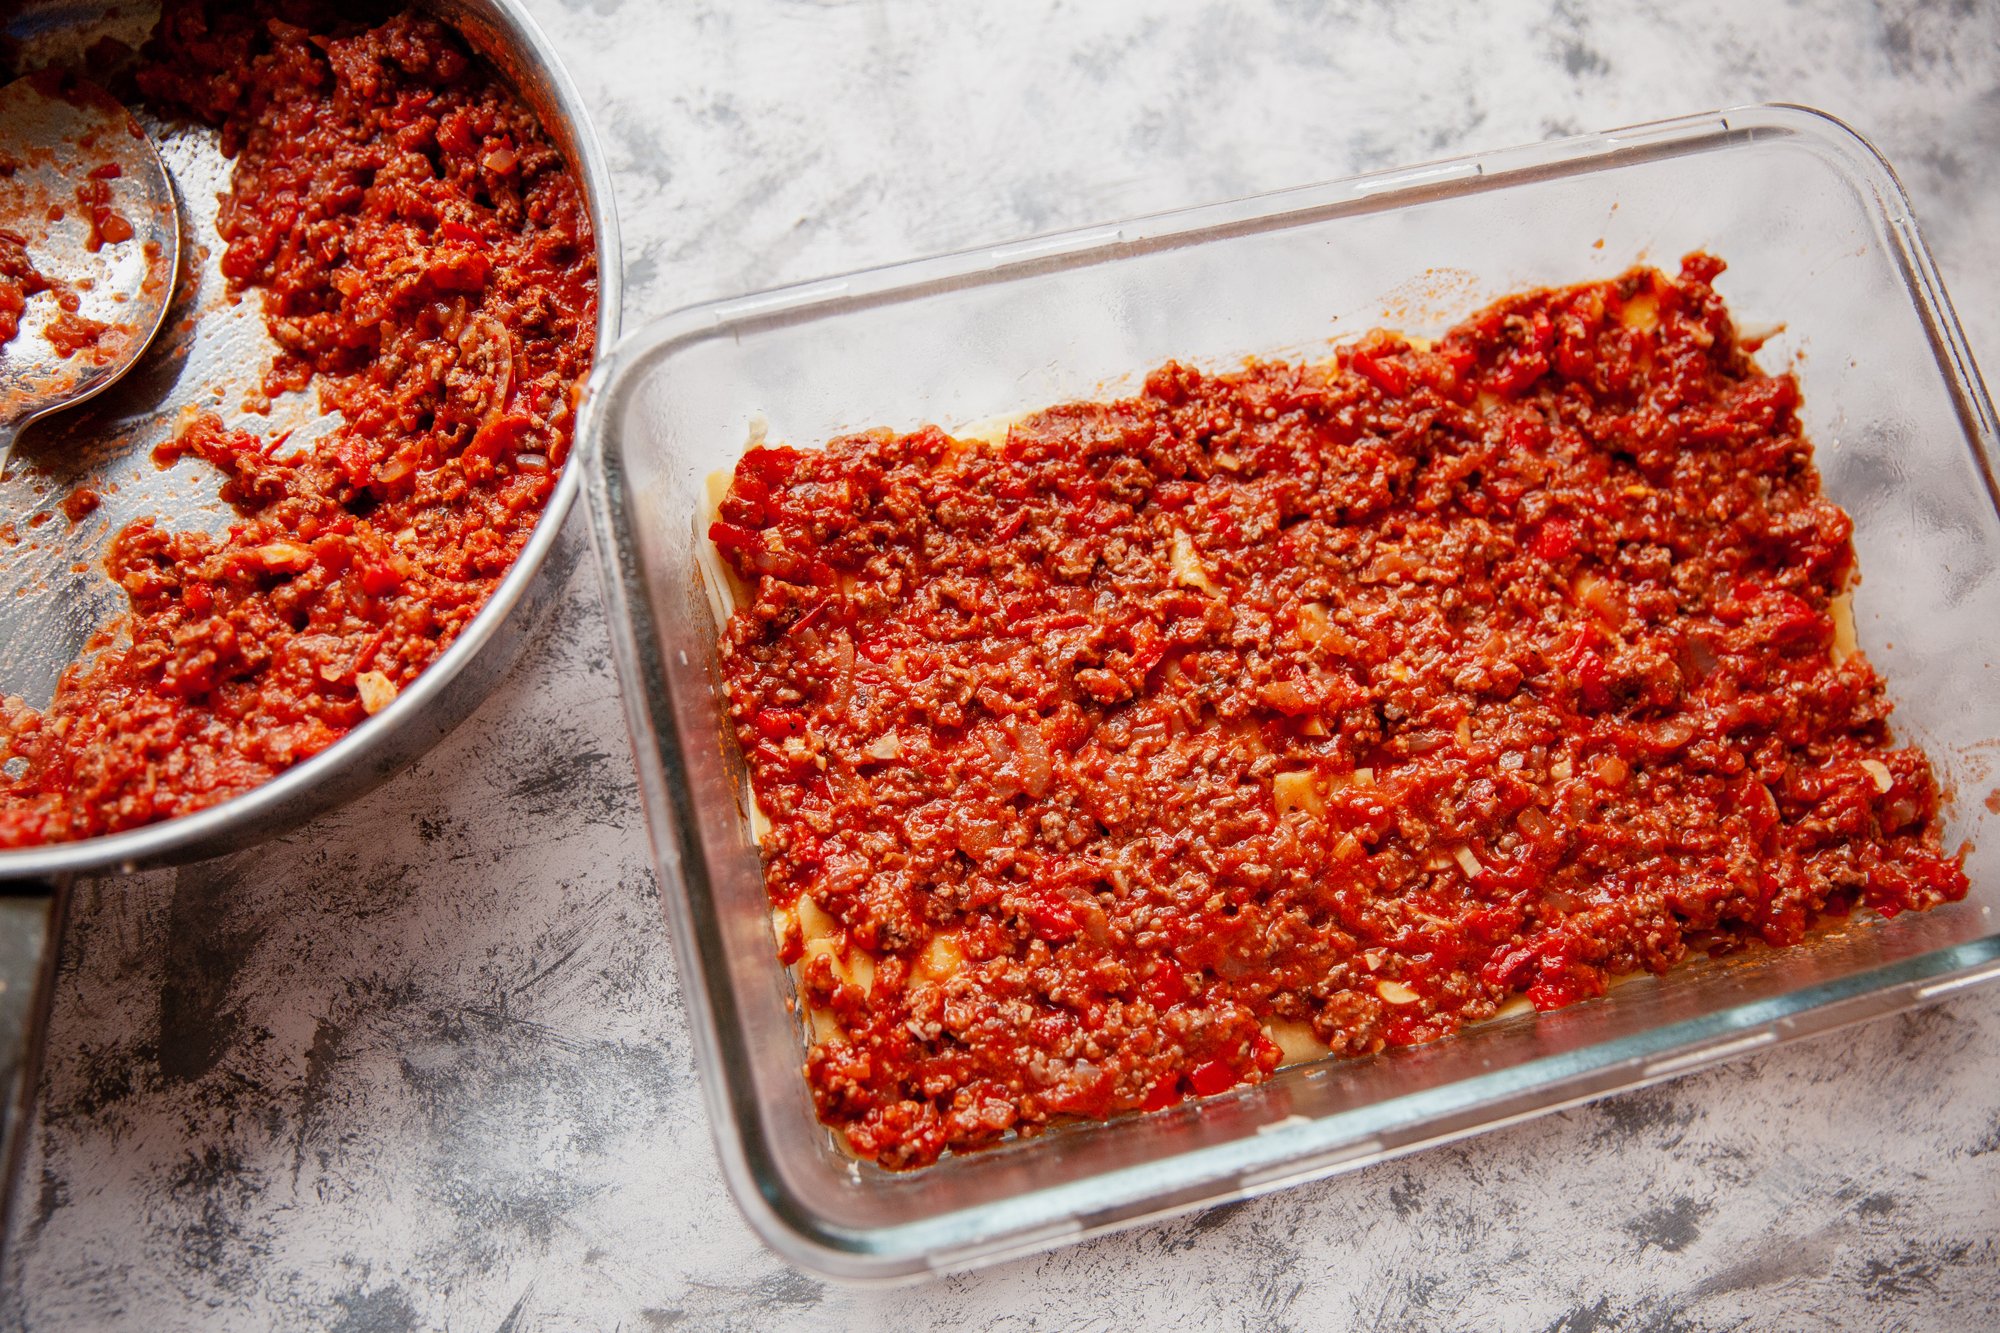
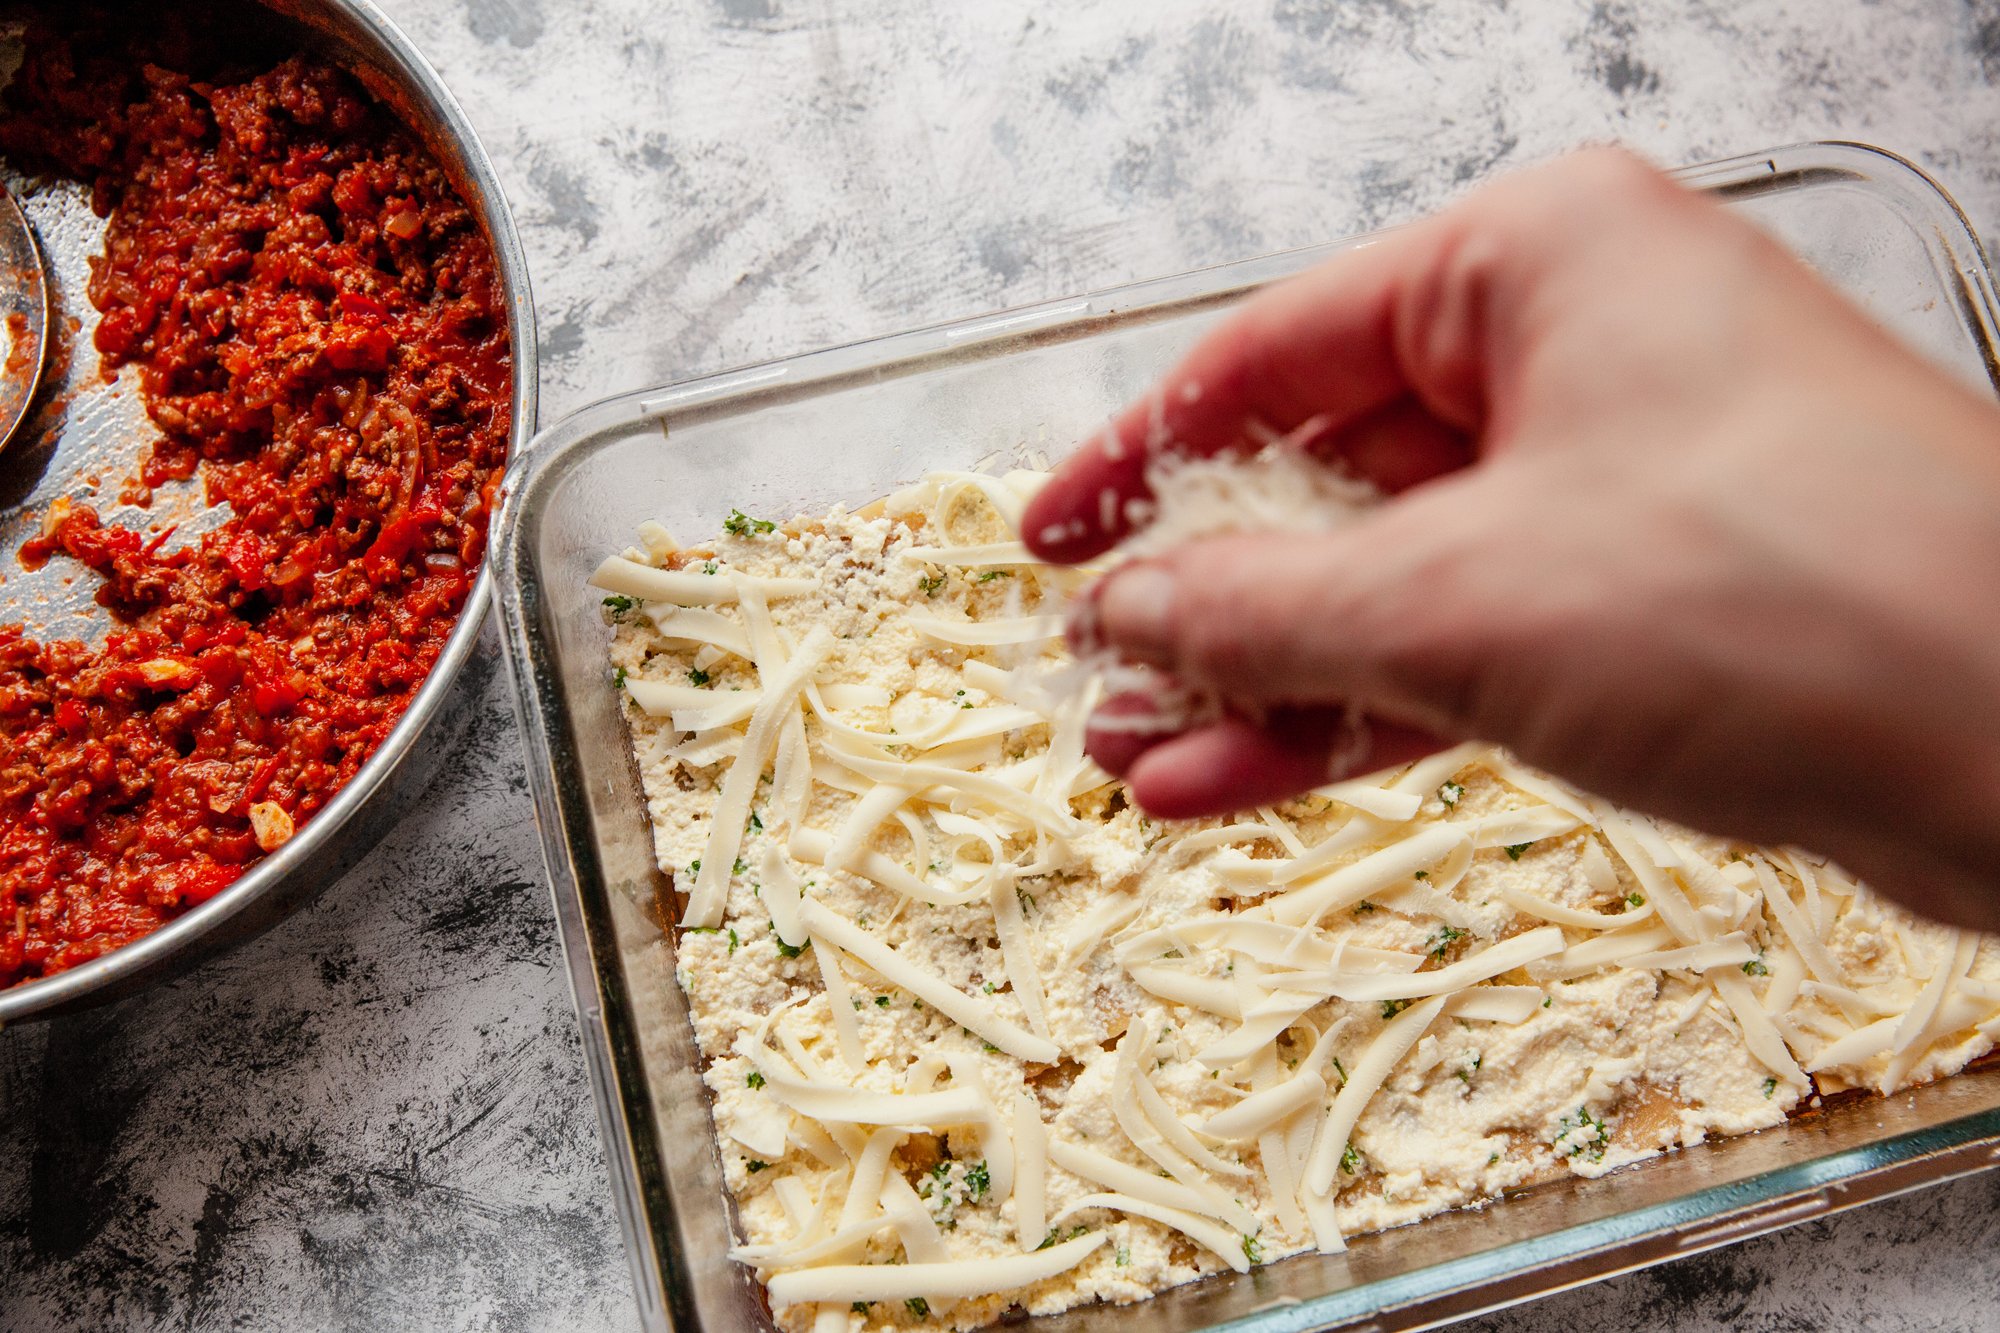
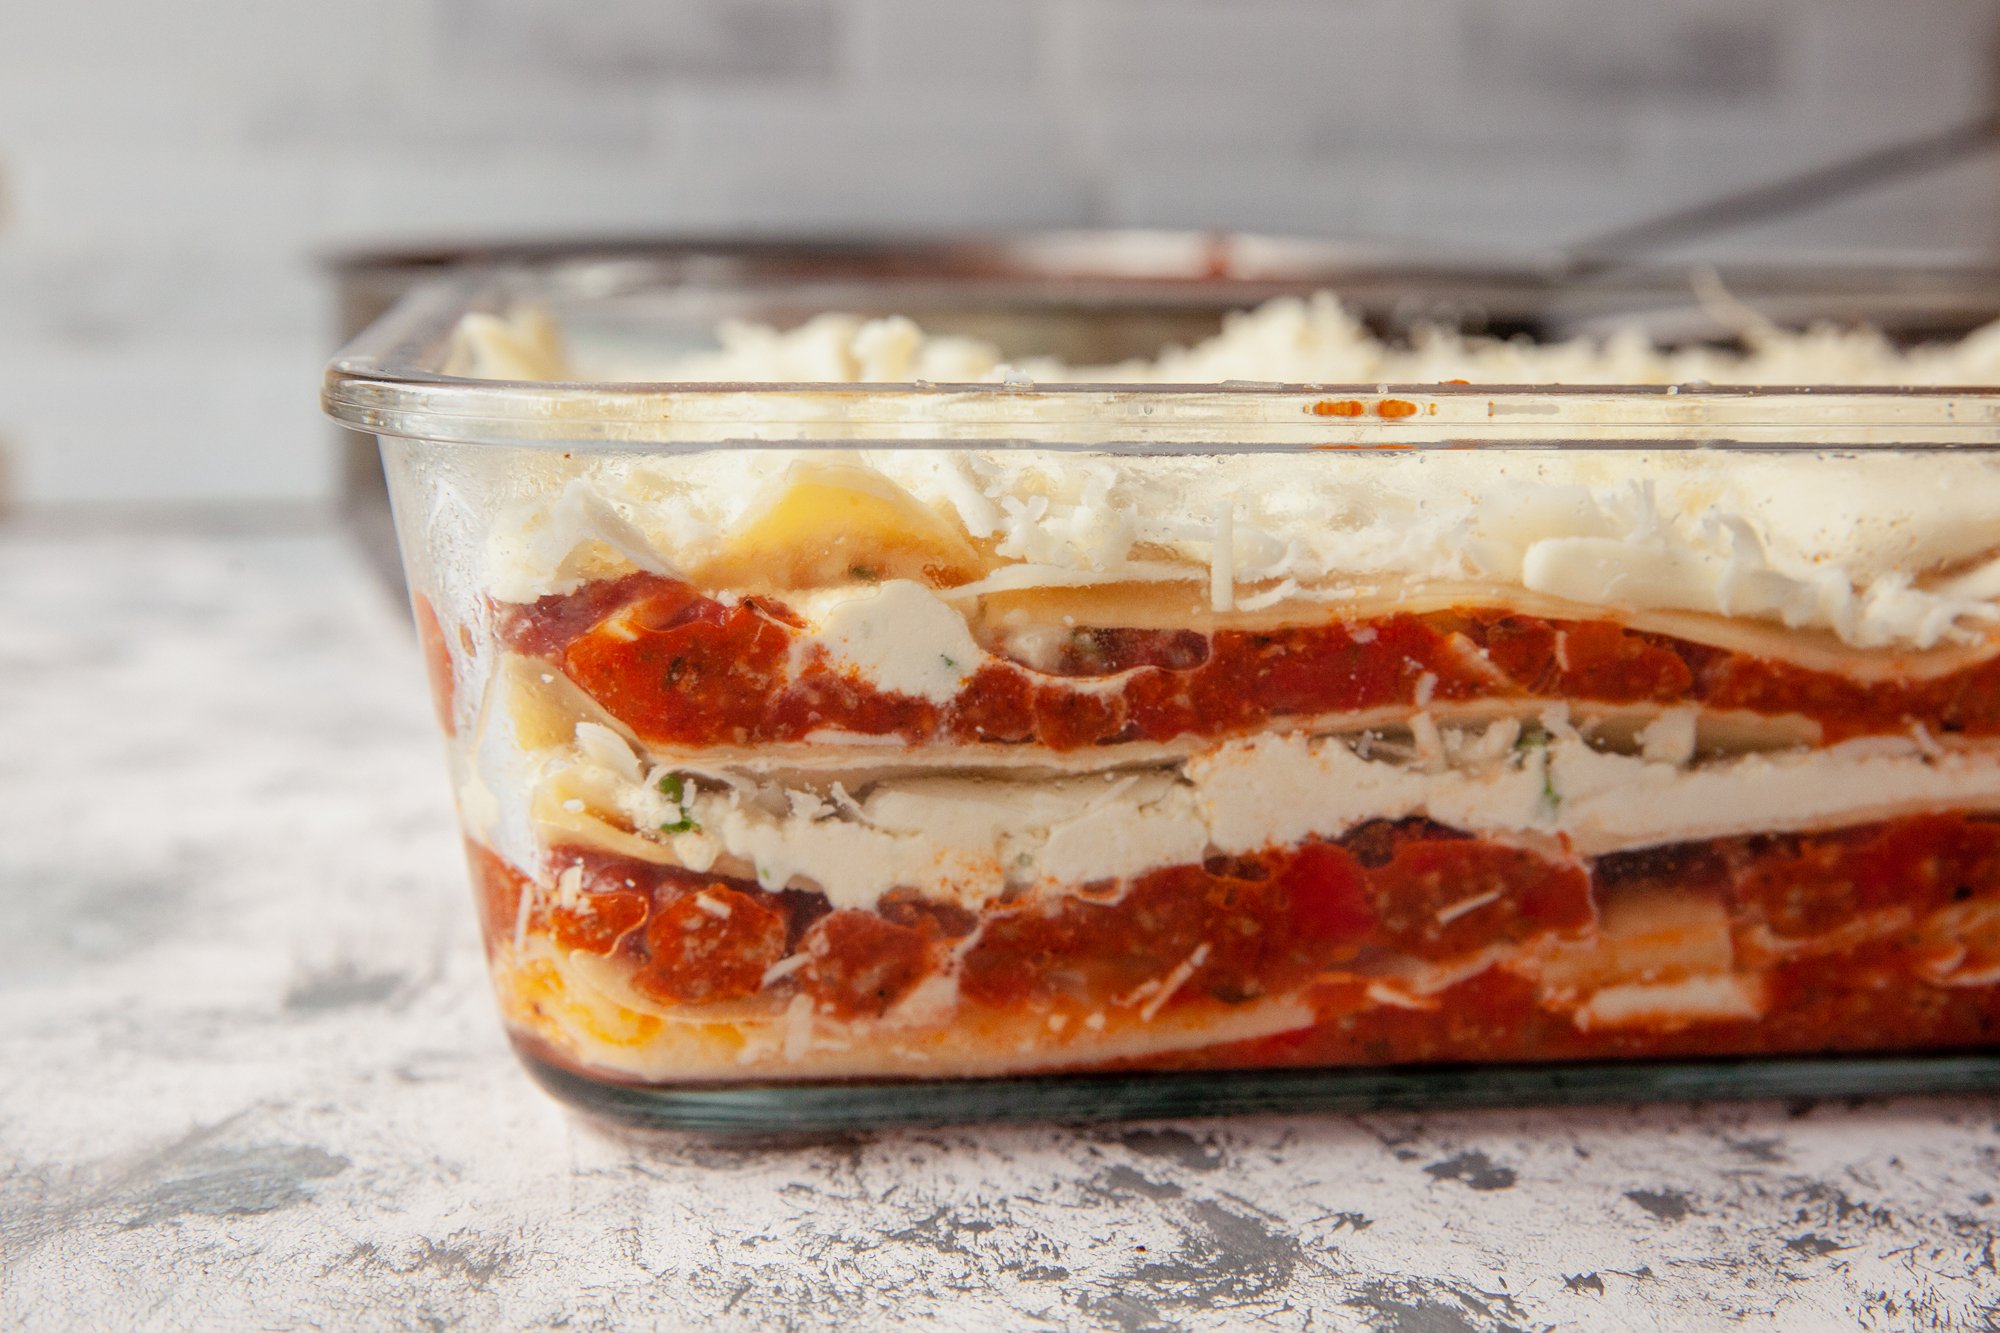
In your lasagna dish (or dishes if using two), place a layer of the meat sauce, and then cover with lasagna noodles. Add a layer of the cheese sauce, and then another layer of lasagna noodles. 
Continue this pattern until you’ve used all of your cheese, but finish with a layer of sauce, and then top with the remaining cup of mozzarella cheese, and parmesan. 
 
You can cover and refrigerate the lasagna (or freeze from here – it's best to freeze it uncooked), until ready to cook. 
 
Preheat the oven to 375, and when ready, cover the lasagna with tin foil, and cook for 25 minutes, and then remove the foil and cook for about 20 more. You may need a little more time if it’s coming straight from the fridge. 
If you’d like the top cheese a little more melted and browned, bake it under the broiler for a few minutes, watching it carefully. 
 
Let cool for 10 minutes and then divide and serve with chopped parsley, grated parmesan and some fresh cracked pepper sprinkled on top. 
 
ENJOY! 

PUBLISHED: “The Art Of Handmade Pasta” - Sweet Potato Magazine

“The Art Of Handmade Pasta”
for Sweet Potato Magazine
April 2022

RECIPE: Pasta From Scratch

Homemade Pasta
for BCLiving
December 2021


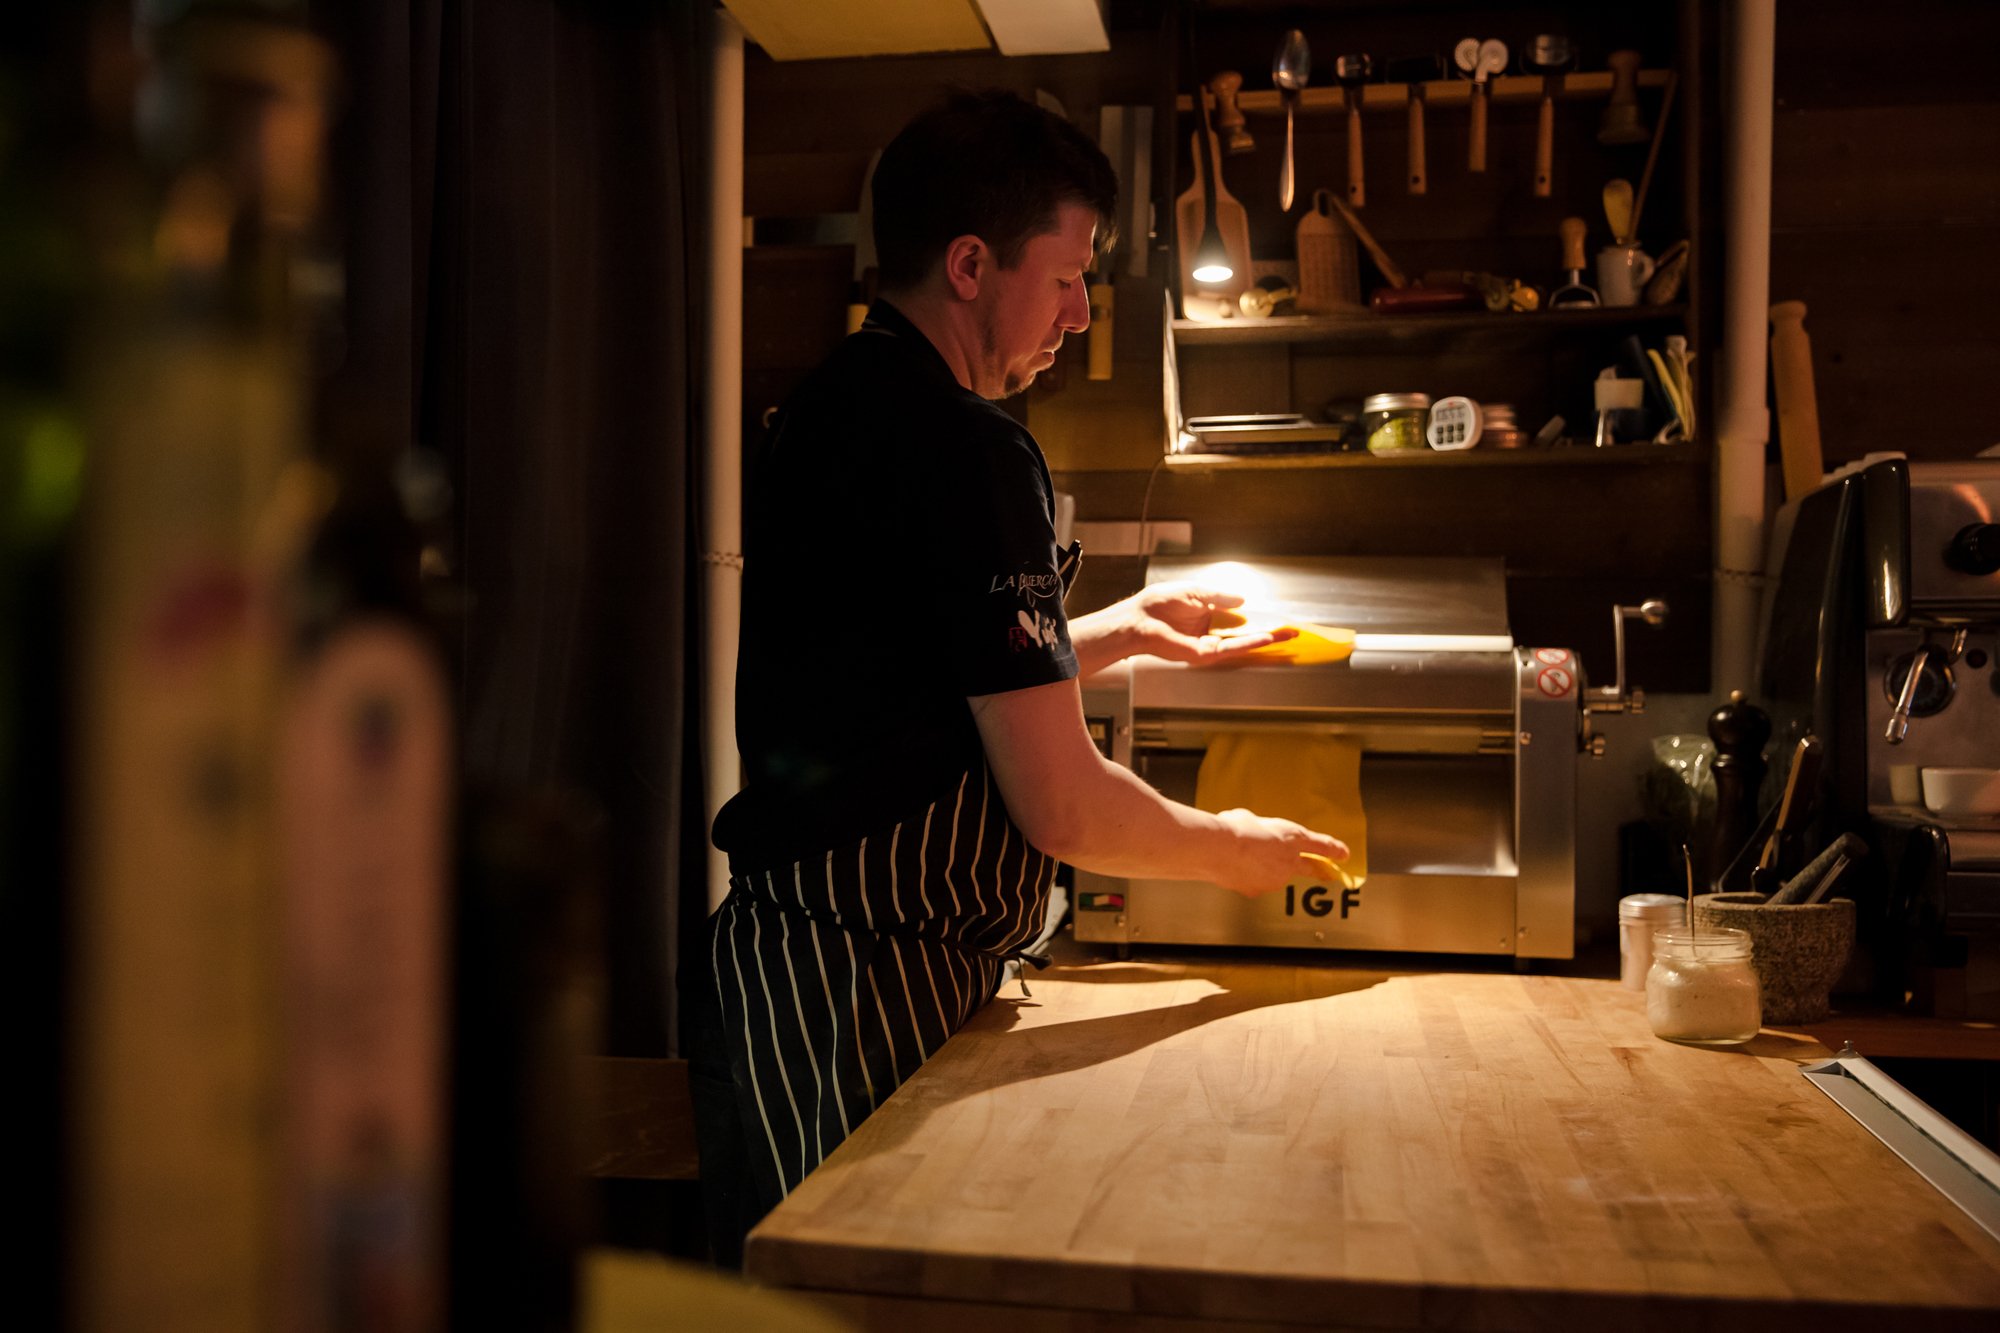
Making pasta from scratch is not as daunting as it might seem, and the time invested is 100% worth the reward. You don’t NEED a pasta maker just a rolling pin and a sharp knife, but the pasta machine will definitely speed things along (esp. if you have the attachment for a stand mixer). 
 
It may take you a try or two, so give yourself an afternoon to experiment. 

Makes 4-6 Servings  

INGREDIENTS 
 
- 2 cups “00” Flour (AP will also work) - and more for dusting/rolling 
- 4 eggs 
- sprinkle of kosher salt 
 
INSTRUCTIONS 
 
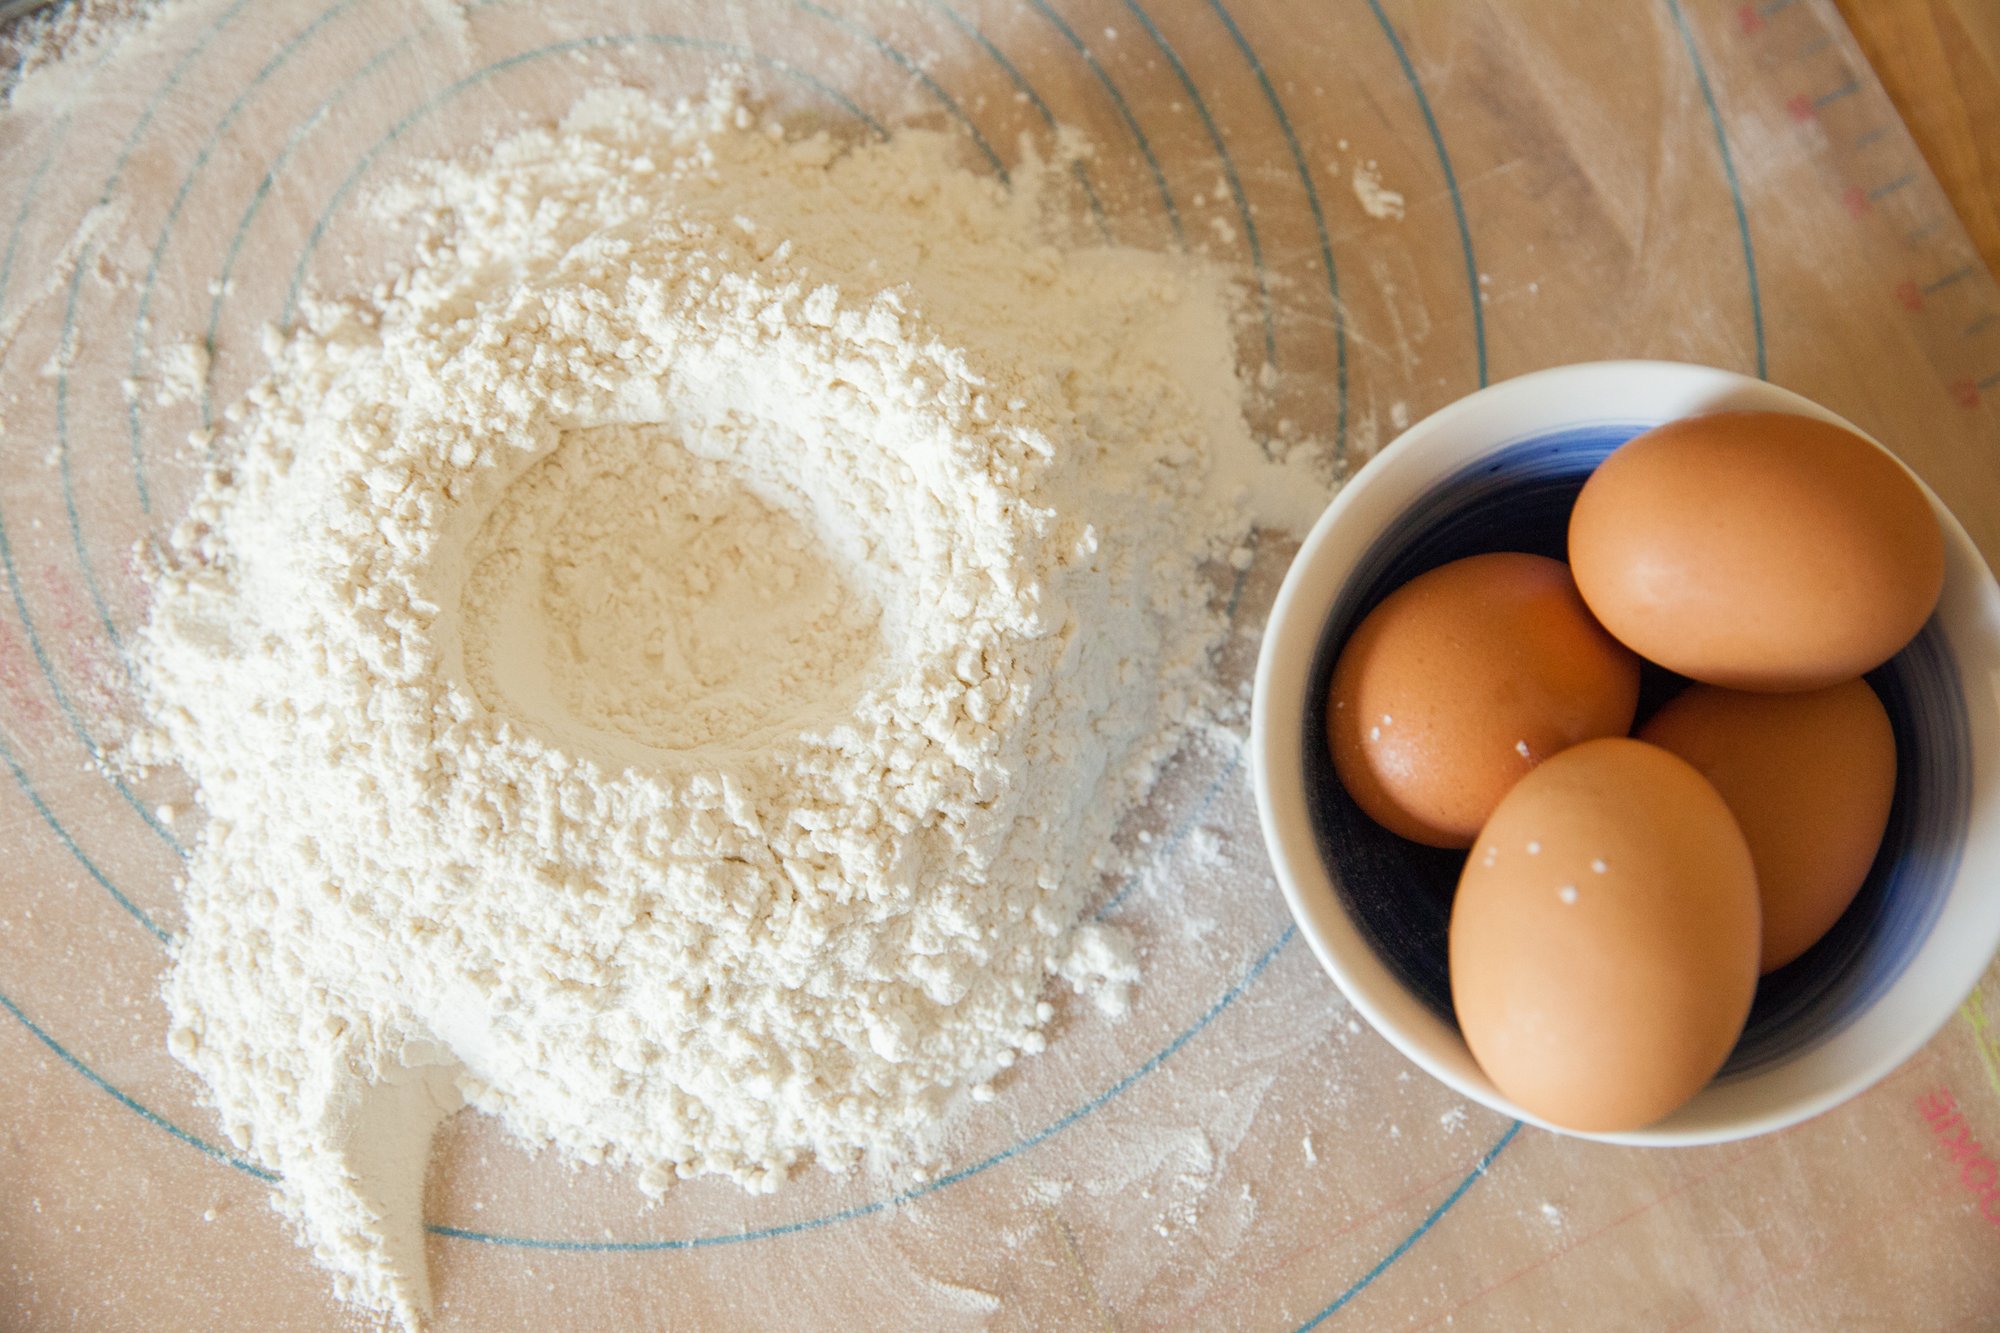
In a large bowl, mix the flour and salt together, and then create a well in the centre. 
 
Crack the 4 eggs into the well, and then with a fork or your fingers, beat them together slightly. Once broken up, start adding the flour from the sides to the mixture, until a loose dough has formed. 
On a floured surface, dump the dough out and begin kneading it for 5-7mins, adding flour as needed if it is too wet. The dough is ready when it is smooth, and if you poke it, it slowly springs back. 
 
Cover with plastic wrap and let sit at room temperature for 30 mins. 
When ready, cut the dough into 4 equal-ish pieces, wrapping the 3 you are not using back in the plastic wrap. 
 
On the floured surface begin to roll the dough into a rectangle, then fold together like an envelope (if you are using a machine you can begin to pass it though). After laminating it a few times, start to roll it (either physically, or on smaller and smaller settings on your pasta maker) until it is quite thin and uniform - continue to thoroughly dust it with flour as needed. 
 
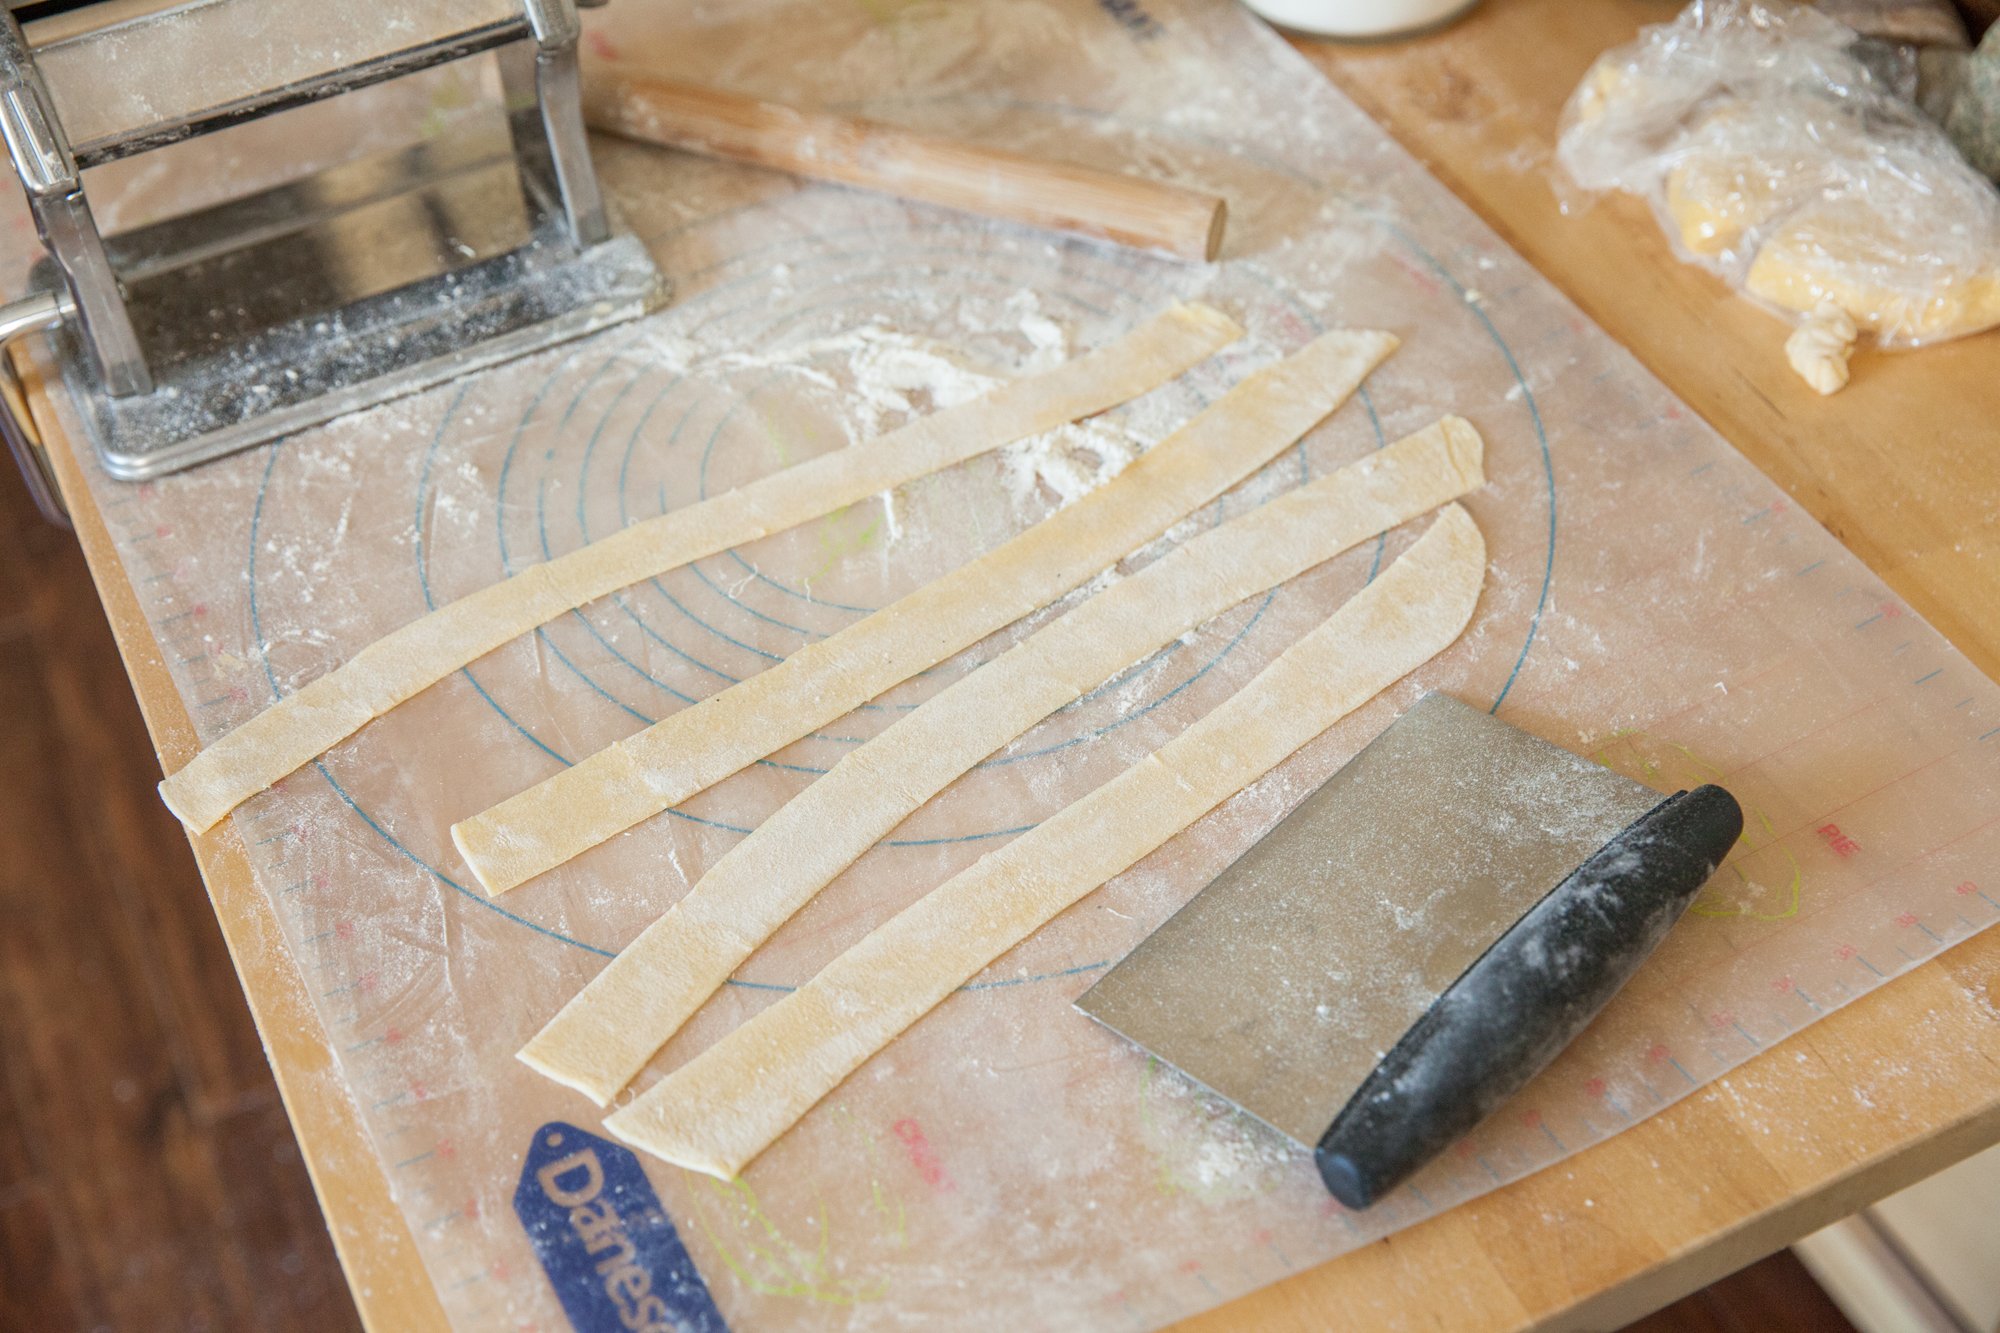
You can now cut it into whatever shape you’d like. If you have an attachment for your machine, run the pasta through and sprinkle with flour again, forming into nests if using immediately. If you want to cut wider strips, fold the sheet of pasta accordion style and cut evenly with a sharp knife. 
 
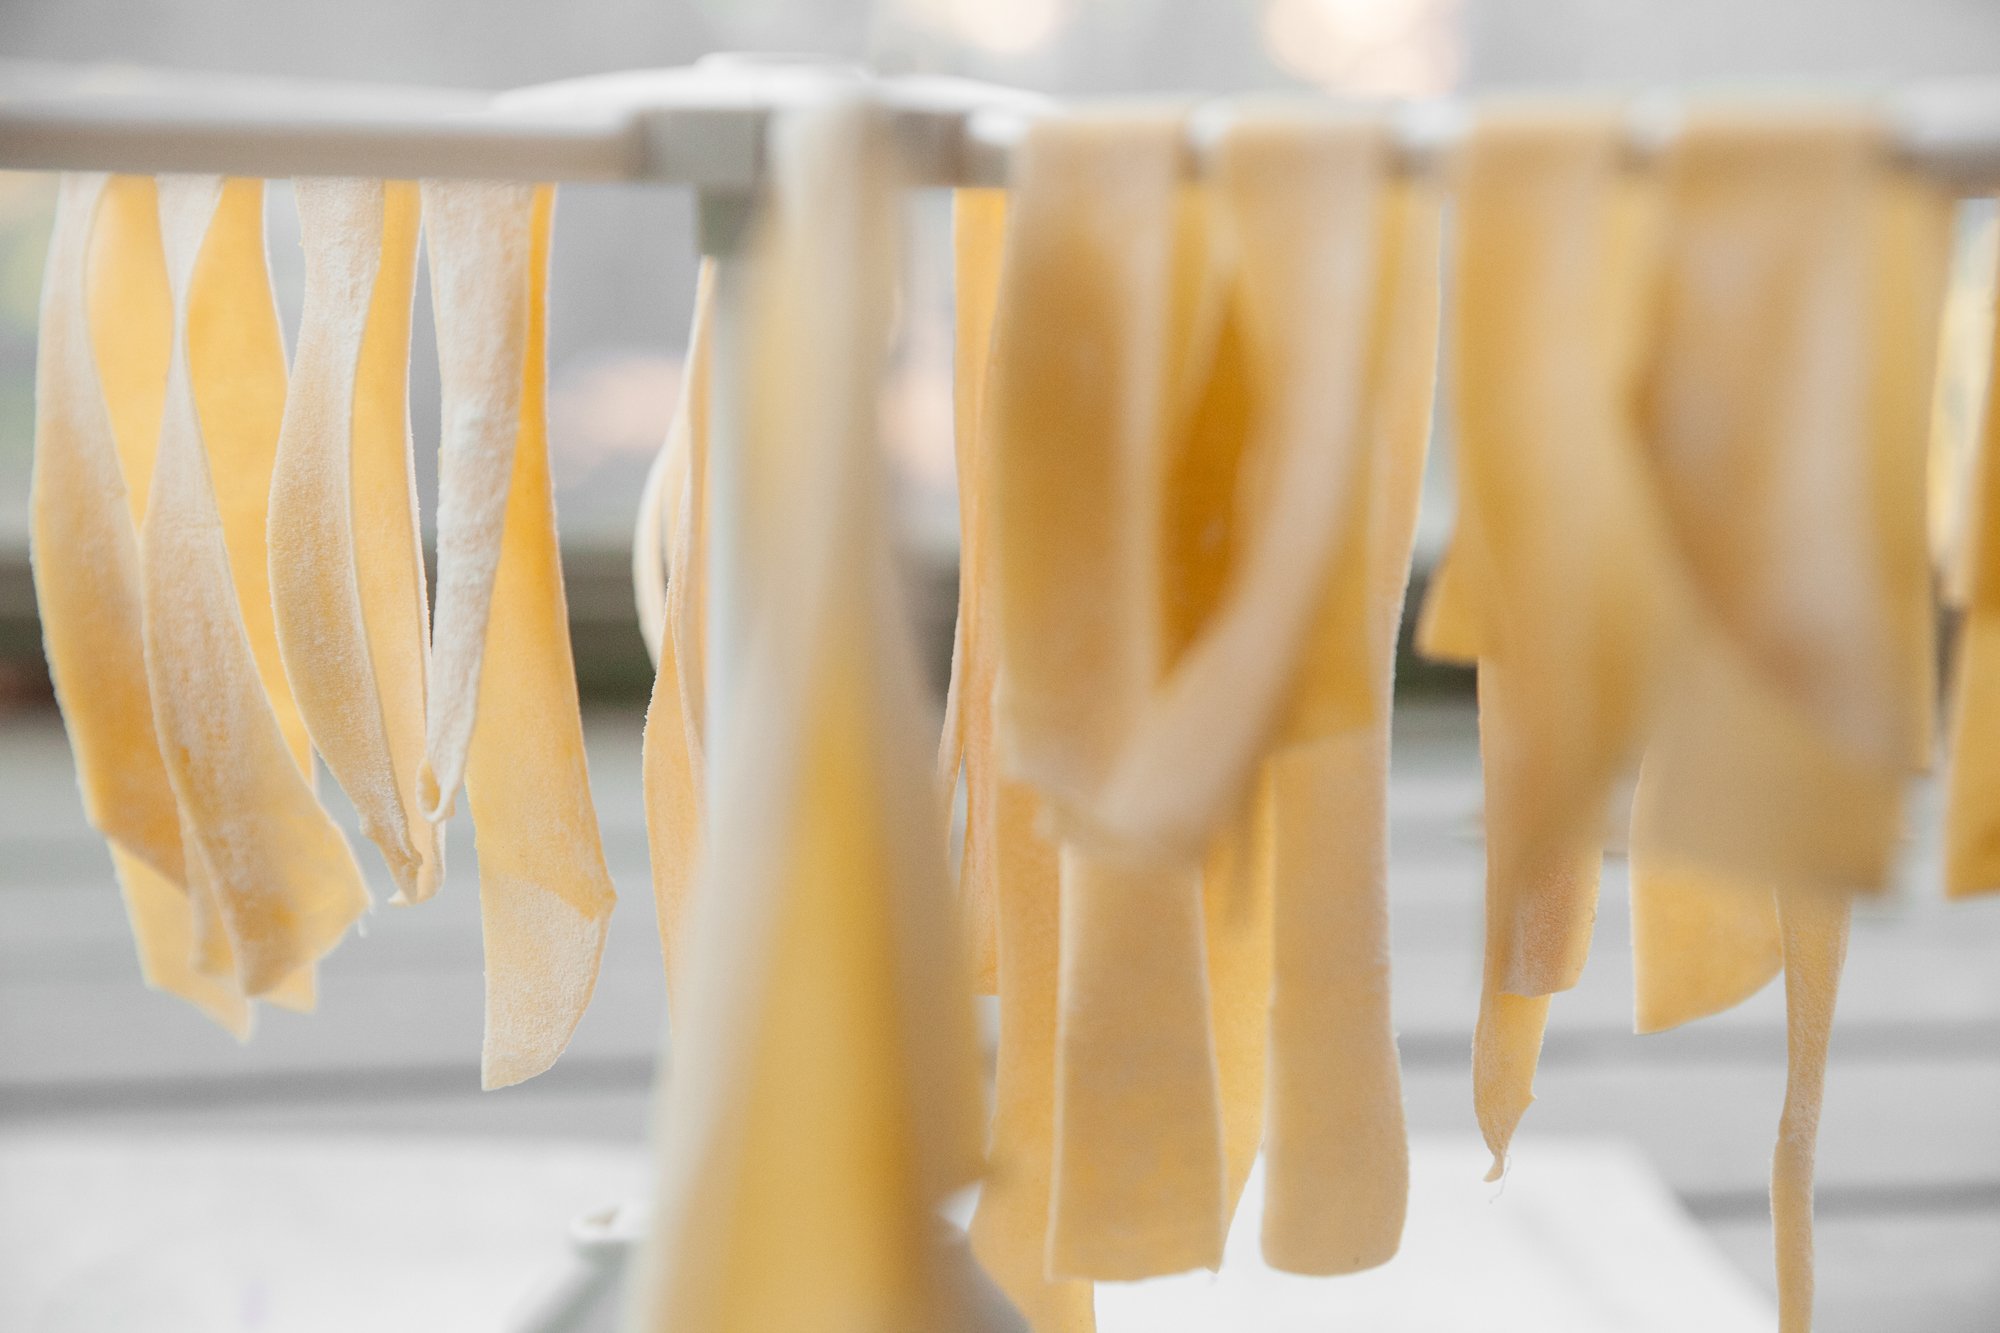
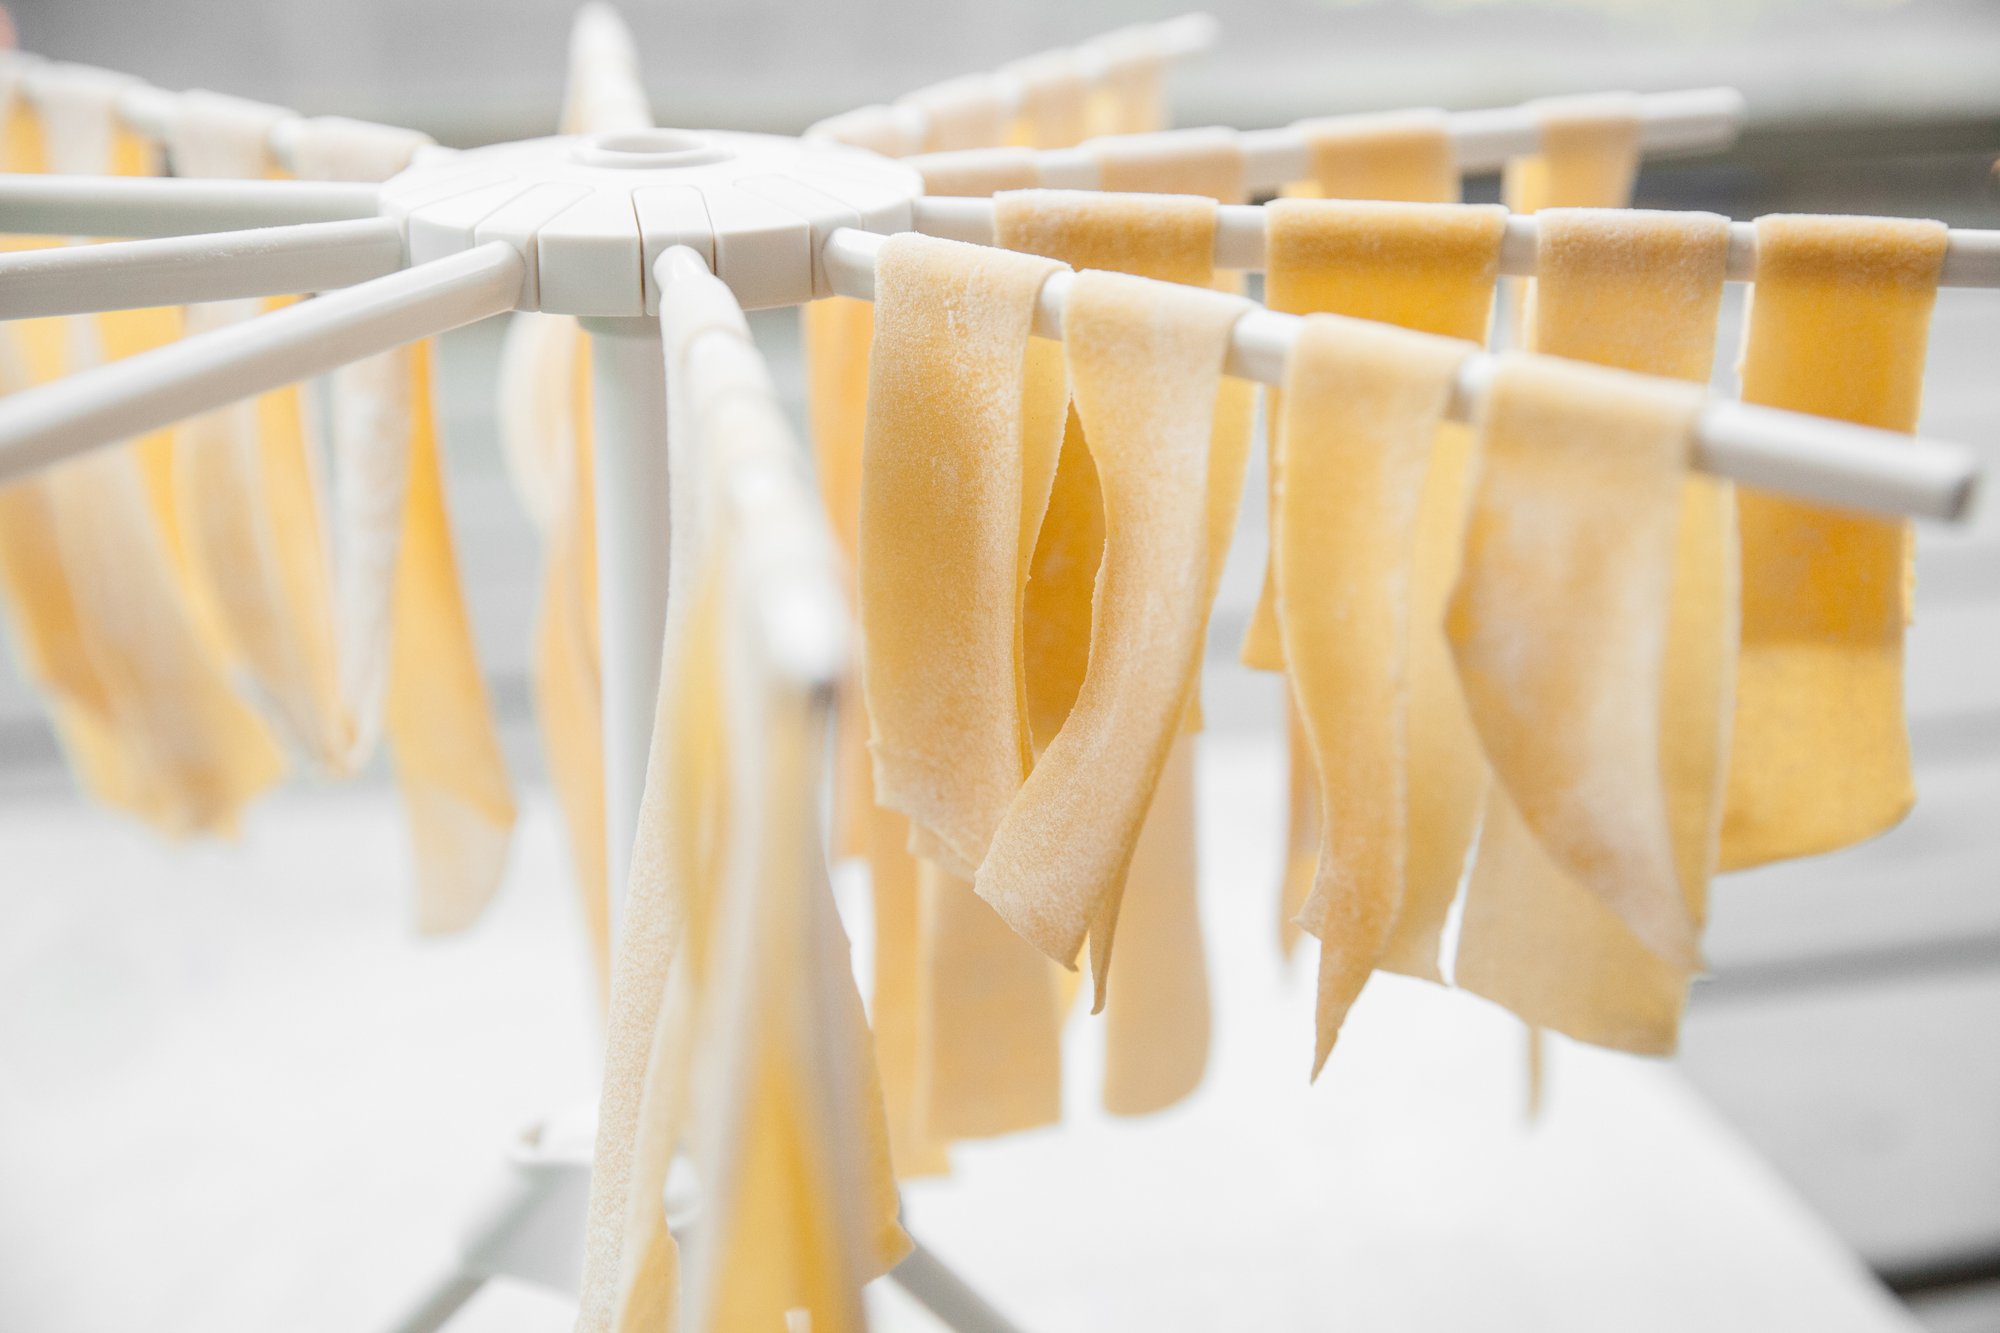
To dry it, find yourself a pasta drying rack – and it also freezes very well this way! 
 
To cook, bring heavily salted water to a boil, and gently drop the fresh pasta in. It only takes a few minutes to cook (depending on the shape and thickness), so keep watch, and have your sauce ready to go. 
(Note: frozen pasta will take a few extra seconds to cook.) 

RECIPE: Vegan Cauliflower Alfredo

Vegan Cauliflower Alfredo– But Make It Vegan
for Environment911.org


Vegan Cauliflower Alfredo 

 
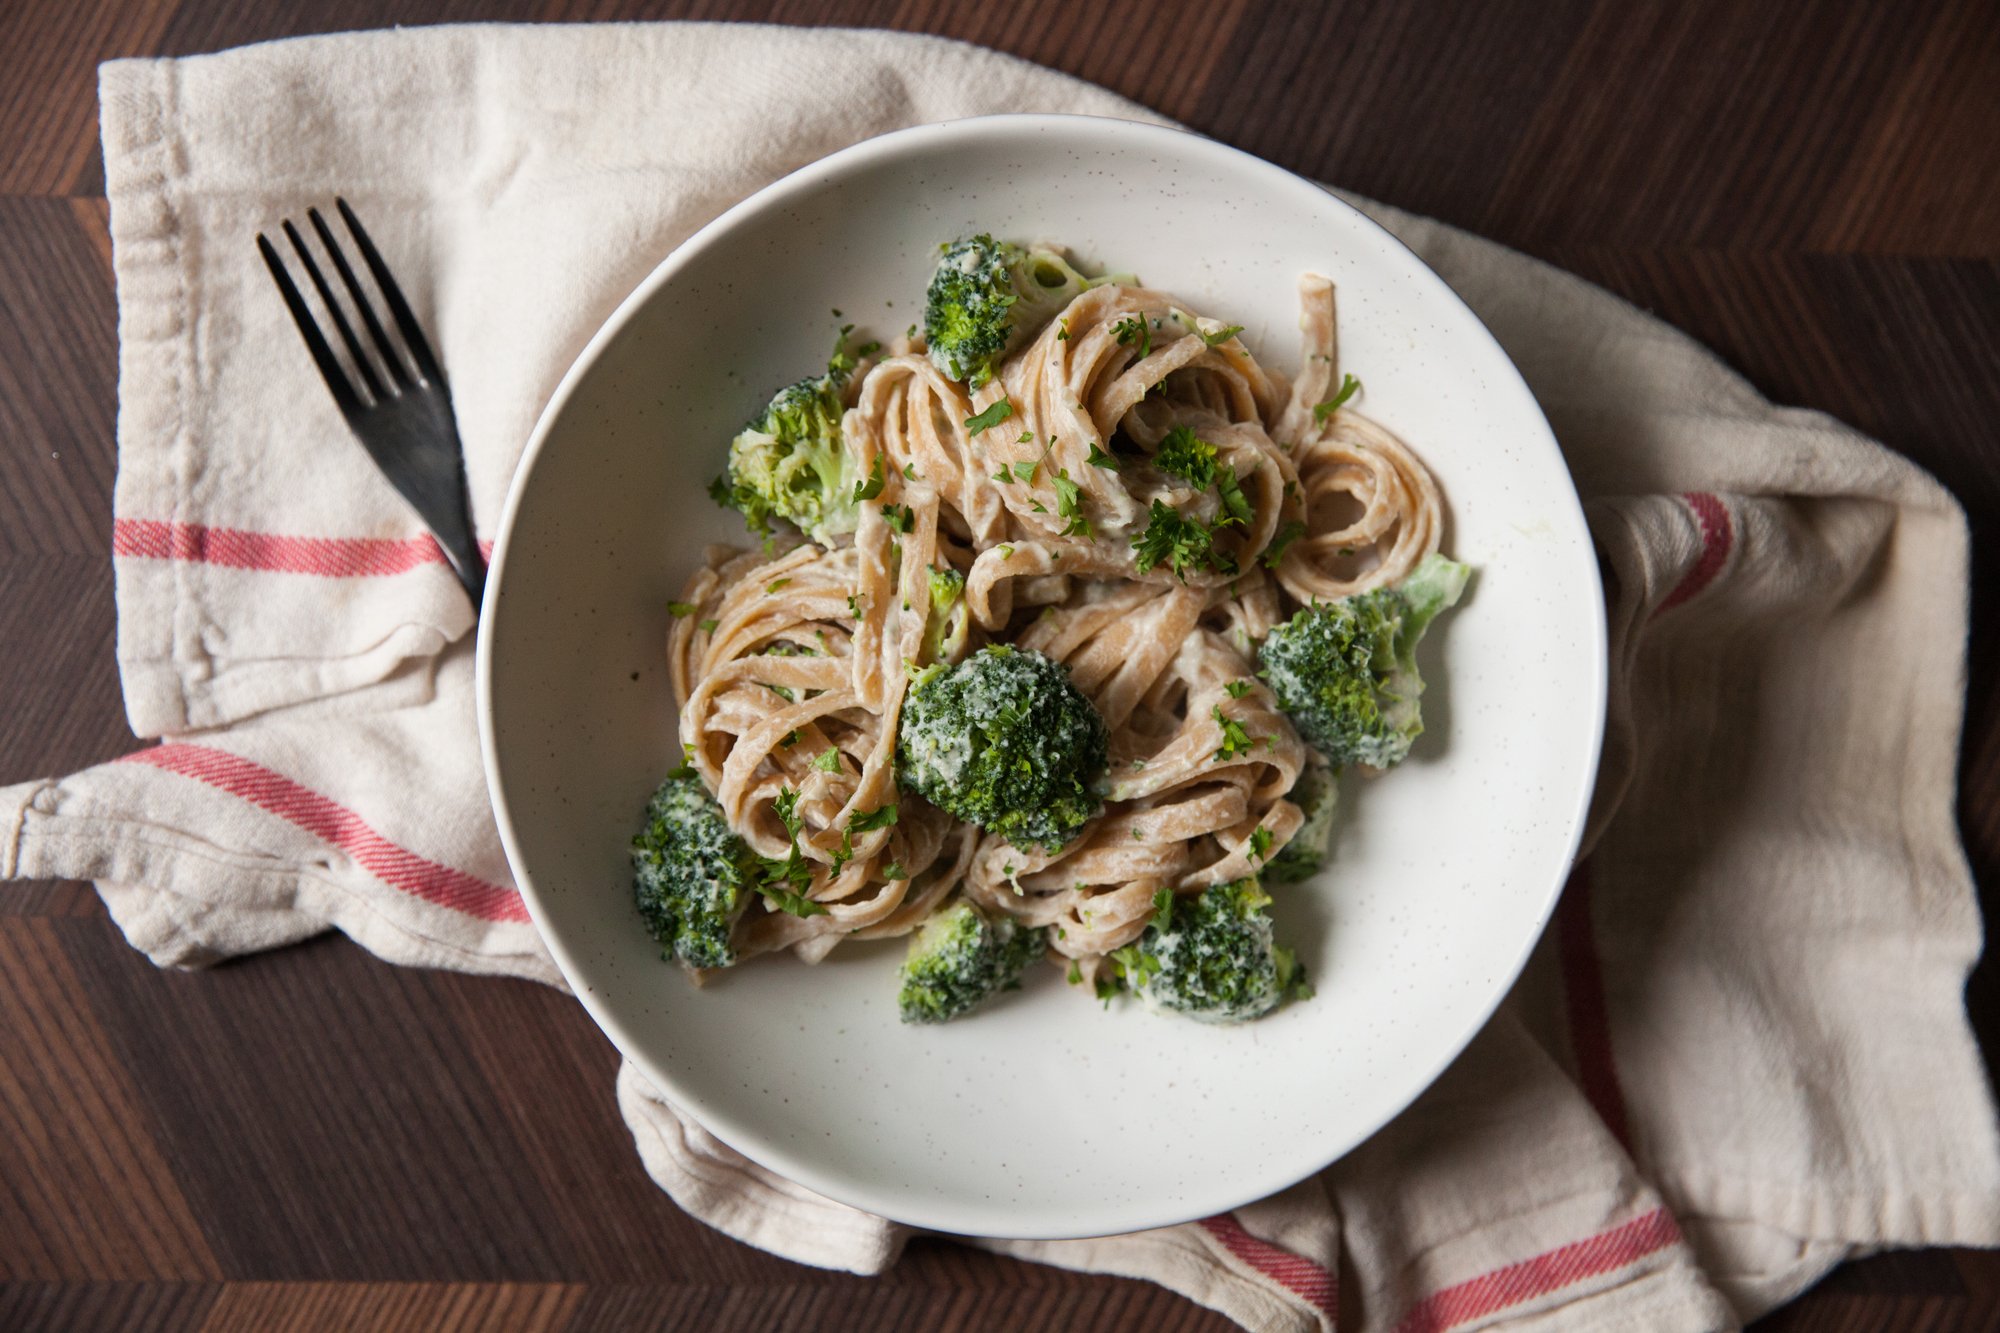
This alfredo sauce isn’t the same as it’s cream and cheese-based counterpart, but it's delicious in its own right. Whether you’re looking for something to mix into your pasta, use as a base for a white pizza, or top off your vegetables, it’s an incredibly versatile vegan recipe. 
 
I’ve even frozen it after making a big batch, so there’s a quick option for a weeknight meal! 
 
INGREDIENTS 
 
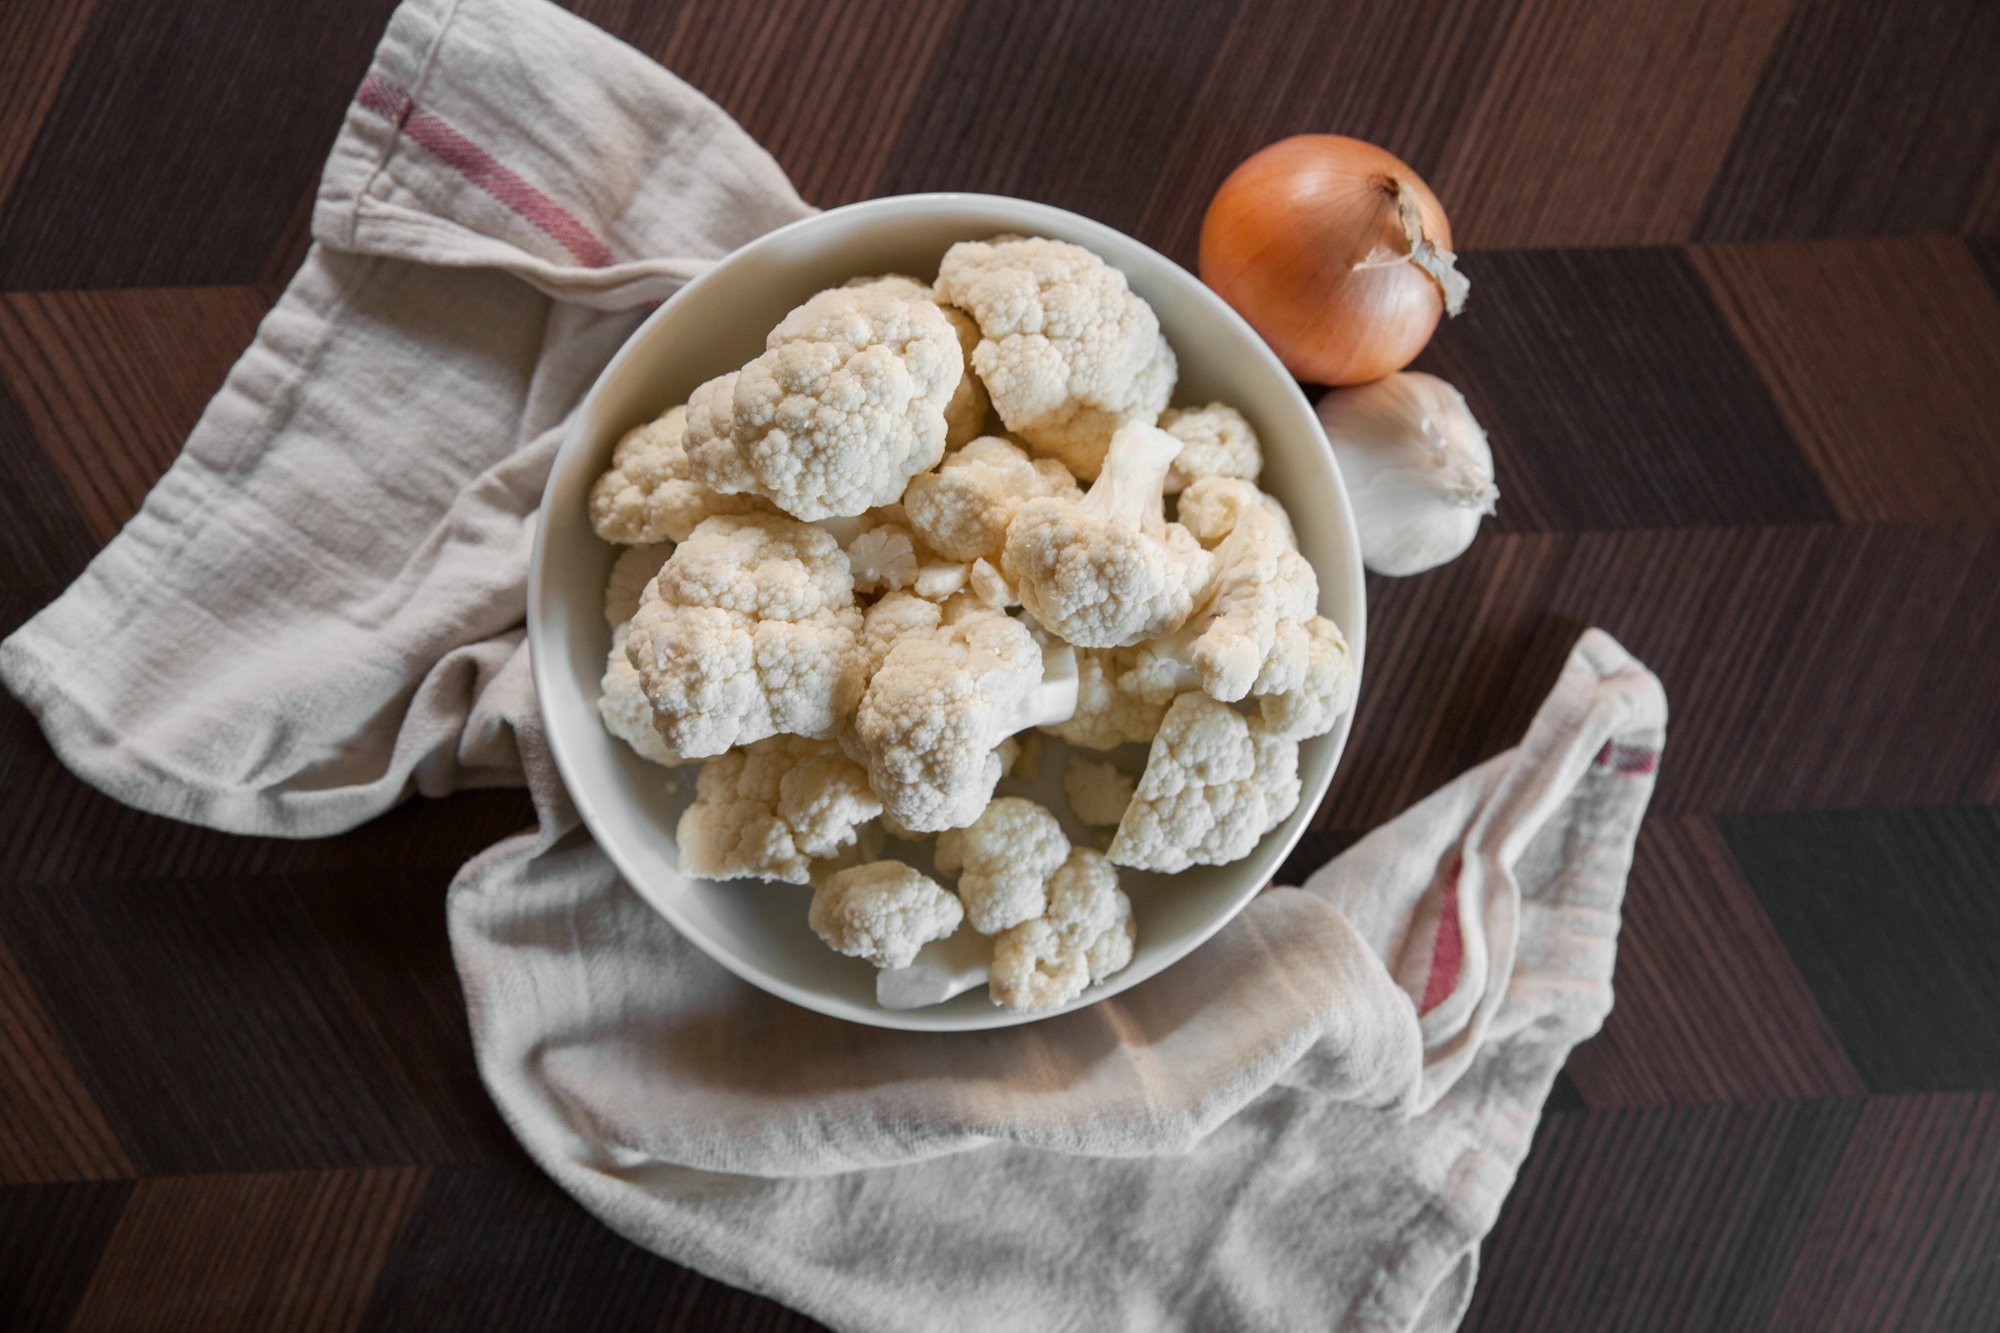
- 4 cups of cauliflower florets 
- 2 cups of non-dairy milk (or vegetable stock) 
- 4 (or more) cloves of garlic, minced 
- 1 tsp vegan butter 
- ½ cup nutritional yeast 
- 2 tsp oregano 
- salt & pepper 
- optional: 1-2 tbsp olive oil 
- optional: vegan parmesan 
 
INSTRUCTIONS 
 
In a large pot, bring the non-dairy milk, or stock, to a low boil. 
Add the cauliflower, cover and cook for 7-10 mins depending on the size of your florets. Cauliflower is done when easily pierced with a fork. 
 
While the cauliflower is cooking, melt butter in a small pan, add minced garlic and cook until fragrant, then set aside. 
 
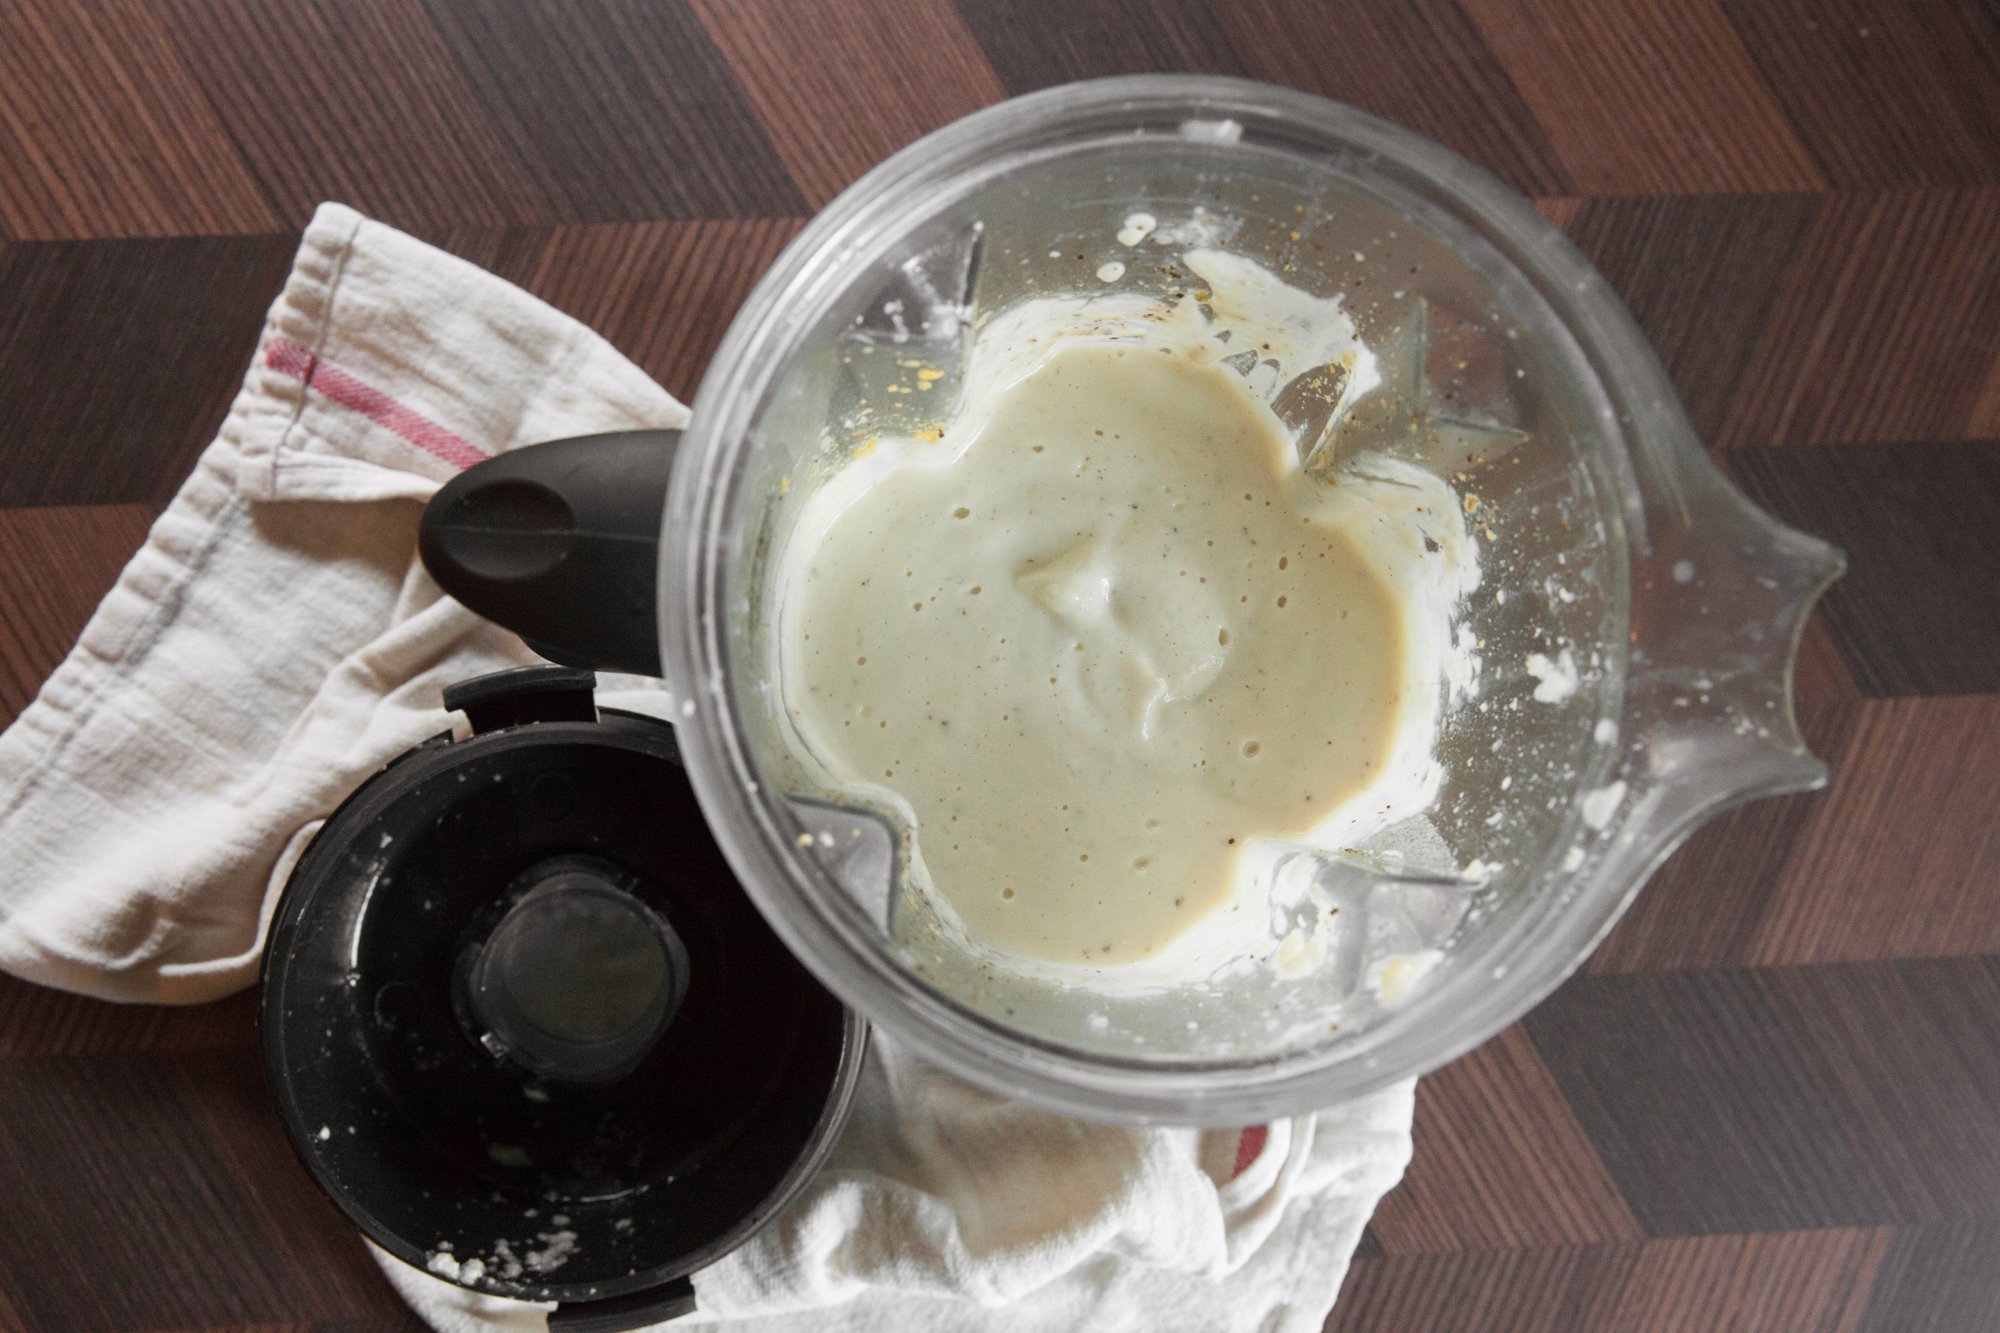
Scoop the cauliflower out of the pot with a slotted spoon, reserving the milk/stock, and place in a high-speed blender. Add in the cooked garlic, spices, and nutritional yeast. Add in about 1 cup of the cooking liquid in and blend on high until smooth. At this time, while the cauliflower is blending, you can slowly add in some olive oil to help make an even creamier sauce. 
 
Taste for seasoning, (if you’d like you can add other ones in here, such as Italian seasoning, and more nutritional yeast, and/or vegan parmesan) and if the sauce is too thick, add more of the cooking liquid.  
 
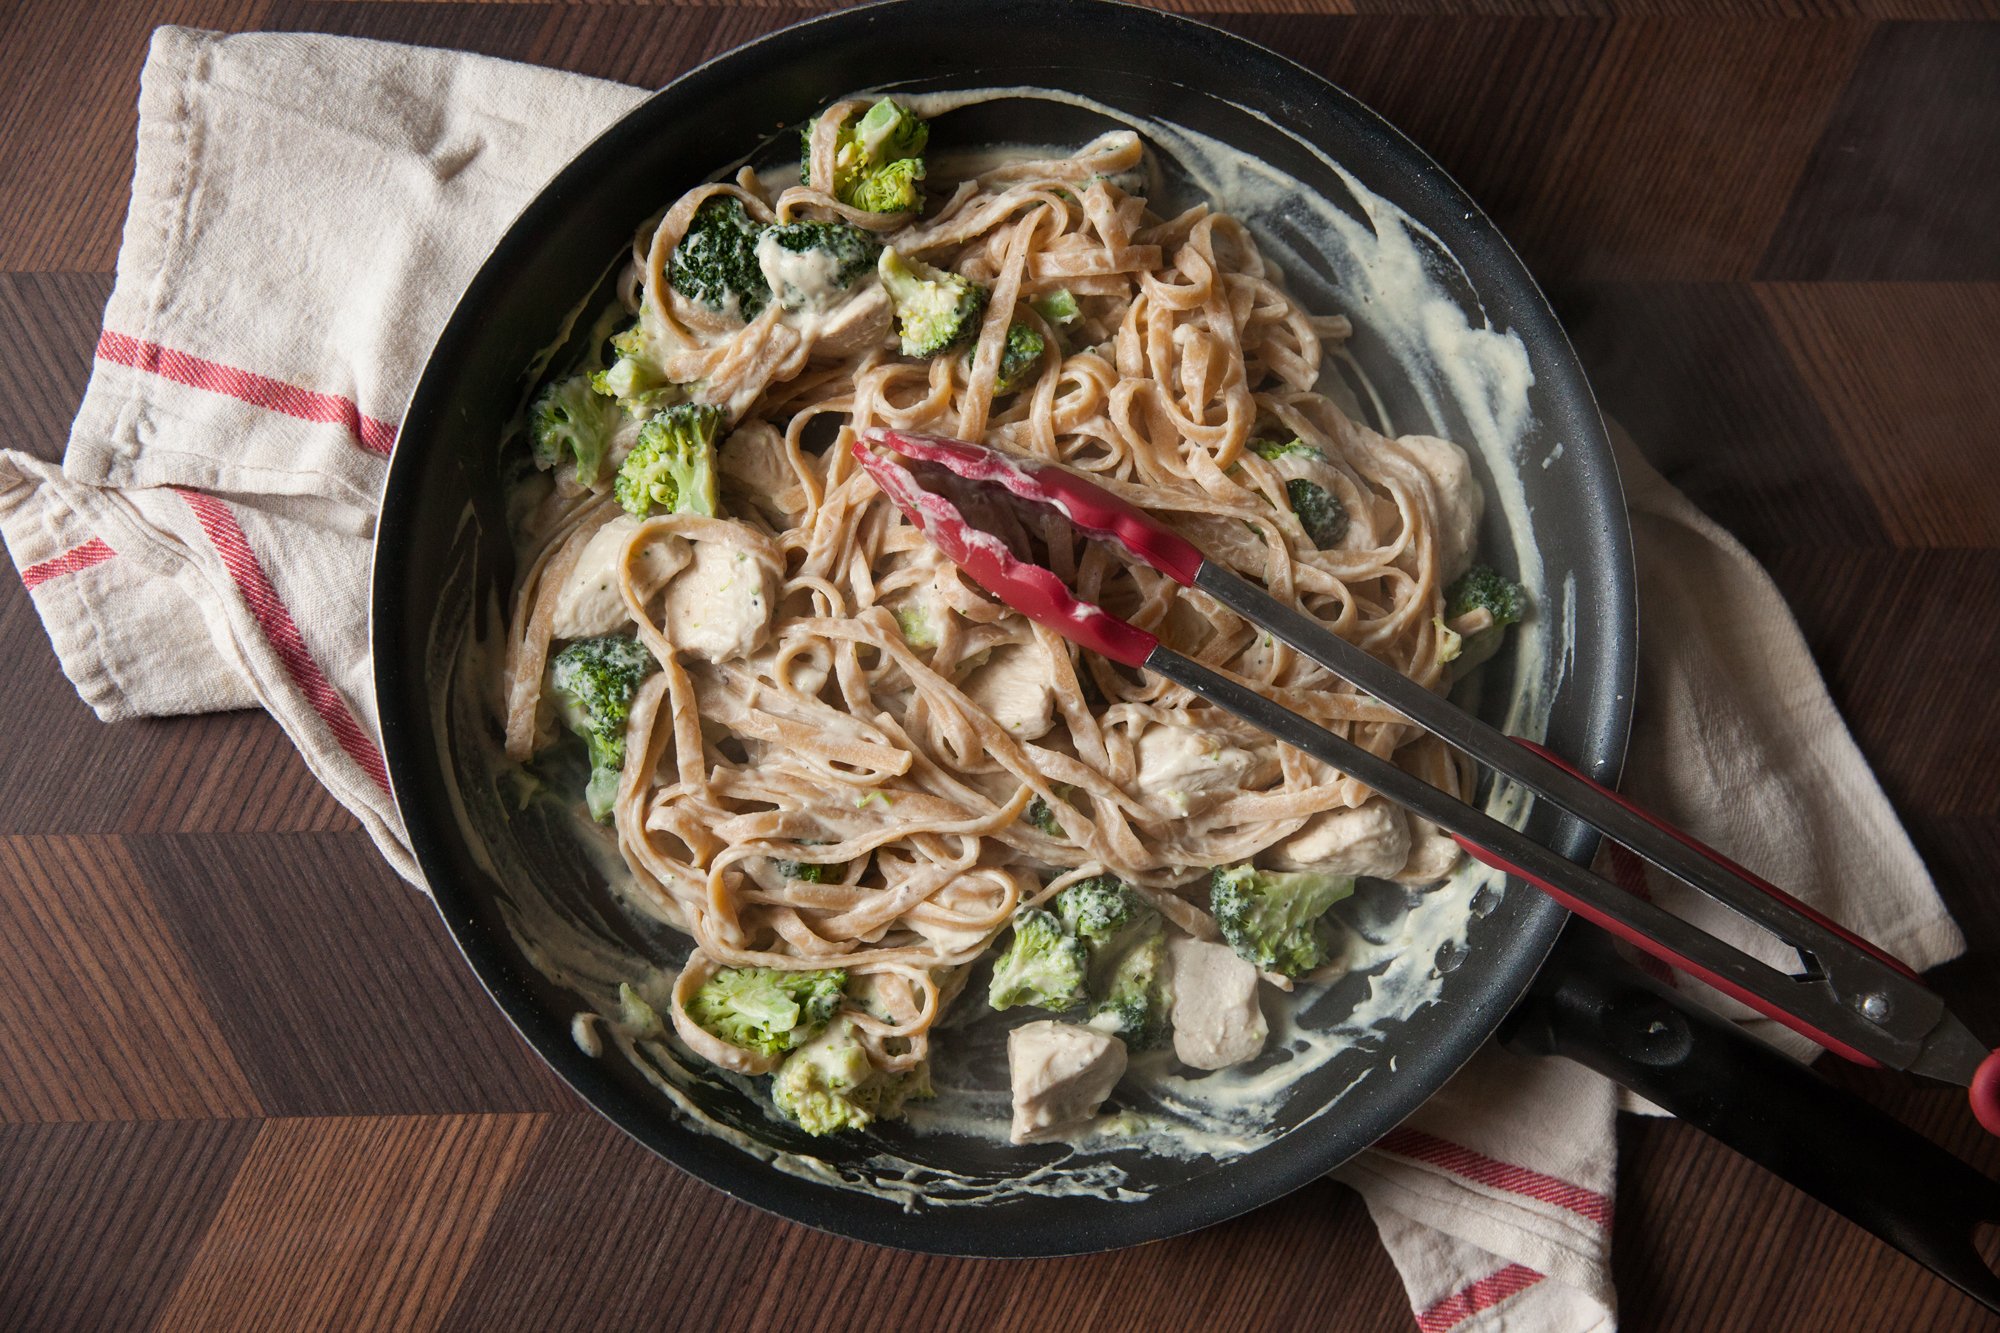
If you’re making pasta, heat in a pan and add the pasta JUST before it’s done cooking – the pasta water will help make the sauce even creamier (add more pasta water if it’s too thick). 
 
This sauce reheats well on its own (on low, covered so it doesn’t splatter), but when reheating it mixed with pasta, you may need to add a little water to rehydrate everything. 
 
Store in the fridge for a few days, or freeze (do NOT fill all the way to the top as it will expand while freezing) for up to 3 months (if you can resist that long!).