Pumpkin Pie
for BC Living “From Scratch”
October 2025
I’ve been making my own pumpkin pie from what I considered to be ‘from scratch’ for years now, but I never made my own crust, and I never roasted my own pie pumpkin (aka a sugar pumpkin), but all of that has changed, and I’m not going back!
The pumpkin tastes so much fresher when you roast it yourself as opposed to getting the canned stuff from the grocery store, and while I used to think a pie crust would be daunting, it turned out to be (fairly) straightforward. I’m going to need to work on my crimping skills, but I’m getting there, and you can too!
INGREDIENTS
For the Crust:
* FOLLOW THIS RECIPE! *
For the Pie Filling:
- 2-3 lb pie pumpkin (aka sugar pumpkin)
- 3/4 cup brown sugar
- 1 tsp ground cinnamon
- 1/2 tsp salt
- 1/2 tsp ground ginger
- 1/4 tsp ground cloves
- ½ tsp nutmeg – freshly ground if you have it
- 2 large eggs, slightly beaten
- 12 oz evaporated milk
INSTRUCTIONS
Start by preheating the oven to 350°F.
Cut the pie pumpkin in half (easiest way is to leave the stem on one side only), scoop out the seeds and stringy bits and discard.
Brush with oil and then place the flesh-sides down on a parchment paper lined baking sheet. You can pierce the skin a few times with a fork as well.
Bake for about 40-50 minutes until the flesh is soft, then remove and let cool. Scoop out the flesh, and then puree it in a high-speed blender, food processor, or with an immersion blender.
Let cool completely before using. It should keep well in a sealed container in the fridge for up to a week.
Preheat the oven to 400°F.
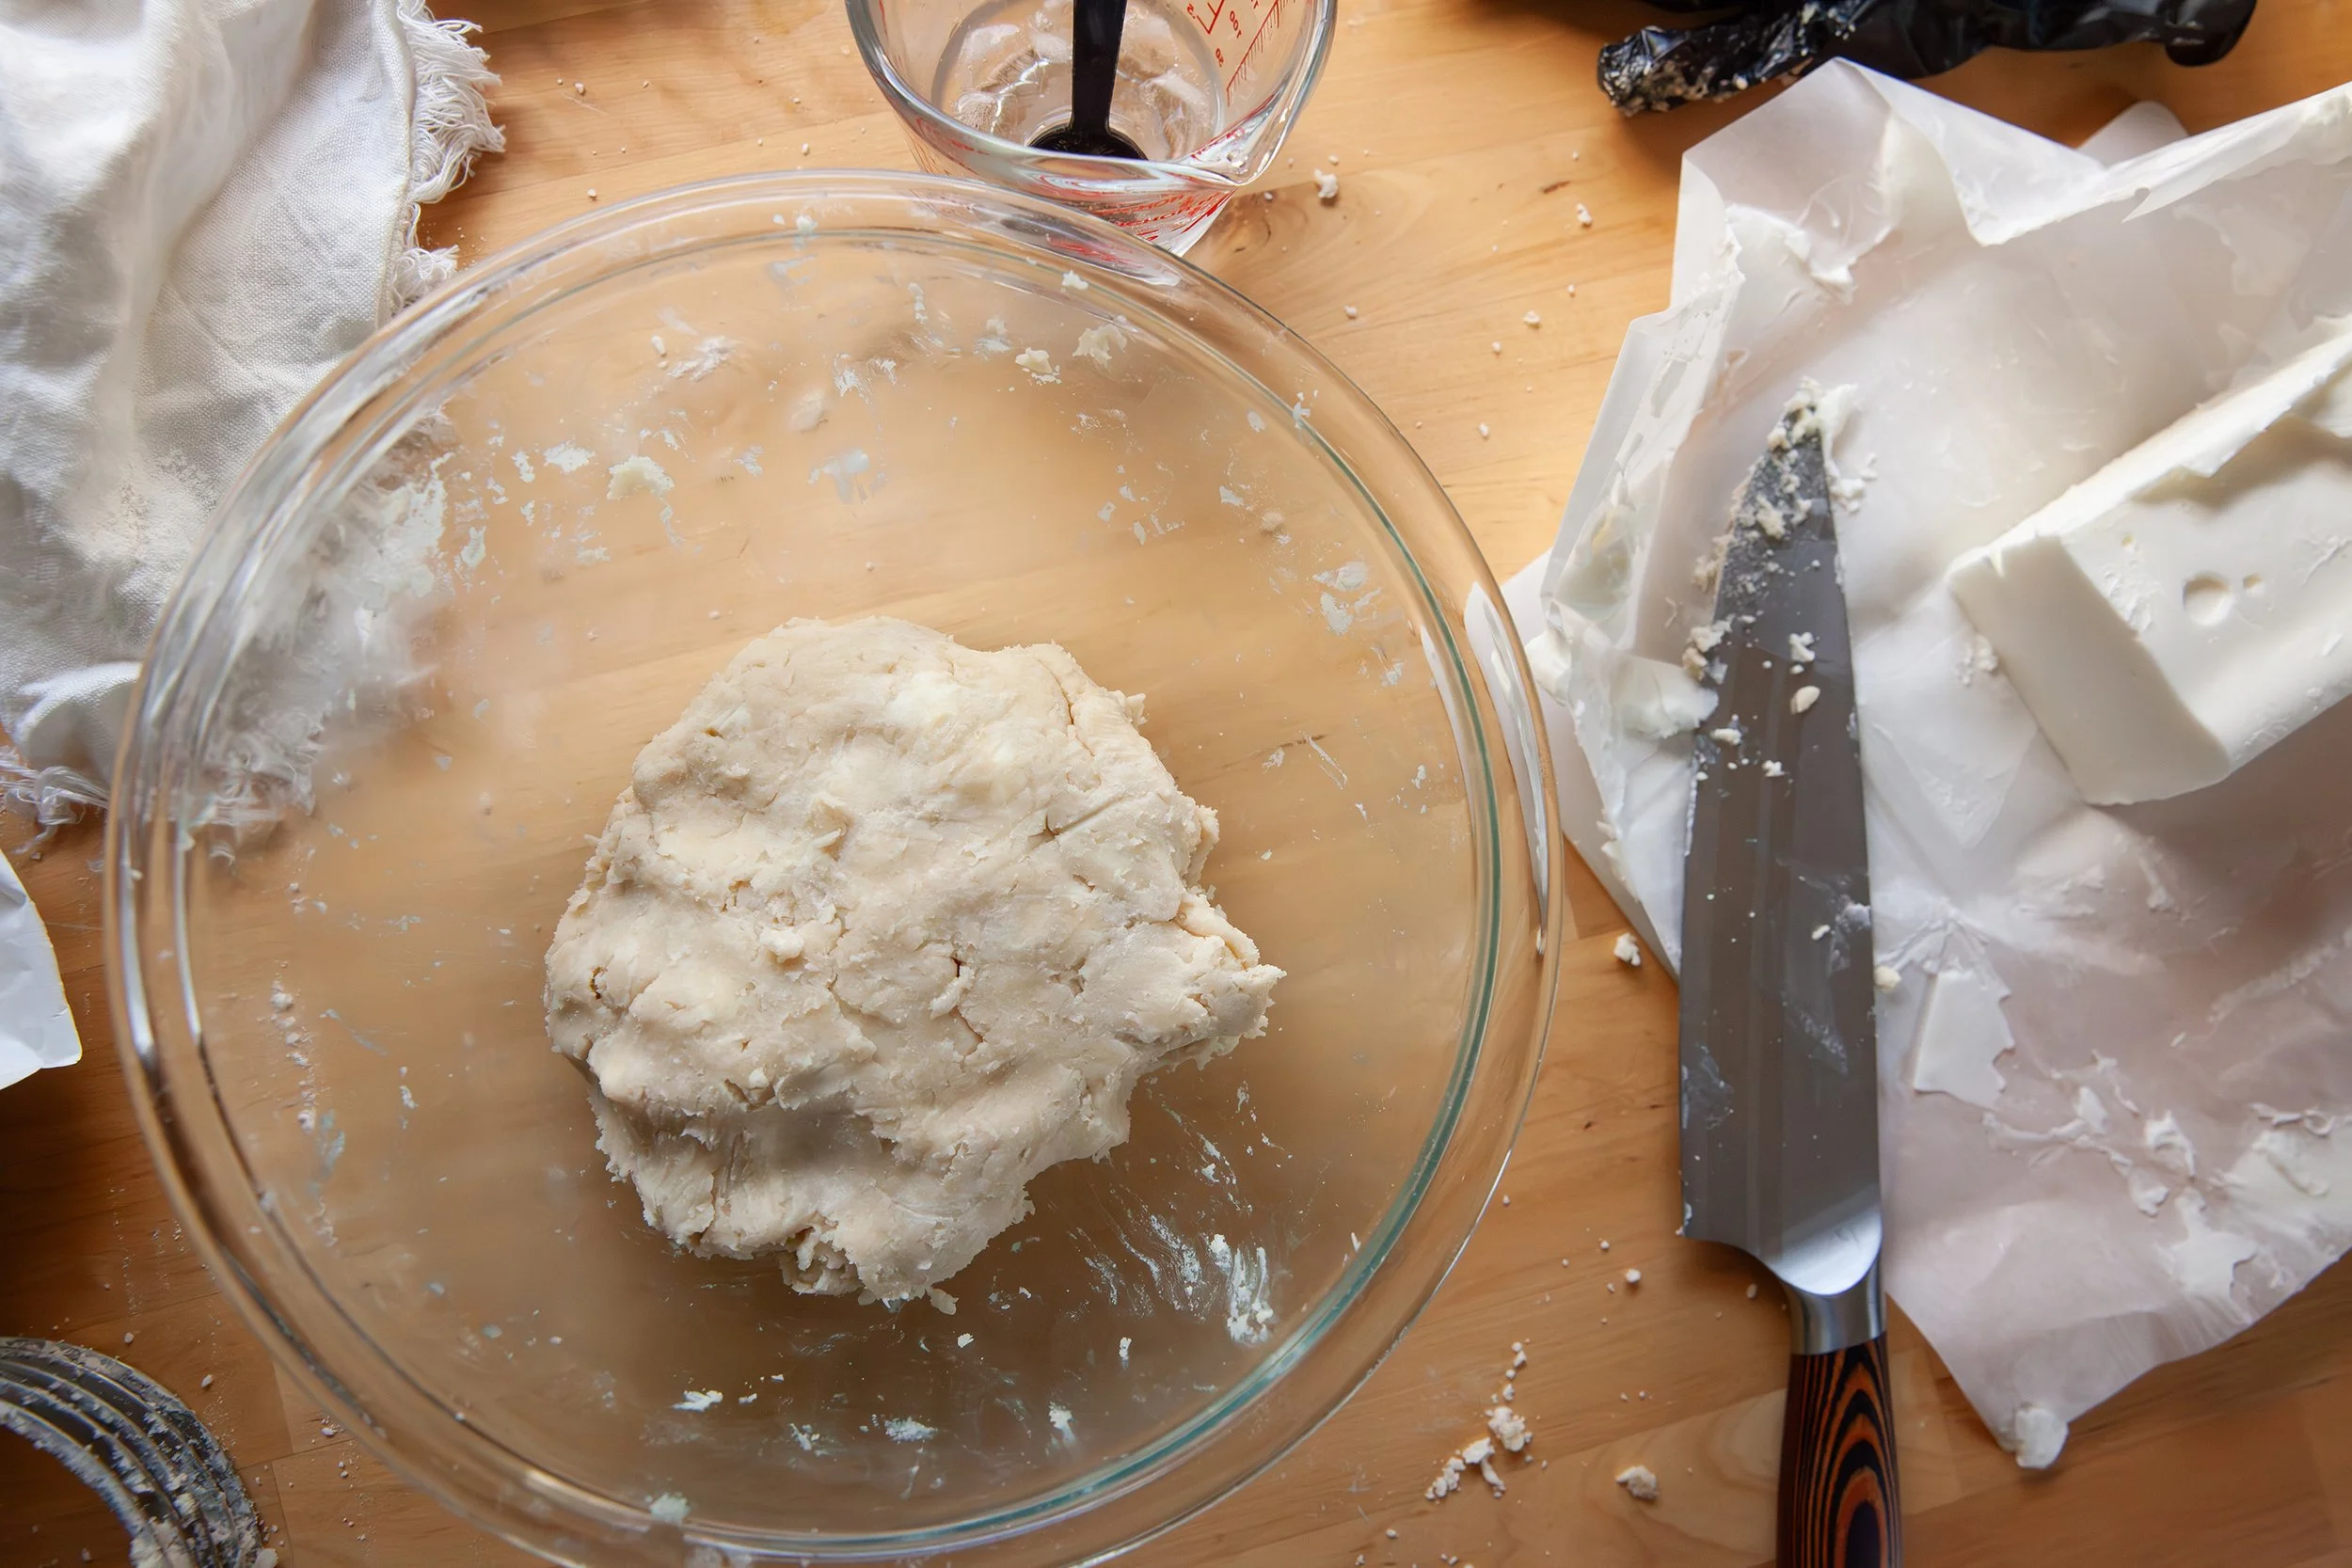
Make the crust with the linked instructions above.
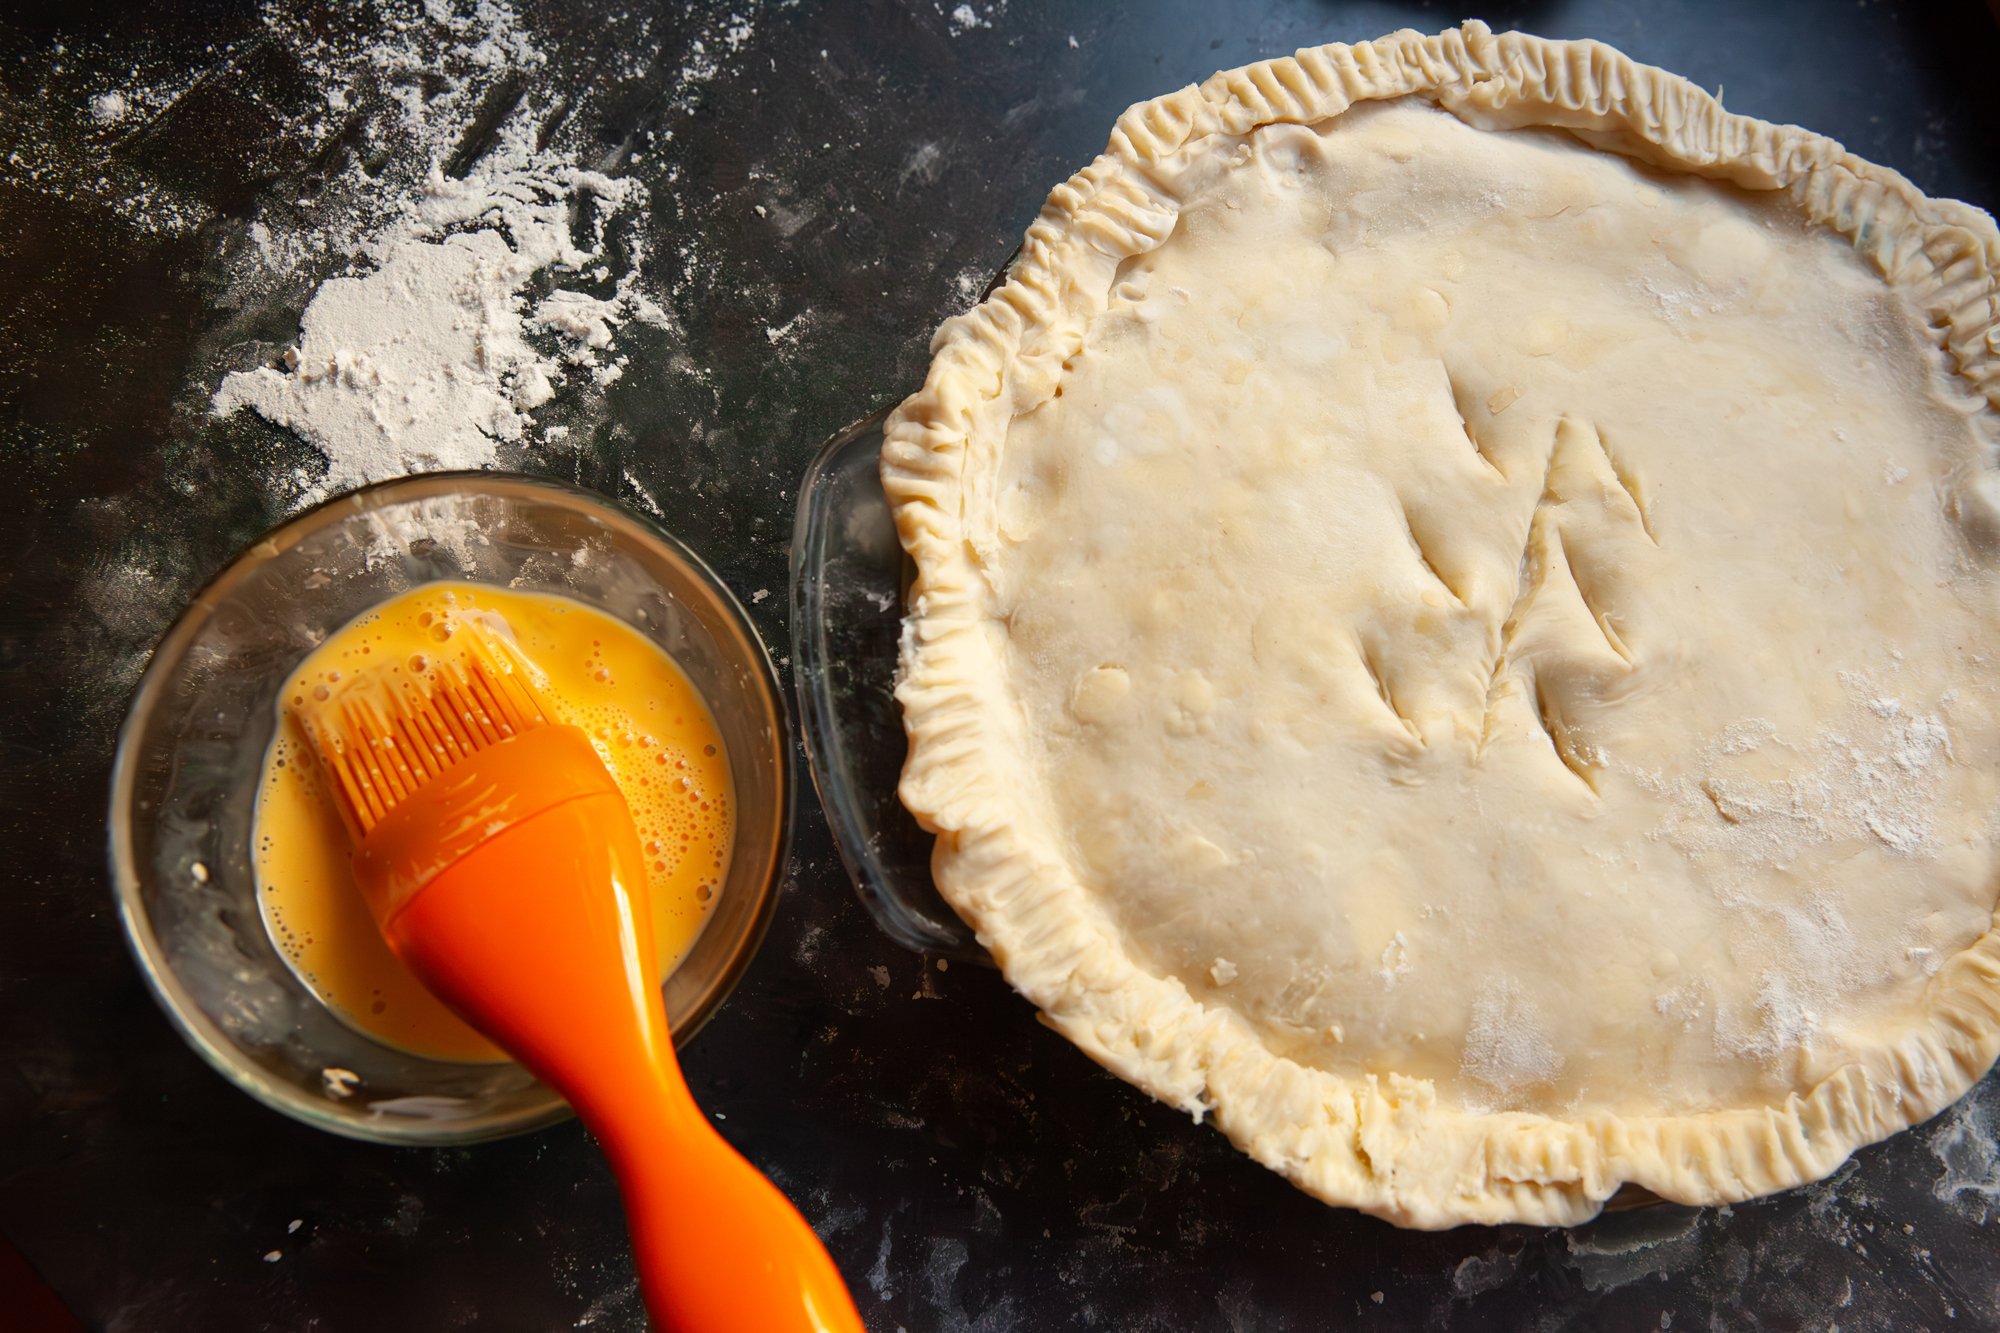
Optionally add an egg wash to the crust before it’s baked.
When the crust is ready in the pie dish, it’s a good idea to par-bake it in the oven. Place some pie weights on the crust if you have them (dry beans will also work) and bake for about 8 minutes then remove the weights and bake for another 5-6 minutes.
This helps the crust bake and have a firm layer before you add the pie filling.
Mix 2 cups of the pureed pumpkin in a bowl with the slightly beaten eggs, the brown sugar, cinnamon, salt, ginger, cloves, and nutmeg, and the evaporated milk.
Whisk or beat with a hand mixer until everything is incorporated and smooth.
Add to the pie crust without over-filling the dish. If there is extra filling that means you can make mini pies with the leftover dough!
Bake the pie for 40-60 minutes (checking frequently after 40) until a knife inserted near the edge comes out clean. You may want to cover the edges with foil to prevent them from burning as the mixture cooks.
The center of the pie should be firm but can jiggle a tiny amount as it will continue to cook and firm up after it’s removed from the oven.
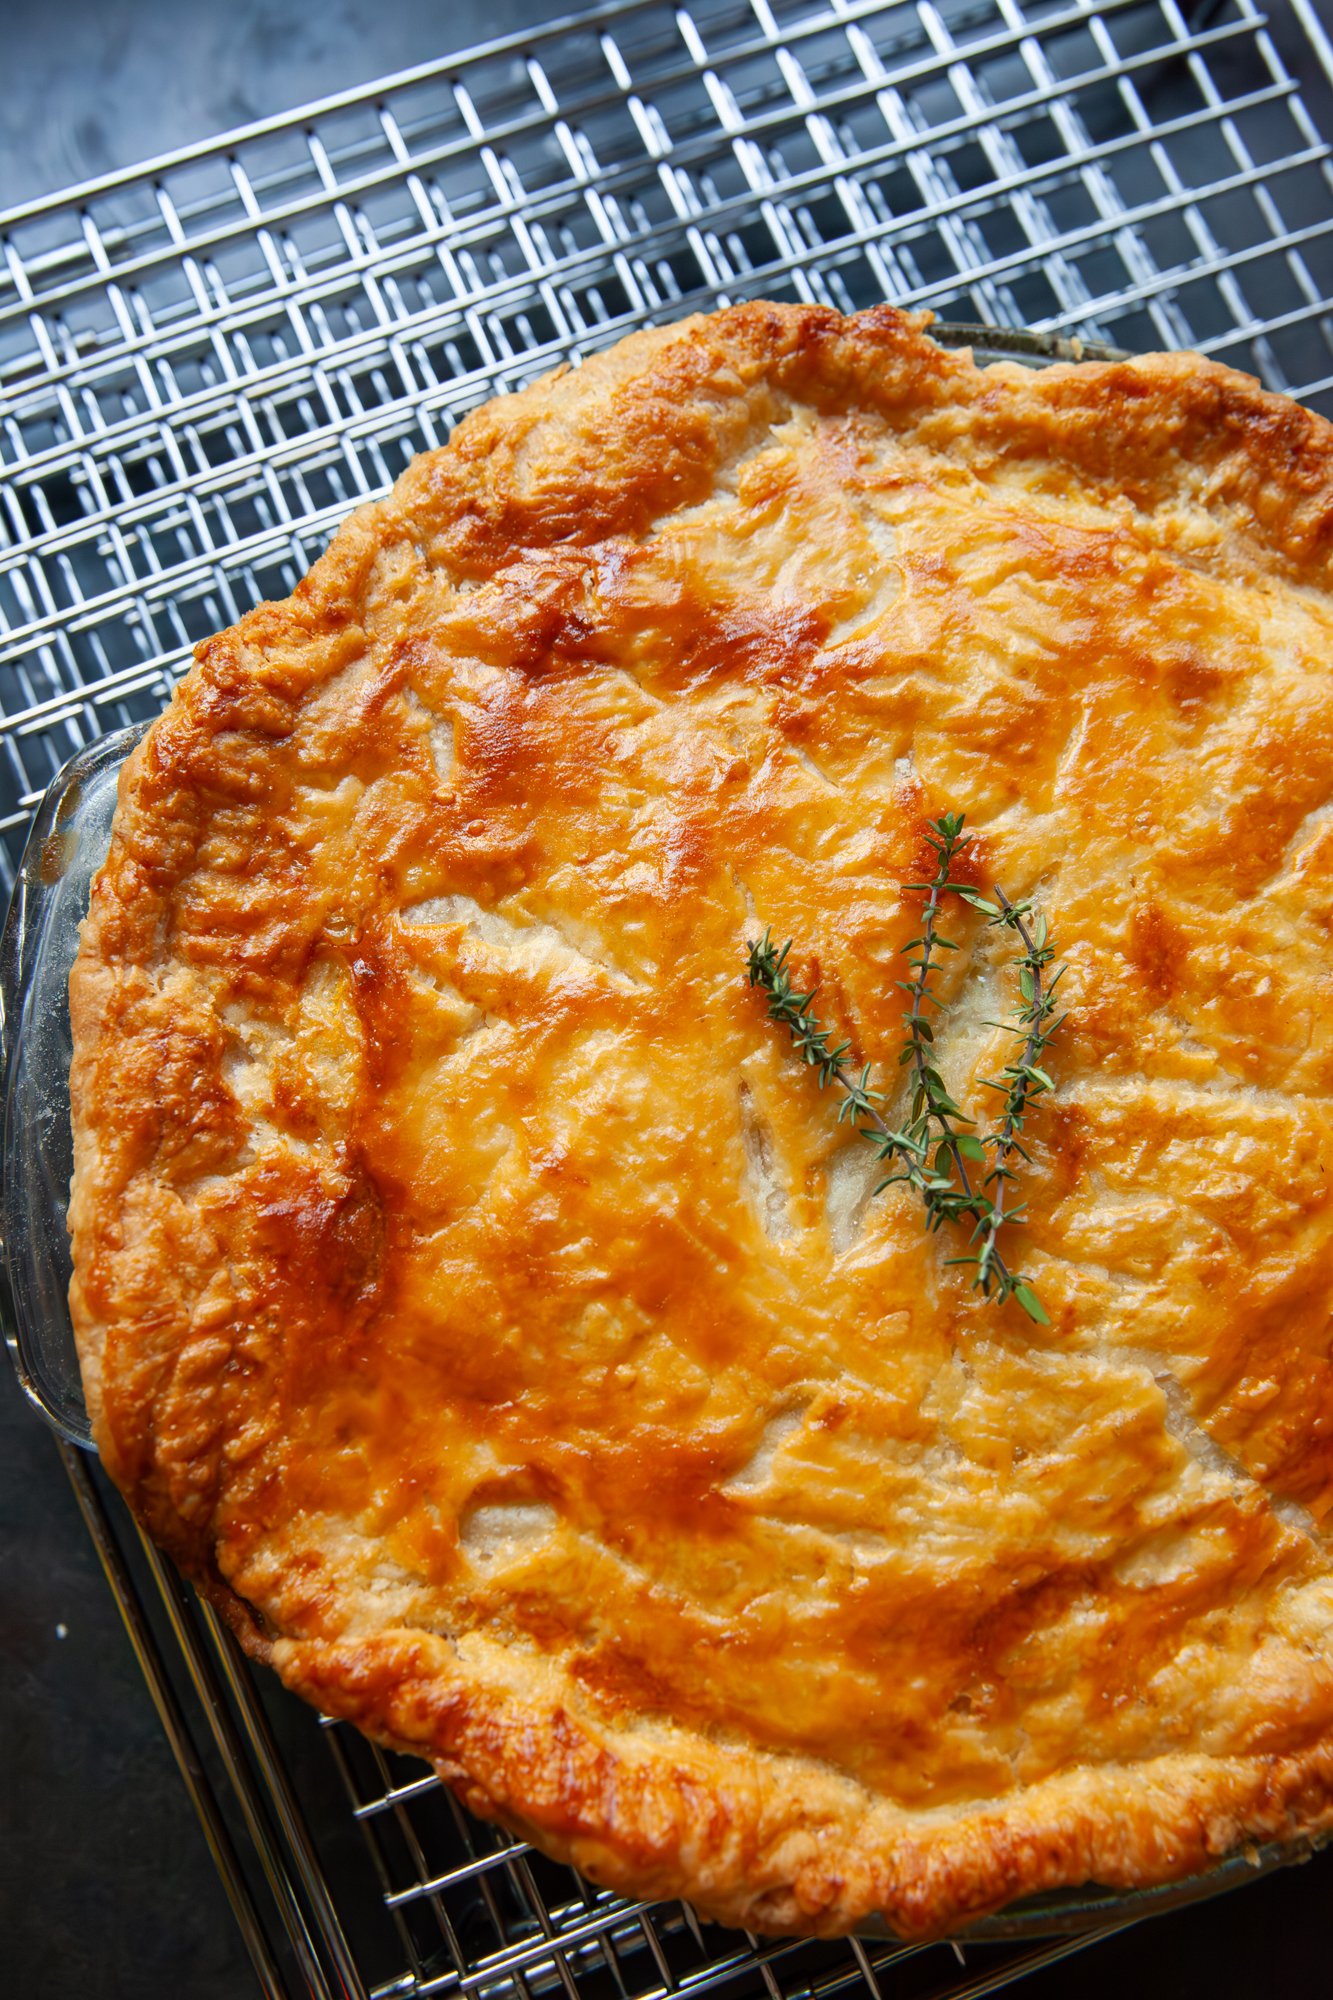
Place on a wire rack to cool to room temperature. You may serve it warm, or cold (which is the way I prefer it) with whipped cream, and maybe another fresh grating of nutmeg on top!
Should keep in the fridge for up to 4 or 5 days (if it lasts that long!).
ENJOY!