Published

RECIPE: Beet Salad for BC Living "From Scratch" - June 2025 

Beet Salad
for BC Living
June 2025 
 
Farmers markets are back, local produce is growing, and summer is on the horizon! I grabbed my tote bag and headed to the market in Kits to see what I could find for a summer picnic. The stalls were brimming with the first strawberries of the year, foraged mushrooms, and peppers galore, but my eyes landed on the beets. Both the red and golden ones looked amazing, and I knew a salad with some local goat cheese and greens was what I was looking for. 
 
The only tricky part about (red) beets is that they’ll stain your hands (and the golden beets, AND the cheese), so use gloves if you can and don’t mix everything together when you plate it, to keep it nice and clean. 
 
One of the best parts is that you can make a variety of dressings for this. I went with citrus, but a Dijon mustard dressing, or even just a balsamic glaze would be delicious. 
 
Bring this to your next beach picnic or backyard BBQ as a cold side salad or enjoy it in the sunshine for a healthy lunch. 
 
--- 
 
Makes approximately 4 small servings, or 1 large serving 
 
INGREDIENTS 
 
- 1 large red beet 
- 1 large golden beet (or even a Chioggia beet if you can find it!) 
- extra virgin olive oil (for roasting) 
- ¼ cup crumbled goat cheese (adjust to taste) 
- 1-2 tbsp crushed pistachios (or other nuts, like walnuts) 
- 1 cup arugula (optional, for serving base) 
 
For The Dressing: 
 
- 1 tbsp extra virgin olive oil  
- 1 tbsp apple cider vinegar  
- 1 tbsp freshly squeezed juice of: a lemon, or an orange  
- ¼ tsp salt 
 
 
INSTRUCTIONS 
 
Preheat oven to 400 degrees Fahrenheit. 
 
Scrub the beets clean (do not peel yet) and remove any excess roots. 
Place each beet on a sheet of tin foil, drizzle with olive oil, and rub to coat. Then wrap each beet completely in the foil. 
 
When the oven is preheated, place the foil-wrapped beets on a baking sheet or directly on the oven rack, and cook for 45 minutes. 
Stick a fork in the beet to see if it penetrates easily - the larger the beet, the longer it will take to cook through, possibly up to an hour or more. Continue to monitor them until the fork easily pierces the beet and then remove from oven and set aside to cool. 
 
Once cool, the skin should easily fall off the beet, though you may need to peel some back with a peeler and cut off any root leftover. 
I do this step with the red beet using gloves as it will stain your hands. 
 
Once the beets are peeled, chop them into bite-sized pieces and keep in separate bowls to avoid the red bleeding onto the golden. I like to chill them (covered) in the fridge for a while, as I prefer chilled. 
 
While they are chilling, whisk together the dressing ingredients in a small bowl, or shake them in a jar with a lid. Set aside. 
 
When the beets are at the preferred temperature, pour some of the dressing over each bowl and stir with a spoon. 
 
To plate, lay a bed of arugula on a serving tray. Using gloves or tongs, arrange the red and golden beets in alternating colors to avoid color bleeding. Sprinkle the dish with goat cheese, and then the crushed pistachios.  
 
You can also add fresh herbs at this stage if you have them on hand – I added some basil from my garden. 
 
Add some extra dressing over top of the salad and serve. 
 
 
NOTES: 
 
Leftover salad should keep in the fridge in a sealed container for a few days – it just might need some extra dressing. 
 
You can make this vegan by swapping goat cheese for nut-based cheese, or another vegan alternative. 

RECIPE: Pie Crust for BC Living - From Scratch - February 2025

Pie Crust 
for BC Living “From Scratch” Column
February 2025
 
I’m not much of a baker, so I’ve never tried my hand at making pie crust from scratch before now! 
I was thinking the other day that it is much more versatile than I thought, and it doesn’t even have to be for fruit-based pies, or pies in general. The pastry can be put in the base of muffin tins or folded into savory pockets. 
 
The key to making the crust, from what I’ve found, is making sure that everything is cold. The colder the better in fact. 
I also got myself a dough blender to break up the solids without over working them. It might be an extra purchase, but I'll be using it for other baking adventures like banana bread and crumbling toppings. 
 

INGREDIENTS 
 
- 2.5 cups all-purpose flour - spooned and levelled  
- 1 tsp salt  
- 6 tbsp unsalted butter, cube and chill 
- 2/3 cup vegetable shortening, chilled  
- 1/2 cup (ice cold) water 


INSTRUCTIONS 
 
Start the dough in a large bowl and whisk the flour and salt together. 
 
Add the cold butter and the shortening and using the dough blender/pastry cutter (or forks if you don’t have one) break it down until it resembles coarse crumbs (some large chunks are okay!). 

Measure out ½ cup of ice water, making sure the ice cubes have melted, as it needs to be very cold. 

Slowly, about one tablespoon at a time, add the water to the mixture, and stir with a wooden spoon or a spatula after every edition. 
Keep adding until the dough begins to clump together – you don’t want to add more water than needed, but you also might need to add more if the dough is too loose. 

Flour a clean surface and move the dough over to it. 
 
Work the dough until it comes together, adding a tiny bit of water if it is too dry or sprinkle flour if it’s too sticky. 
 
Form into a ball and cut evenly in half, then flatten the two parts into about 1-inch high disks, and wrap with plastic wrap. 
 
Chill in the fridge for a minimum of 2 hours or up to 2 or 3 days. 
 
When you’re ready to roll it out take one disk out at a time, and place on a floured surface. Lightly flour the top of the dough, as well as your rolling pin. 
 
Depending on what you’re using it for, you can roll it out to different shapes or sizes, but the following instructions will be for a pie crust. 
 
Starting from the center, roll the dough outwards, rotating and flipping the dough as you go. 
You will want the dough to be about 12-inches in diameter when you’ve finished rolling, so that the edges will go up the sides and cover the dish. 
 
Transfer to the pie dish and press it into the edges. Trim off the excess from around the top and then pinch to crimp the edges if you are making a pie without a top crust. 
 
Follow the same directions as above for the top of the pie (if using) and crimp the edges together. 
Alternatively you can also cut pieces of the dough to make a lattice – if you want to get fancy. 

If you are only using half the dough, you can wrap it tightly in plastic wrap, put it in a freezer bag and freeze for up to about 3 months! (Thaw the day before you want to use it.) 
 
ENJOY! 

RECIPE: Mini Donuts for BC Living "From Scratch"

Mini Donuts 
for BC Living “From Scratch” Column
August 2024
 
August makes me think of fairs and festivals, and I can distinctly smell the mini donut stand. And while it’s much easier to get from those little machines they make them in, I’d rather avoid a crowd and make them myself at home. 
 
This dough does its first rise overnight in the fridge, so plan for that, and make sure you have some friends around to feed because these are best warm, the same day, and the recipe makes quite a few of them. 
 

INGREDIENTS: 
 
- 2 ¼ tsp active dry yeast 
-250g lukewarm whole milk 
- 50g sugar 
- 565g all-purpose flour 
- 1 tsp salt 
- 2 large eggs, room temperature 
- 1 tsp vanilla bean paste 
- 100g unsalted butter, at room temperature 
- neutral oil (canola, extra light olive oil, or vegetable oil) for frying 
- 200g granulated sugar 
- 3-4 tbsp cinnamon (this is to your own taste) 
 
TOOLS: Having a thermometer for the oil temperature is ideal, and a spider strainer to retrieve the donuts from the oil is also key! 
 
INSTRUCTIONS: 
 
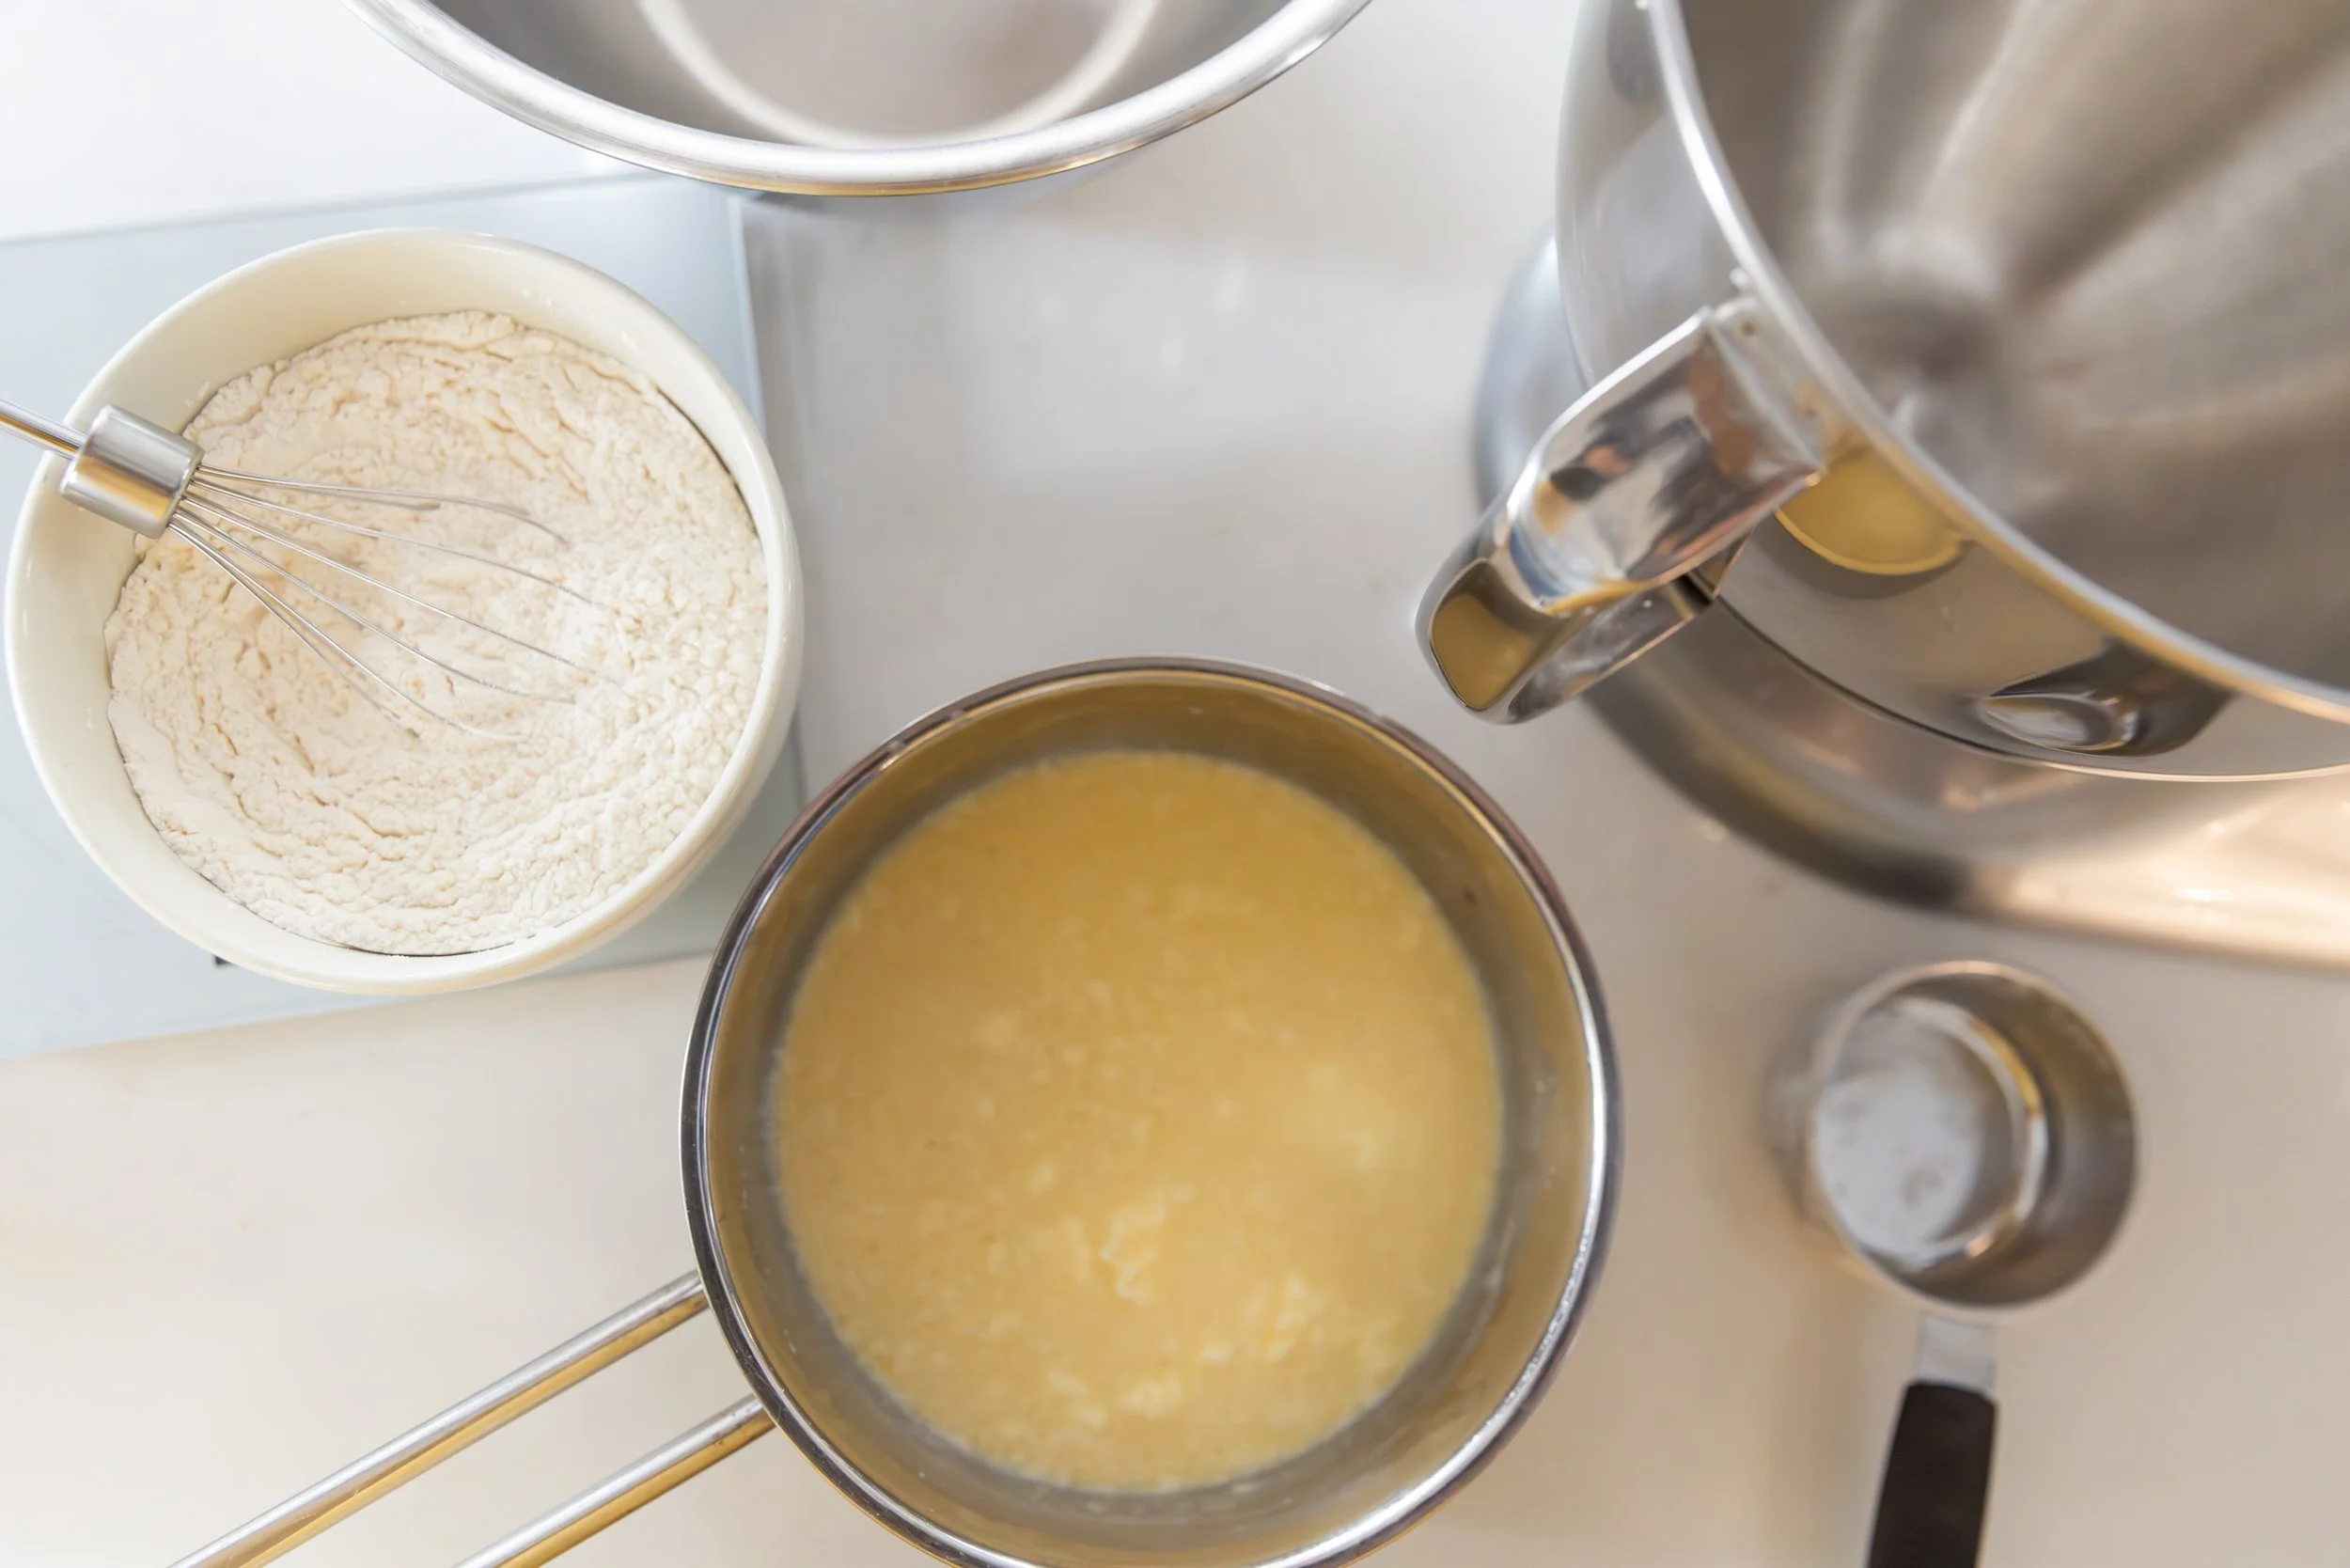
In a small bowl, mix the yeast, lukewarm milk, and 2 tablespoons of sugar - stirring well and let it sit for 10-15 minutes until it becomes foamy. 

In the bowl of a stand mixer with a dough hook, combine the flour, salt, and the remaining 2 tablespoons of sugar. Mix briefly. 

Add the eggs, vanilla bean paste, and the foamy yeast mixture. Mix on low speed for 2-3 minutes until the dough starts to come together (it will smooth out). 

Increase the mixer speed to medium and mix for another 10 minutes until the dough is soft and smooth. 

Lower the mixer speed to low and add the butter a little at a time, ensuring each piece is fully incorporated before adding the next. This should take about 3-4 minutes. 
Once all the butter is mixed in, increase the speed to medium and mix for another 5 minutes until the dough is soft and smooth. 

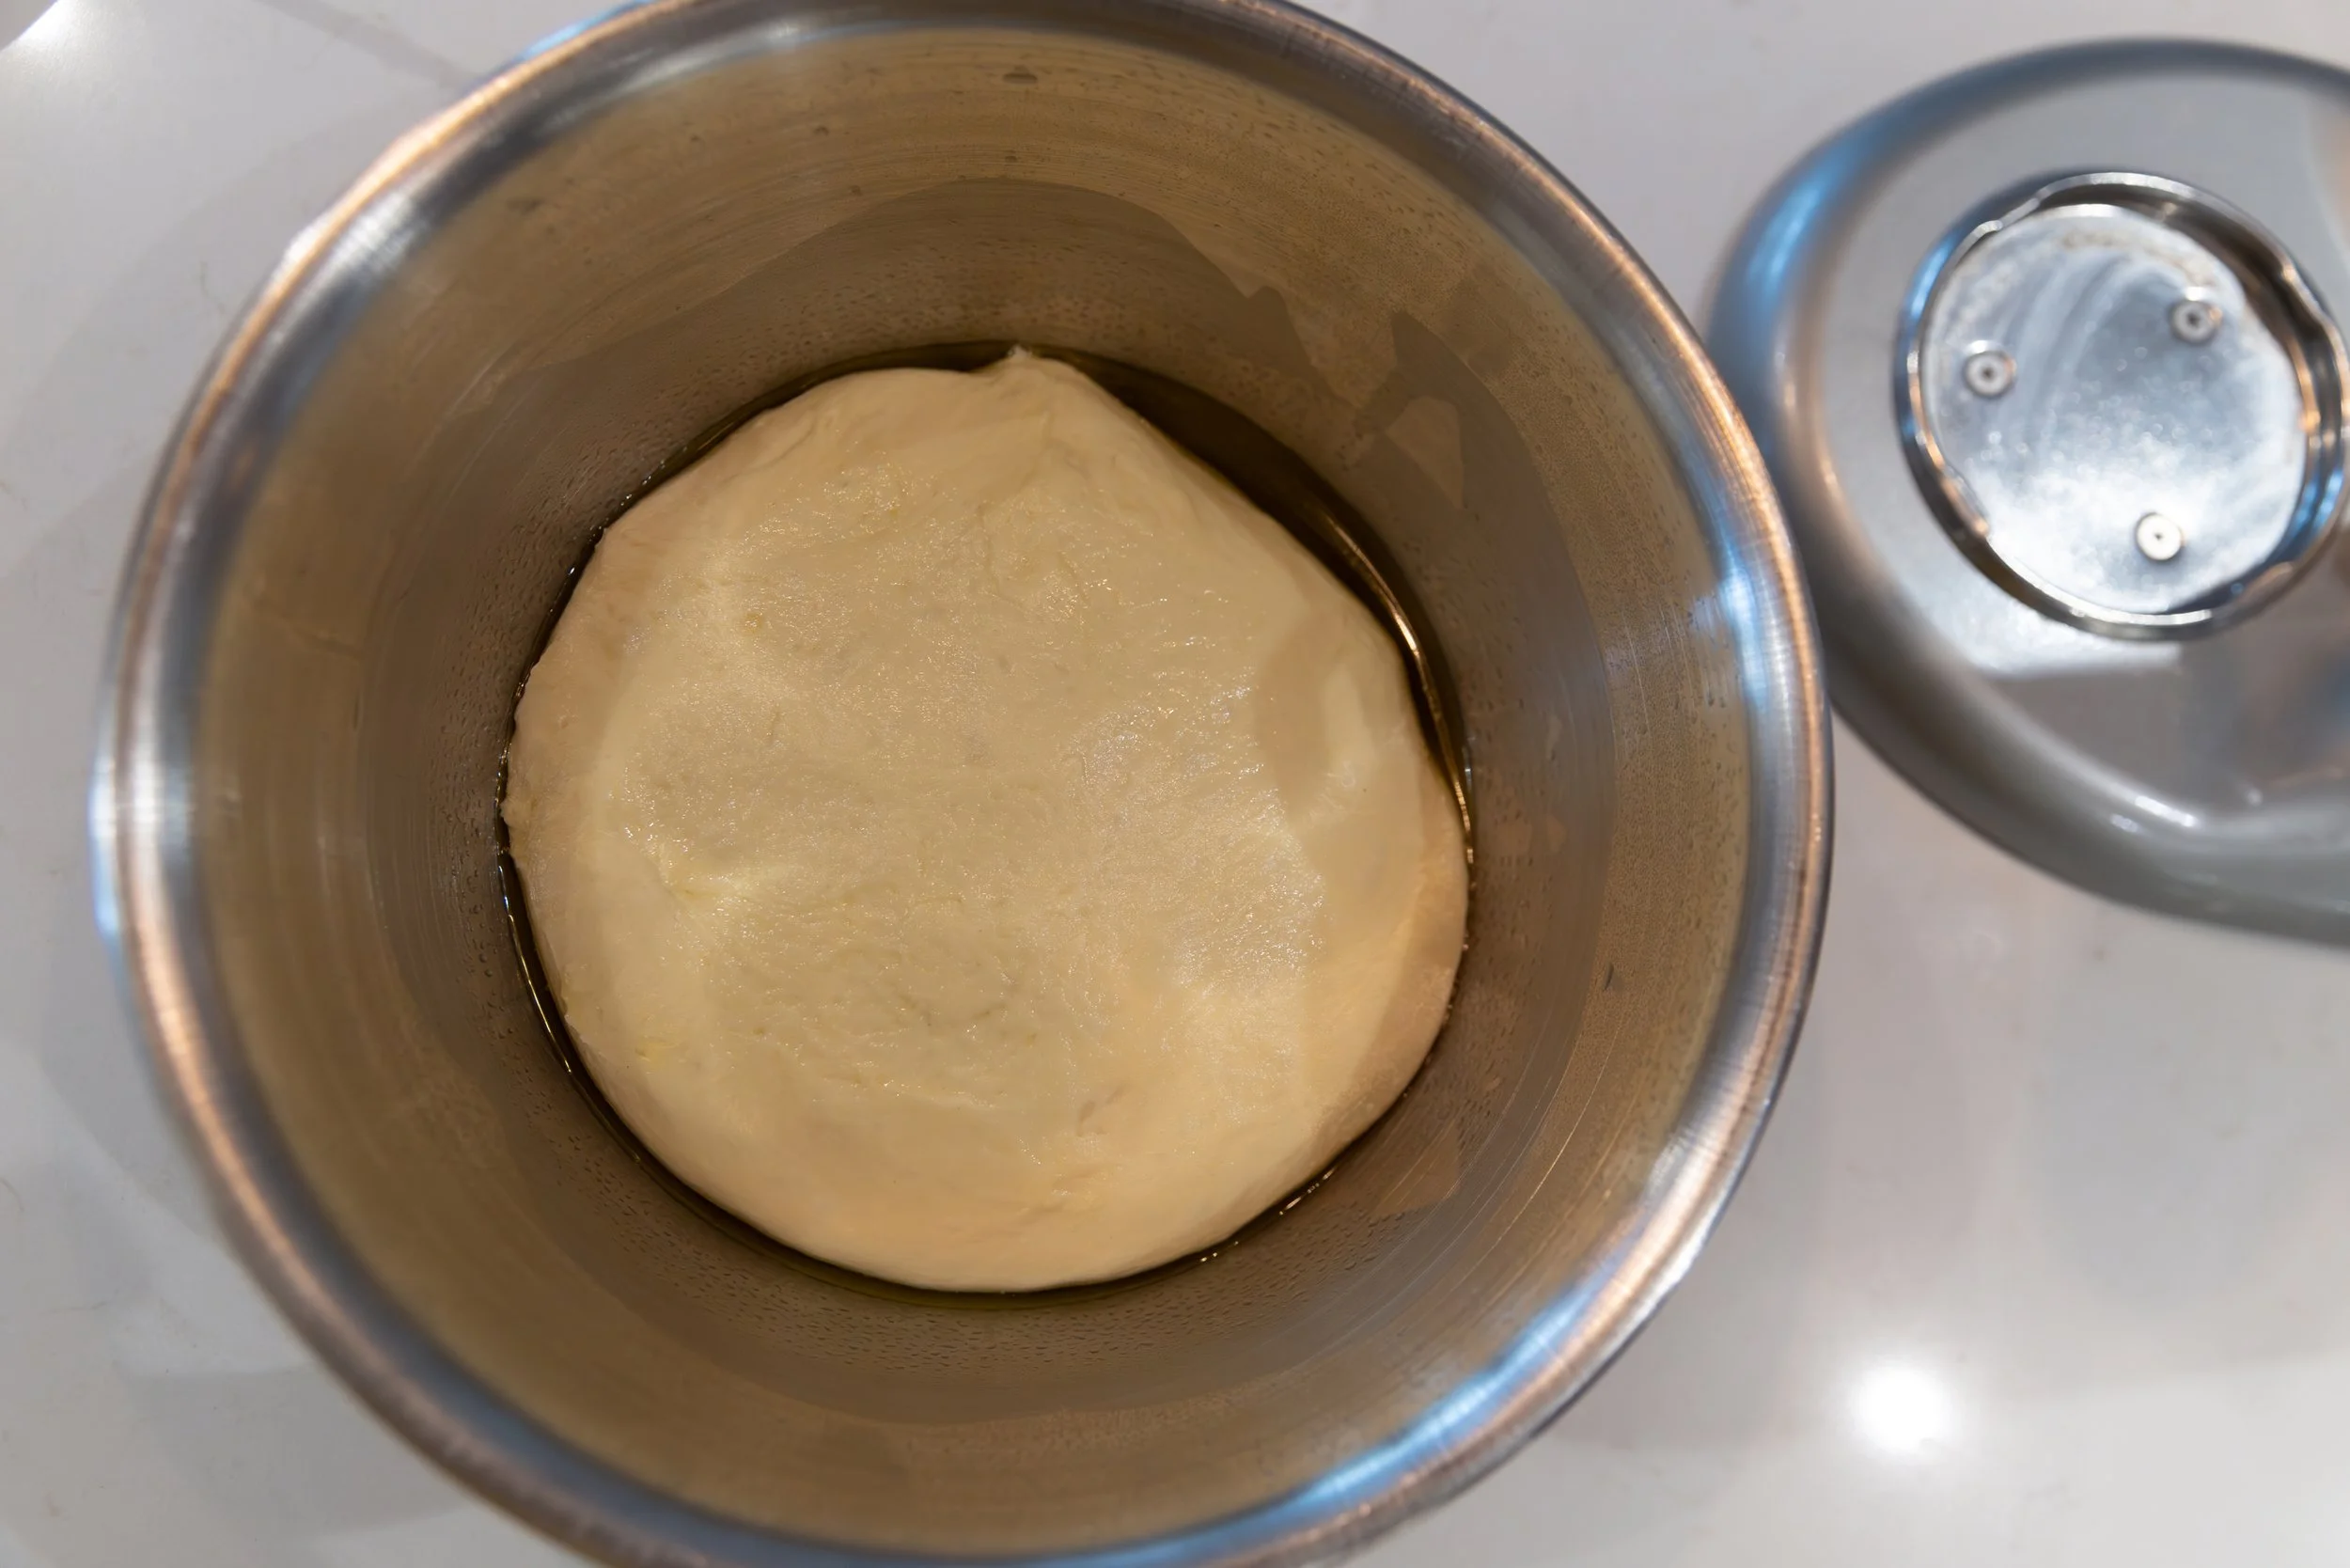
Transfer the dough to an oiled bowl, cover tightly with plastic wrap, and let it rise in the fridge overnight. 


The next day, line two baking sheets with parchment paper squares. Turn the dough out onto a well-floured surface and roll it to a ½-inch (1.25cm) thickness. 
 
Use a 1 ¾-inch (4.5cm) round cutter (or something close to this size) to cut out dough circles. Cut a small hole in the center of each circle using a small round cutter or a straw (I used a piping tip of the correct size) and then place the cut-out donuts on the parchment squares. Re-roll any scraps and cut out more donuts. (Save a scrap or two to test the oil later on.) 
 
Lightly cover the donuts with plastic wrap and let them rise for 45-50 minutes until puffy. When you poke them lightly, the indentation should spring back. 


While the donuts are rising, heat the neutral oil to 350°F (180°C) in a large heavy-bottomed pot or deep fryer. (The oil should be deep enough for the donuts to float.) 
 

Set up a wire rack over a baking sheet lined with parchment paper or paper towels. 
Mix the cinnamon and sugar in a medium bowl. 
 
Test the oil with a few dough scraps, or any donut that is less than perfect in shape. Then, gently lower a maximum of six donuts at a time into the hot oil (less if your pot isn’t wide – basically just don’t crowd them). Cook for 3-4 minutes, flipping every 30 seconds, until golden brown. 

 
Remove the donuts with a slotted spoon or spider strainer and place them on the cooling rack. After cooling for 30 seconds, toss them in the cinnamon sugar mixture until coated. 
 
Repeat with the remaining donuts until all have been cooked. 

 
The donuts are best the same day they are made, and I recommend storing them in paper bags, so they don’t get soggy. 
If you do keep them overnight, I’d reheat them in a microwave the next day to soften them up. 
 
ENJOY! 

RECIPE: Vanilla Bean Ice Cream for BC Living "From Scratch"

RECIPE: Vanilla Bean Ice Cream
for BC Living "From Scratch"
July 2024


In the thick of summer, there’s nothing better than a nice cold scoop of ice cream. Well, this might be better – making it from scratch! If you have the right equipment (I’ll get to that), and quality ingredients, you can make whatever flavor your heart desires, right in your own home. 
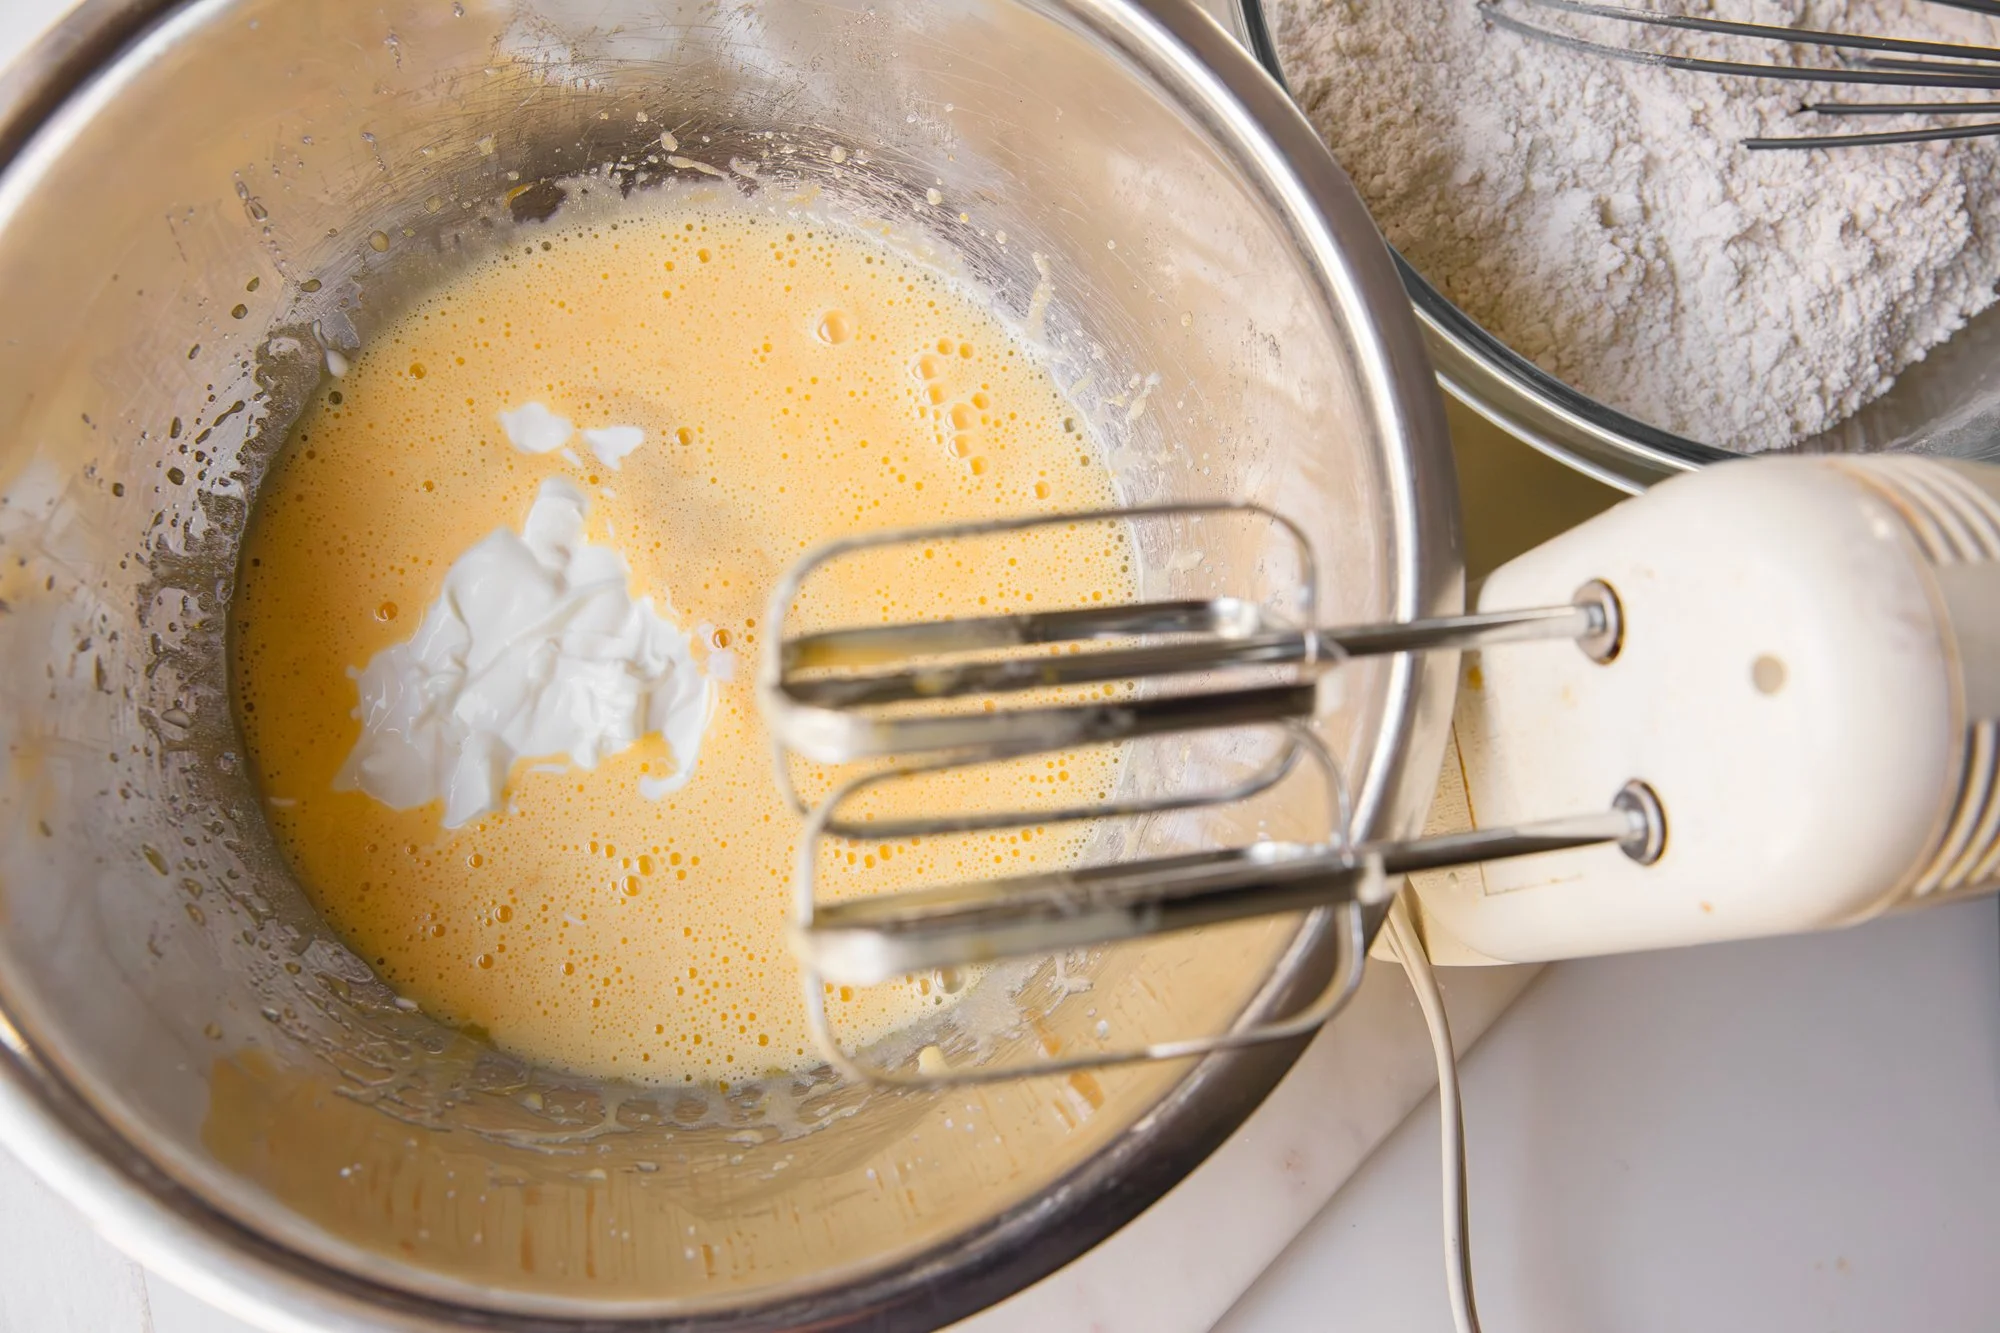
 
For the recipe below, I used the KitchenAid Ice Cream Maker, as I own the stand mixer already, but there are plenty of other ice cream makers out on the market, and to make this recipe, it’s all very similar. 
 
Below are the instructions on how to make Vanilla Bean Ice Cream – which requires making a custard - but other ice creams require even fewer steps.  
 

INGREDIENTS: 
 
- 1 Grade A vanilla bean (Madagascar) 
- 150 grams granulated sugar (about ¾ cup) 
- 2 large eggs  
- ¼ teaspoon kosher salt  
- 2 cups heavy cream  
- 1 cup whole milk (3%) 
 
NOTE: You will also need a food thermometer! 
 
INSTRUCTIONS: 
 
Follow any instructions on your ice cream maker about prepping the machine. My bowl for the stand mixer needed to be placed in the freezer for 24 hours before making the ice cream. 
 
Set up an ice bath (in the sink is best) by nesting two metal bowls together, with ice in the bottom bowl. 
 
Take the vanilla bean and slice it lengthwise, with a sharp knife, and scrape out the seeds (reserving the pod). 

In a medium-sized bowl, combine the granulated sugar and vanilla, rubbing them together with your fingers to break up any clumps. 
Add the eggs and salt to the sugar mixture, whisking vigorously for one minute or so, and then pour in the cream and milk, whisking again until well combined. 

Transfer the mixture to a medium heavy-bottomed pot and add the reserved vanilla bean pod. 
 
Cook over medium heat, stirring constantly with a rubber spatula, making sure to scrape the edges and bottom of the pot.  
Cook until the mixture reaches 175°F or until slightly thickened - this will take about 8-10 minutes, but possibly longer, depending on your stove.  
 
Avoid boiling or your mixture will curdle! 

Remove from heat, continue to stir until it reaches 180°F. 

Strain the custard through a fine-mesh strainer into the top bowl of the ice bath and place the vanilla bean pod back into the strained custard to steep.  
Stir occasionally until the custard reaches room temperature. 
 
Place the bowl in the fridge, covered, and cool until it reaches around 40°F (generally leaving it overnight will be best). 
 
When ready, remove the bean pod, and then follow the instructions on the ice cream maker to churn the cream until it is the right consistency (sort of like soft serve). 
 
When placing it in the freezer to firm (which will take a few hours), make sure it is in an air-tight container. The container should also be easy to scoop from! 
 
Enjoy however you desire – in a dish, on a cone, or maybe even on top of a warm brownie. 

PUBLISHED: Forbes Magazine - Vancouver International Wine Festival

“Vancouver International Wine Festival: Global Tasting In Your Glass”
by Noël Burgess for Forbes Magazine
April 26, 2024