Fries - From Scratch
for BC Living
January 2023
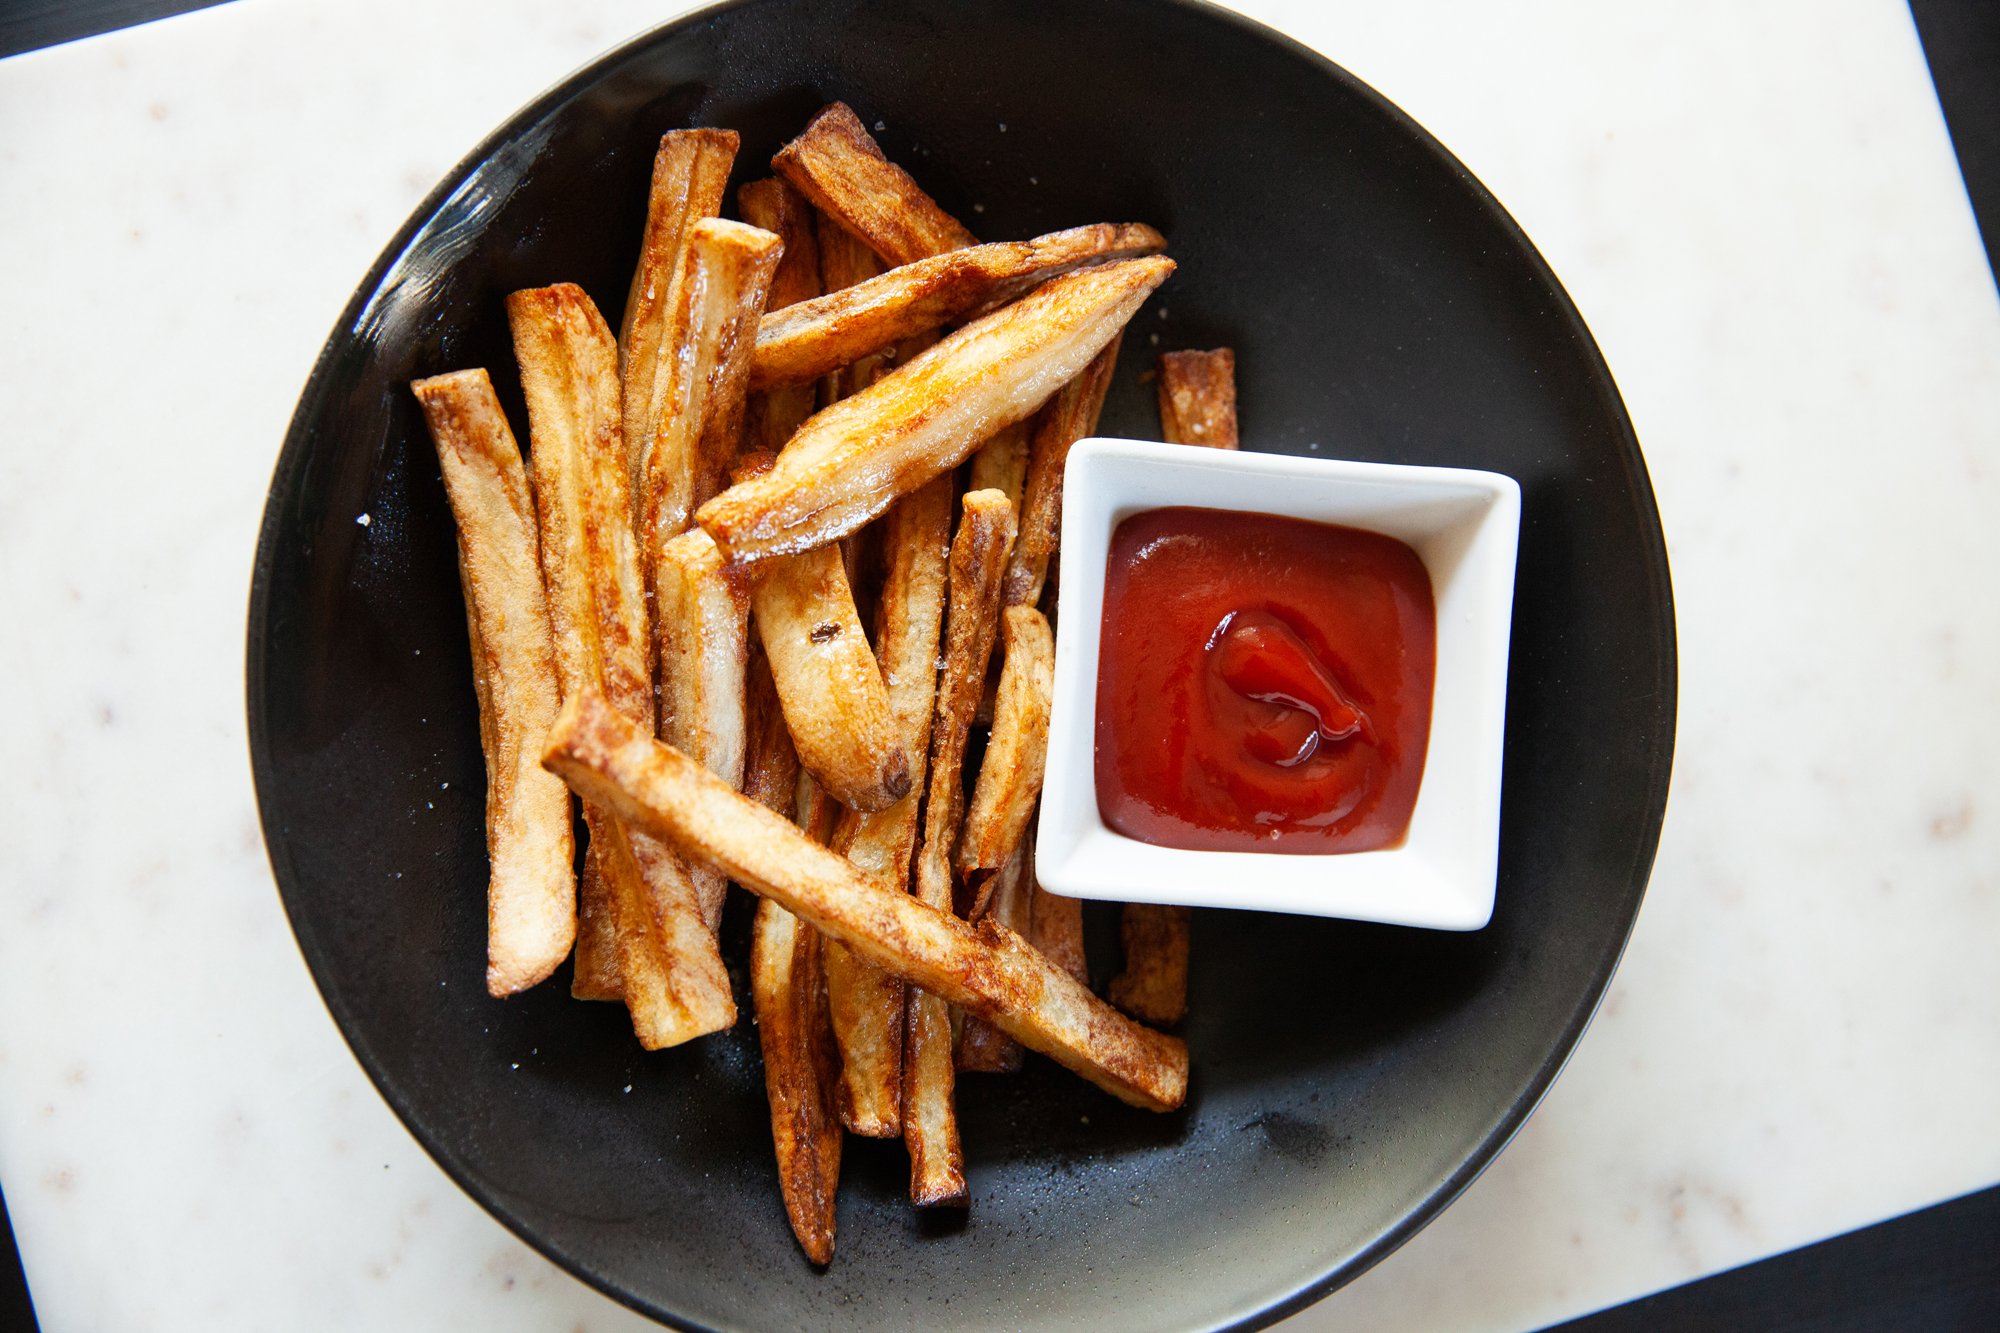
Fries
While fries might seem like an easy food to make from scratch (and they are), I’m more so here to give you tips and my experience experimenting with different methods to achieve a top tier fry.
From there, you can cook the fries based on what you have at your disposal, maybe including that air fryer you got for Christmas?
INGREDIENTS
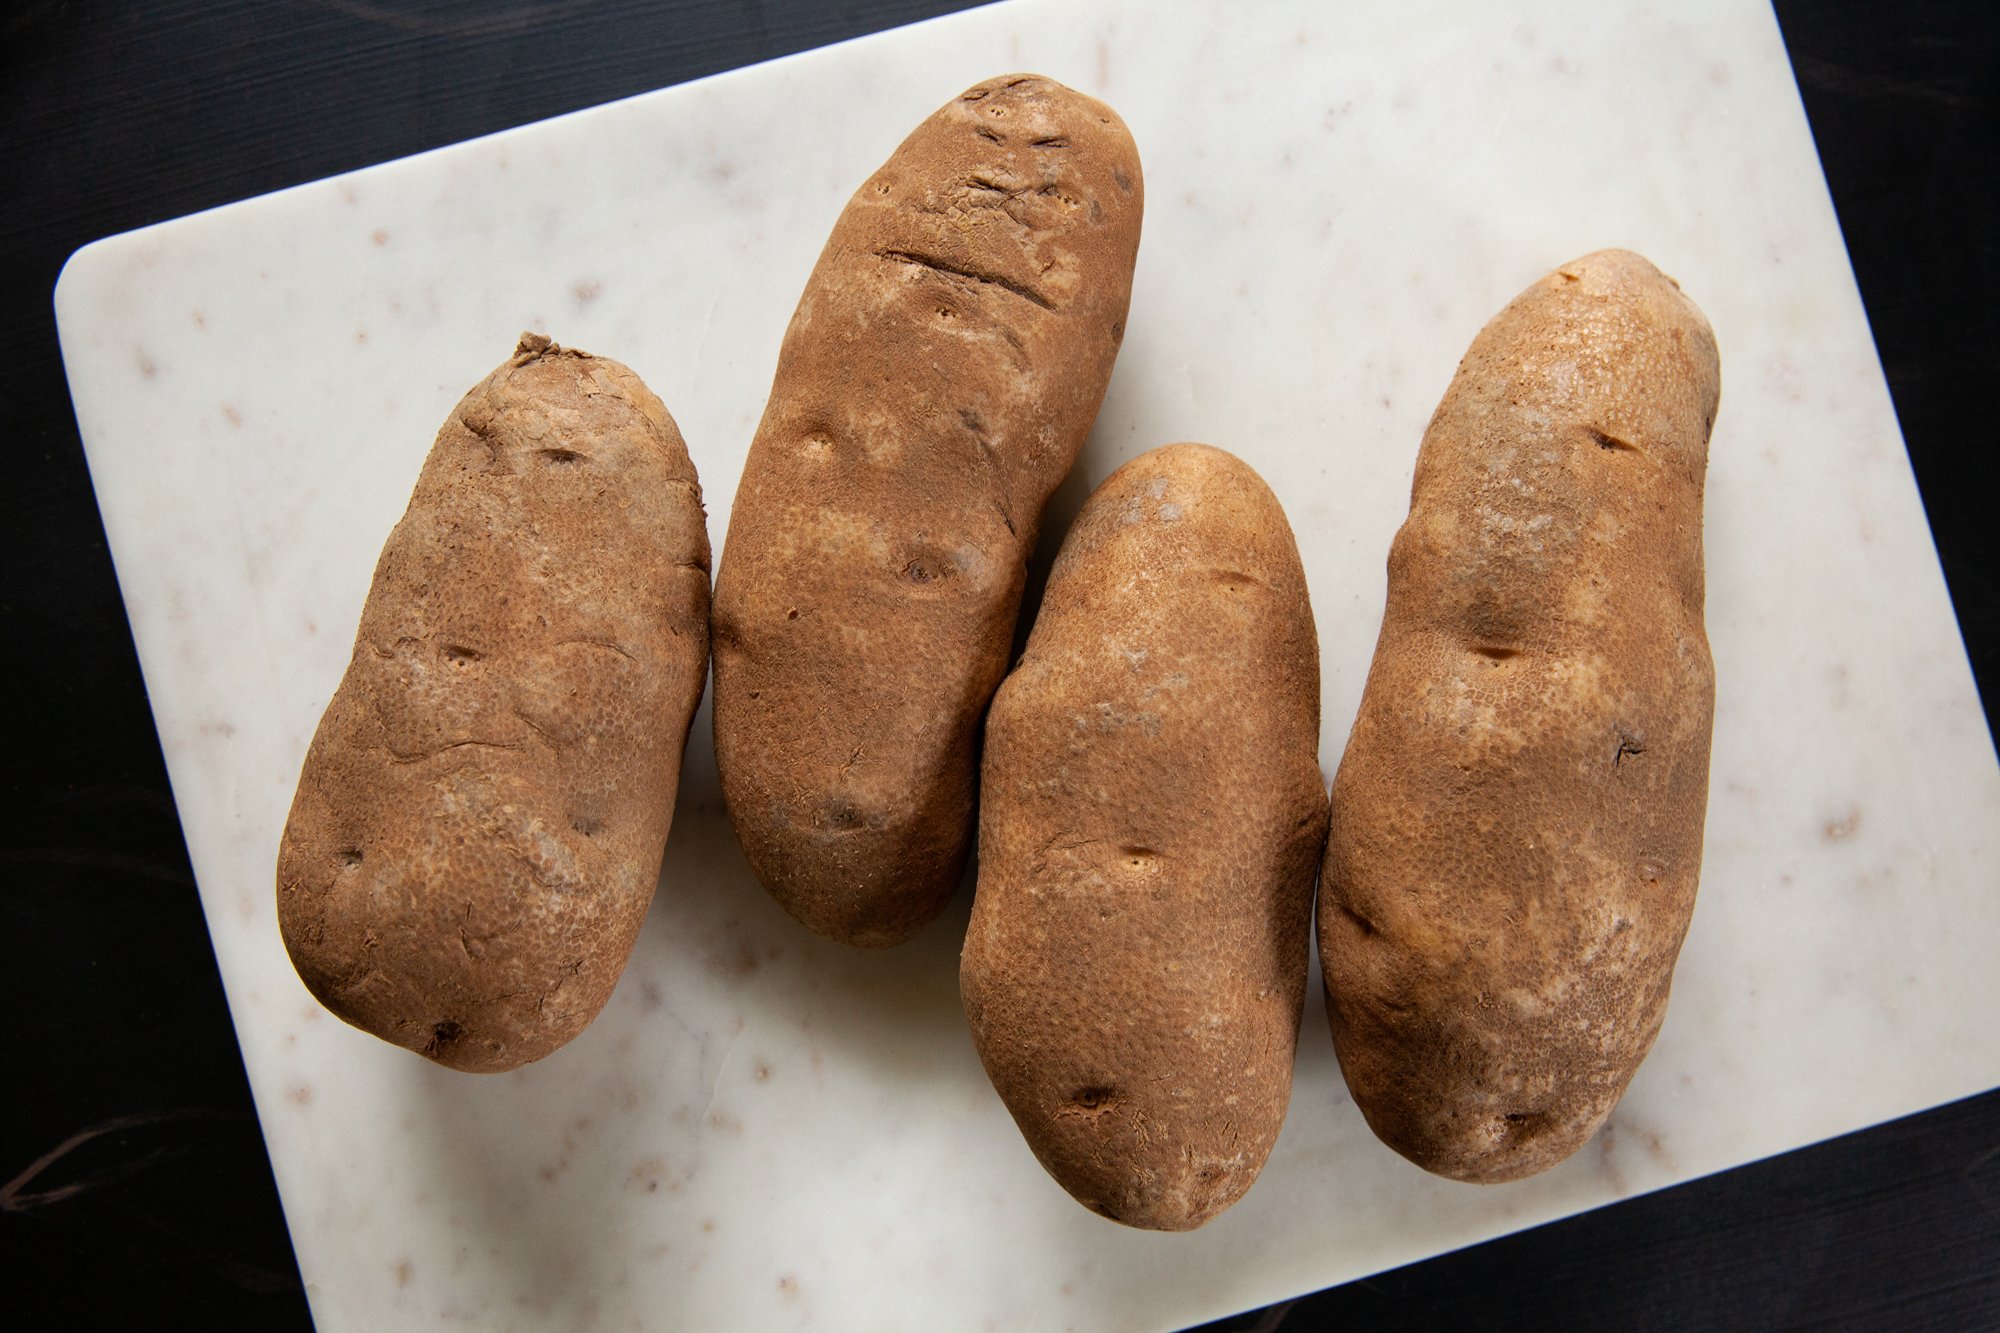
- potatoes, Russet, 2 per person
- cooking oil (amount depends on how you choose to cook them)
- salt
- desired seasoning (see section below)
INSTRUCTIONS
I’m going to break this down into 3 parts: Preparing, Cooking, and Seasoning.
Obviously first up is Preparing.
You have the option to peel your potatoes (I did), or just wash them and leave the skin on (take out any eyes or spots). Leaving them on doesn’t change much except the texture, and gives it some color.
You want to be sure that your fries are evenly cut or else some will cook faster than others. Size and shape are up to you, just be consistent.
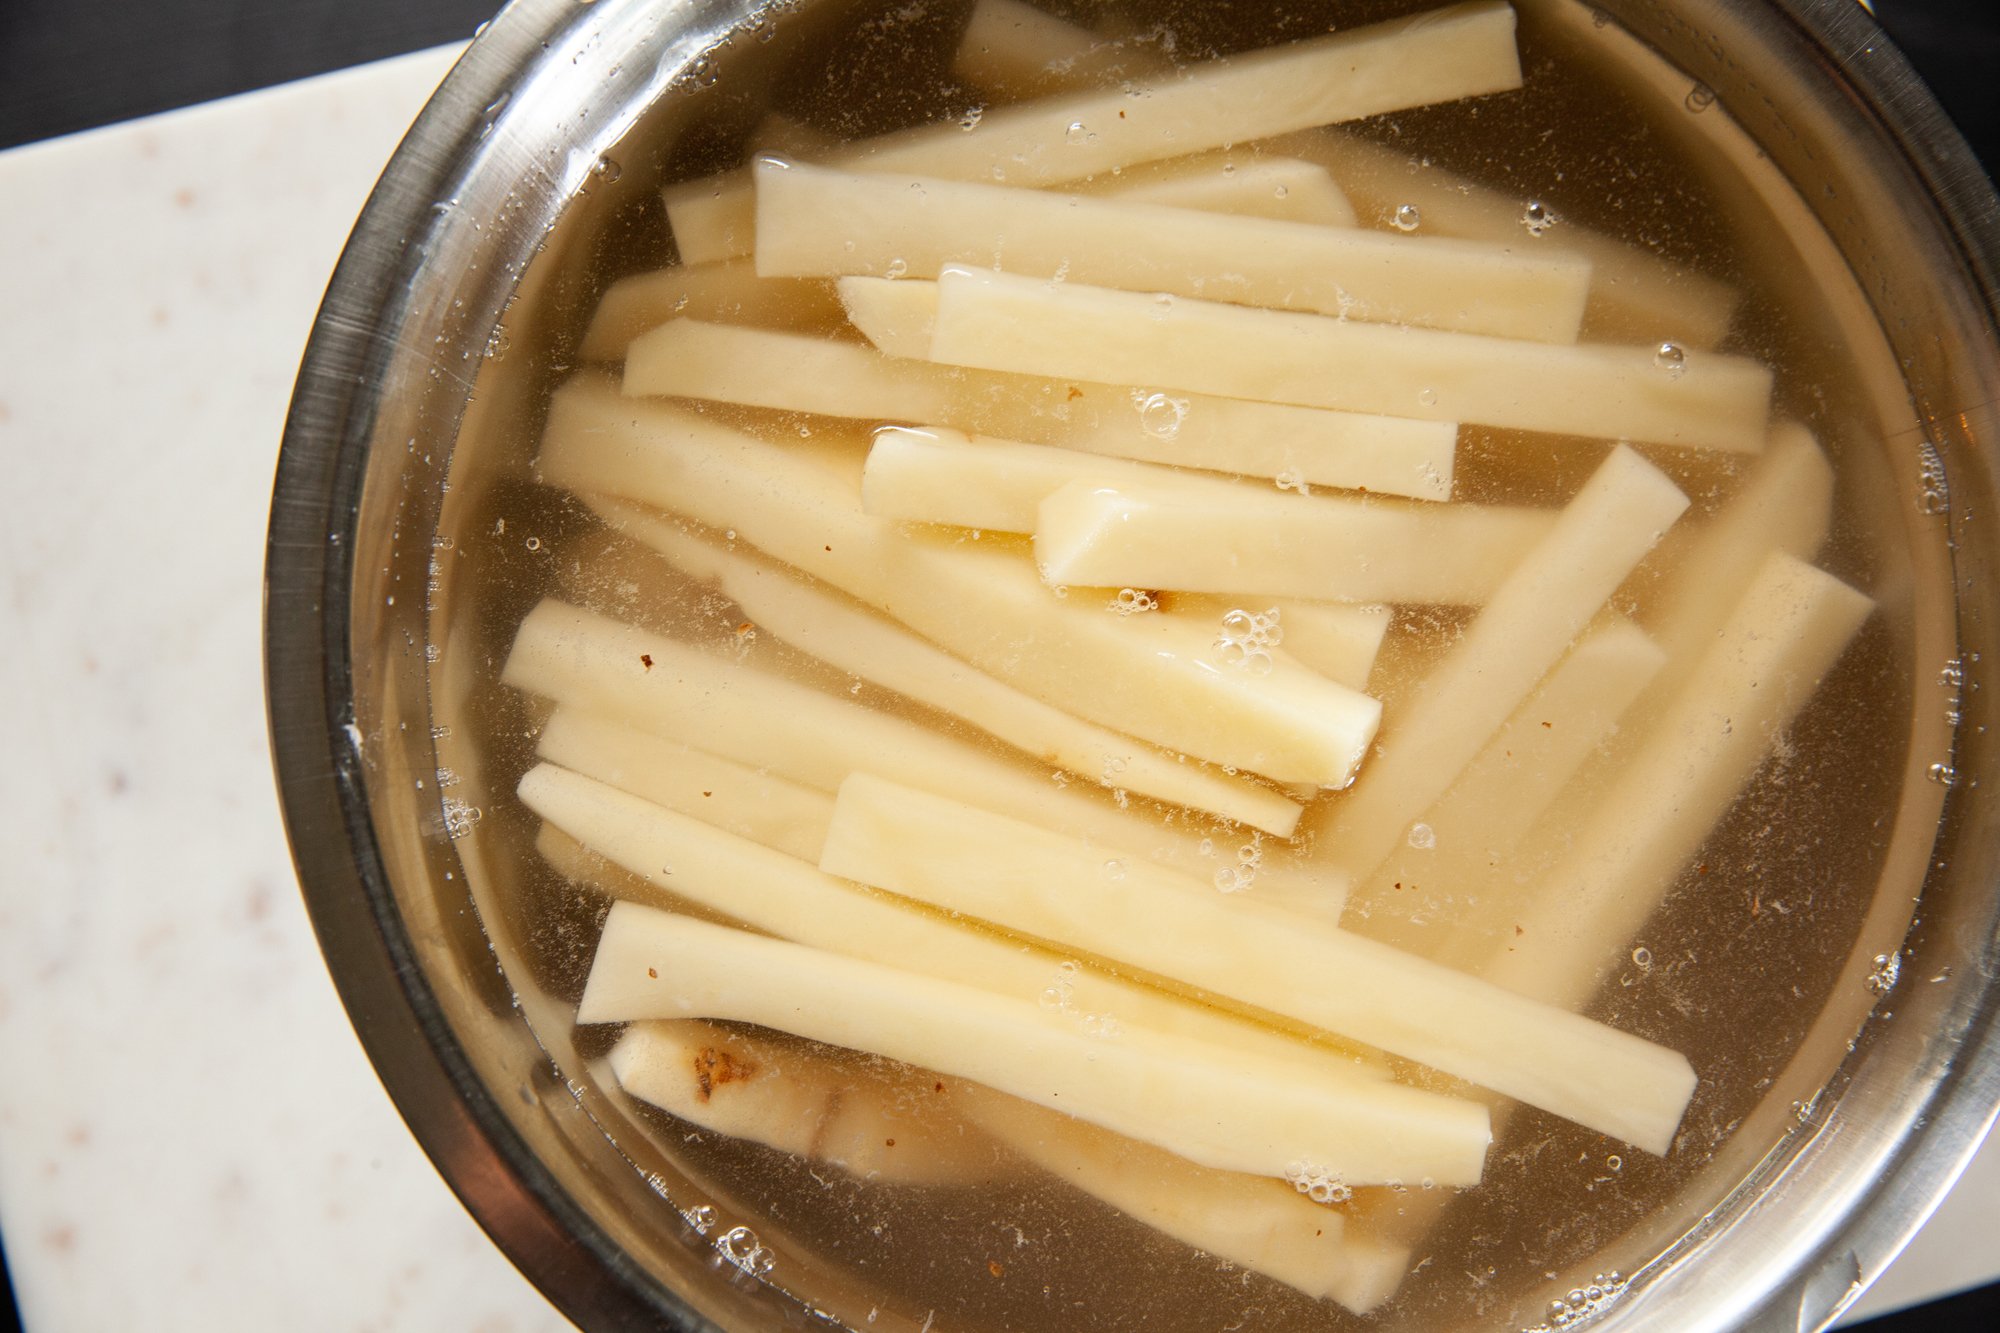
Place the cut fries in a bowl and soak for at least an hour and up to a day. This removes excess starch and will make the fries crispier.
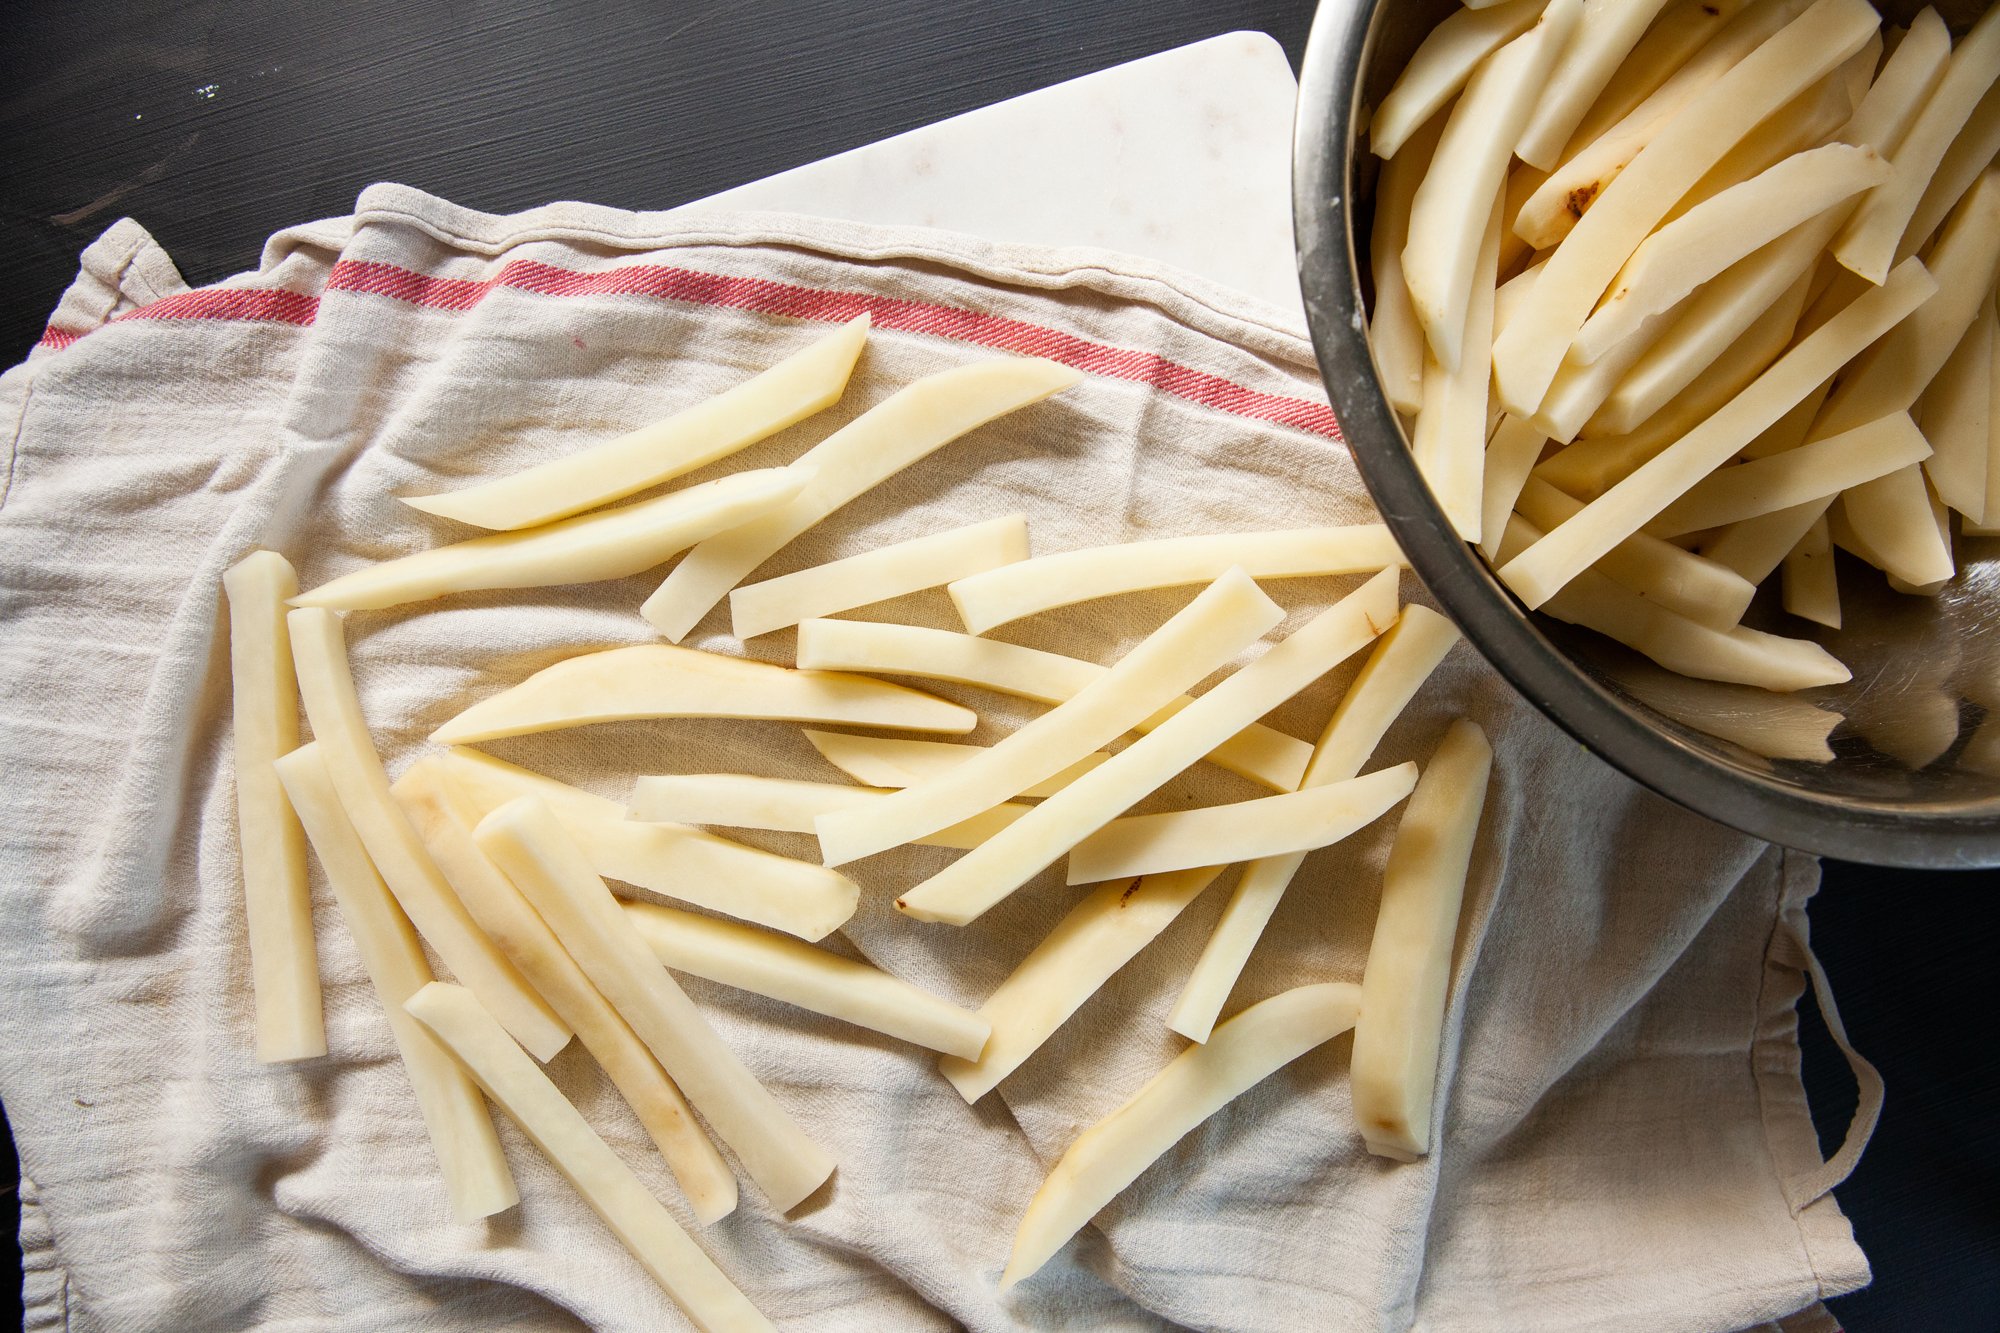
Rinse them once or twice after soaking, and then pat dry with either paper towel, or a clean tea towel.
Now on to Cooking!
There are several options here, if you don’t have an air fryer or want to deal with the mess of frying them in oil, you can bake them.
Toss the fries in some vegetable oil, and sprinkle with salt.
Preheat the oven to 400F, and bake for about 15 mins. Then remove, shaking/turning them, but make sure none are overlapping, and bake for another 10-15 minutes. Keep an eye on them and test as you go.
For deep frying in oil, heat to 300F degrees and then cook in batches (don’t overcrowd) for about 5 minutes, removing with a slotted spoon to paper towels.
Increase the heat to 400F and fry them in batches a second time, this time when removing them, add salt right after you take each batch out of the oil.
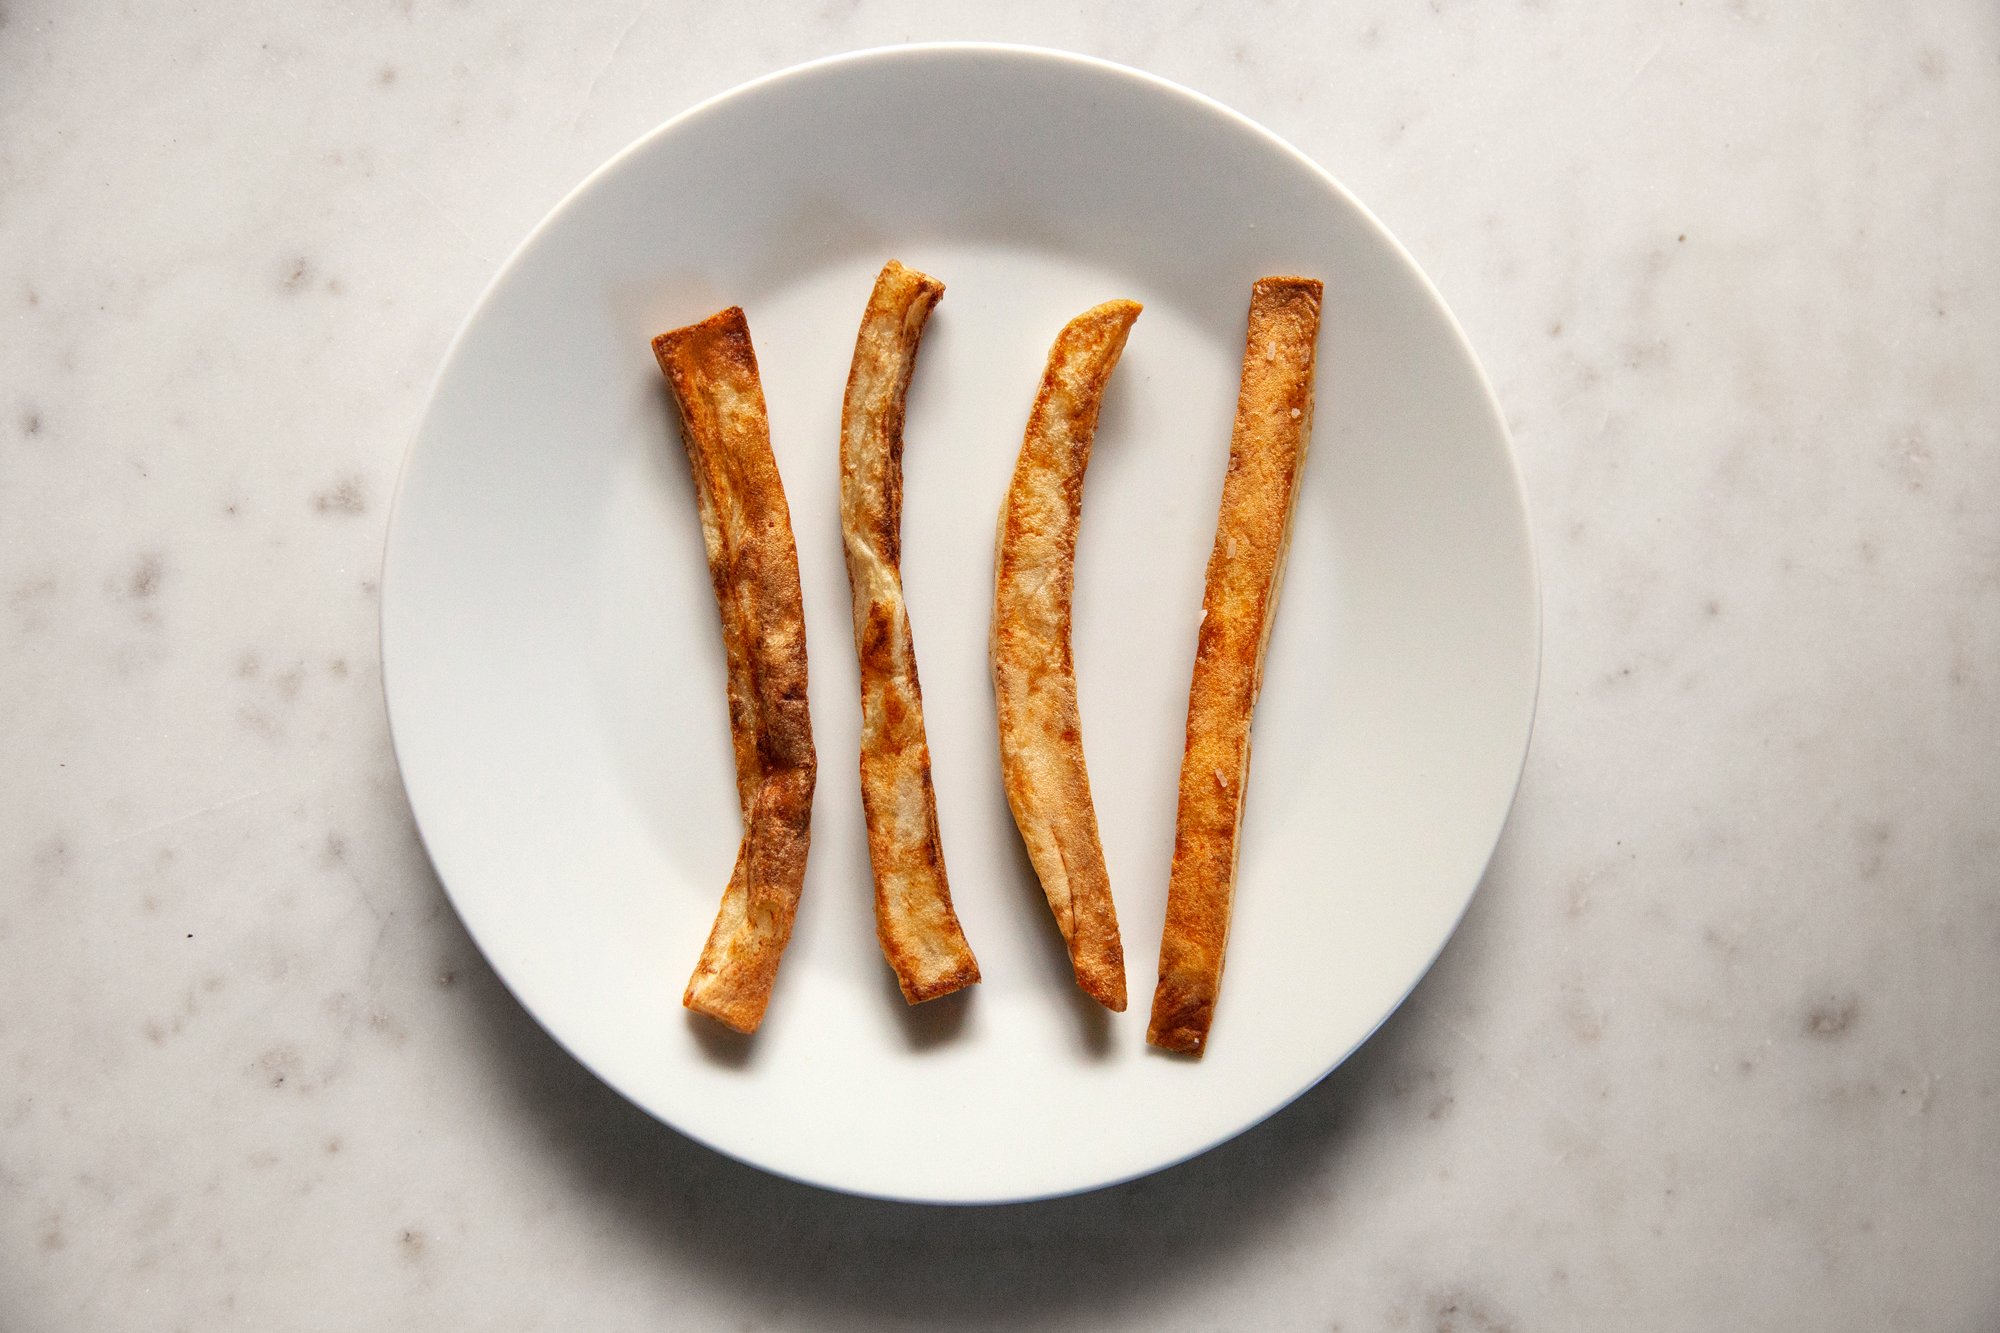
For the air fryer (what I used) I had it preheat to 375F, coated the fries lightly in oil in a bowl, and then placed the first batch in a single layer in the bottom of the fryer, so that none overlapped.
I cooked for 15 minutes, flipping them halfway, and removed when they were browned to my liking.
I continued this process until they were all done, and then tossed everything back in to reheat and give an extra crisp and followed that with salt.
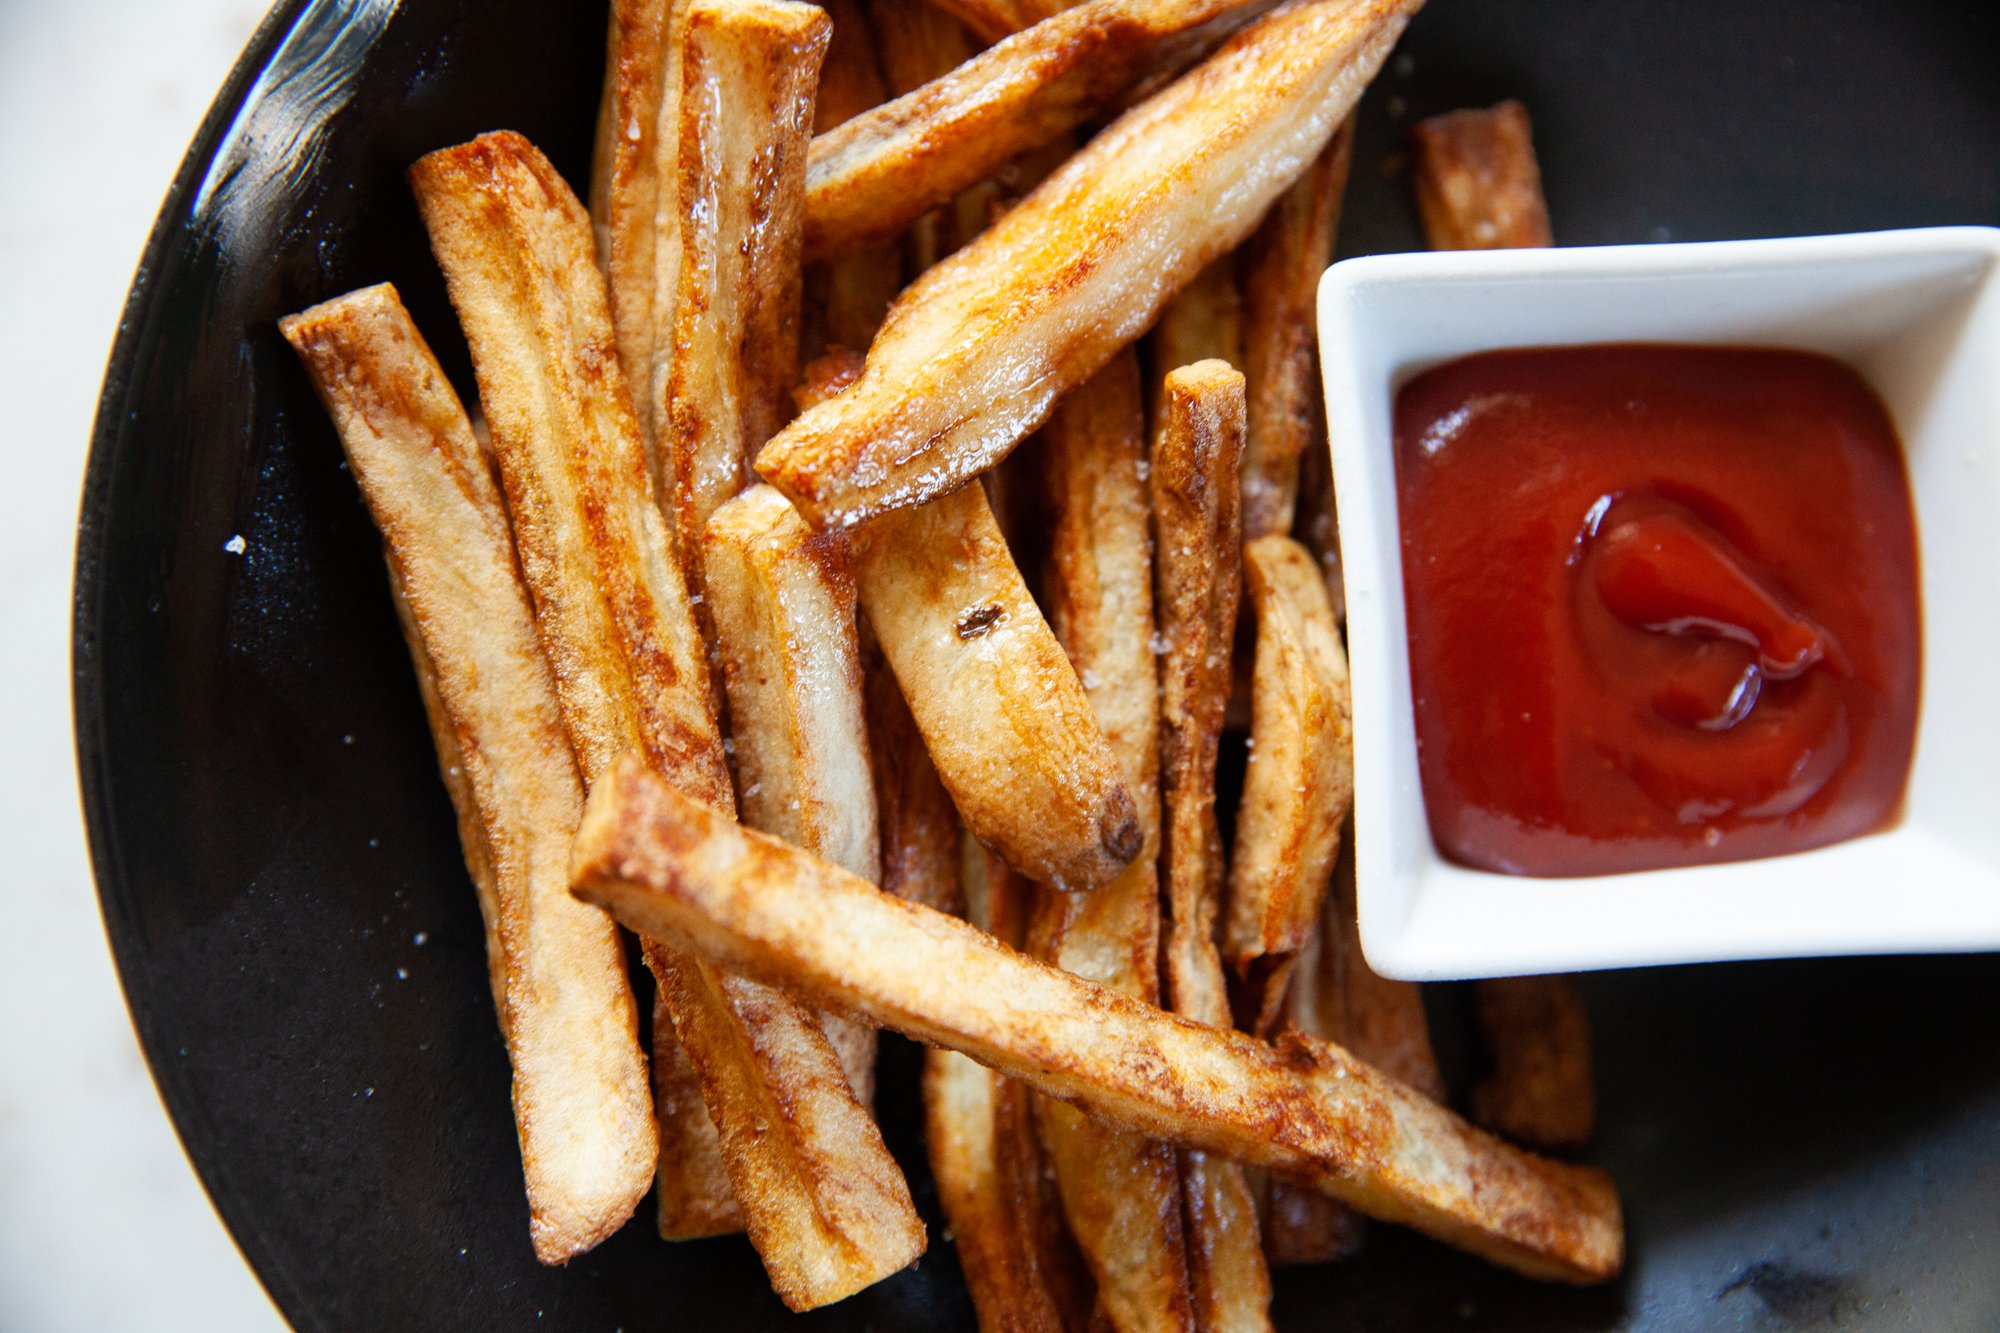
Seasoning!
This is where you make it your own. Maybe you’d like just salt on the fries to go with some cold ketchup, or maybe you’d like to get wild and add truffle oil and parmesan.
There’s also the option to make your own homemade poutine... but that’s for another day.
ENJOY!