cheese

RECIPE: Queso Fresco (Cheese) From Scratch for BC Living

Queso Fresco (Cheese)
for BC Living
November 2022


Did you know that you can make homemade cheese with just 3 ingredients? I am kicking myself for not attempting this sooner, and now I want to try out other cheeses to make at home.

I did this with the intention of sprinkling it on some tacos (refried bean recipe coming in the future!), but you could spread it on toast, put it on eggs, in a salad, you name it.

INGREDIENTS

- 4L of whole milk
- 1/2 to 2/3 cup fresh juice from about 5 lemons, or lime or white vinegar
- Kosher salt

Other Required Items
- cheese cloth


INSTRUCTIONS

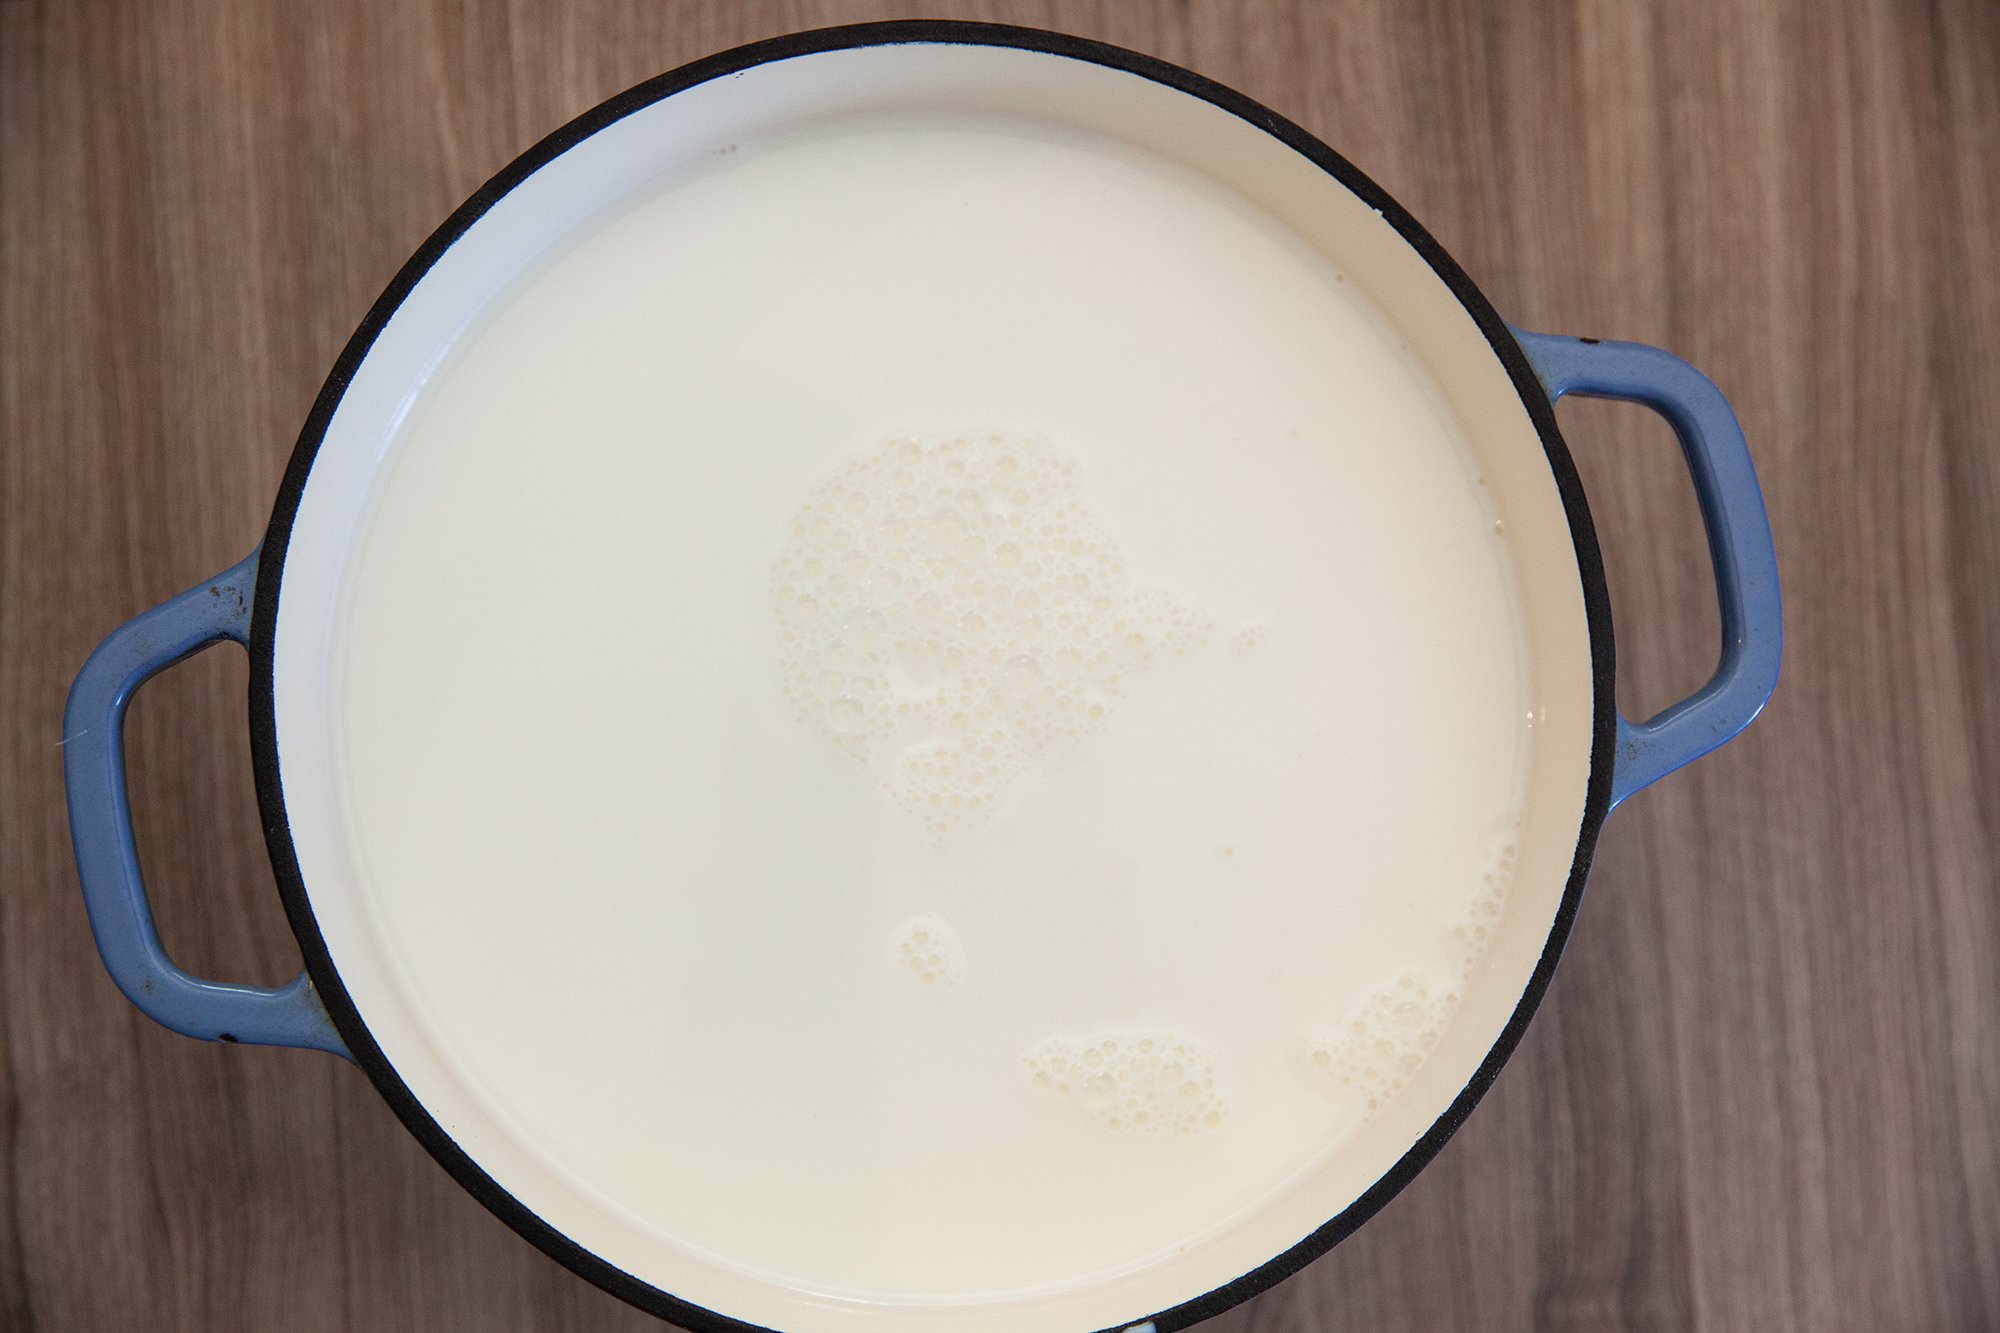
In a pot large enough to hold the liquids, pour in the milk and begin to heat over low-medium, stirring throughout. The key here is to not burn the bottom of the pot, and gradually heat the milk before it boils.

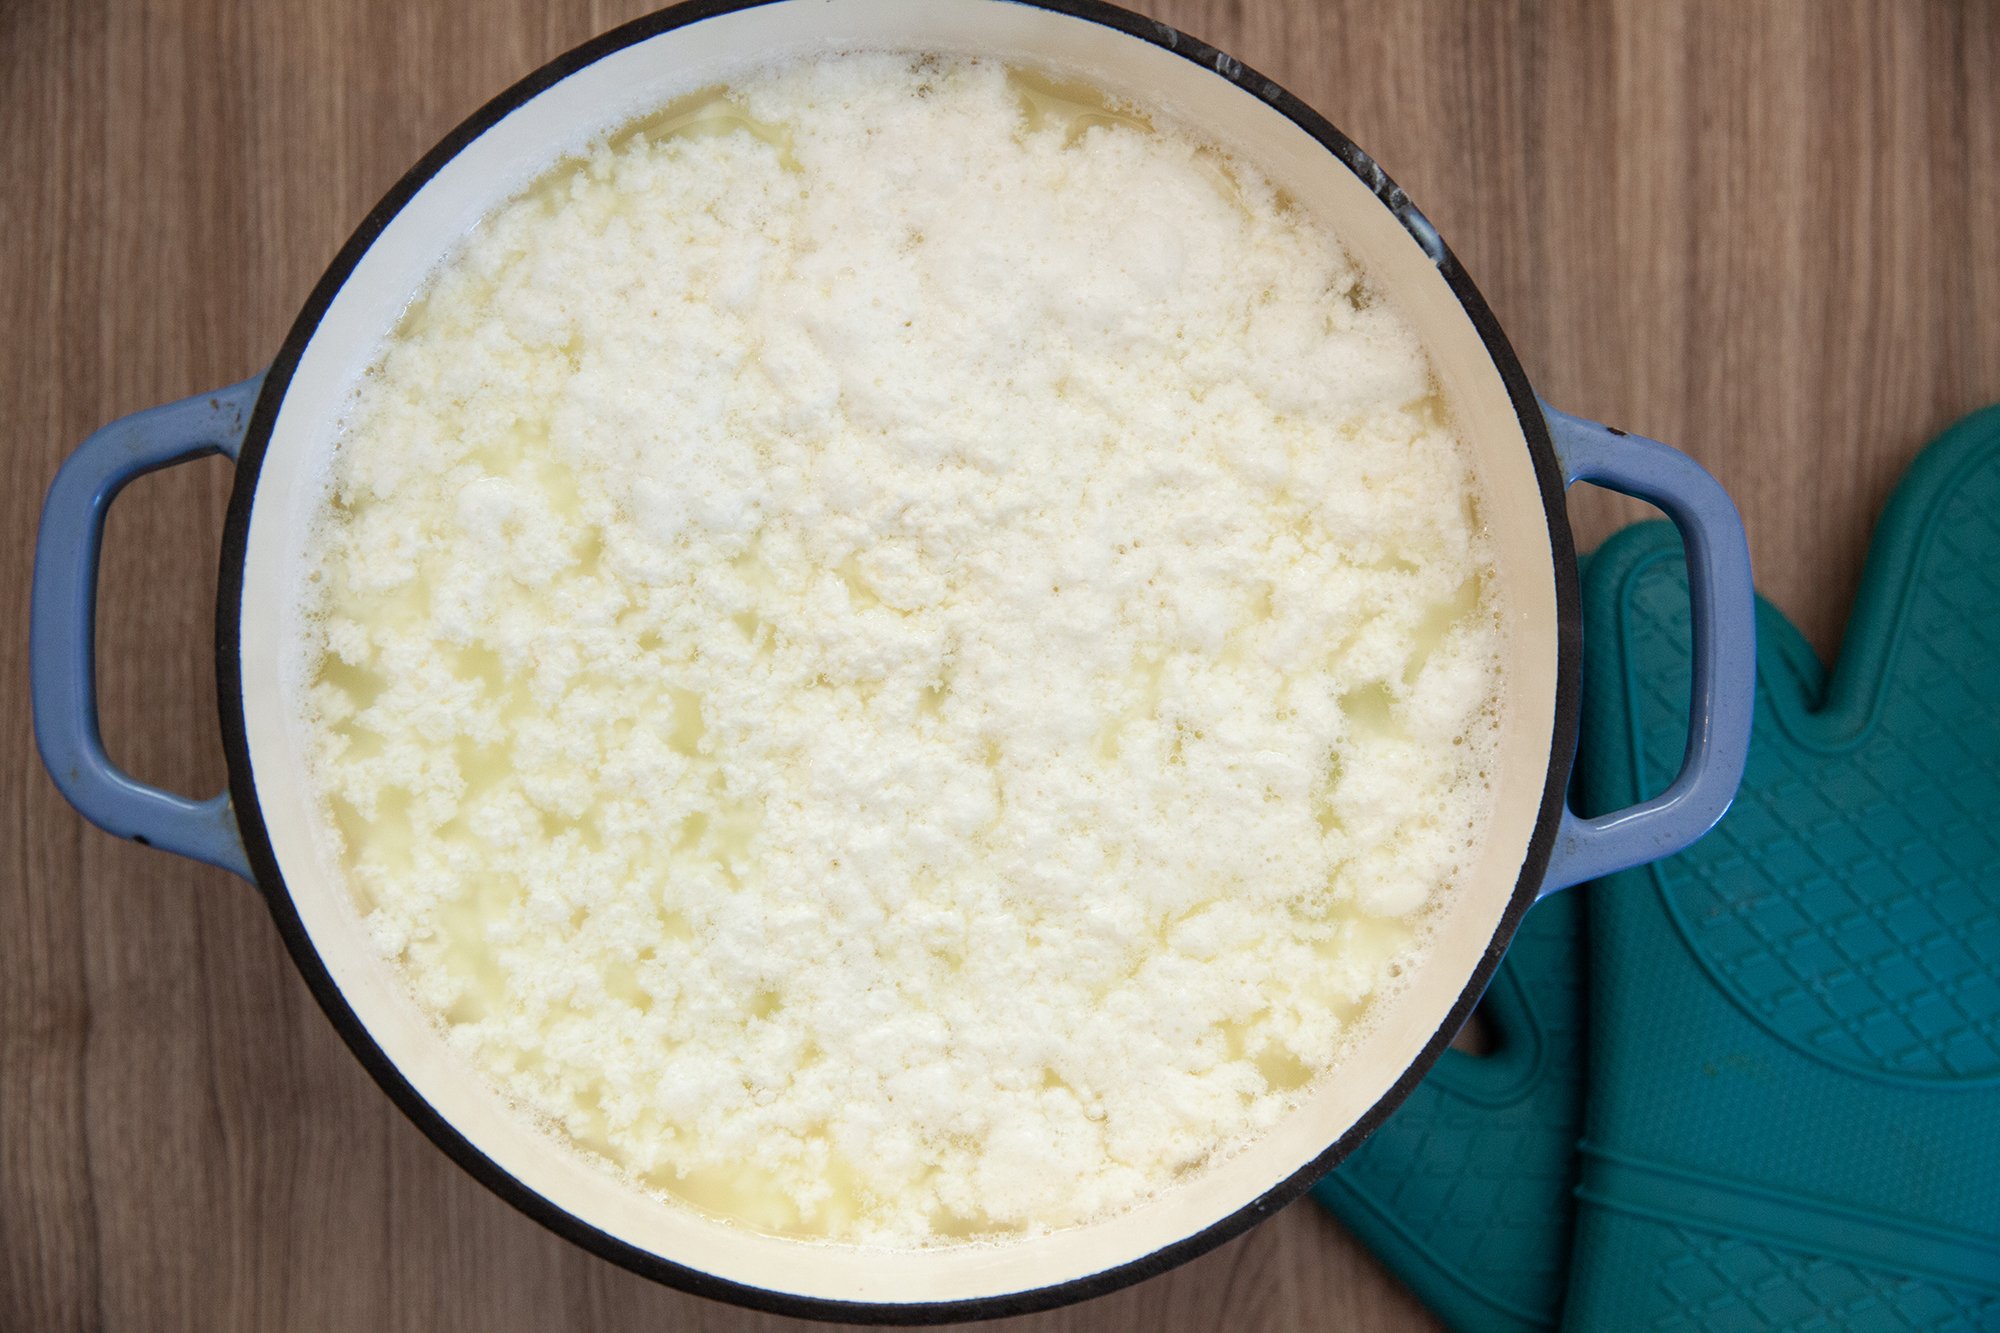
When it’s at a pre-boil/gradual simmer stage (approx. 15-20 minutes) pour in the acid of choice (I used lemon juice) and stir. You will see the milk separating and curds starting to form.

When this process has begun, remove from heat, cover and let sit for about 20-30 minutes.

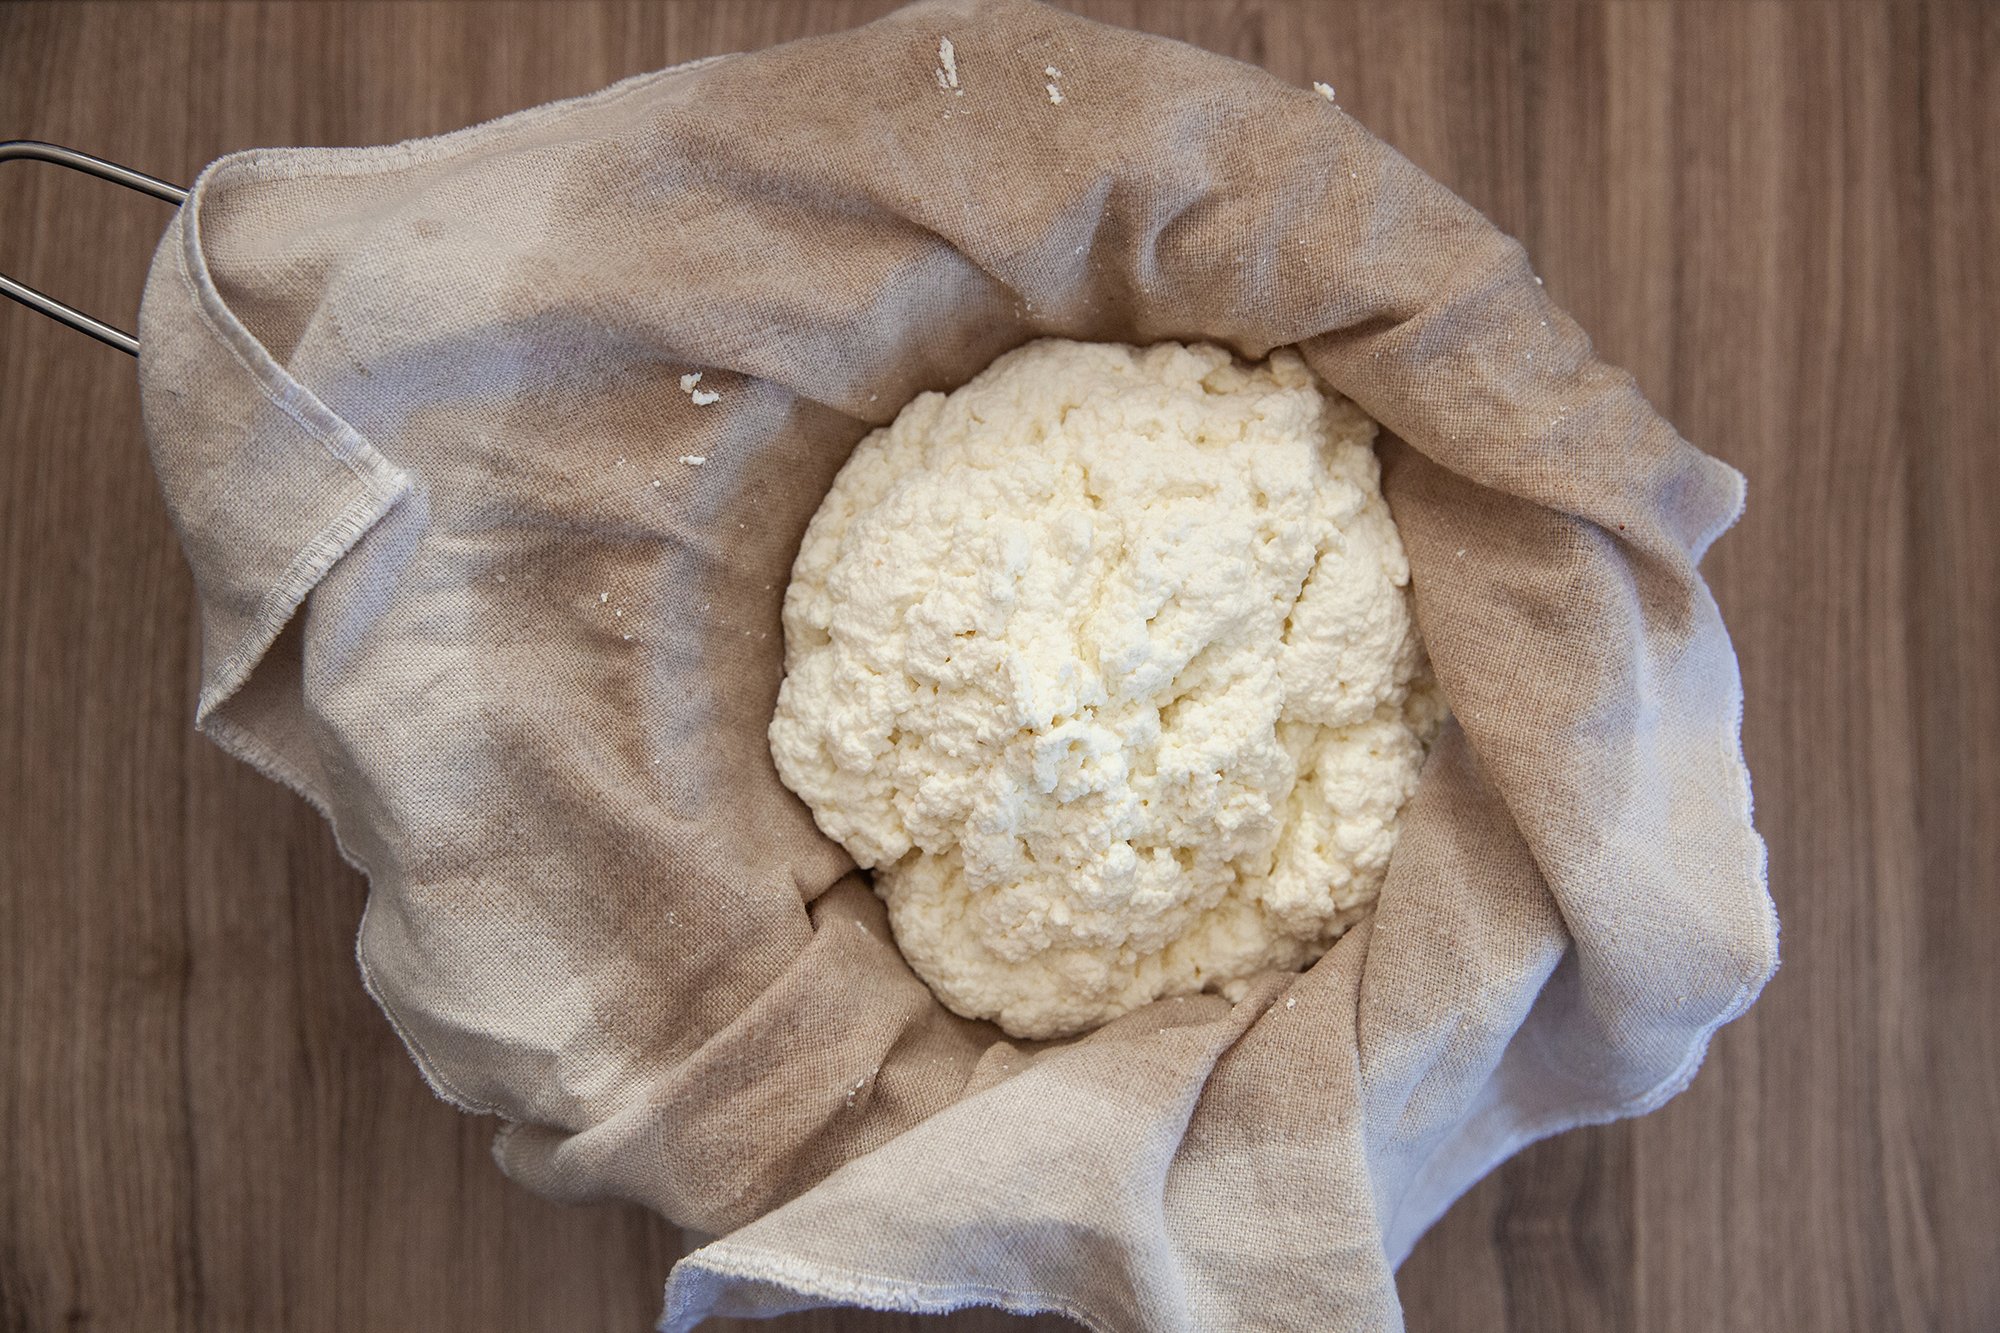
After this, line a colander with the cheese cloth and pour the mixture through both.
You can discard the whey (the liquid) or save it as there are several uses for it, including making other cheese!

Carefully, as the curds will still be warm, squeeze the cheesecloth to help drain more of the liquid out.
You can twist the curds in the cloth and place some weight on top to help this along – the longer you let the cheese drain, the firmer it will be in the end.

Once it’s drained, place the curds in a bowl, sprinkle in the salt, and mix well. Taste to see if you’d like more salt, and if so, add it in.

Find a container with a tight-fitting lid, and pack the cheese in to help mold the desired shape, and then place in the refrigerator to chill.

It should last for a week, if you don’t eat it all with a spoon right away.

Homemade Mac & Cheese
for BCLiving
June 2021
 
I love homemade mac and cheese. I honestly can’t remember the last time I had the boxed kind, because when I’m going to eat dairy, I’m going to do it right. 
There are lots of little options to make it your own as well, from a crumbly breadcrumb top, to the variety of cheese you pick out. 
 
And like most of the From Scratch recipes I make, you can even freeze it. 
 
Makes ~8 servings 

INGREDIENTS: 
 
- 450g of dried pasta 
- approx. 750g of high-quality cheese – equal parts of your choice  
suggested/what I used: fontina, white cheddar (sharp), parmesan, low-moisture mozzarella, gruyere, (gouda, or Havarti are good choices too) 
 
- optional: additional cheddar & parmesan for the top 
- optional: breadcrumbs 
 
- 60g of butter 
- ¼ cup non-bleached all-purpose flour 
- 4 cups of milk 
- salt & pepper 
 

INSTRUCTIONS: 

Grate all of your cheeses so they’re ready to go when needed and place them in a glass or heat-proof bowl. 
Preheat the oven to 375°F. 
 
In a large pot of salted water, cook your macaroni or, the pasta of your choosing (ones with ridges or tubes are best to soak up the sauce. Cooking until just al dente (if the pasta finishes before the sauce is ready, drain and run under cold water to stop the cooking). 
 

While the pasta is cooking, make the roux. 
 
In a high-walled sauce pan, melt the butter on medium heat and let it cook for a minute or two. Then sprinkle in the flour, and whisk to combine, and cook for 2 or 3 minutes until the flour smell is gone. 
 
Very slowly add small amounts (maybe ¼ or 1/3 of a cup) of the milk, constantly whisking to be sure there are no lumps. Do this until the milk has been incorporated, and continue whisking for a few minutes until the roux thickens. 
 
When ready, pour the roux through a mine-mesh strainer, over top of the cheeses and then fold it in with a spatula to combine fully, and season with salt and pepper. (You can add some other spices here, like cayenne pepper, but taste first as some of the cheeses might have enough flavor already). 
 
Toss the pasta into a casserole dish and pour the cheese over top, folding it in.  
 
Now, you can either top the casserole with more grated cheddar and parmesan, or with breadcrumbs. Or, you know, both! 
 
(You can freeze some in a separate container now if you’d like, so you can bake at another date.) 
 
Bake in the pre-heated oven for 20 mins, and then rotate the dish, and bake for 20 to 25 more, until it’s golden brown and then remove it from the oven. 
 
Let rest for about 8-10 minutes and then serve. 
 
ENJOY! 

january282021_wine_and_food_christine_mcavoy-0297.jpg

Wine & Food Photoshoot with Cassandra Anderton of Good Life Vancouver
Forage, Restaurant
January 28, 2021

I have some photos in this month’s issue of Sad Mag that I shot back in March on film! Always such a fun (and expensive) thing to do…I forget how much I love my Hasselblad.The theme for the month was Cheese, and my subjects were some of Vanco…

I have some photos in this month’s issue of Sad Mag that I shot back in March on film! Always such a fun (and expensive) thing to do…I forget how much I love my Hasselblad.

The theme for the month was Cheese, and my subjects were some of Vancouver’s drag Kings & Queens that had a ‘whine’ to go along with their cheese. I’ll post some more photos from it soon.

Sad Mag - Issue No. 23