
Granola
for BC Living - “From Scratch”
January 2026
I’m really trying to focus on making sure I eat breakfast these days, even if it’s just a boring protein shake, but then I decided I needed some more flavor and some crunch in my daily routine.
I always find when I get bags of granola from the grocery store, it goes stale before I get anywhere near finishing it, and trying to find one that has the exact add-ins that I like is also a challenge...
...enter, making it from scratch!
Making homemade granola is incredibly easy and takes very little time and effort. You probably have everything you need in your cupboards already, and the best part is it’s fully customizable!
INGREDIENTS
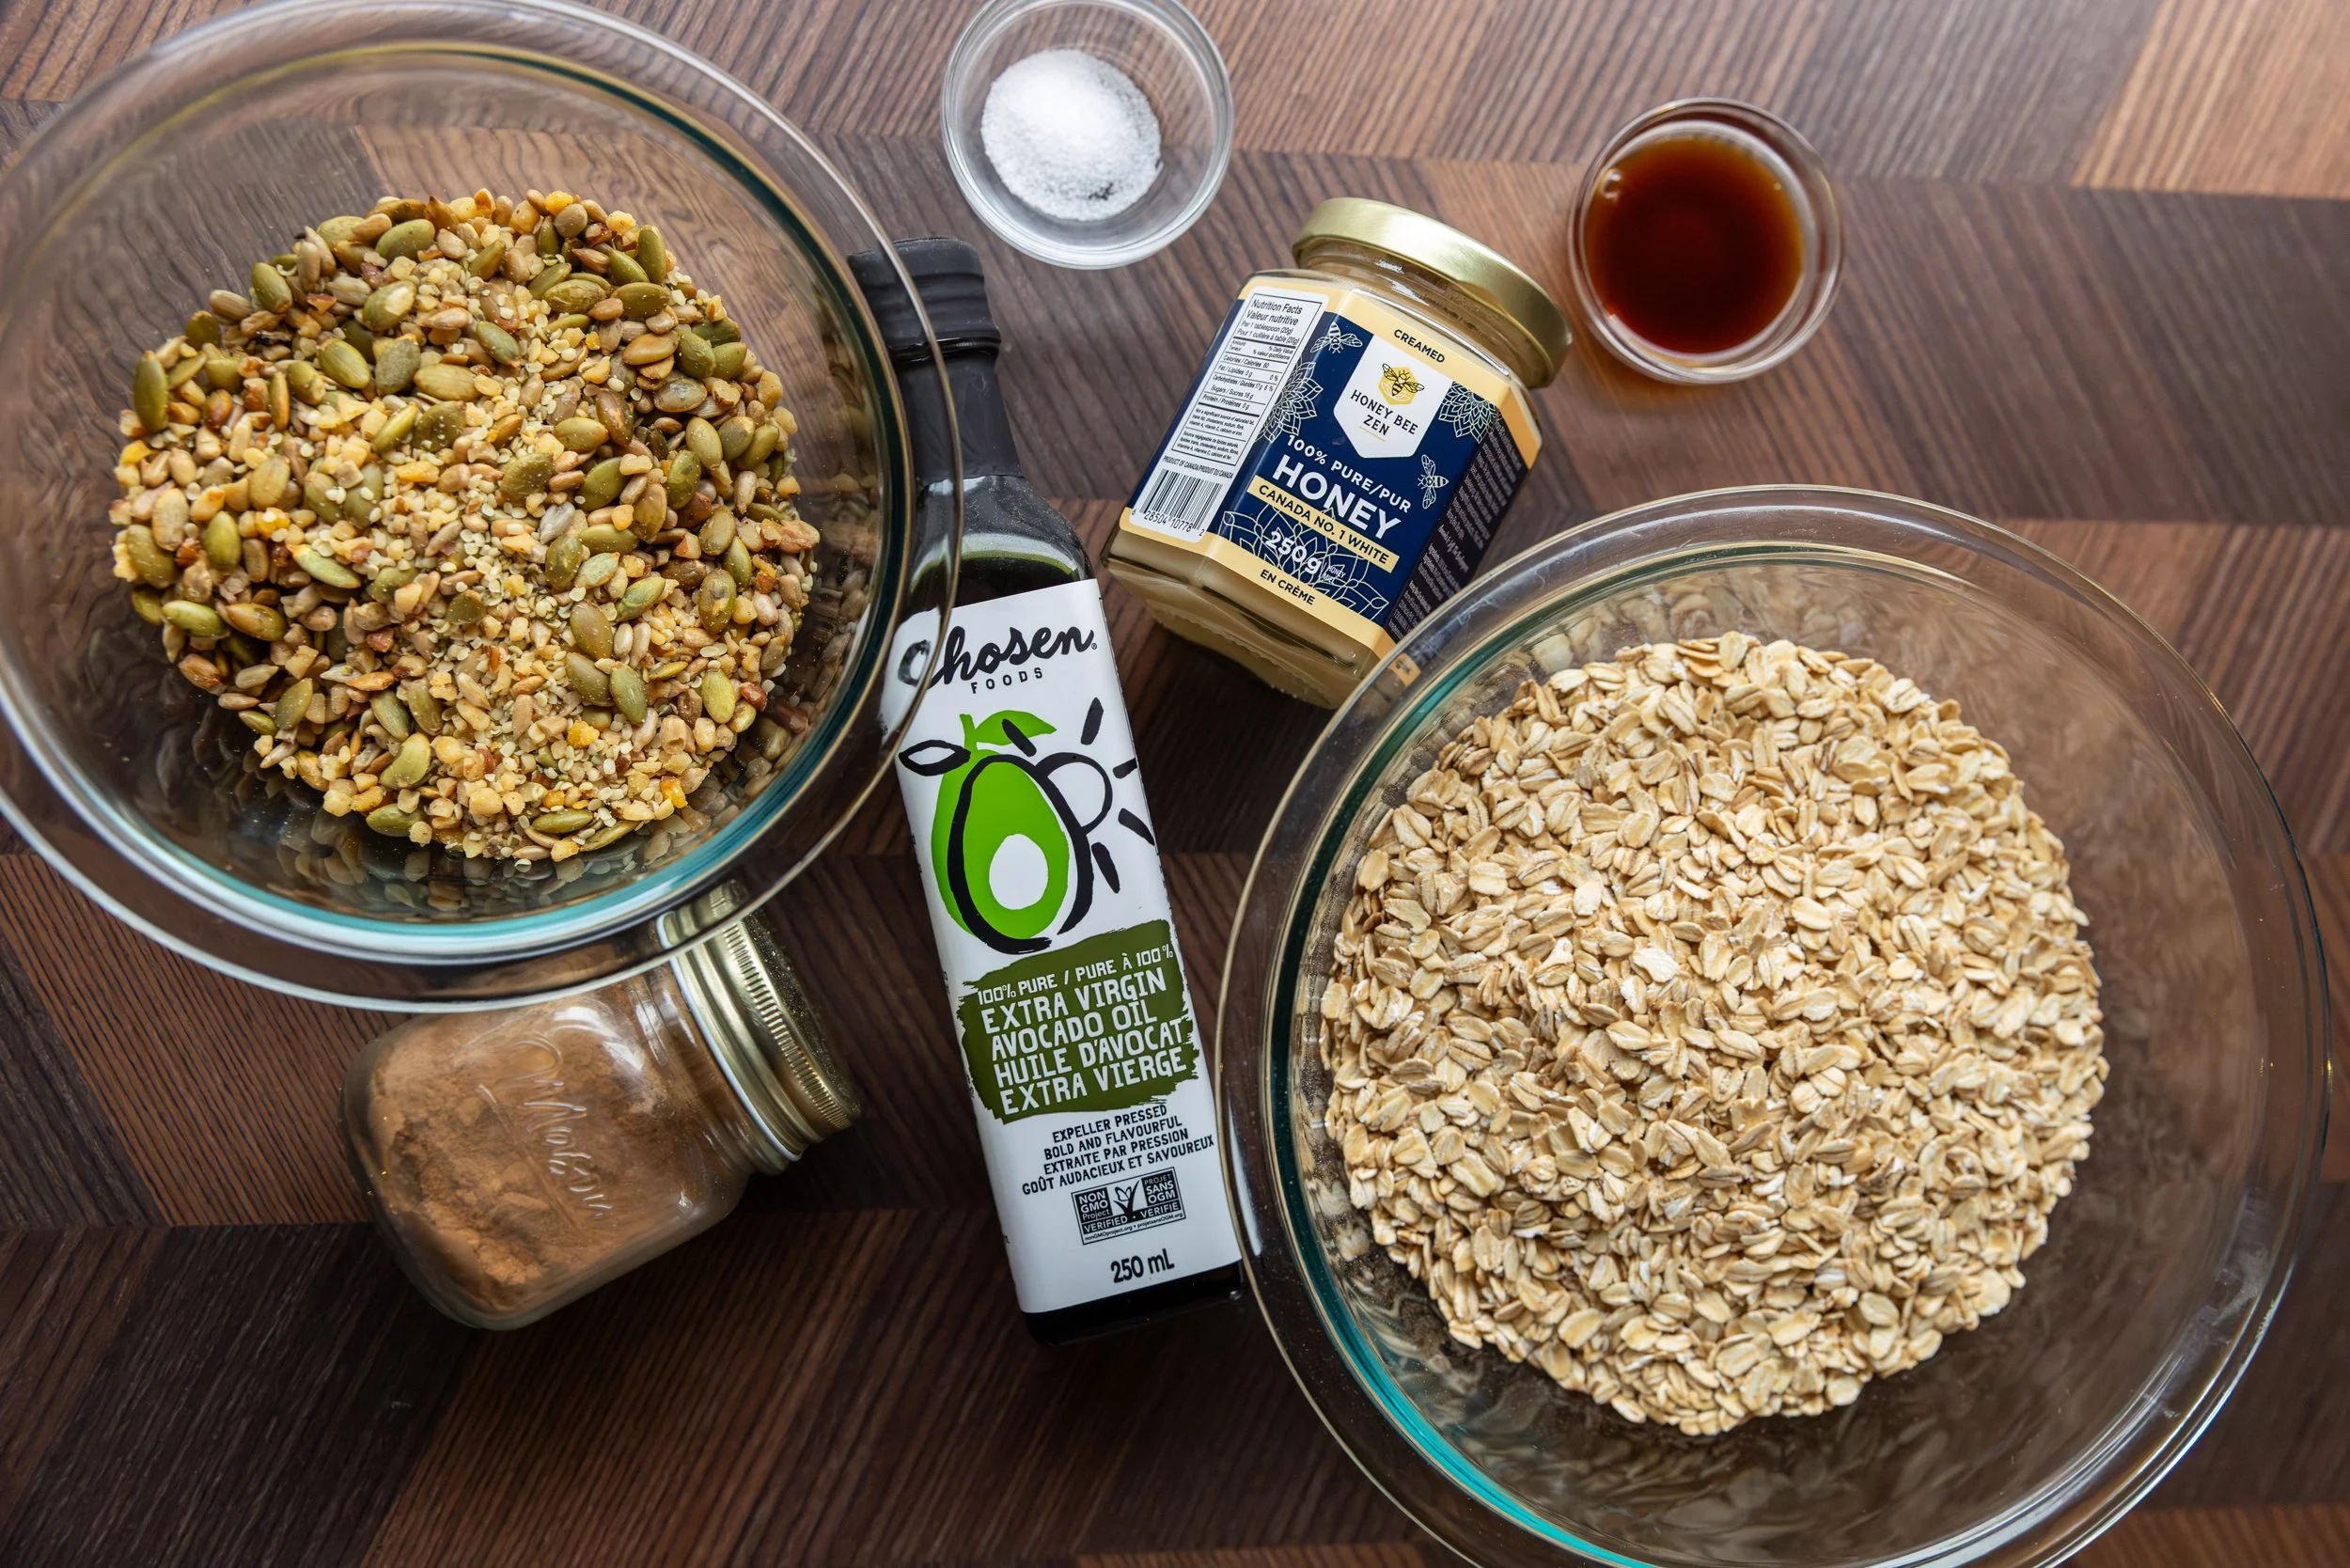
Dry Ingredients
- 3 cups of rolled oats (do not use steel cut!)
- ½ tsp salt
- 1.5 cups of nuts and/or seeds of your choice (I used pepitas, sunflower seeds, and crushed walnuts)
- ½ tsp of cinnamon (or a spice mix of your choosing)
Wet Ingredients
- ½ cup honey
- 1.5 tsp vanilla extract
- 1/3 cup avocado oil (can sub in coconut oil)
Other
- add-ins like dried fruits or chocolate chips
INSTRUCTIONS
Preheat the oven to 350 degrees Fahrenheit and line a large baking sheet with parchment paper. This step is important, or the granola will bake on to the sheet!
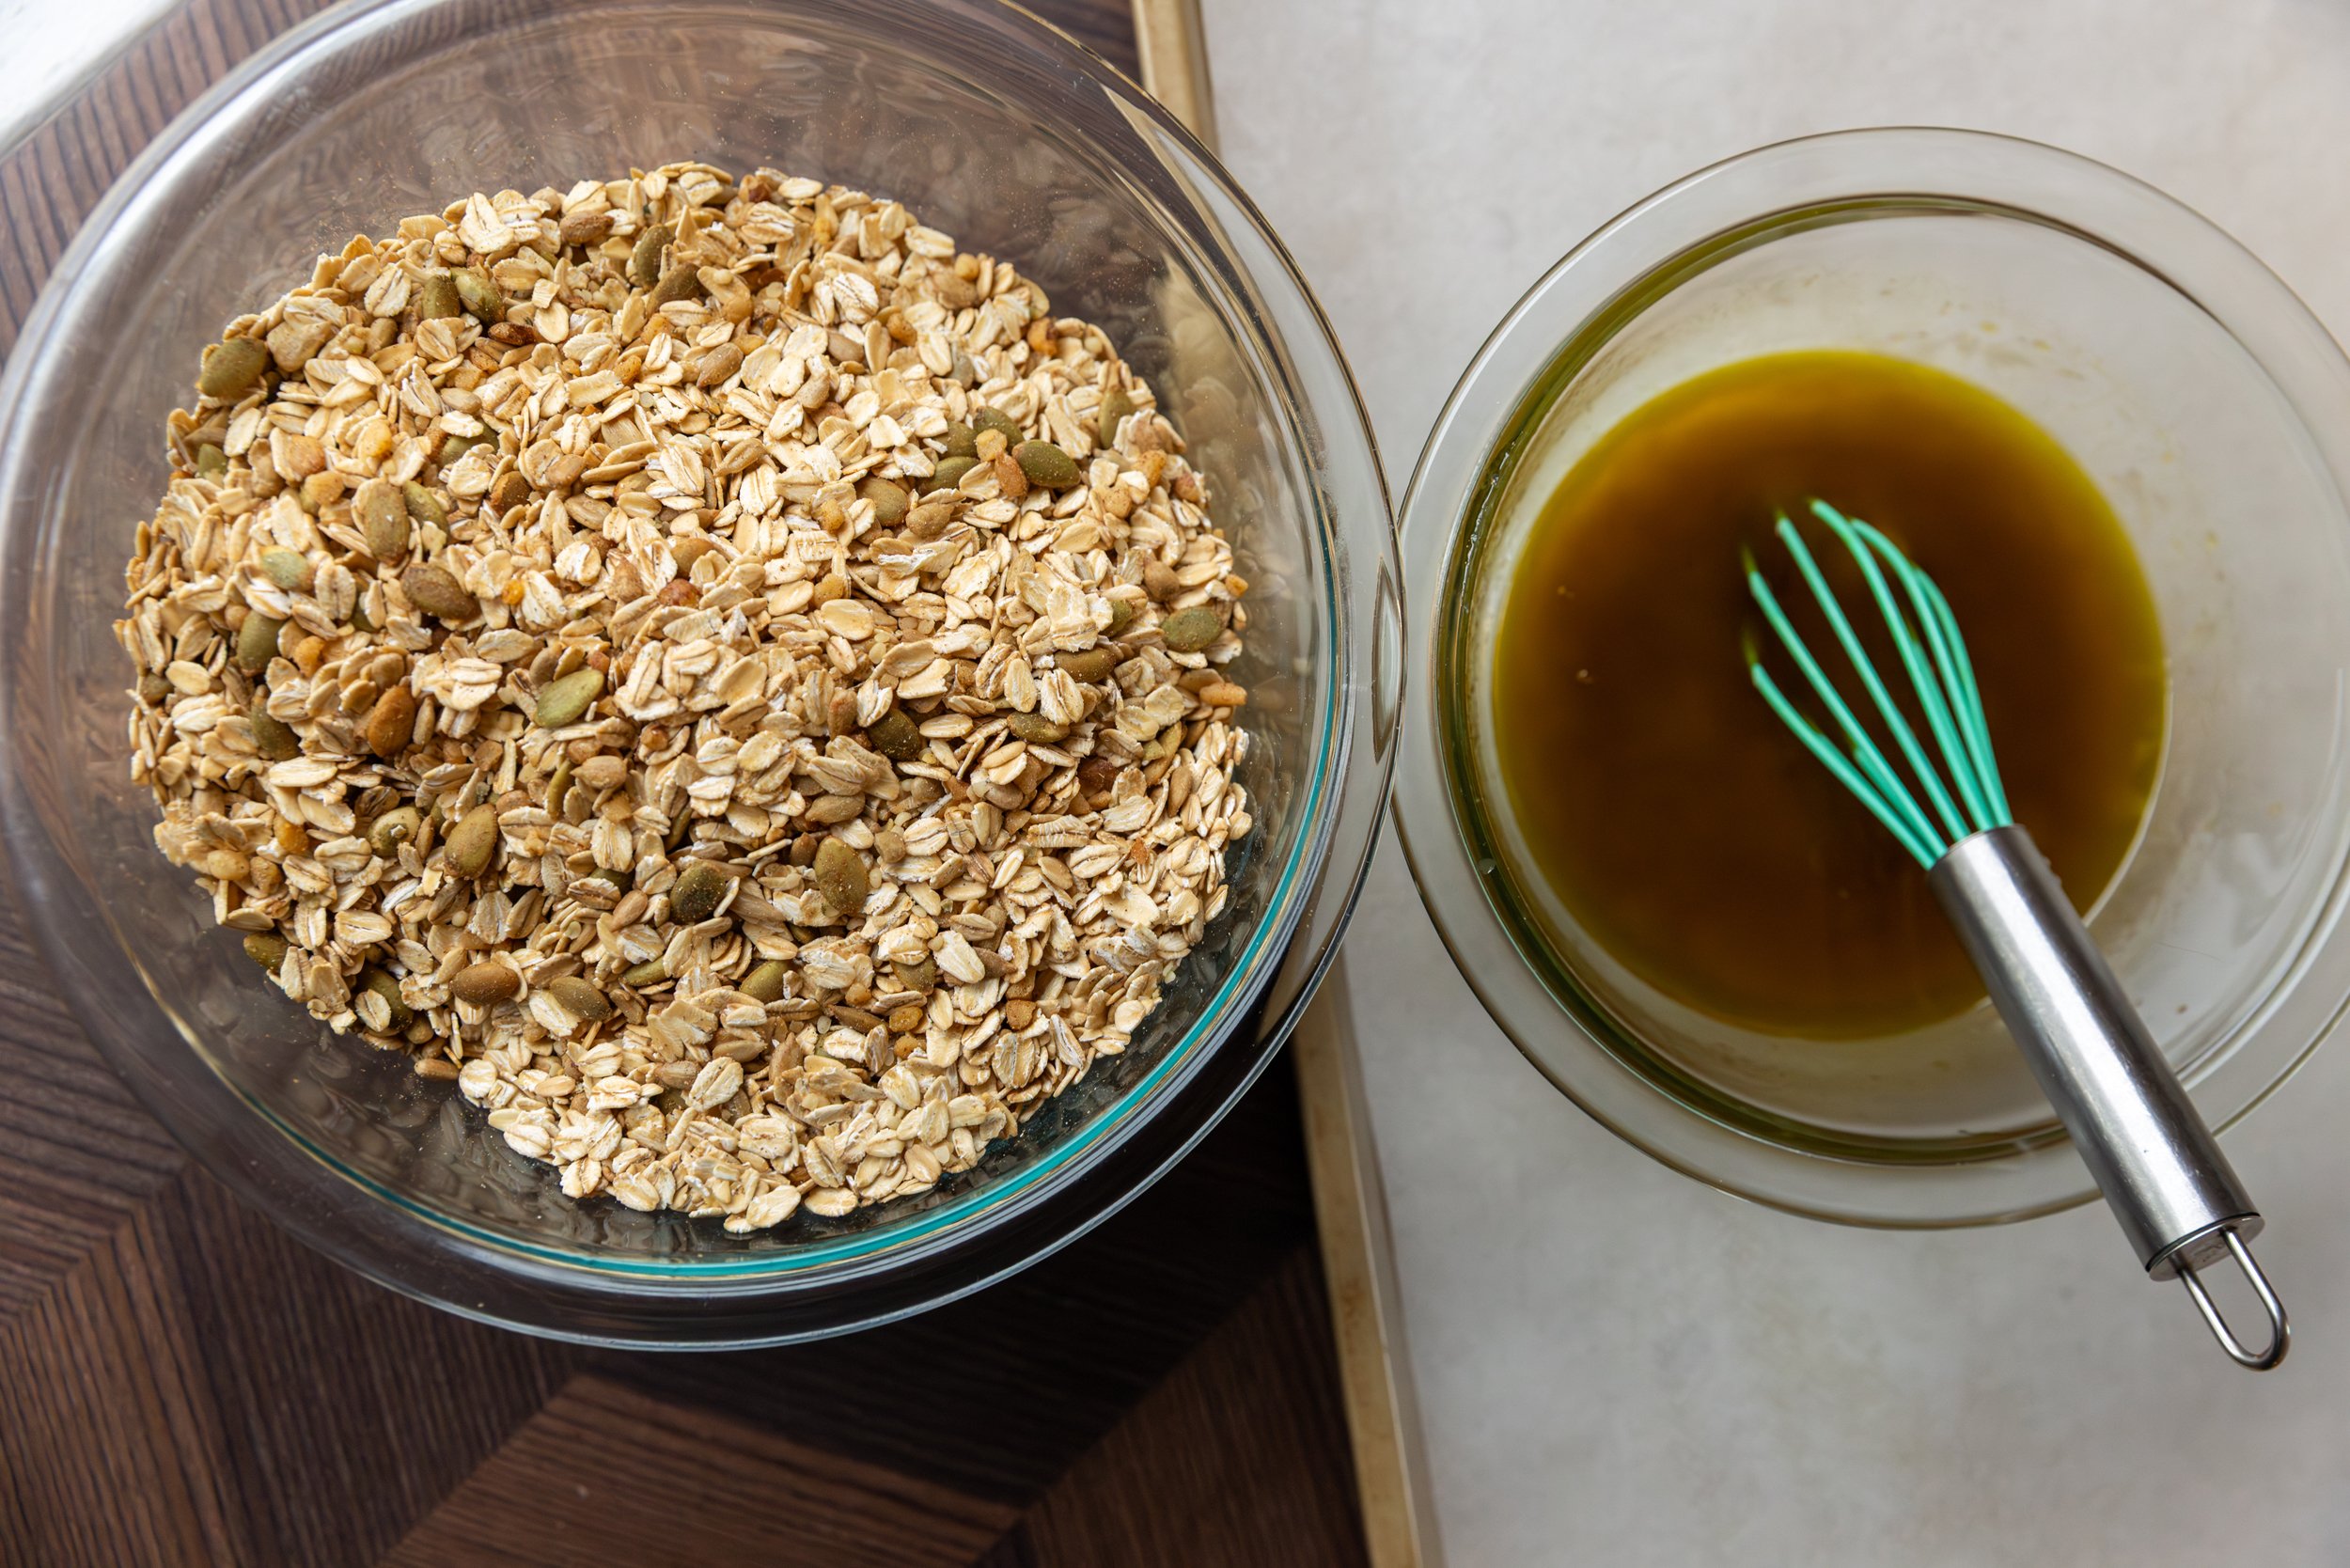
In a large bowl, mix the dry ingredients together and then in a separate bowl, mix the wet ingredients together until they are fully blended.
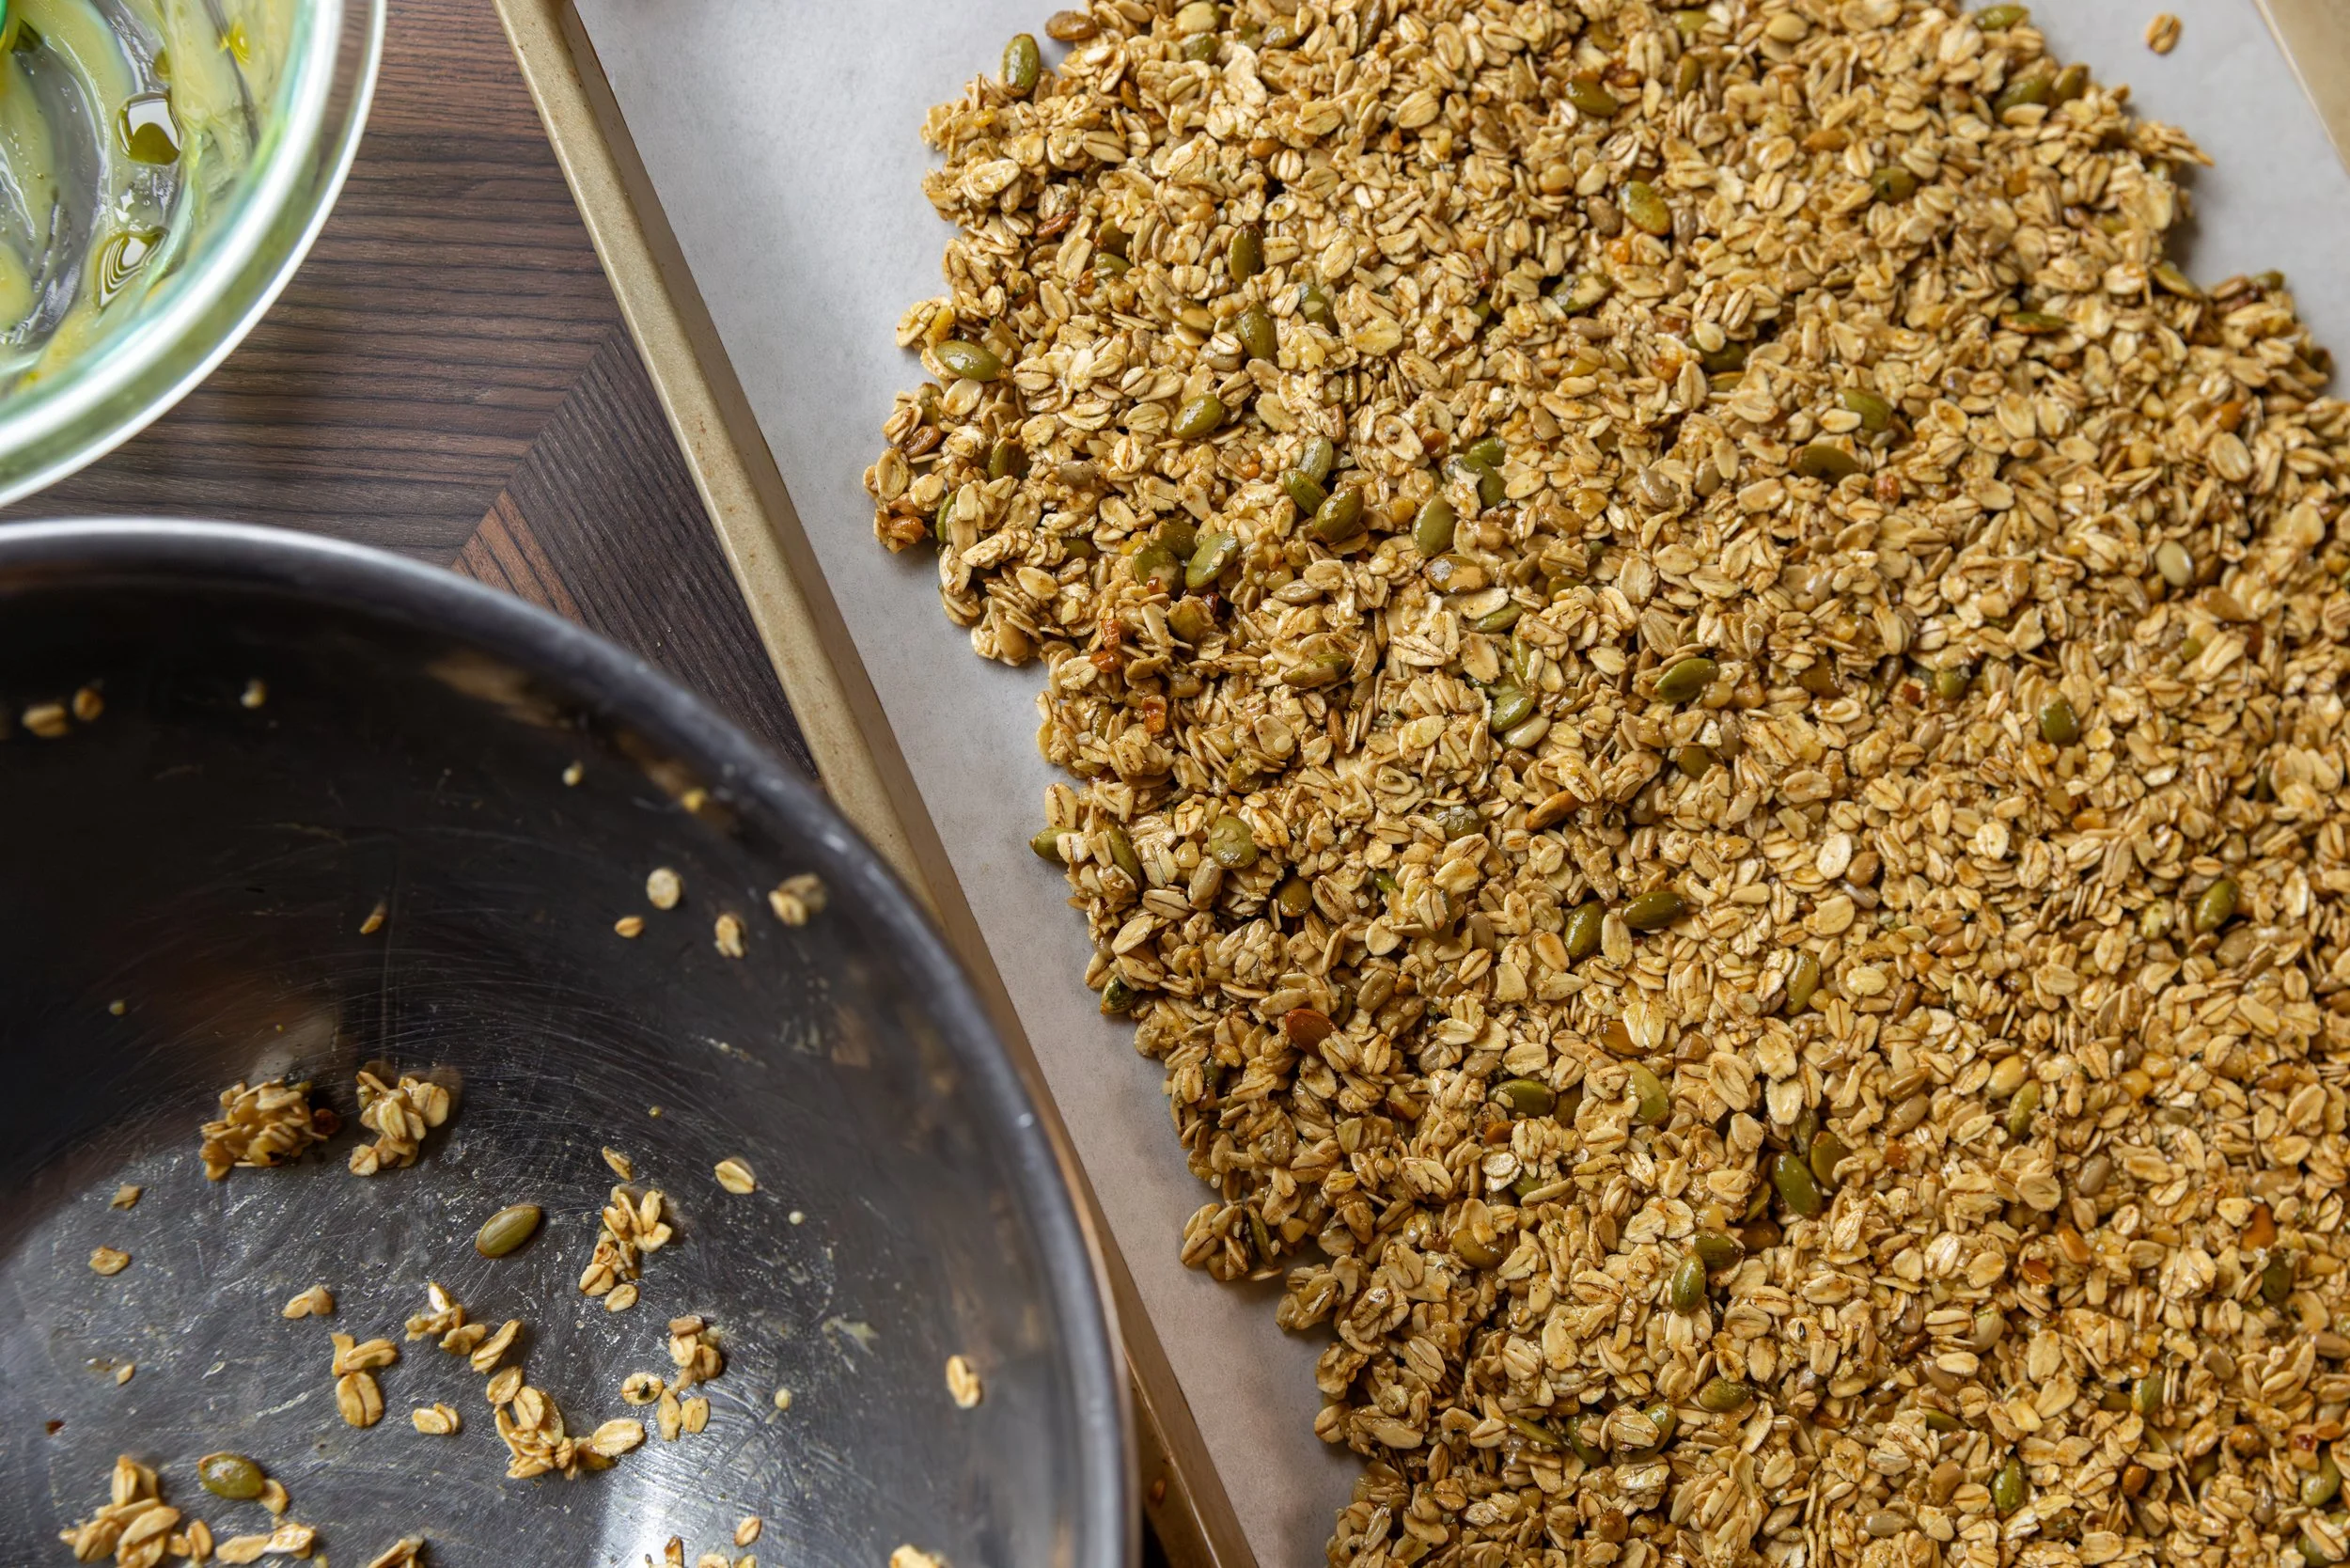
Pour the wet ingredients into the dry and with a wooden spoon, mix until the granola is evenly coated.
Spread the mixture onto the prepared baking sheet, press it down firmly with the spoon or your hand.
Bake in the oven for 20-25 minutes, checking it after 20, and remove when it has reached the desired color of browning for you.
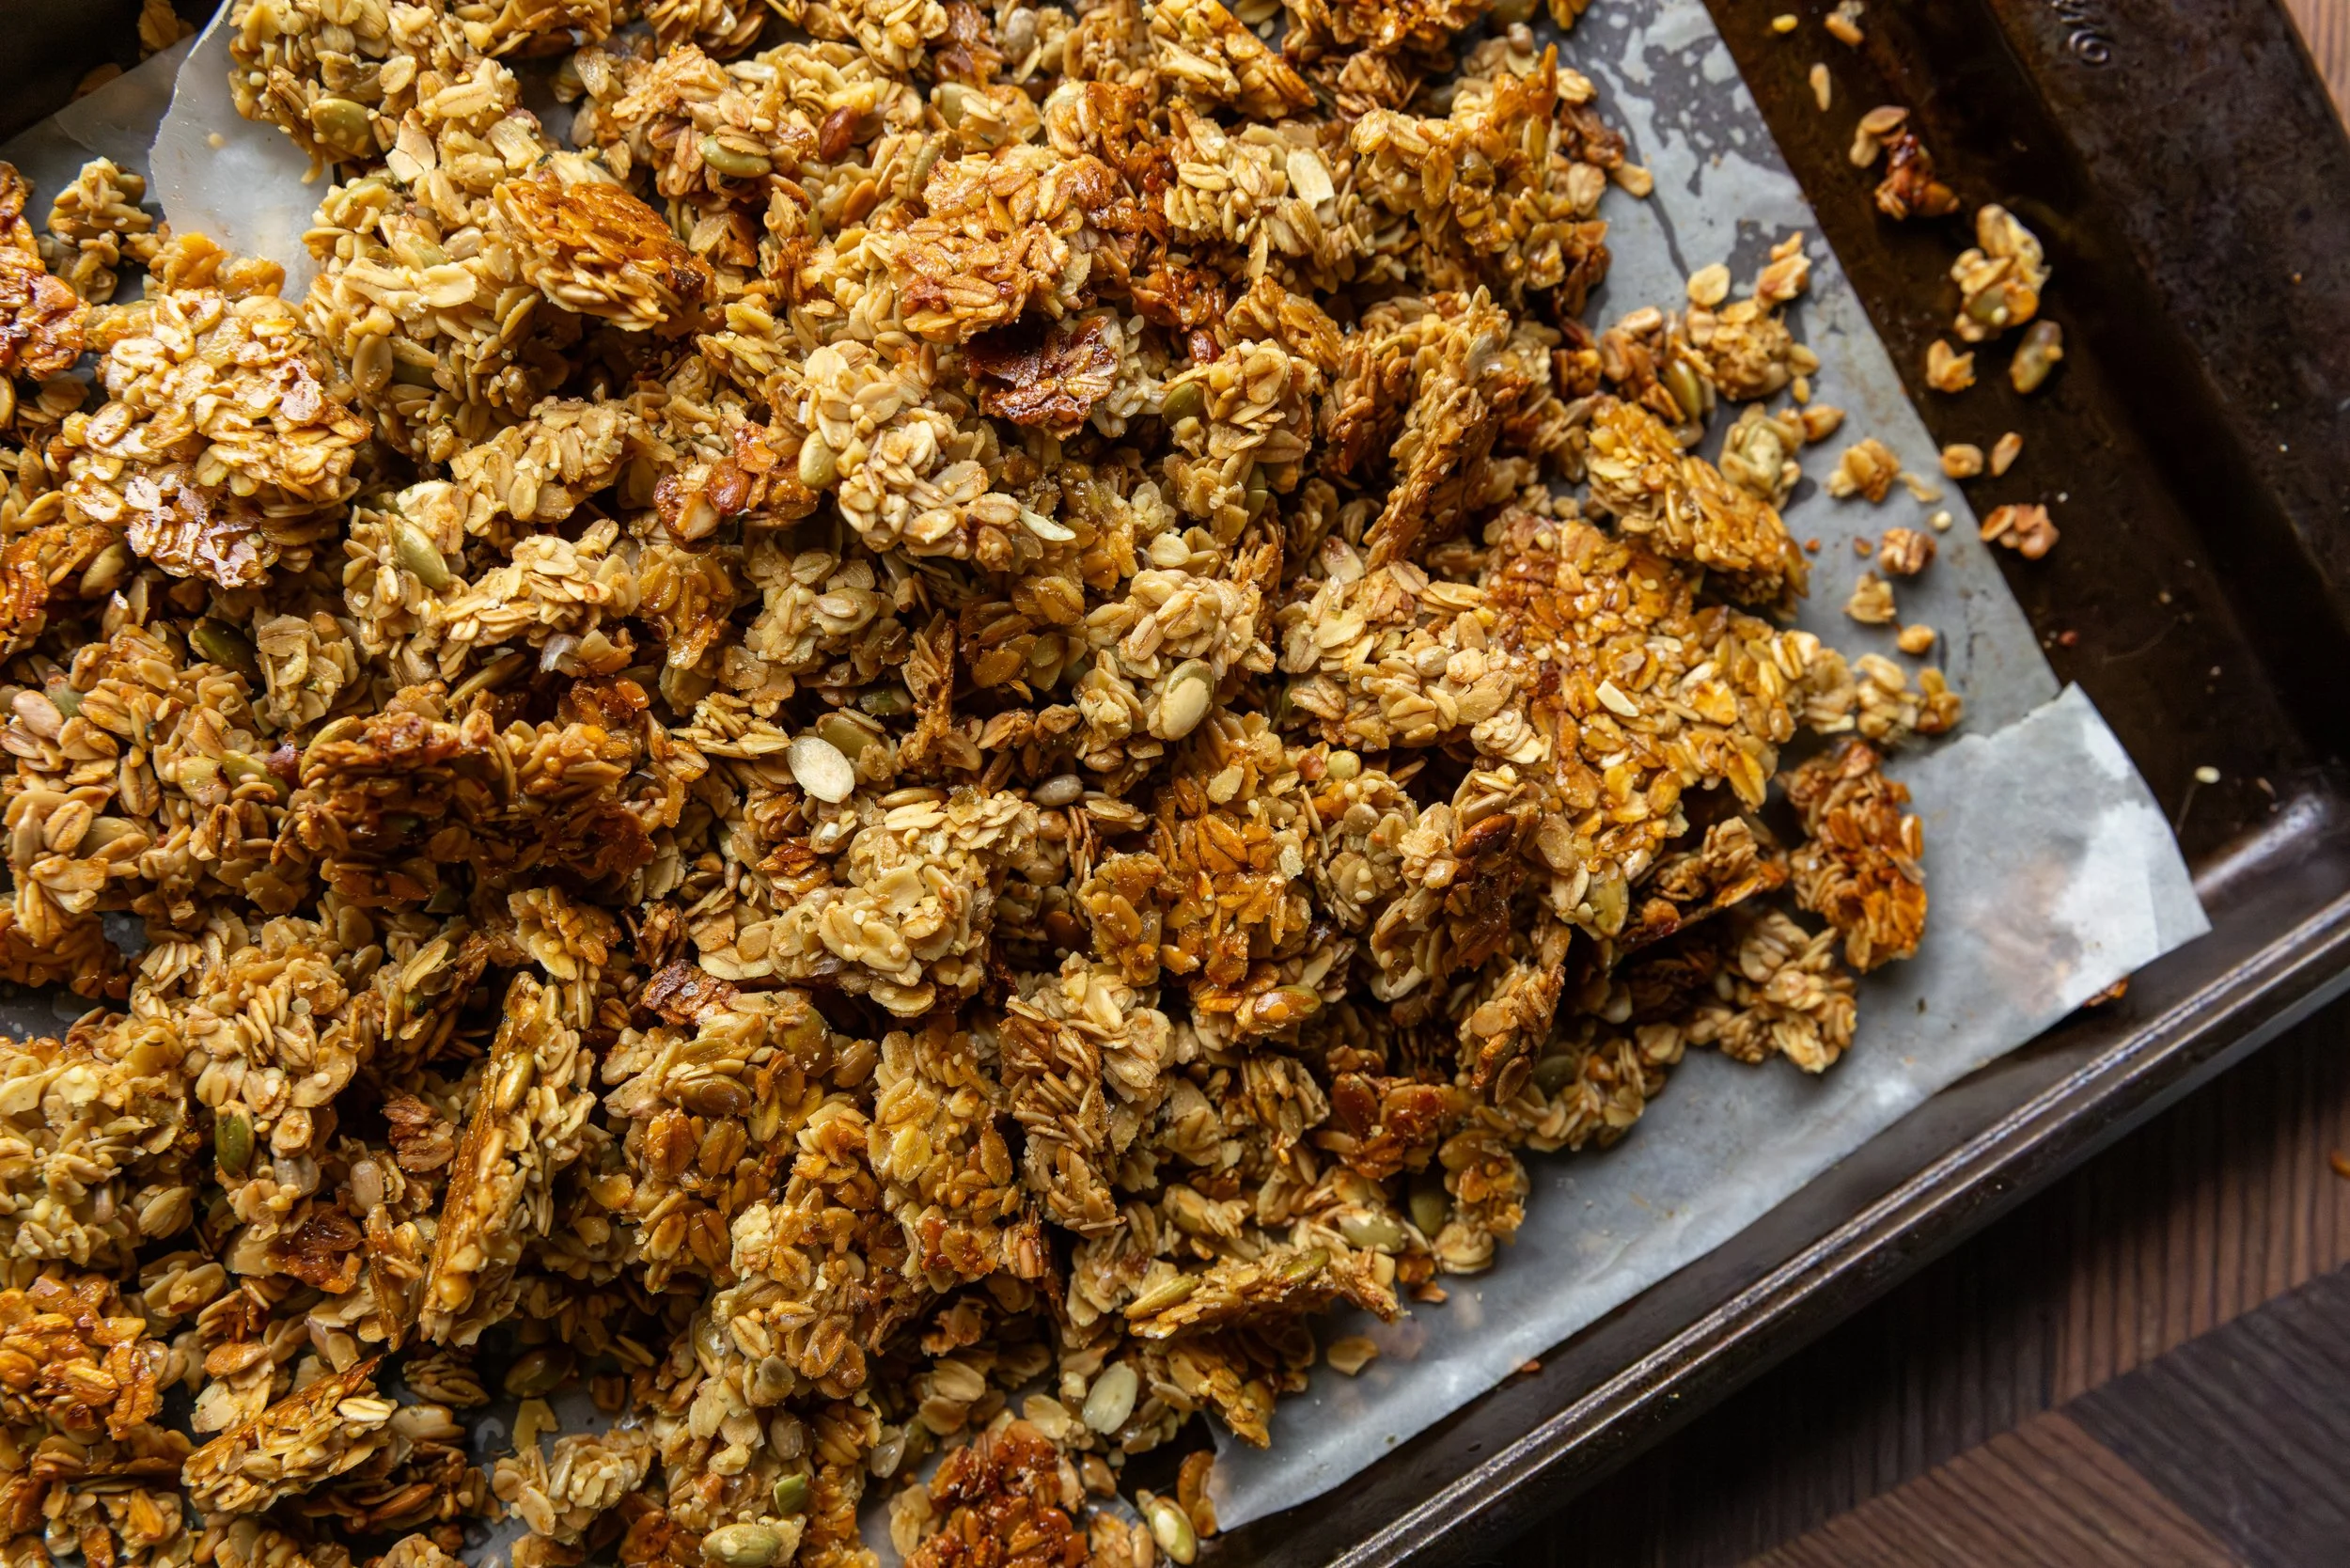
Let the granola cool on the baking sheet completely (do NOT mix it up) - this will take about an hour.
Once cool, you can break it into chunks with your hands and mix in any add-ins like dried fruits or chocolate.
Transfer the granola to an airtight container and use within one to two weeks (stored at room temperature) or you can freeze it for a few months - defrosting in the fridge before consumption.
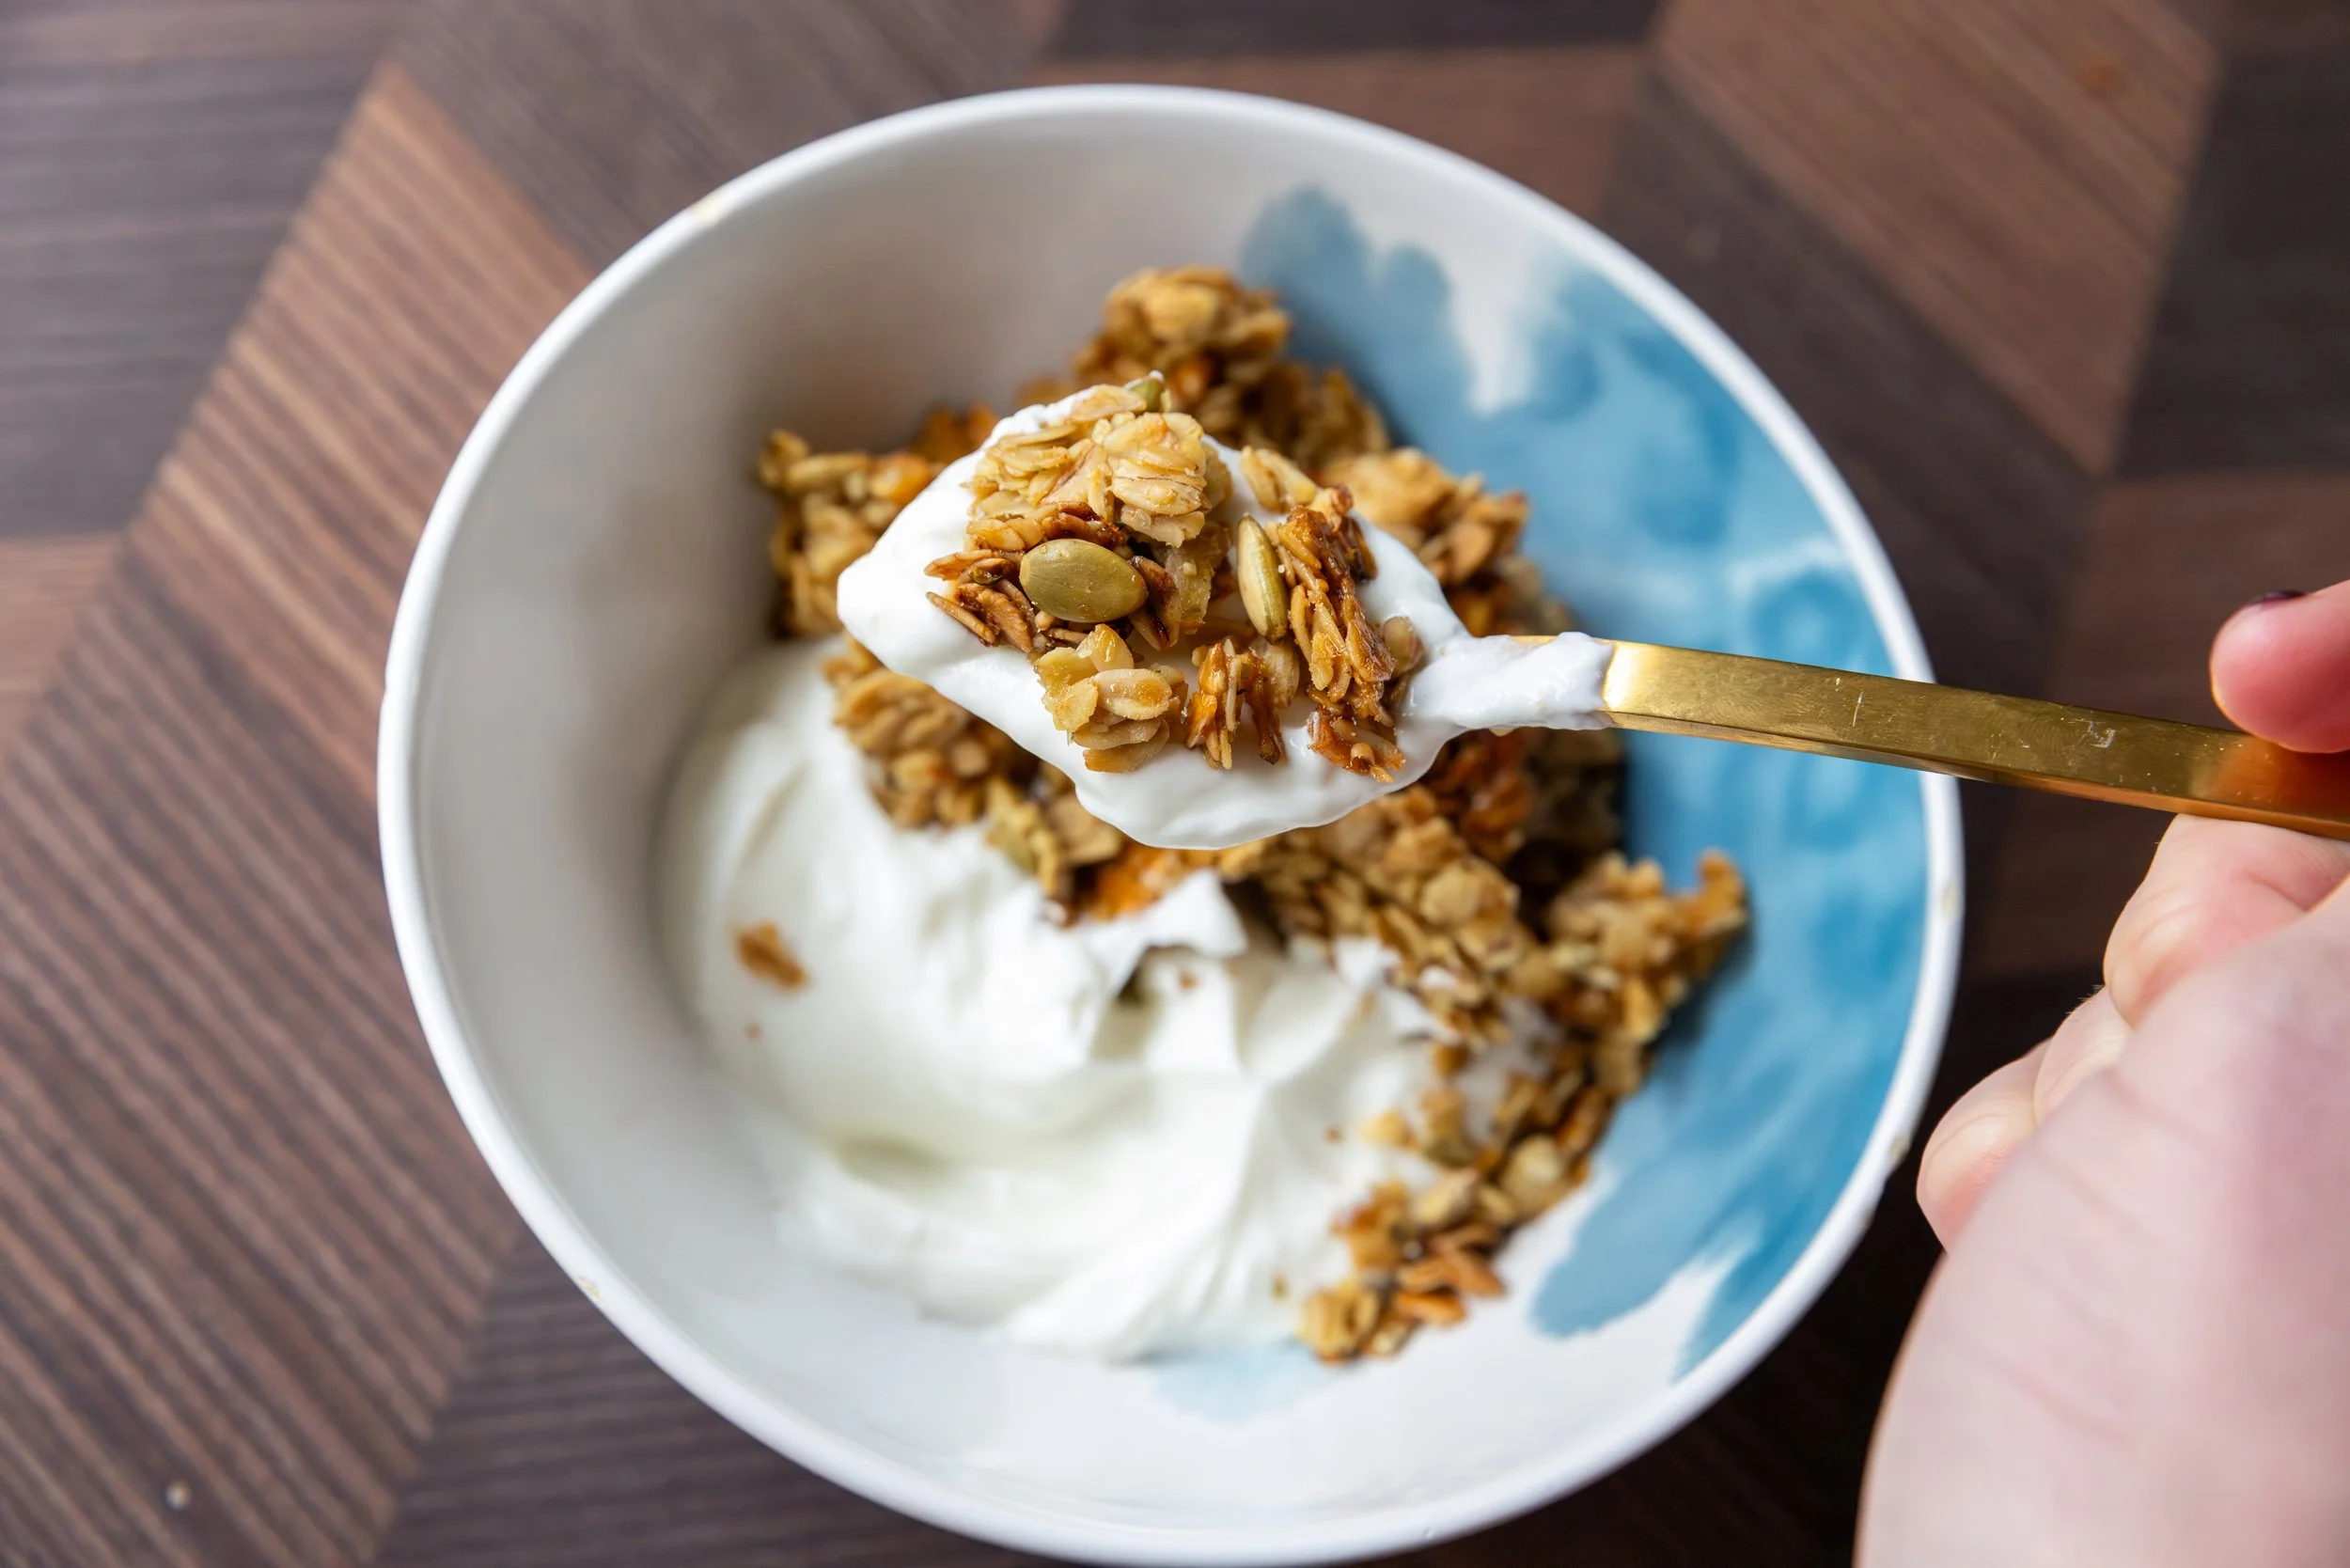
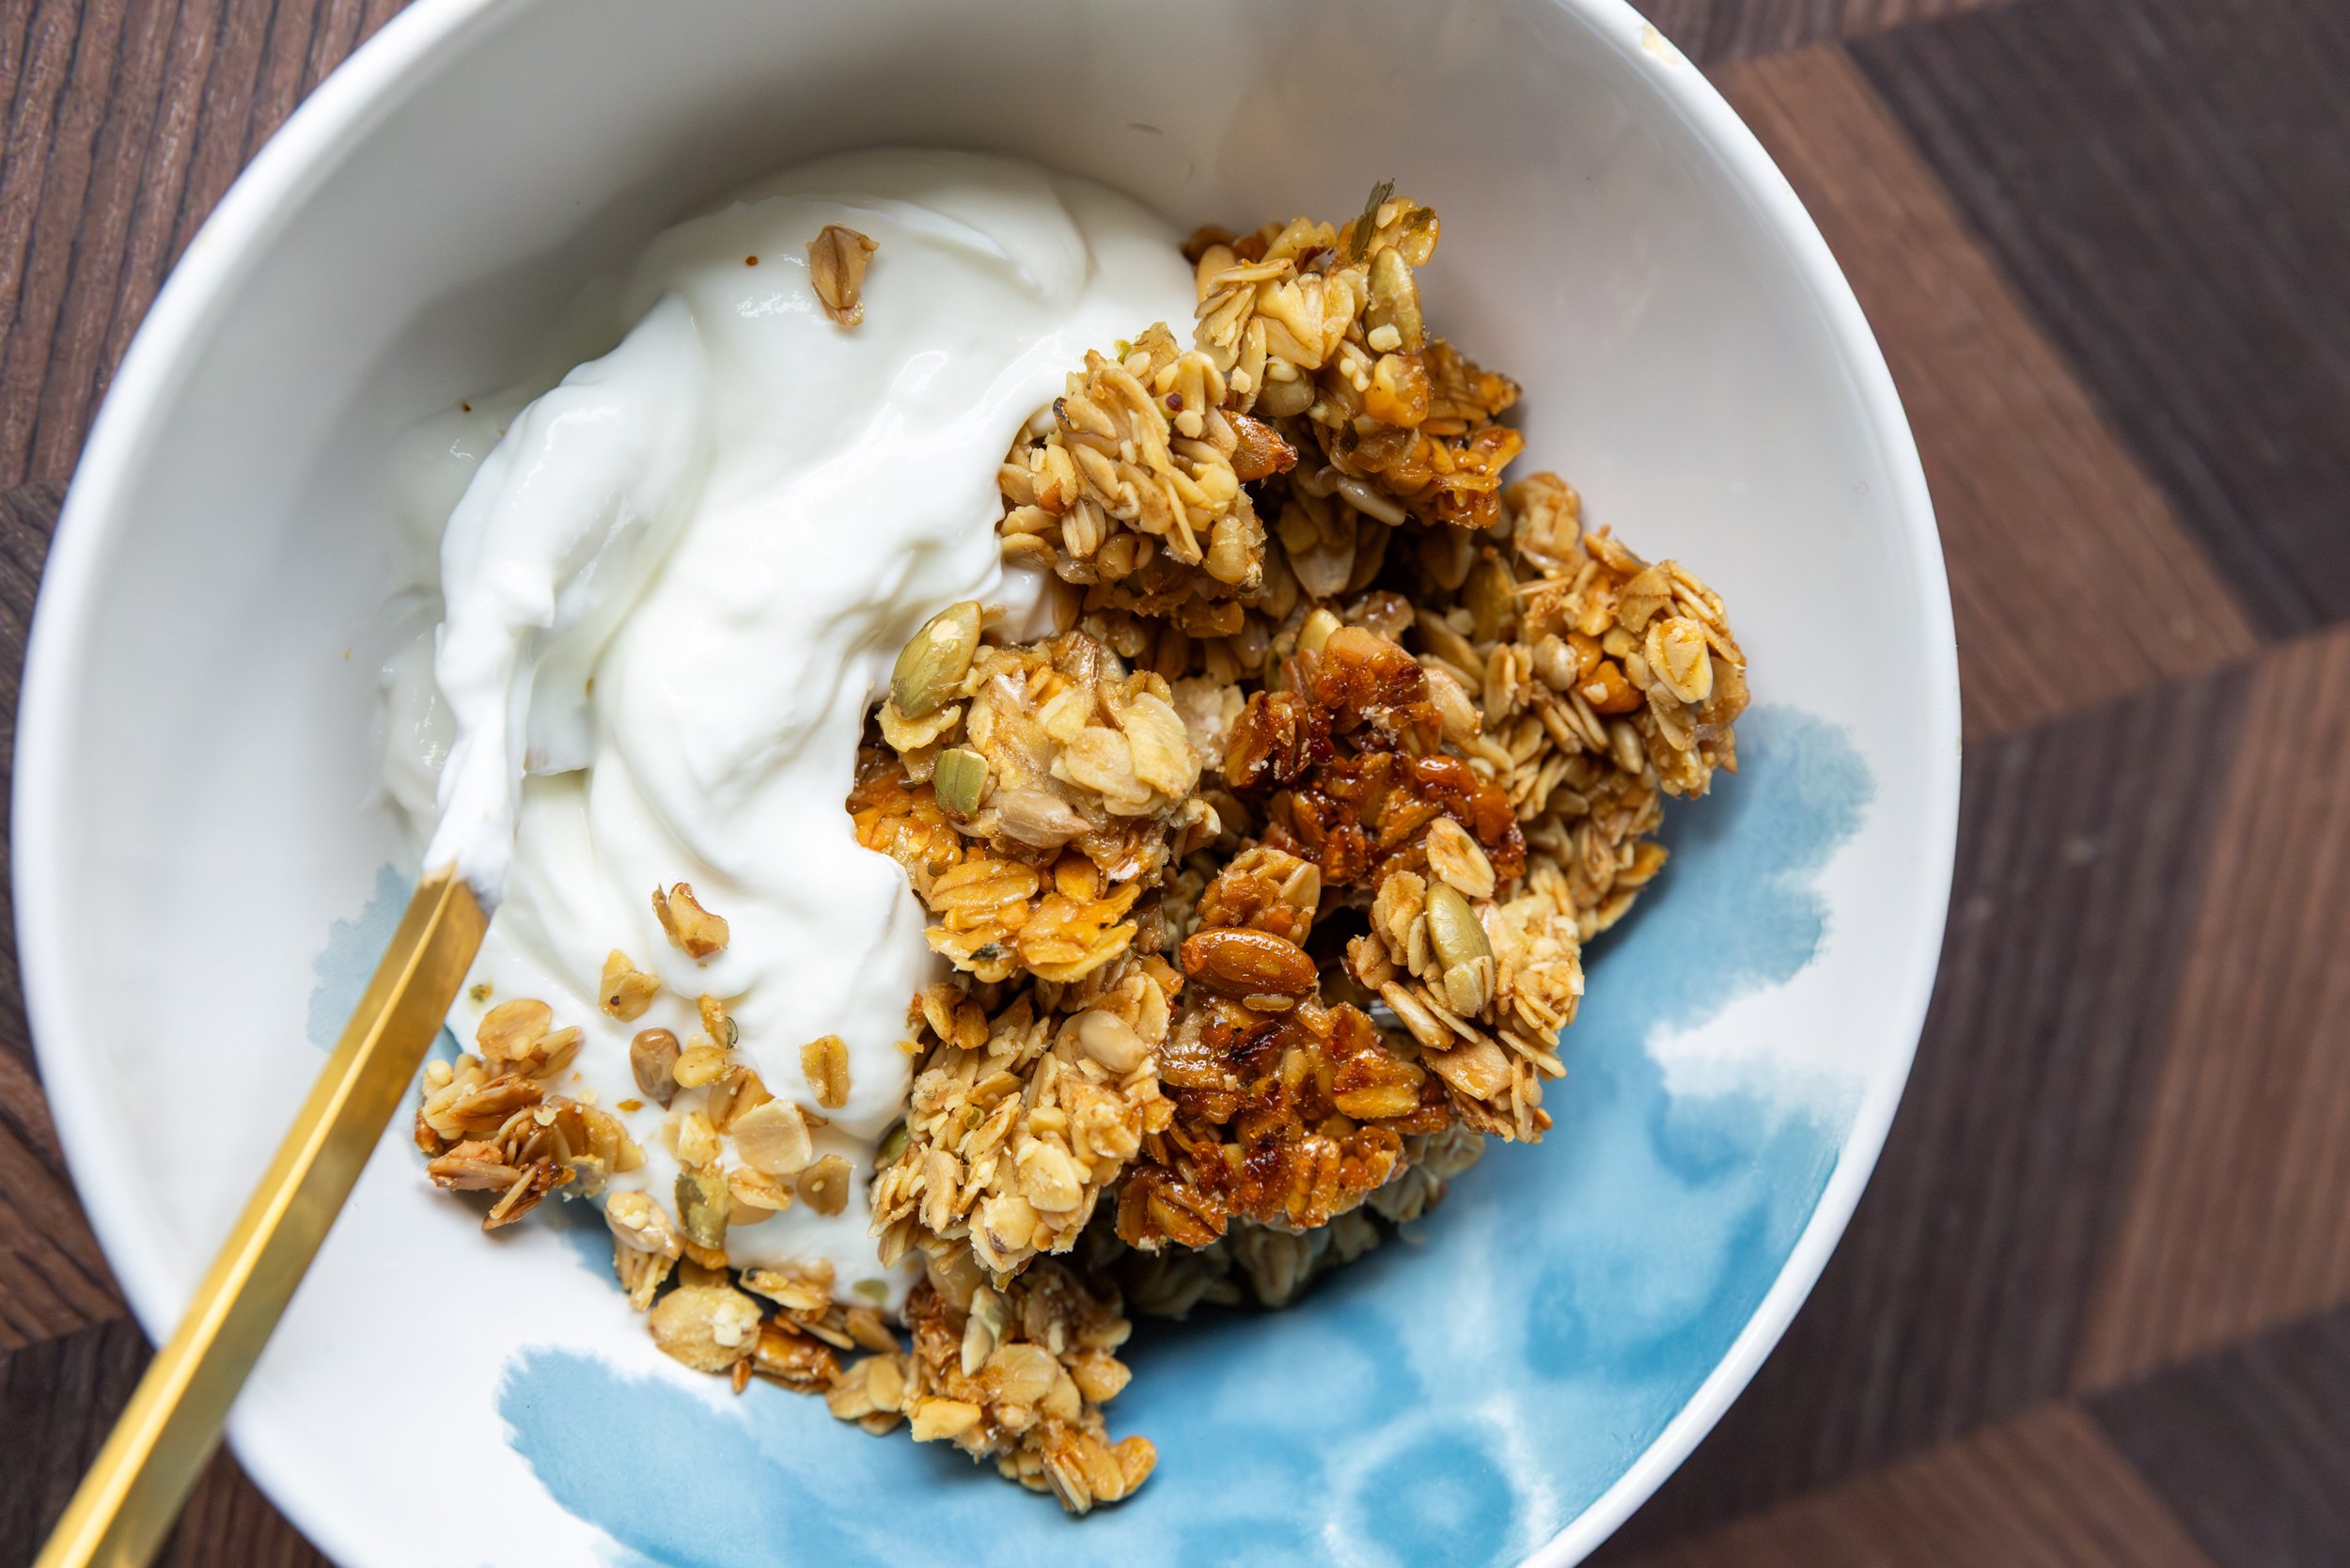
Serve with your favorite yogurt or milk, or just on its own as a quick and healthy snack!
ENJOY!