
Sushi
Recipe for BC Living
March 2024
If you’re looking for a fun date night, an activity to do with your kids, or just a fun skill to try out, making sushi at home isn’t as hard as you might think.
Accurate rolling might take some practice, but the whole process is extremely fun and rewarding (in both senses of the word).
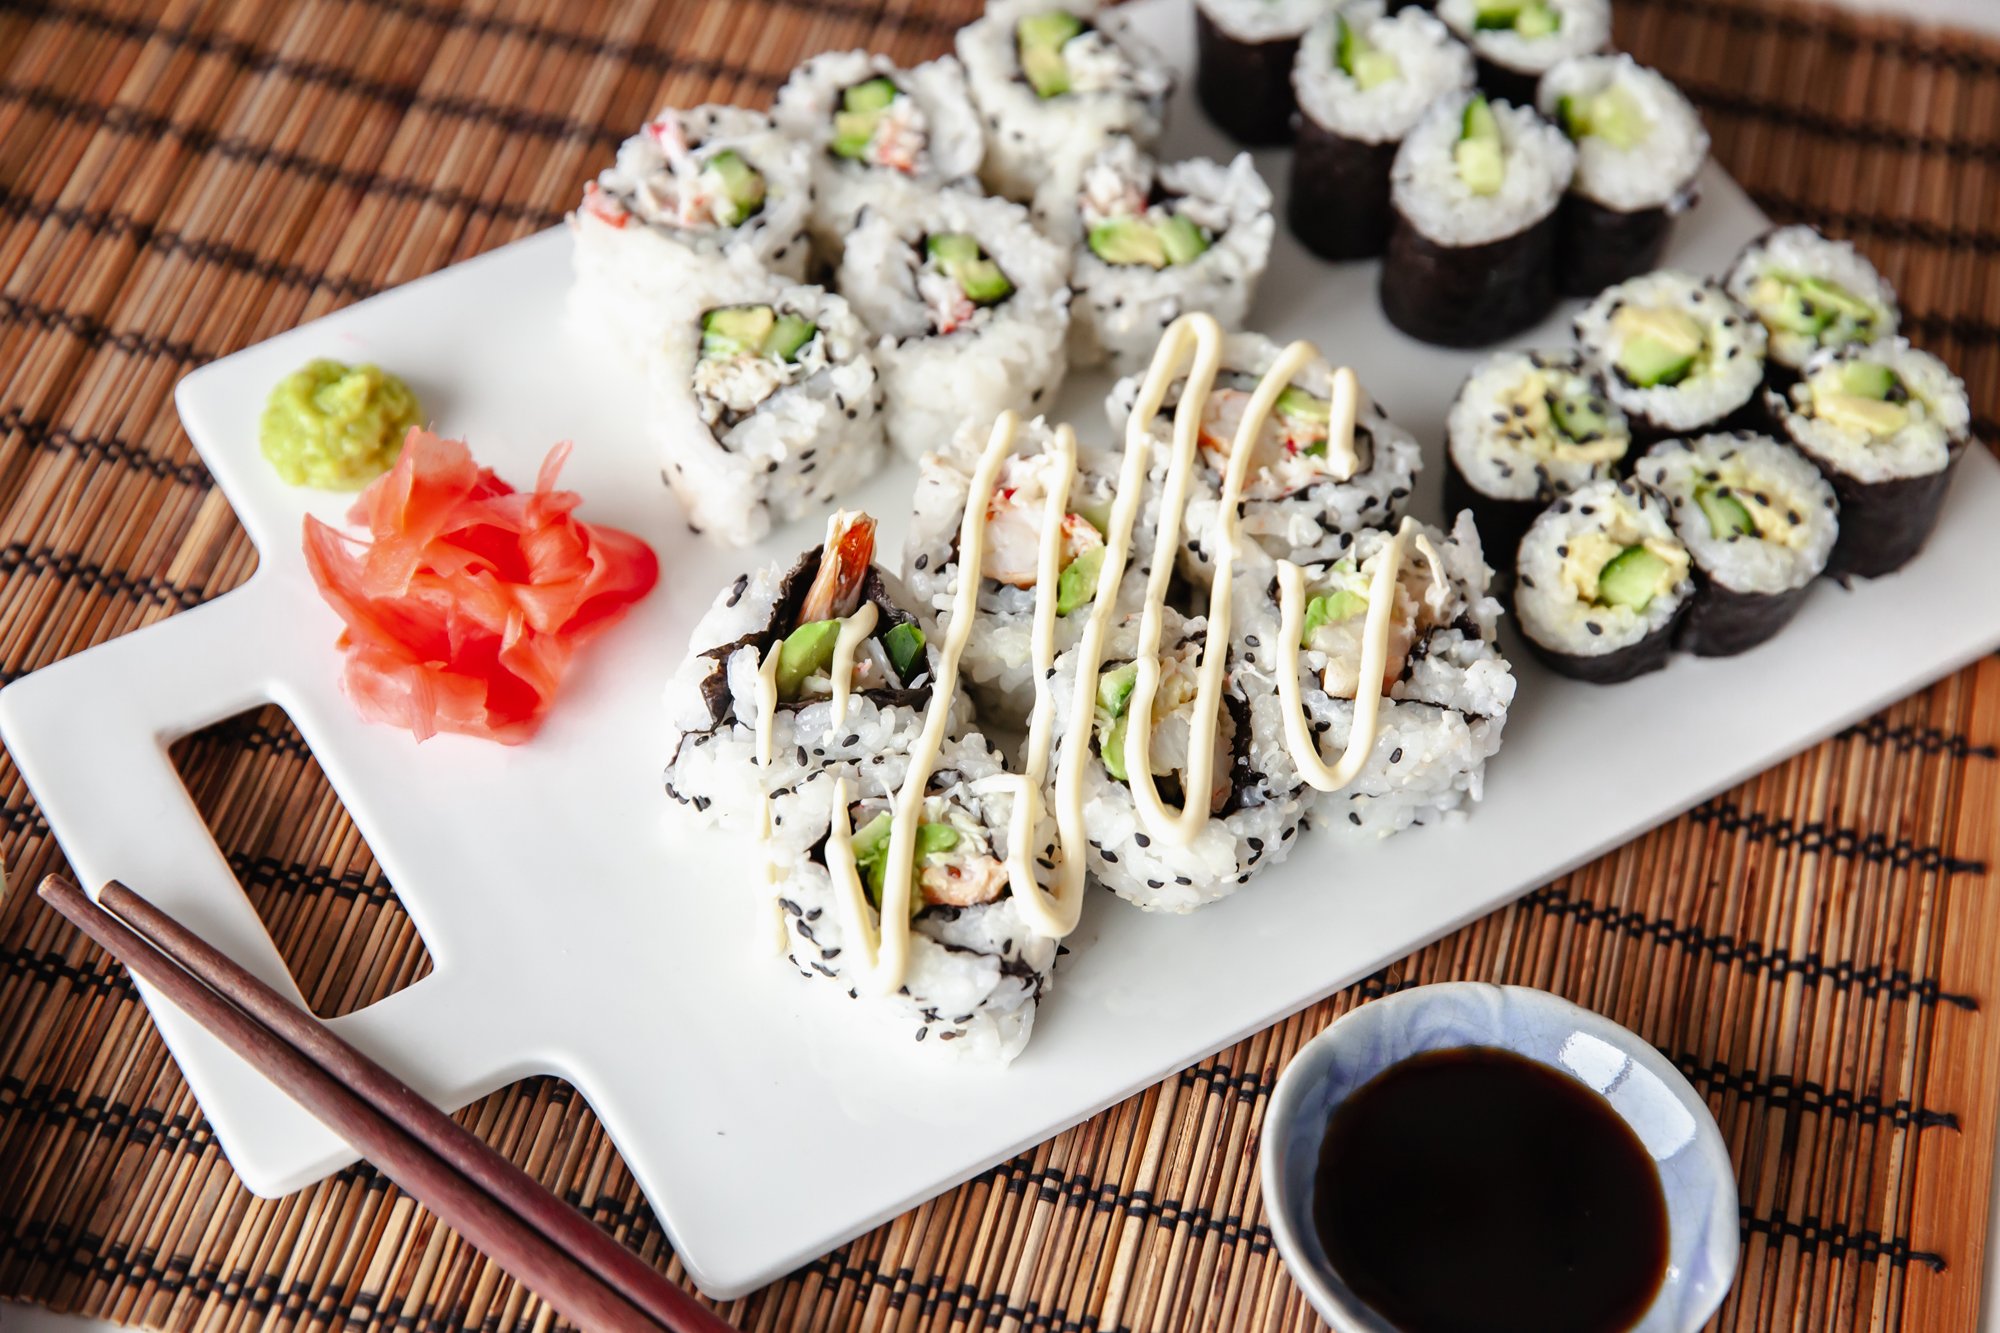
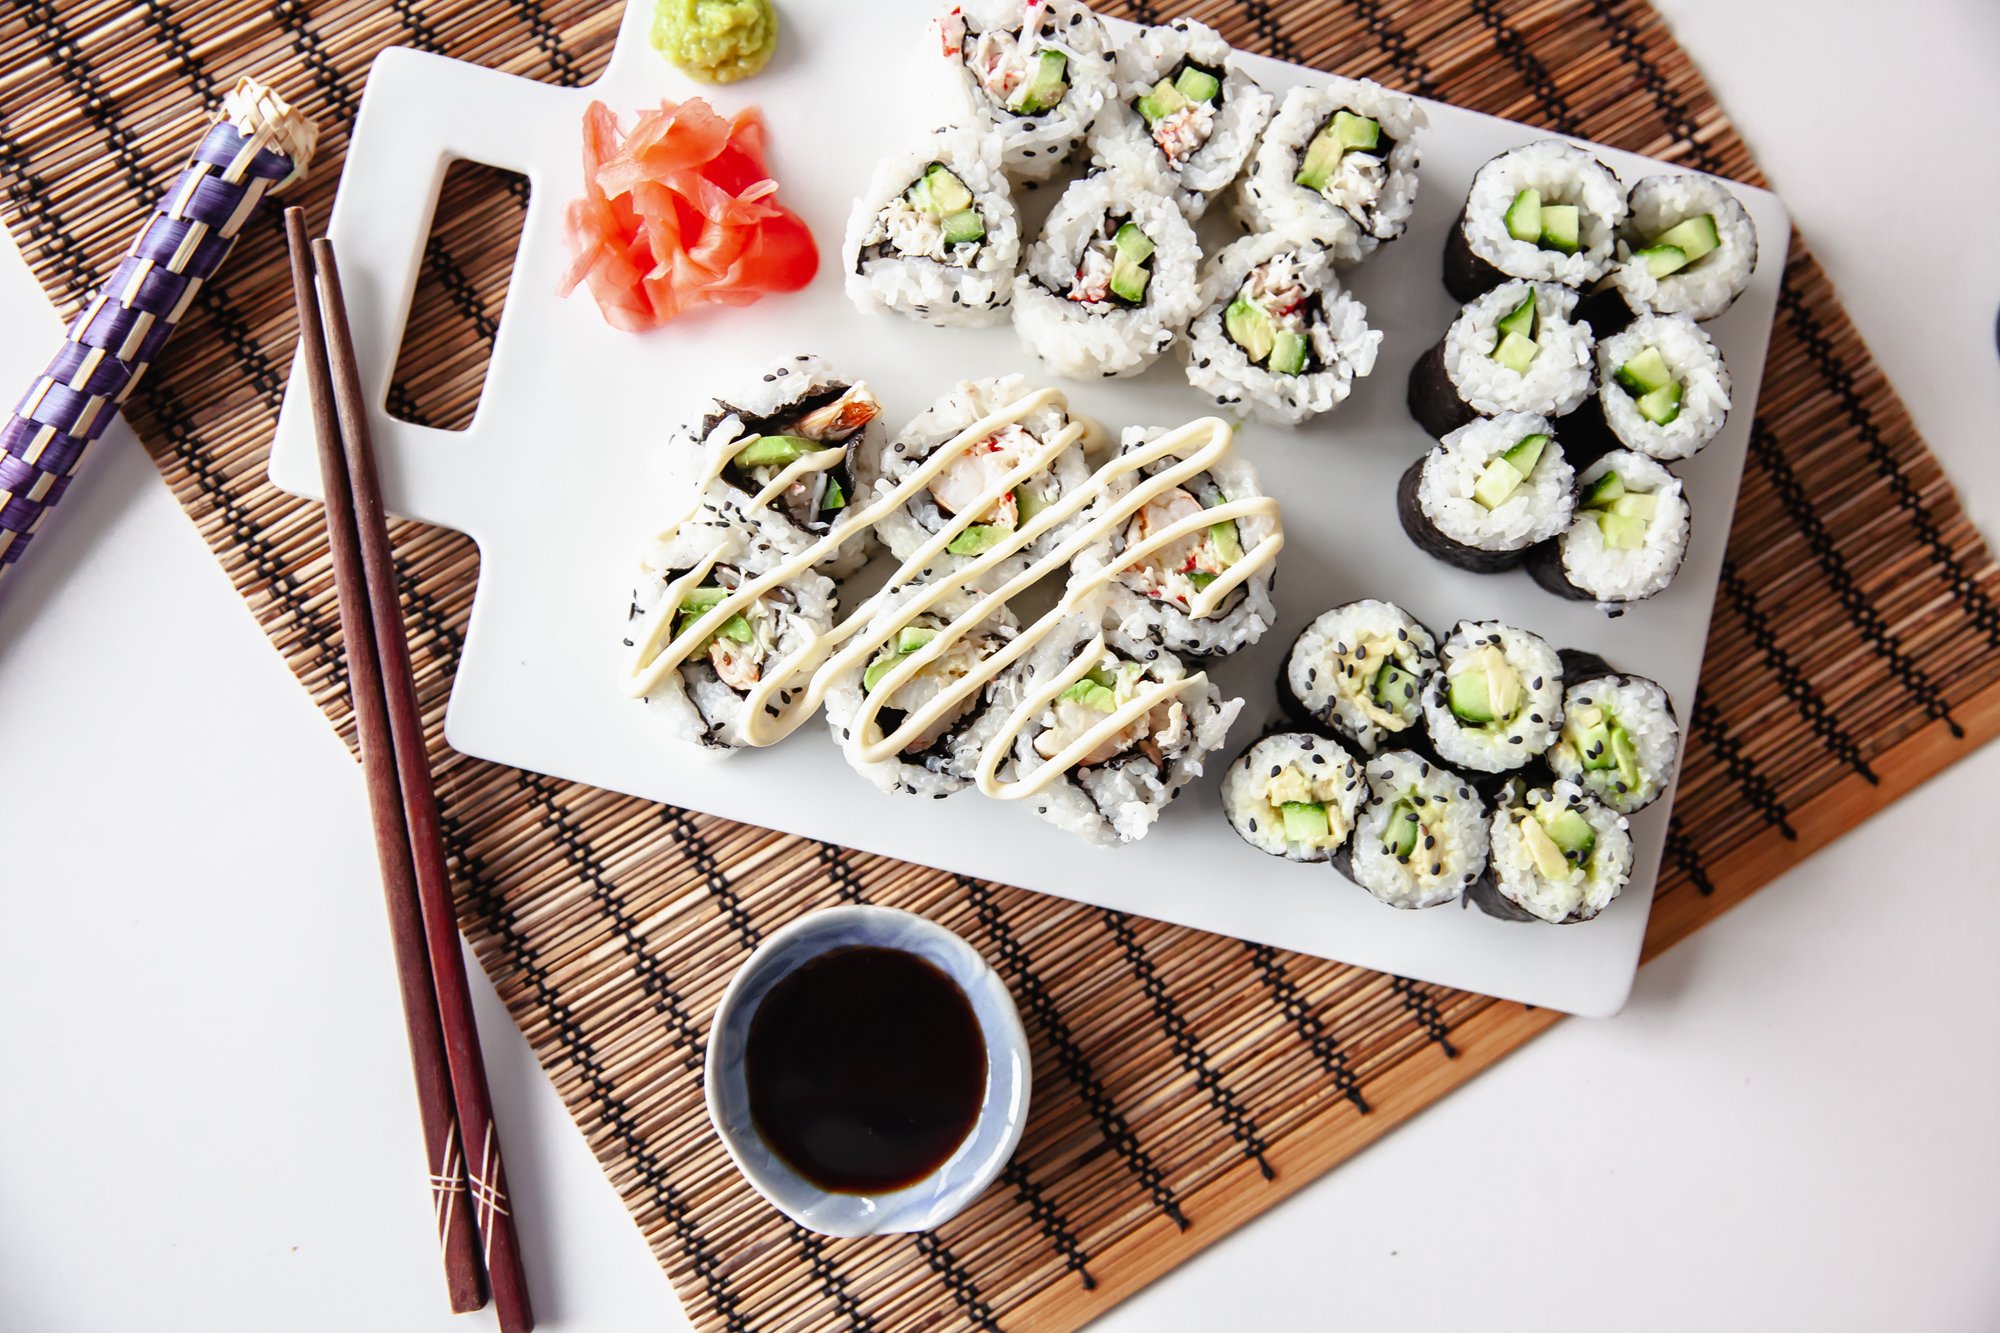
Start easy with a Kappa Roll (cucumber), then try out a California Roll, and add another level with a Dynamite Roll. Eventually if you want to try a roll with raw fish, make sure you’re getting sushi-grade from a fish monger, and using it the same day.
INGREDIENTS
For the Sushi Rice:
2 cups sushi rice
2 1/2 cups water
1/3 cup rice vinegar
2 tablespoons sugar
1 teaspoon salt
For Kappa Maki:
2 sheets nori (seaweed)
1/2 cucumber, julienned
For California Roll:
2 sheets nori (seaweed)
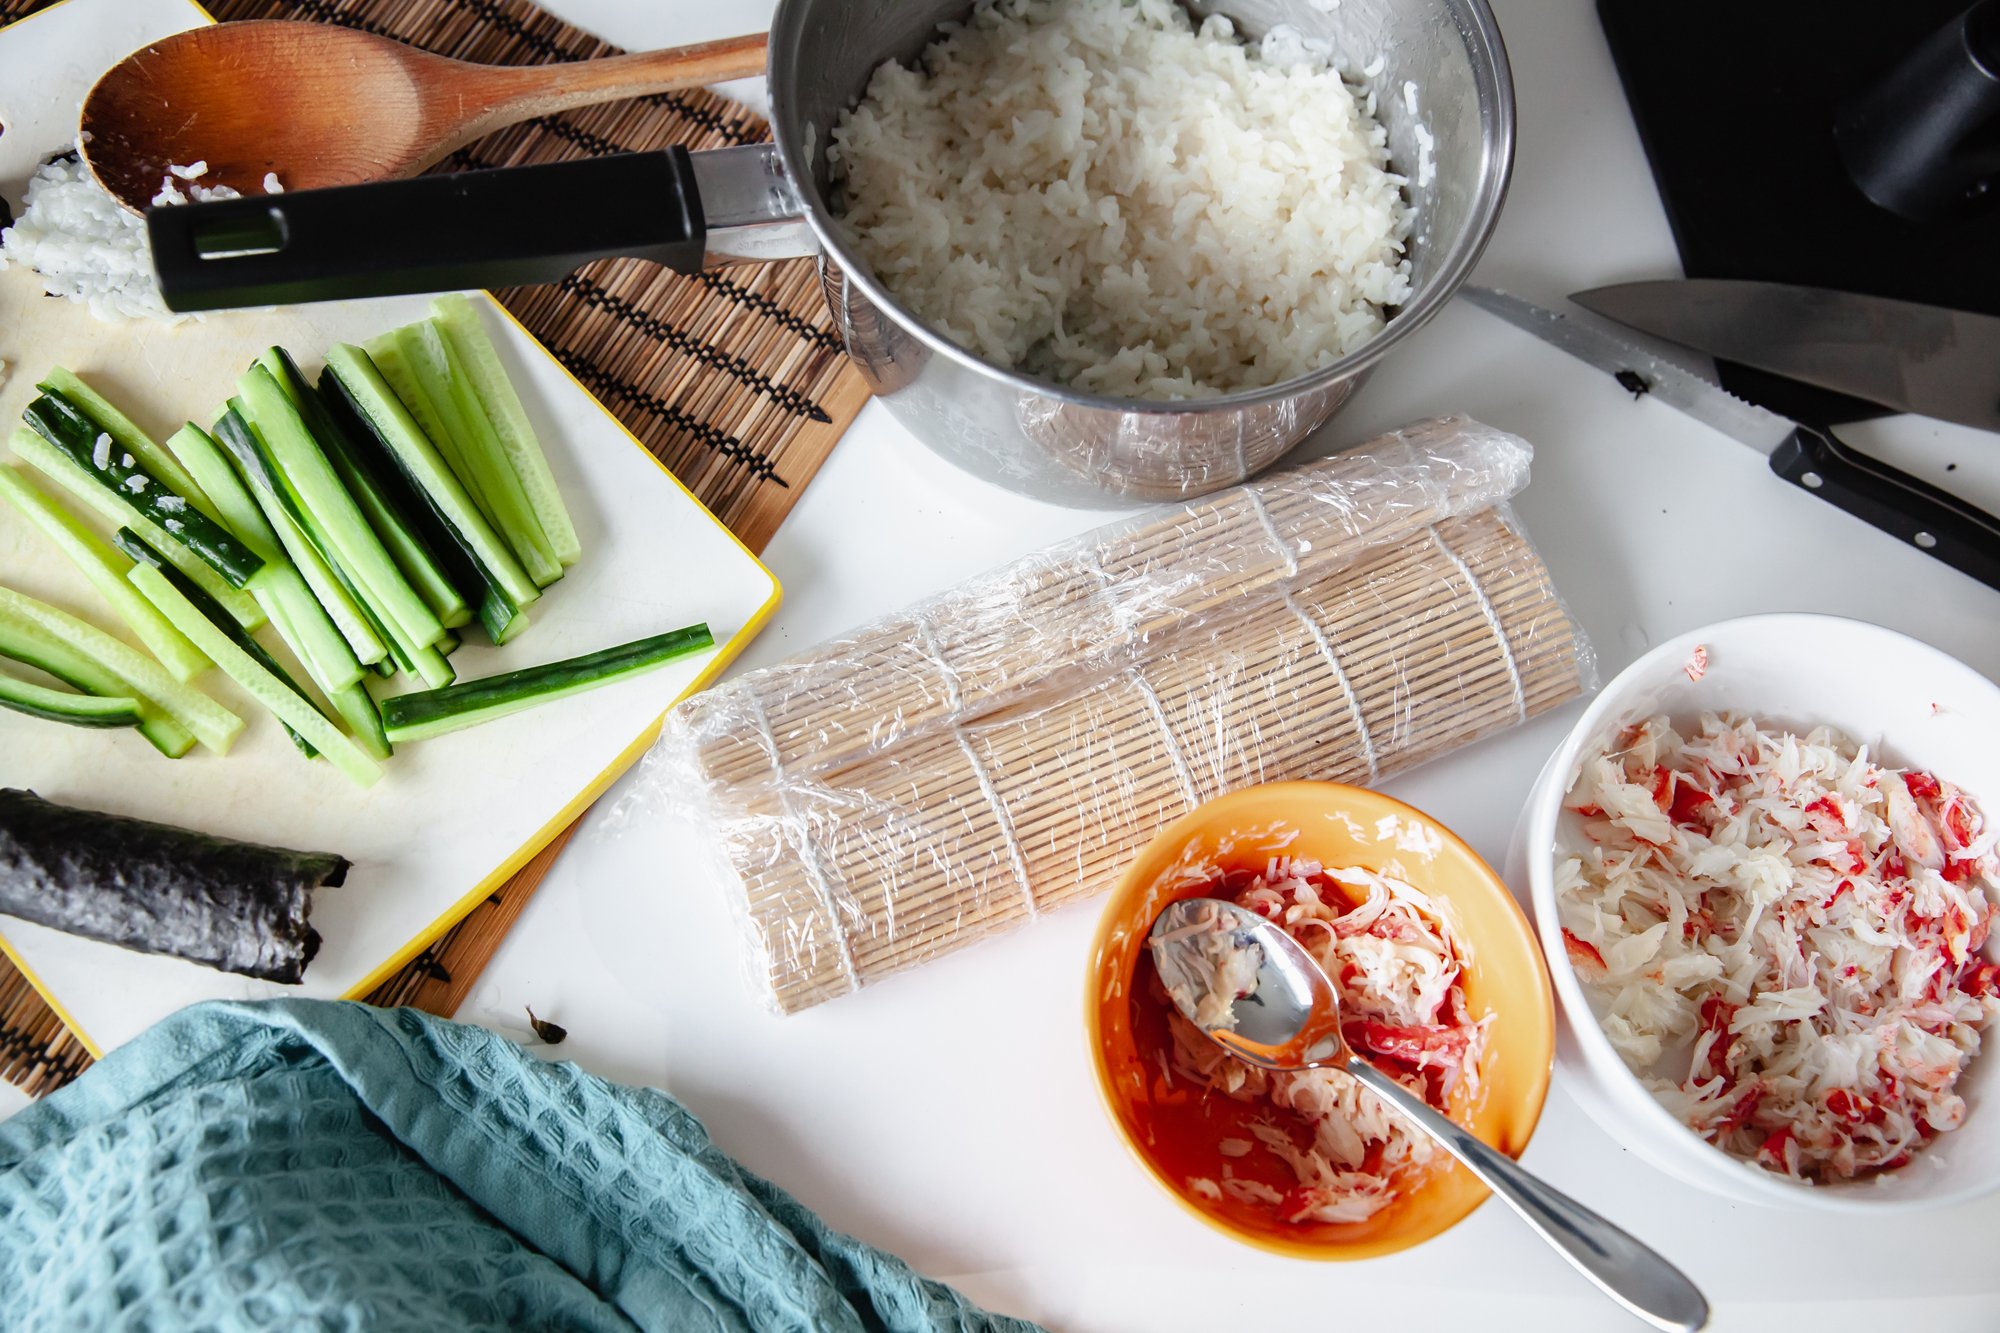
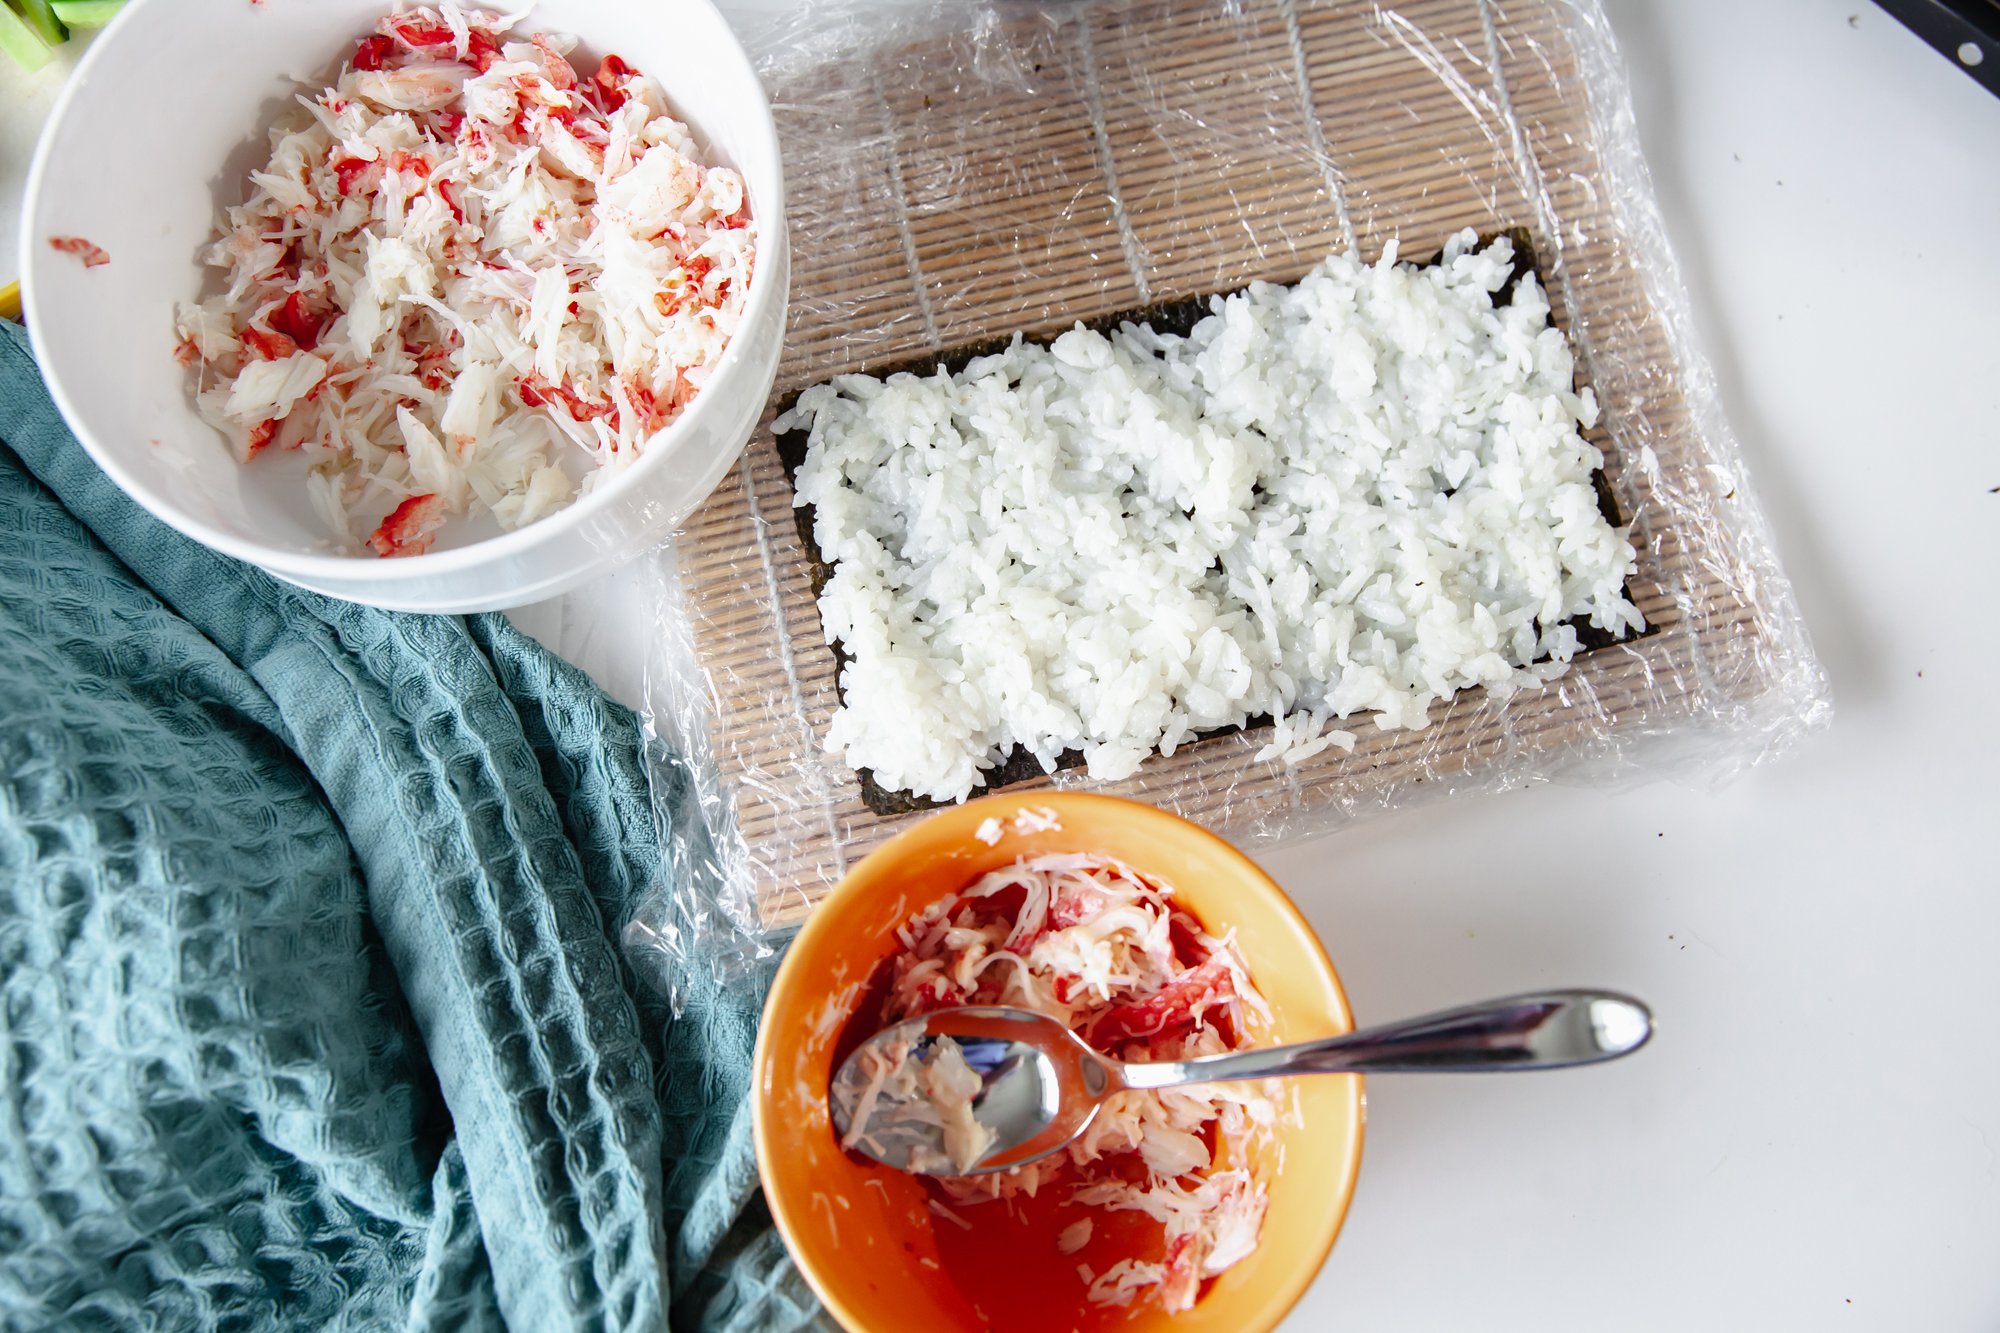
1/2 lb imitation crab or real crab meat
1/2 cucumber, julienned
1 ripe avocado, sliced
Kewpie mayo (optional, mix in with crab meat)
For the Dynamite Roll:
2 sheets nori (seaweed)
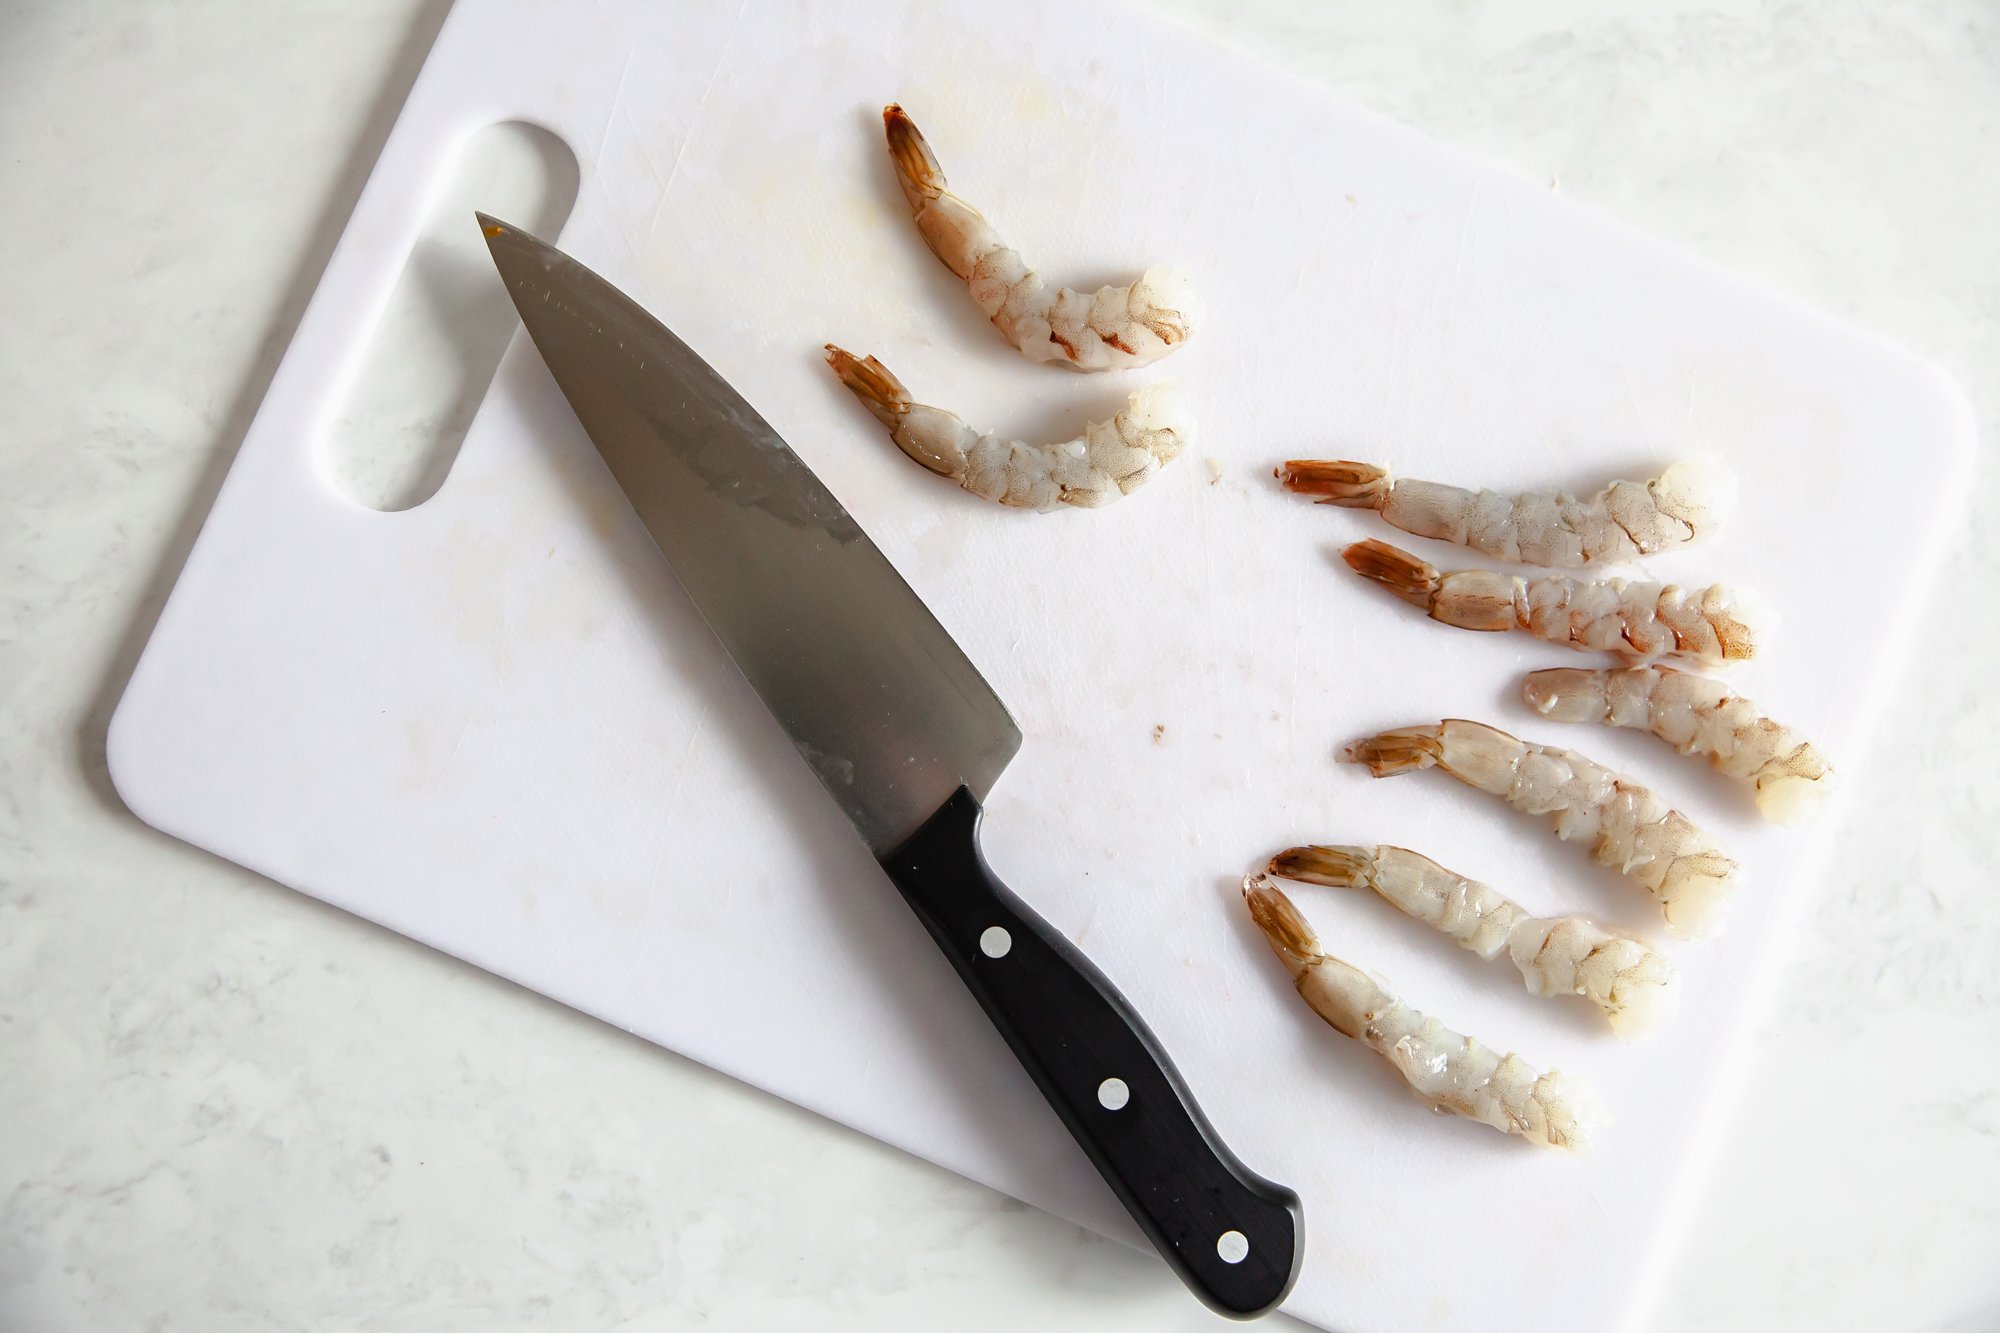
1/2 lb shrimp, peeled and deveined
1/2 cup tempura batter mix
Vegetable oil for frying
1/4 cucumber, julienned
1/2 avocado, sliced
2 tbsp spicy mayo (Kewpie mayo mixed with sriracha sauce according to taste)
For Serving:
Soy sauce, pickled ginger, and wasabi
Sesame seeds (optional)
INSTRUCTIONS
SUSHI RICE:
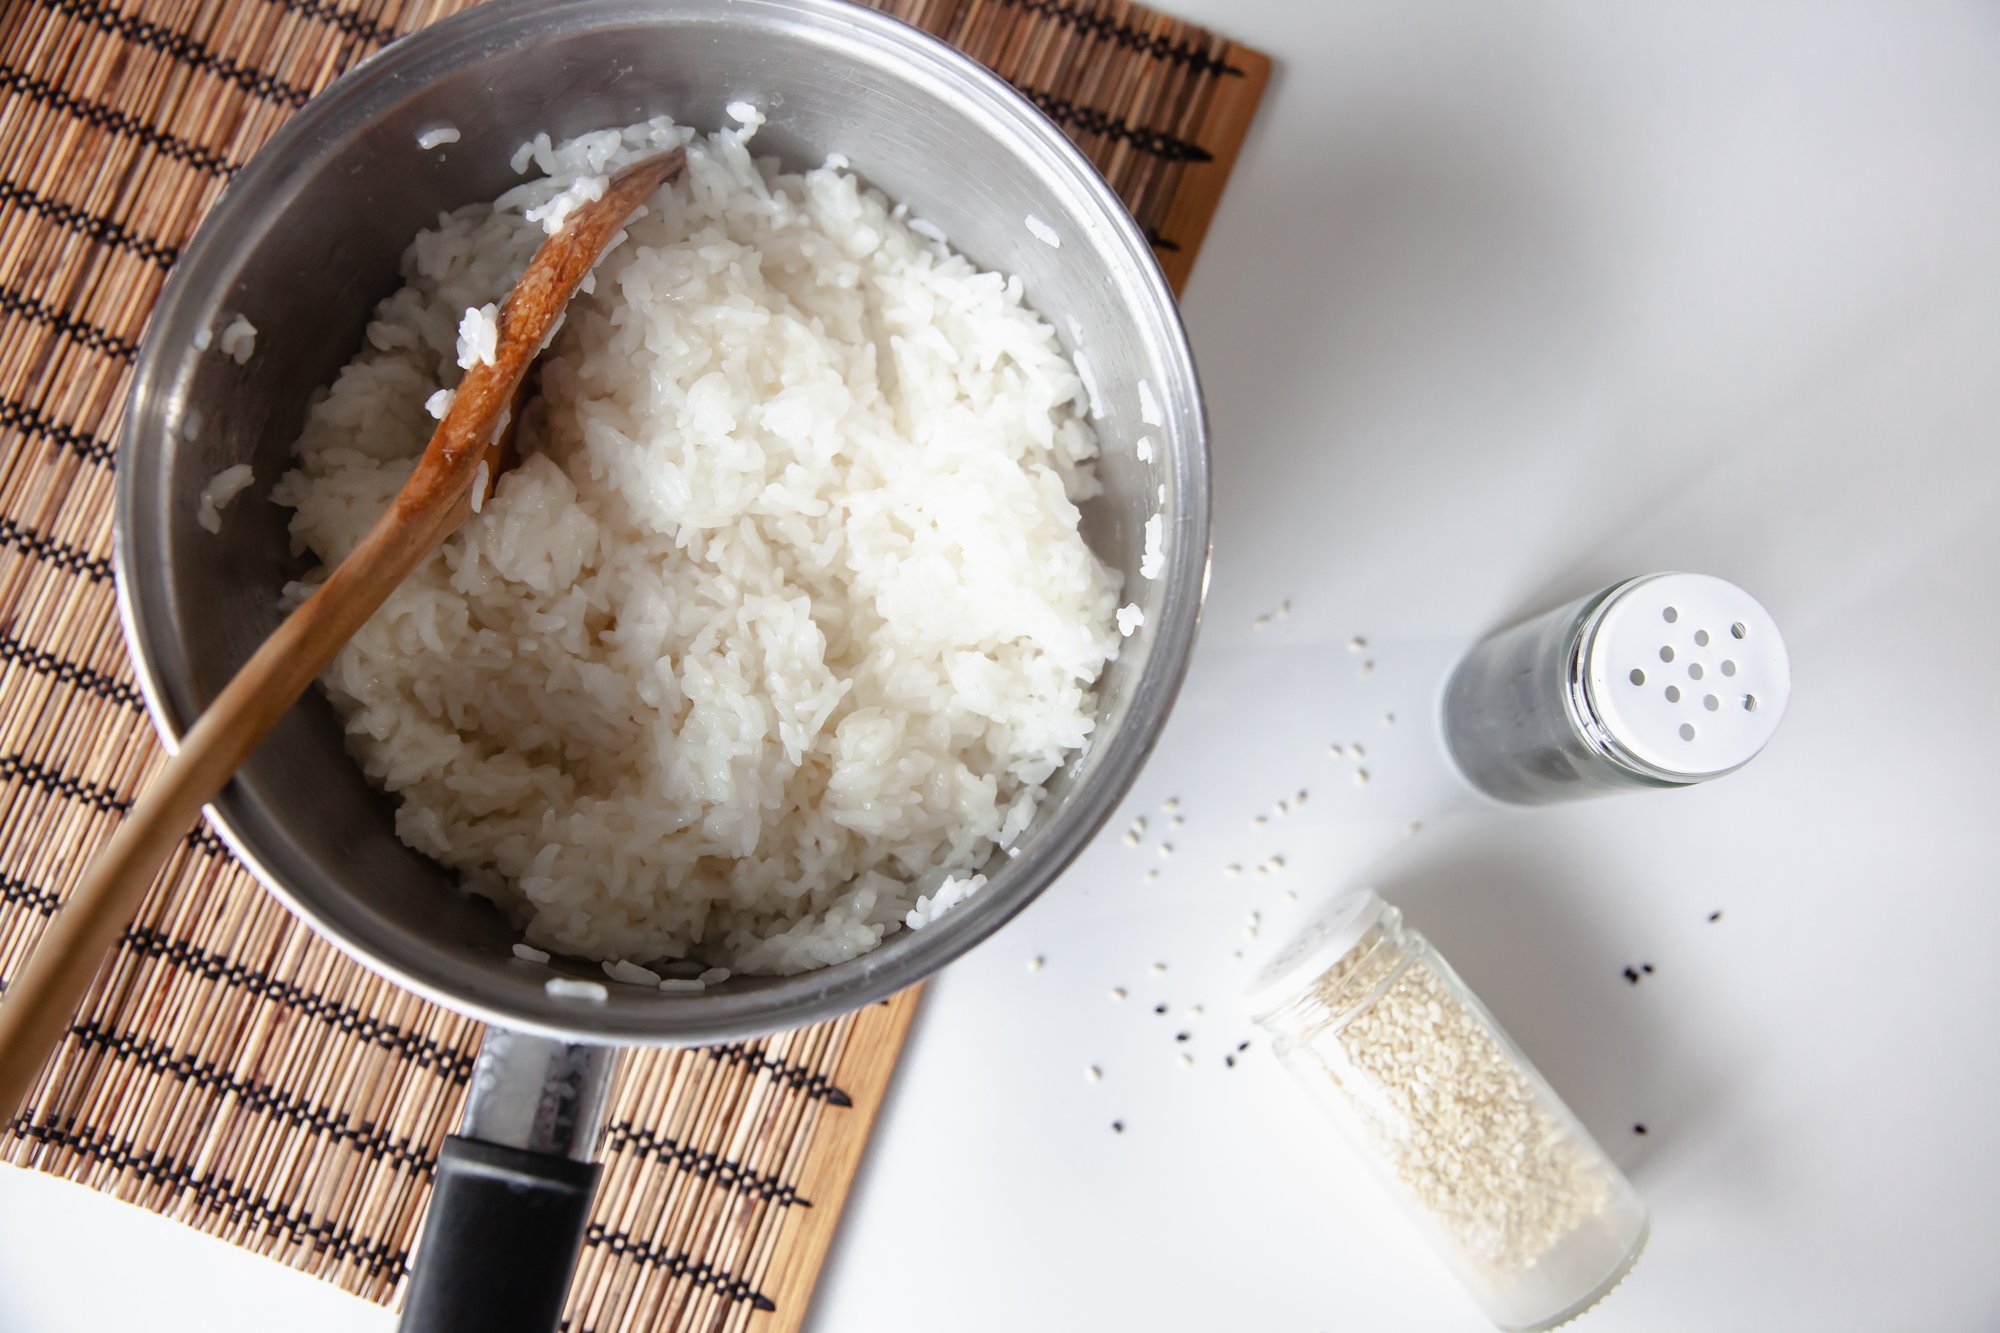
Rinse the sushi rice under cold water until the water runs clear.
Combine the rinsed rice and water in a rice cooker or a pot and cook to the rice’s instructions.
In a small saucepan, combine the rice vinegar, sugar, and salt. Heat over low heat until the sugar and salt dissolve. Set aside to cool.
Once the rice is cooked, transfer it to a large bowl and gently fold in the vinegar mixture until well combined. Let the rice cool to room temperature.
This is your base for each of your sushi rolls below.
If you’re making more than one, you may need more rice.
KAPPA MAKI ROLL
Place a bamboo sushi rolling mat on a clean surface and cover it with plastic wrap.
Place a sheet of nori on the mat, shiny side down.
Wet your hands with water to prevent sticking, then spread about a quarter of the sushi rice evenly over the nori, leaving a 1-inch border at the top.
Arrange half of the julienned cucumber in a line across the center of the rice.
Lift the edge of the mat closest to you and begin rolling away from you, using the mat to shape the roll tightly. Continue rolling until the seam is on the bottom. Press gently to seal the roll.
Repeat the process with the remaining nori, rice, and cucumber.
Use a sharp knife to slice each roll into 6-8 pieces.
Arrange the Kappa Maki pieces on a plate.
Serve with soy sauce, pickled ginger, and wasabi on the side.
CALIFORNIA ROLL
Place a sheet of plastic wrap on a clean surface and lay a sheet of nori on top of the plastic wrap.
Wet your hands with water to prevent sticking, then spread a thin layer of sushi rice evenly over the nori, leaving a small border around the edges.
Flip the nori over so that the rice side is facing down.
Arrange half of the crab meat, cucumber, and avocado in a line across the center of the nori. Lift the edge of the plastic wrap closest to you and begin rolling away from you, using the plastic wrap to shape the roll tightly.
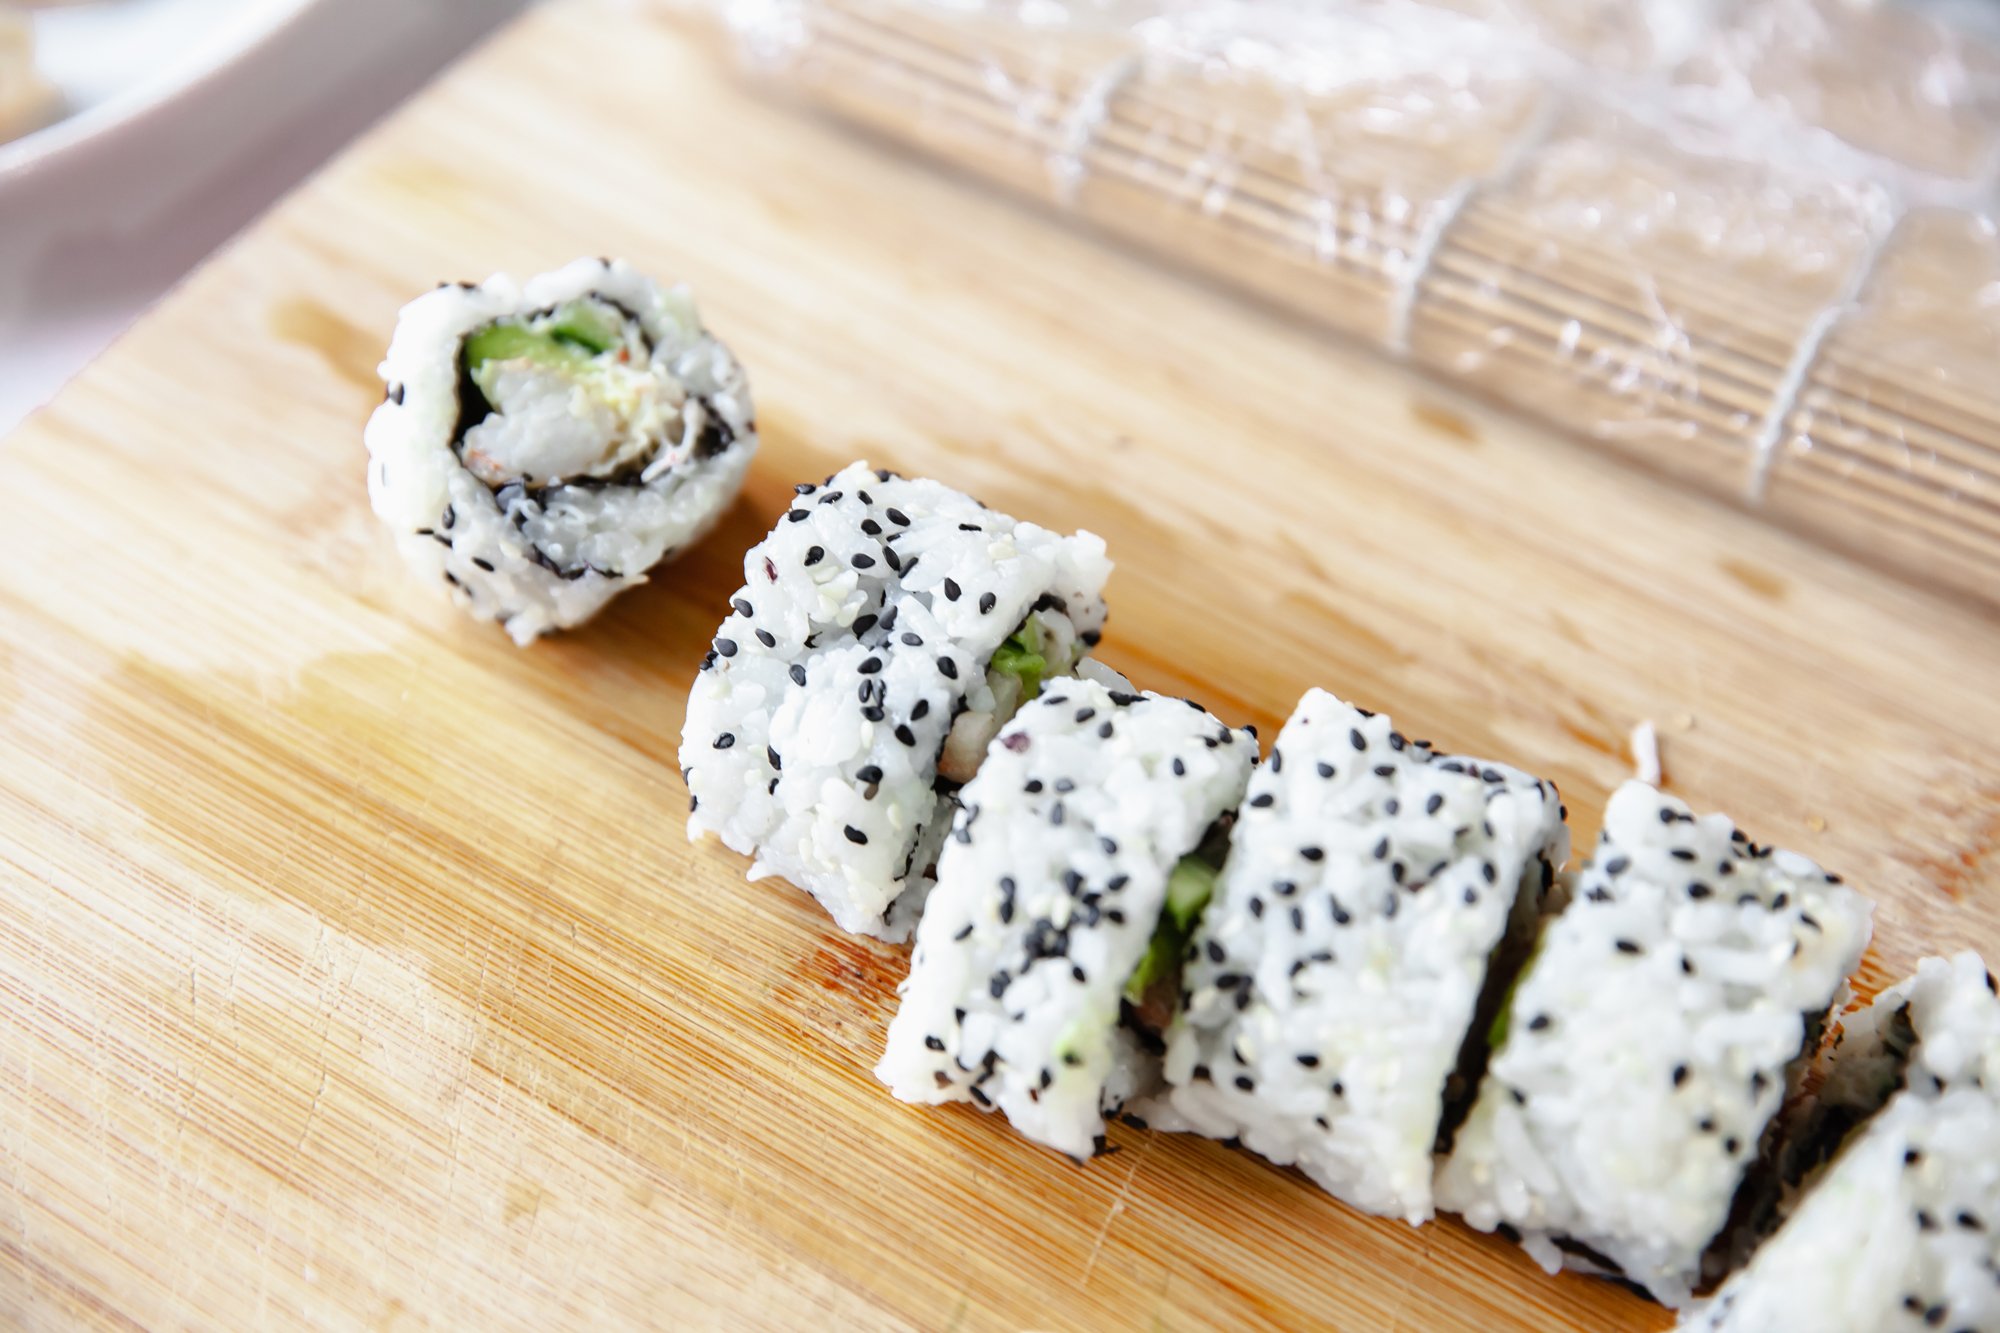
Continue rolling until the roll is complete. Use the plastic wrap to help shape and tighten the roll as needed.
Once the roll is complete, remove the plastic wrap and sprinkle sesame seeds over the outside of the roll if desired.
Repeat the process with the remaining nori, rice, crab meat, cucumber, and avocado.
Using a sharp knife (wet might help as well, so it doesn’t stick to the sushi), cut the roll into 6-8 pieces.
Serving:
Arrange the California Roll on a plate and serve with soy sauce, pickled ginger, and wasabi on the side.
DYNAMITE ROLL
(Note: You can either roll this with the rice on the inside or the outside – instructions for outside above.)
Place a bamboo sushi rolling mat on a clean surface and cover it with plastic wrap.
Place a sheet of nori on the mat, shiny side down.
Wet your hands with water to prevent sticking, then spread about a quarter of the sushi rice evenly over the nori, leaving a 1-inch border at the top.
Preparing the Tempura Shrimp:
Heat vegetable oil in a deep fryer or a deep skillet to 350°F (175°C).
Pat the shrimp dry with paper towels.
Prepare the tempura batter mix according to the package instructions.
Dip each shrimp into the tempura batter to coat evenly.
Carefully place the battered shrimp into the hot oil and fry until golden brown and crispy, about 2-3 minutes per side.
Remove the shrimp from the oil and place them on a plate lined with paper towels to drain excess oil.
Arrange the shrimp (approx. two), cucumbers, and avocado in a line across the center of the rice (don’t over fill).
Lift the edge of the mat closest to you and begin rolling away from you, using the mat to shape the roll tightly.
Continue rolling until the seam is on the bottom. Press gently to seal the roll.
Using a sharp knife, cut the roll into 6-8 pieces.
Serving:
Arrange the Dynamite Roll pieces on a plate.
Serve with soy sauce, pickled ginger, and wasabi on the side.
Drizzle the spicy mayo across the top (or serve on the side).
Enjoy your homemade sushi!