

breakfast

RECIPE: Waffles for BC Living "From Scratch"

Waffles 
for BC Living - “From Scratch”
April 2026

I love a good warm waffle right out of the iron on a slow weekend morning, but pulling out the waffle maker every weekend is kind of a messy pain. Well, this recipe for homemade waffles is completely freezer-friendly, so your syrupy dream can come true without fuss. 
 
And if you think that a waffle iron is only for sweet breakfast treats, you’re wrong – I think my favorite use was making falafel waffles! 
 
Makes 4-5 full-sized waffles (depending on your waffle maker!) 

INGREDIENTS:  
 
*You will need a waffle iron to make these – this is the one I use! 

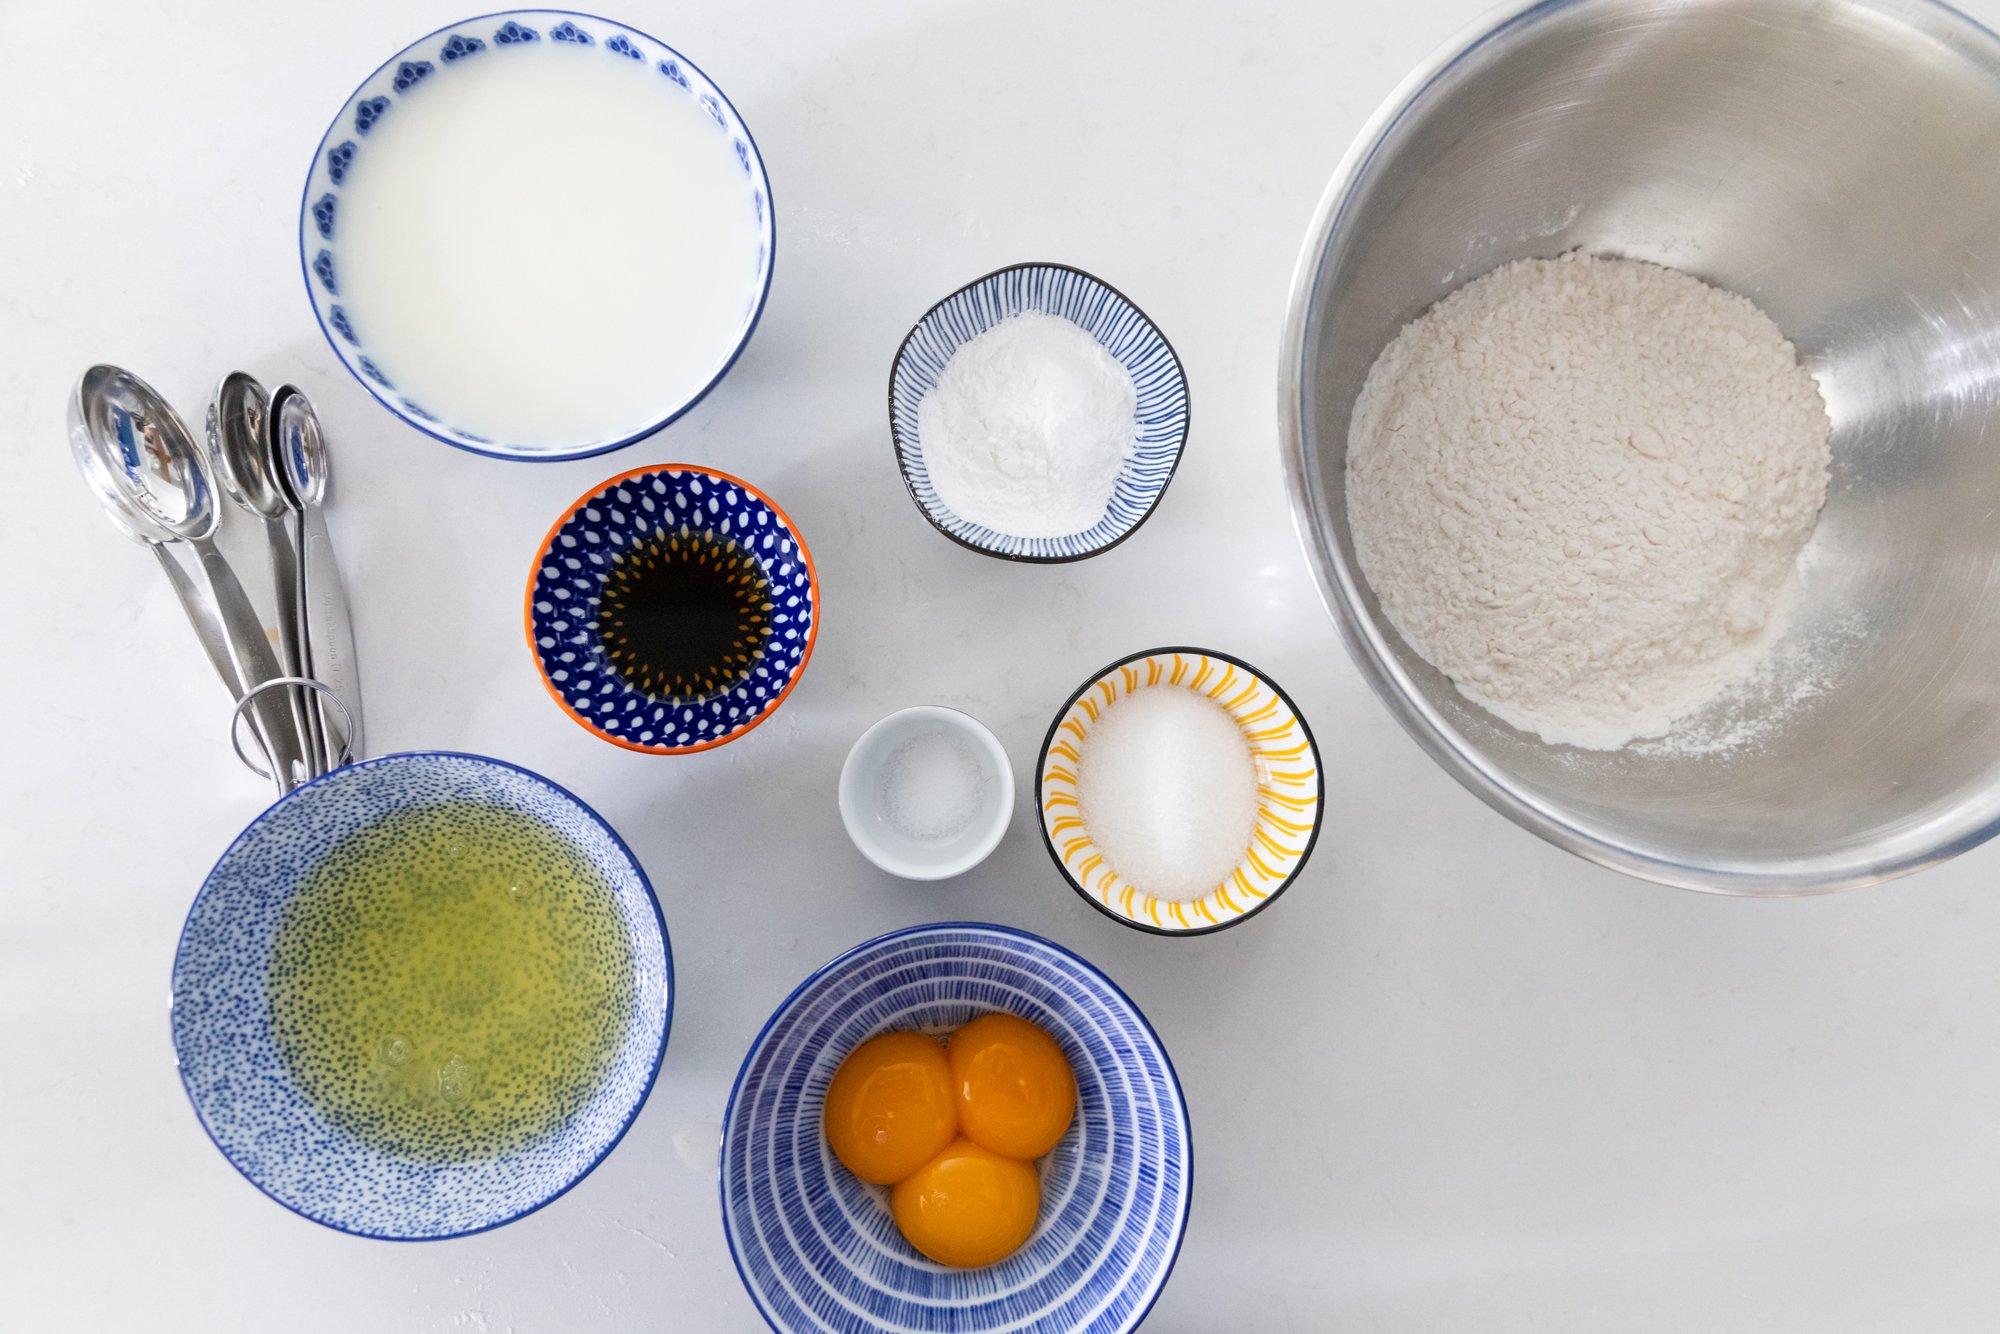
  • 1 cup flour 

  • 3 tsp baking powder 

  • ¼ tsp salt 

  • 1 tbsp sugar 

  • 3 eggs, separated 

  • 1 cup milk (plant-based works) 

  • 4 tbsp oil 

  • 1 tsp vanilla 

Optional/For Serving: 

  • Maple syrup 

  • Fruit 

  • Powdered Sugar 

  • Whipped Cream 

INSTRUCTIONS:  
 
Pre-heat your waffle iron and, if needed, spray with cooking oil. 
 
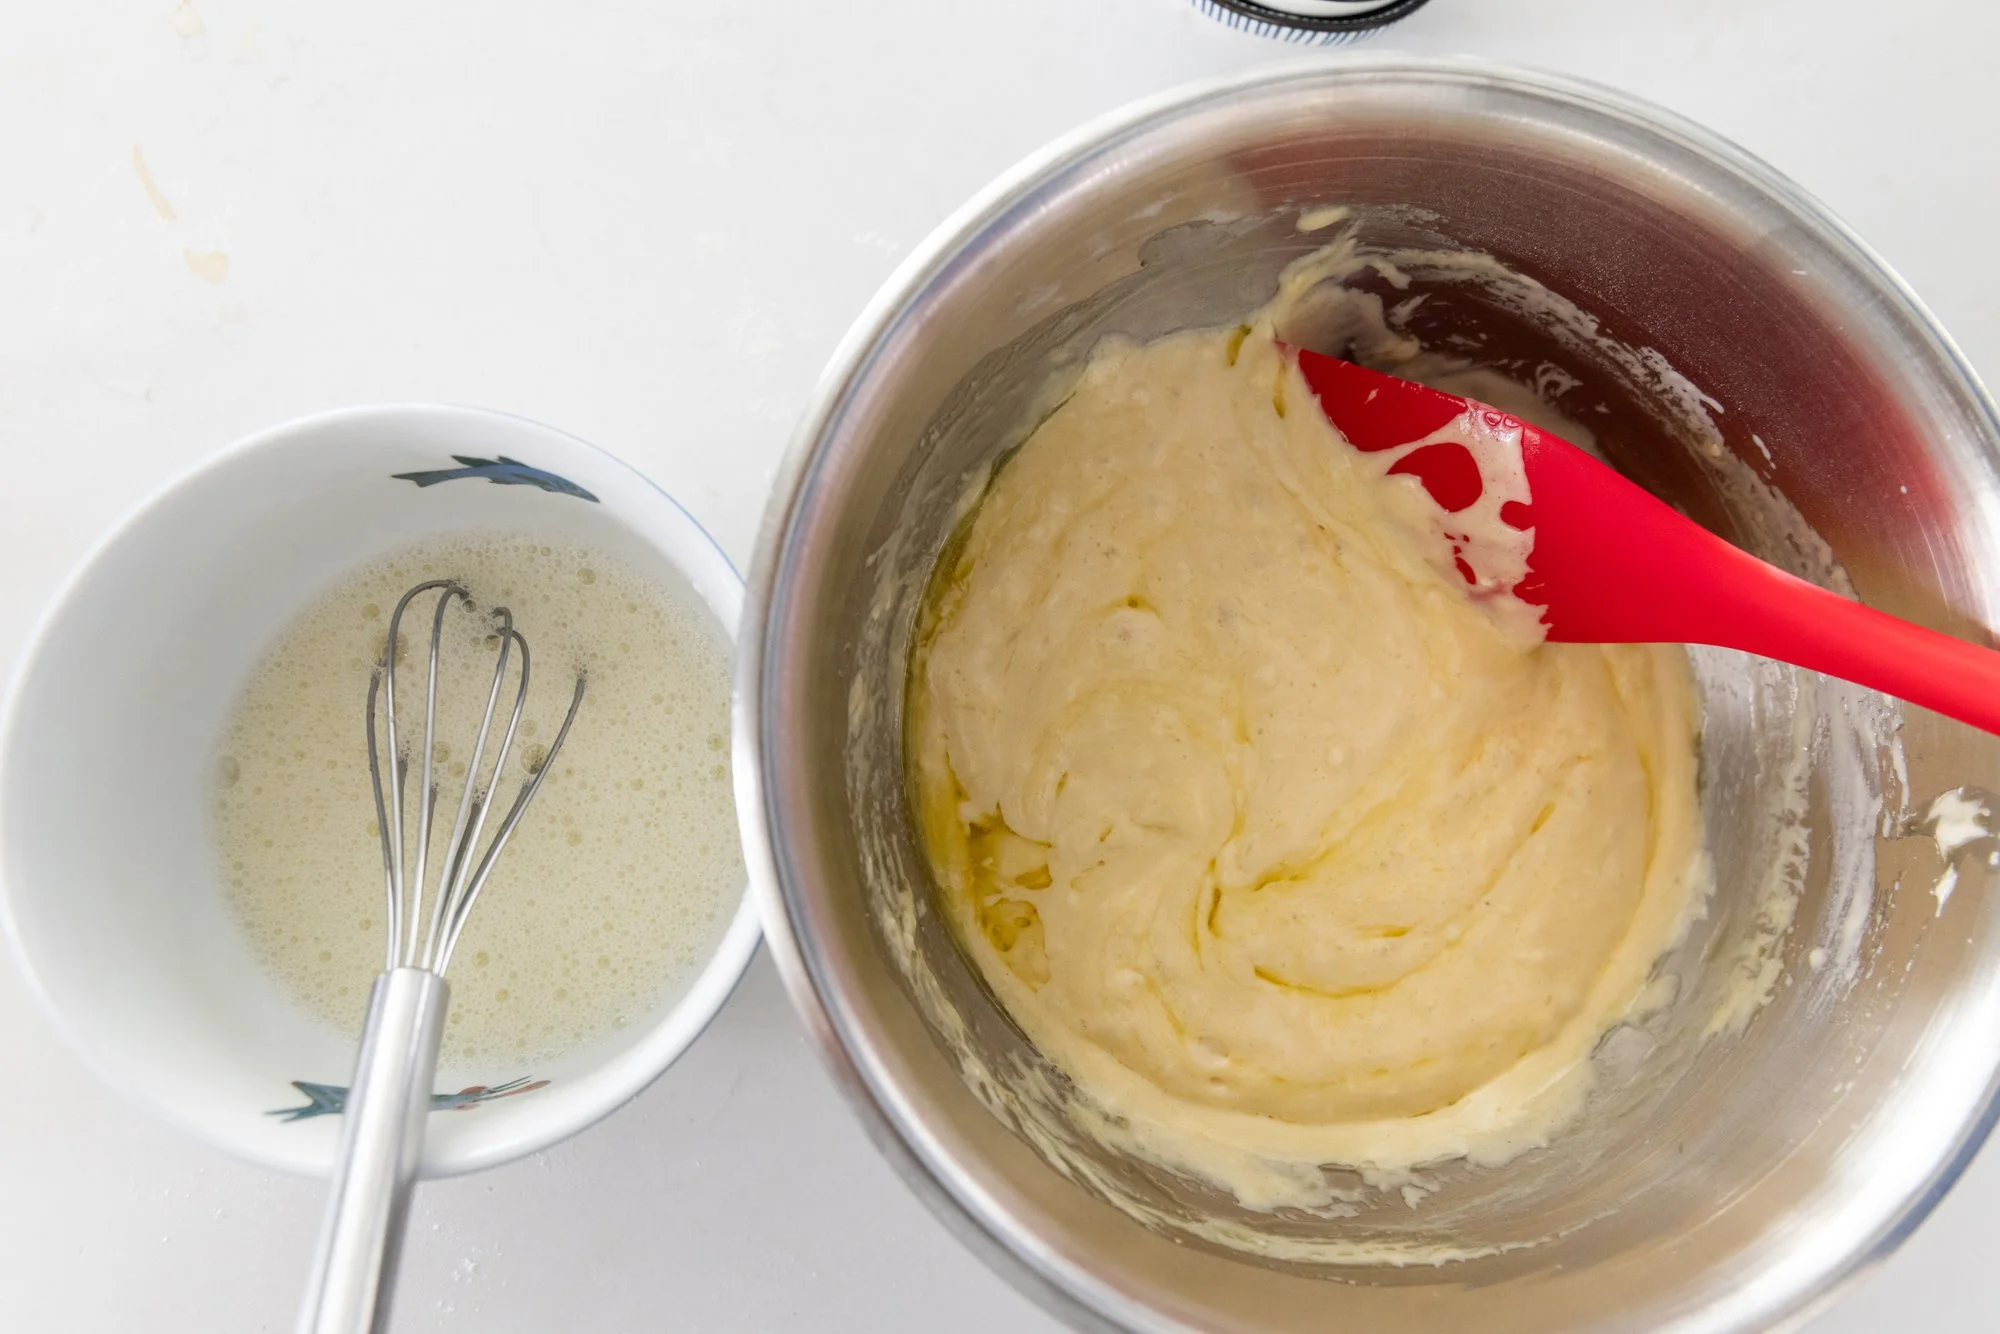
In a large bowl, whisk the flour, salt, baking powder and soda, and sugar together. Add the milk and egg yolks in and mix thoroughly until smooth. Then add the oil and vanilla and mix well (don’t over mix though) and then set aside. 
In a small bowl whisk the egg whites until stiff peaks form – then fold the eggs into the batter. 

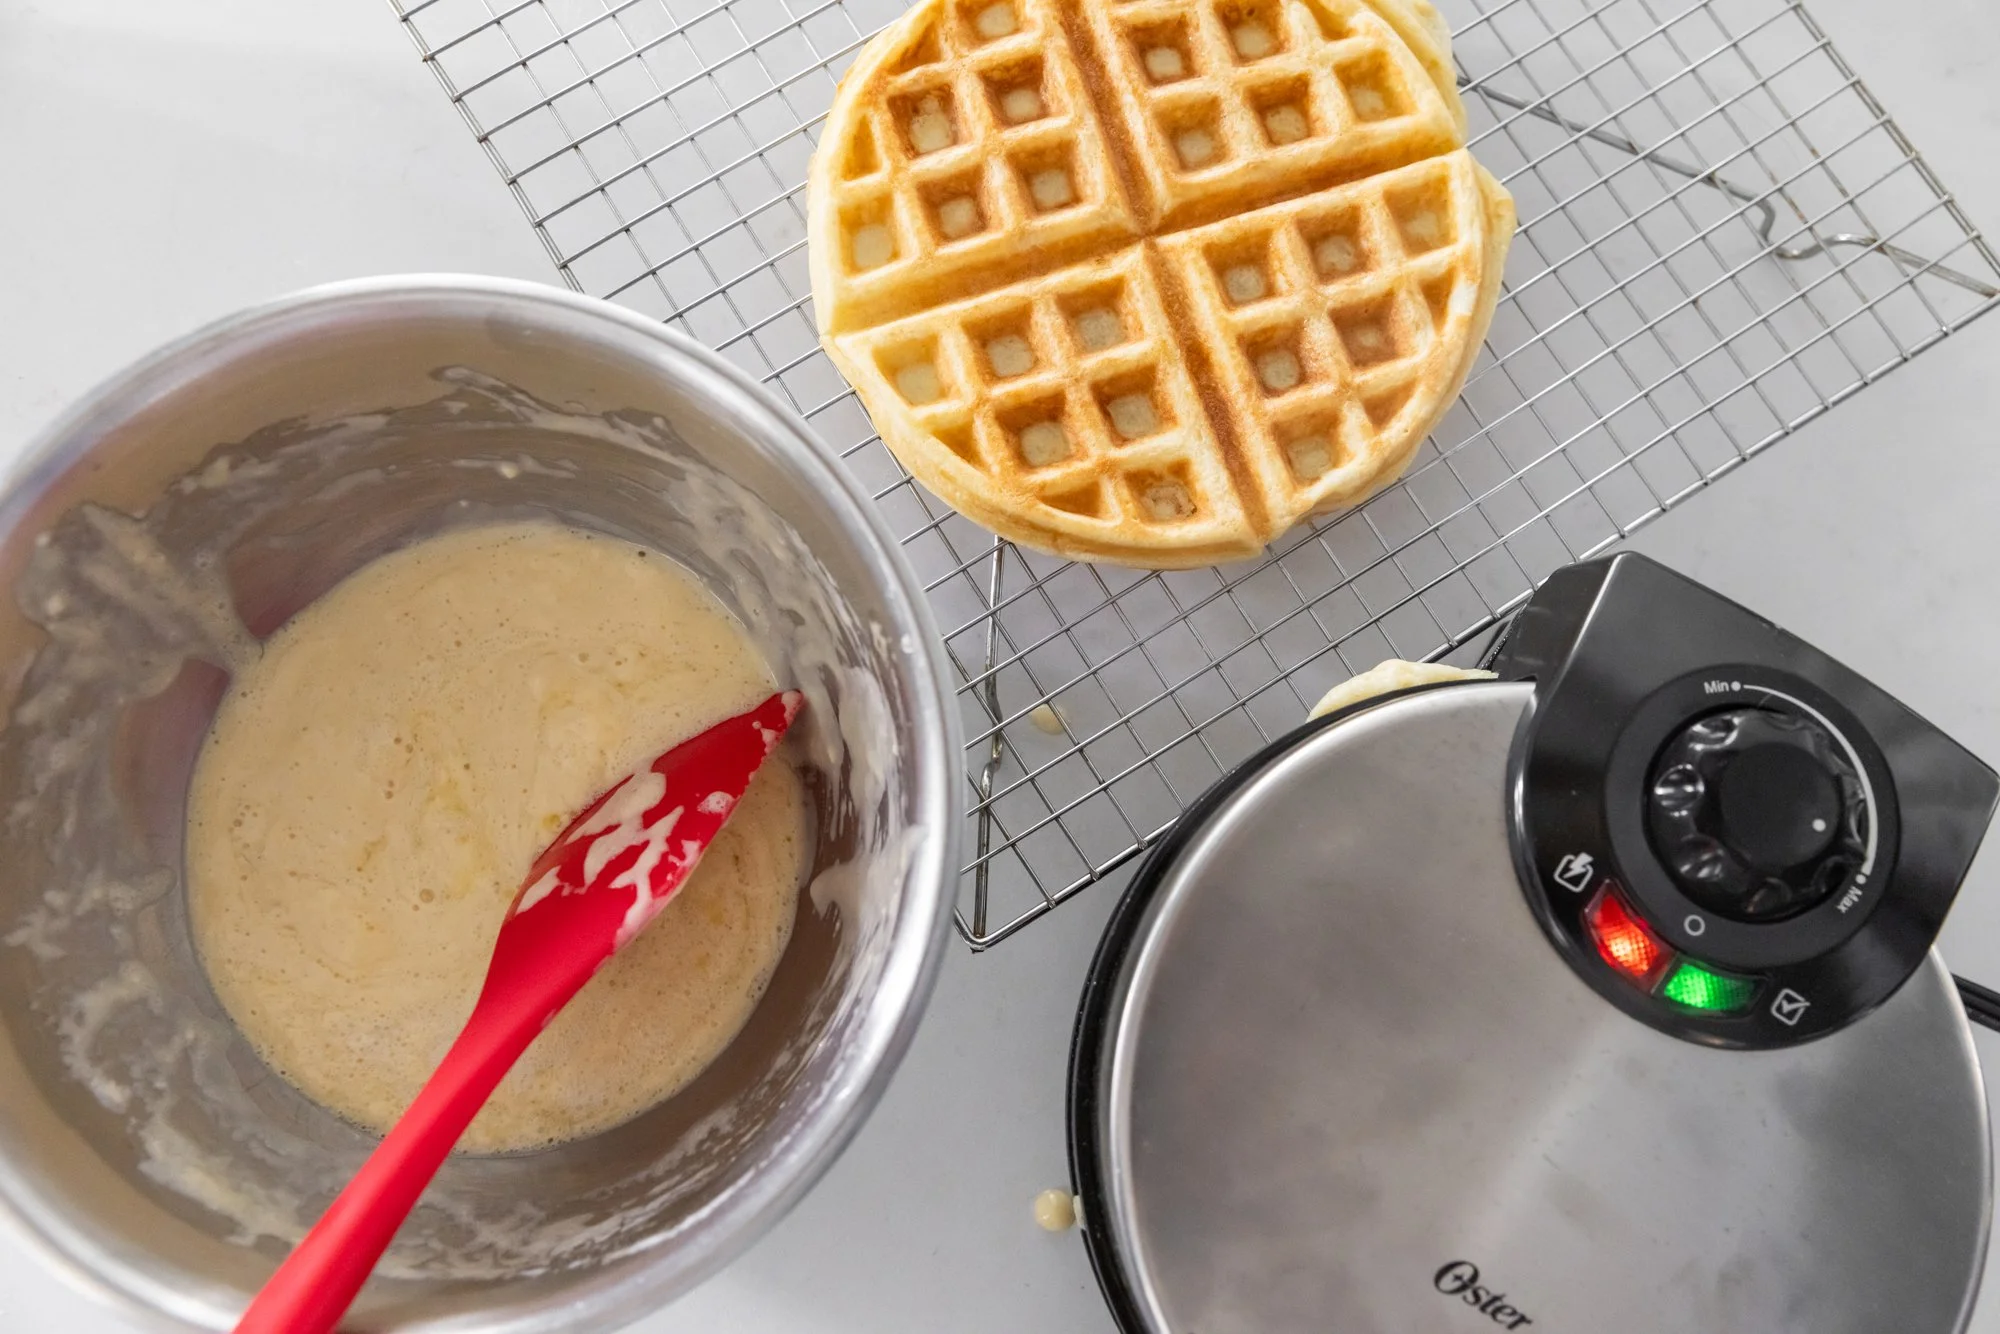
Pour about 2/3 to 3/4 of a cup into the pre-heated iron – amount may vary based on your machine – it's better to under-fill than over-fill on the first one, so you don’t make a goopy mess. 

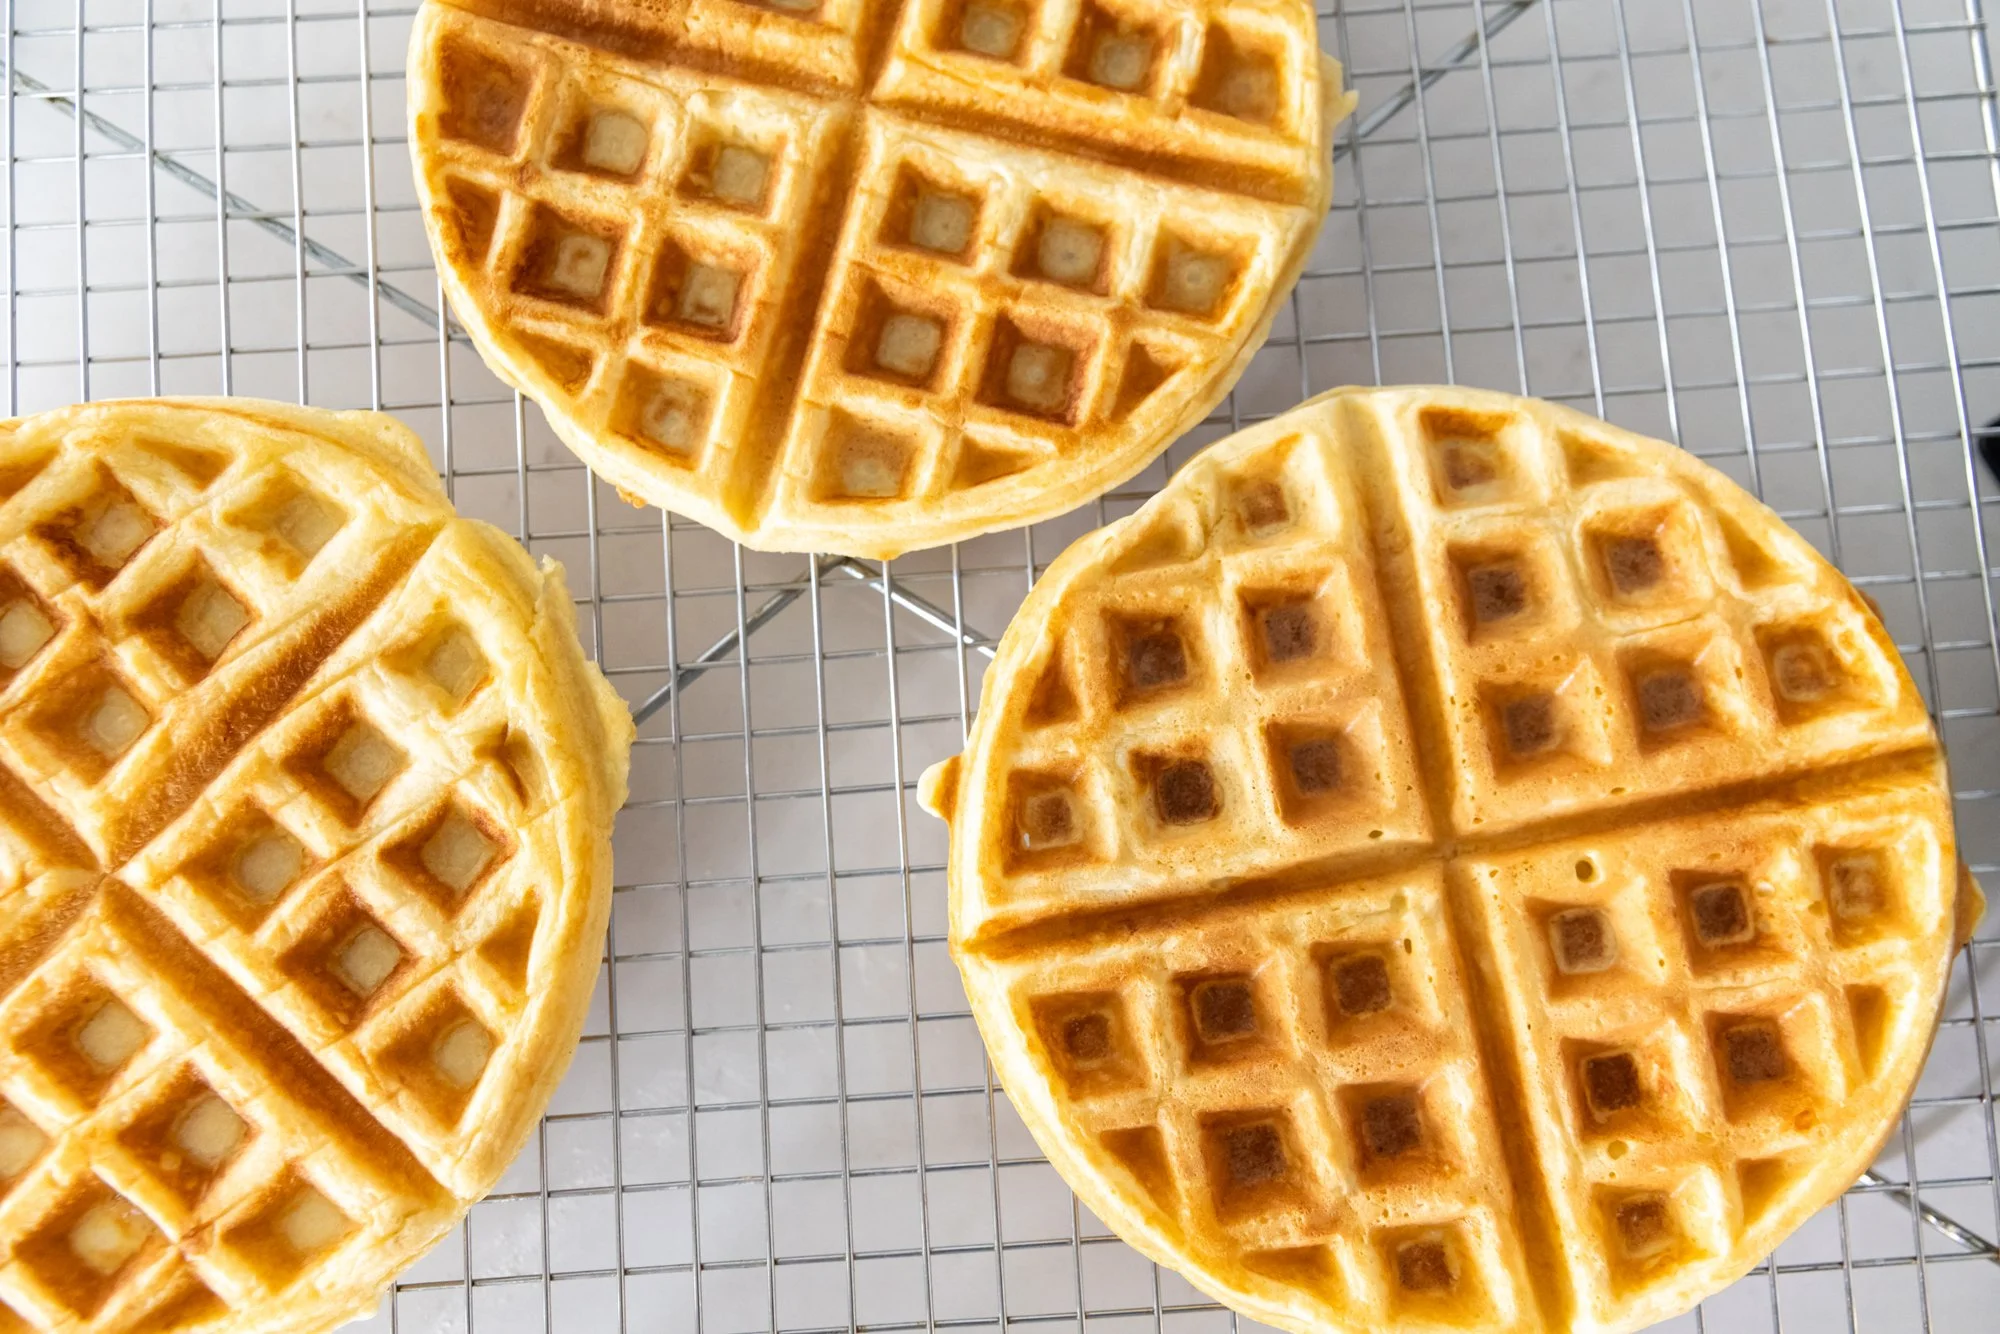
Cook for 5 minutes, or until your desired golden-brown coloring appears. 
 
To freeze, let them cool completely on a wire rack and either break them into sections, or freeze them as a whole. 
 
You can toast (or warm in the oven) from frozen, but thawing in the fridge the night before will also work. 
 
ENJOY! 
RECIPE: Granola for BC Living "From Scratch"

Granola
for BC Living - “From Scratch”
January 2026

I’m really trying to focus on making sure I eat breakfast these days, even if it’s just a boring protein shake, but then I decided I needed some more flavor and some crunch in my daily routine. 

I always find when I get bags of granola from the grocery store, it goes stale before I get anywhere near finishing it, and trying to find one that has the exact add-ins that I like is also a challenge... 
...enter, making it from scratch! 

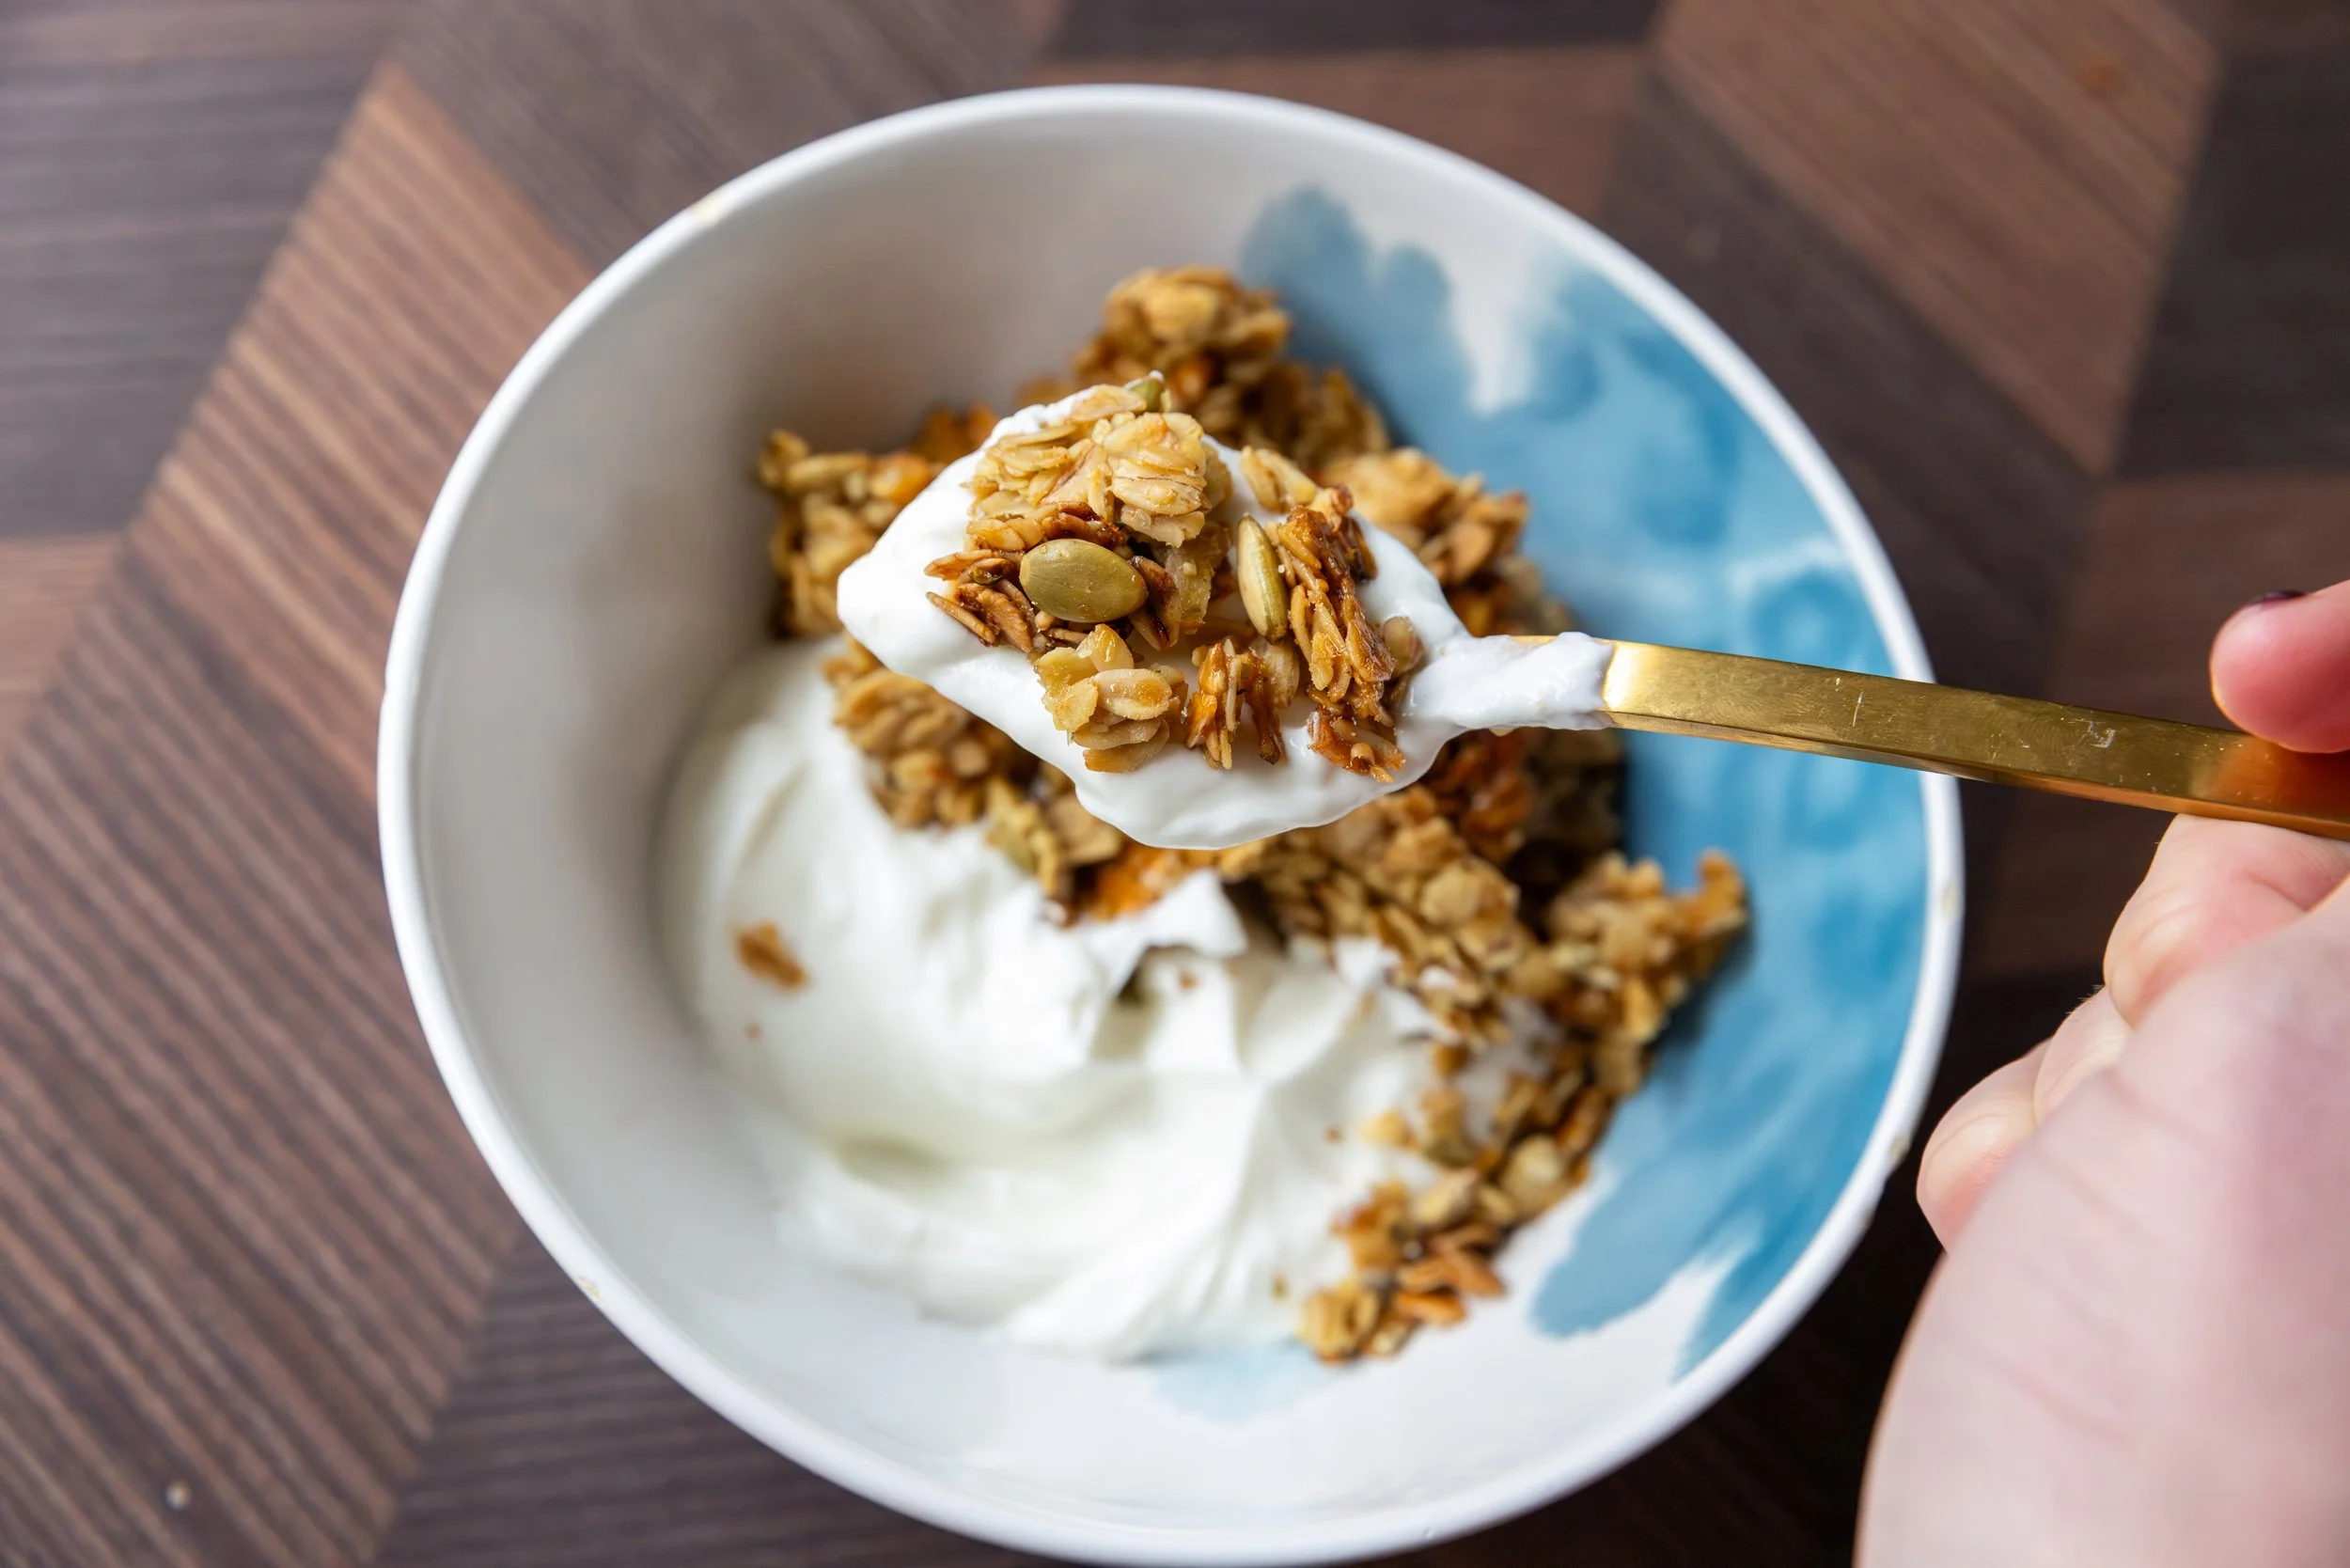
Making homemade granola is incredibly easy and takes very little time and effort. You probably have everything you need in your cupboards already, and the best part is it’s fully customizable!  
 
INGREDIENTS 
 
Dry Ingredients 
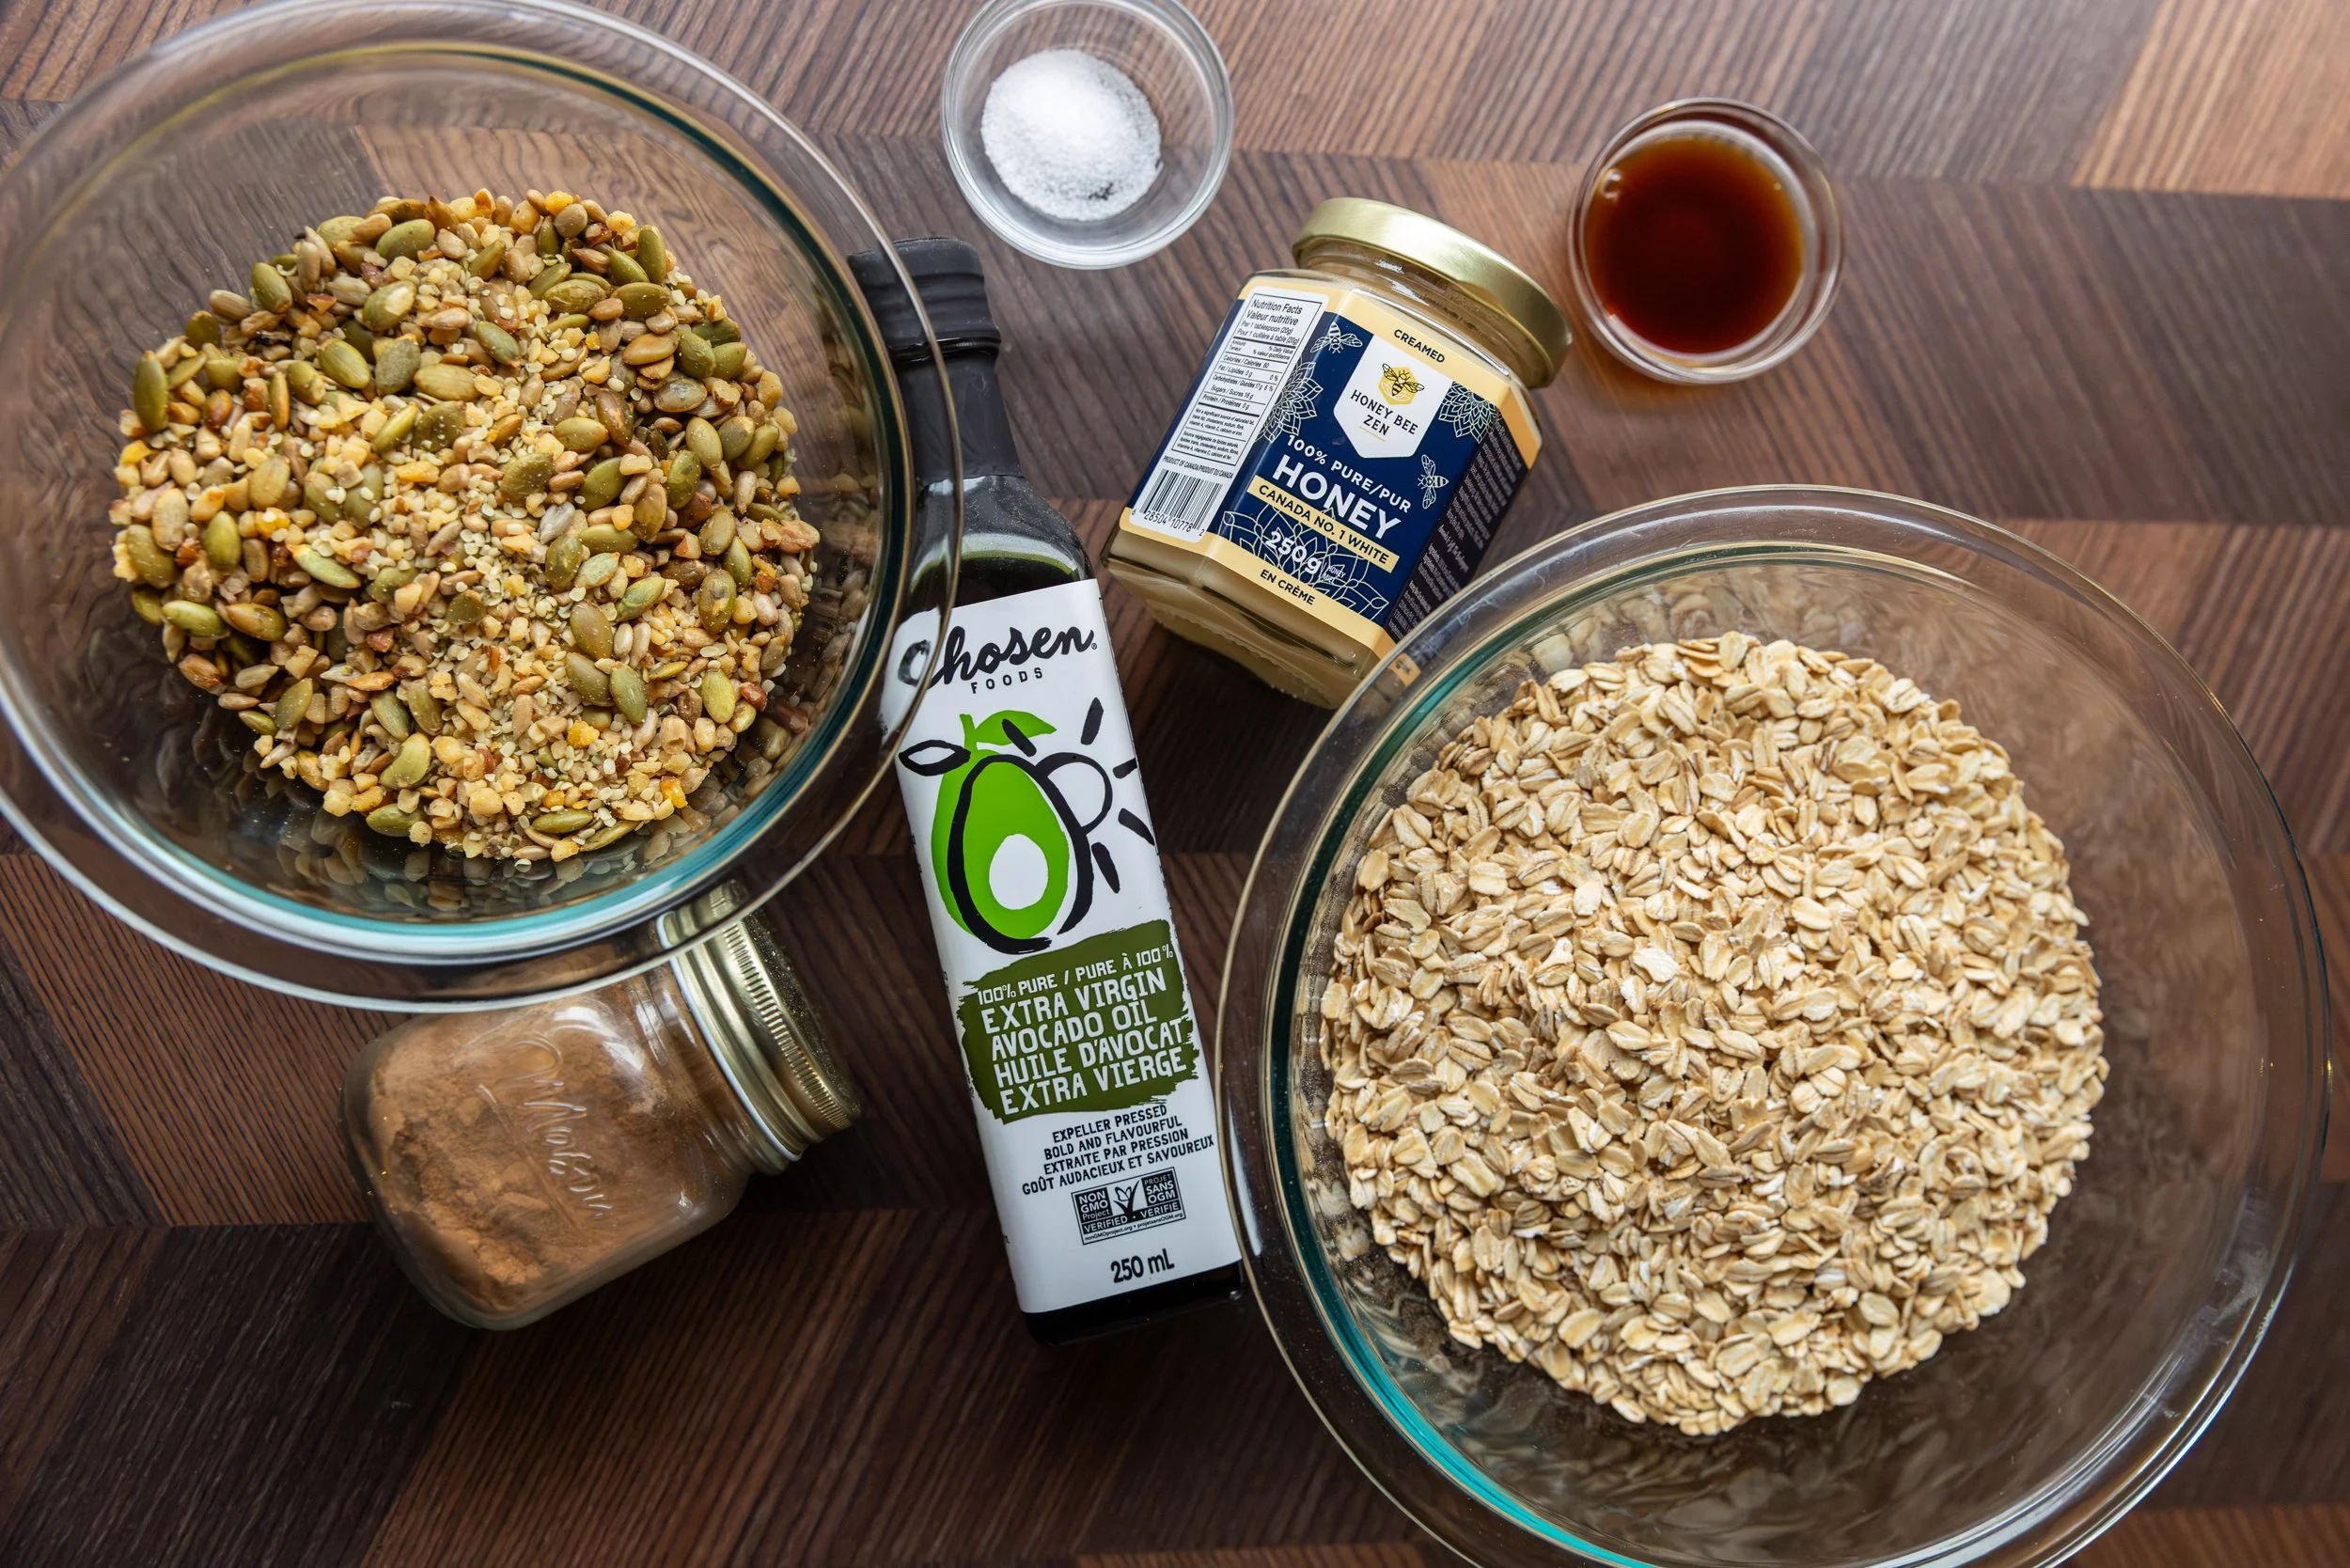
- 3 cups of rolled oats (do not use steel cut!) 
- ½ tsp salt  
- 1.5 cups of nuts and/or seeds of your choice (I used pepitas, sunflower seeds, and crushed walnuts) 
- ½ tsp of cinnamon (or a spice mix of your choosing) 
 
Wet Ingredients 
- ½ cup honey 
- 1.5 tsp vanilla extract 
- 1/3 cup avocado oil (can sub in coconut oil) 
 
Other 
- add-ins like dried fruits or chocolate chips 
 
INSTRUCTIONS 
 
Preheat the oven to 350 degrees Fahrenheit and line a large baking sheet with parchment paper. This step is important, or the granola will bake on to the sheet! 
 
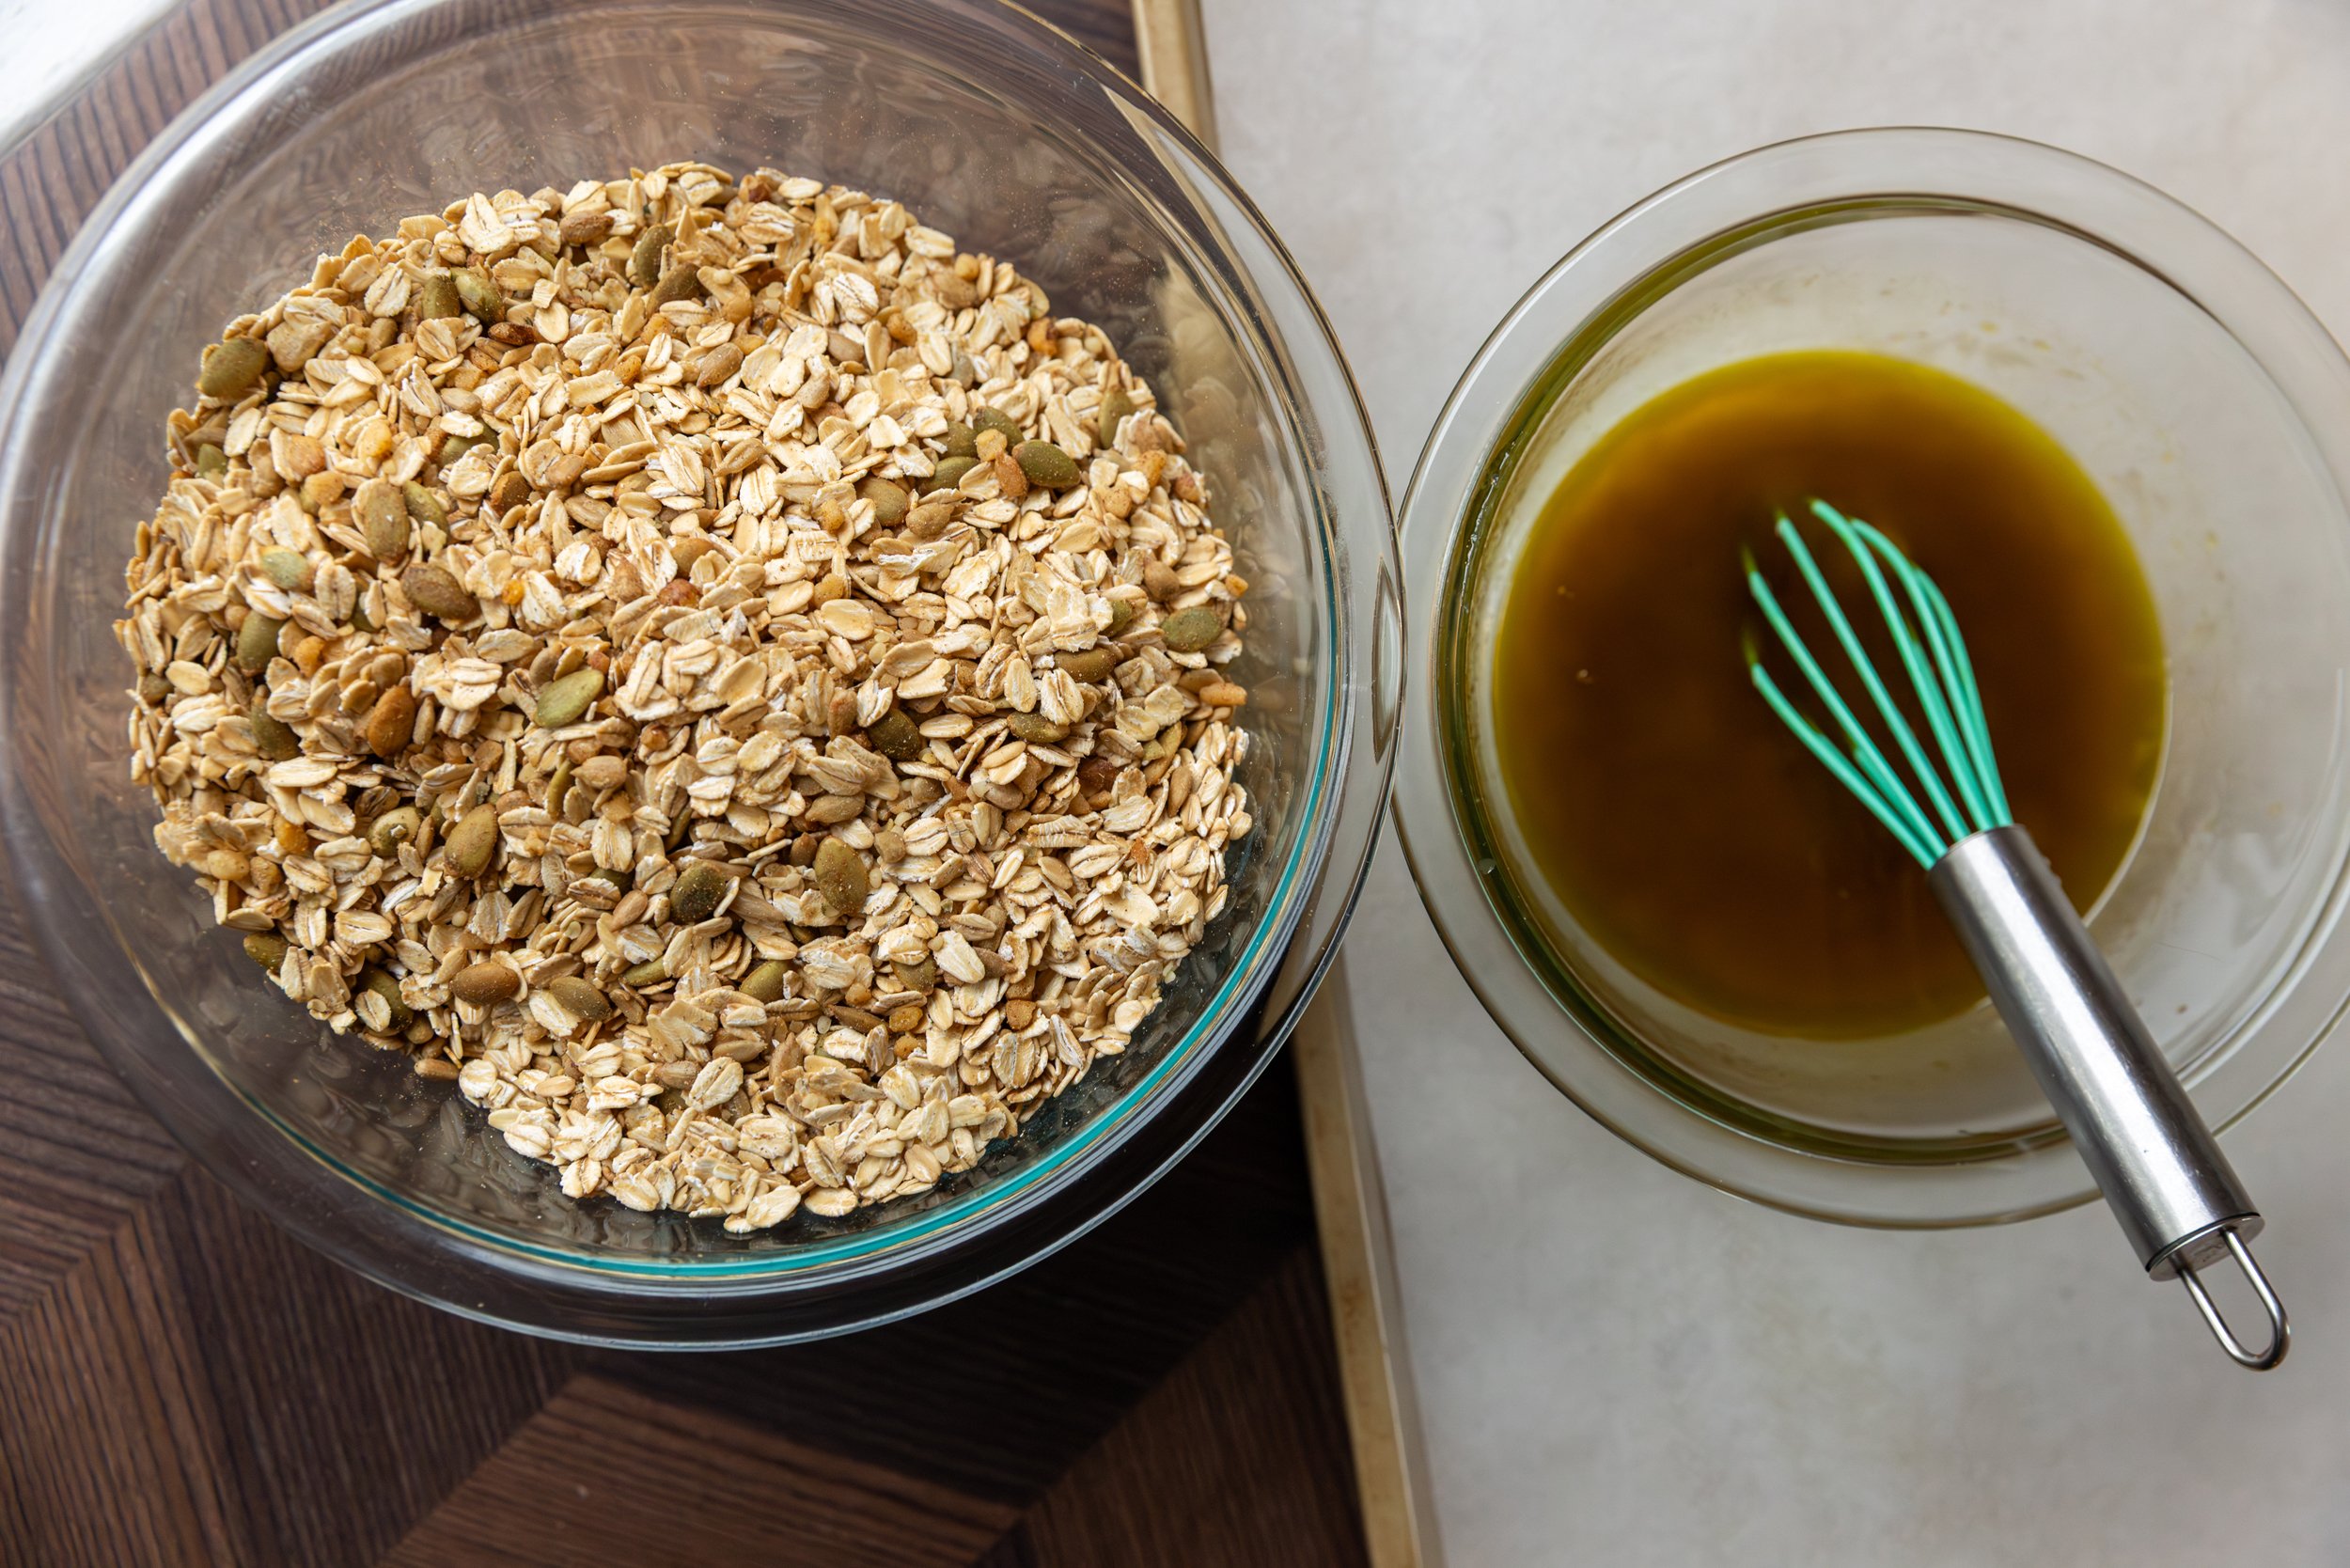
In a large bowl, mix the dry ingredients together and then in a separate bowl, mix the wet ingredients together until they are fully blended. 
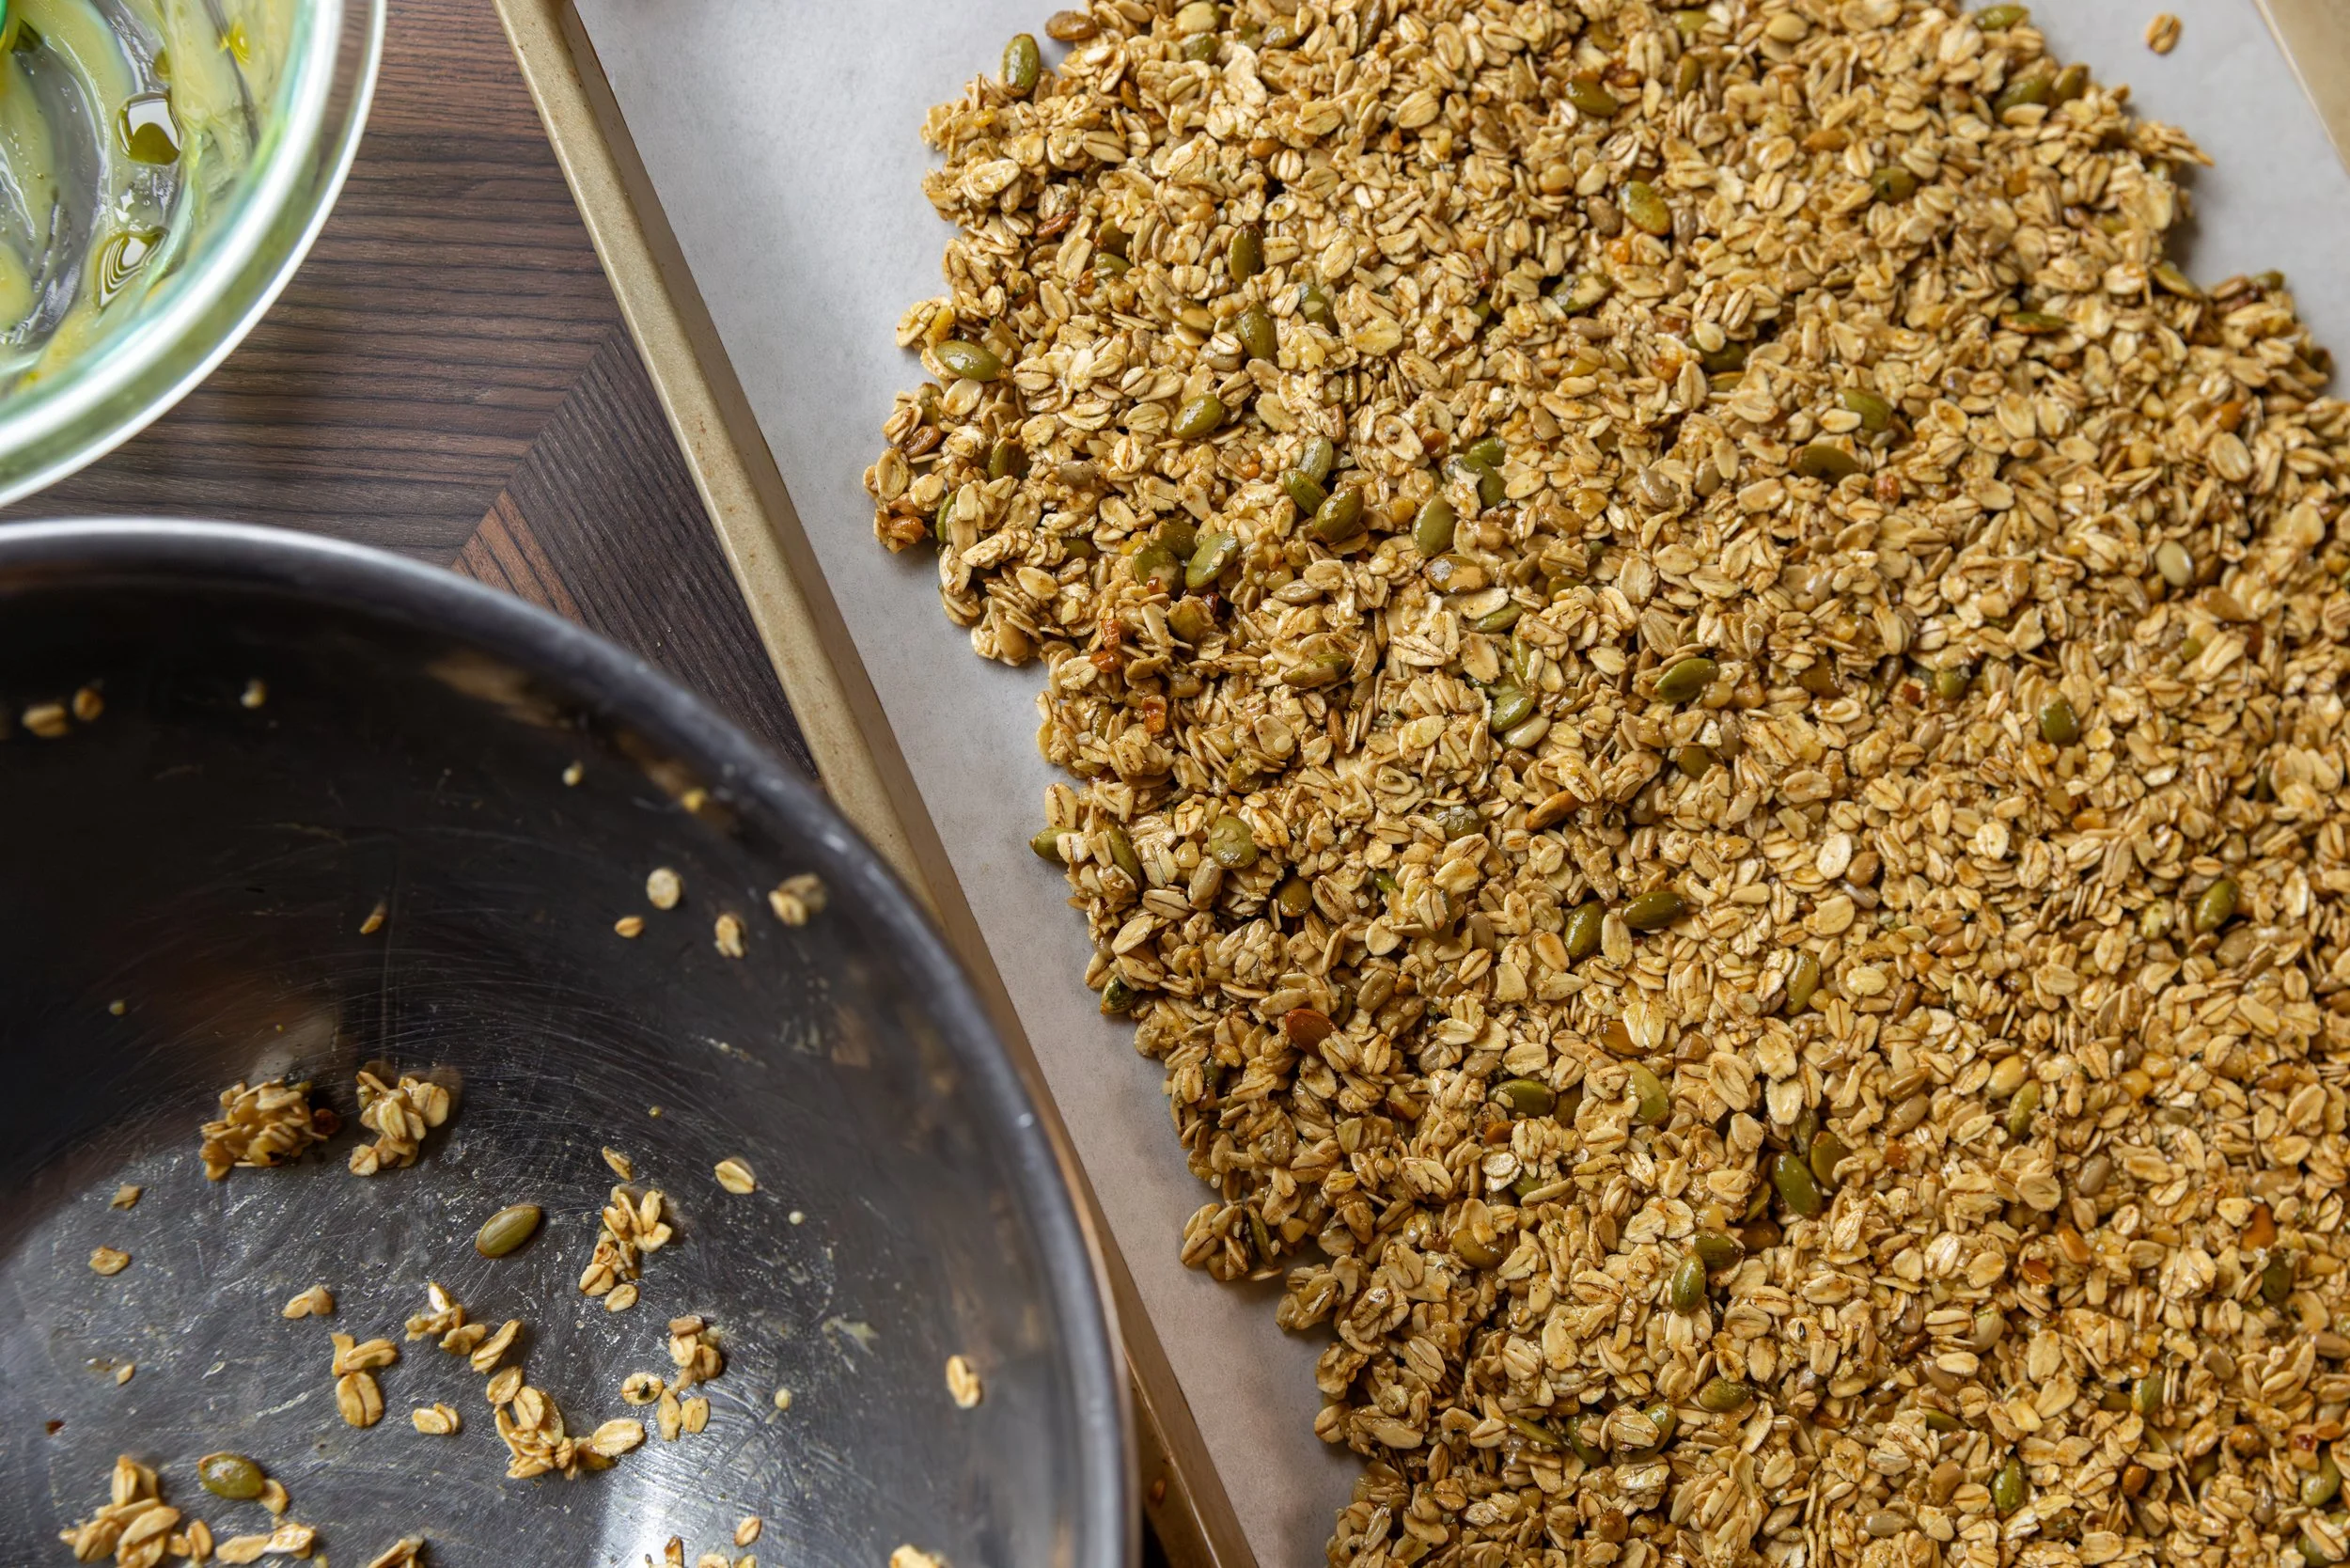
Pour the wet ingredients into the dry and with a wooden spoon, mix until the granola is evenly coated. 
 
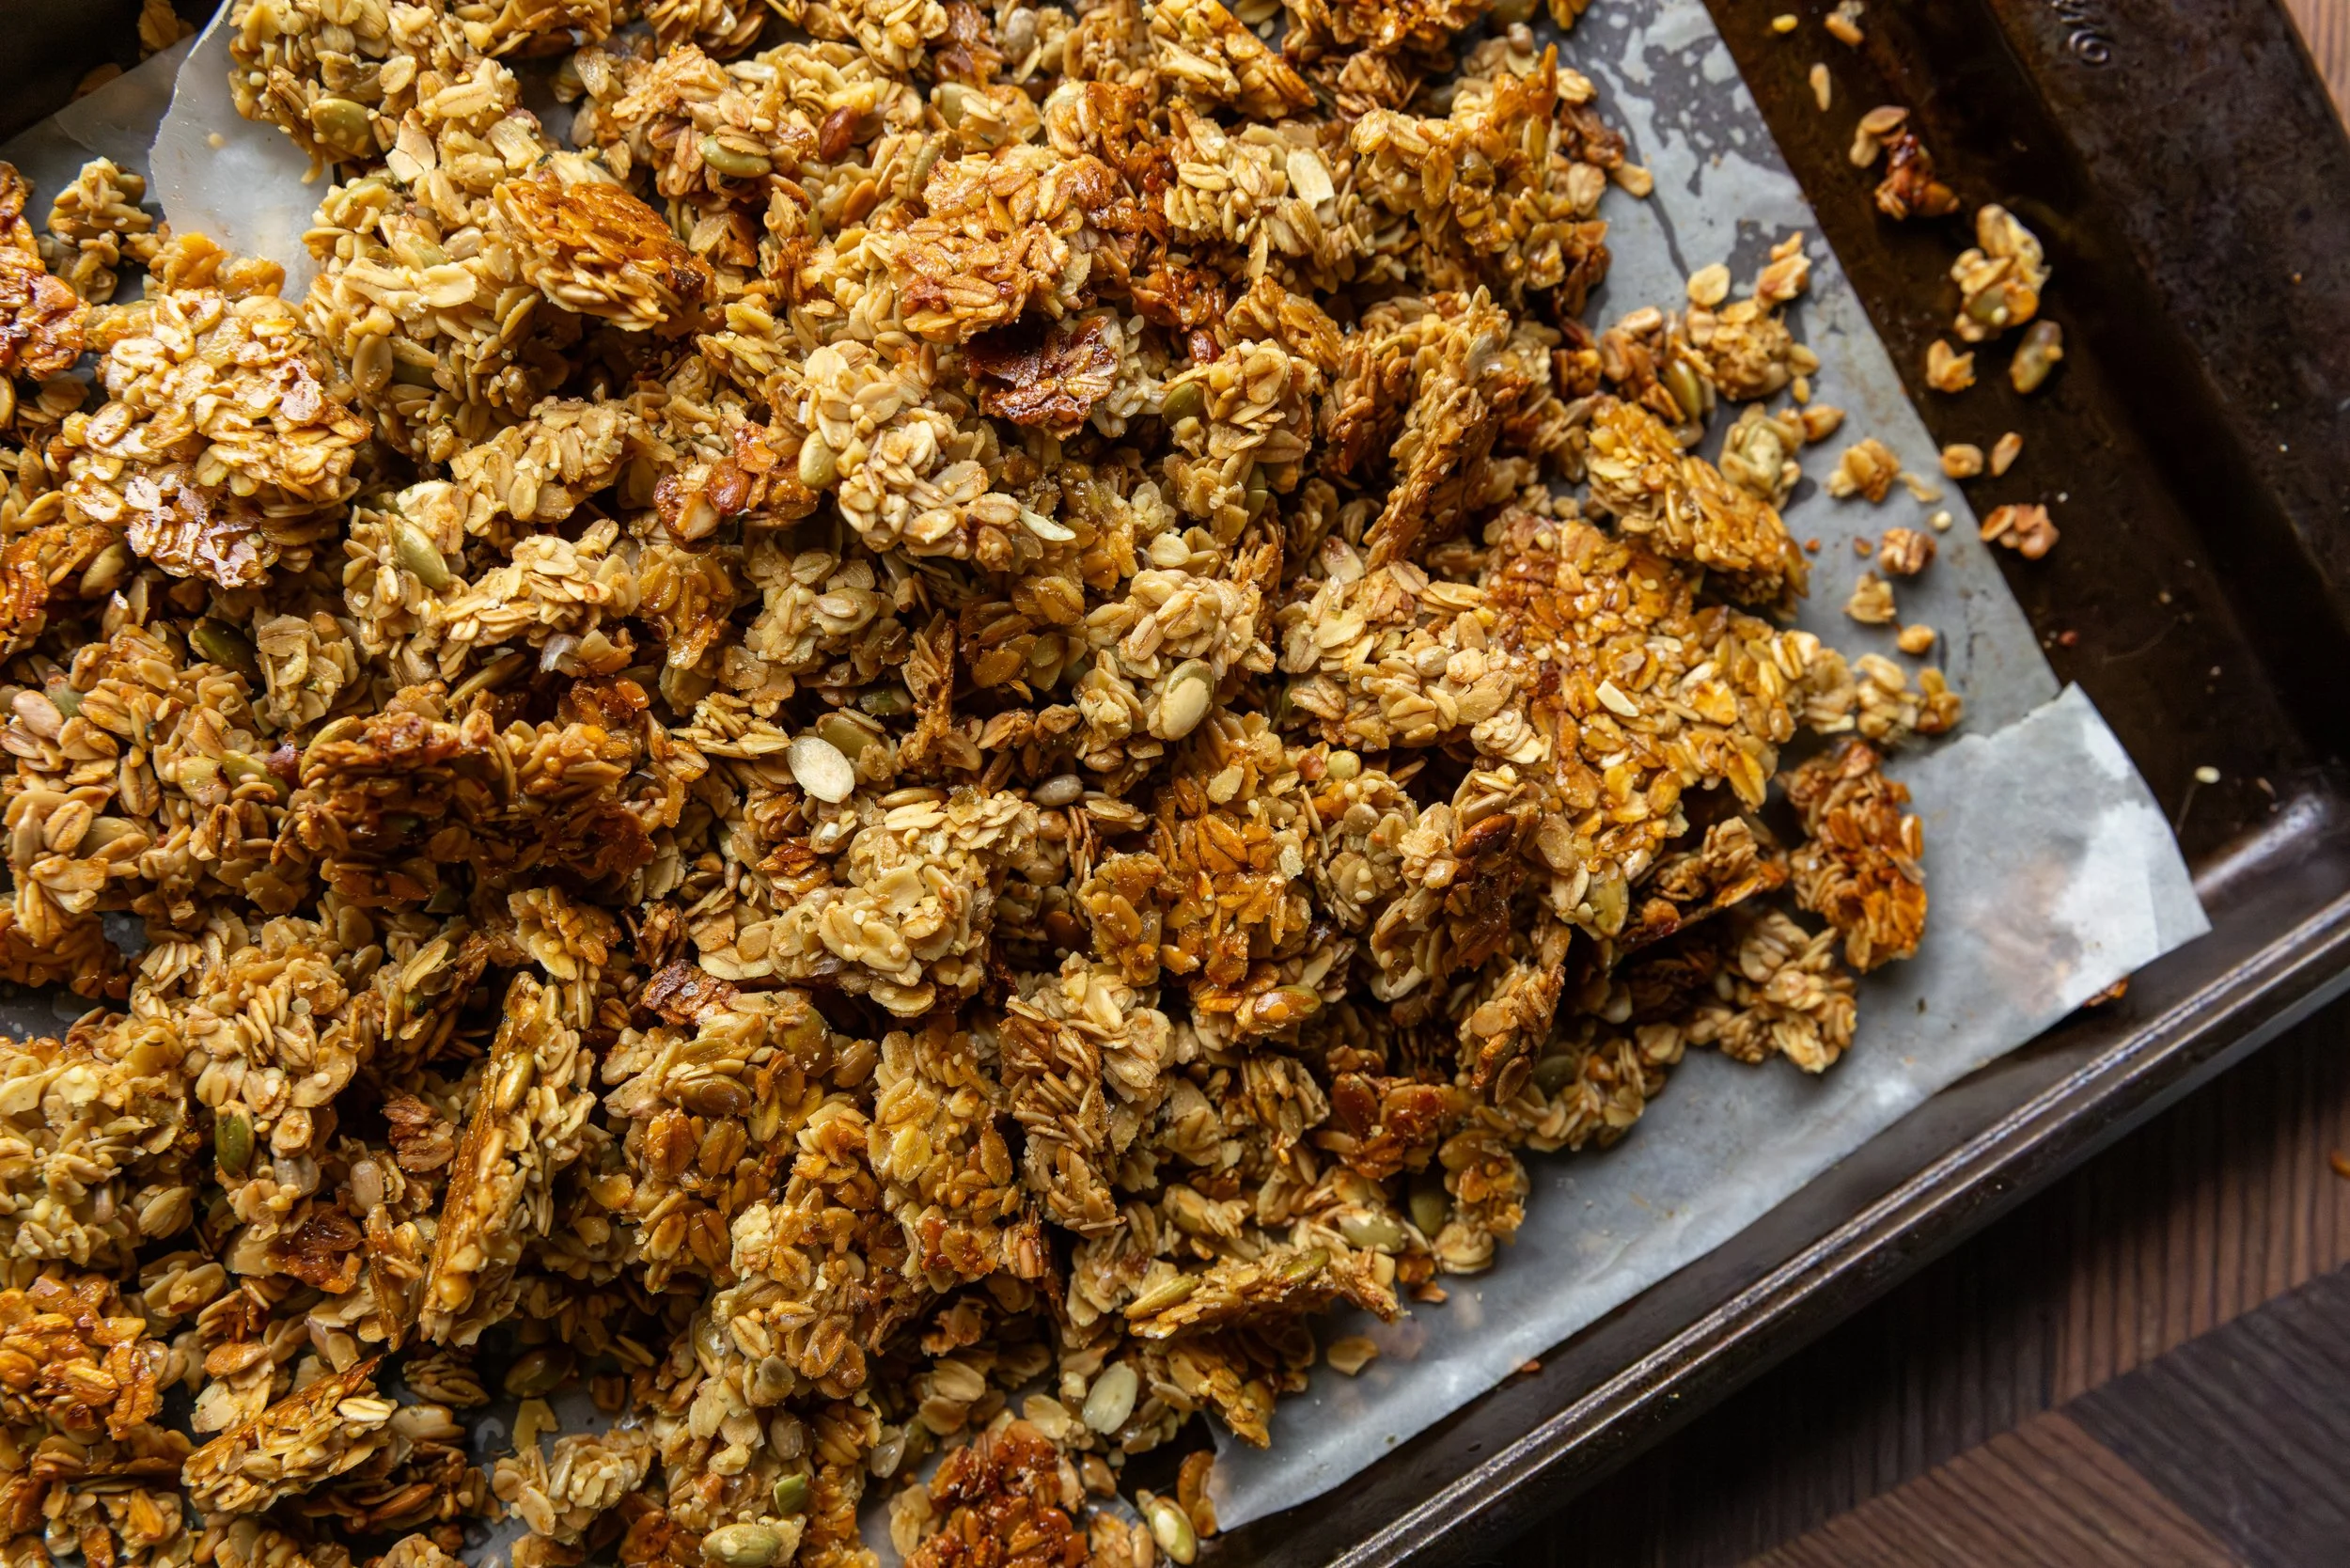
Spread the mixture onto the prepared baking sheet, press it down firmly with the spoon or your hand. 
 
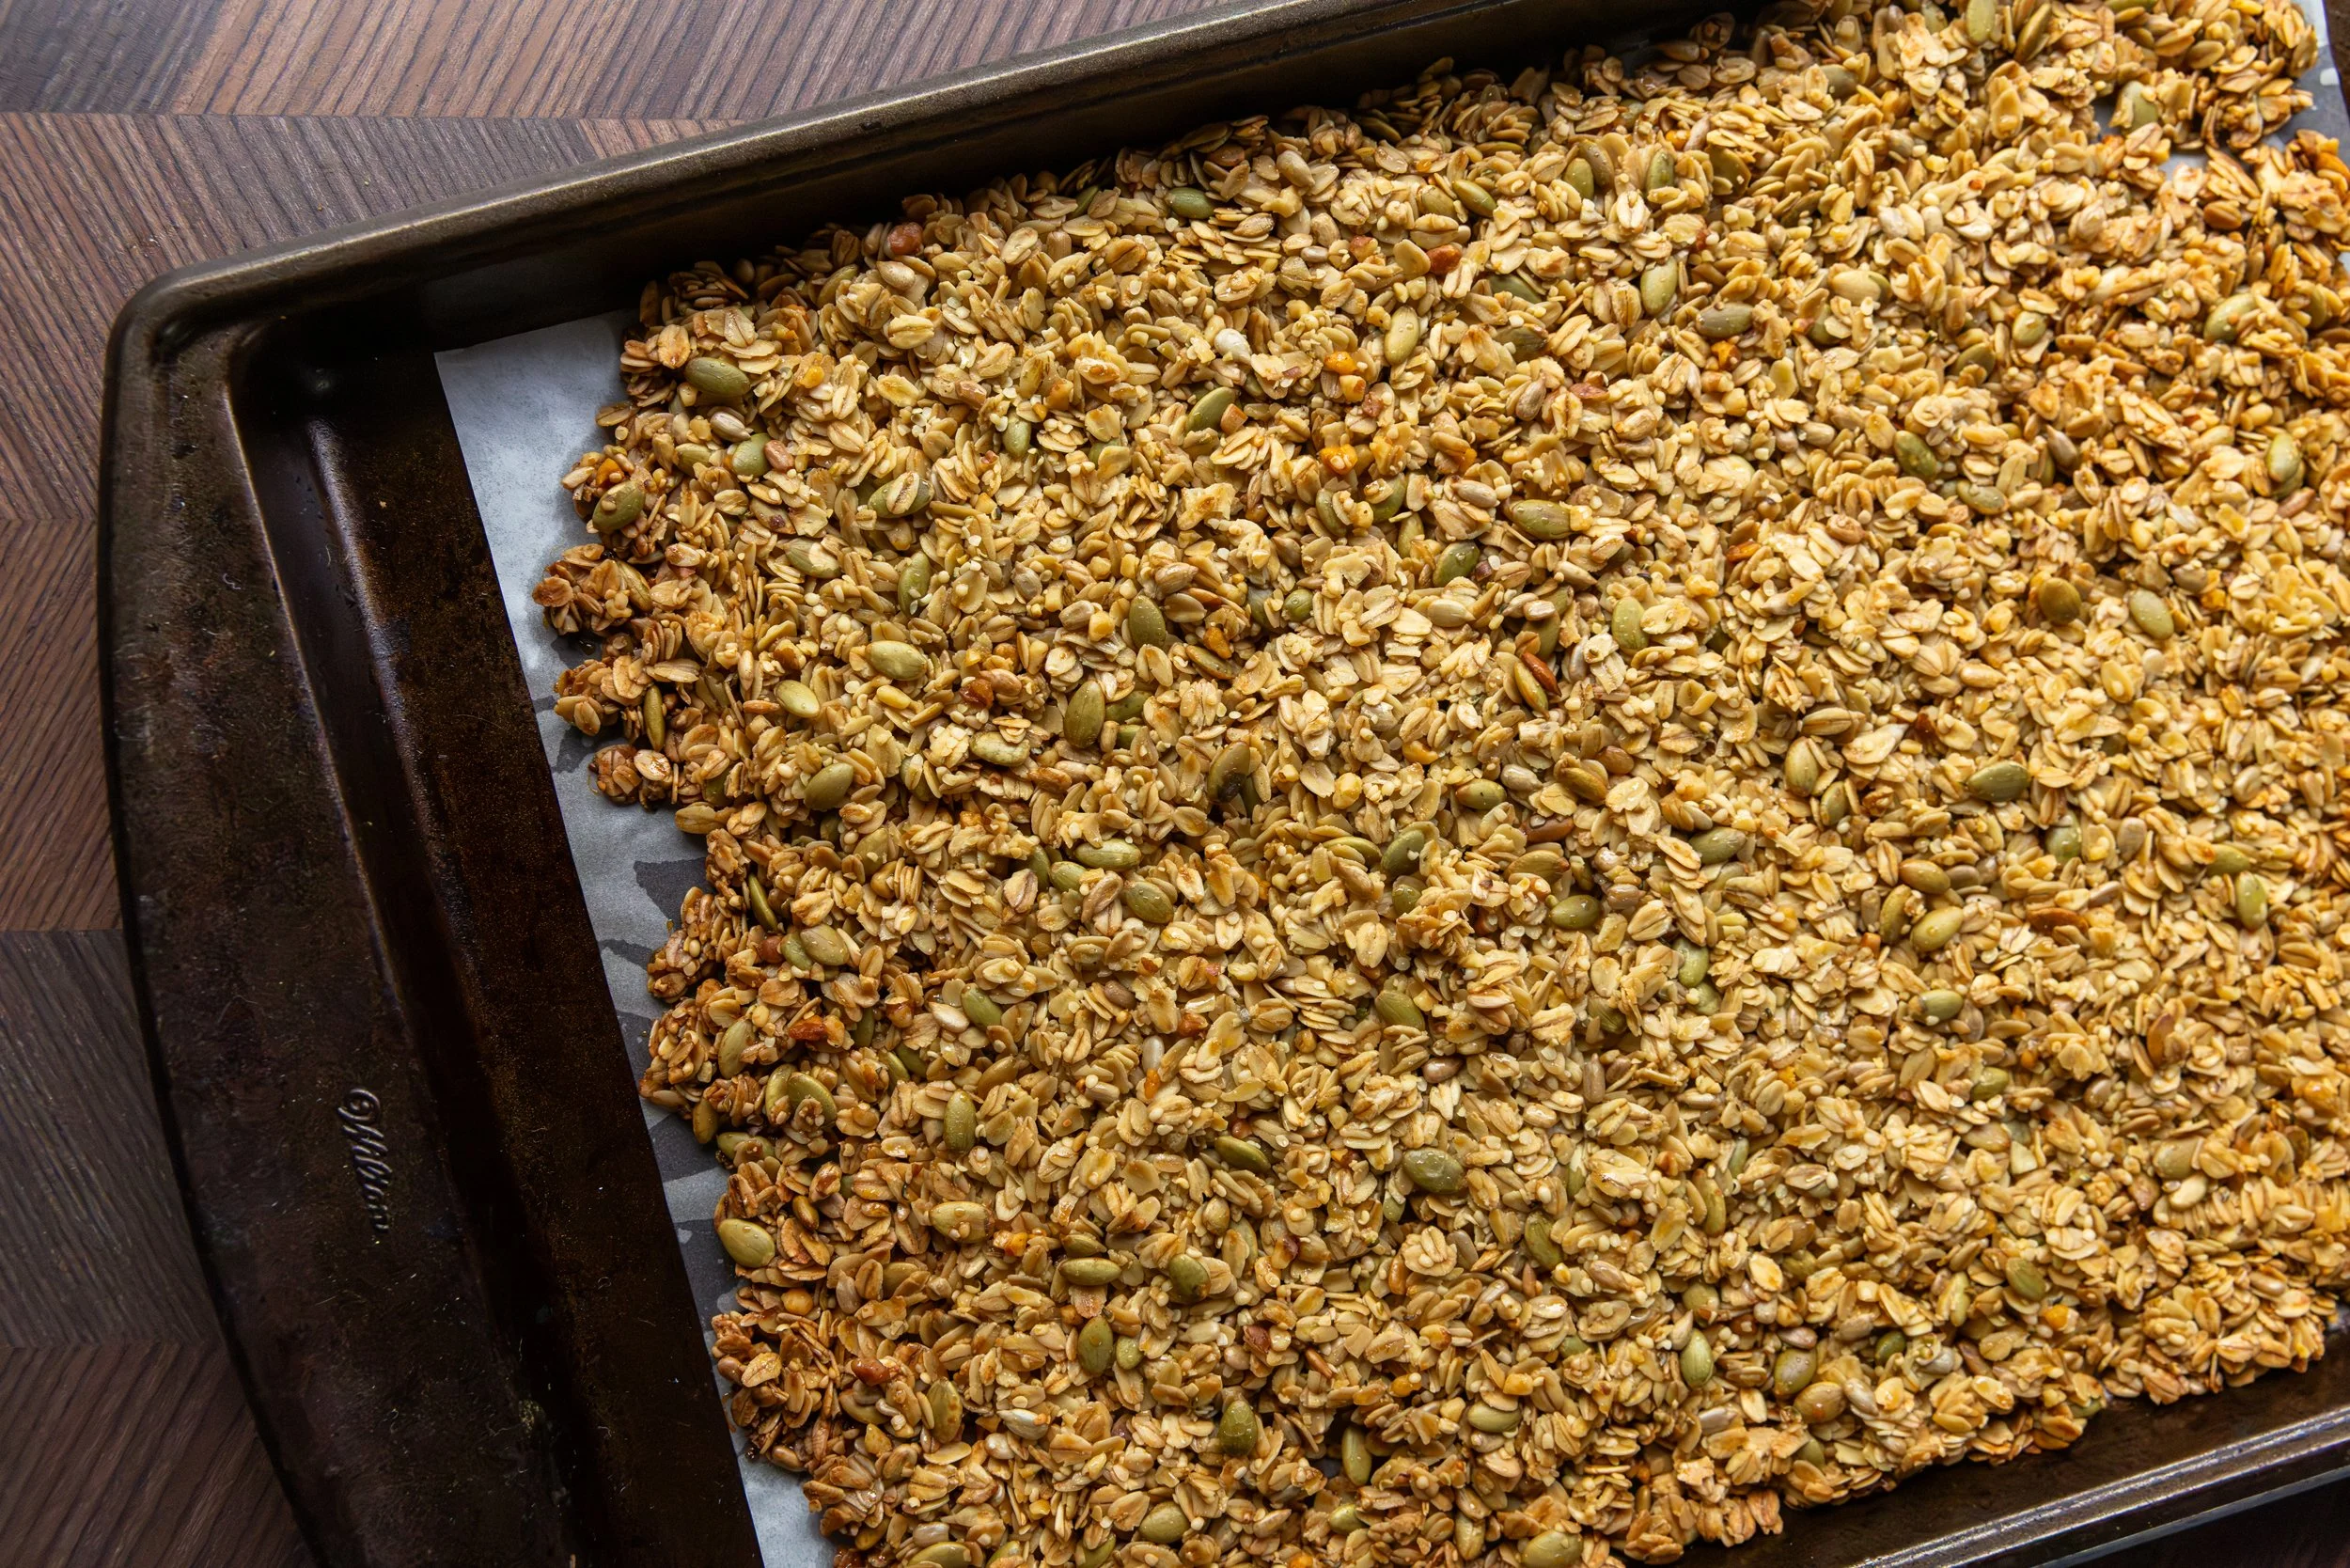
Bake in the oven for 20-25 minutes, checking it after 20, and remove when it has reached the desired color of browning for you. 
 
Let the granola cool on the baking sheet completely (do NOT mix it up) - this will take about an hour. 
Once cool, you can break it into chunks with your hands and mix in any add-ins like dried fruits or chocolate. 
 
Transfer the granola to an airtight container and use within one to two weeks (stored at room temperature) or you can freeze it for a few months - defrosting in the fridge before consumption. 
 
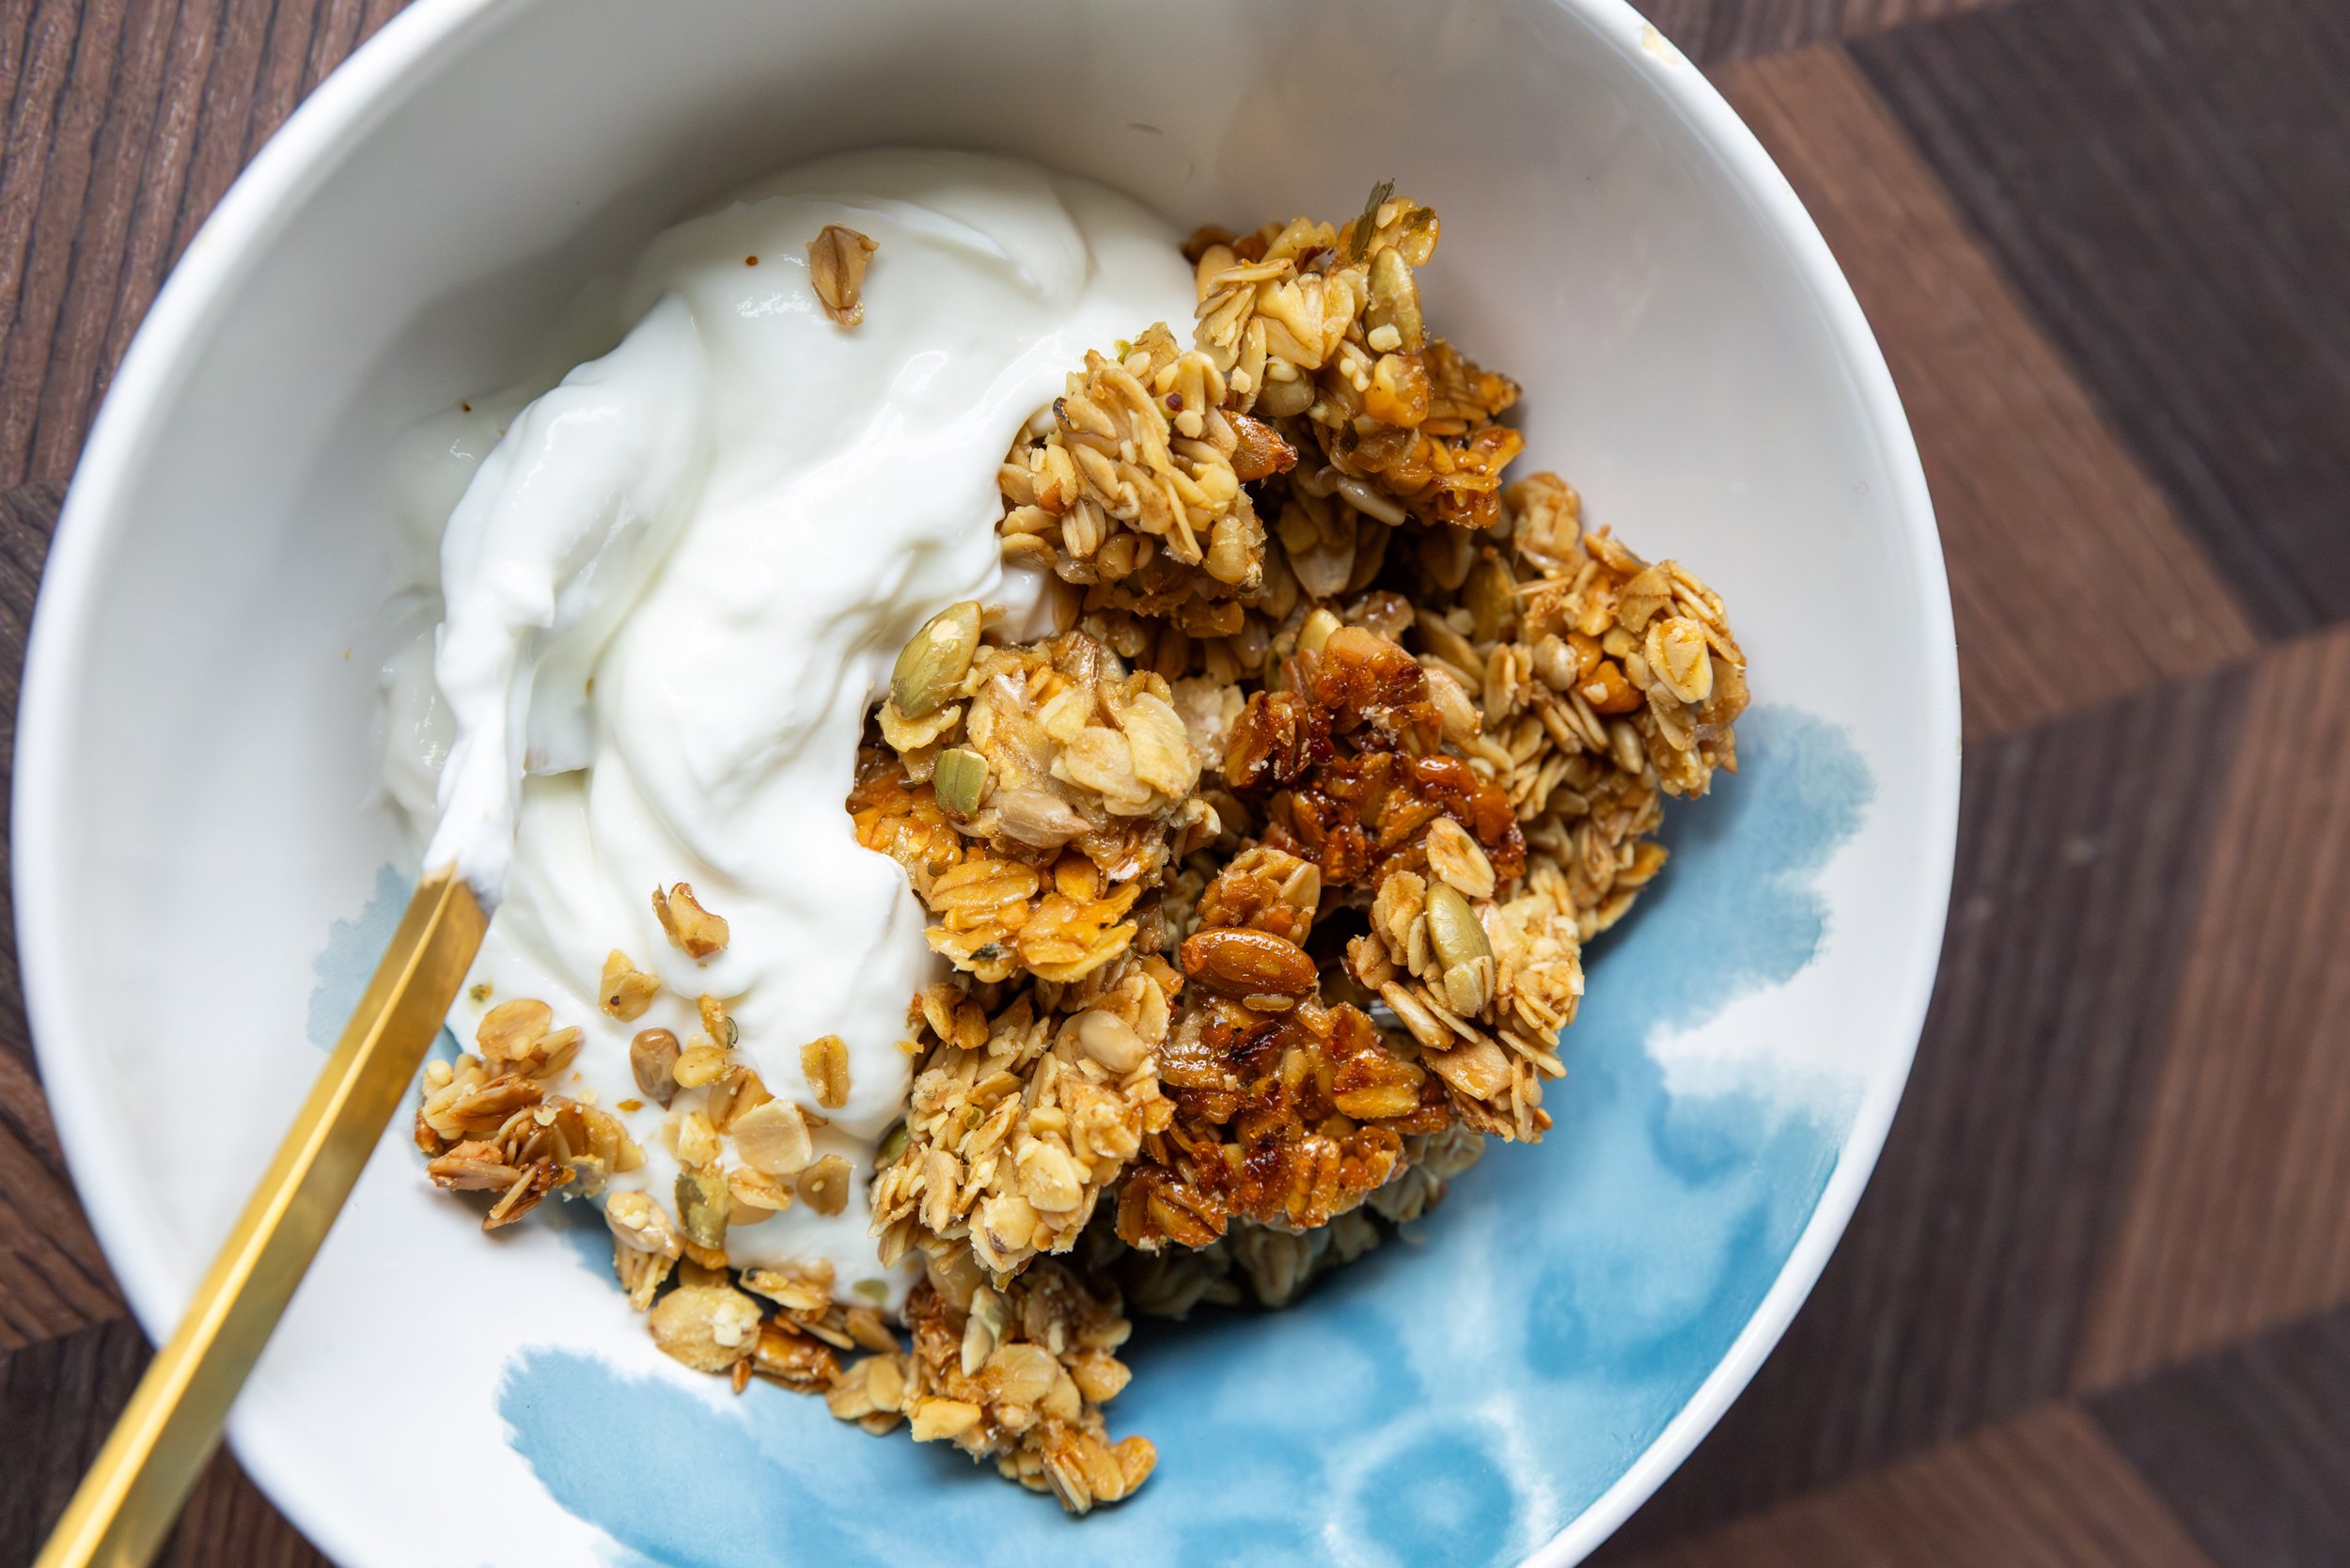
Serve with your favorite yogurt or milk, or just on its own as a quick and healthy snack! 
 
ENJOY! 

RECIPE: Spreads for BC Living "From Scratch" - Cream Cheese

Spreads - Part 3: Cream Cheese
BC Living - “From Scratch”
May 2024

If you love making homemade jam after a bountiful summer of berries and other fruits, but have never tried to make other spreads at home, this is your sign.  Making peanut butter (or any kind of nut-butter) is very simple, and even if they seem daunting, cream cheese and butter from scratch are well worth it. Not only because you can use fresh, organic ingredients, but you can customize them on the spot!

Cream Cheese

INGREDIENTS: 

8 Cups Whole Milk 
Juice of 1 Large Lemon (approx. 5 tbsp) 
½ tsp salt (or more) 
(Optional: additional herbs and spices for flavoring)

INSTRUCTIONS:

Begin by pouring the milk into a saucepan. Heat the milk over medium-high heat until it comes to a boil.  
 
Once the milk is boiling, add the lemon juice and immediately turn off the heat.  
Let the mixture sit for a few minutes to allow the milk to curdle. (During this time, you'll observe curds forming and a yellowish liquid separating.) 
 
Once the curds have formed, strain the curdled milk through a cheesecloth (or clean tea towel) lined sieve to separate the liquid whey.  
 
Rinse the curds under cold water to remove any excess whey clinging to them. Squeeze the curdled milk to remove any remaining liquid whey. You may need to do this several times. 
 
Transfer the strained curds to a food processor, or blender, and add the salt (to taste).  
Blend until the mixture becomes light and fluffy, usually within 1-2 minutes, depending on the machine's power.  
 
If desired, add additional herbs or flavorings at this stage. Note that certain ingredients may affect the cheese's shelf-life; dried herbs will make the cream cheese last longer than fresh, but if you’re consuming quickly, go fresh! 
 
Store the cream cheese in an airtight container in the refrigerator for up to 7 days.  
 
ENJOY! 
RECIPE: Spreads for BC Living "From Scratch" - Peanut Butter

Spreads - Part 2: Peanut Butter
BC Living - “From Scratch”
May 2024

If you love making homemade jam after a bountiful summer of berries and other fruits, but have never tried to make other spreads at home, this is your sign.  Making peanut butter (or any kind of nut-butter) is very simple, and even if they seem daunting, cream cheese and butter from scratch are well worth it. Not only because you can use fresh, organic ingredients, but you can customize them on the spot!

Peanut Butter

INGREDIENTS: 

3 cups of dry roasted peanuts 
salt – optional and to taste 

INSTRUCTIONS:

Three cups of peanuts will amount to about one cup of peanut butter, so adjust this as you see fit for how much you’d like to consume. It will last about one month. 
 
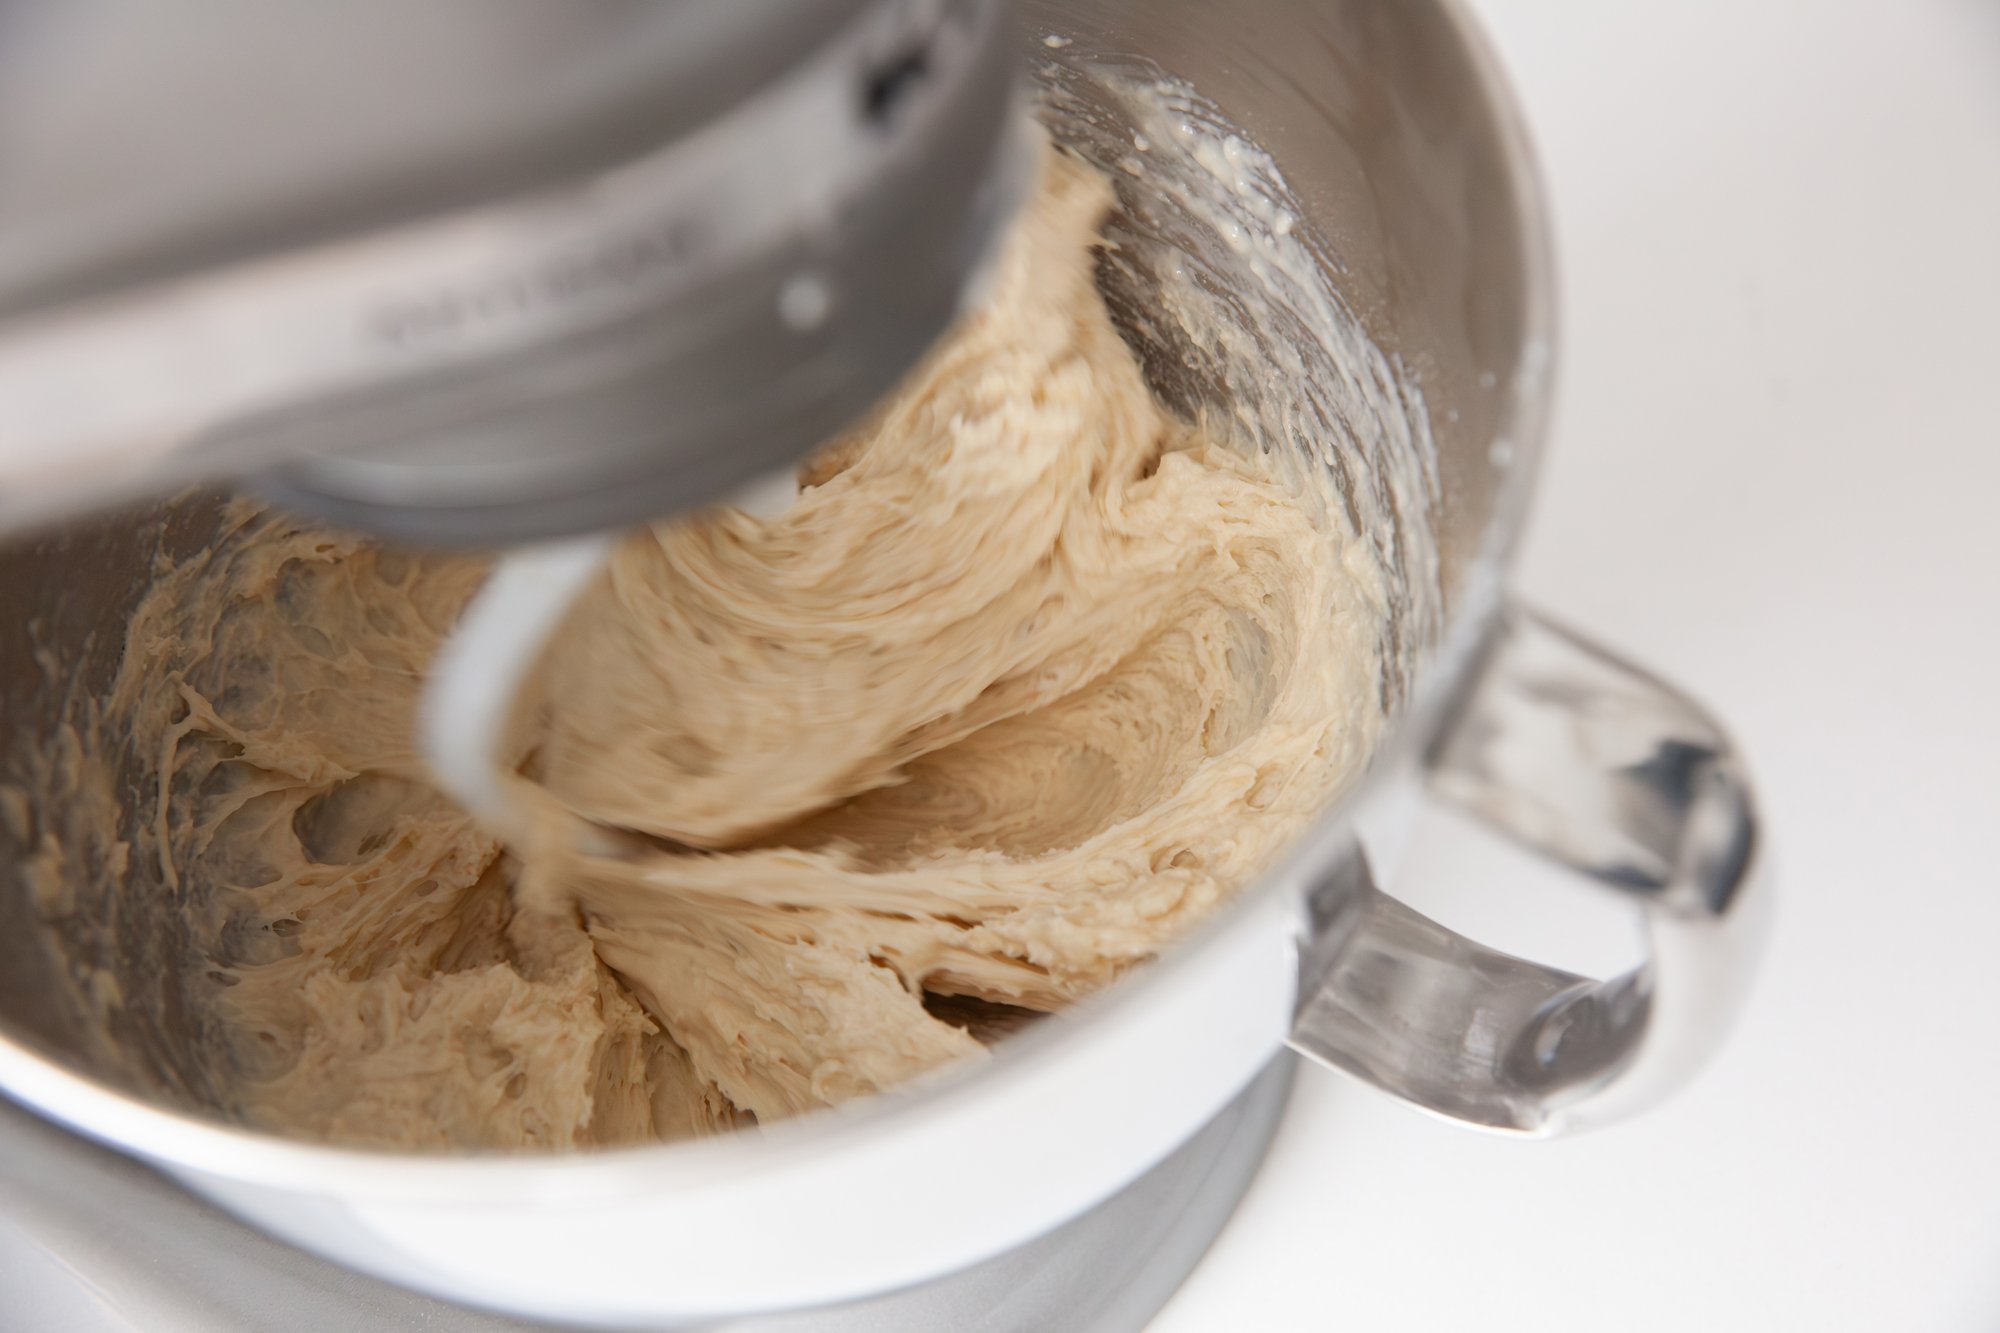
Place the peanuts in a stand mixer or high-powered blender and blend at high speed. Scrape down the sides with a spatula every time the pb starts to build up. 
 
A rough dough-like ball will start to form, keep going and it will smooth and blend itself out. 
 
You can blend until you reach the desired consistency, but a creamy and smooth peanut butter will take approximately 10 minutes to come together 

RECIPE: English Muffins for BC Living "From Scratch" - April 01, 2024

English Muffins
for BC Living "From Scratch" Column
April 01, 2024

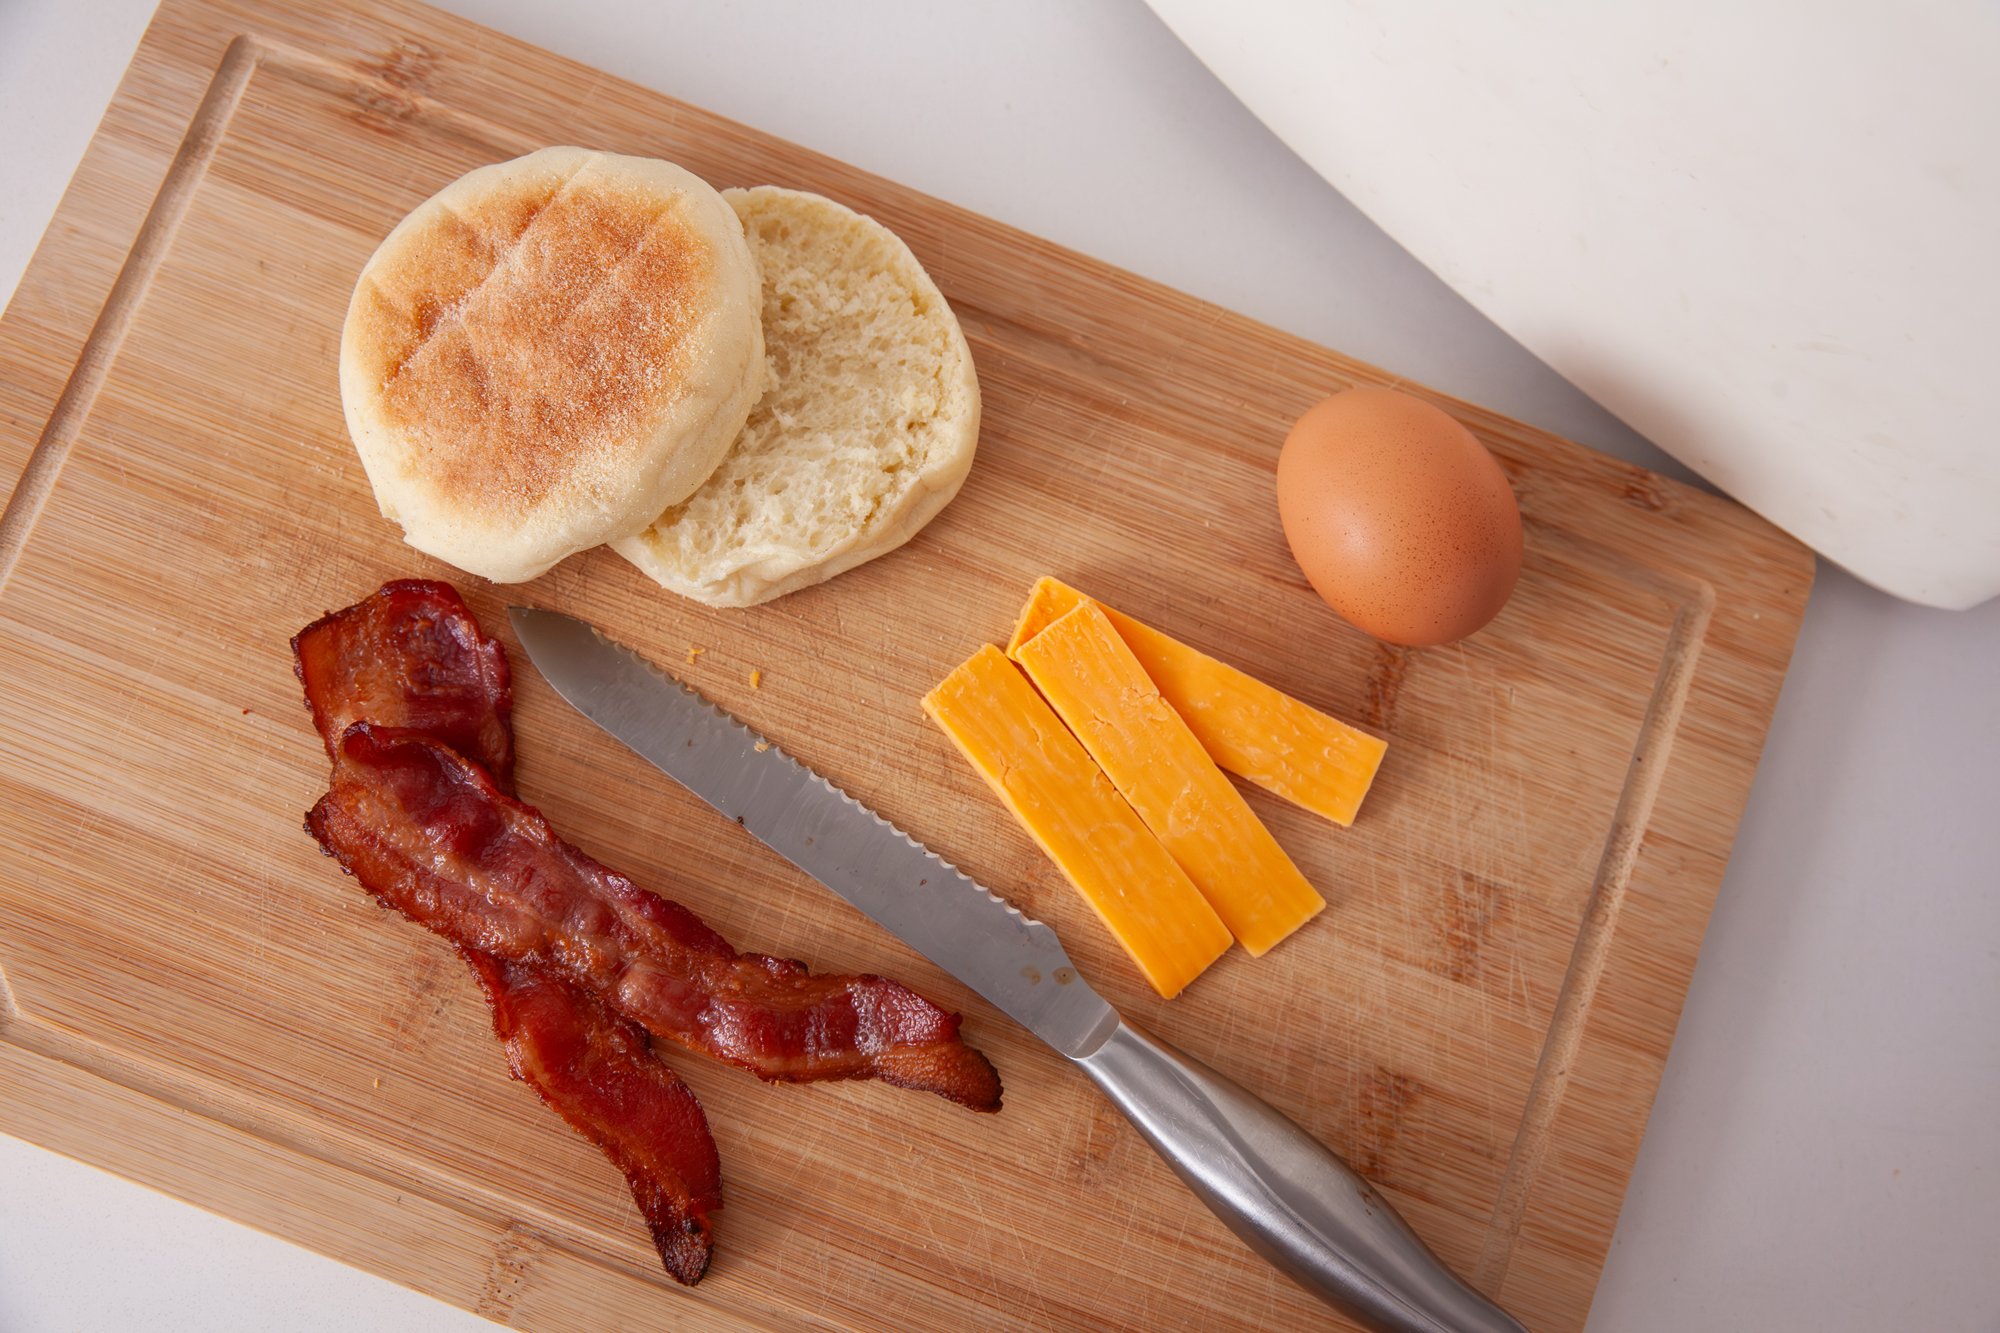
English muffins are so versatile, from a simple buttered one, to holding together a greasy breakfast sandwich, to being the sturdy base for an eggs benedict. 
 
Whichever way you prefer, once you make them from scratch and taste them for the first time, you may never go back. And while they’re extremely good fresh out of the pan (yes, pan!), you can also freeze them for that Sunday morning brunch. 
 

INGREDIENTS: 

2 cups all-purpose flour 
1 tablespoon granulated sugar 
1 teaspoon salt 
1 tablespoon active dry yeast 
1 cup warm milk (around 110°F/45°C) 
2 tablespoons unsalted butter, melted 
Cornmeal, for dusting 
 
INSTRUCTIONS: 
 
You can make this by hand if you don’t have a stand mixer, but the dough can be very wet and hard to work with. 

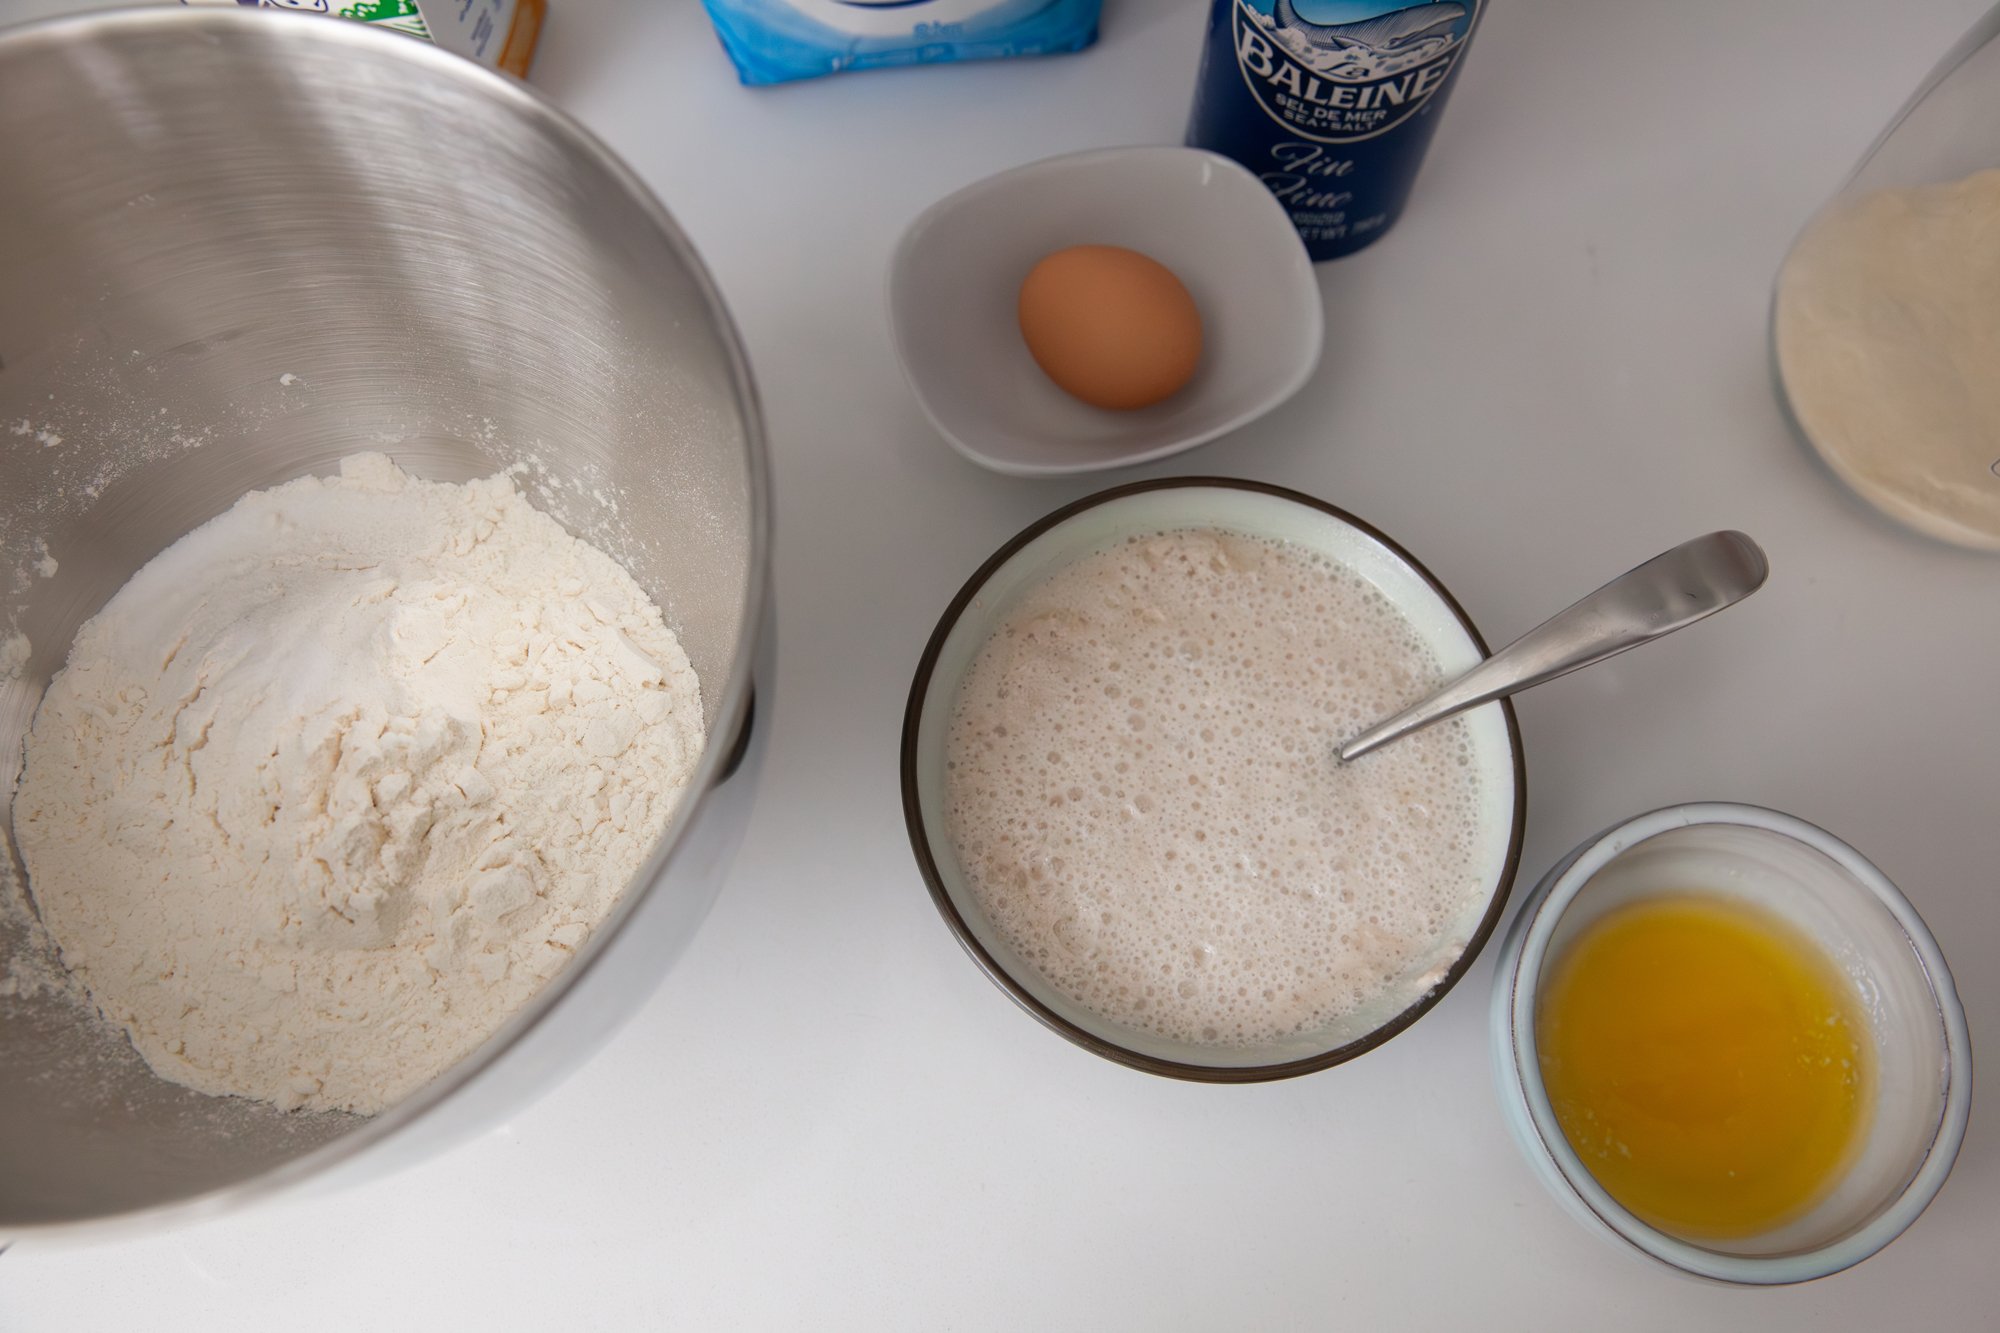
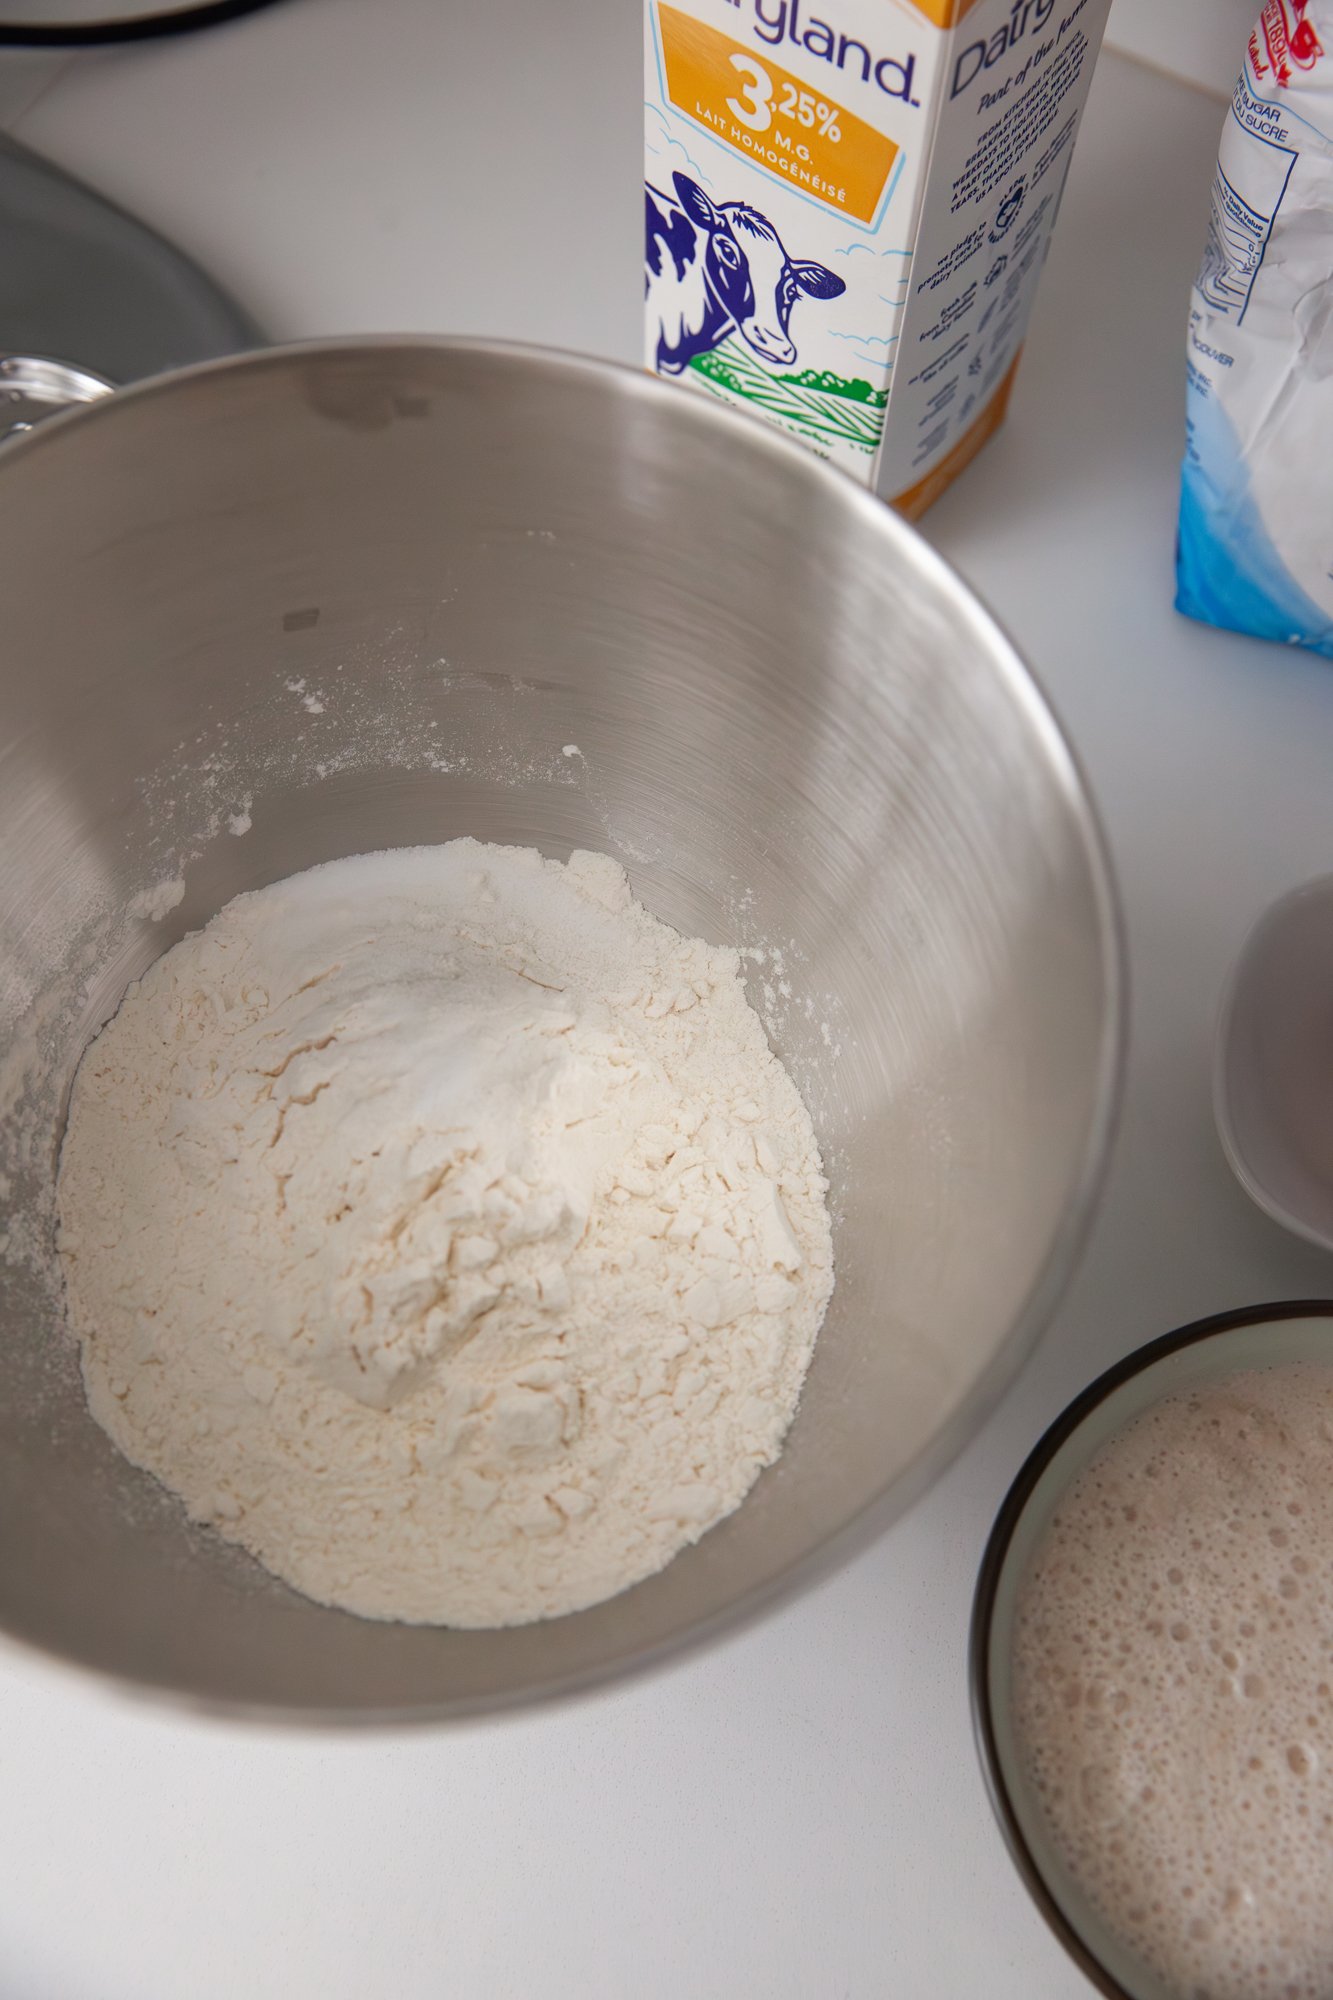
In the bowl of your stand mixer, combine warm milk and sugar. Sprinkle the yeast over the mixture and let it sit for about 5-10 minutes until it becomes frothy. 

Attach the dough hook to your stand mixer. Add the flour, salt, and melted butter to the bowl with the activated yeast. Mix on low speed until a shaggy dough forms. 

Once the dough comes together, increase the speed to medium-low and knead the dough for about 5-7 minutes until it becomes smooth and elastic. Scrape down the sides of the bowl occasionally. 

Form the dough into a ball and place it in a lightly greased bowl. Cover it with a clean kitchen towel and let it rise in a warm place for about 1 to 1.5 hours, or until doubled in size. 

Once the dough has doubled in size, punch it down and turn it out onto a lightly floured surface. Roll the dough out to about 1/2 inch thickness. Use a round cutter (about 3 inches in diameter) to cut out the muffins. Re-roll any scraps and continue cutting until all the dough is used. 
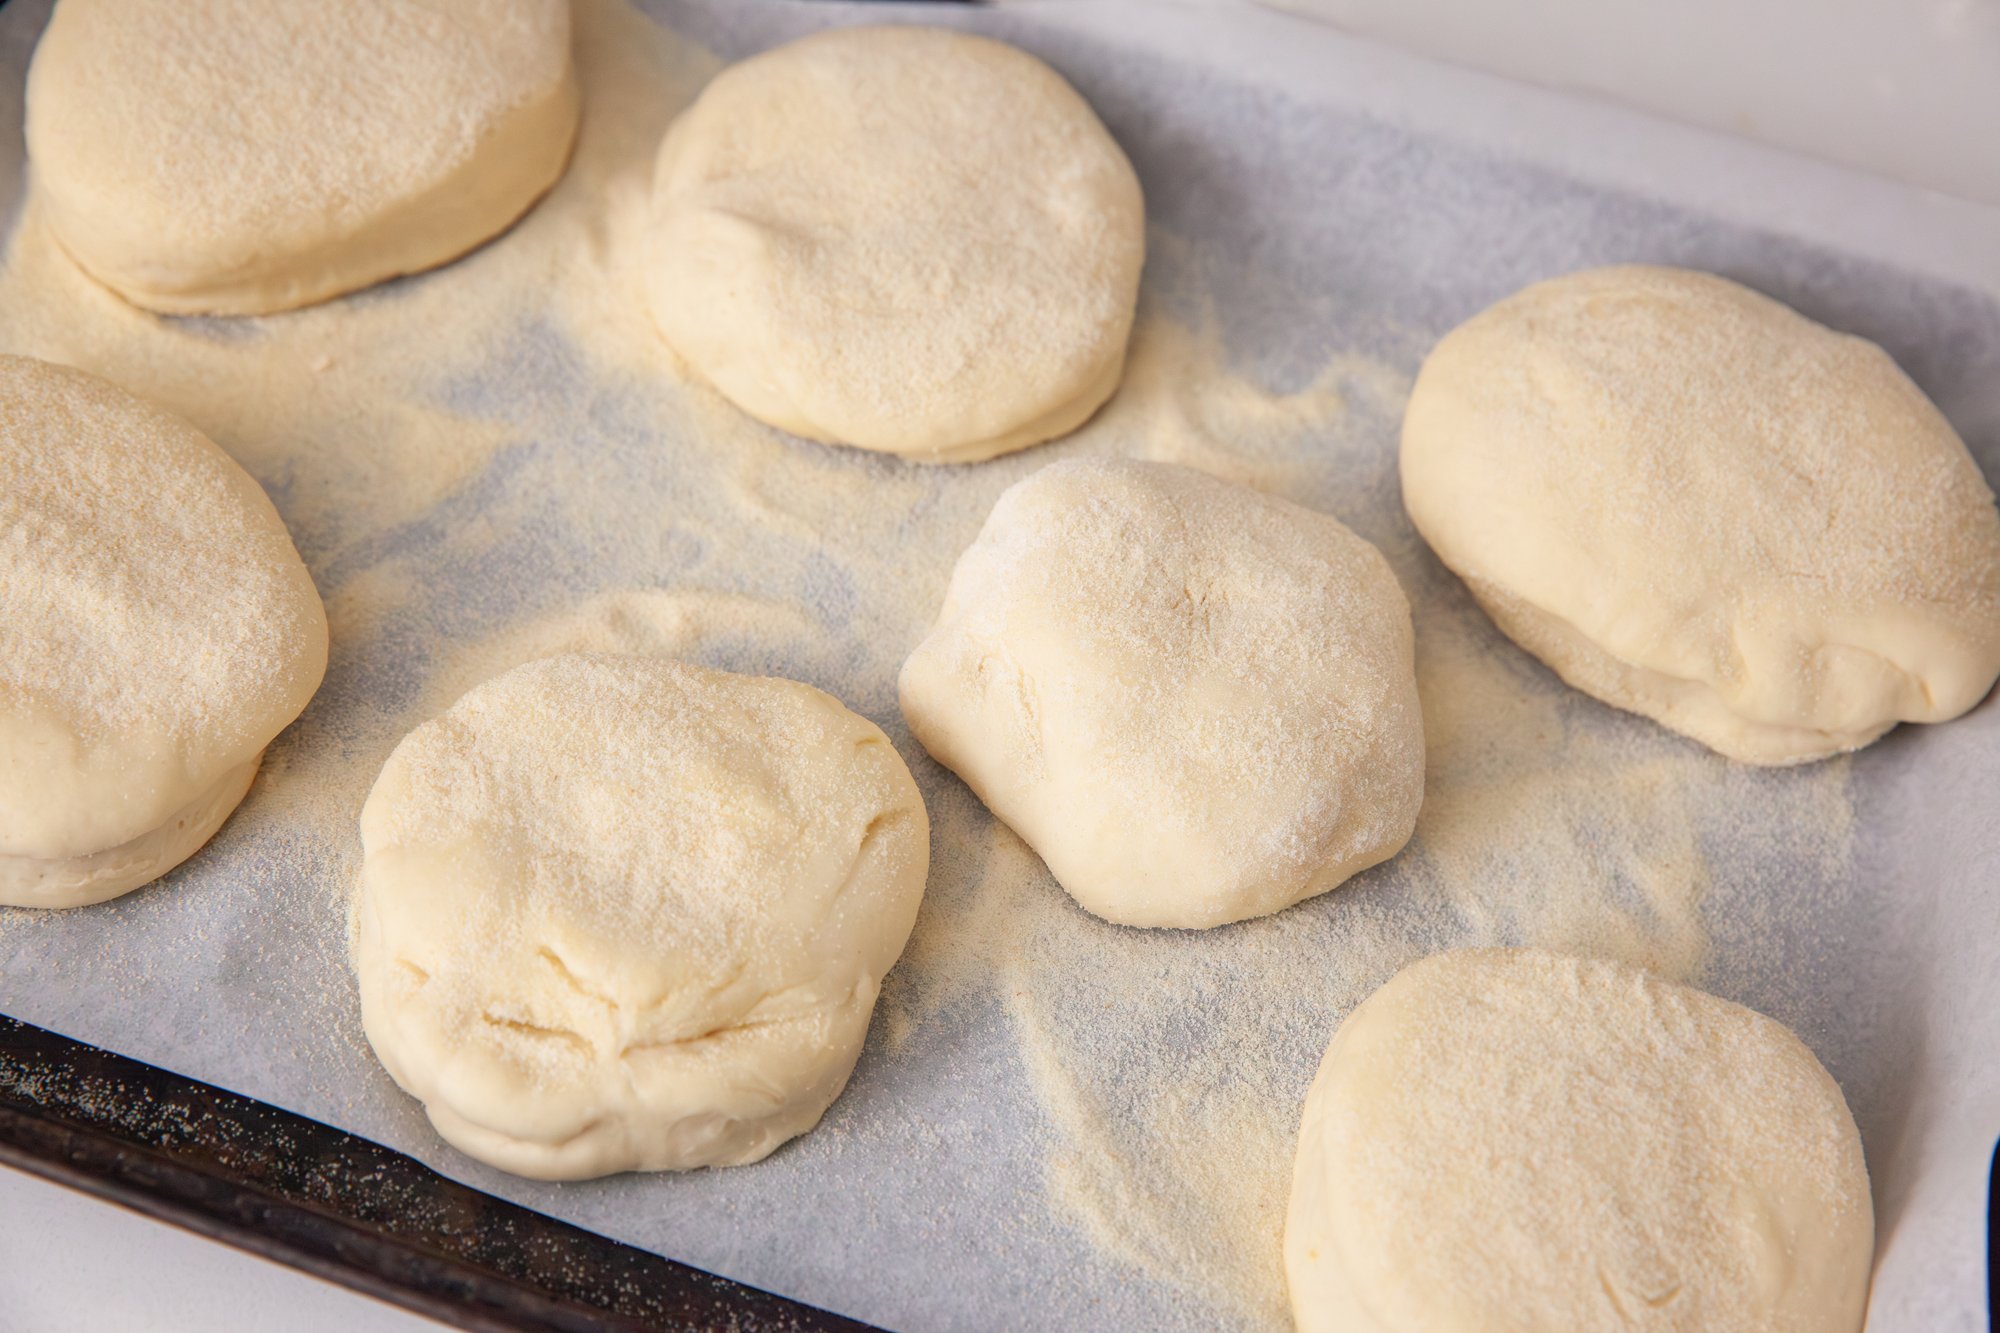
Place the cut muffins on a baking sheet dusted with cornmeal. Sprinkle some cornmeal on top of the muffins as well. Cover them with a clean kitchen towel and let them rise for another 30-45 minutes. 


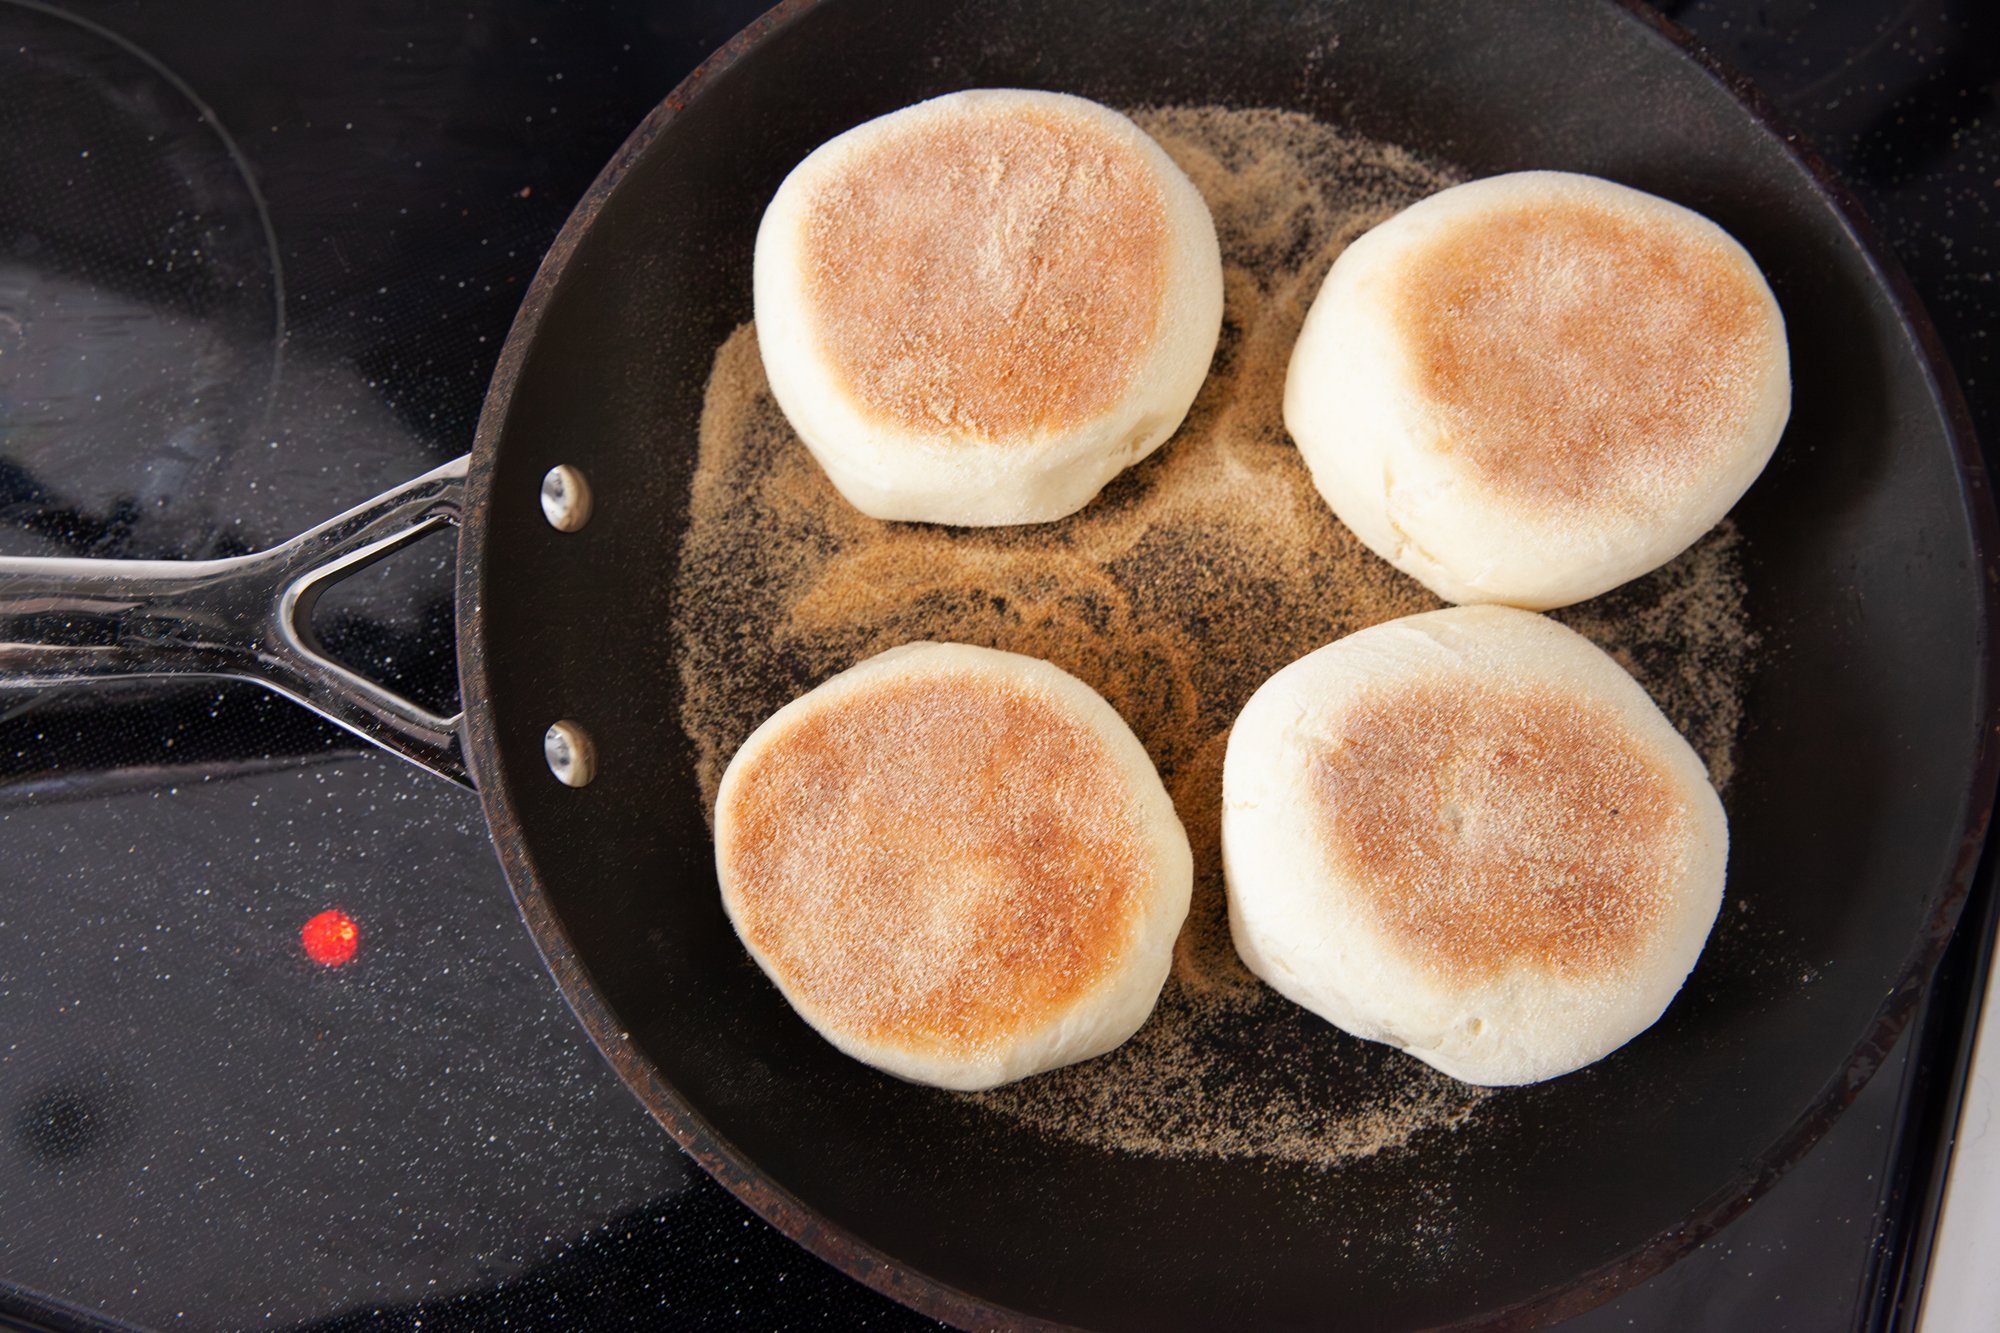
Heat a cast iron pan over medium-low heat. Lightly grease the pan with butter or oil. Carefully transfer one of the muffins to the hot pan. Cook for about 6-8 minutes on each side, or until they are golden brown and cooked through. If you have a food thermometer, the internal temp should be around 200°F. 
 
You may need to adjust the heat to ensure they cook evenly without burning. Once you can tell the correct cooking time and temp, repeat with the rest of the muffins, a few at a time, leaving some space between them. 
Once cooked, transfer the English muffins to a wire rack to cool slightly before serving. Slice them open with a fork to reveal their nooks and crannies. 
 
(It’s best to separate them before freezing, if you are choosing to do so. They can go directly into a toaster from the freezer.) 
 
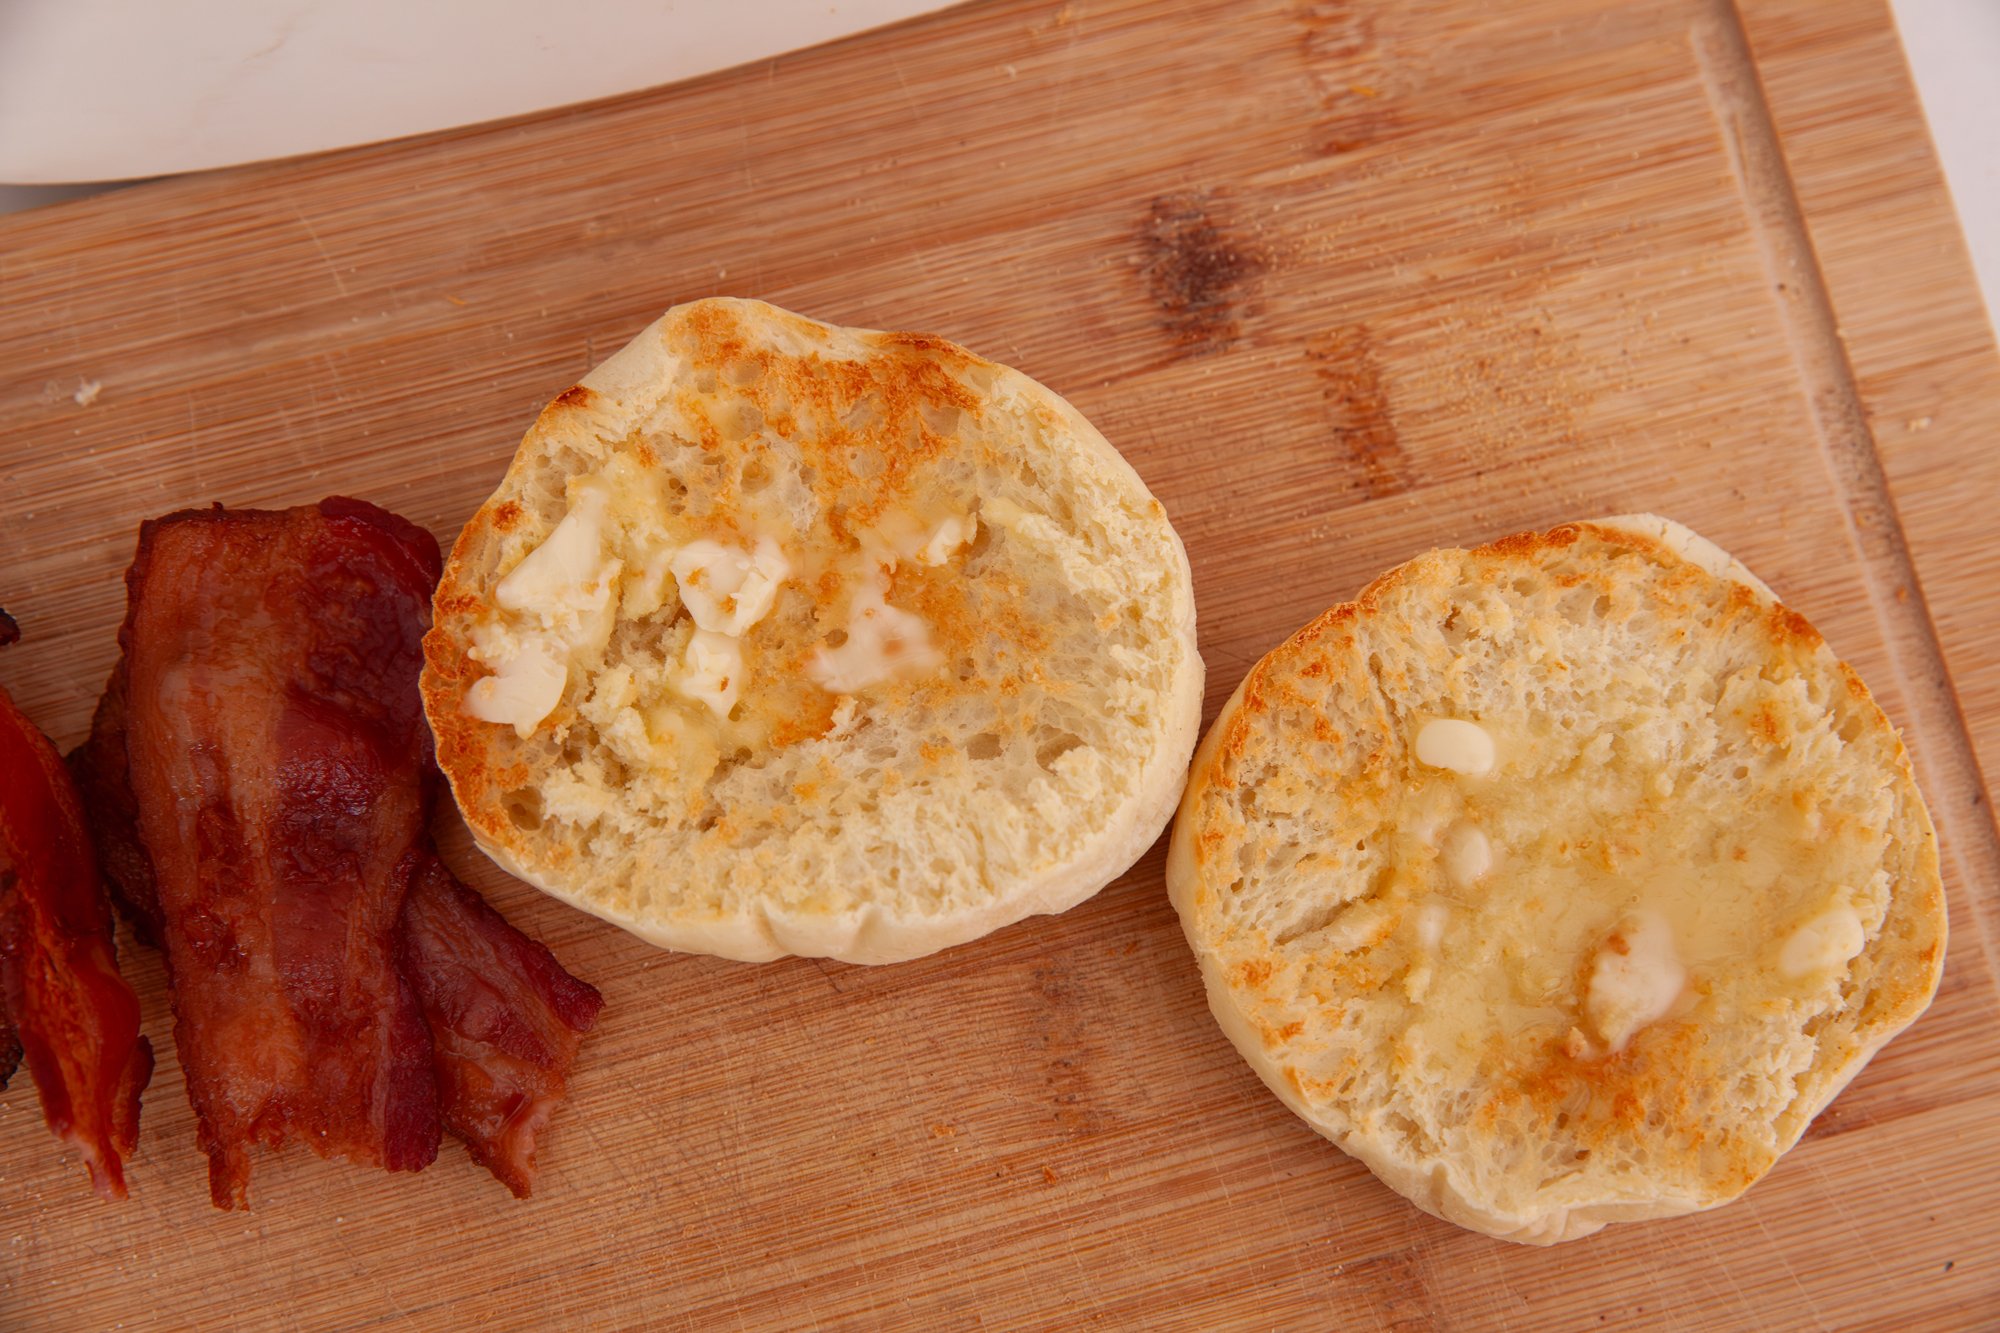
Serve warm with butter, jam, or make your favourite breakfast meal. 
 
ENJOY!