
“3 Mocktails To Help You Through Dry February”
(also appears on BC Living)
Every now and then, you might think about taking time off drinking alcohol, be it Sober October, starting on January 1st, or just sticking to weekends only. Sometimes you cave and have that glass of wine, or hockey returns and you just want an ice-cold beer. But there’s always next month!
While October and January are popular for taking a month off, February is the shortest month of the year, and if you commit, you could even raise money for a good cause through the Canadian Cancer Society!
This is all well said and done, but if you’re used to a variety of flavours and fancy concoctions, water can get pretty boring pretty quickly. Well, I’m in the middle of taking January off drinking, and it was requested that I come up with some mocktails to help fill the need to sip out of those fancy glasses you have sitting by your liquor. So gather the ingredients, shake, sip, and be satisfied!
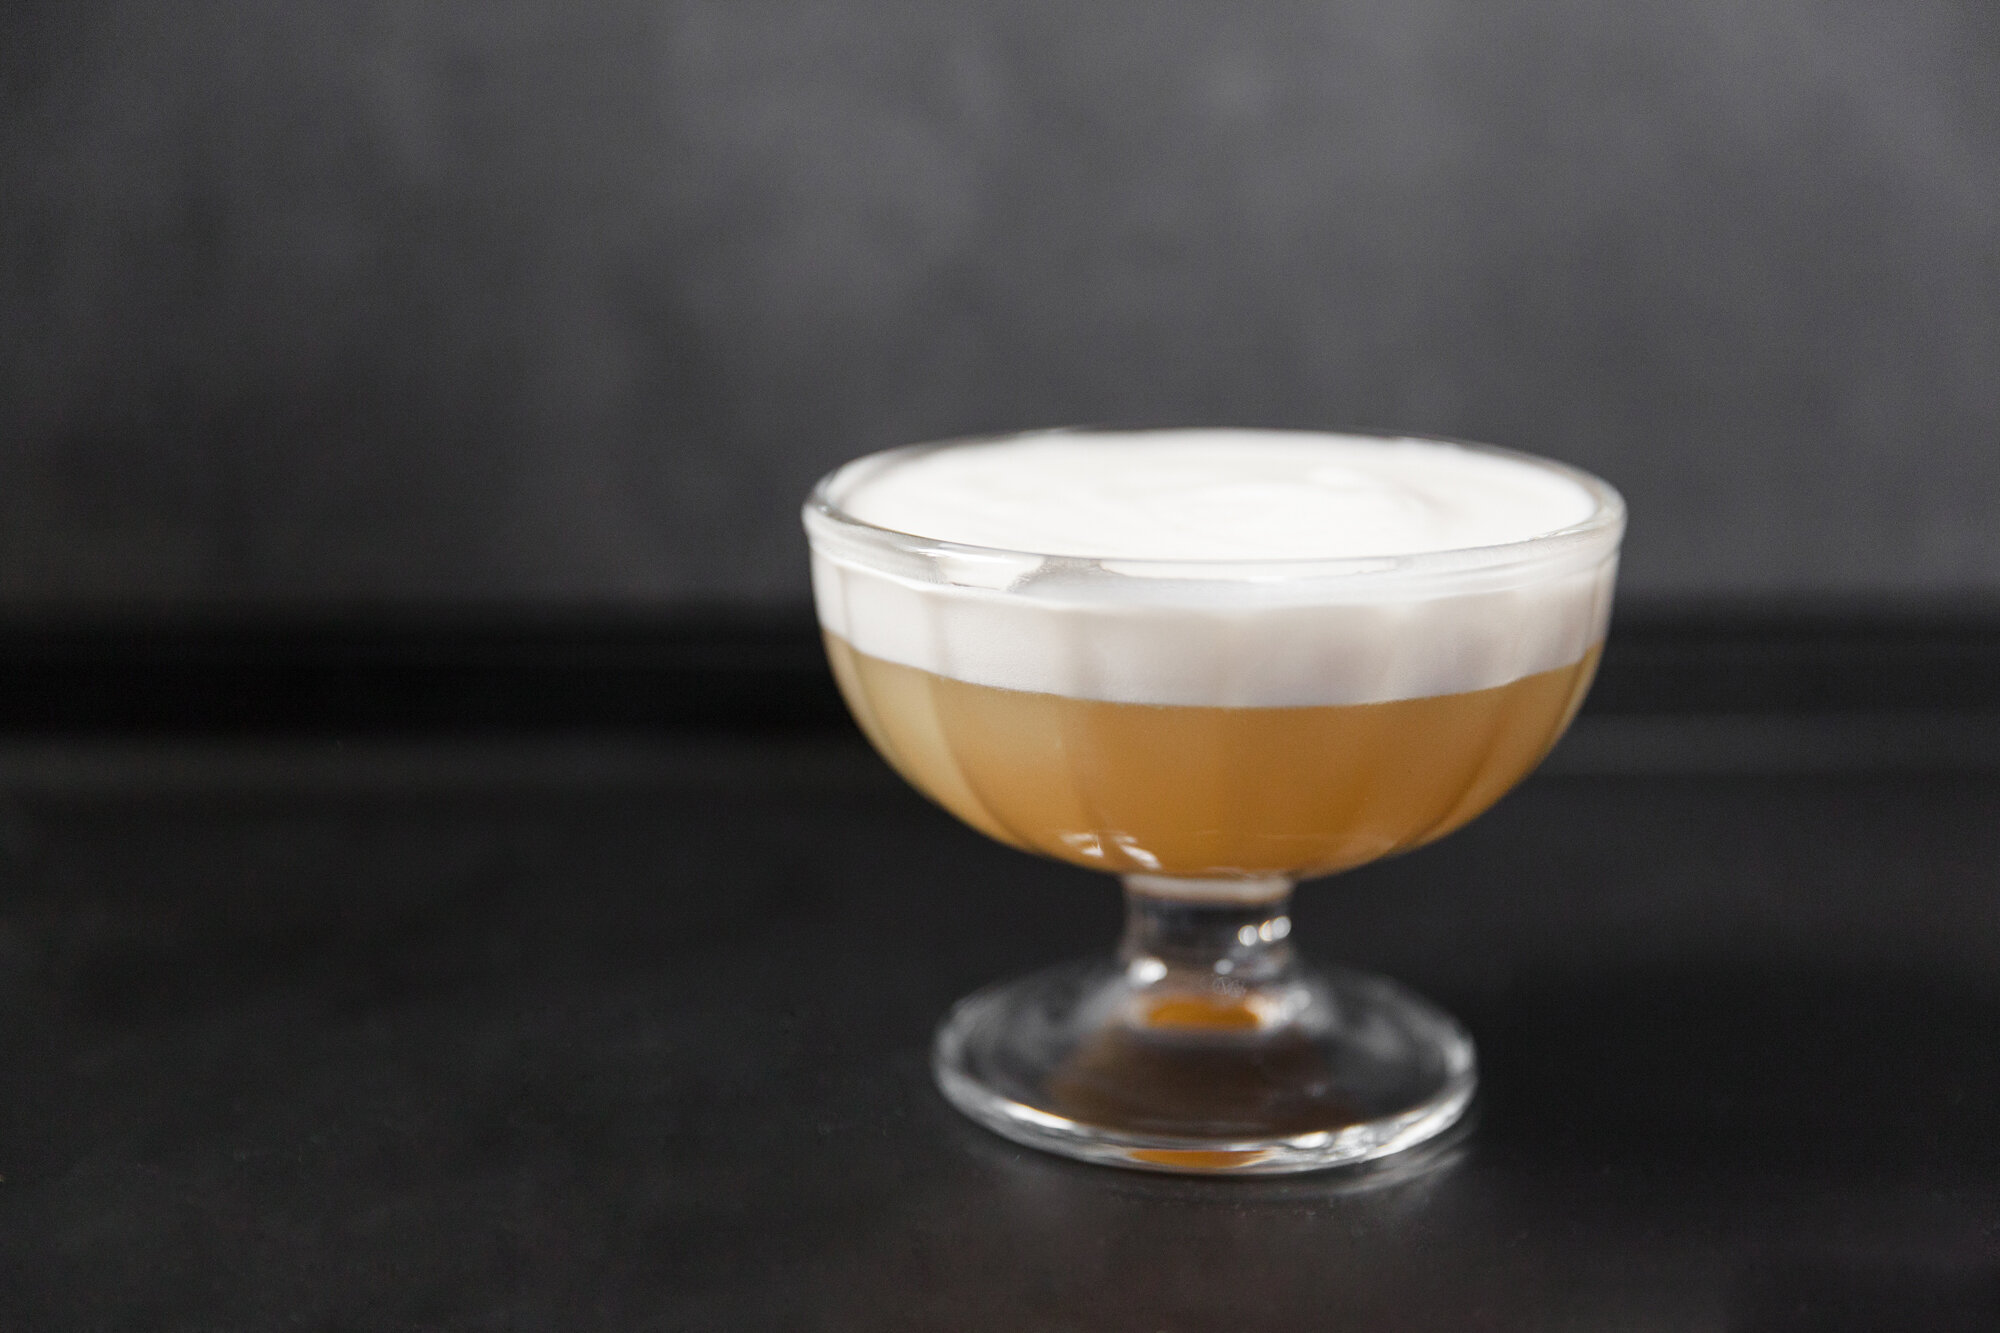
Earl Grey Sour
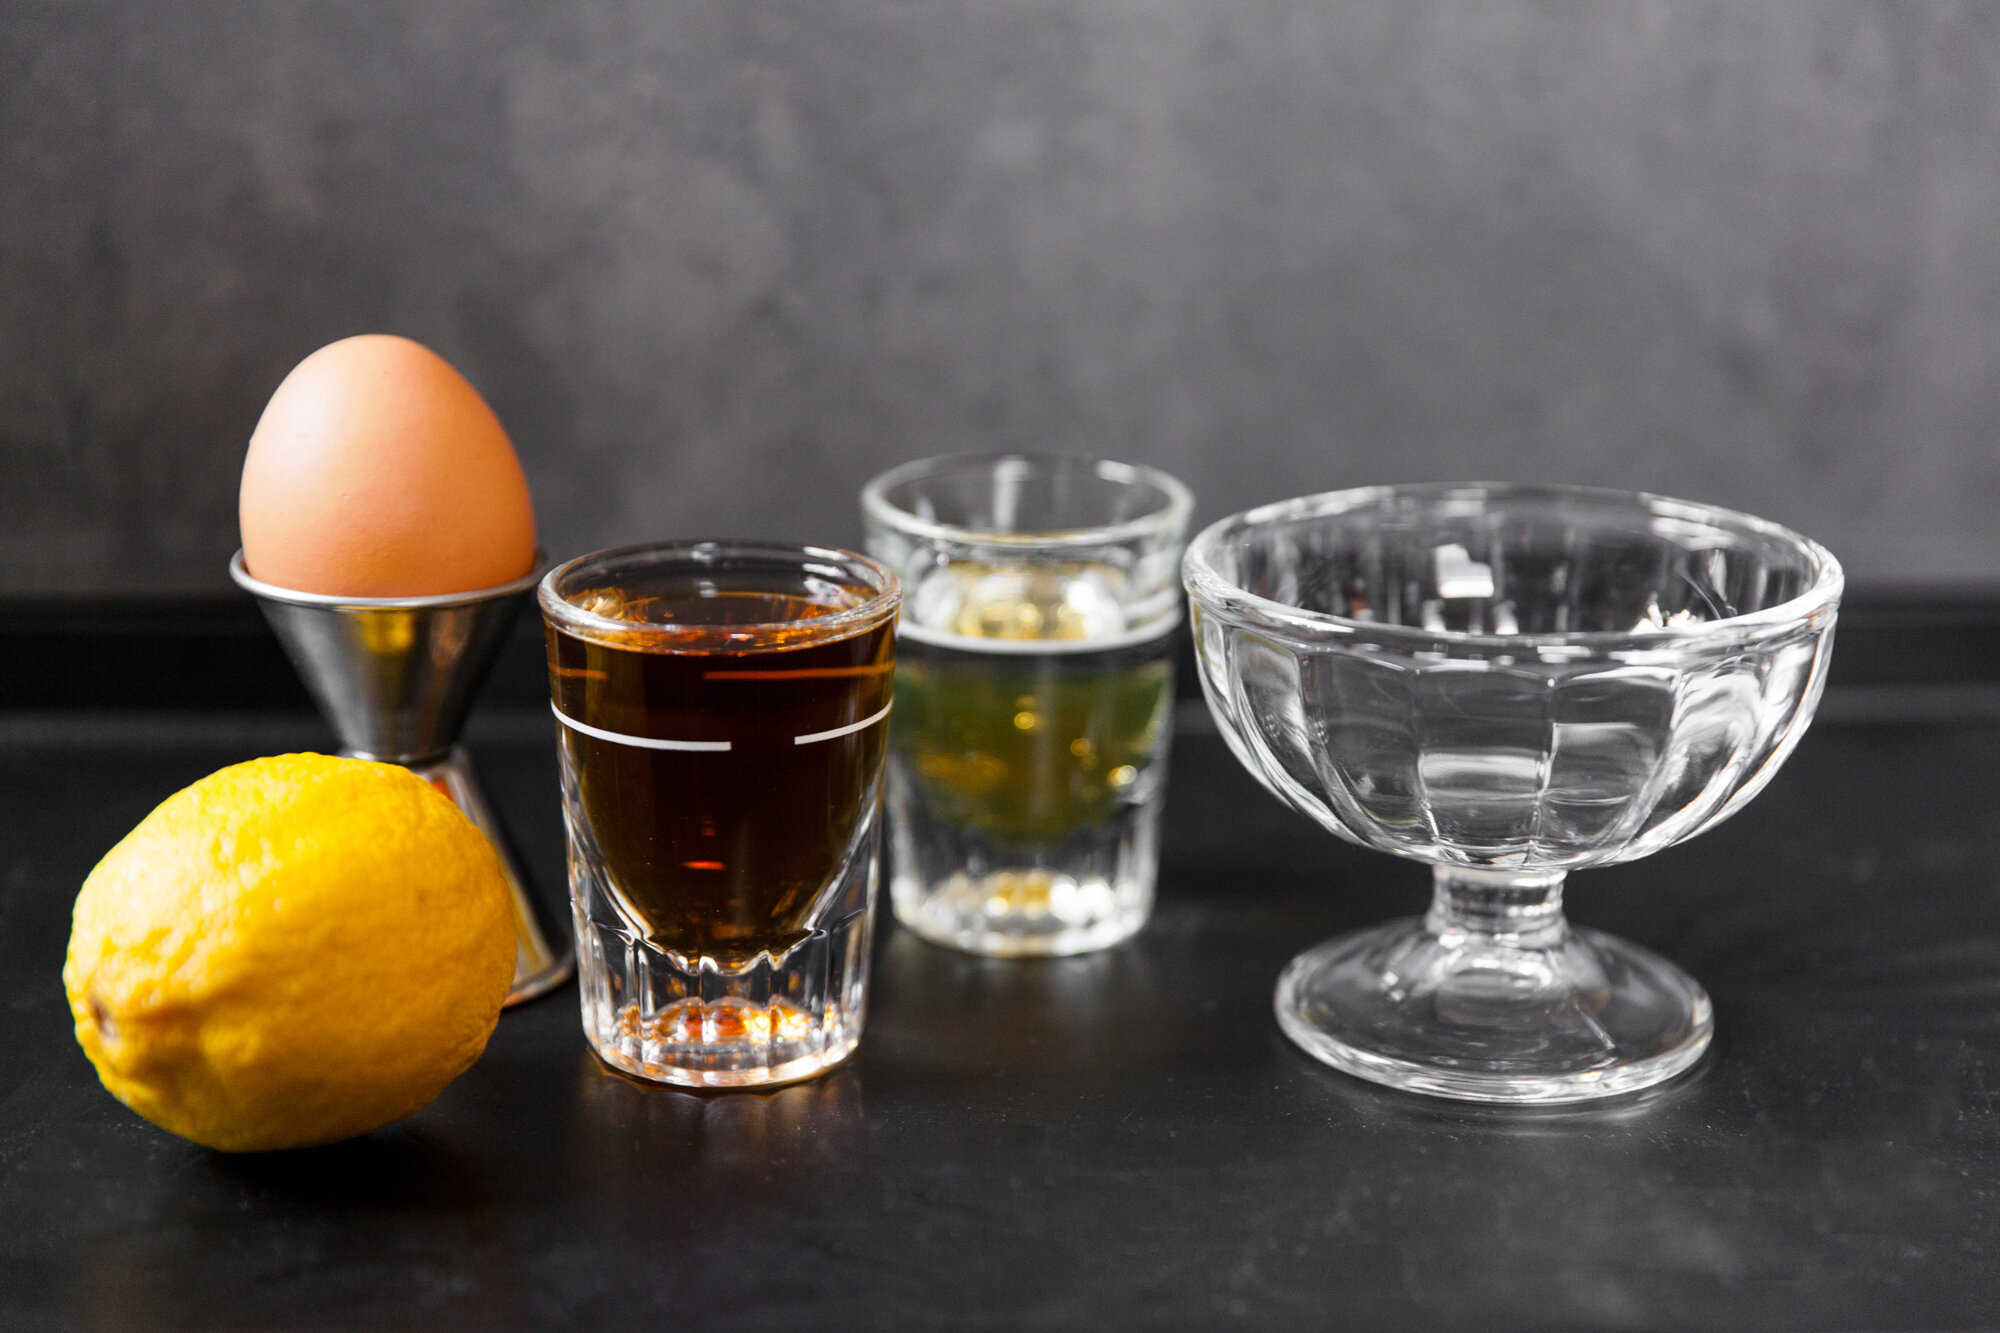
I love a whiskey or bourbon sour, and figured I could make one without the booze fairly easily. Don’t let the raw egg white scare you, it’s key to getting the foam in the sour. If you’re vegan, substitute it out for aquafaba.
The great thing with this recipe (and making any of these yourself at home) is that you control the amount of sugar going into the drinks, so not only are you cutting out the booze, you can watch how much sugar you’re taking in as well.
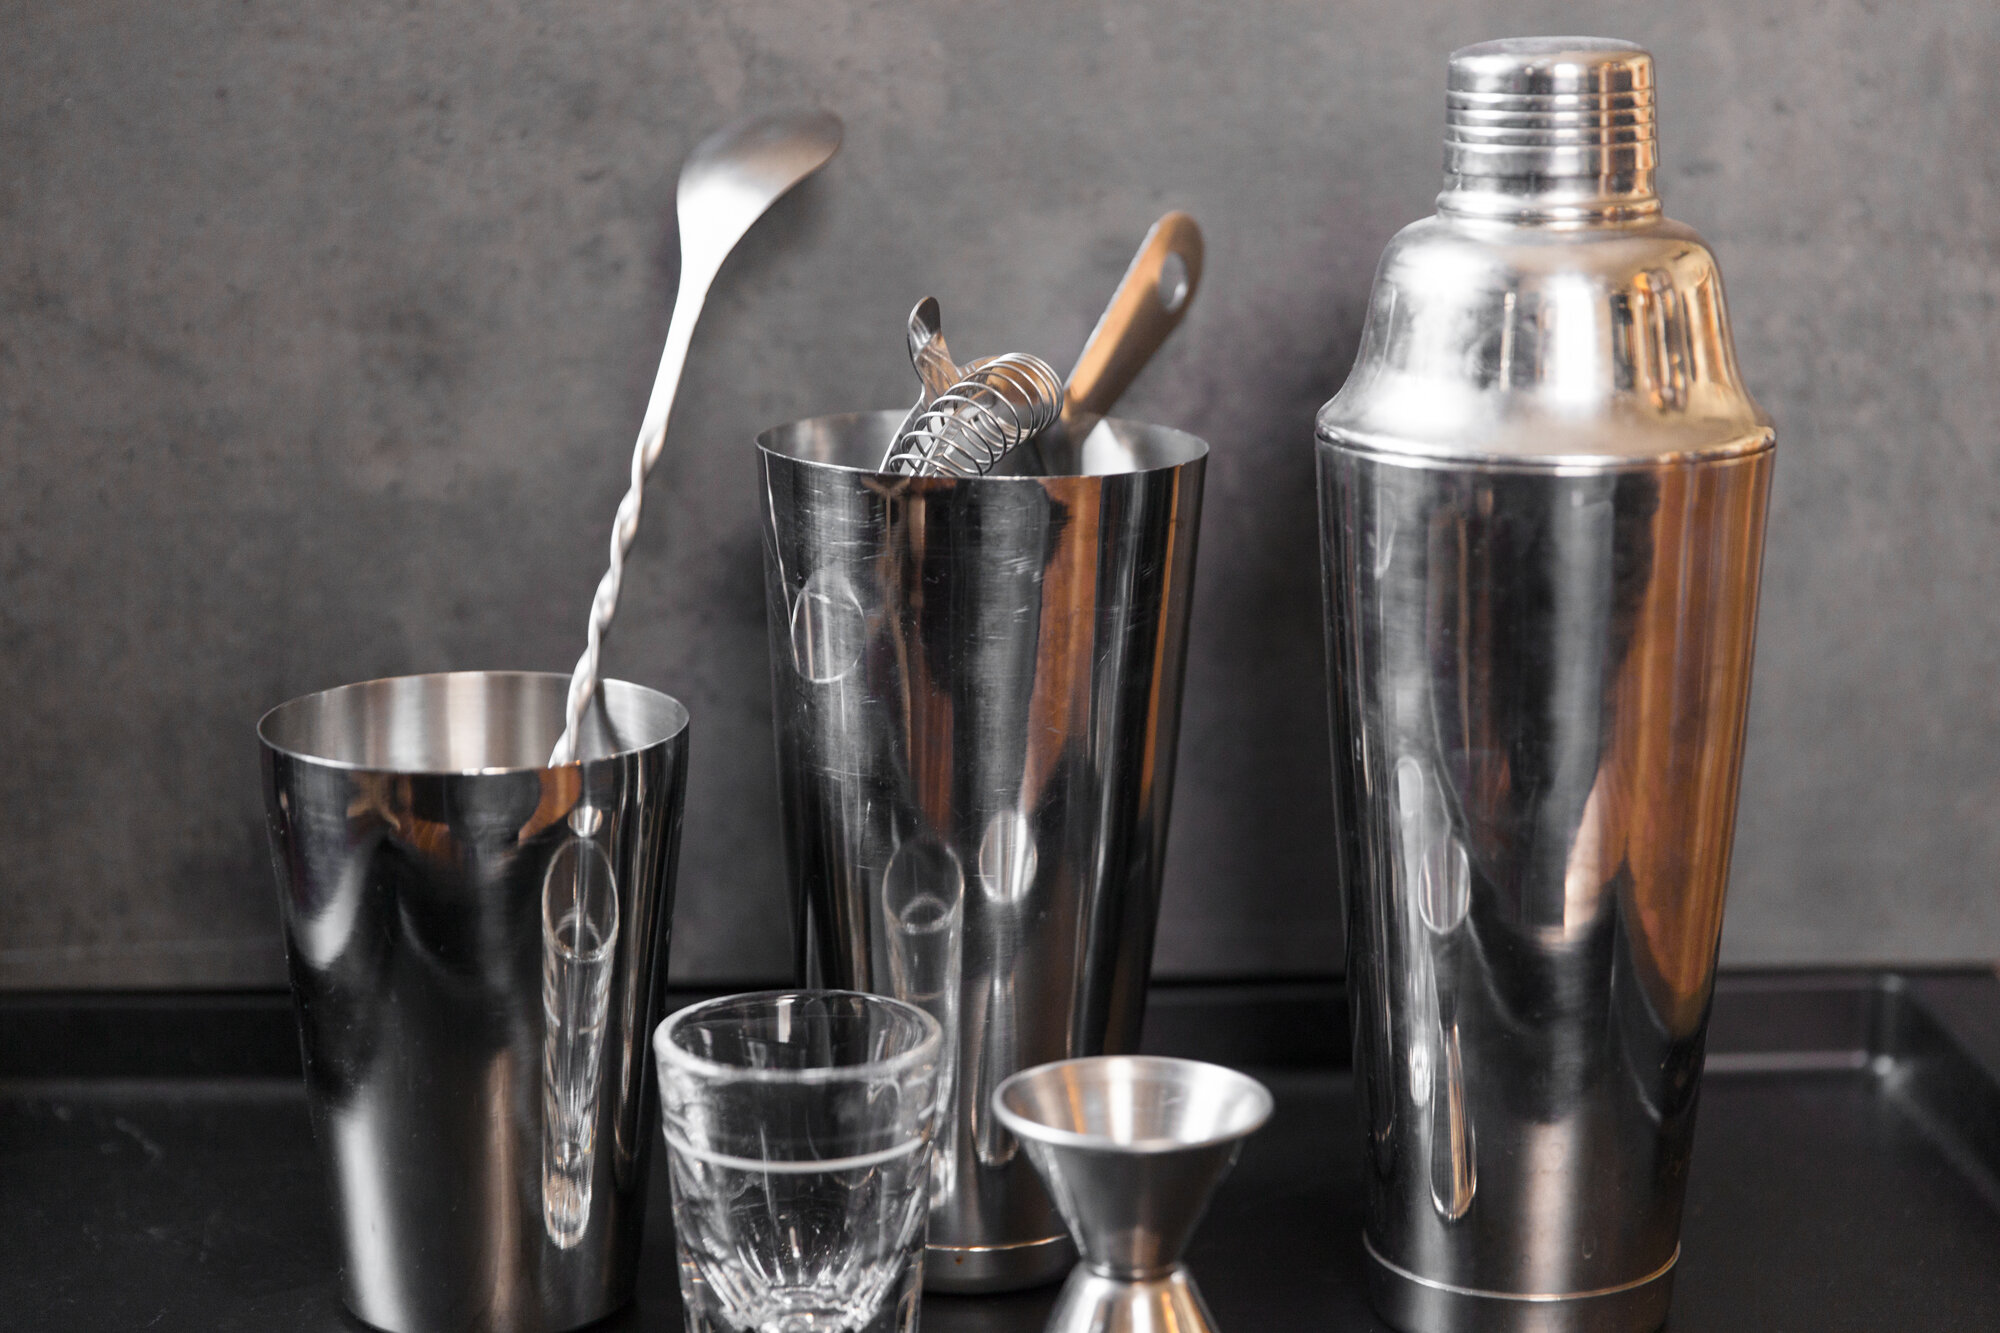
INGREDIENTS:
Simple Syrup:
- 1 cup sugar
- 1 cup water
Sour:
- 4 oz earl grey tea – brewed and chilled
- 1.5 oz fresh lemon juice
- 1oz honey
- 0.5 oz simple syrup
- 1 egg white
- ice
INSTRUCTIONS:
Makes ~2 Drinks
*TIP: Make the Syrup and the Tea the day before you’re going to make the cocktail as they need to chill in the fridge.
For the Simple Syrup:
Bring 1 cup of water and sugar toward a boil, stirring until the sugar has dissolved, then remove from the heat and set aside to cool.
Should keep in the fridge for about a week.
*If you’re going to be making a lot of drinks, you can up the amounts, as long as they’re 1:1 ratio.
For the Cocktail:
Brew a high-quality, loose-leaf earl grey tea, and then let it completely chill in the fridge.
Juice the lemon and strain any pulp or seeds out.
In a cocktail shaker, add in the tea, lemon juice, honey and simple syrup. Close the lid and shake to combine the ingredients.
Open and add the egg white and ice. Shake vigorously.
Pour slowly through the strainer into two coupe glasses (if you have them), making sure to get the foam on top.
CHEERS!
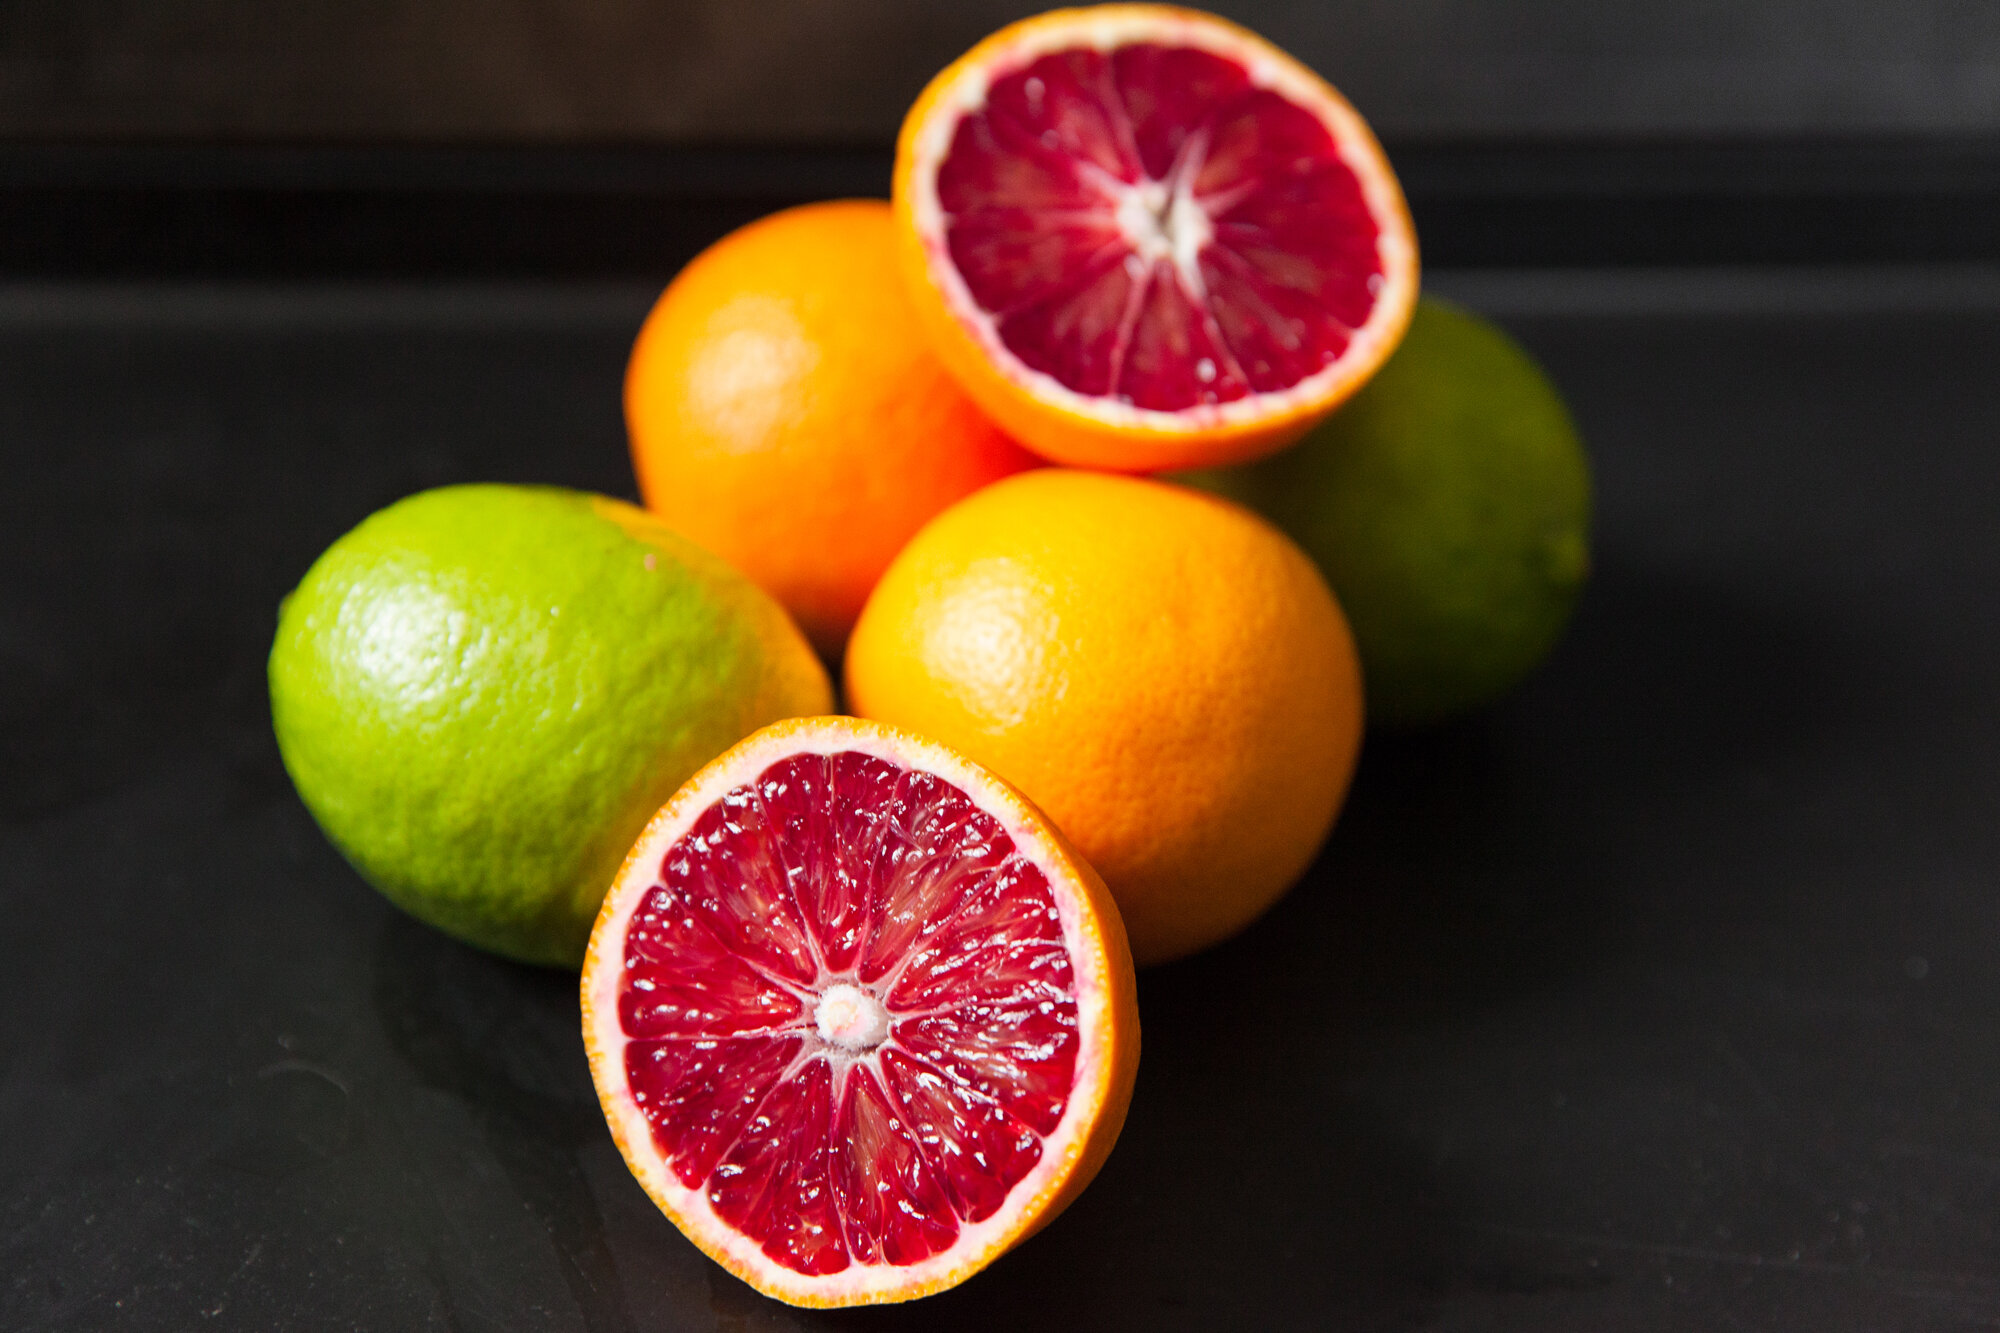
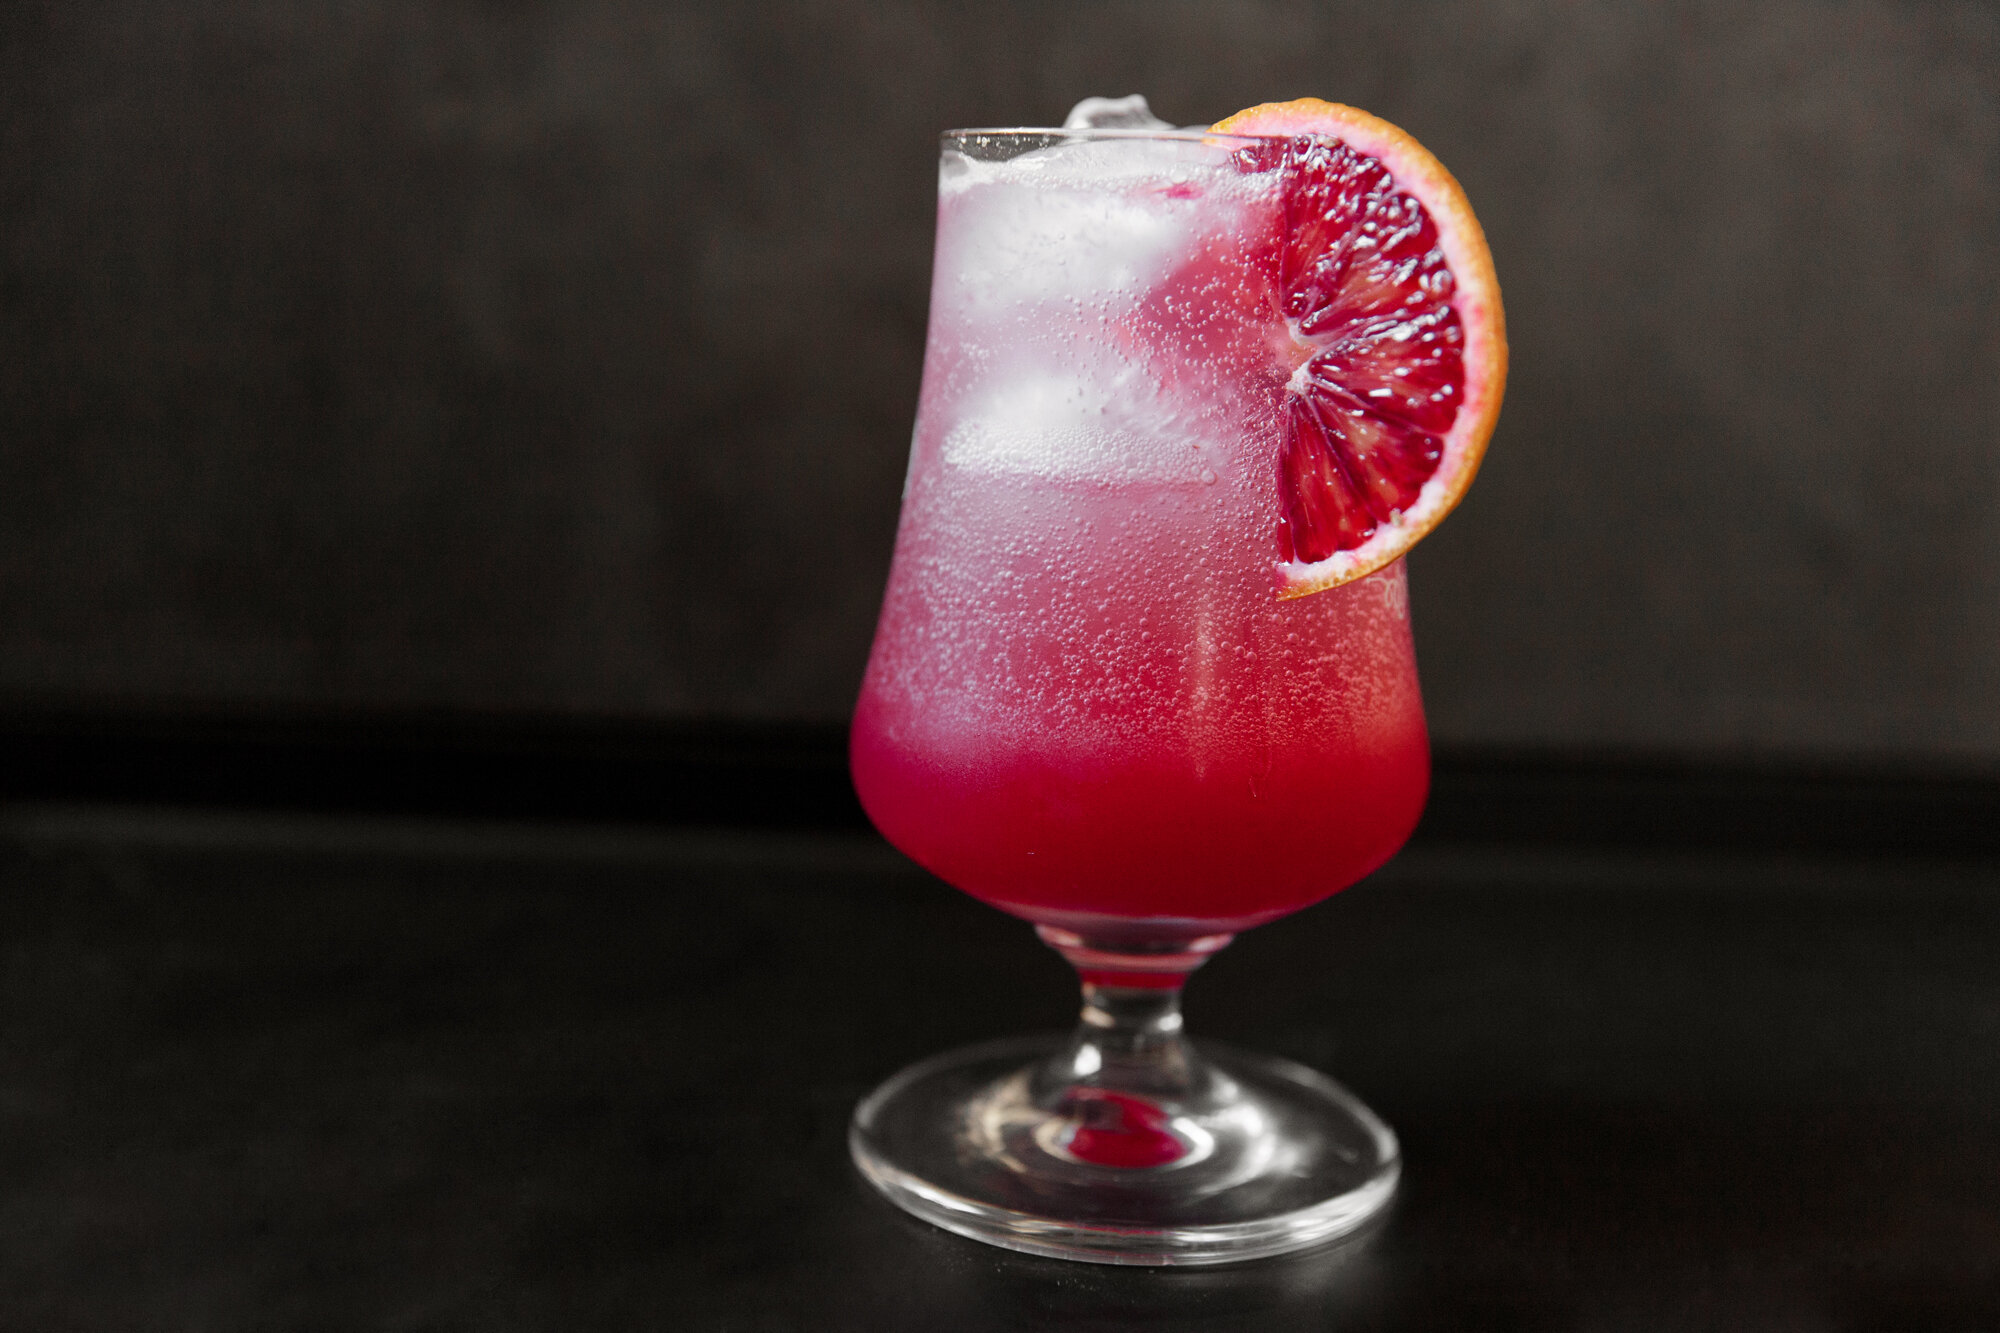
Blood & Honey Mocktail
I don’t like a lot of sugar in my drinks, as too much sweetness makes my teeth hurt. But to each their own and you can easily adjust this mocktail to your liking. Add a bit more honey, or substitute in simple syrup if you’re vegan, or cut it down with more seltzer.
INGREDIENTS:
- 2 blood oranges, juiced and strained (approx 4 oz)
- 1 tbsp honey (or simple syrup)
- 1 oz lime juice
- 4 oz (or more) seltzer/sparkling water
- optional: splash of real vanilla extract
- garnish – lime wedge or blood orange slice
- ice
INSTRUCTIONS:
Makes: 1 large drink or 2 short drinks
Place the strained blood orange juice, lime juice, honey, and optional vanilla in a cocktail shaker, and shake it for about 15 seconds to dissolve the honey.
Fill a glass with ice, and pour the juice mixture over it. Top the juice with sparkling water, and garnish with the lime wedge or blood orange slice.
SALUD!
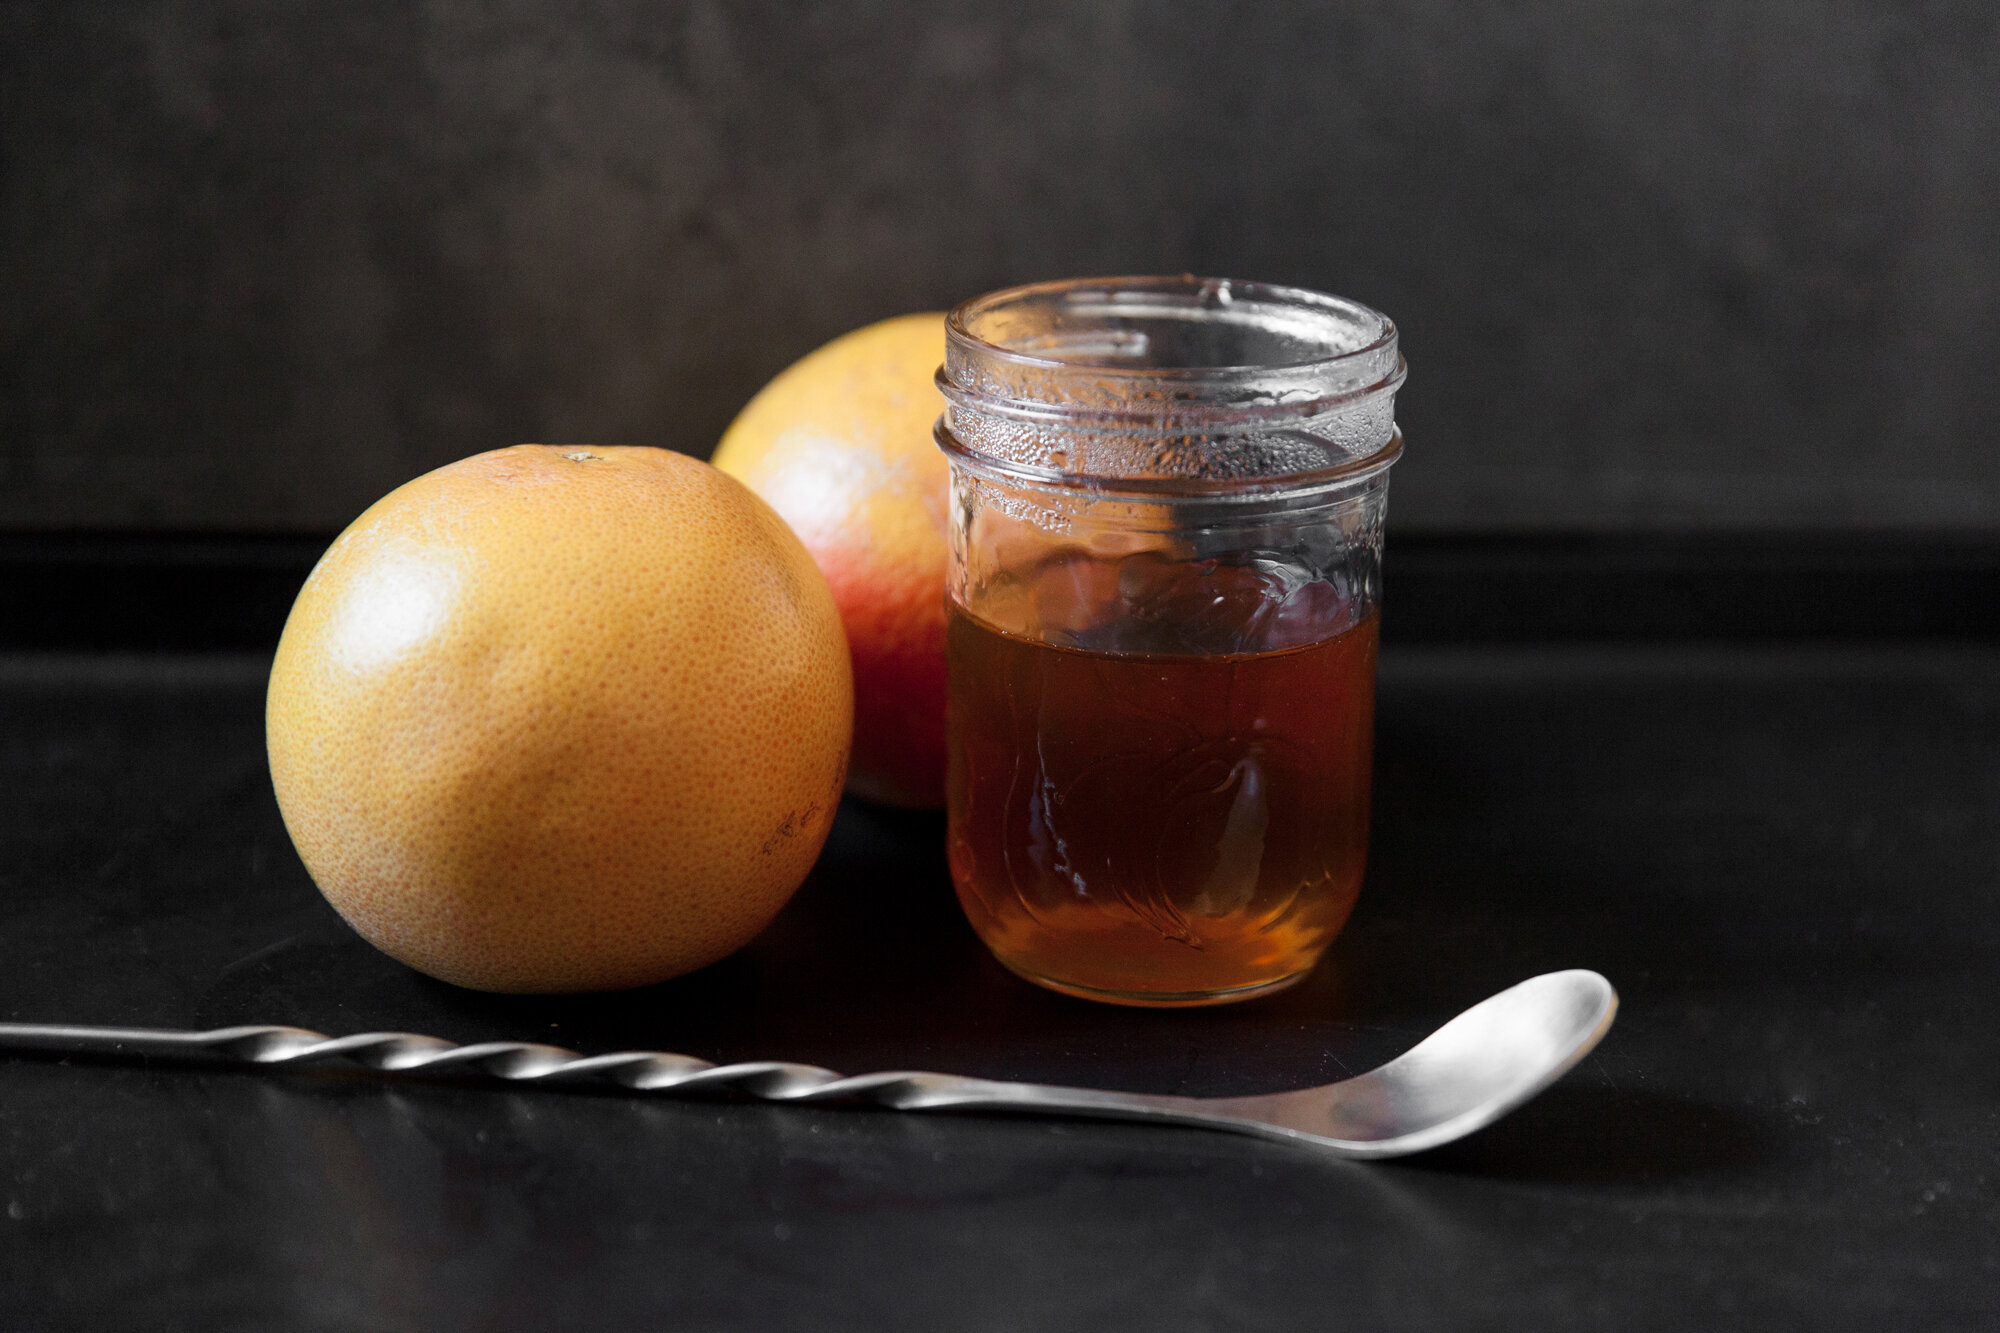
Sage & Ginger Paloma Mocktail
If it wasn’t supposed to be a mocktail, I could see adding tequila or gin to this drink, but it’s so refreshing and interesting on its own/as is.
Once again, make the syrup ahead of time so that it can cool properly.
INGREDIENTS:
Sage & Ginger Syrup:
- 1 cup water
- 1 cup sugar (or agave syrup)
- ½ cup sage leaves
- ginger (approx. two thumb-sized pieces)
Paloma Mocktail:
- 1 large grapefruit, juice and strained
- 1 oz Sage & Ginger Syrup
- ice
- seltzer/sparkling water
- optional: garnish - grapefruit slice or sage leaves
INSTRUCTIONS:
Sage & Ginger Syrup:
Peel and slice the ginger into medallions.
In a small pot, bring the water to a low boil and stir in the sugar or syrup until it is dissolved, then add in the sage and ginger and return to a boil.
Remove from the heat and let stand for 20 minutes, then strain it into a container, and cool. Place it in the fridge to chill until needed. Should keep for approximately one week.
Sage & Ginger Paloma Mocktail:
Makes approx. 1 drink
(Depending on the size of your grapefruit, you can likely get two out of it)
Fill a glass with ice, add the 1oz of the sage and ginger syrup, and approx. 2 oz of grapefruit juice – stir to combine.
Top the glass with your choice of sparkling water (I had grapefruit flavor on hand), and mix slightly to combine with juice, and garnish with optional slice of grapefruit, or sage leaves.
SANTÉ!