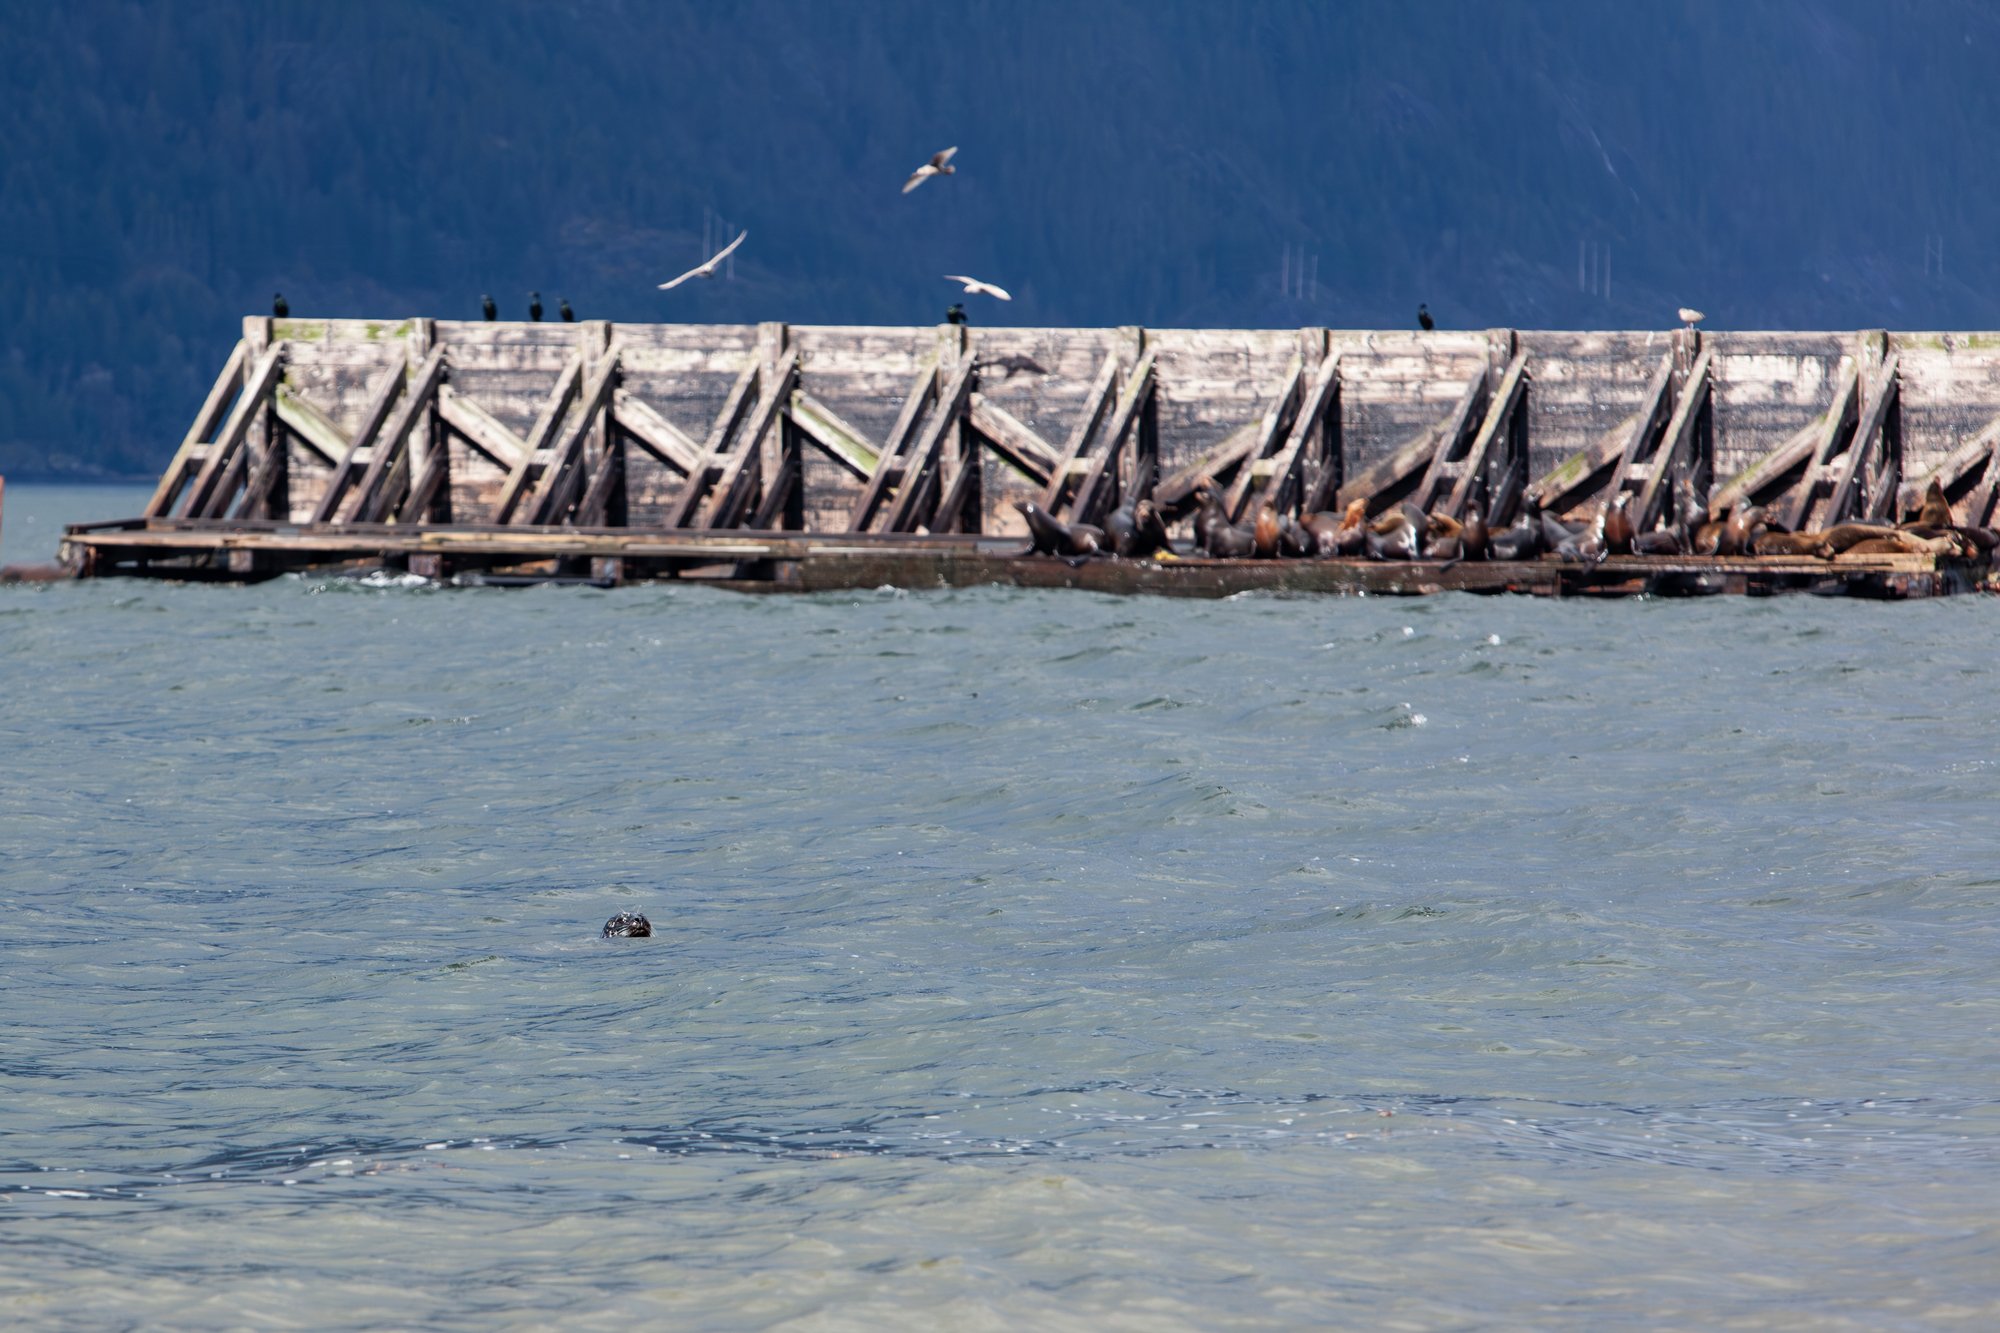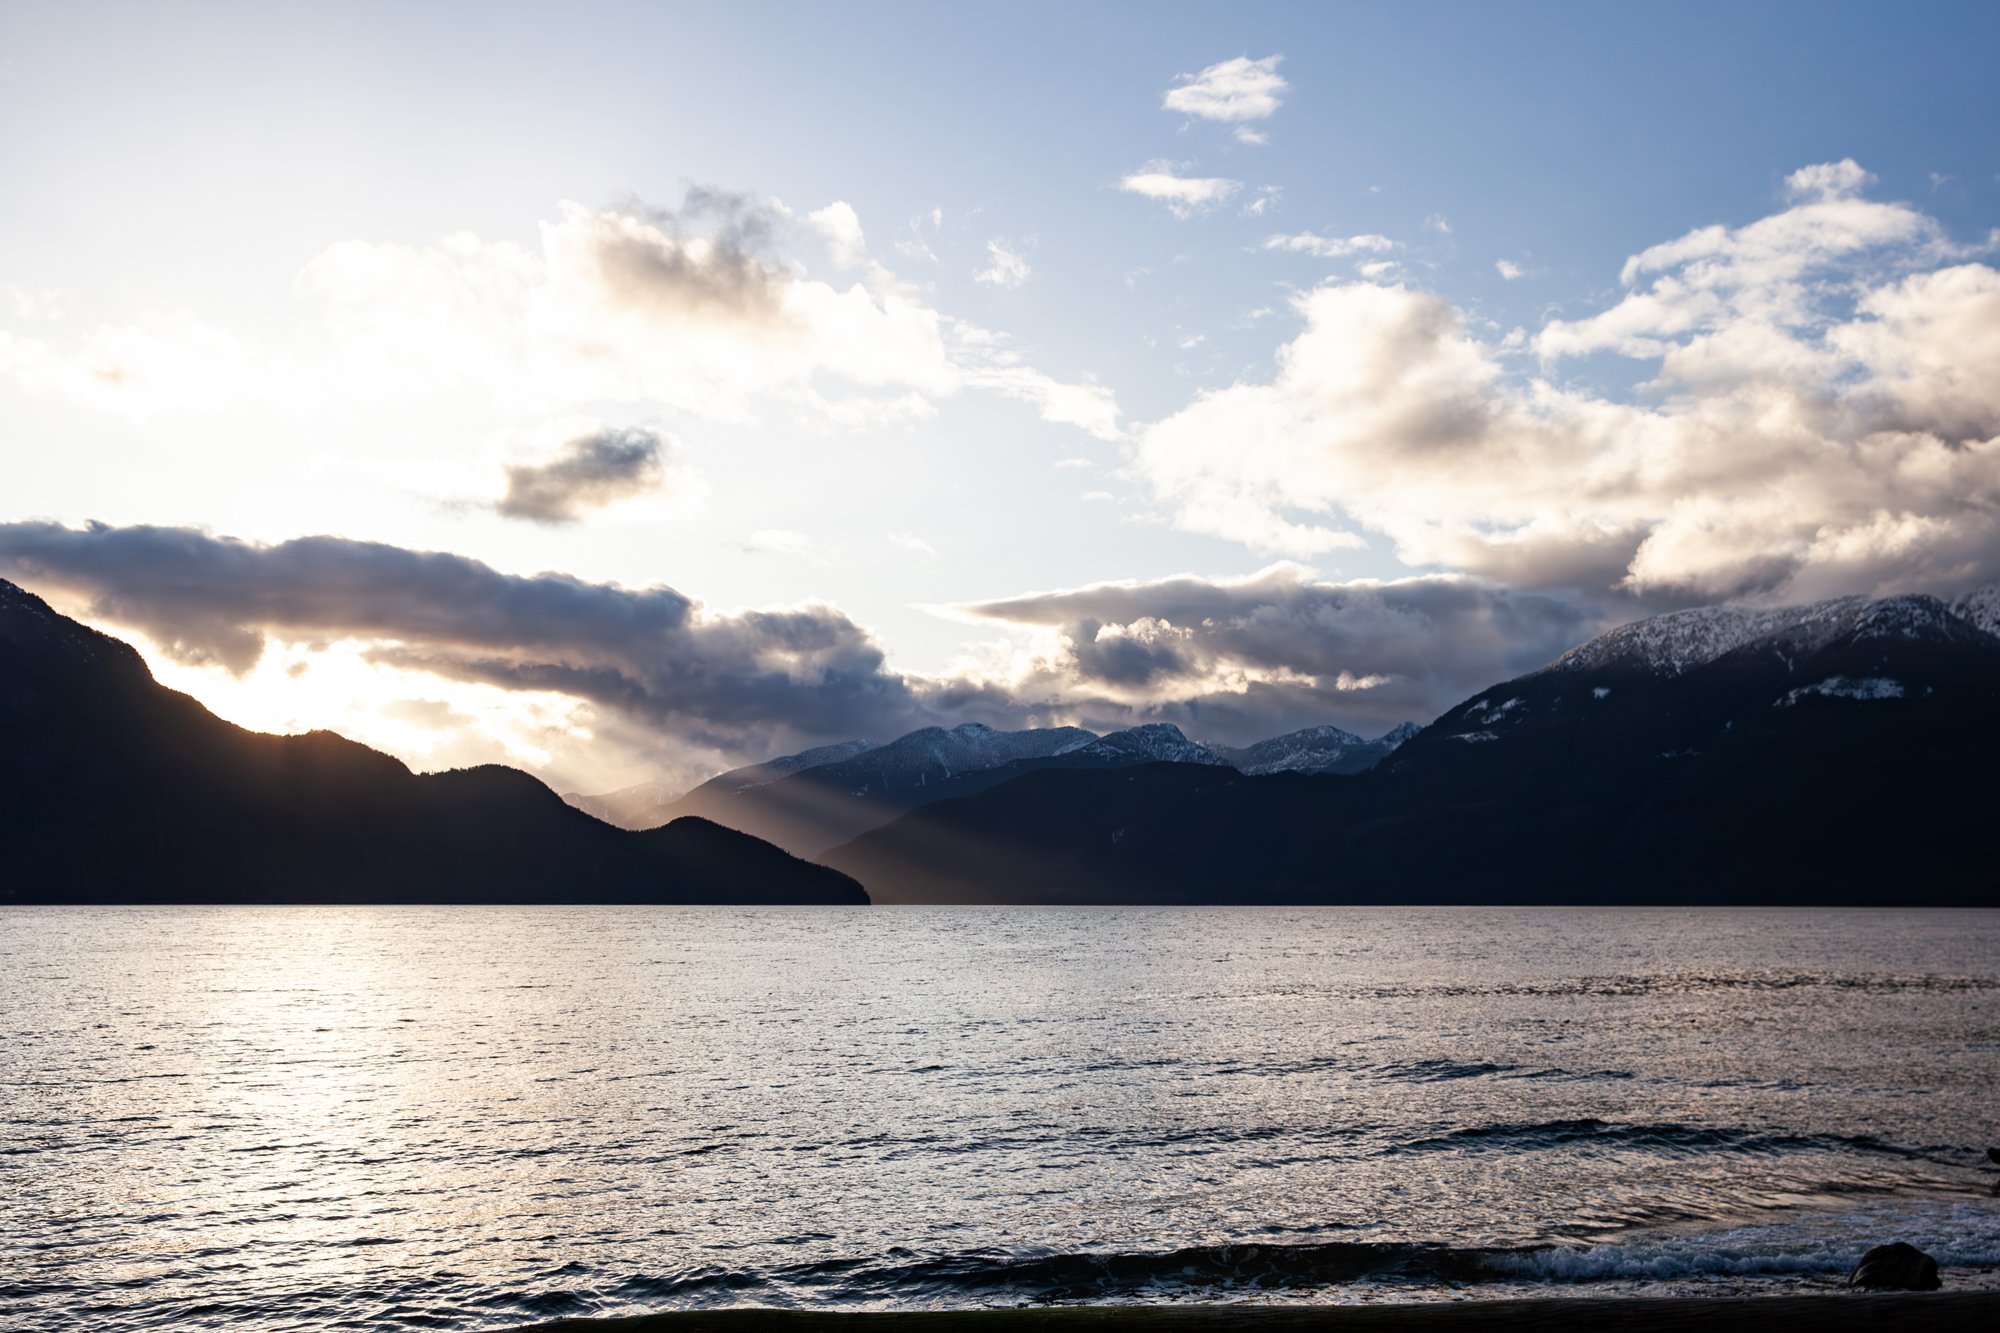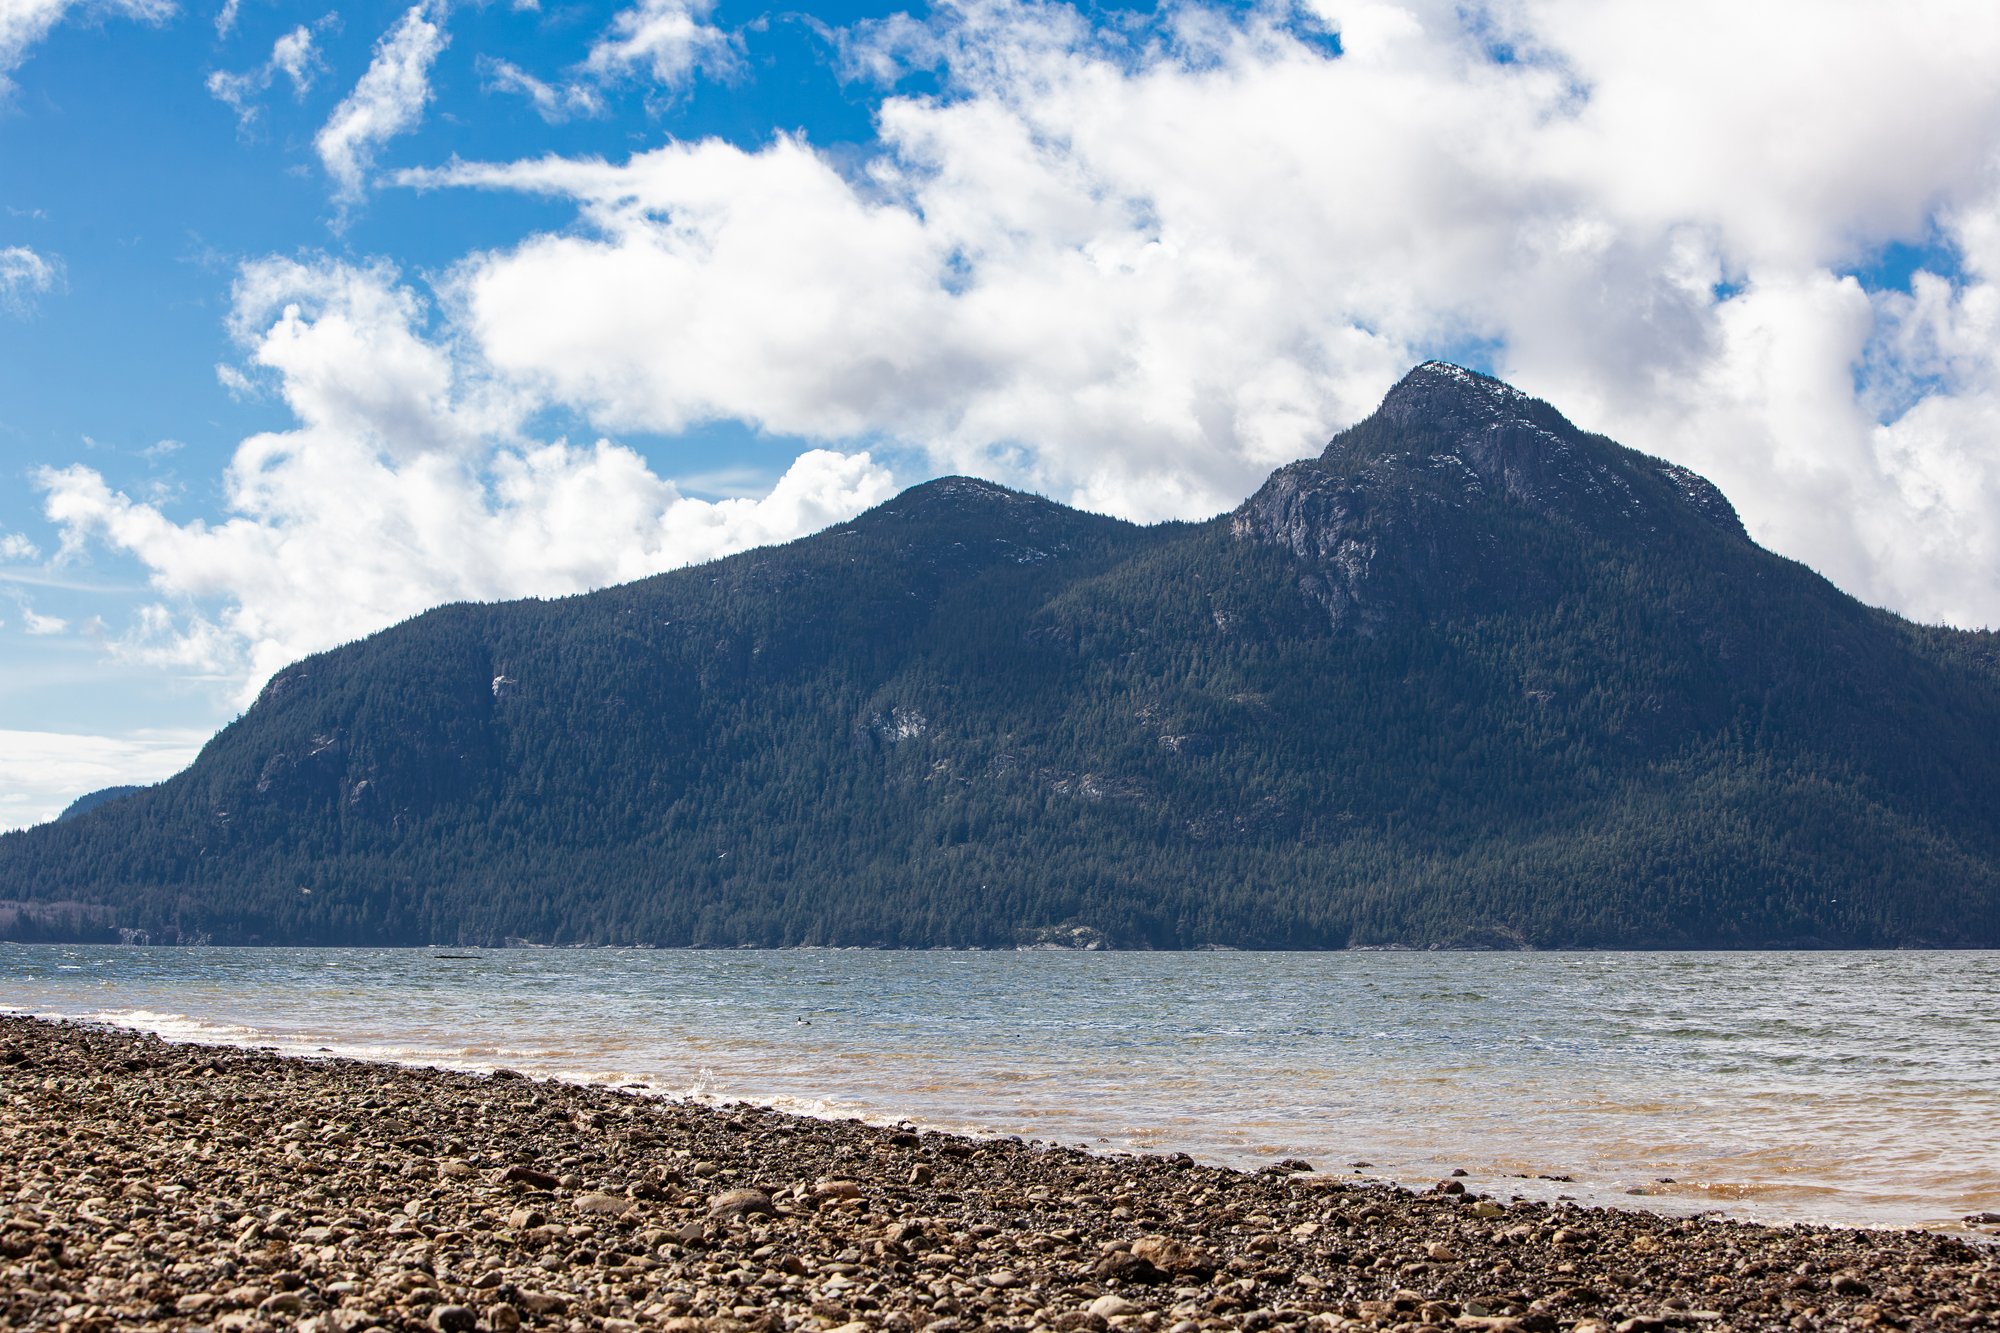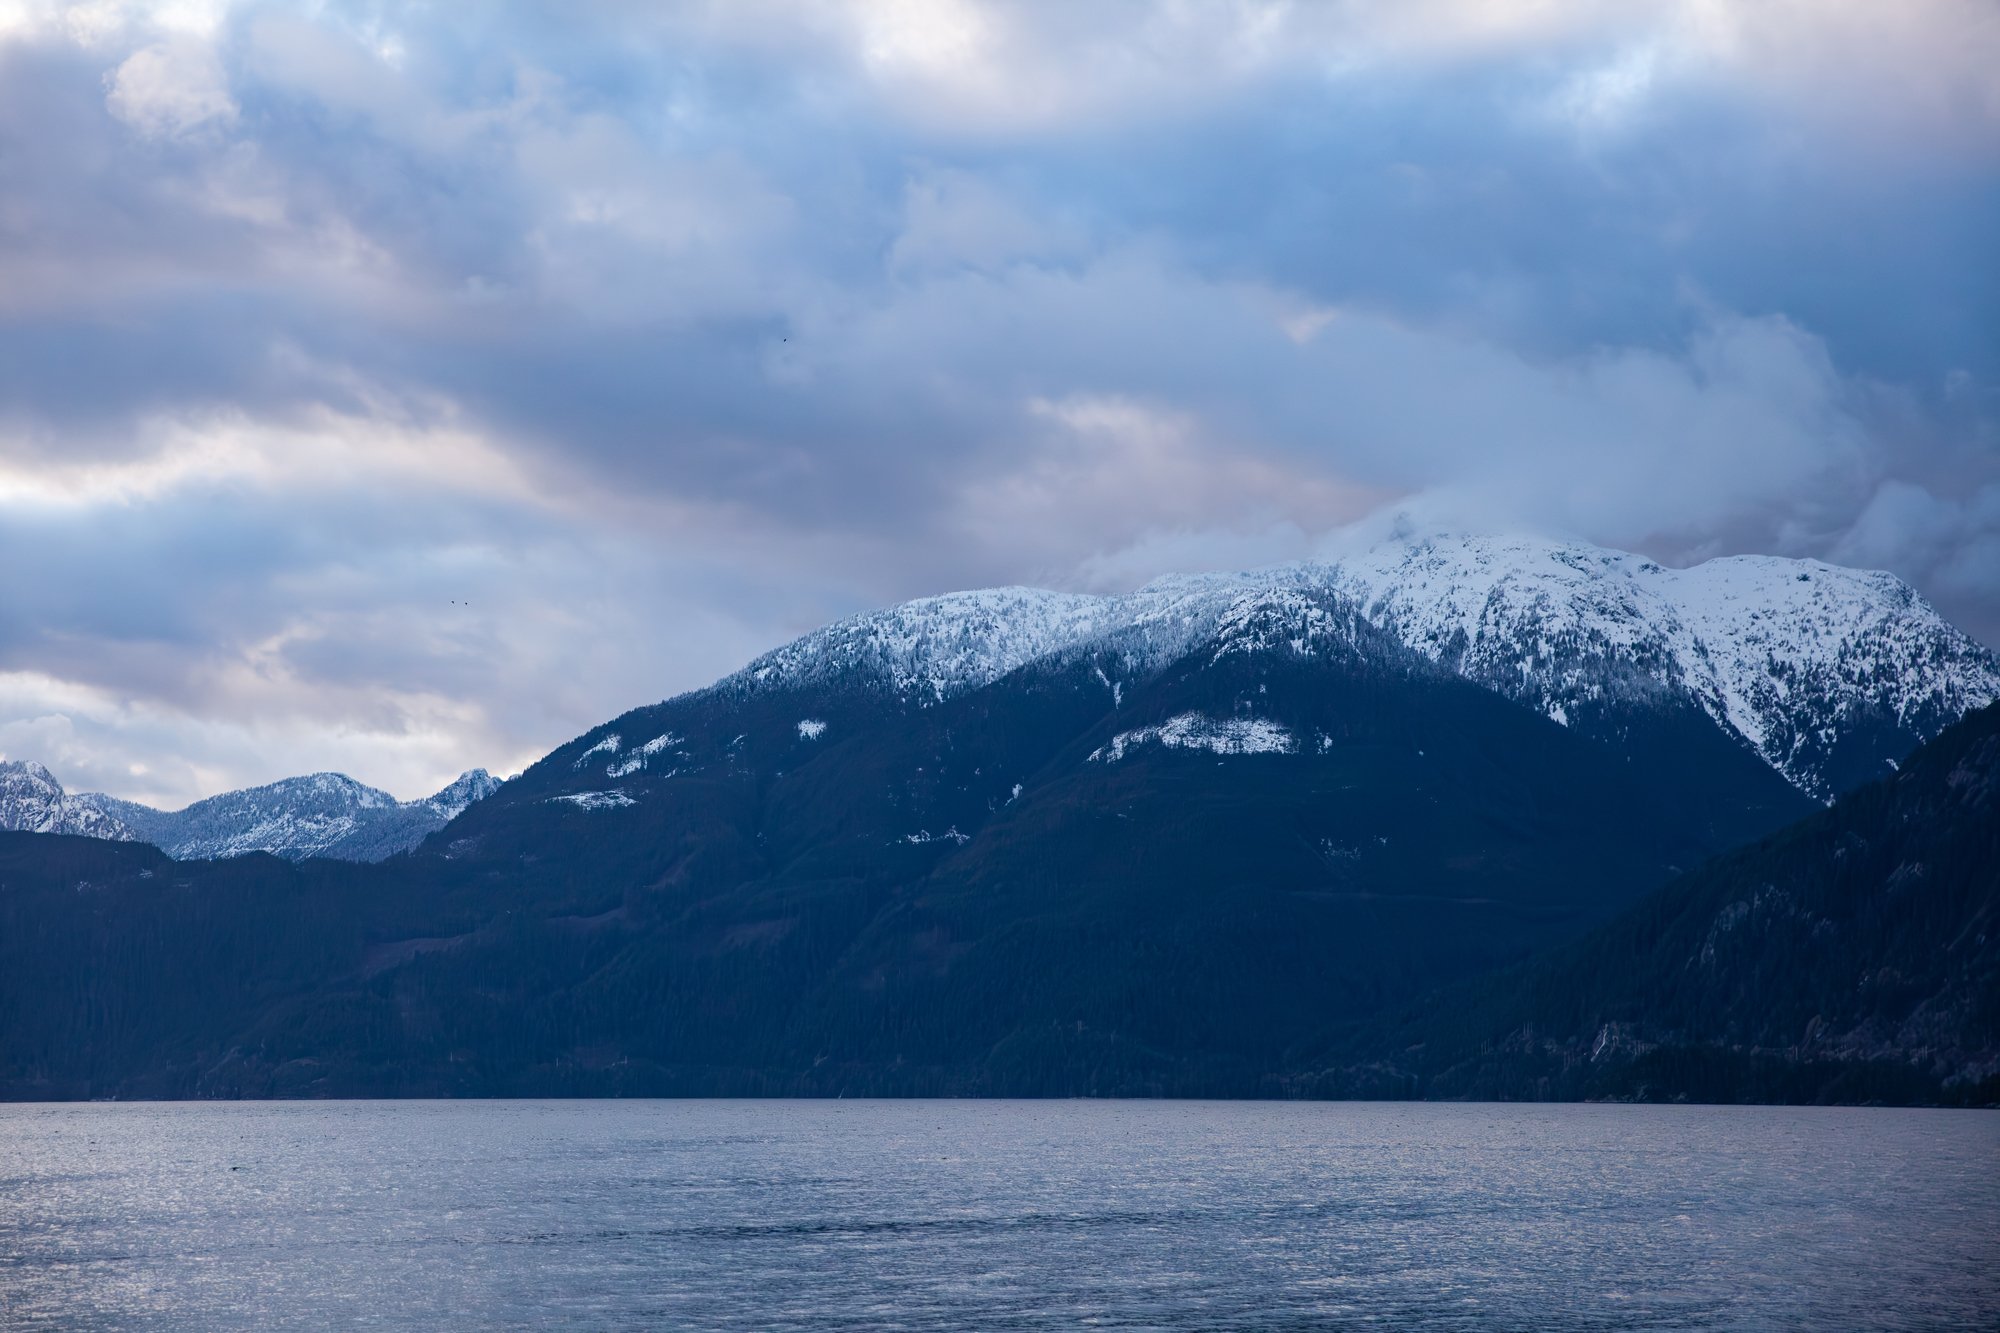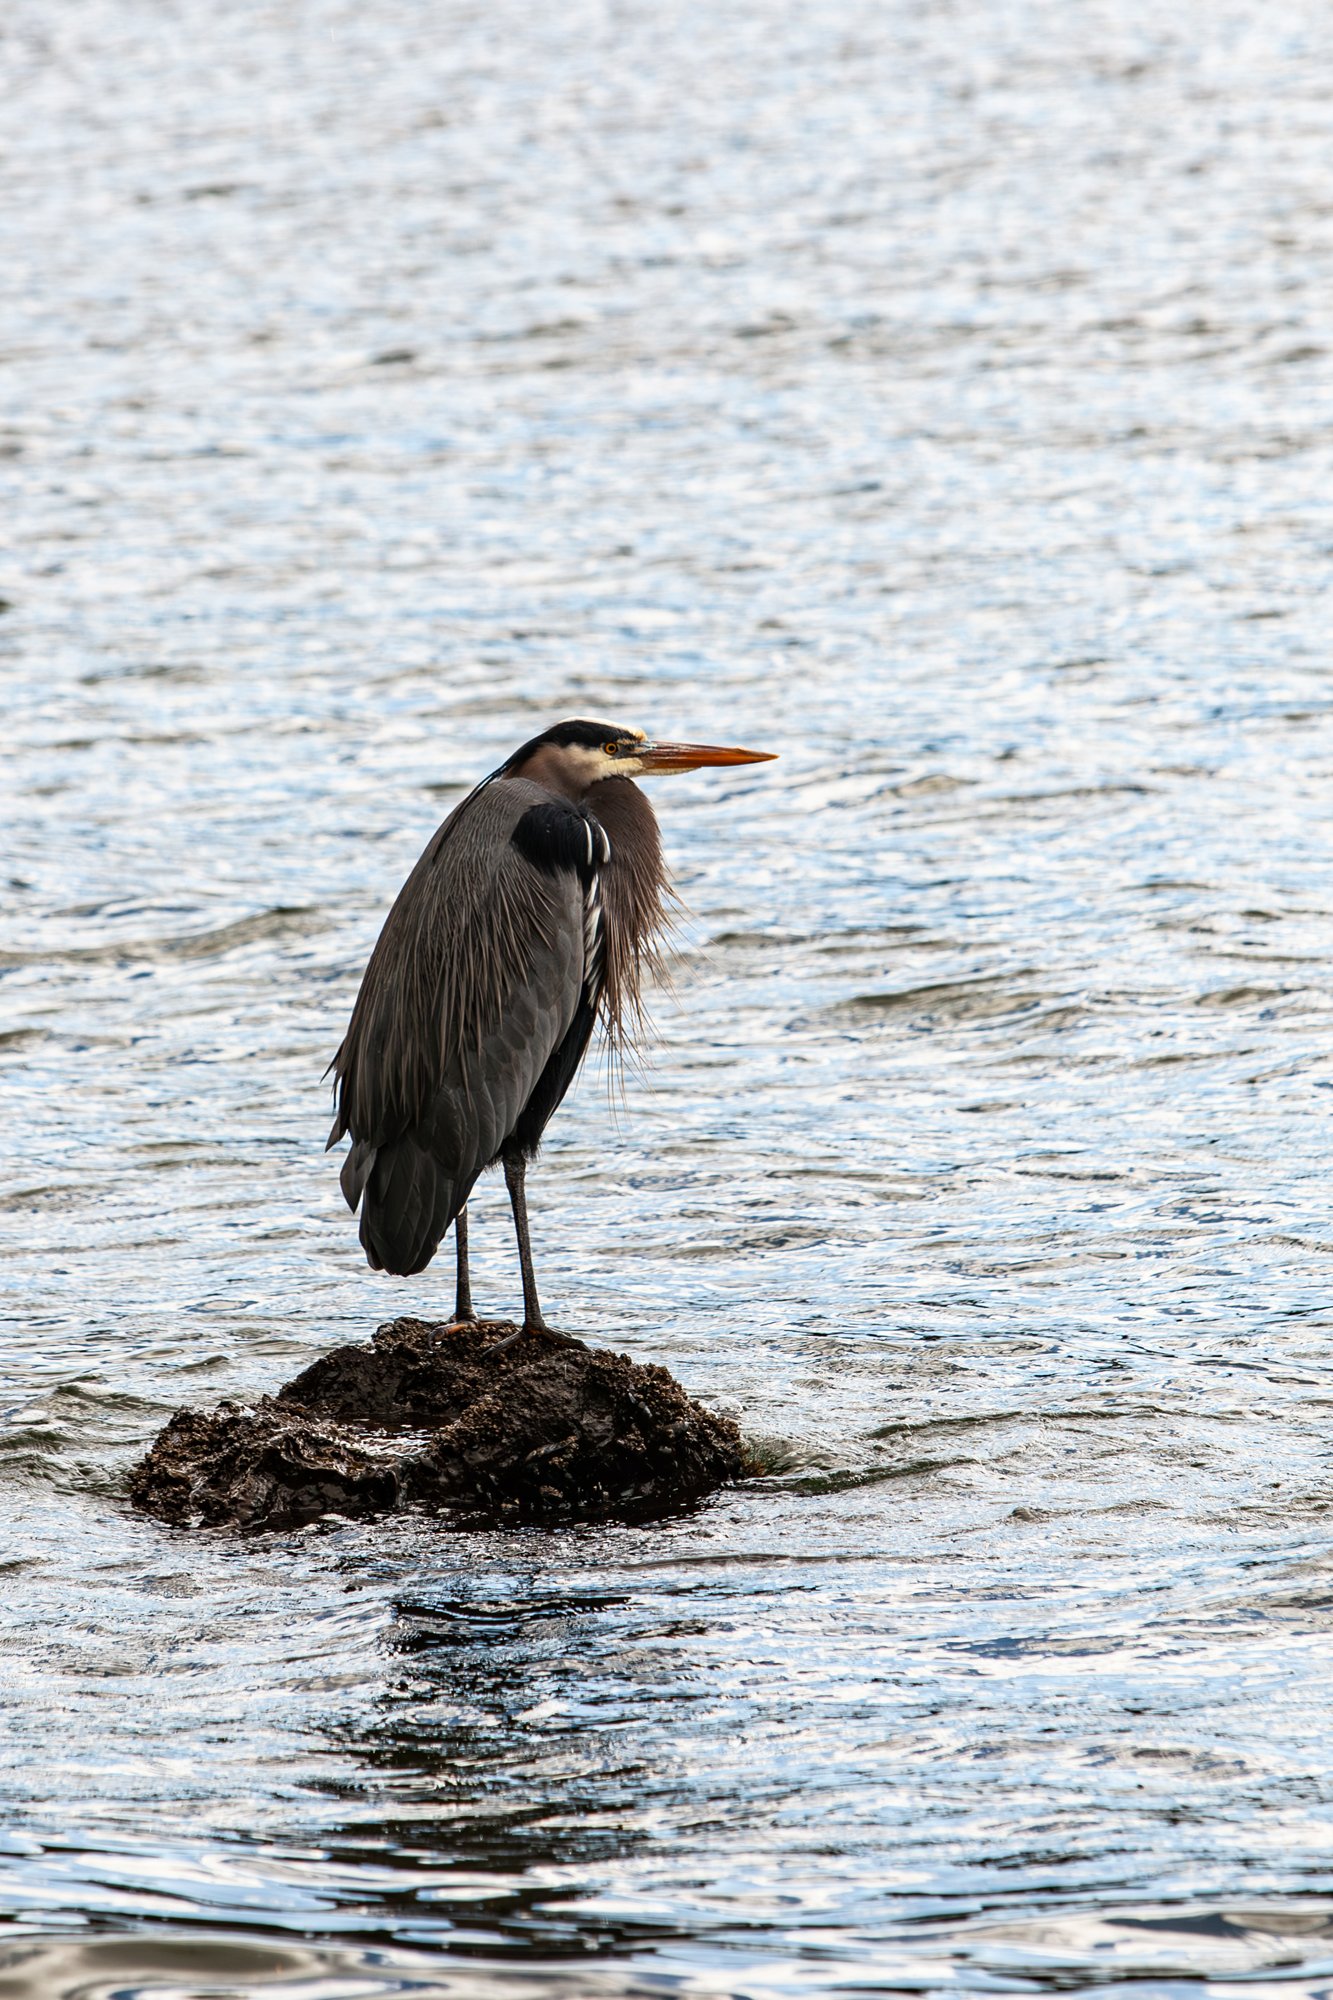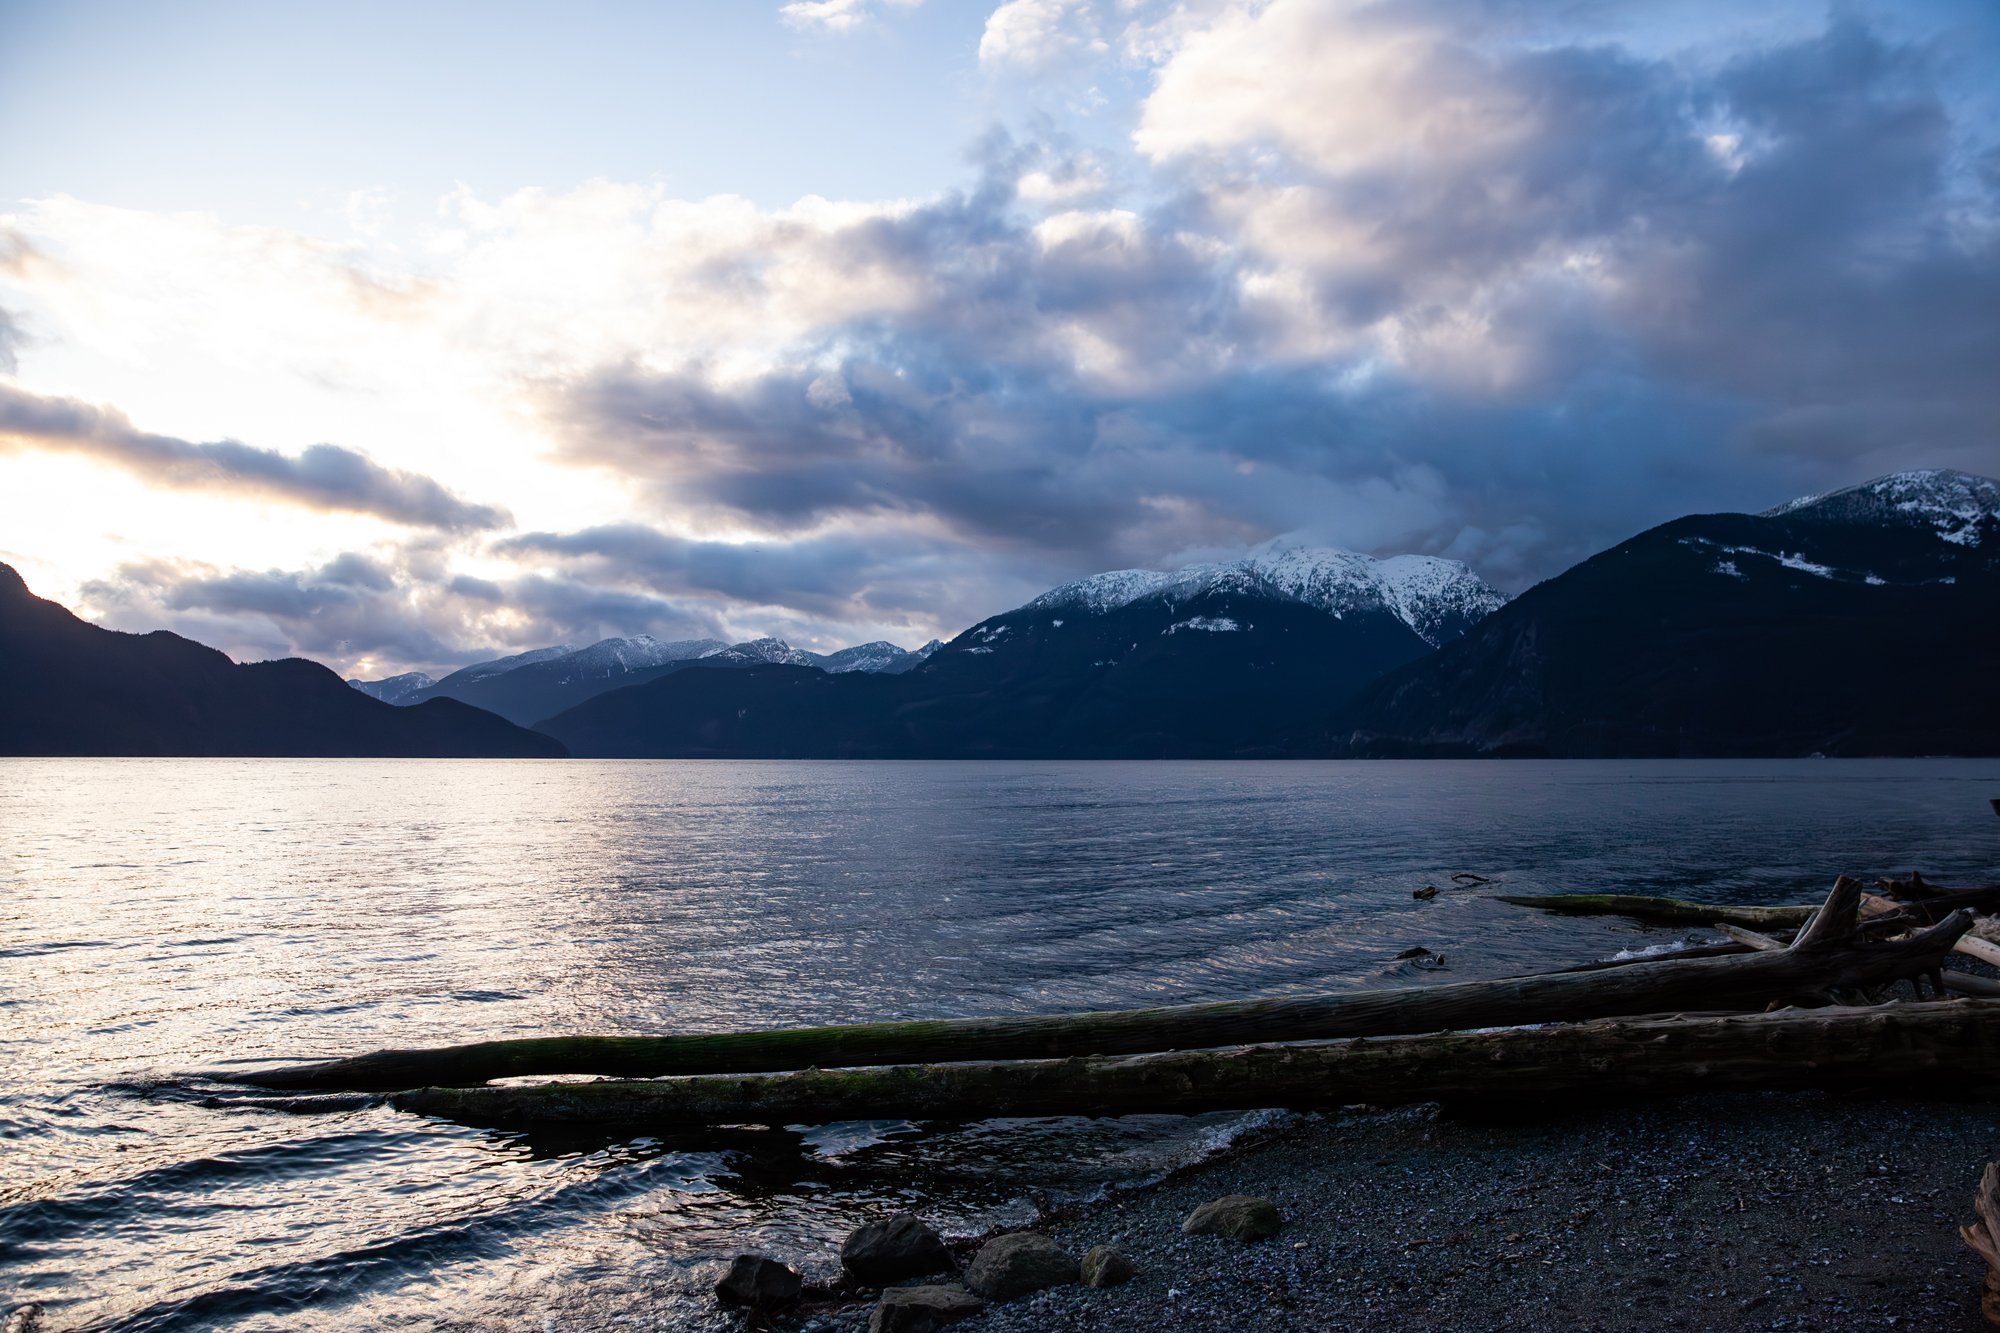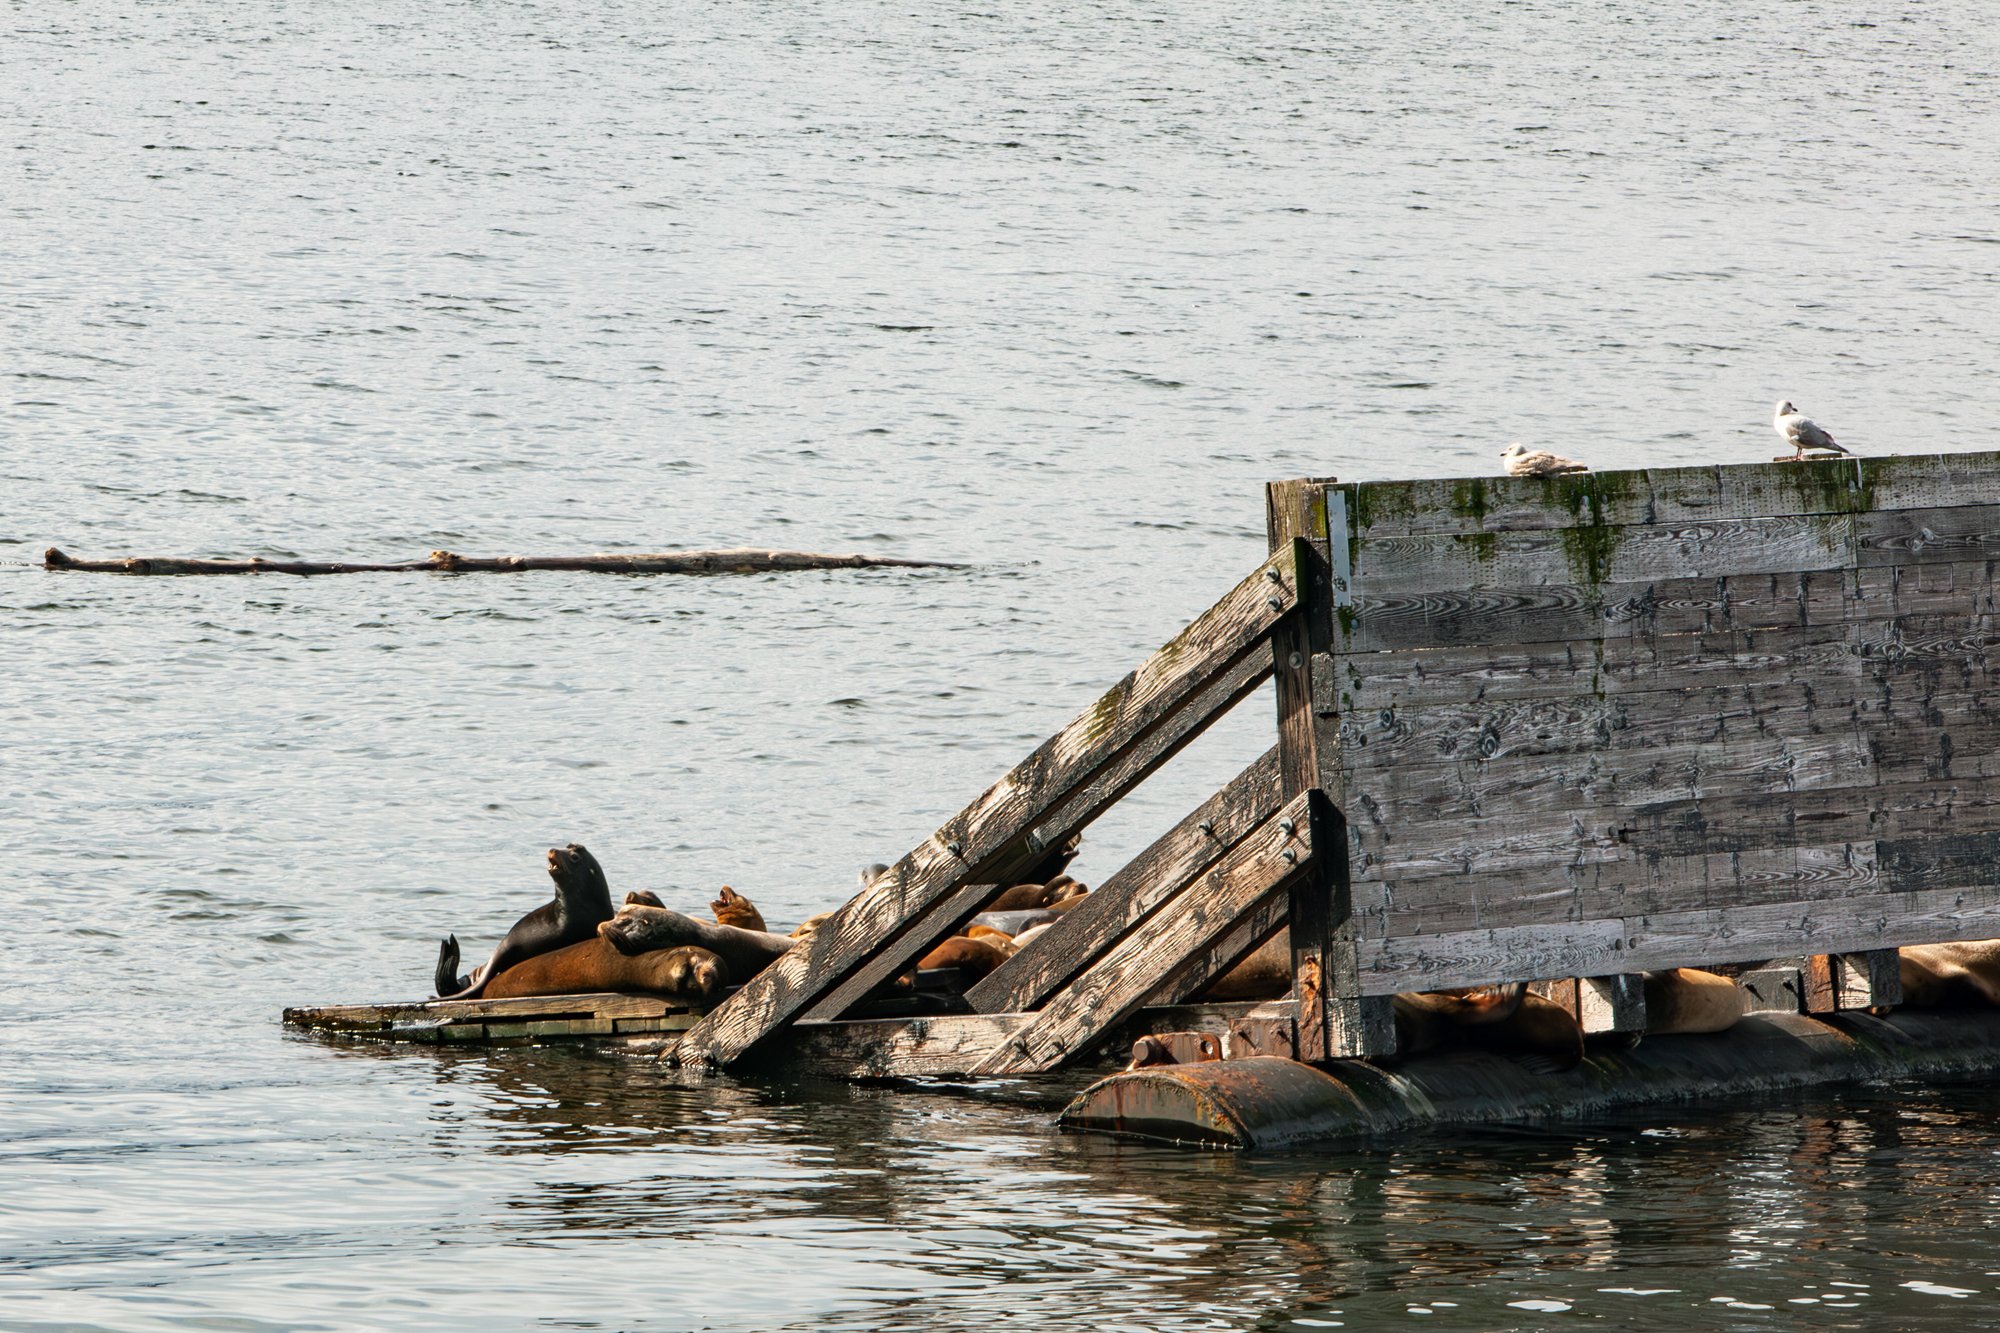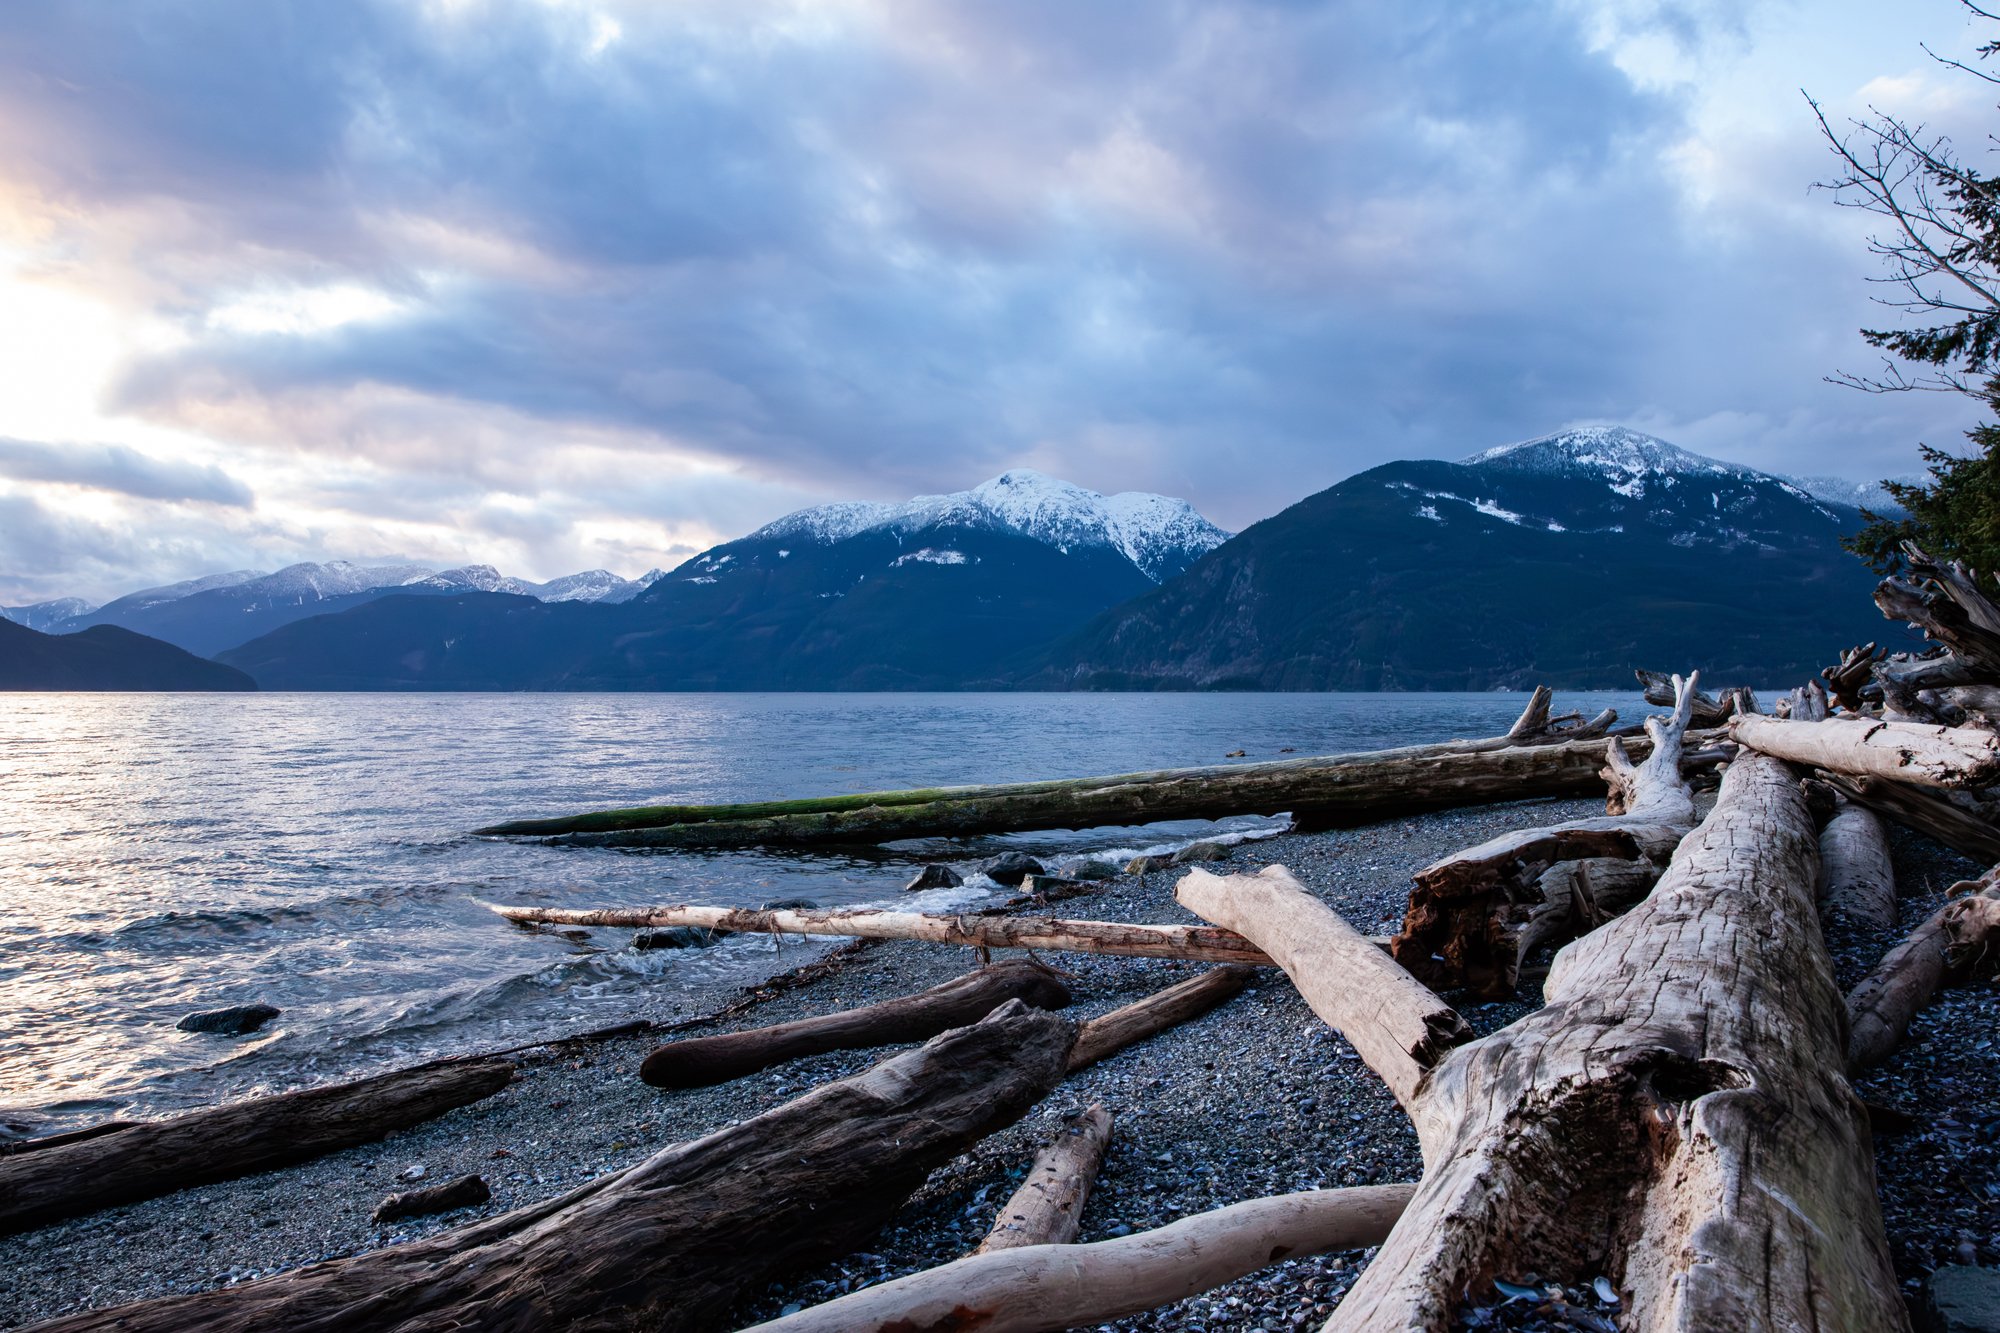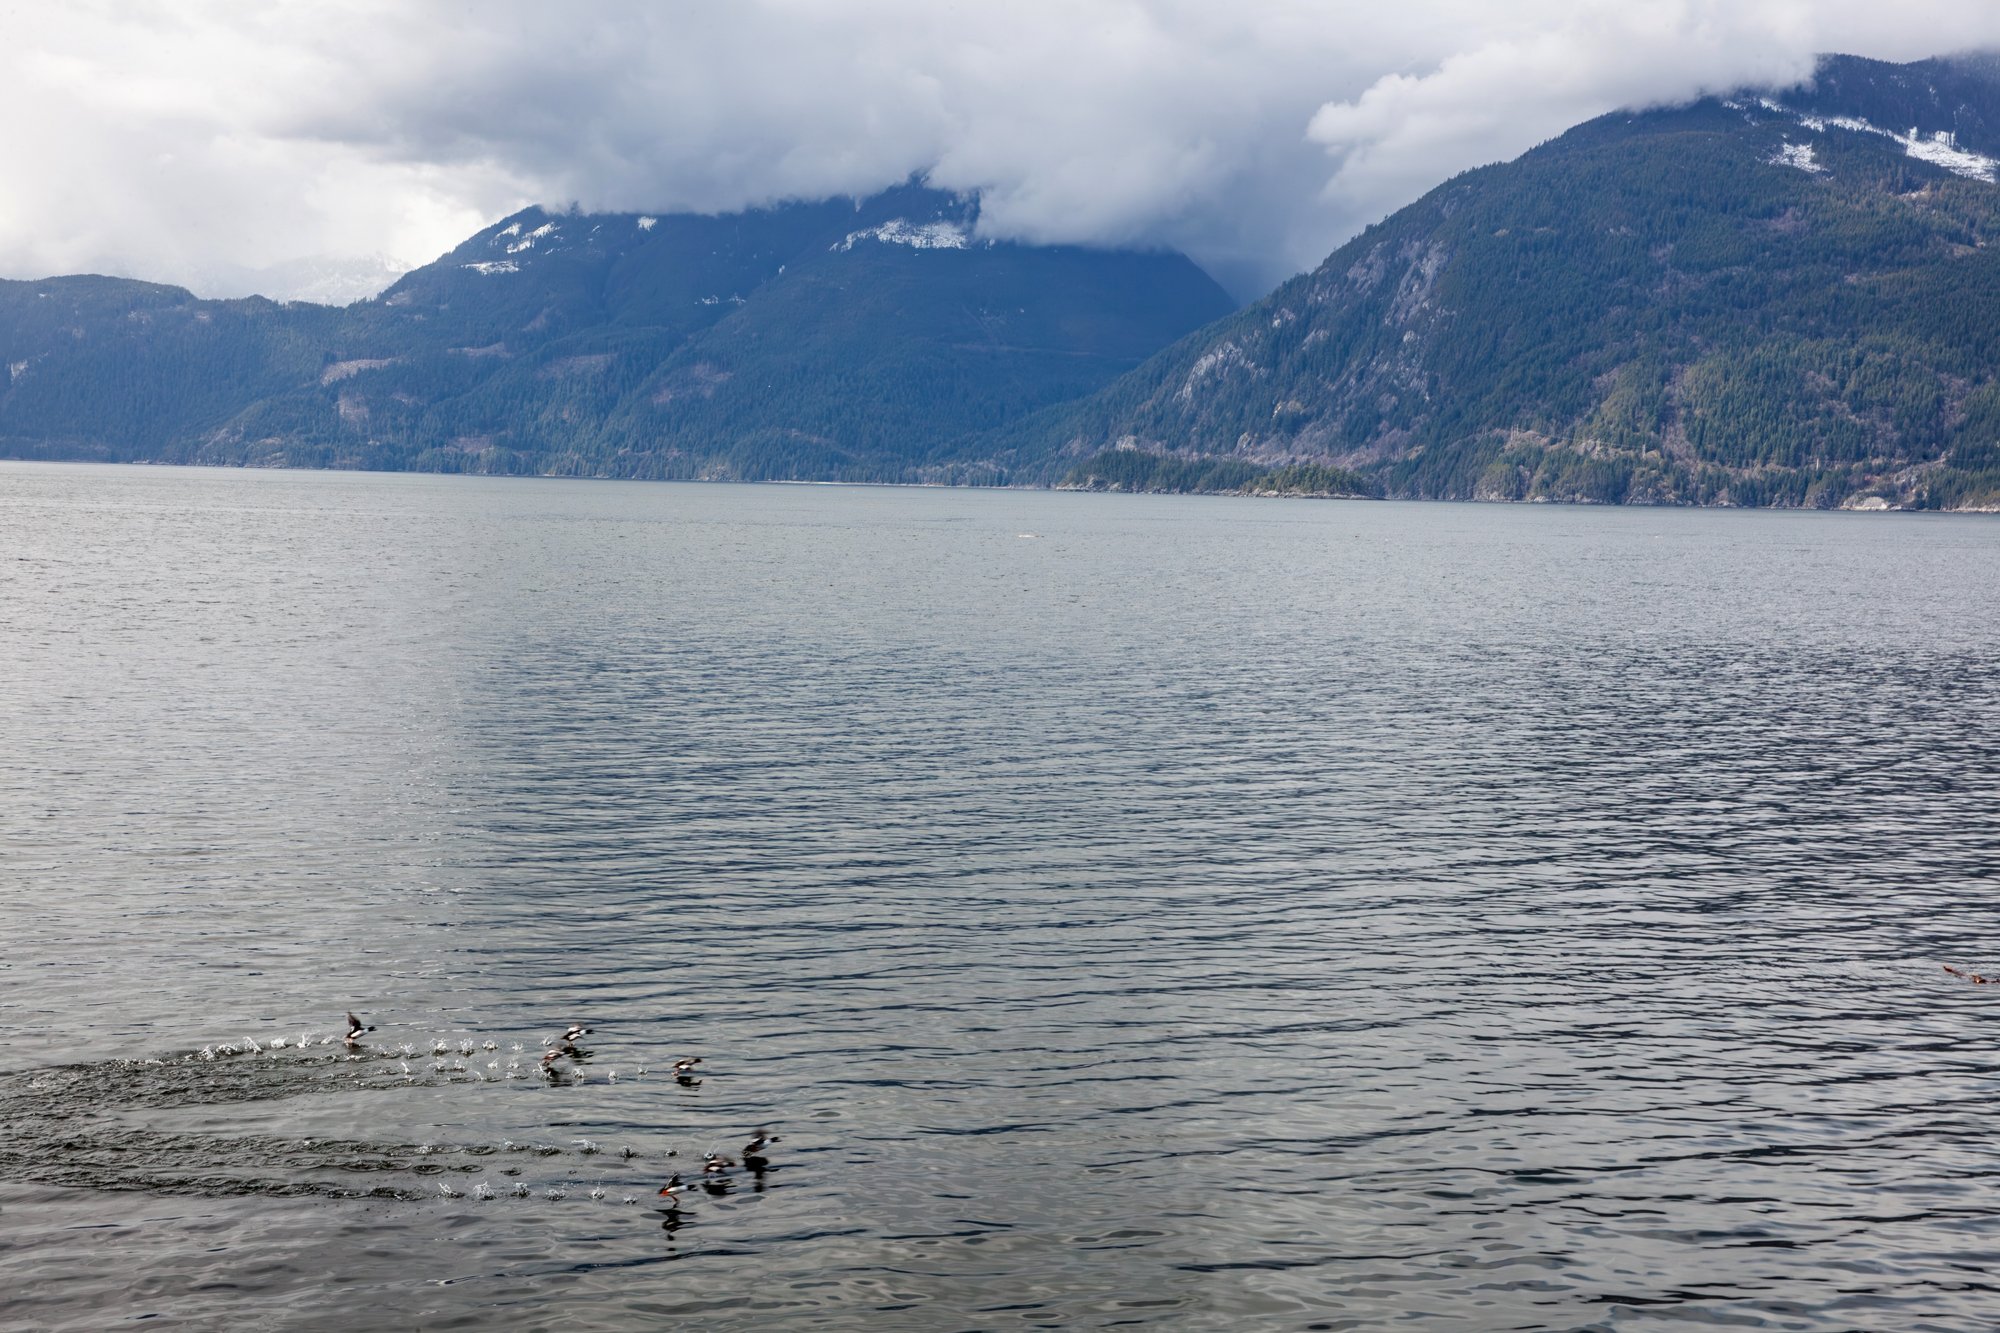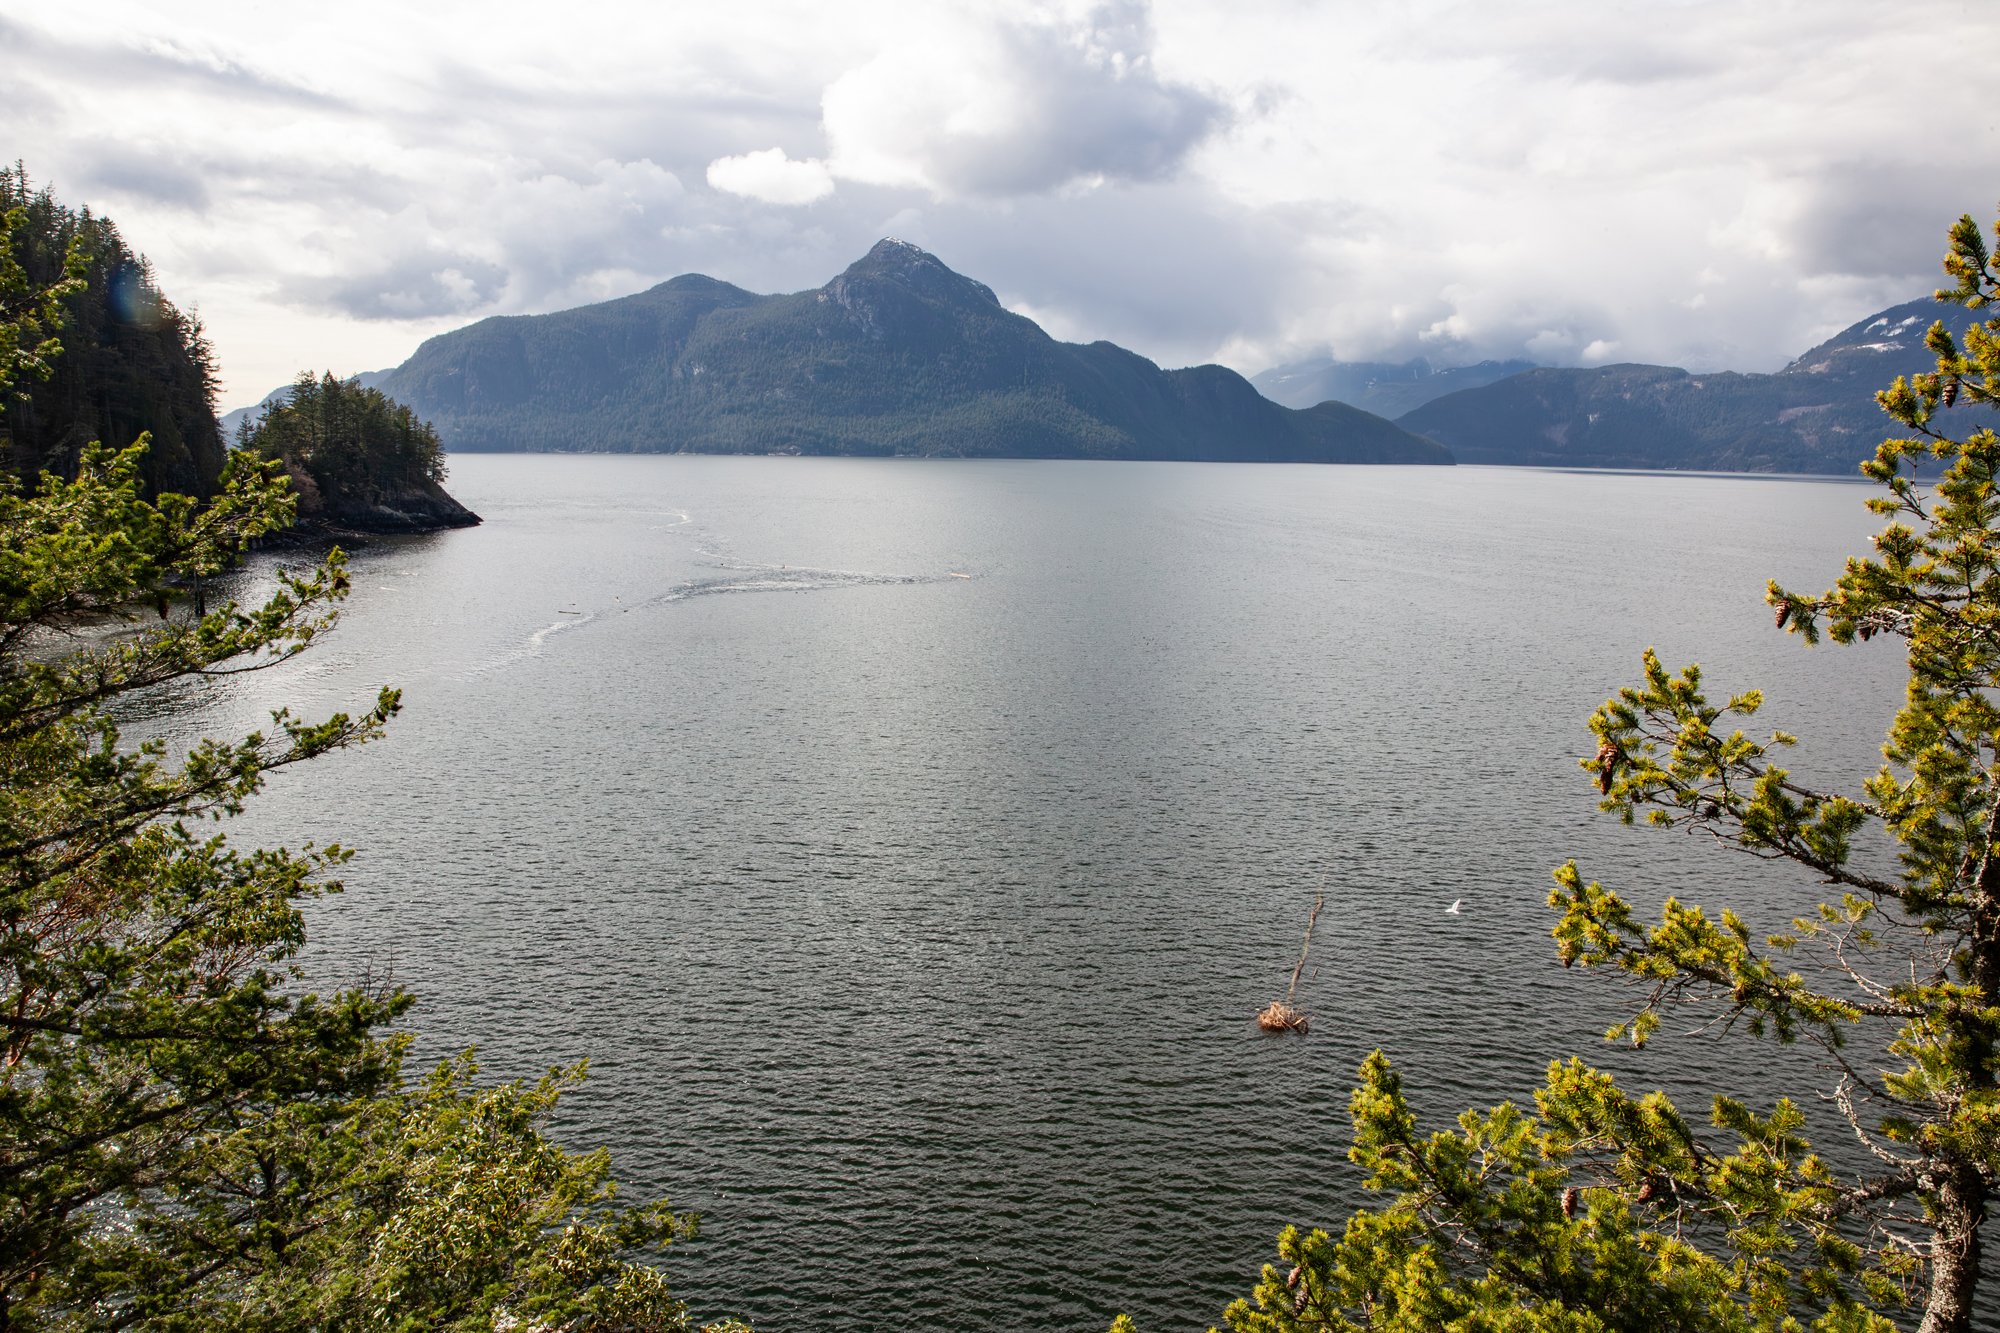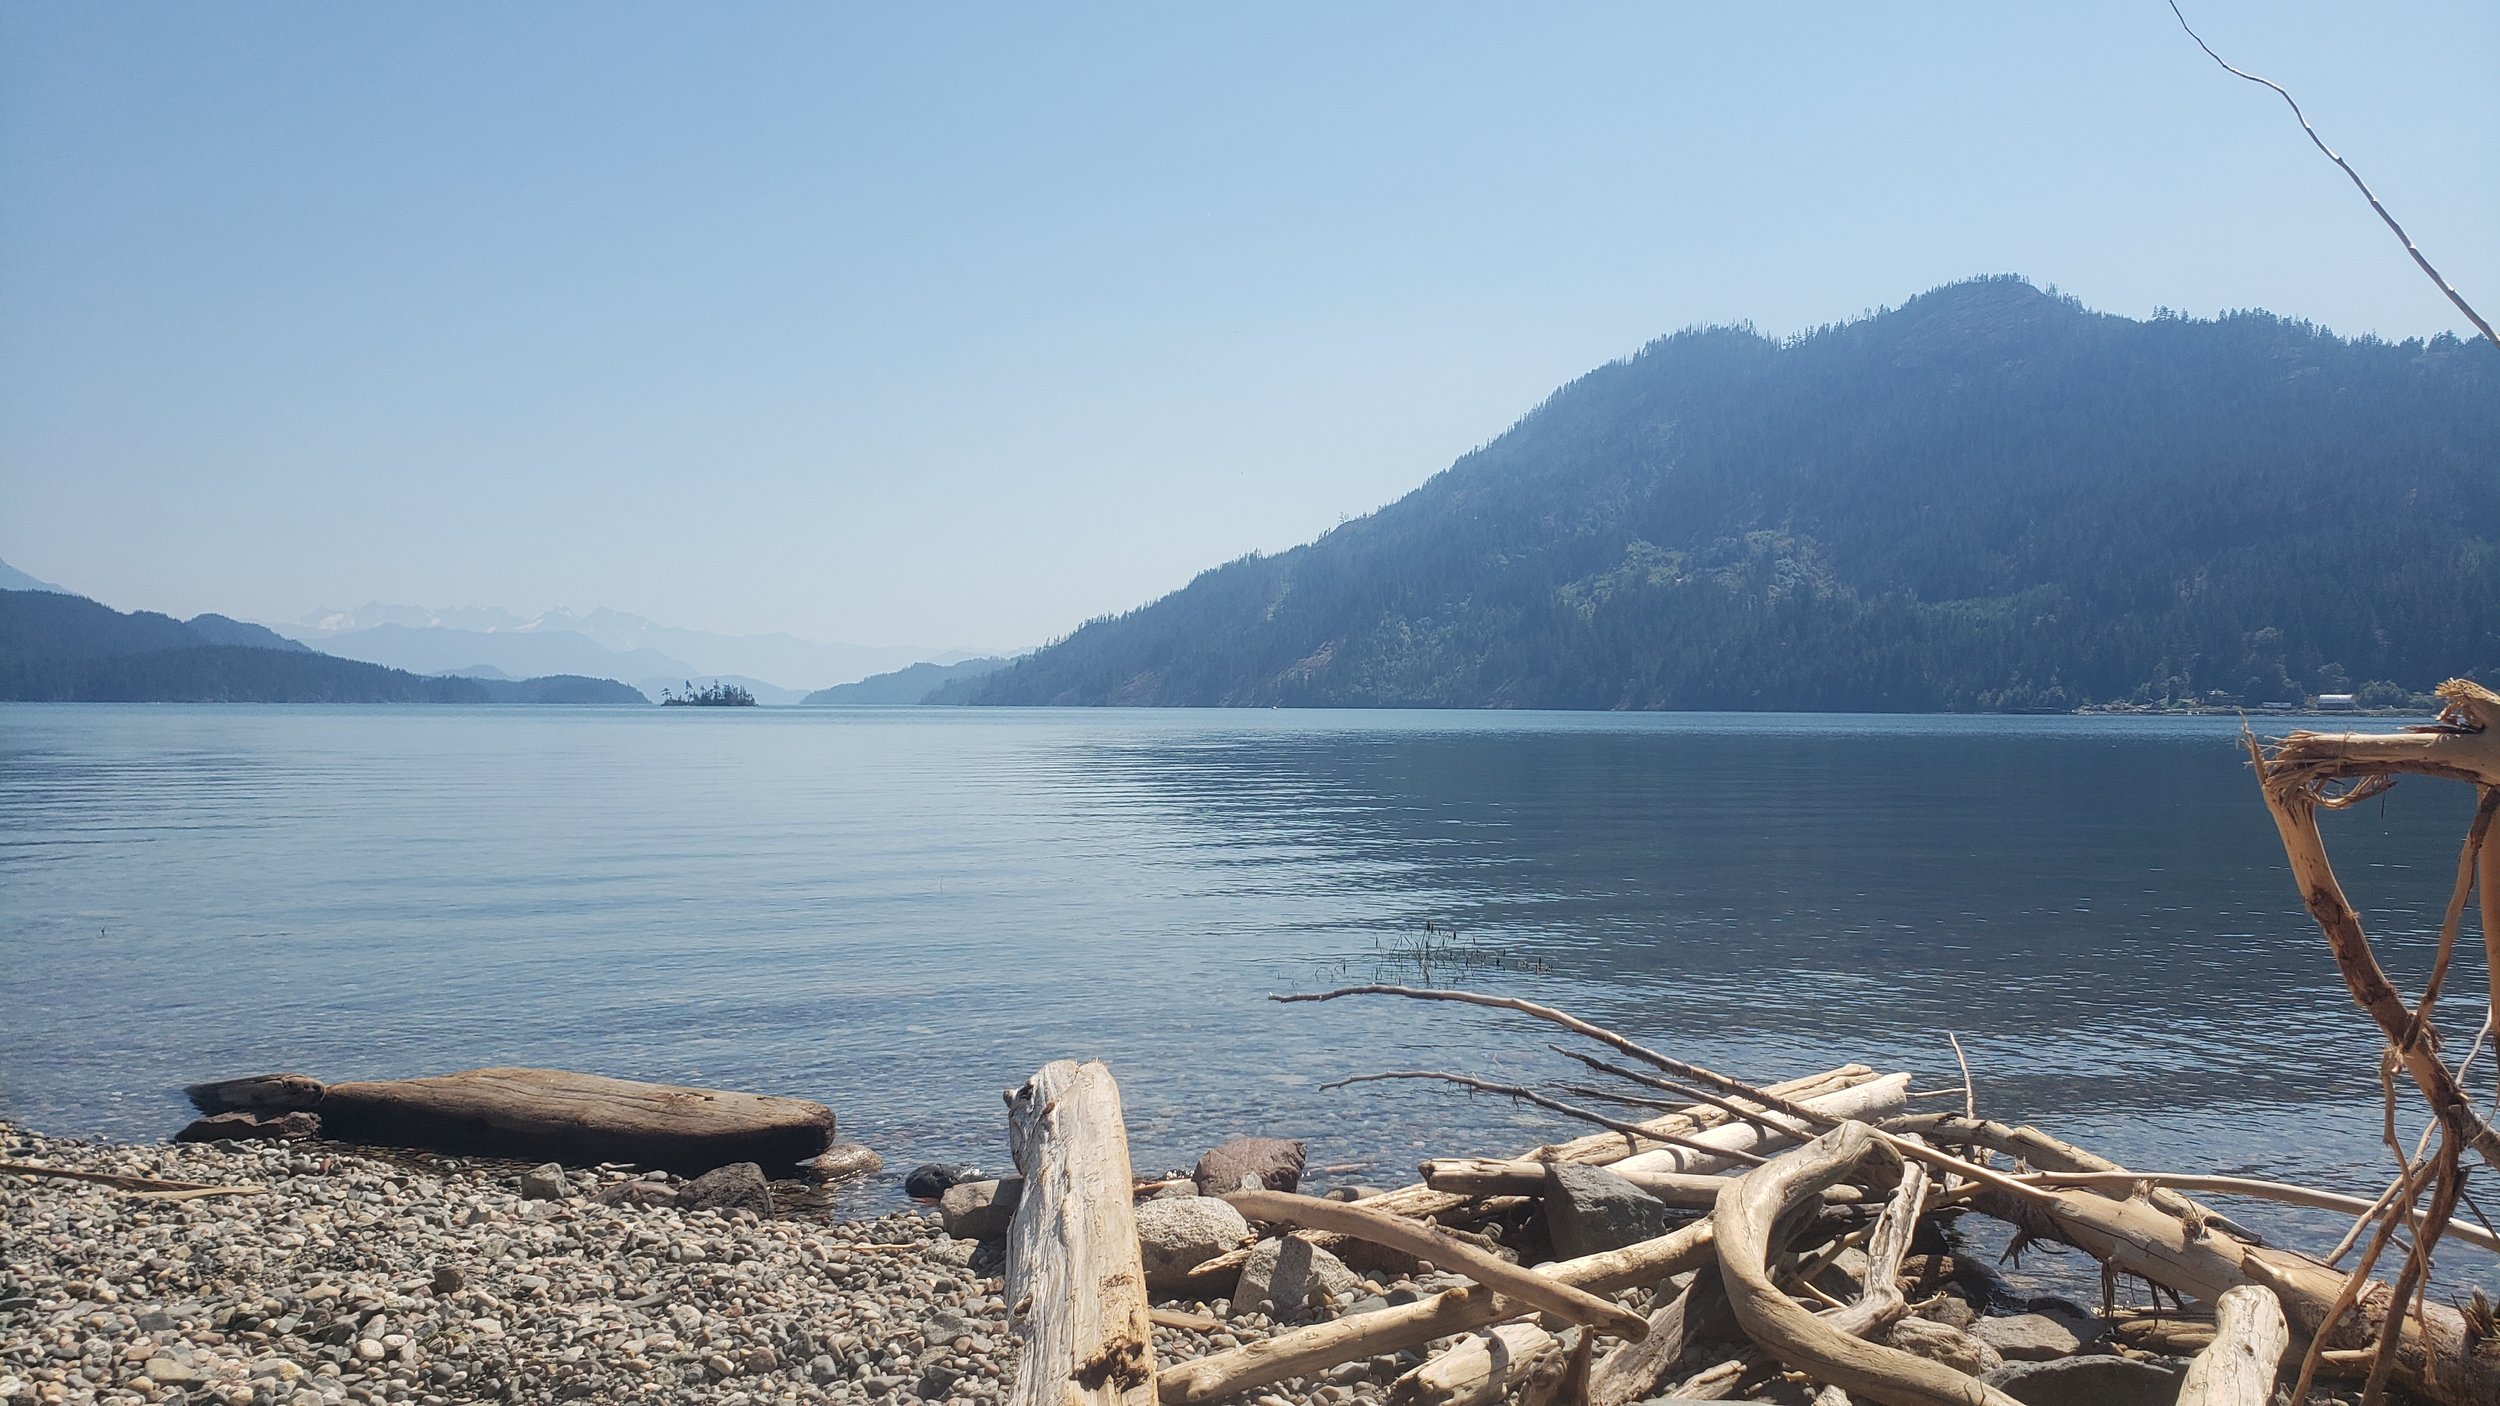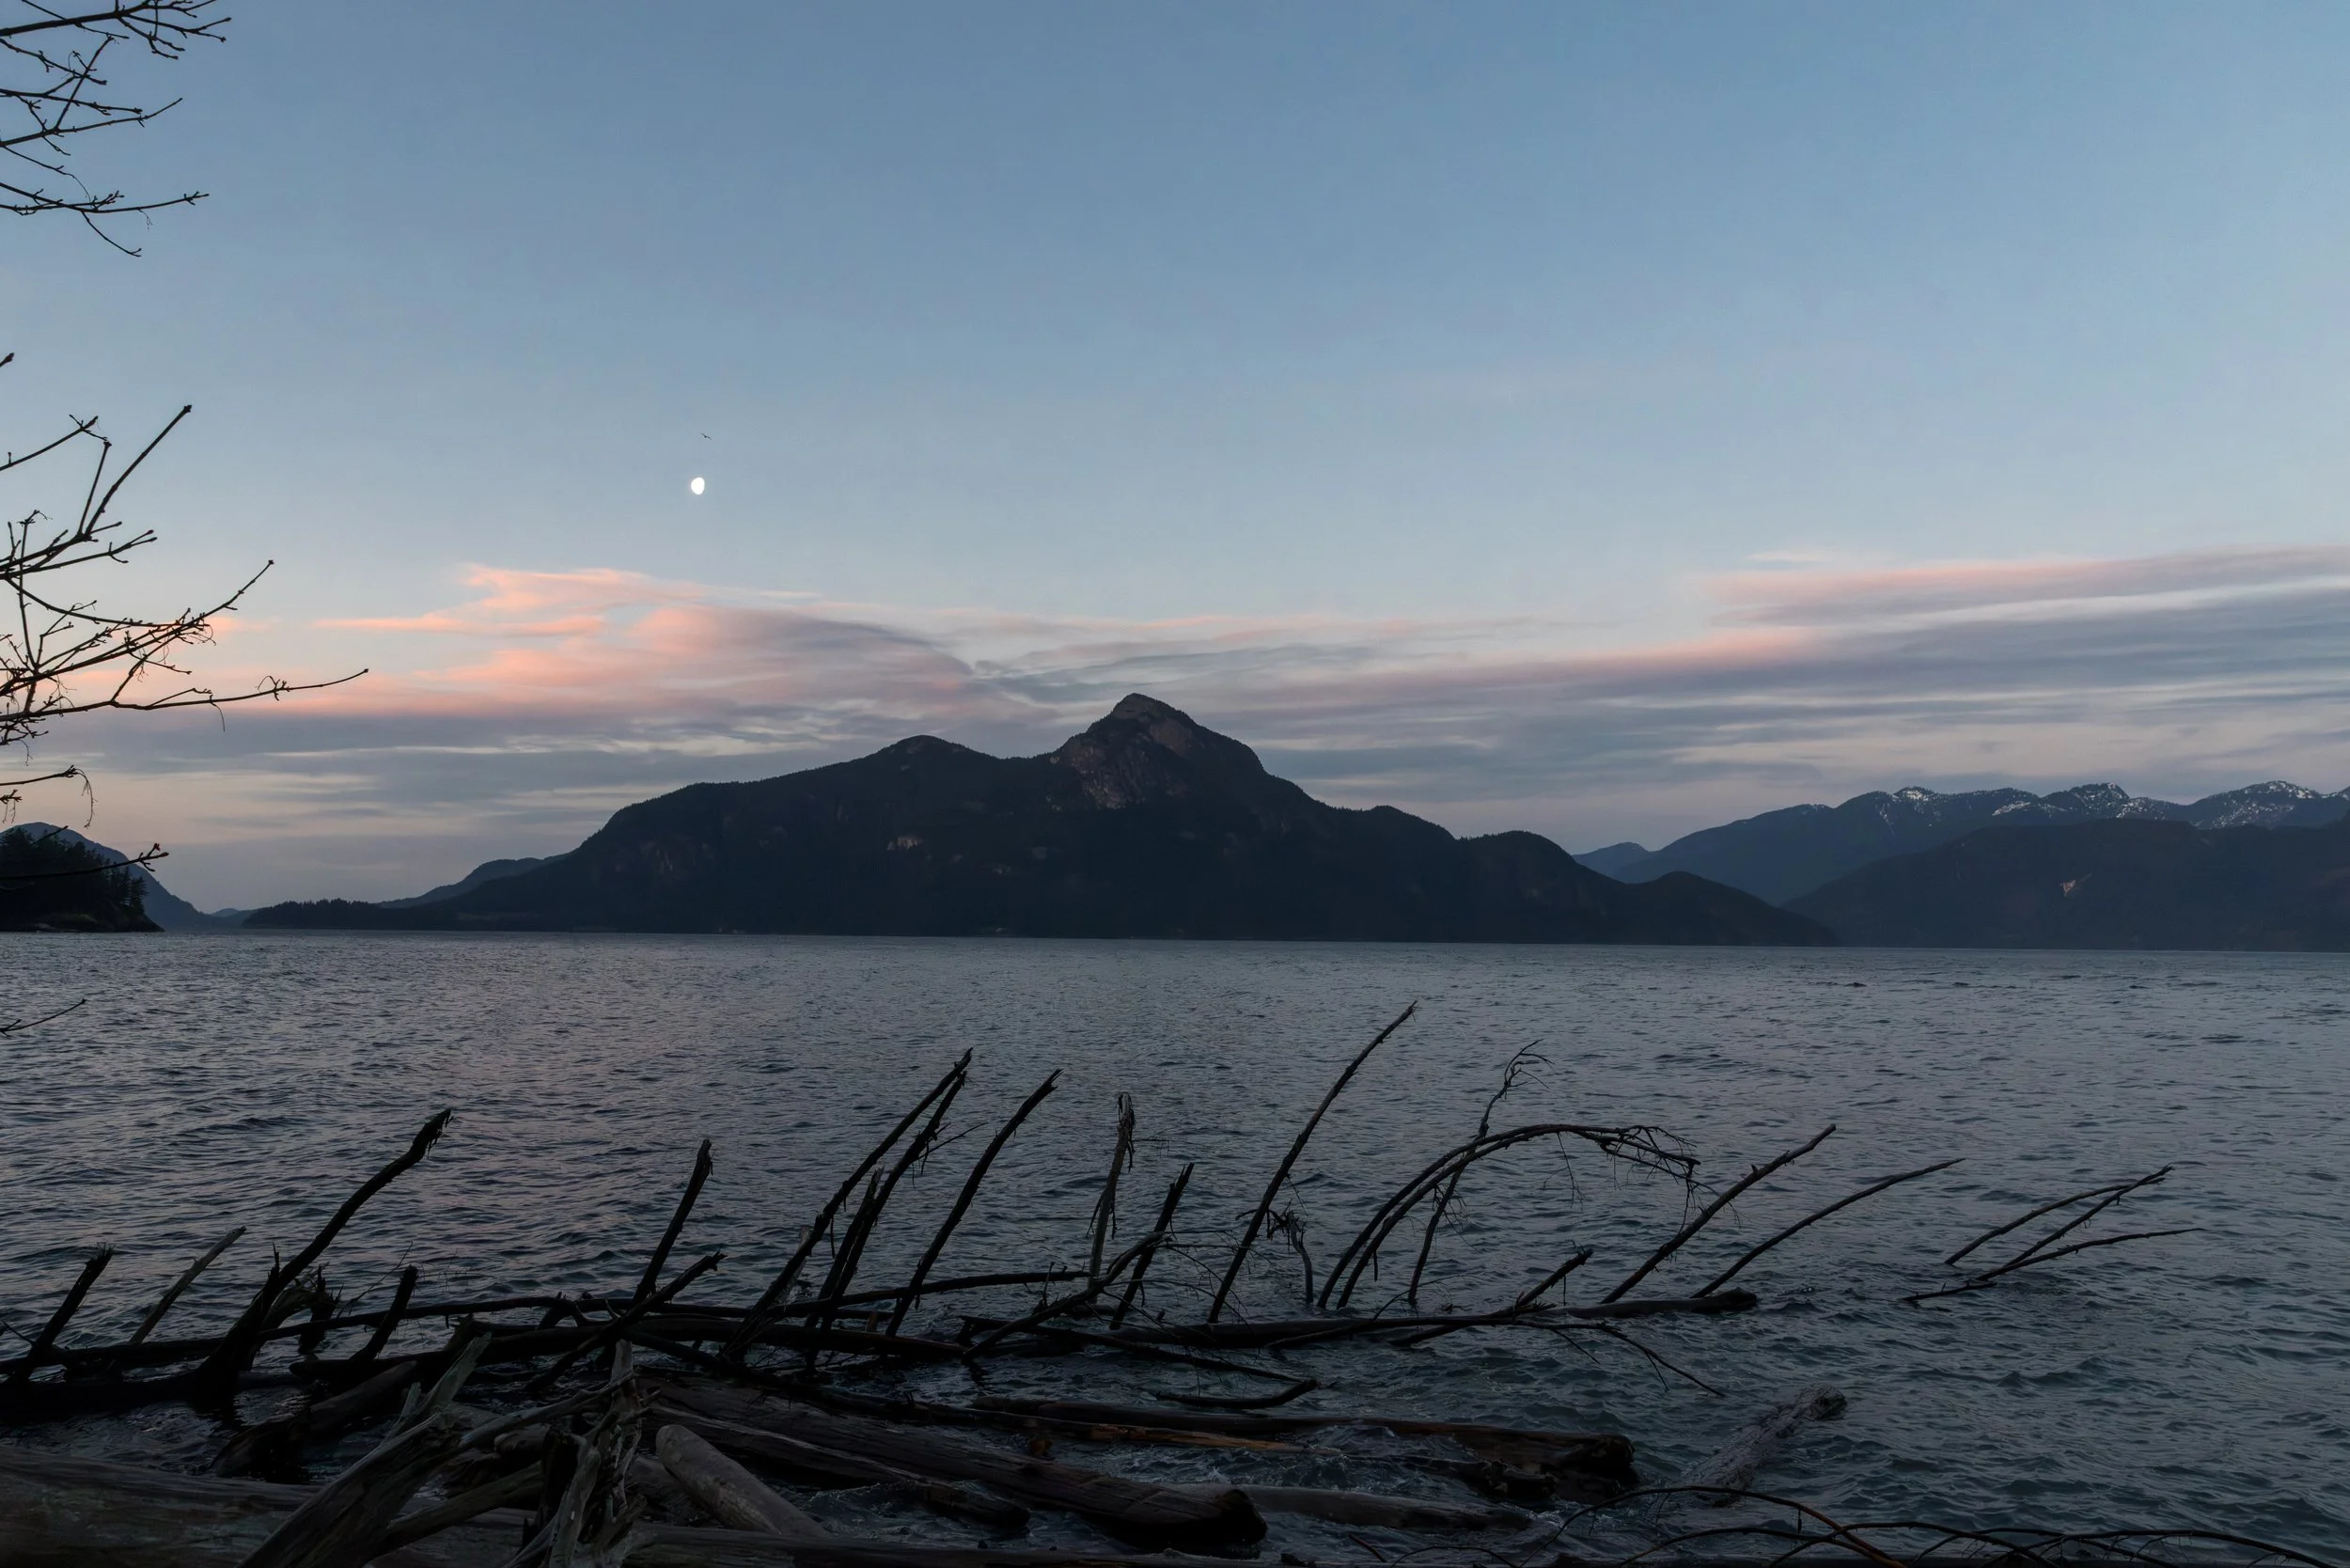
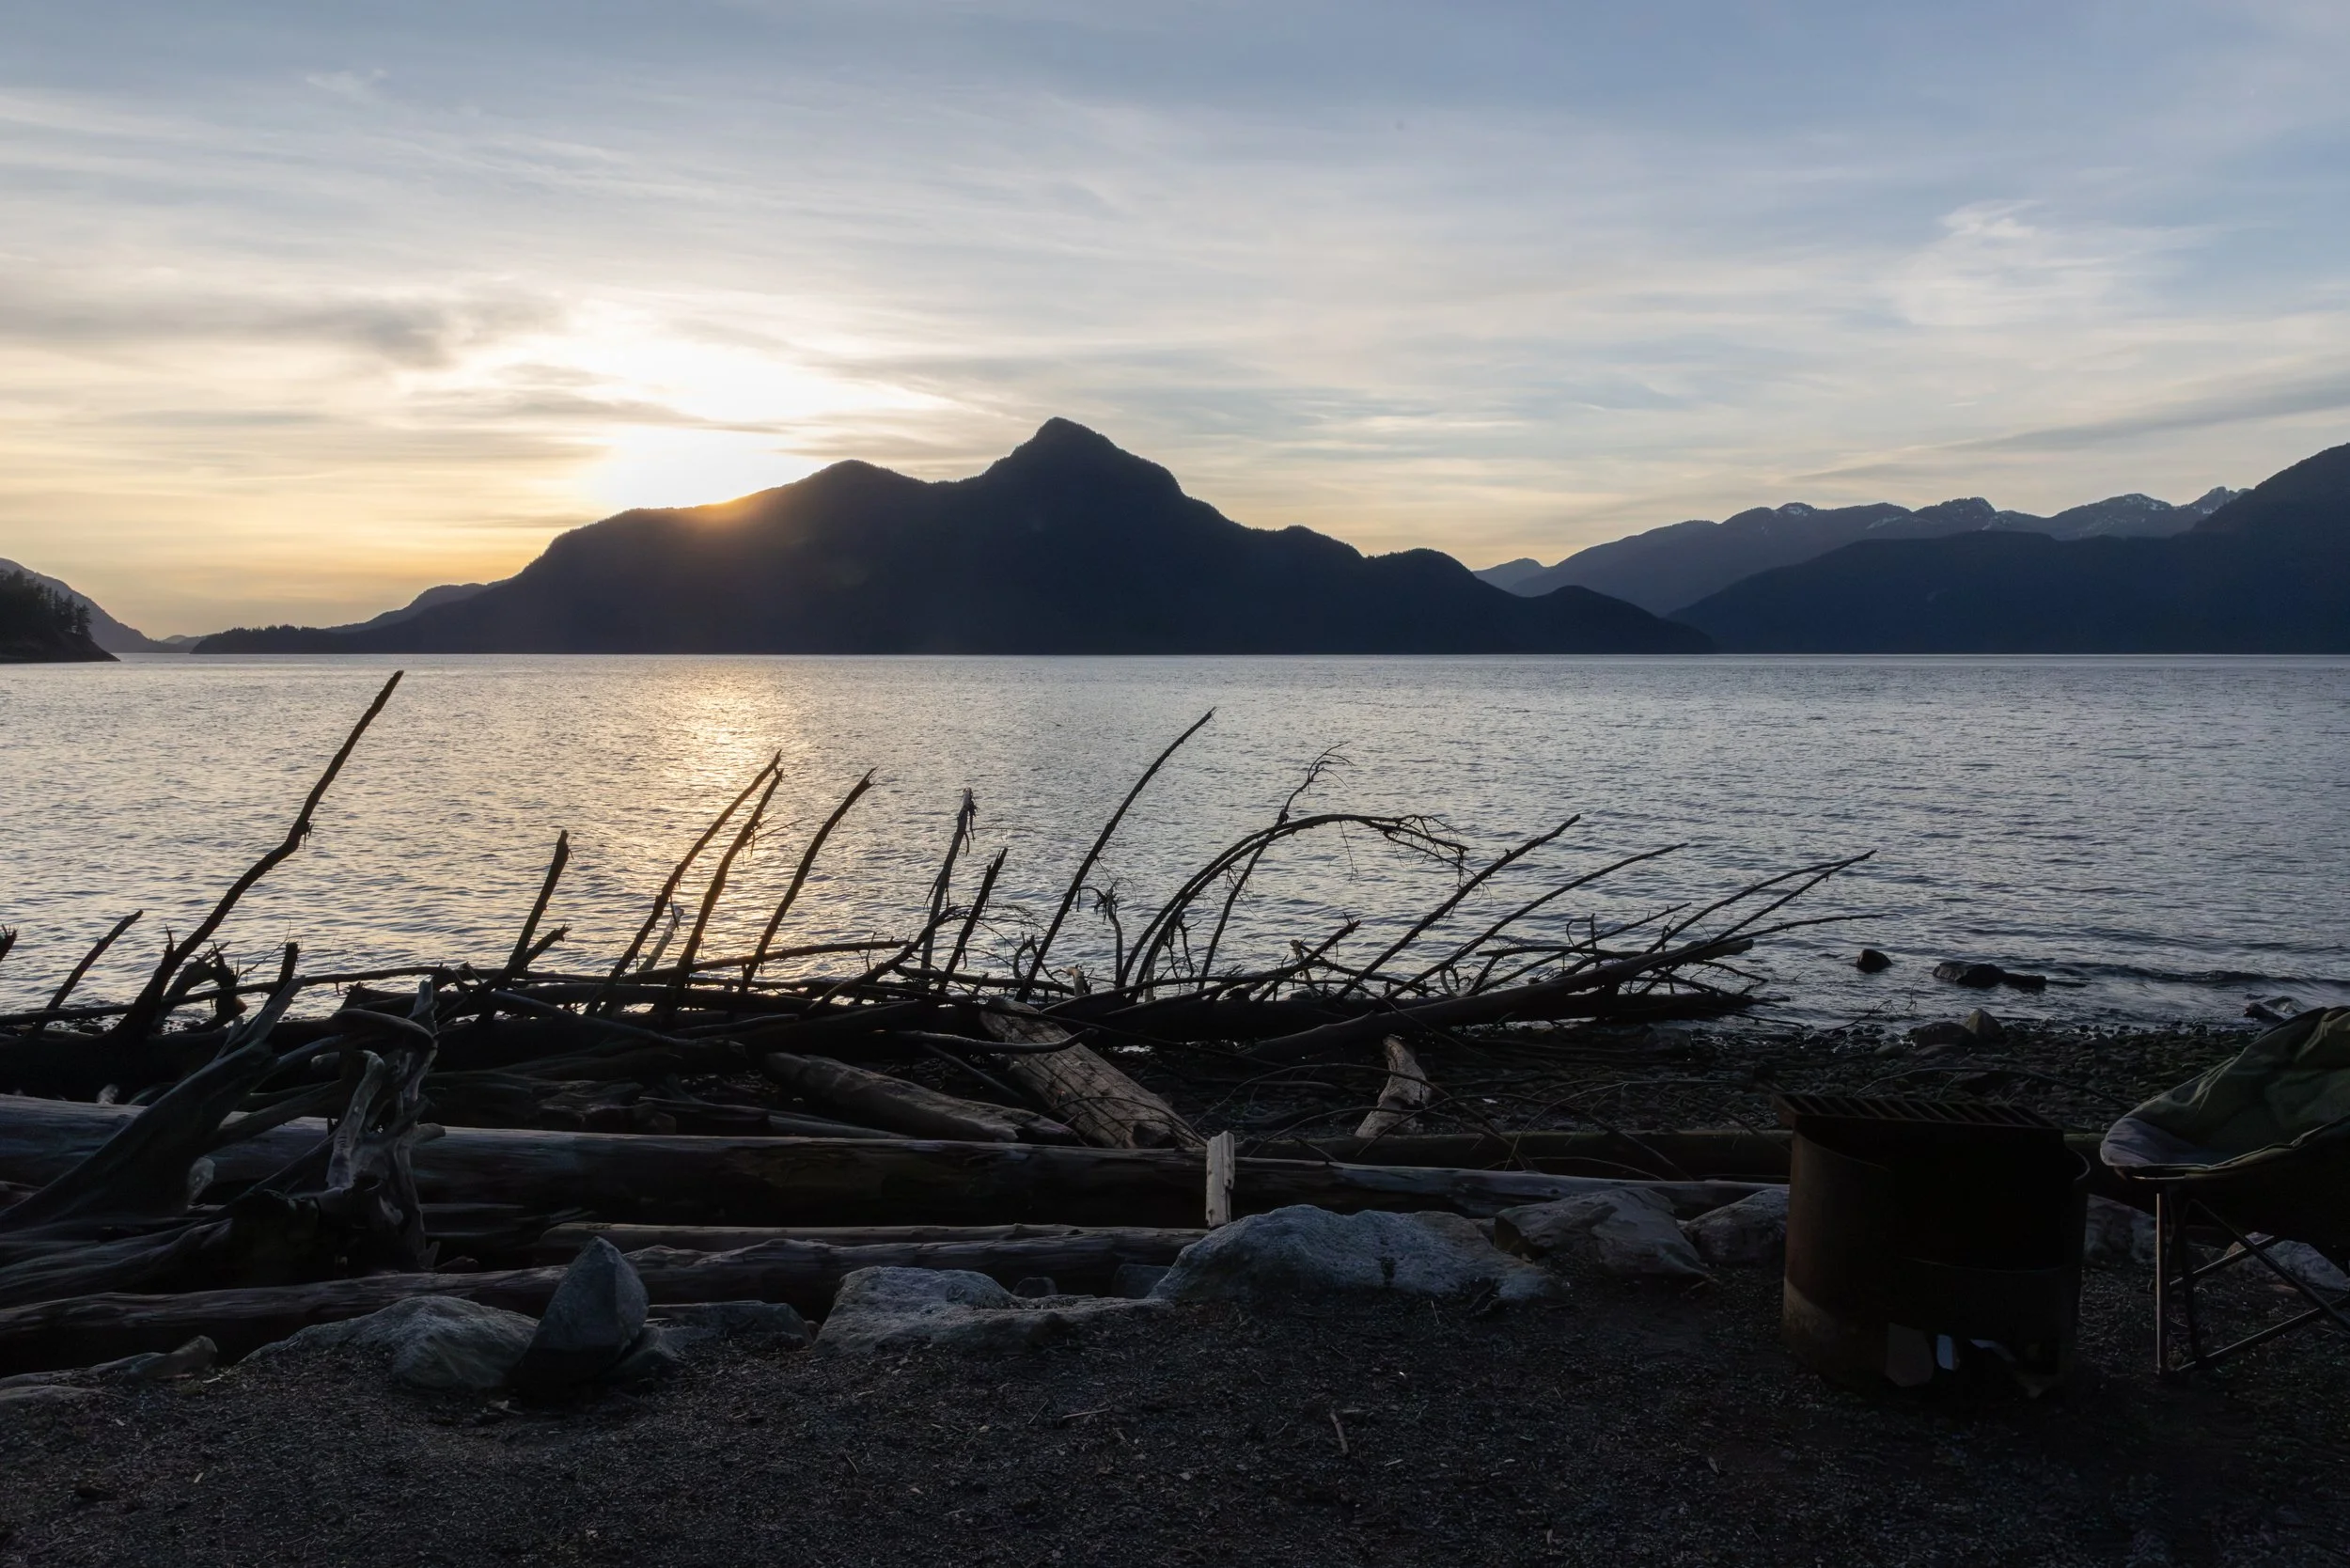
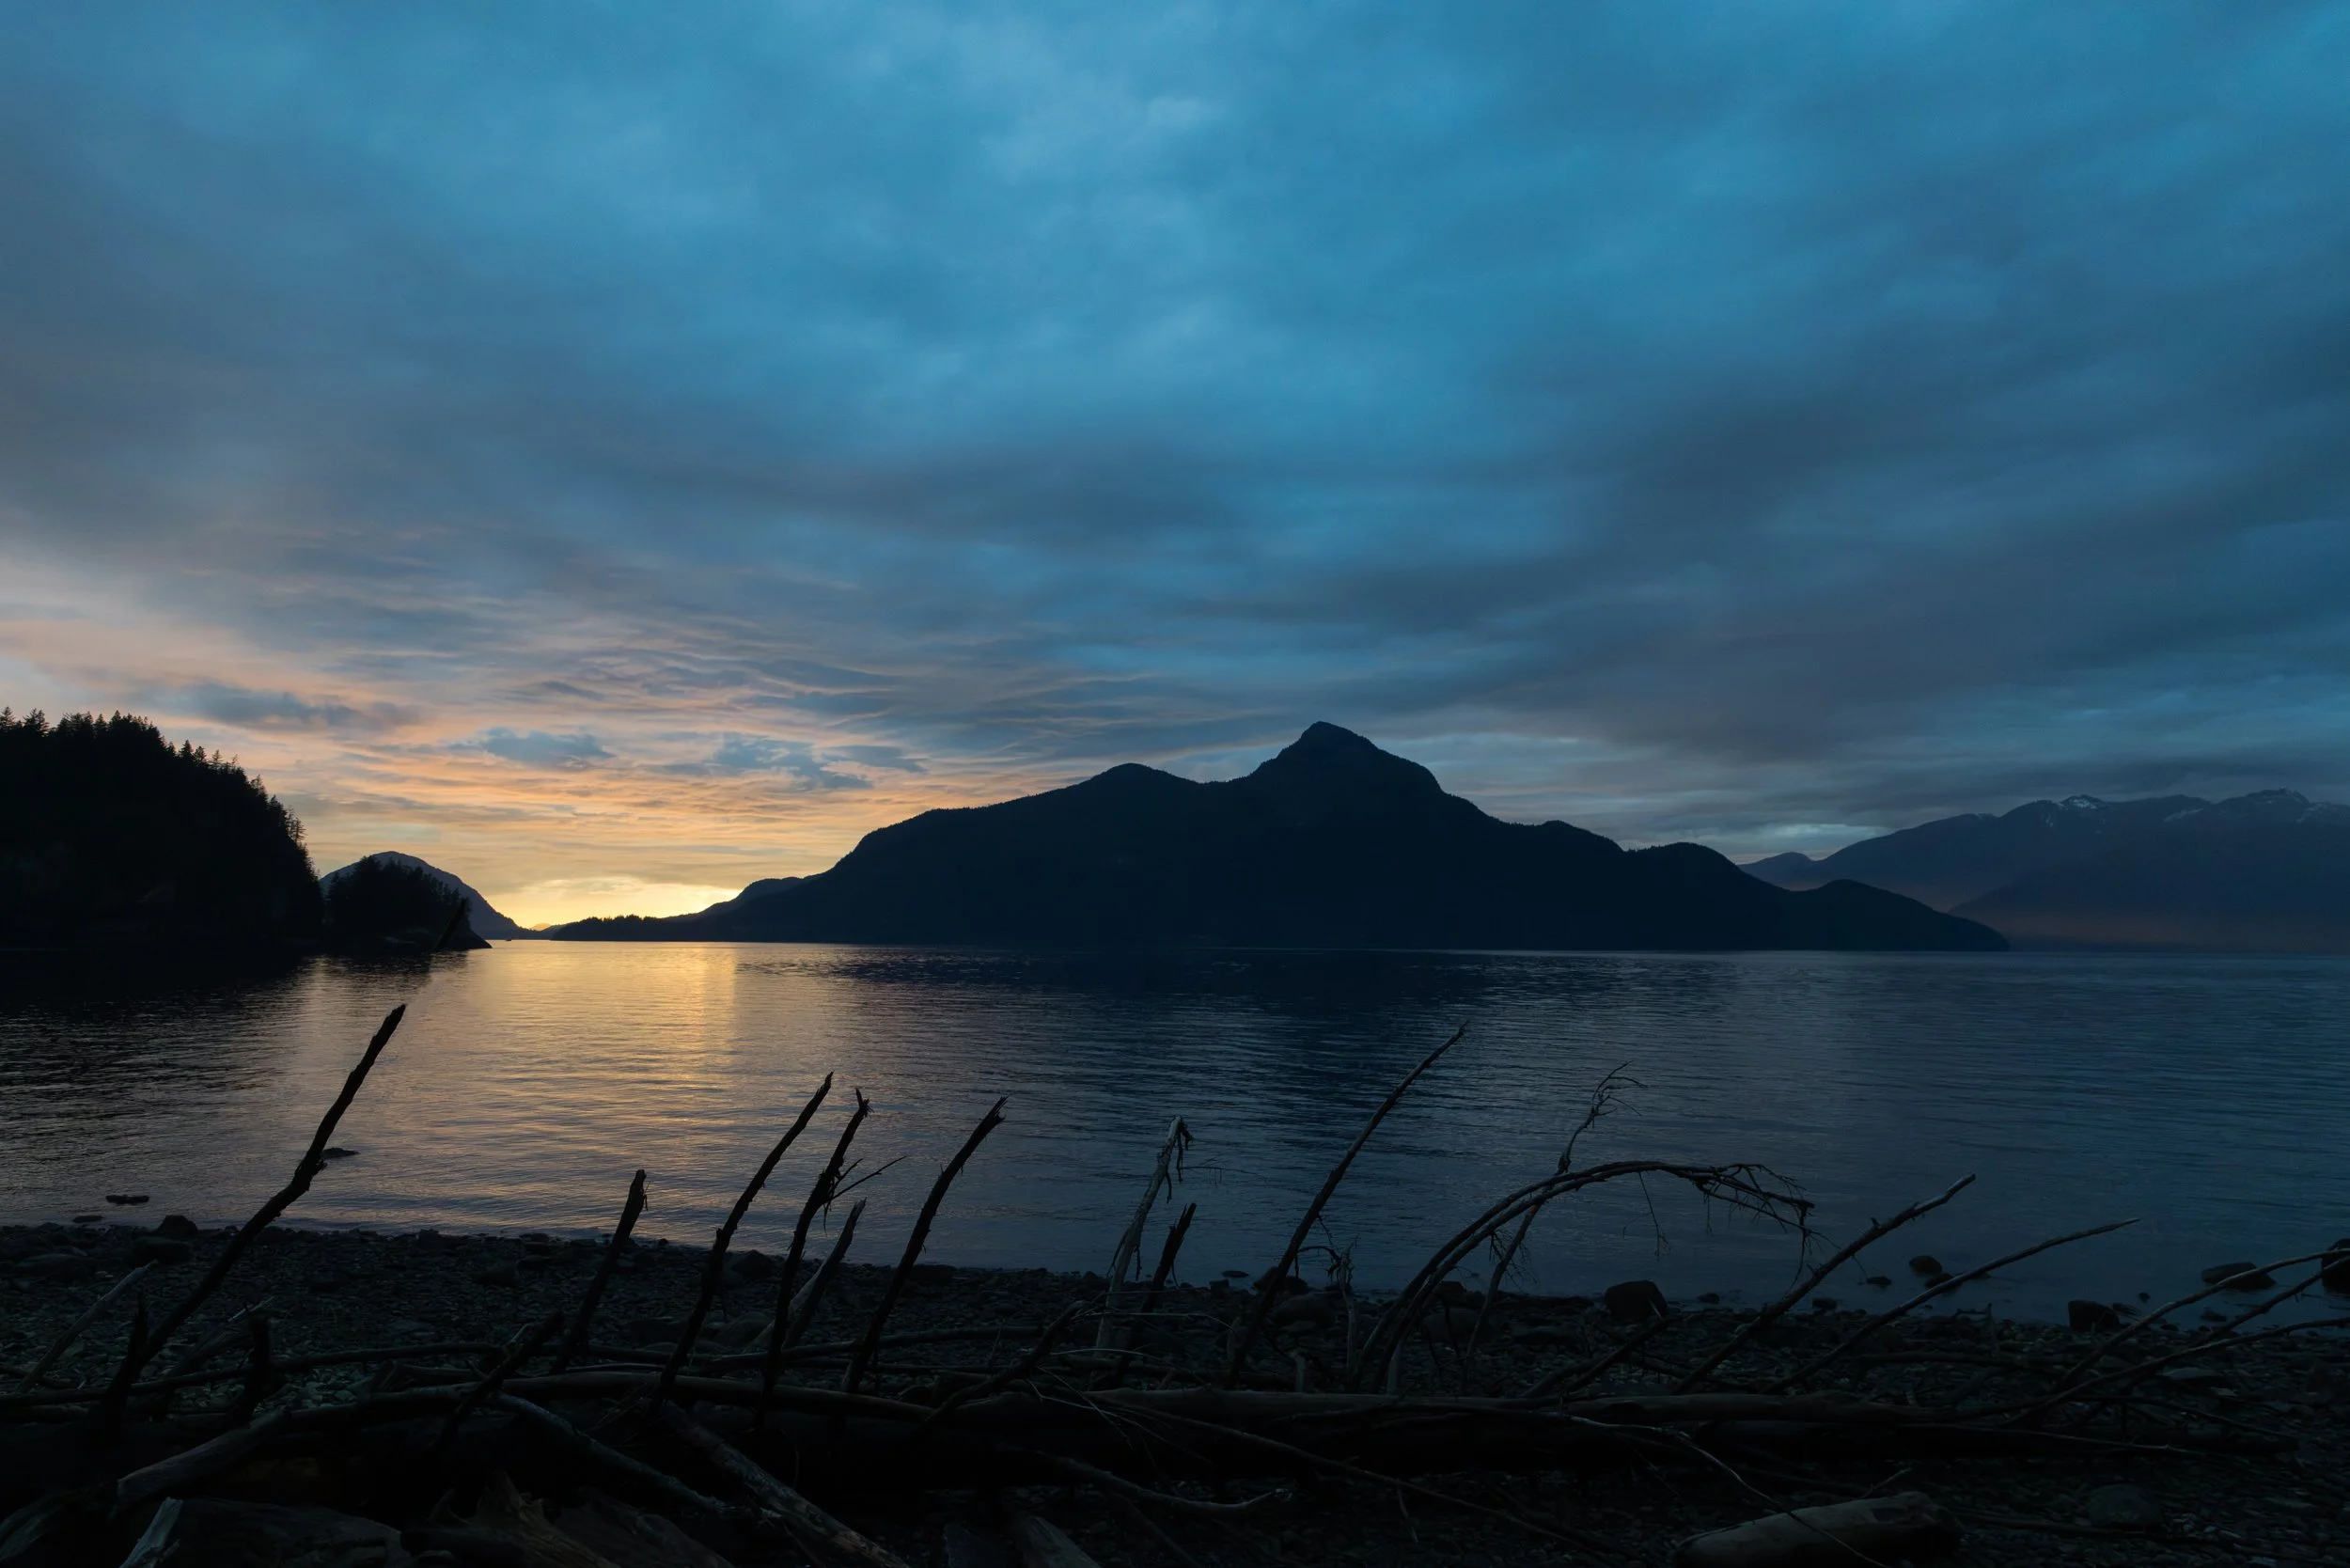
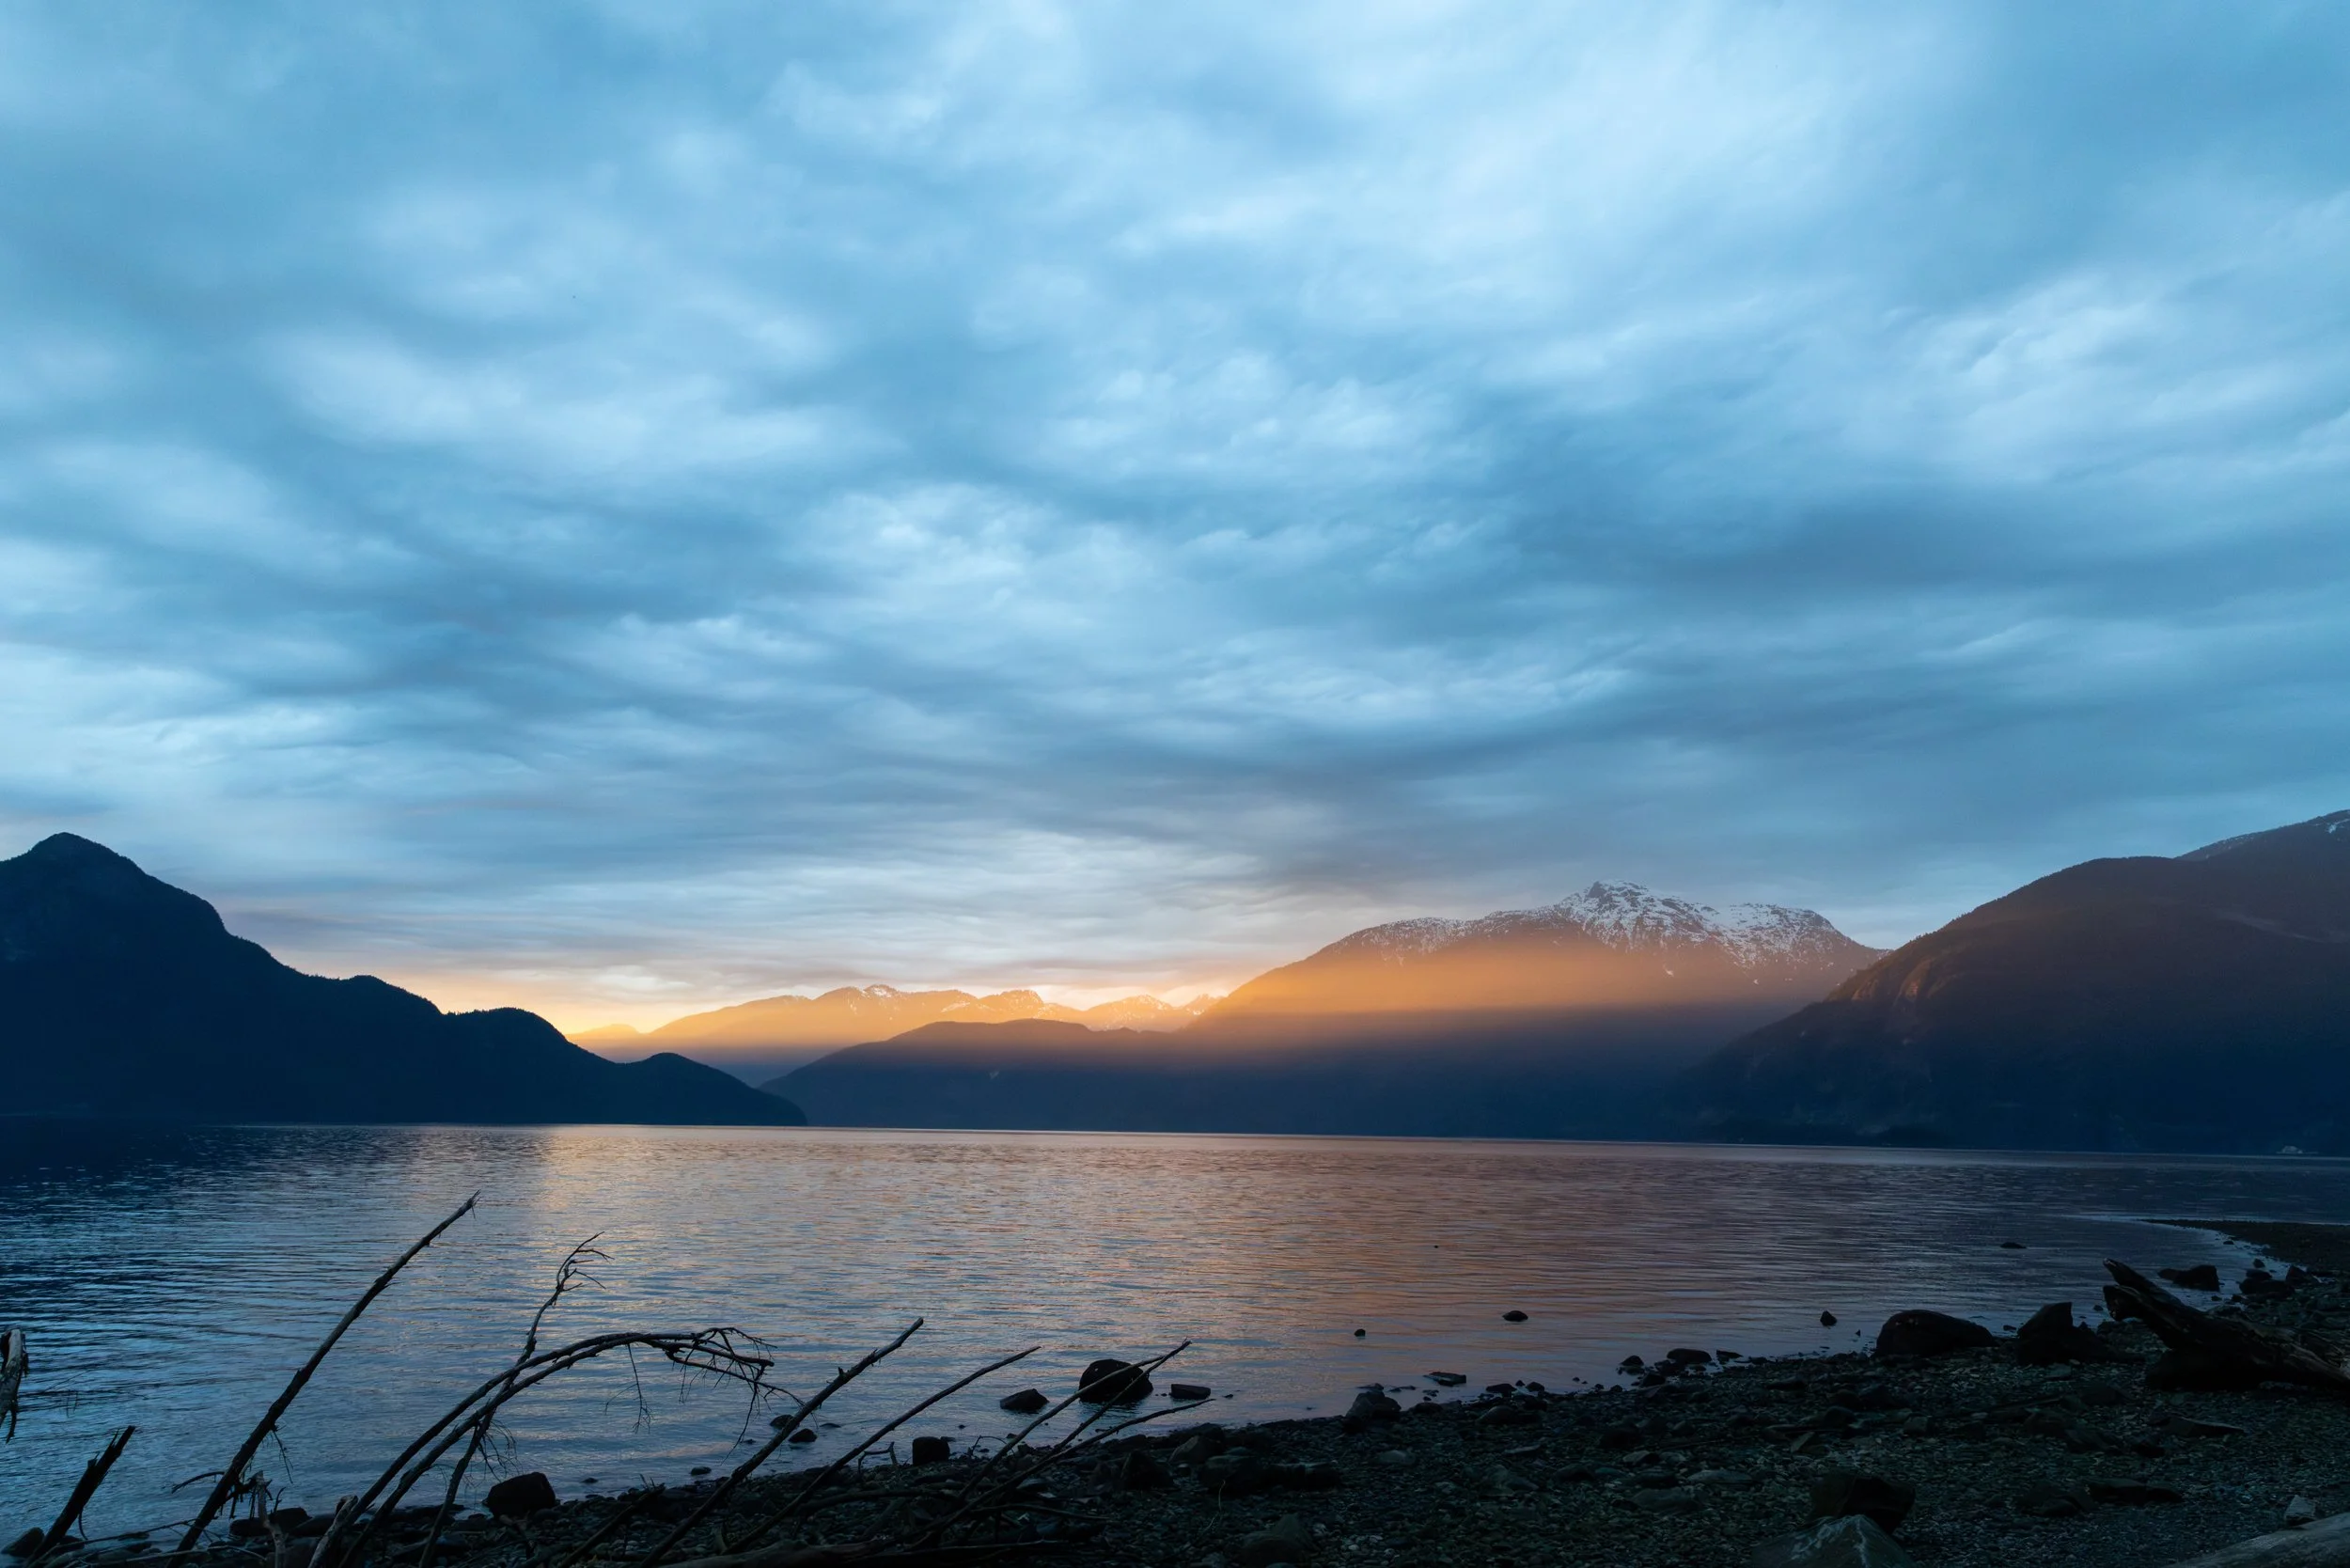

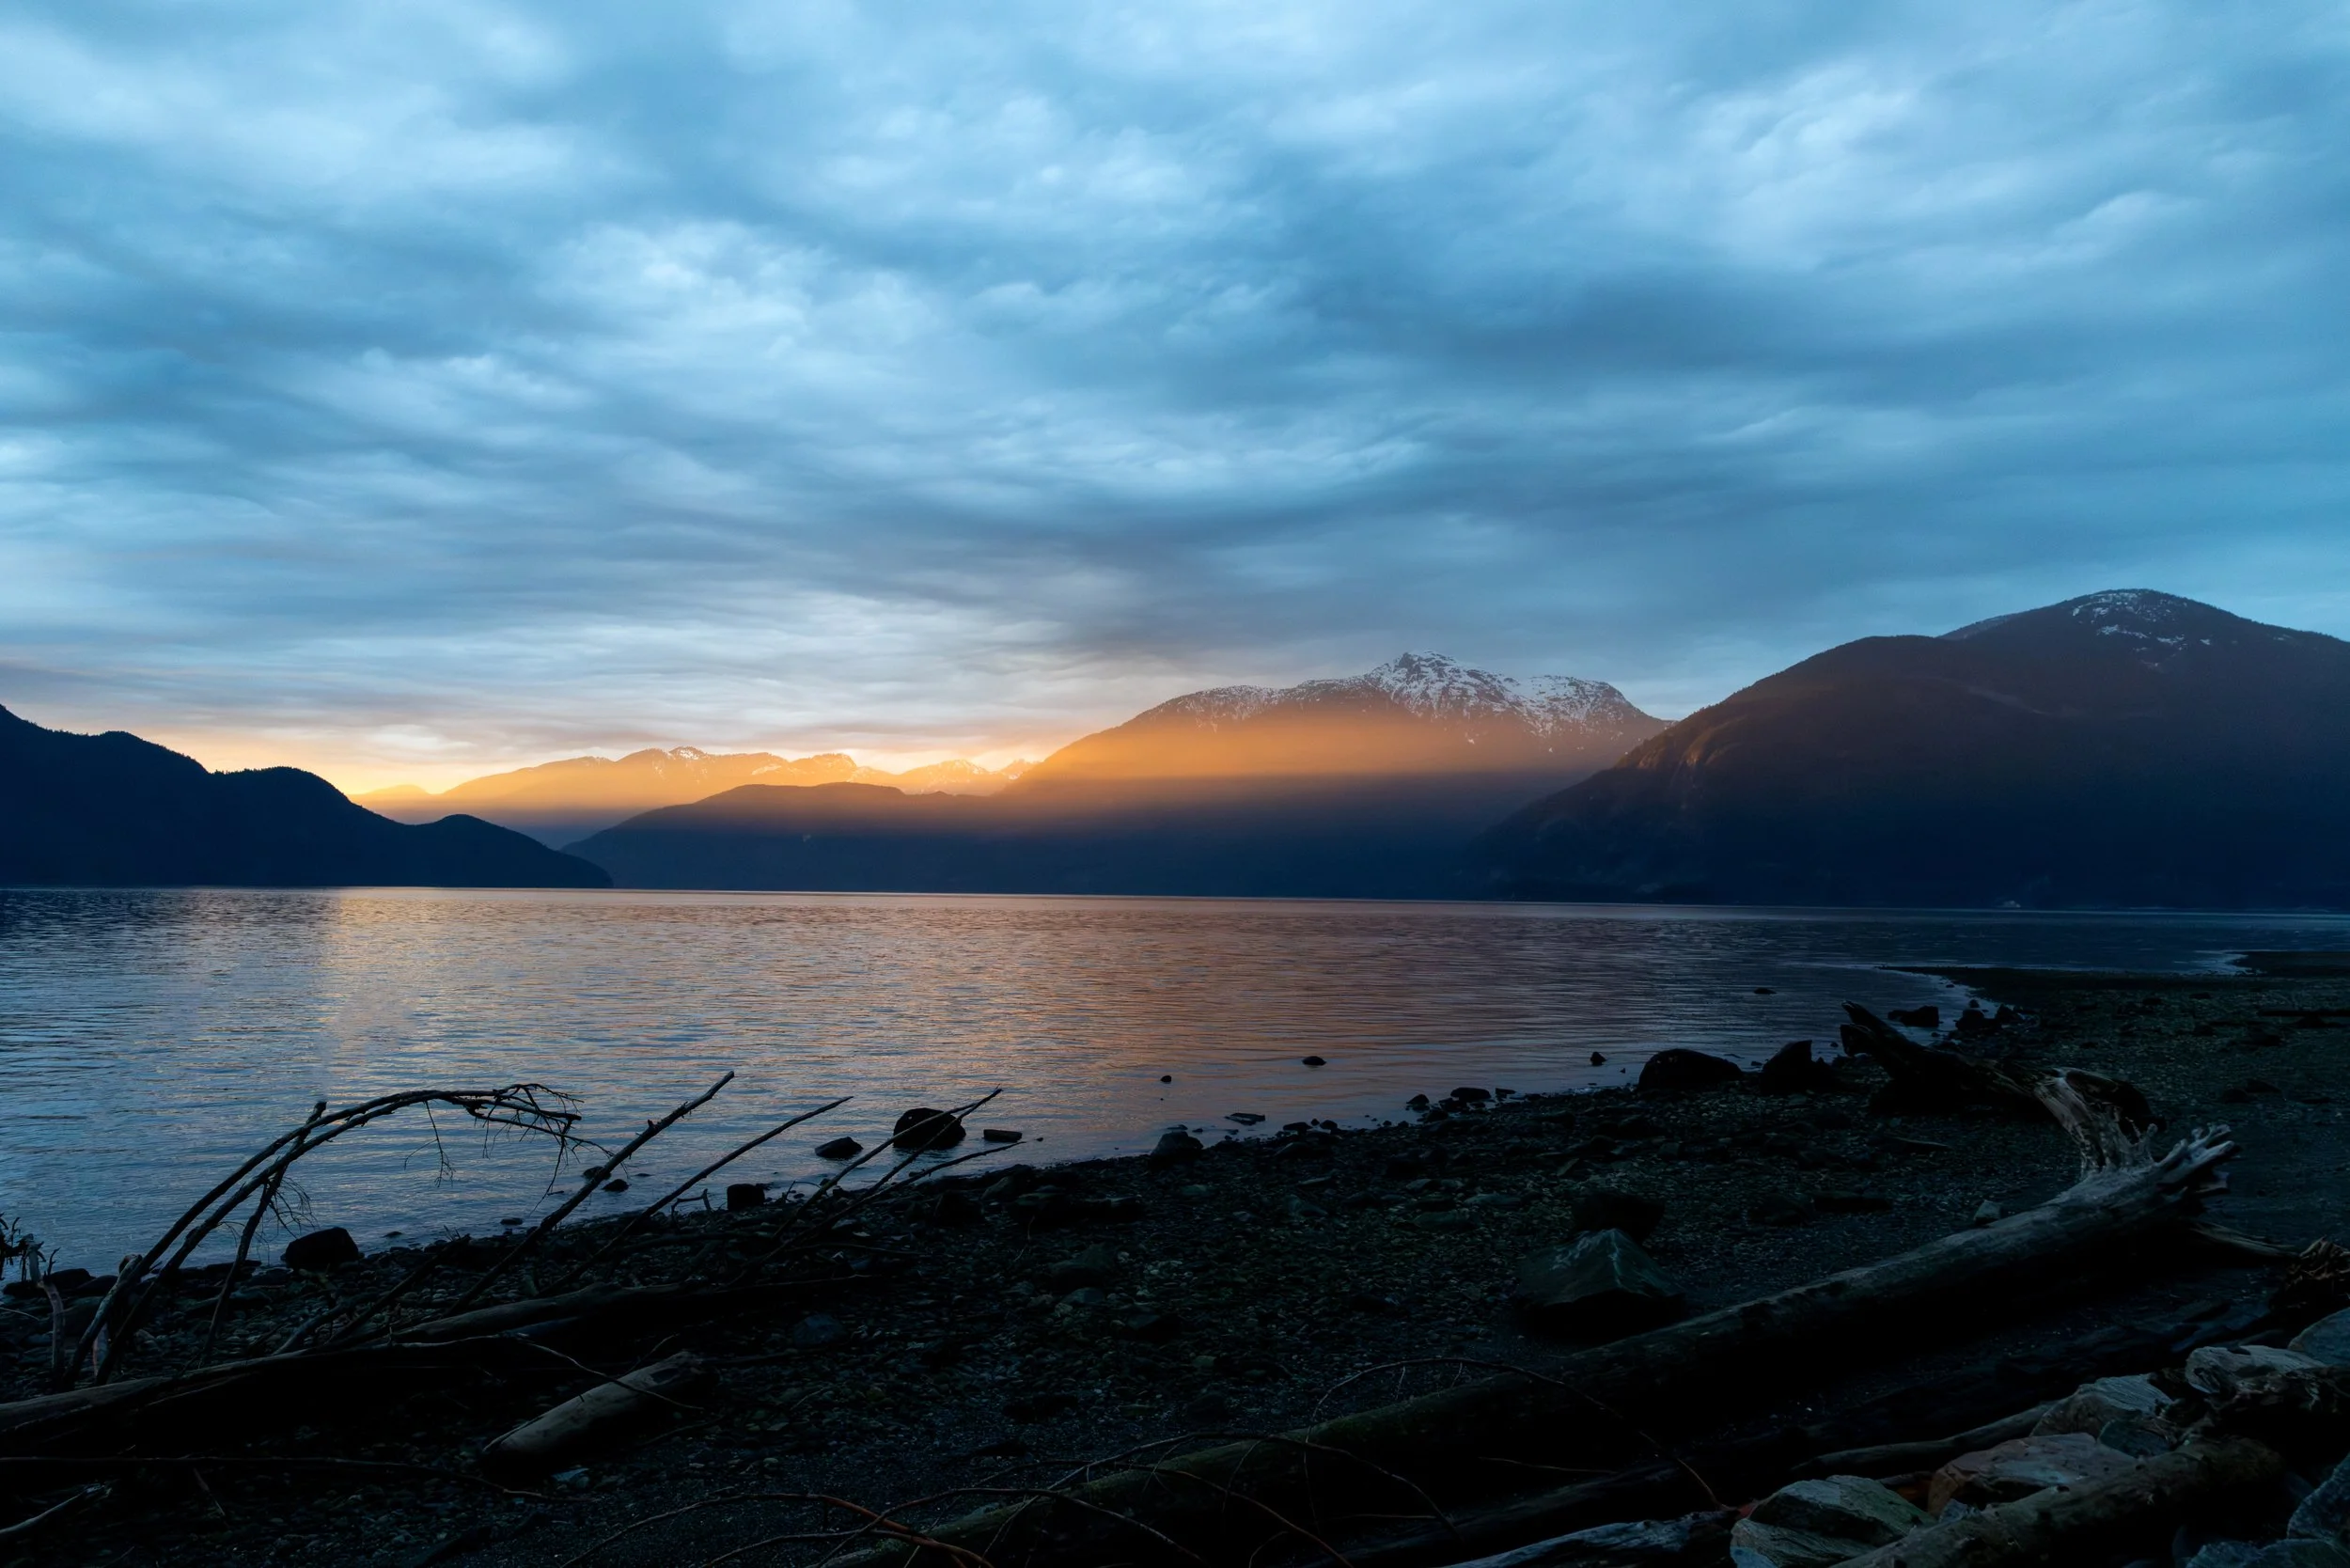
Porteau Cove Provincial Park
February 2026
BLOG
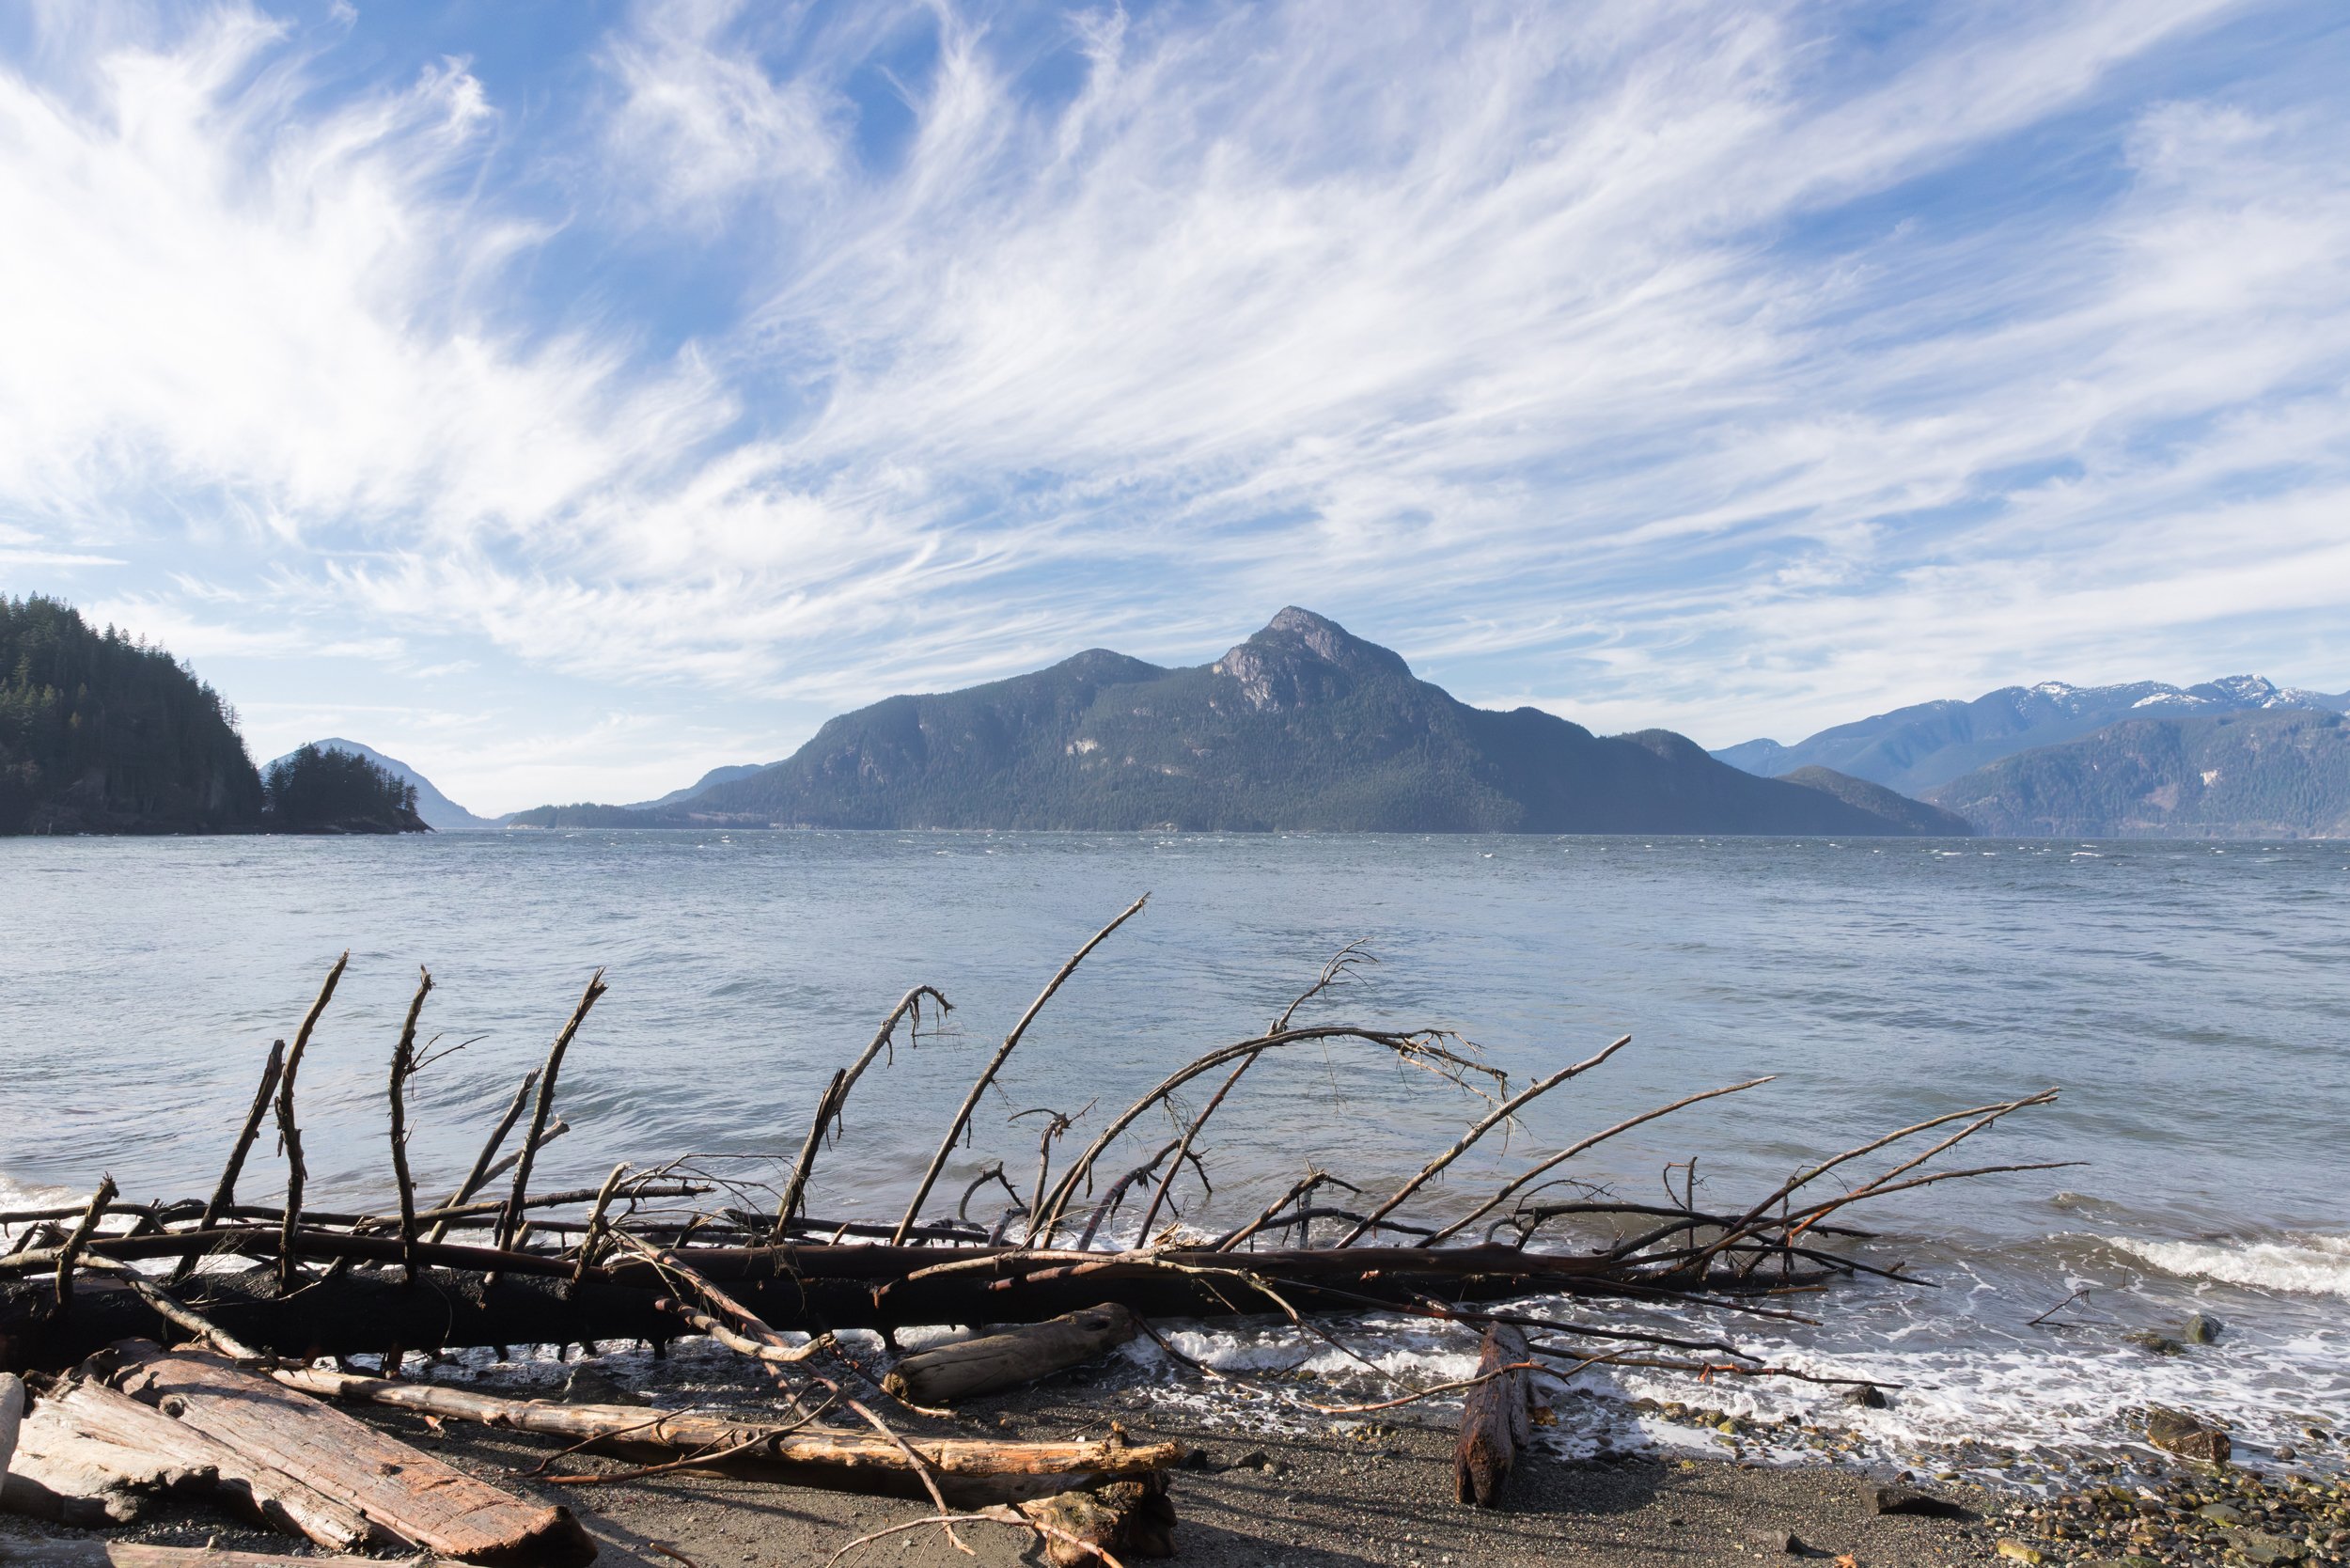
Porteau Cove Provincial Park
Travel Photography
March 2024
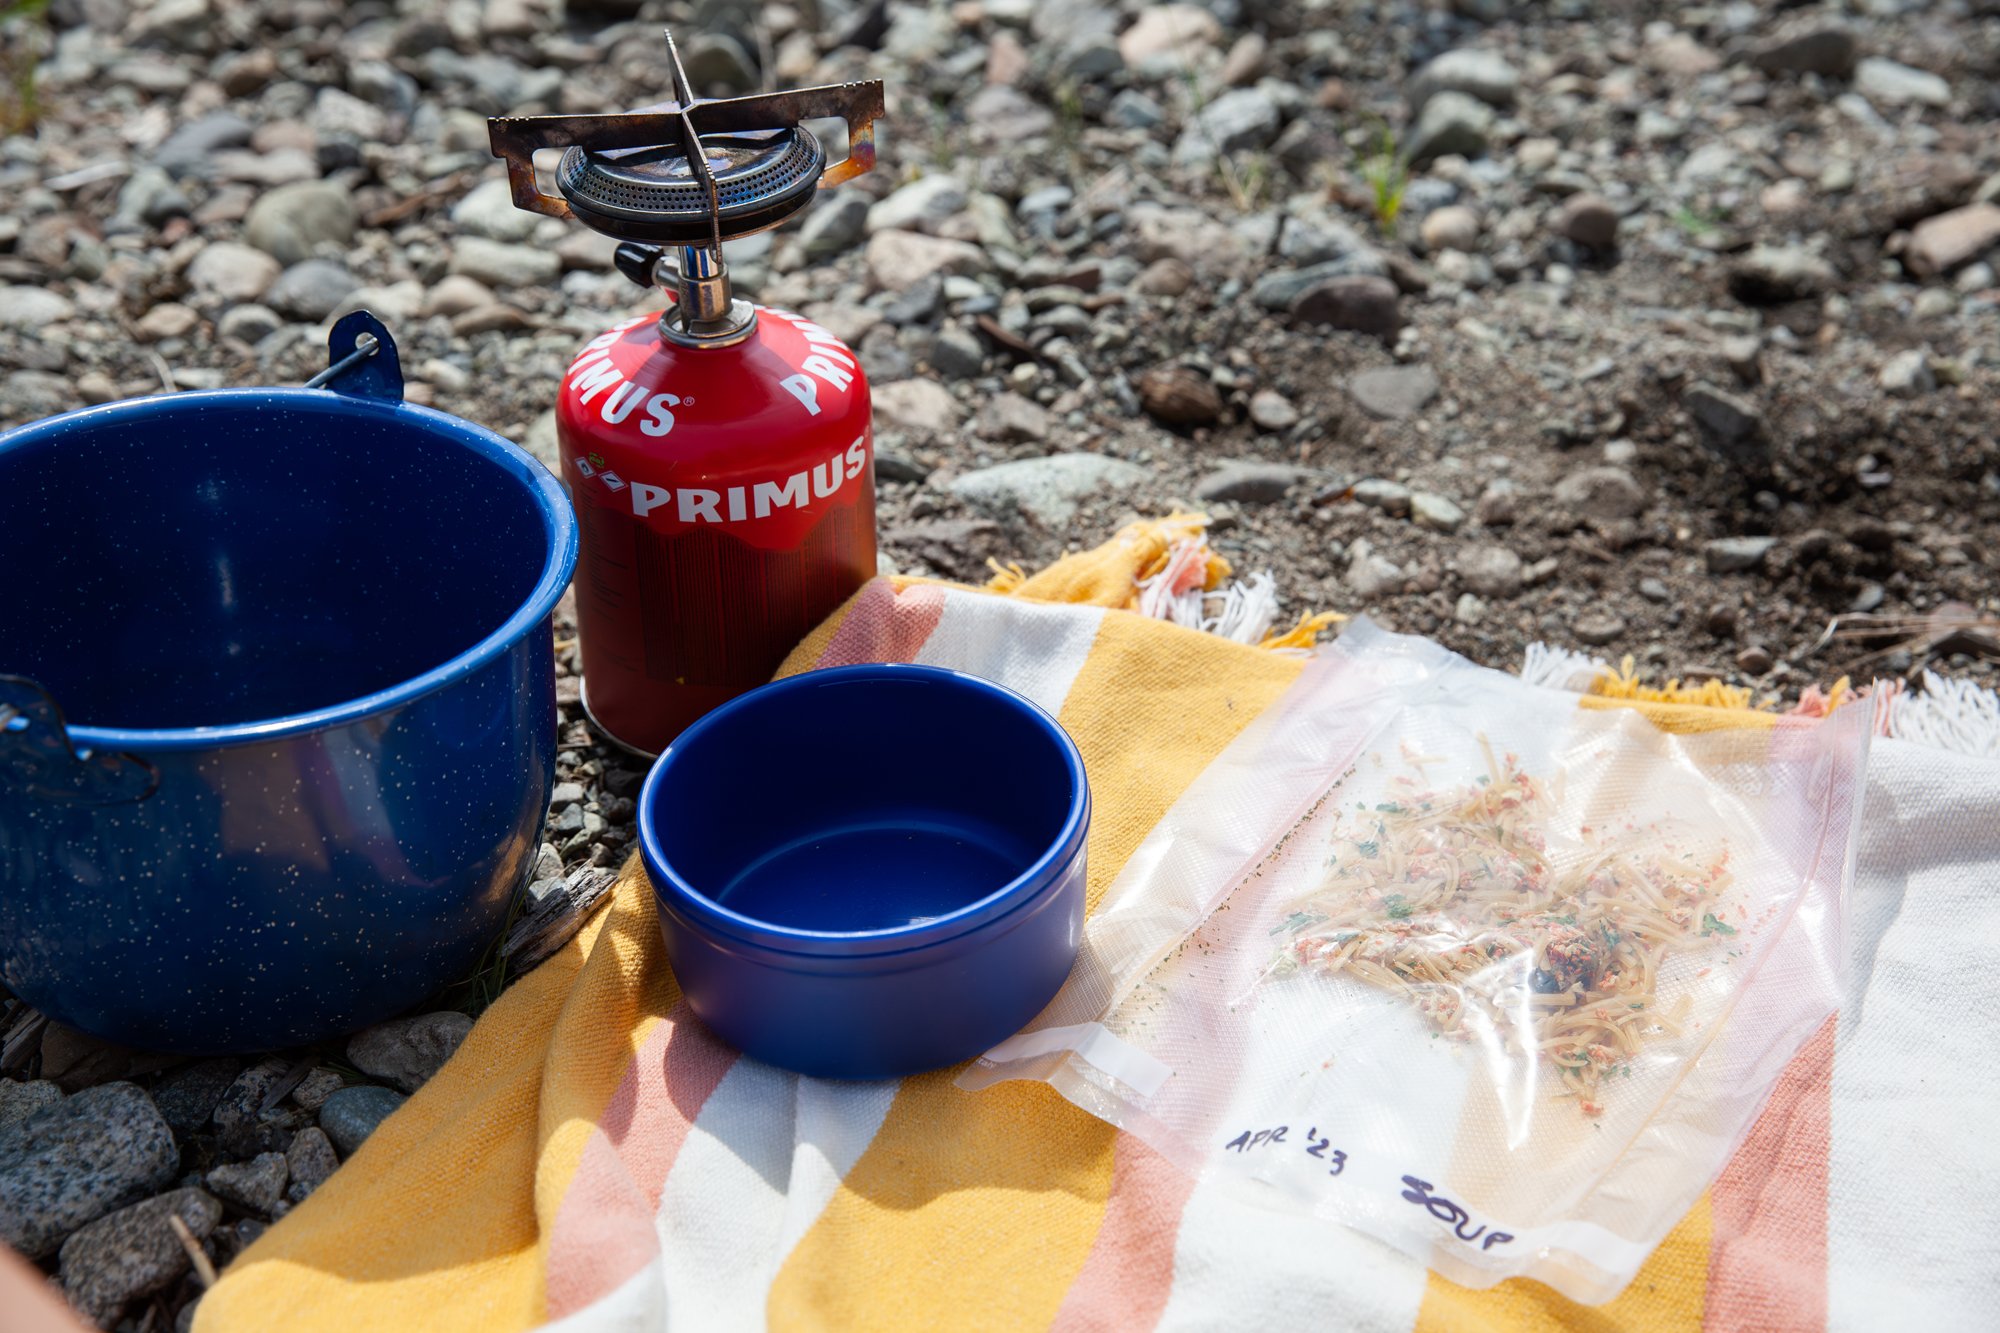
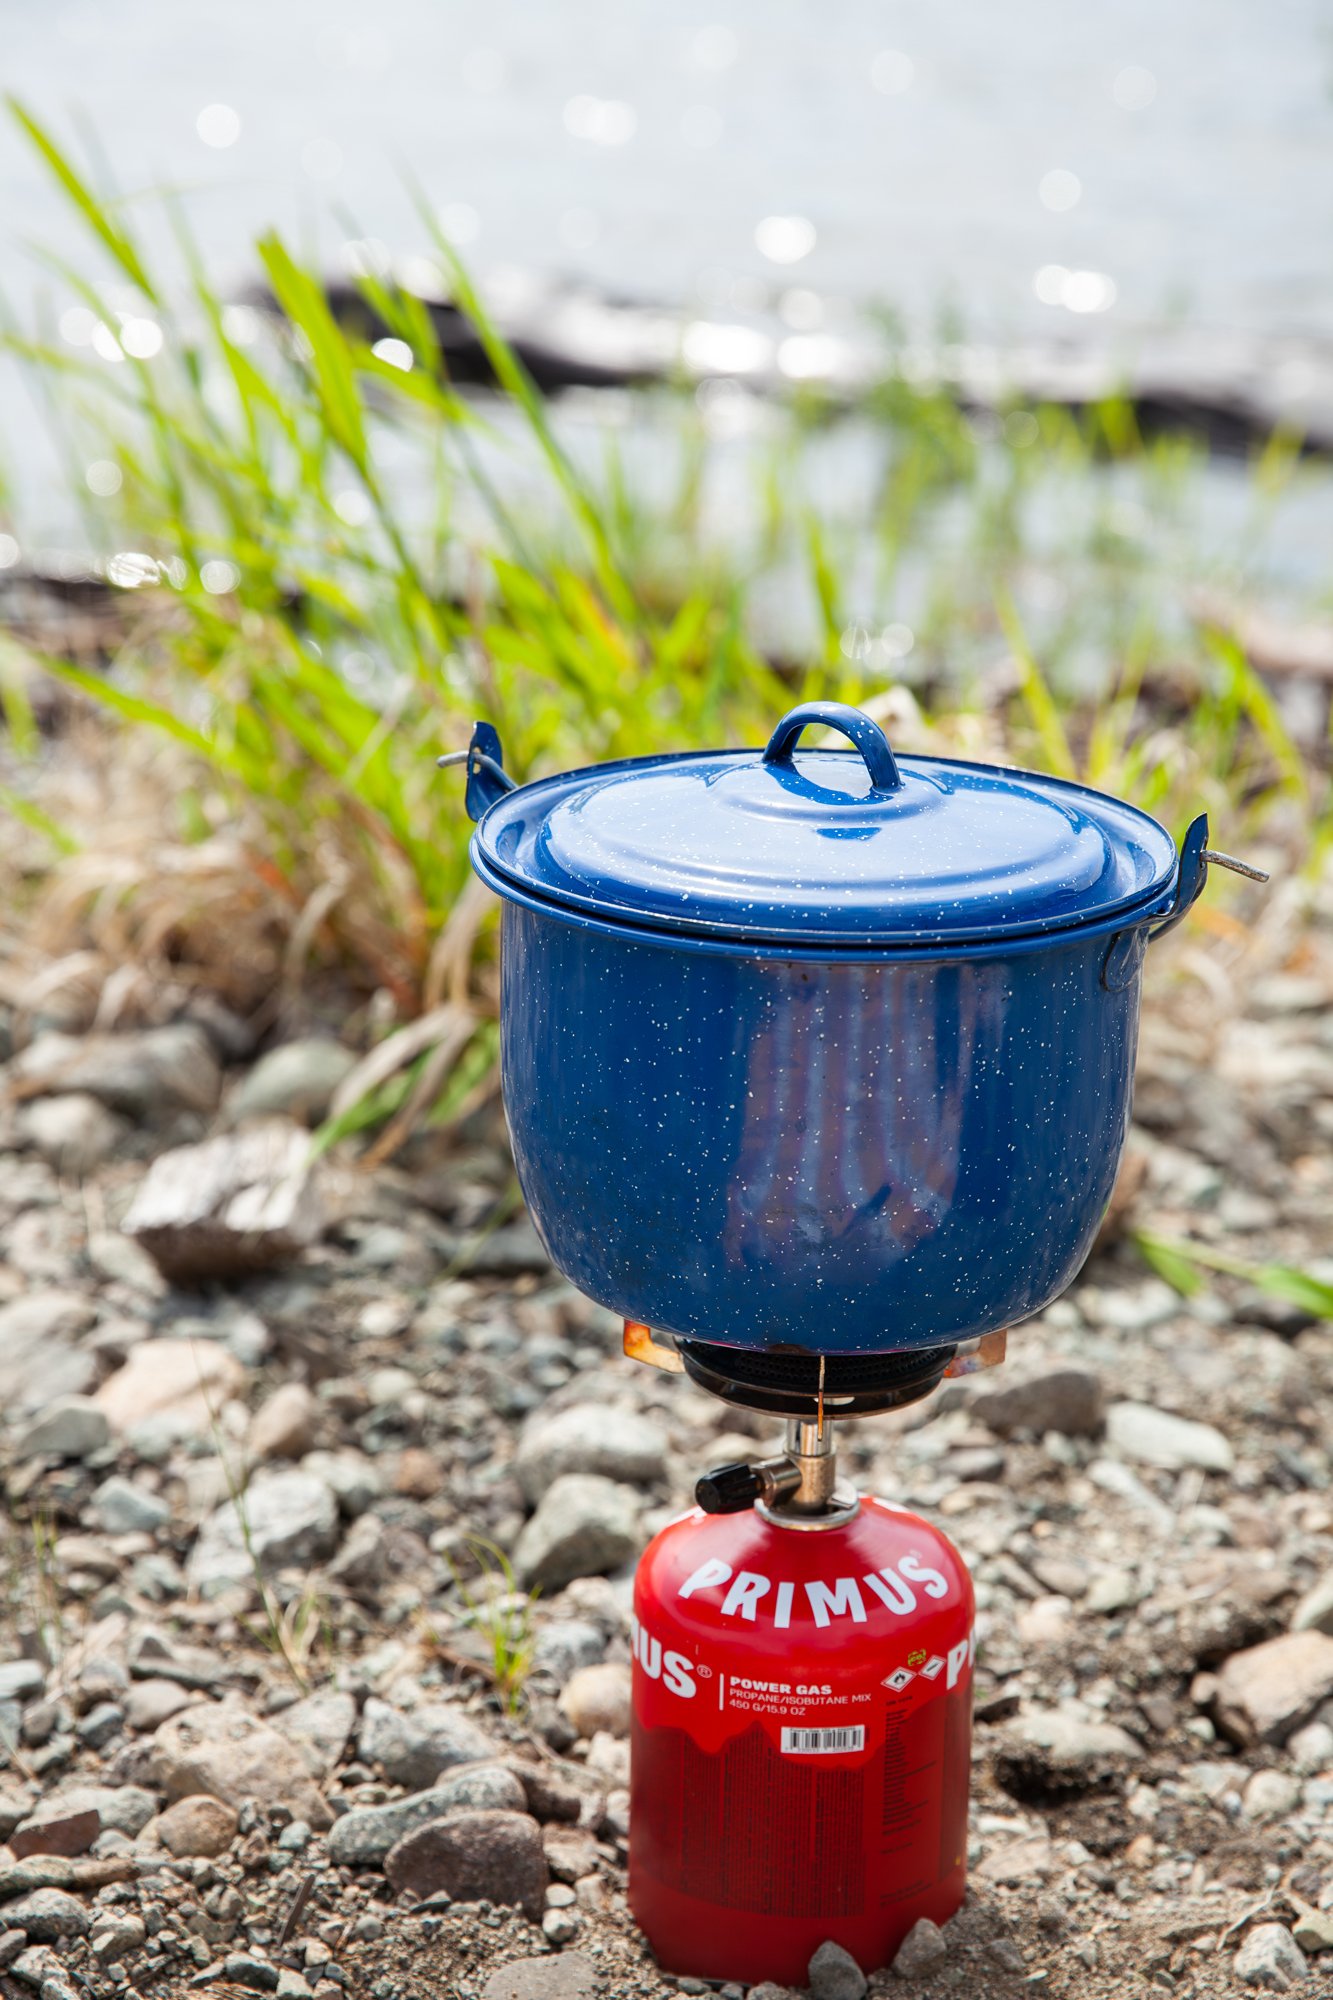
Dehydrated Soup
for BC Living
September 2023
Dehydrated meals are EXPENSIVE! If you’ve ever looked into going on a backpacking trip where you’re trying to carry light, you’d see that the mass marketed meals are pretty pricey.
Luckily, you can make simple dehydrated meals at home that will save you space, time, and fuel on the road/trail/adventure. A dehydrator is a great investment too – I've been drying my herbs from my garden and grinding them for my spice shelf.
I’ll probably turn this into a series over the next few summers as I find more and more things I can dehydrate, but we’re starting with a simple one!
DEHYDRATED SOUP
This soup is perfect for the cold start to the outdoor season, a rainy night when you want something quick, or as a side with a sandwich. They’re also great for at home if you want to make a big batch of something and save space in the freezer.
INGREDIENTS
- 1 medium carrot, peeled
- 1-2 stalks of celery
- 1 small onion
- 1 clove of garlic, minced
- 1 tsp parsley
- 1 tsp olive oil
- ½ cup pasta/noodle shape of your choice
- 1 bouillon cube (vegetable, chicken, or otherwise)
- salt and pepper
INSTRUCTIONS
Finely chop the carrot, celery, onion and garlic into very small pieces. (This is a mirepoix/sofrito mix, with some garlic added as well.)
In a large pot, heat the tsp of olive oil - do not use more than this, you don’t want fat in stored food if you’re keeping these for a while.
Add the chopped veggies to the pot and cook, sweating them until their water has released, and the onions are tender. Set aside and let cool, then spread on the appropriate tray of the dehydrator, and follow the machine’s instructions for how long to dry them for. Mine took about 6 hours, but you can test and see throughout if they are done.
At the same time, you can spread parsley leaves on another tray and dry them as well or skip this step and add dried parsley to the finished product.
You have two options for the pasta. You can cook it ahead of time, drain it when just al dente, and douse it with cold water to stop the cooking process. And then dry the pasta again.
Doing this will help it cook faster on site and save fuel. If that isn’t of concern, you can cook it all together in one pot at the campsite.
When everything is dry, in a bag, or mason jar, add the dried carrot, celery, onion, garlic, and parsley. Toss in a bouillon cube, add some salt and pepper and the pasta.
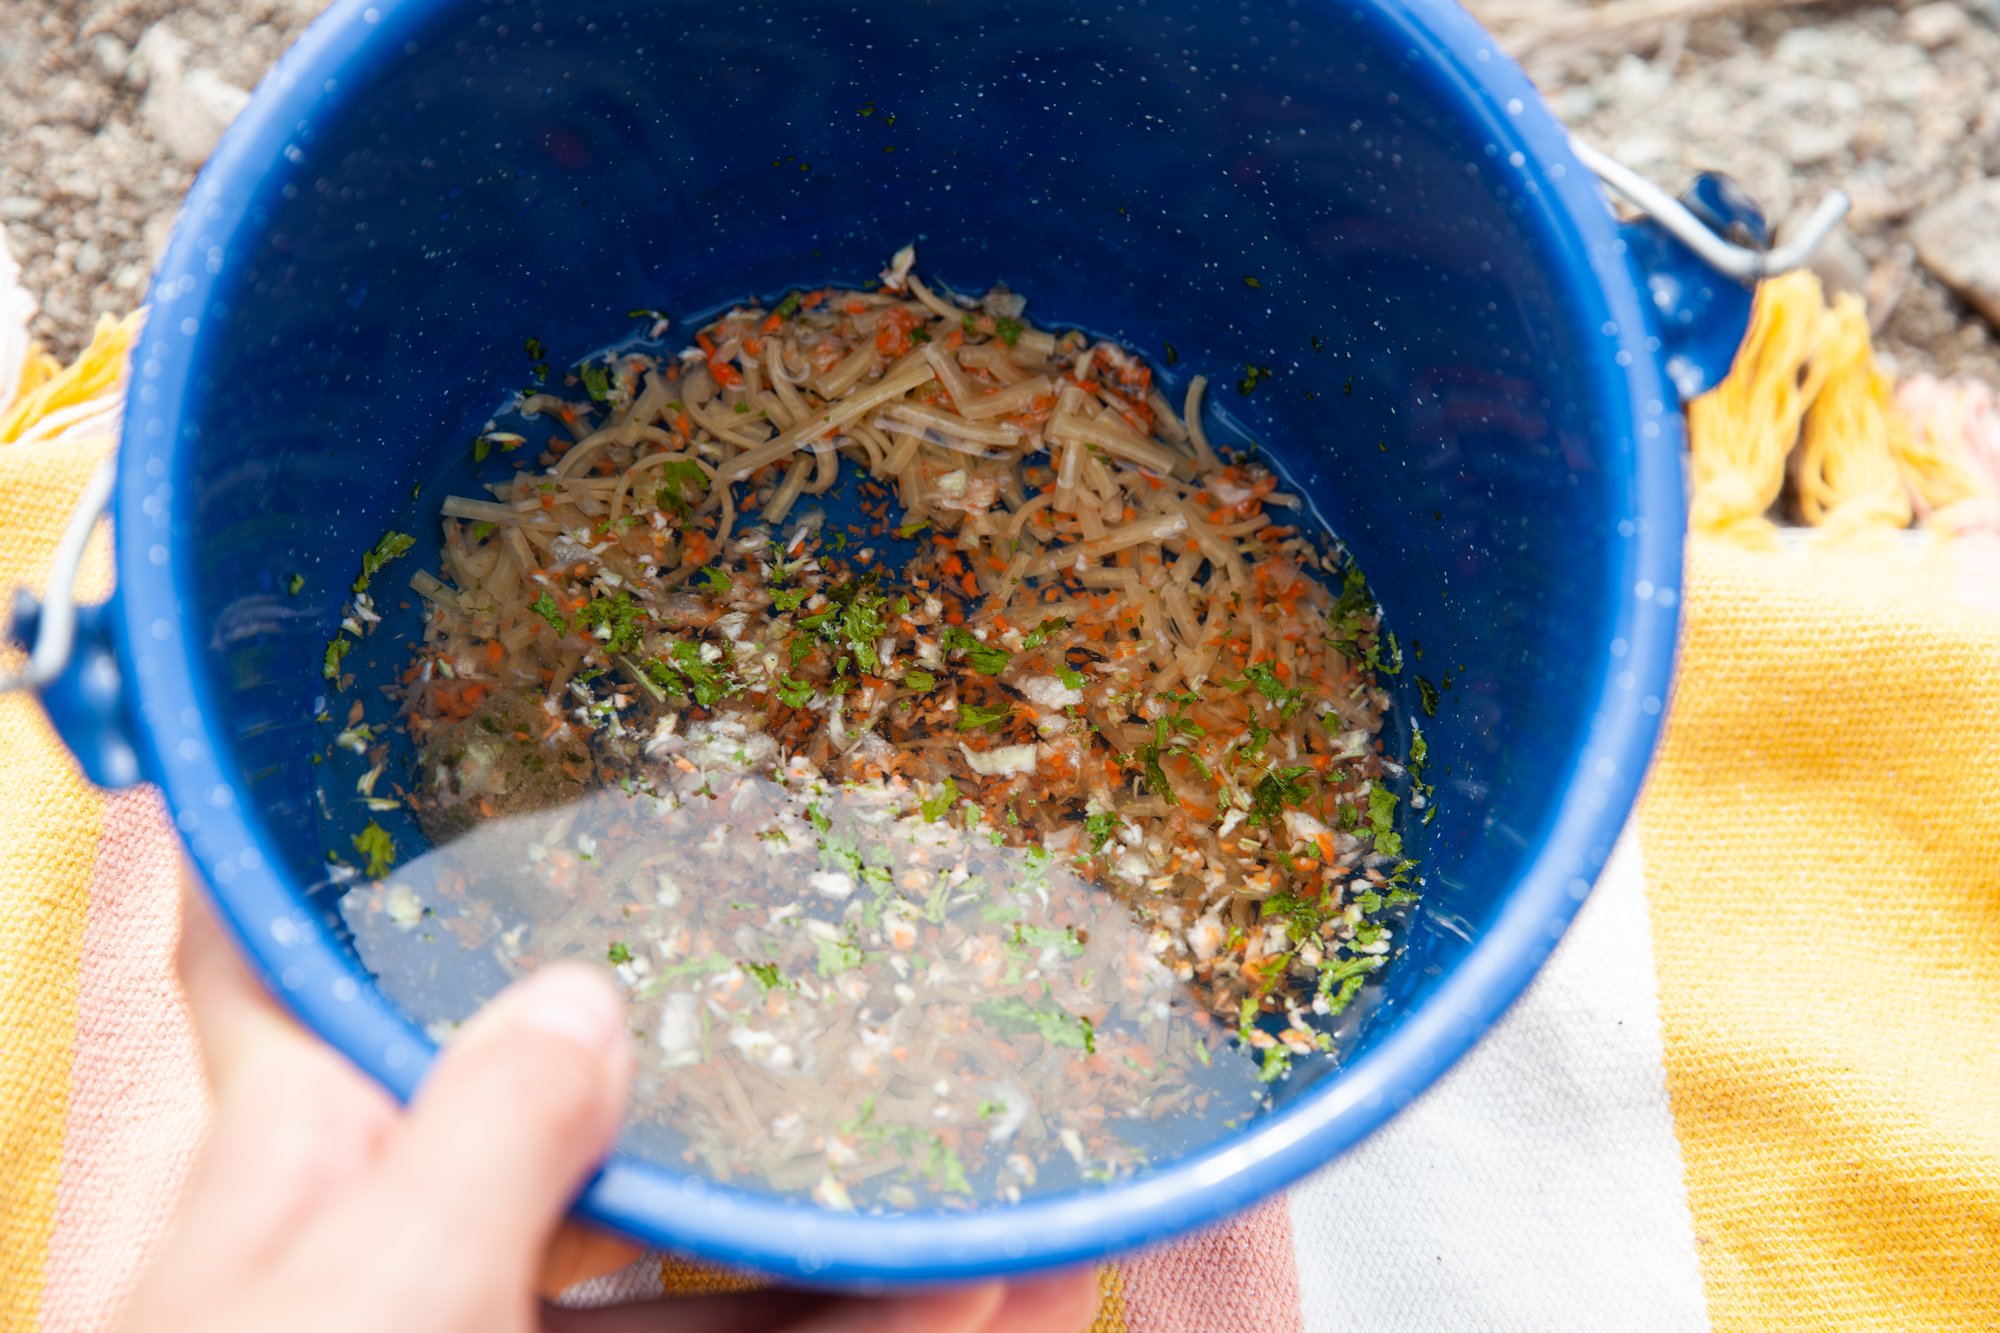
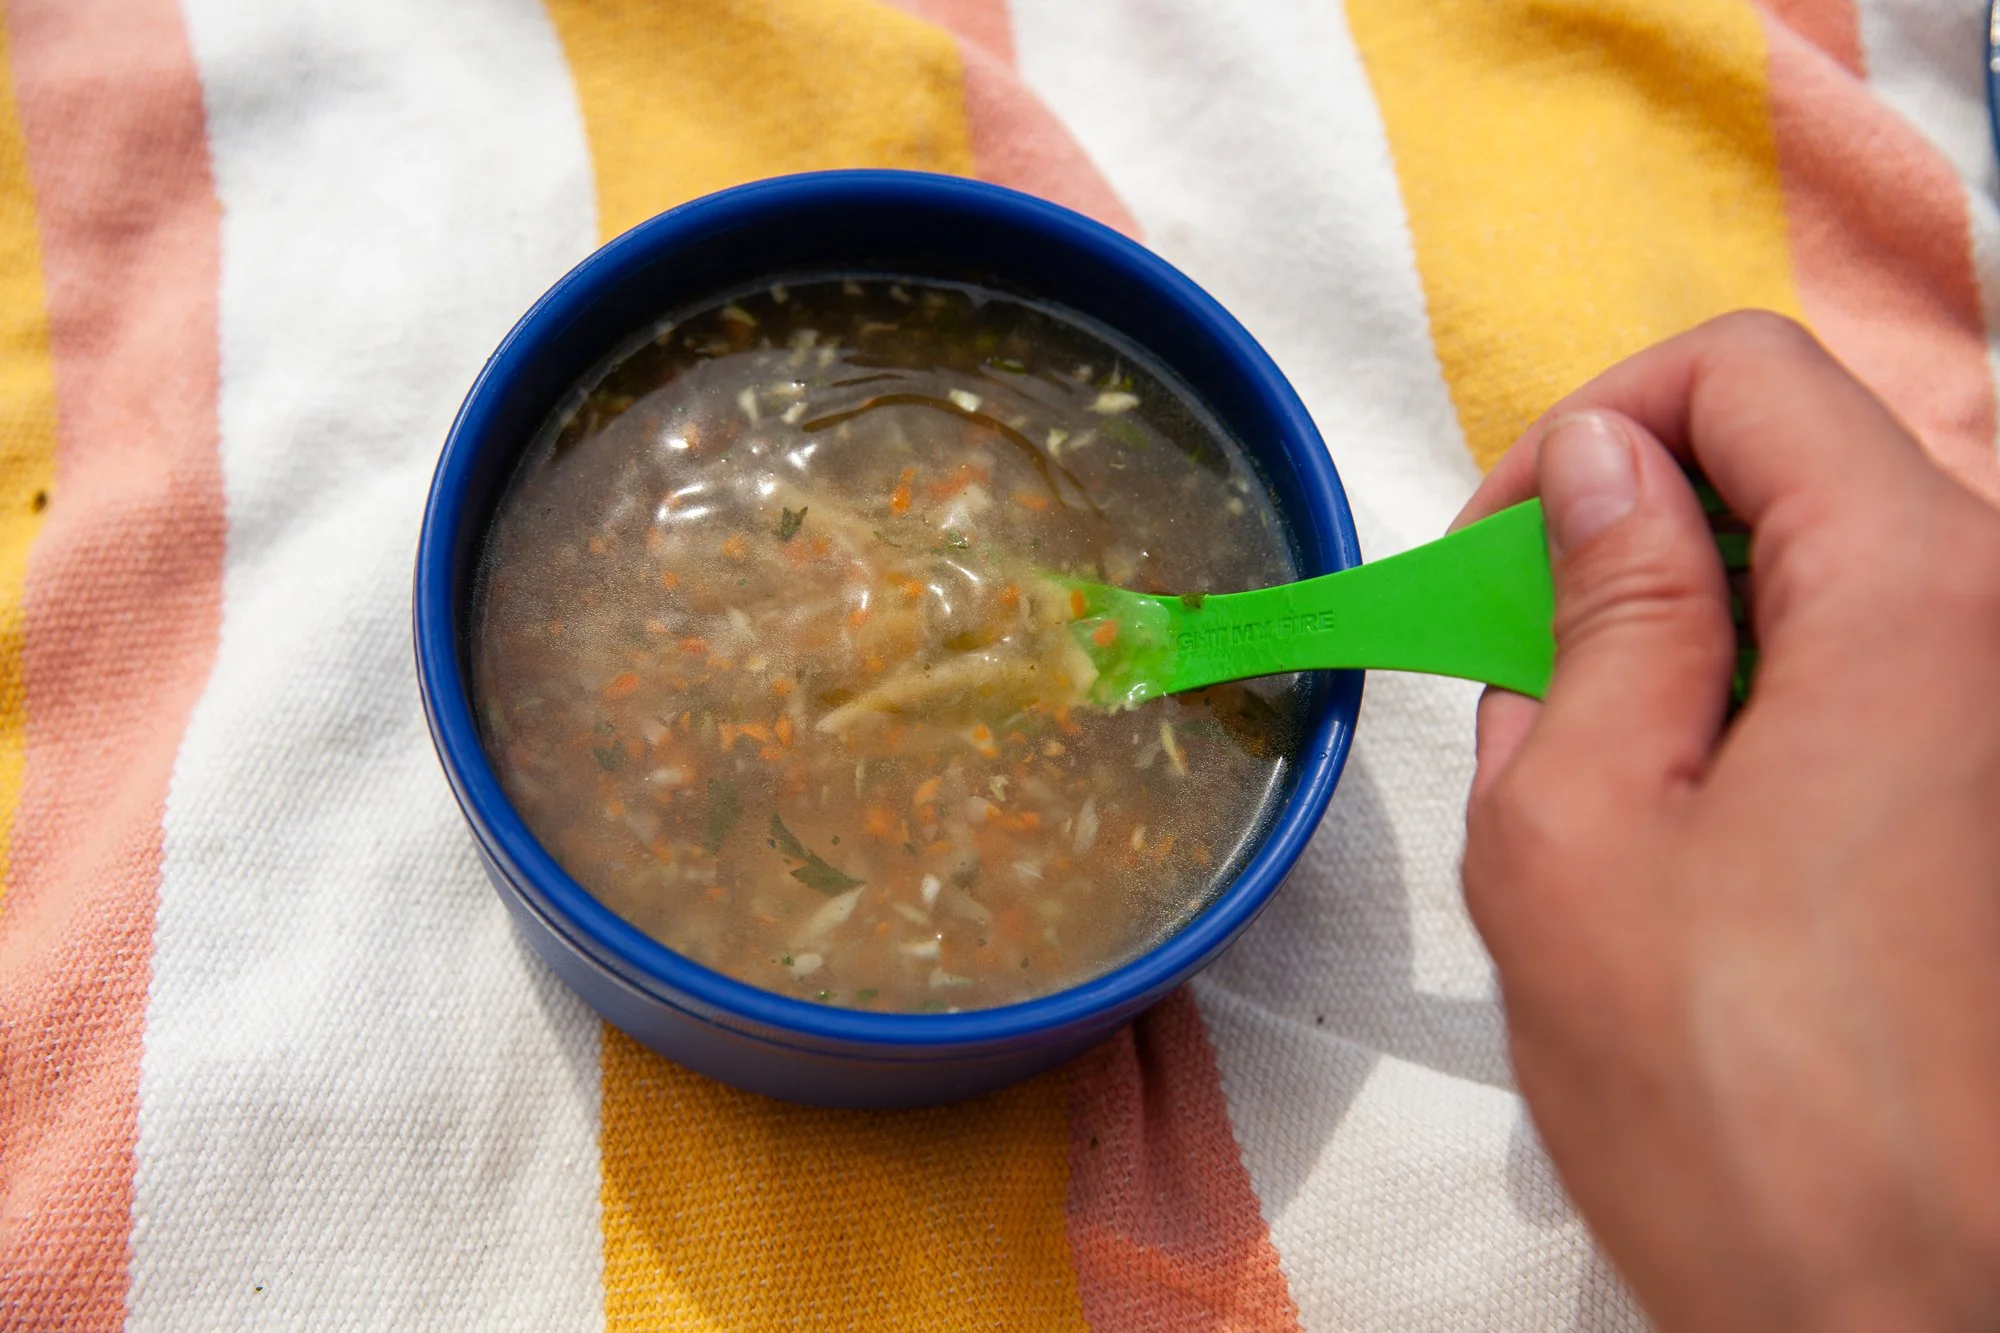
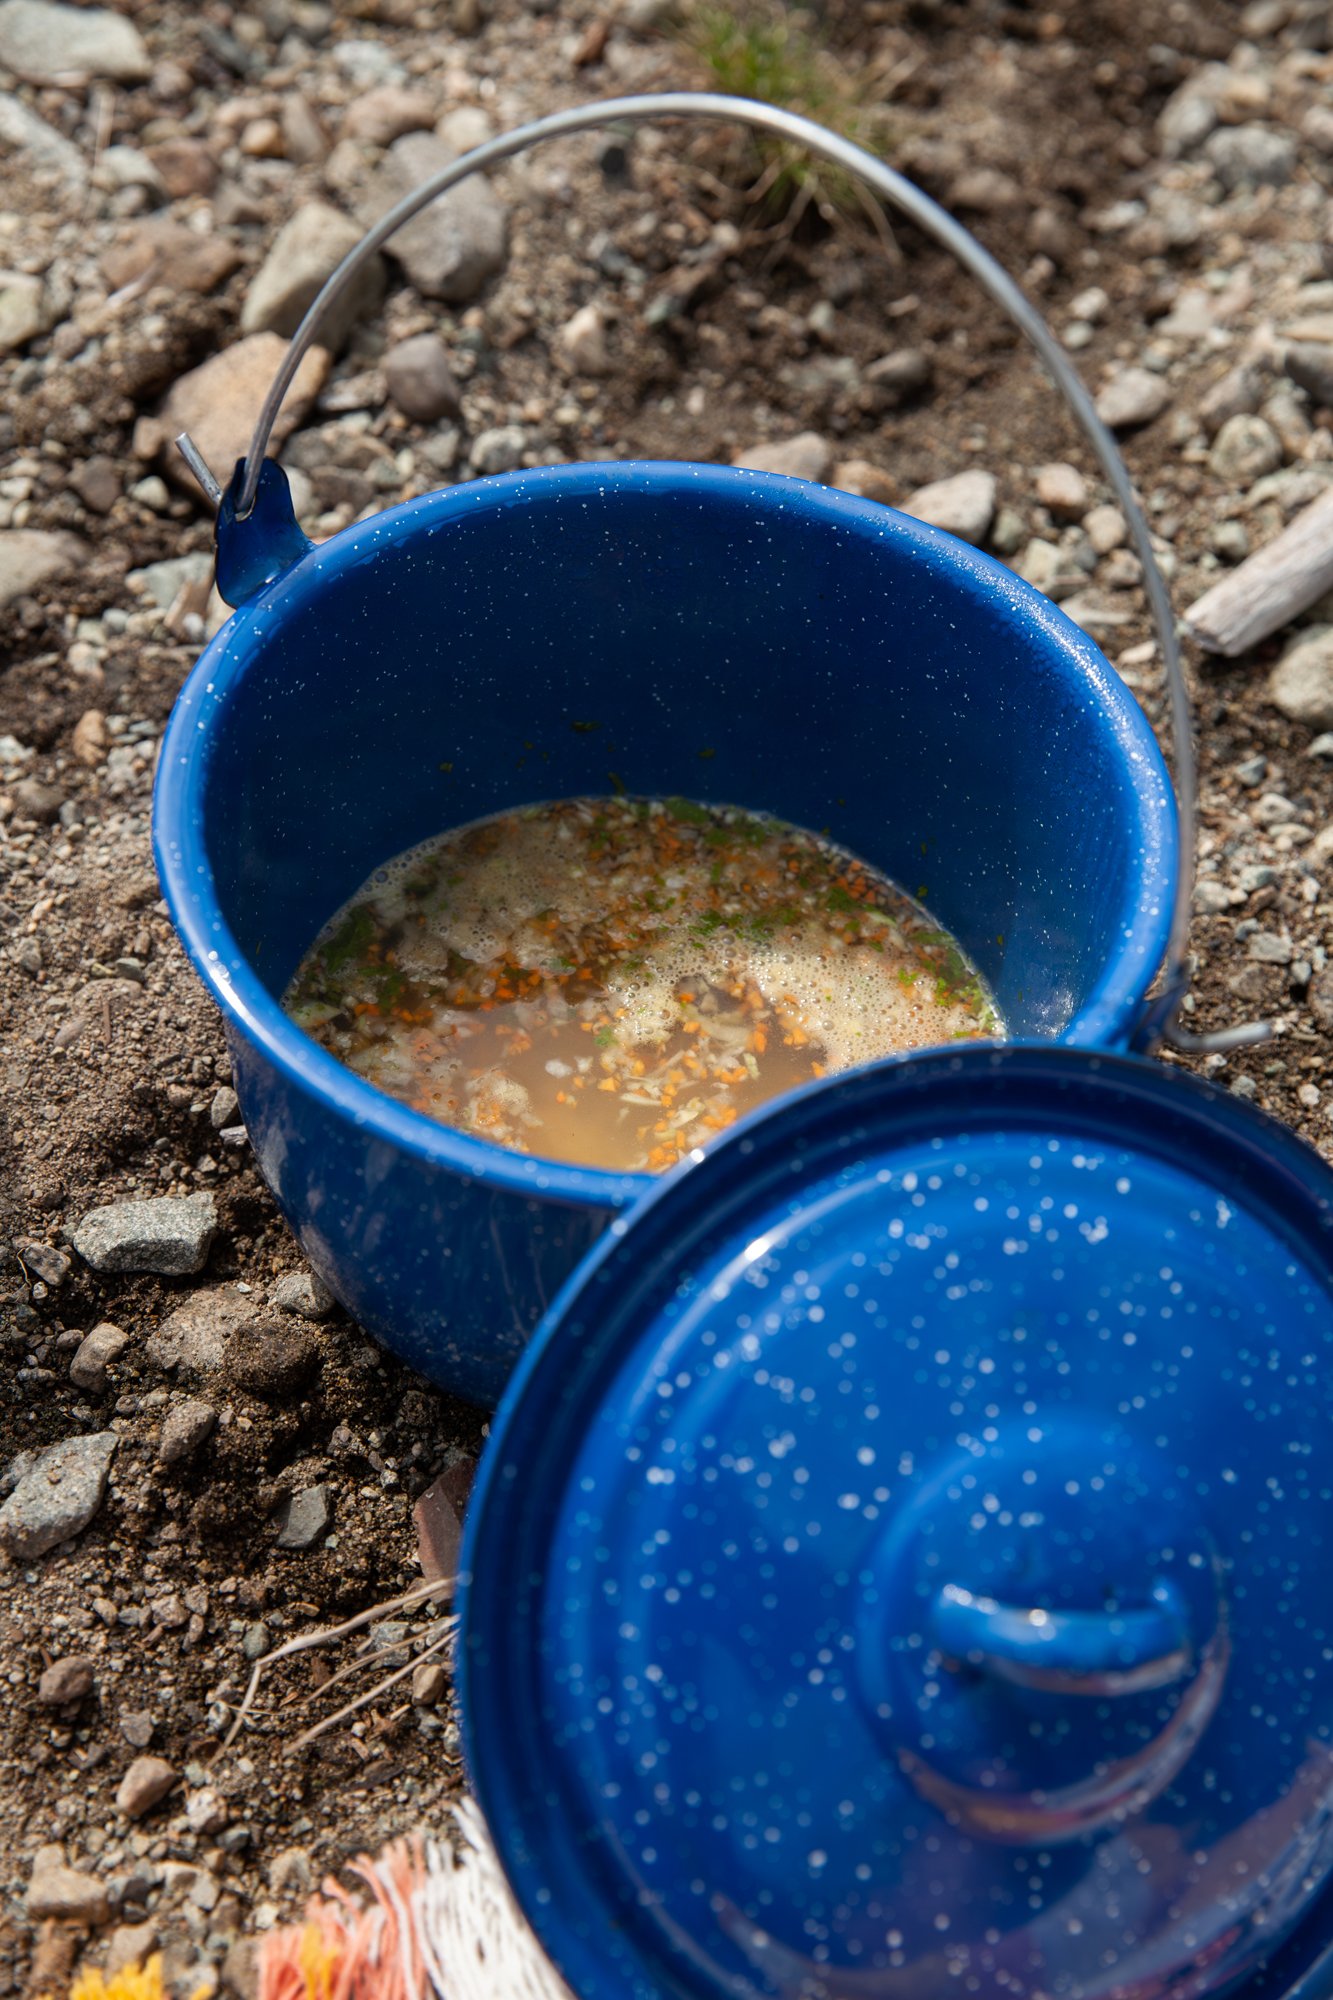
When cooking, add the mix to a pot, add a cup of water and let it stand and soak for 5-10 minutes – everything will begin to rehydrate without the use of fuel.
Then bring everything to a rolling boil, stirring to break up the bouillon cube, and let stand for 5 minutes, covered, or until the pasta is done.
ENJOY!
Note: If you’re going to be making a recipe in the near future that requires a mirepoix/sofrito - ex. A Bolognese, other soup, etc. - you can make extra and dehydrate it for future recipes like this!
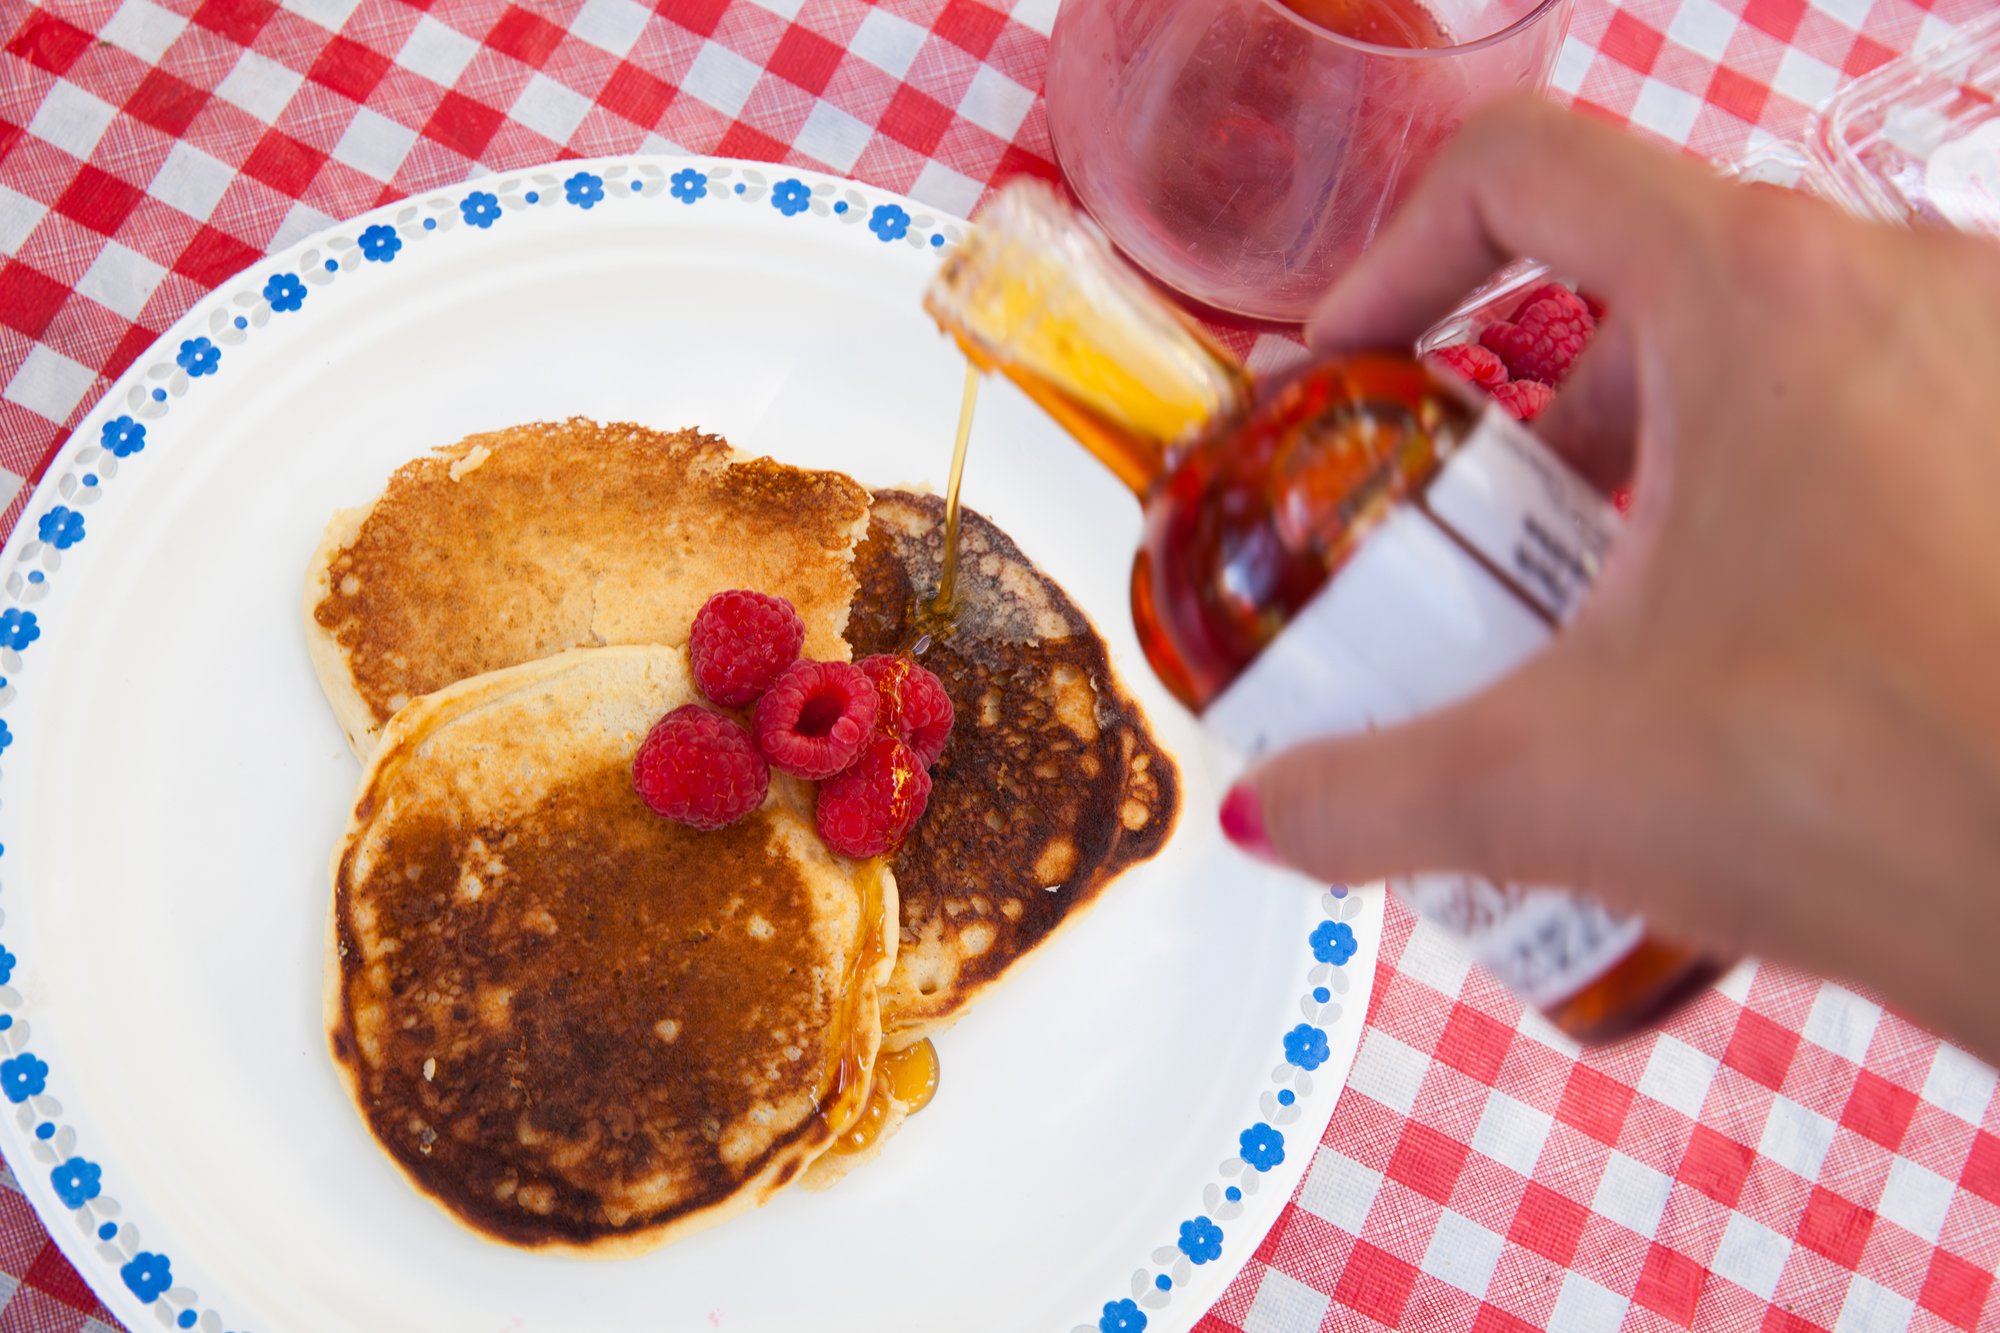
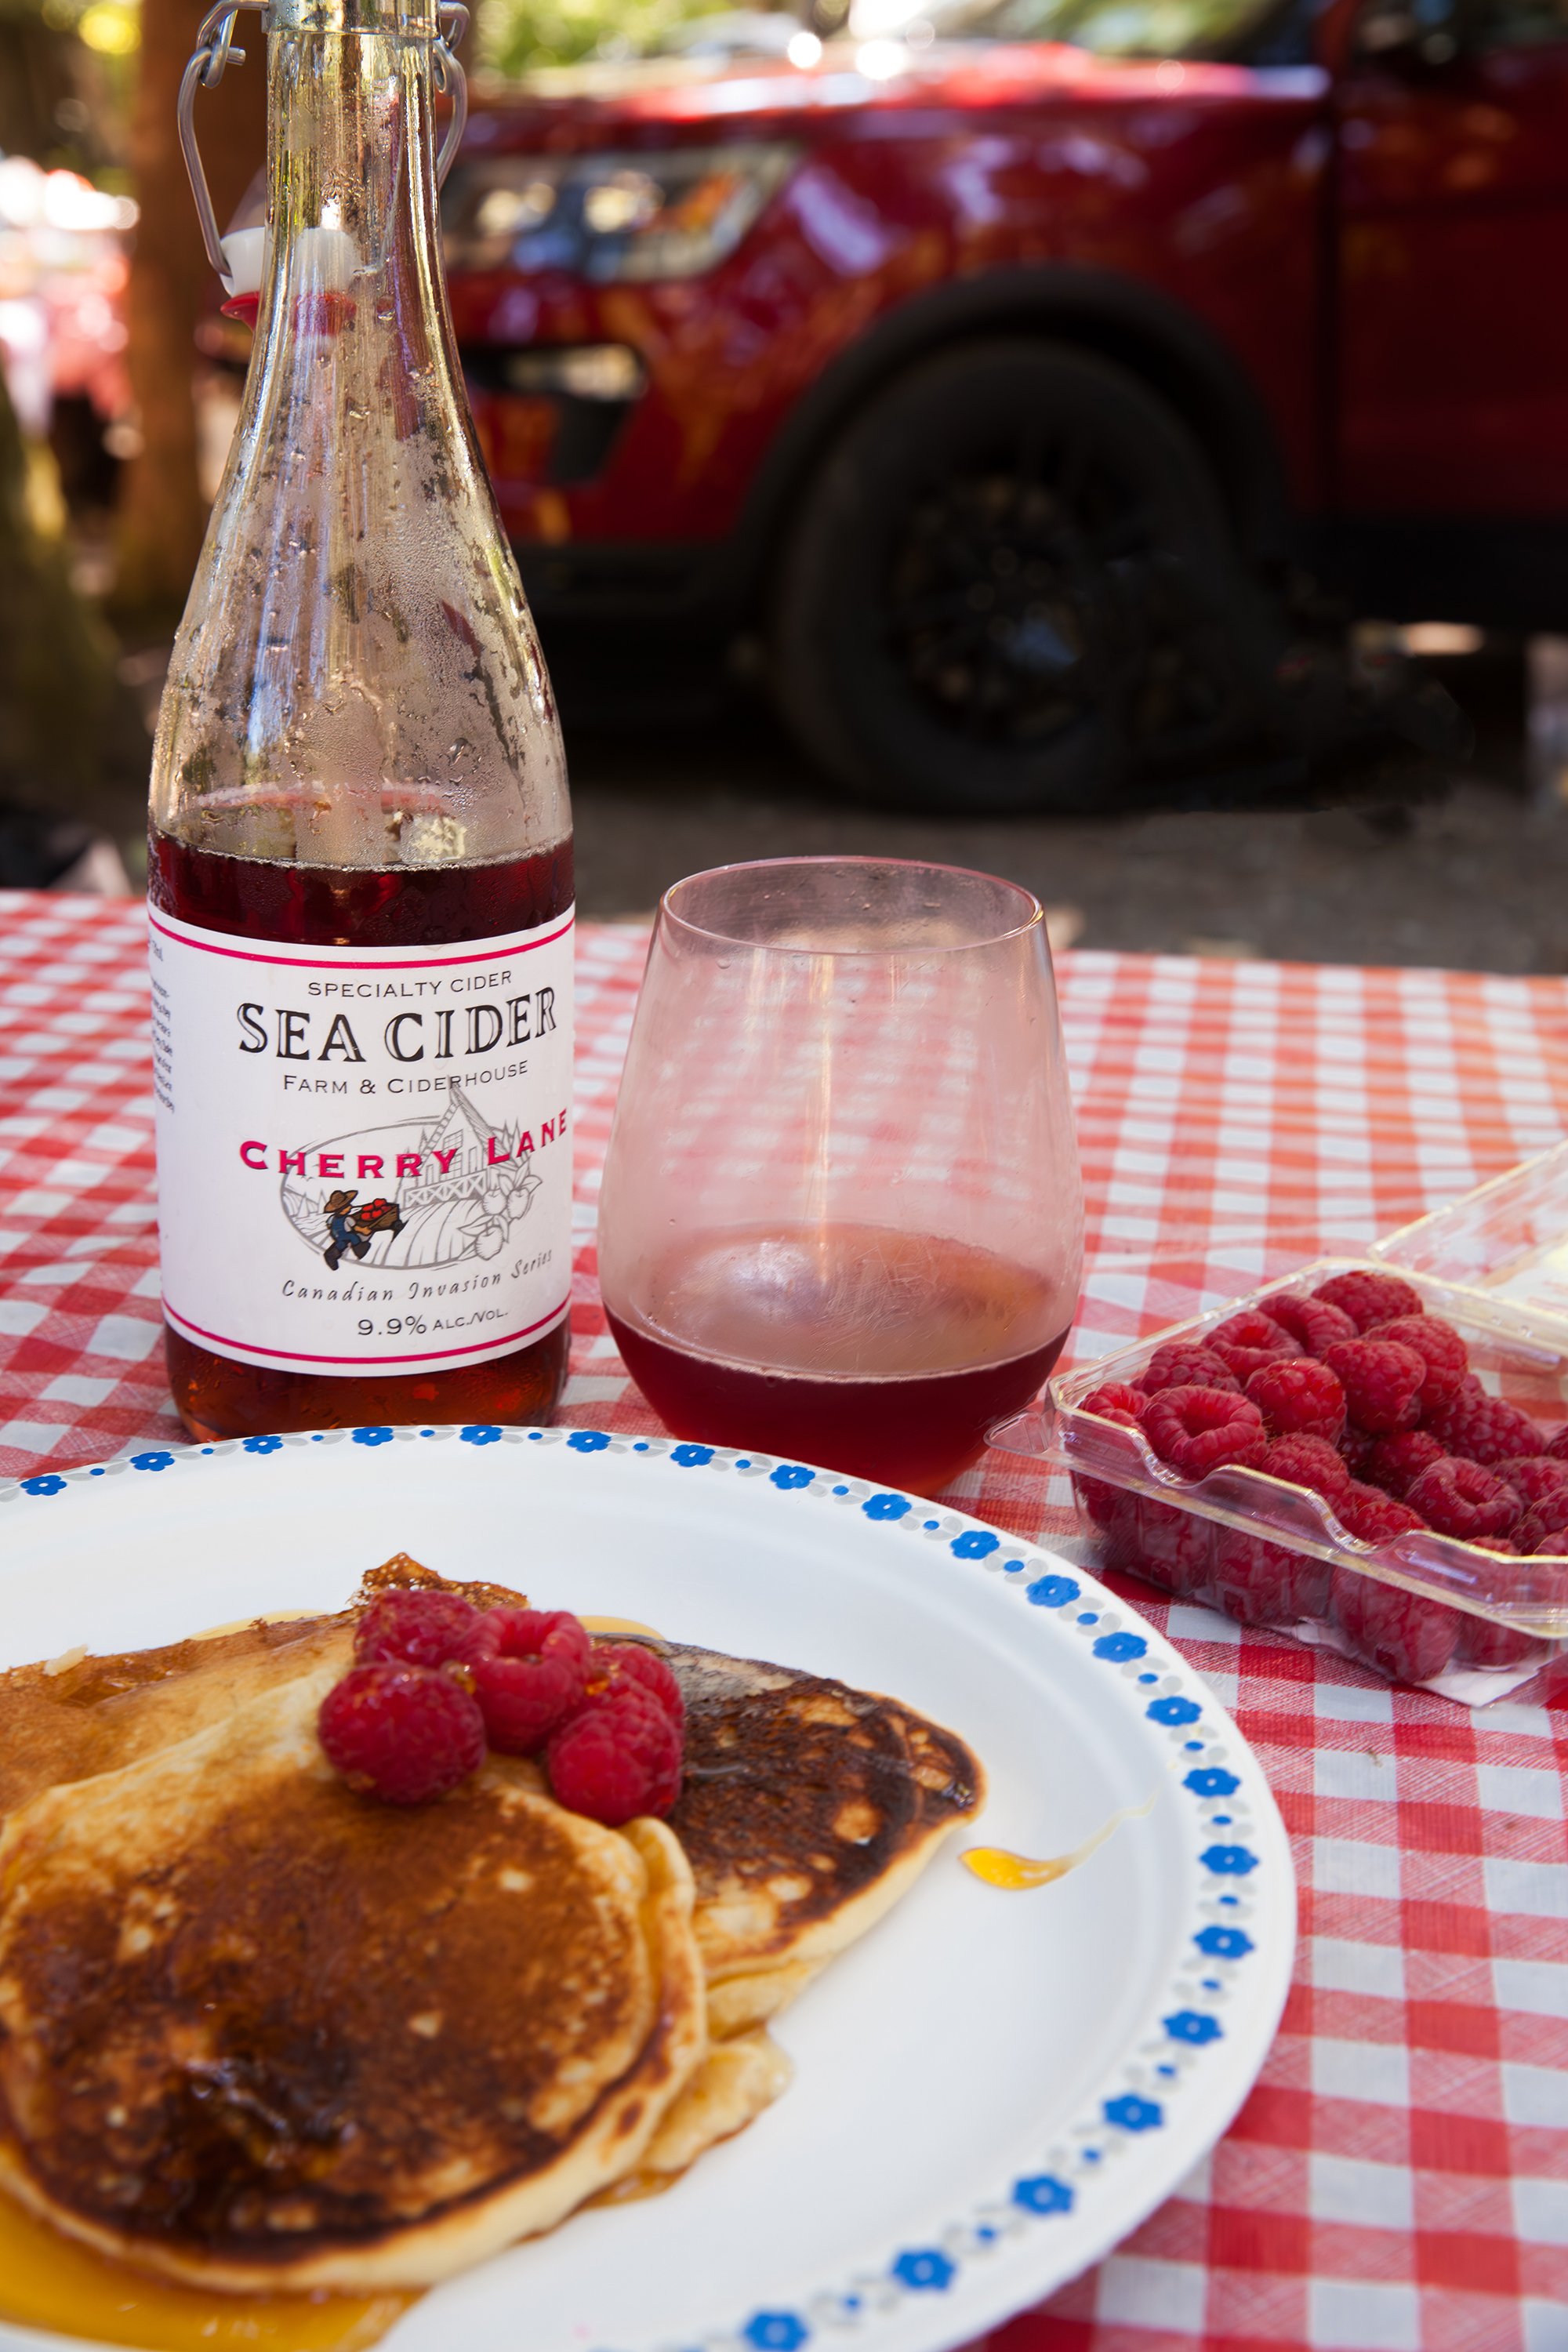
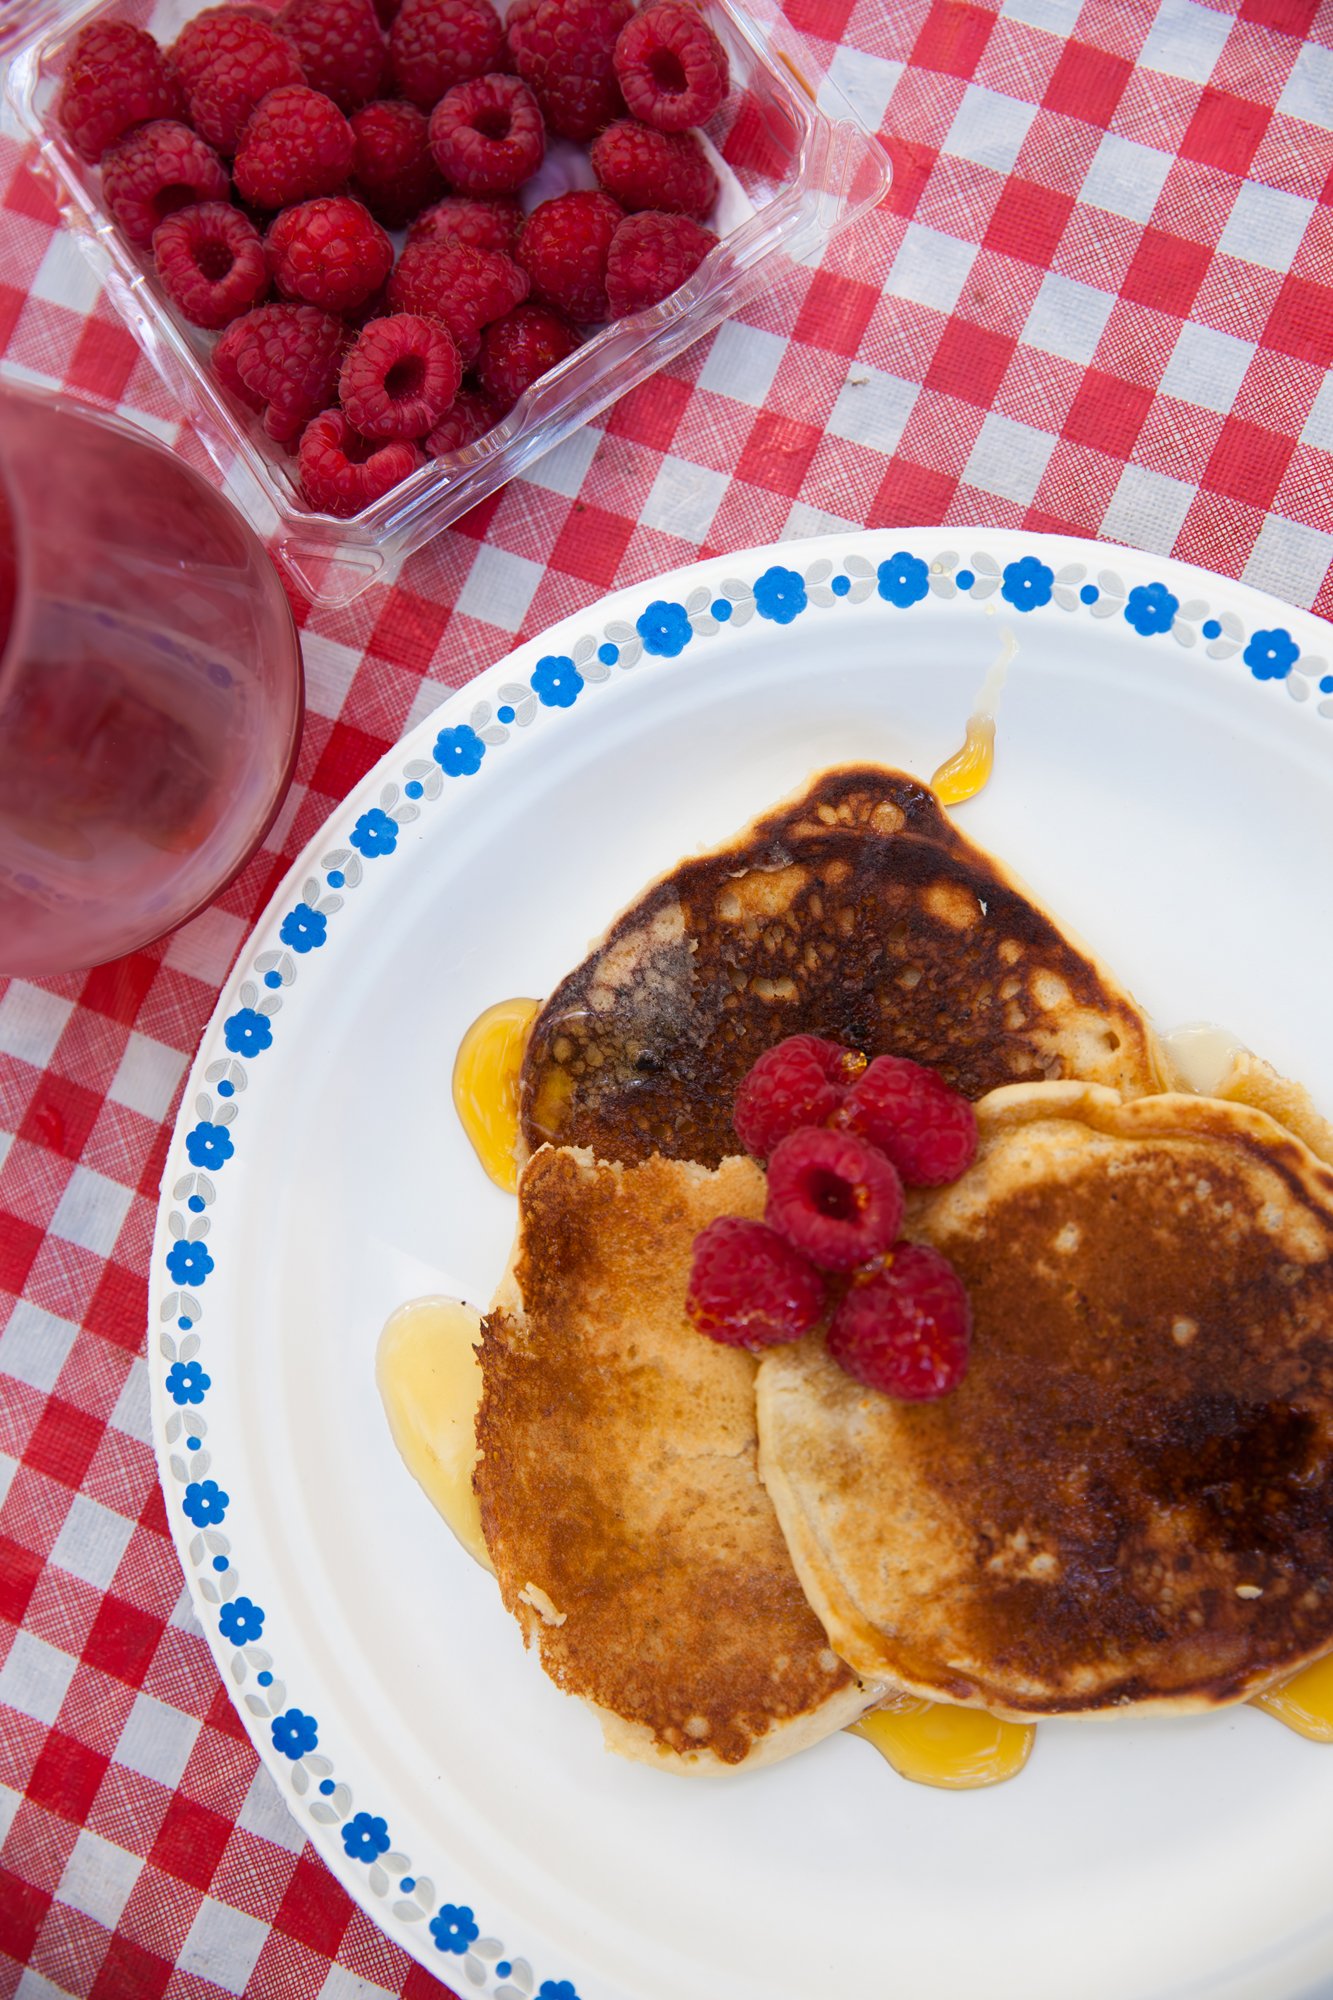
Pancakes
From Scratch - for BC Living
August 2023
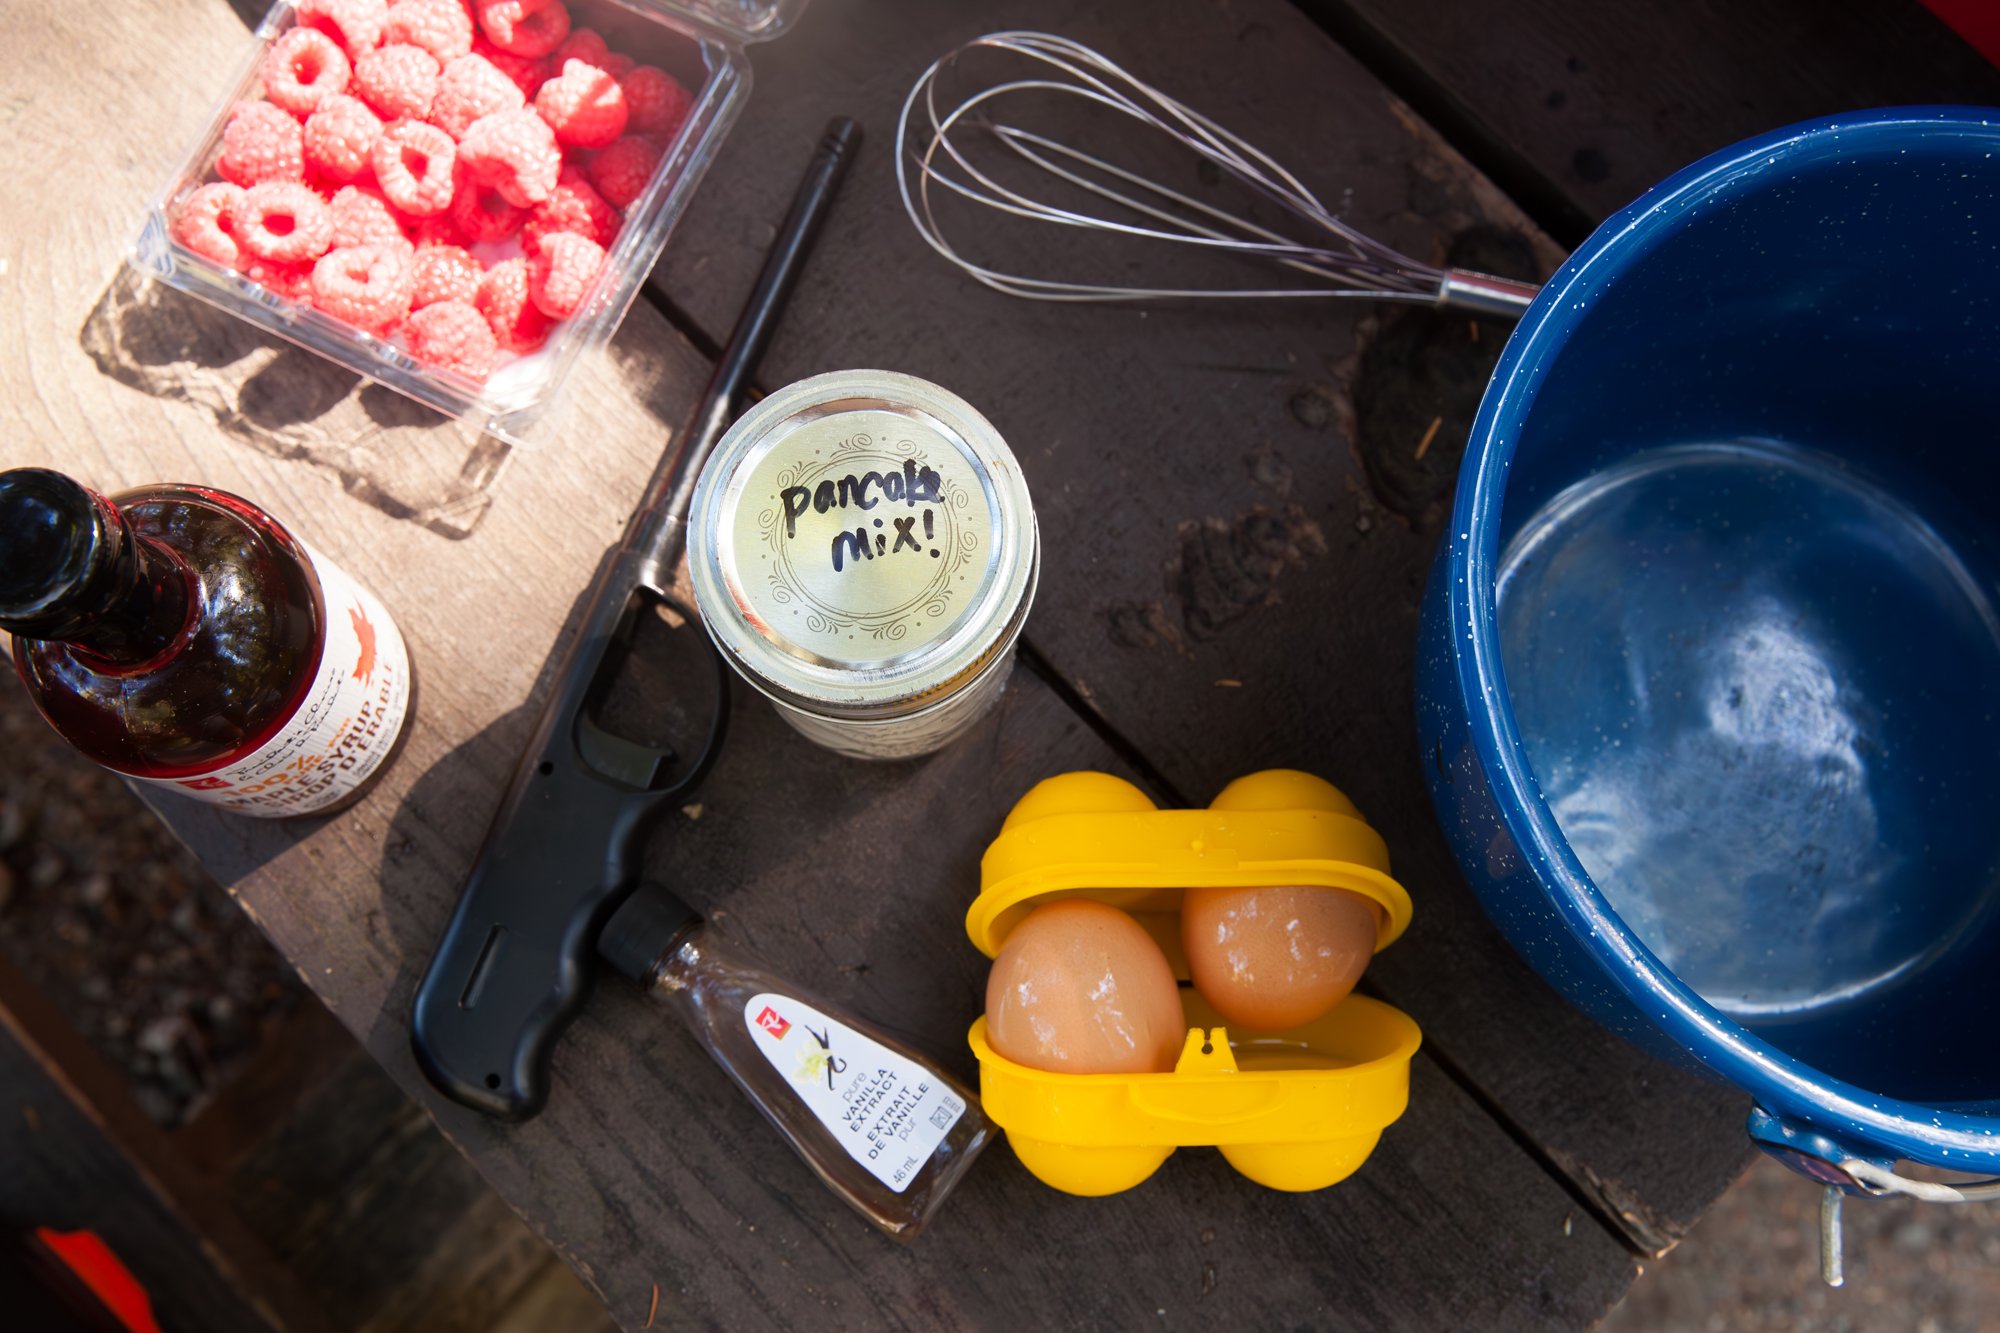
You’re never going to use a box for pancakes again when you find out how easy it is to make from scratch. This version of the recipe is also super beneficial for camping, as you can mix the dry ingredients together at home, and then just add the wet at the campsite – saving yourself some measuring cups and mixing bowls.
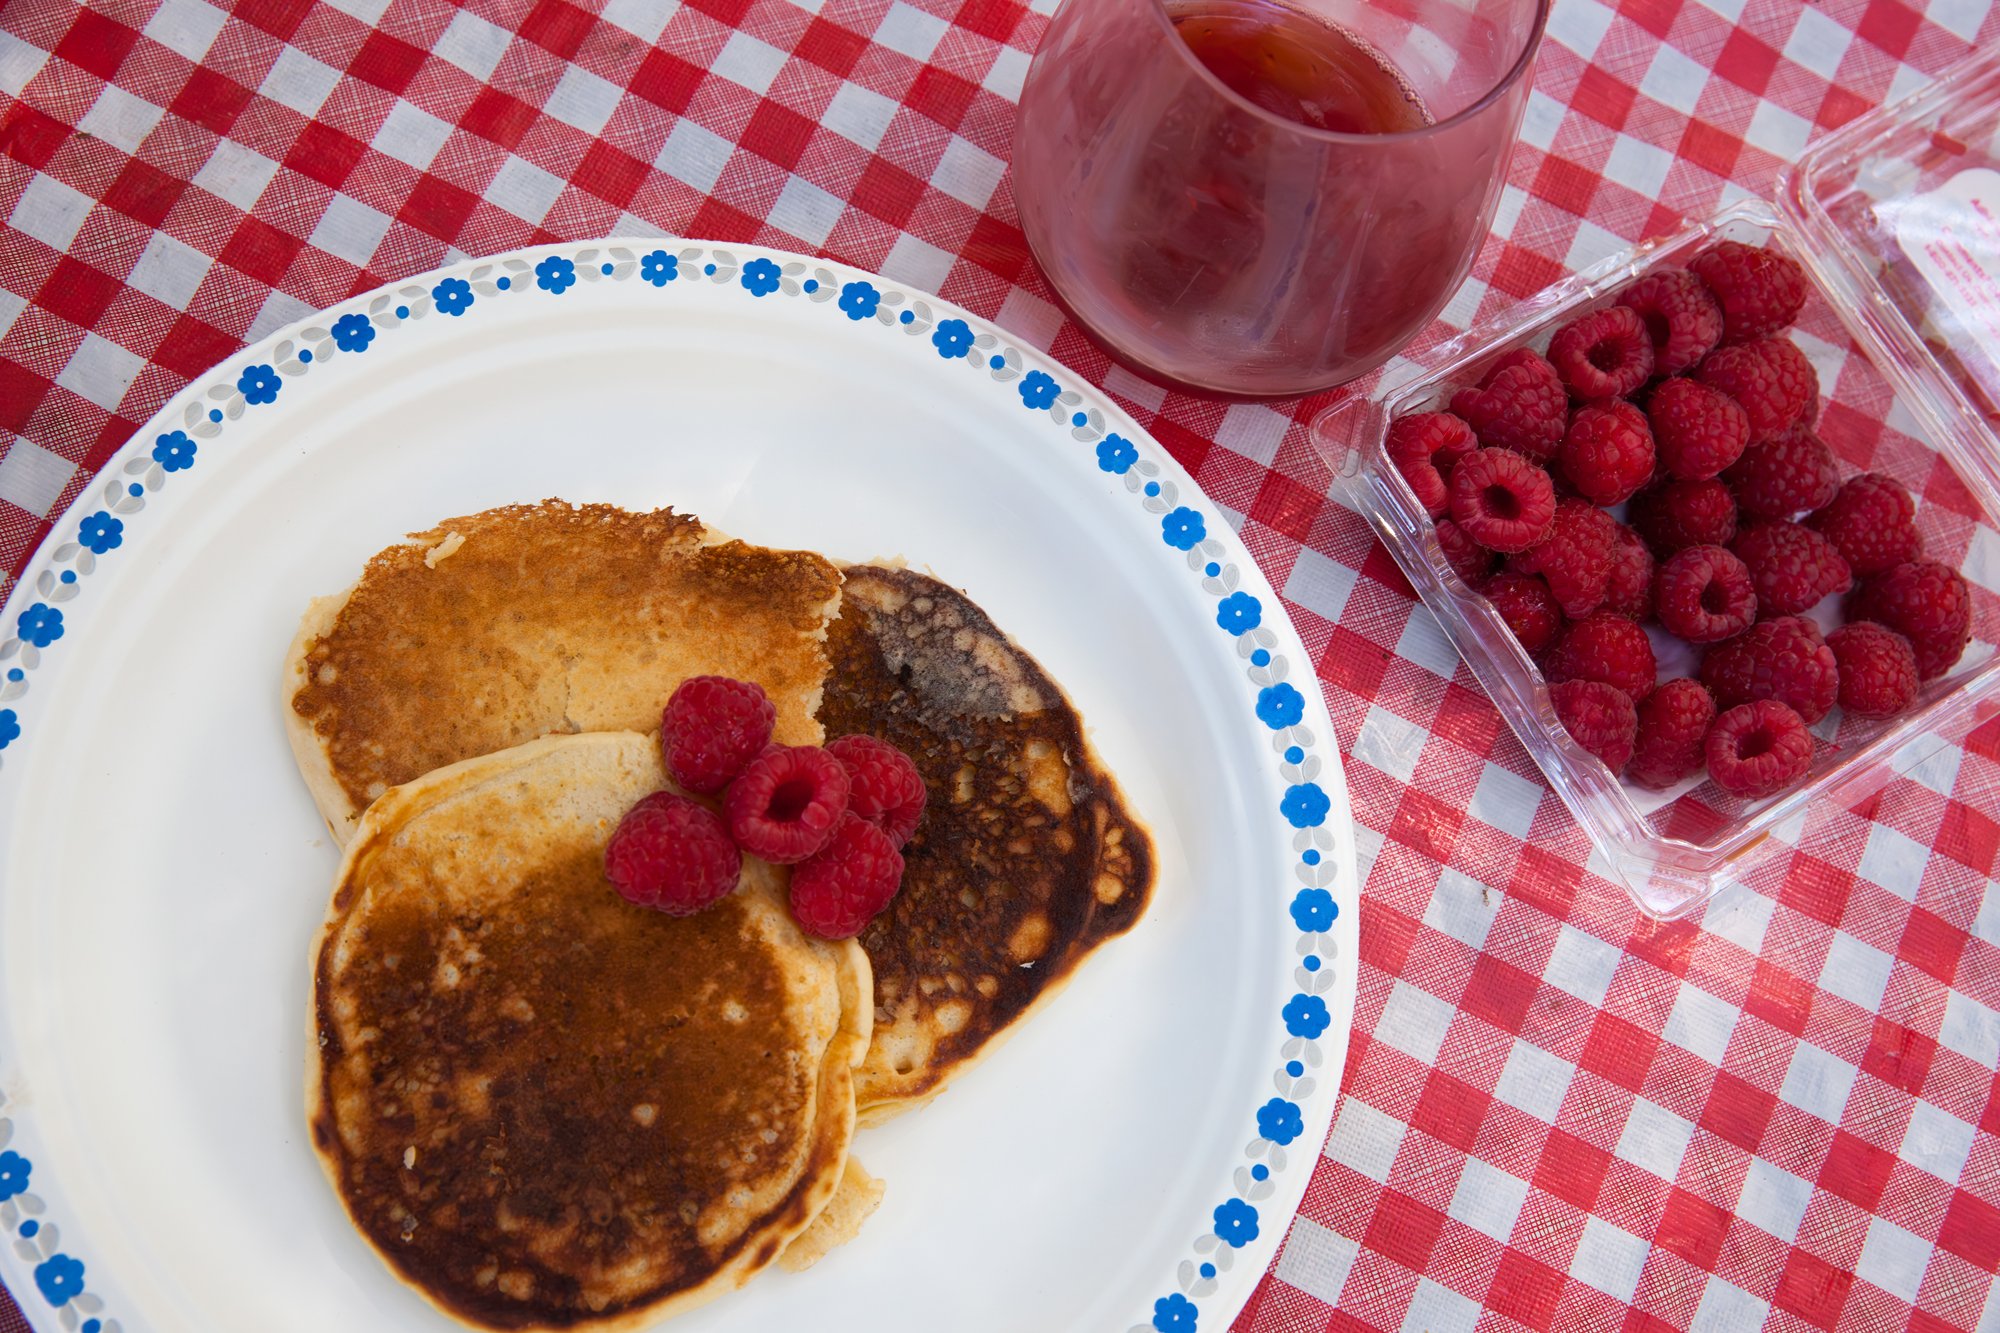
This is also just the base for the pancakes, you can add chocolate chips, nuts, fruit, whatever you like while the first side is cooking. And then maybe take a nap because you’re so full.
INGREDIENTS
- 1 cup all-purpose flour
- ¼ cup of granulated sugar
- ¼ cup dry milk powder (skim)
- 4 tsp of baking powder
- pinch or two of salt
- 1 large egg
- 1 cup of water
- 1 tsp vanilla extract (optional!)
- oil for the pan (or butter)
- maple syrup
- toppings (fruit, powdered sugar, butter etc.)
INSTRUCTIONS
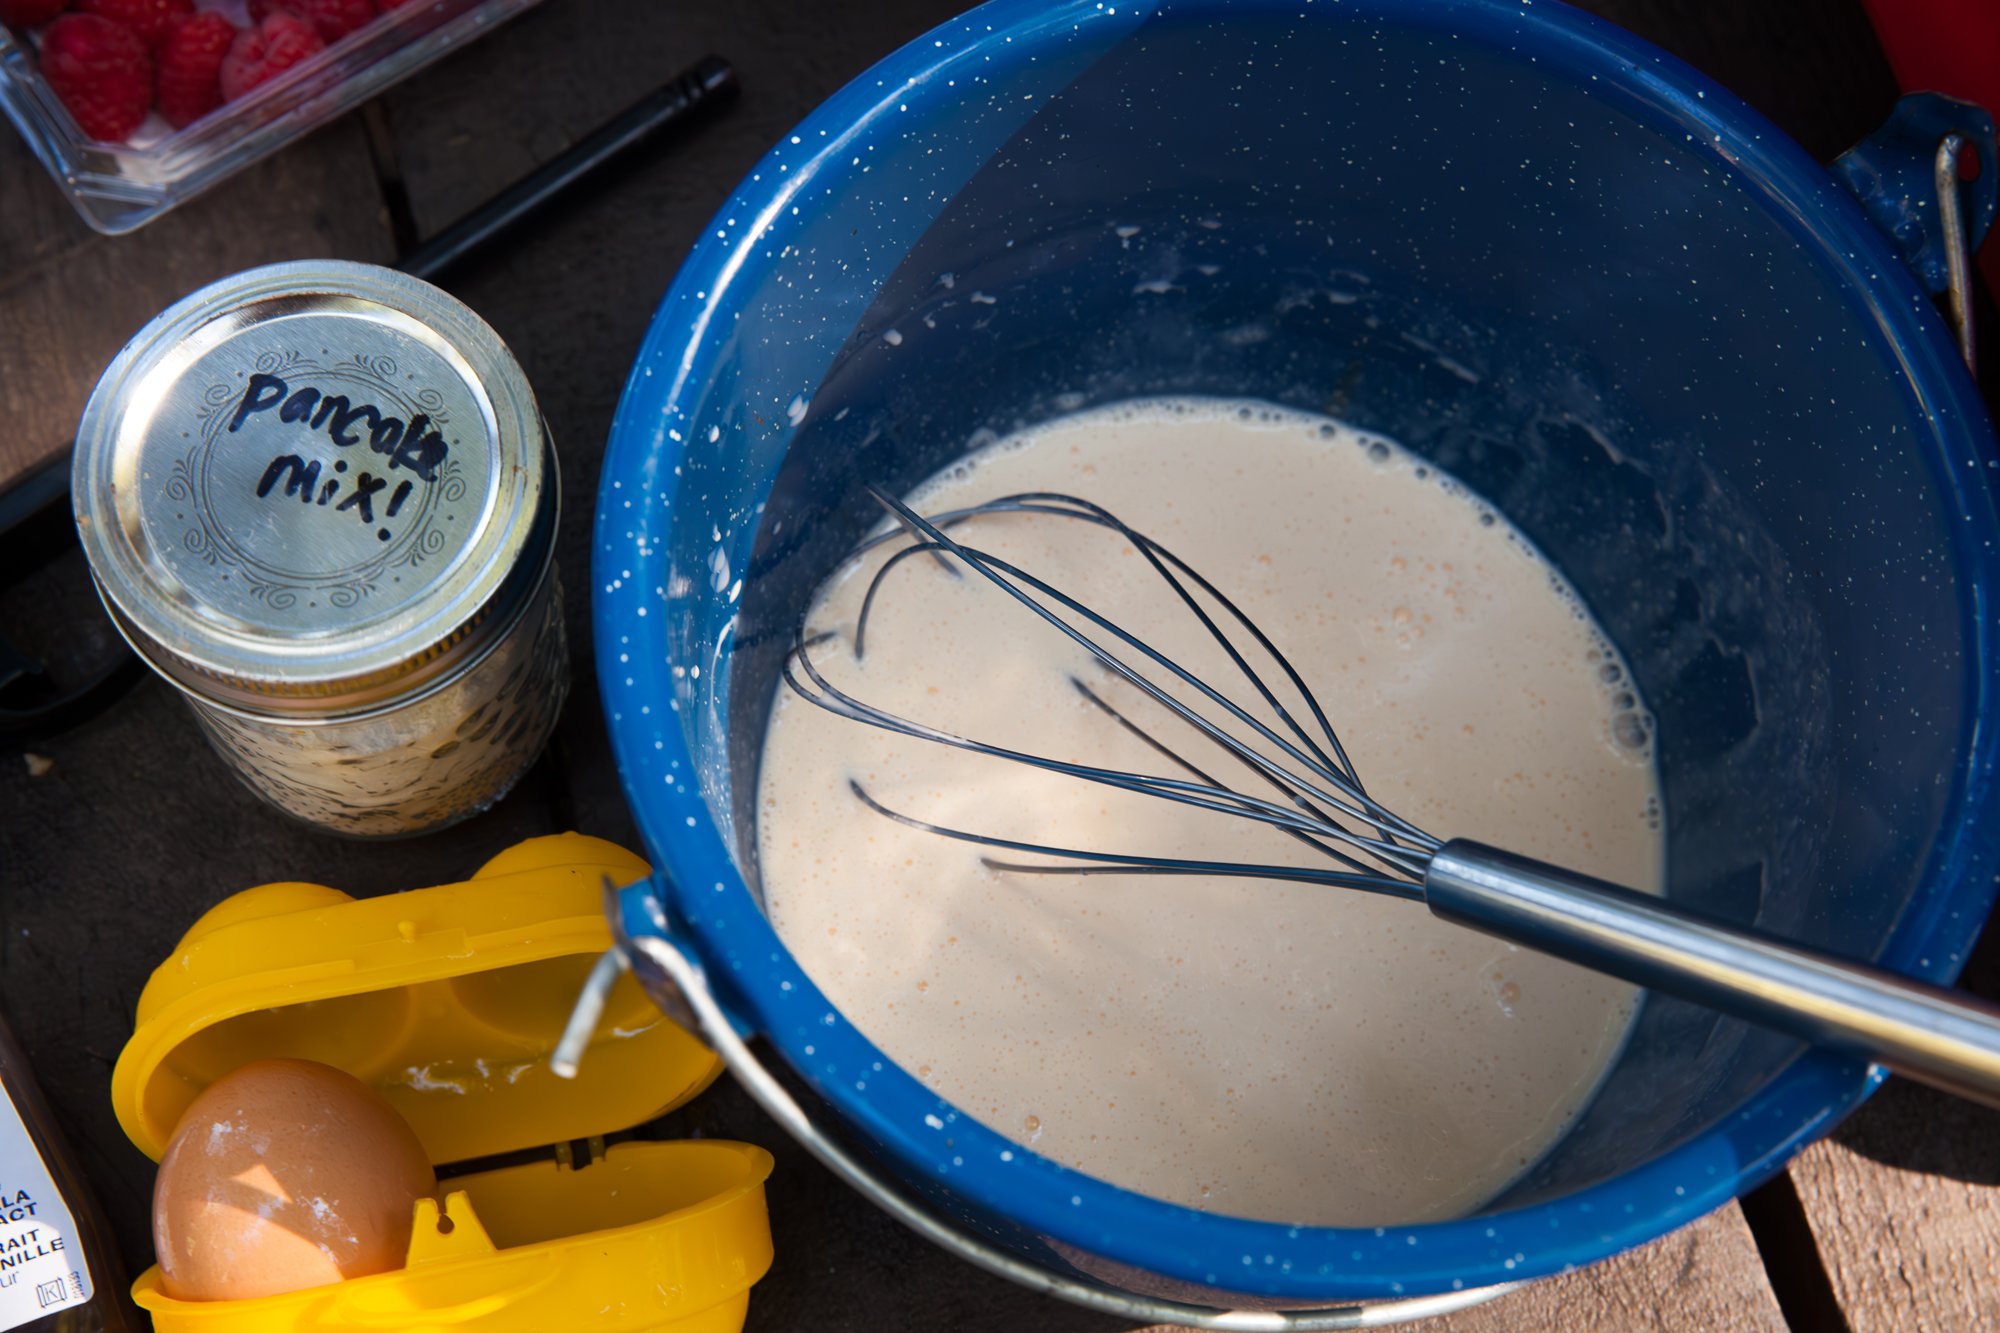
In a large mixing bowl, whisk together the flour, sugar, dry milk powder, baking powder, and salt until combined.
In a second bowl whisk together the egg and water, and optional vanilla until light and airy, and then add to the dry ingredients.
Stir until everything is just combined and no dry spots are left. Over-mixing might lead to flatter, less-fluffy pancakes.
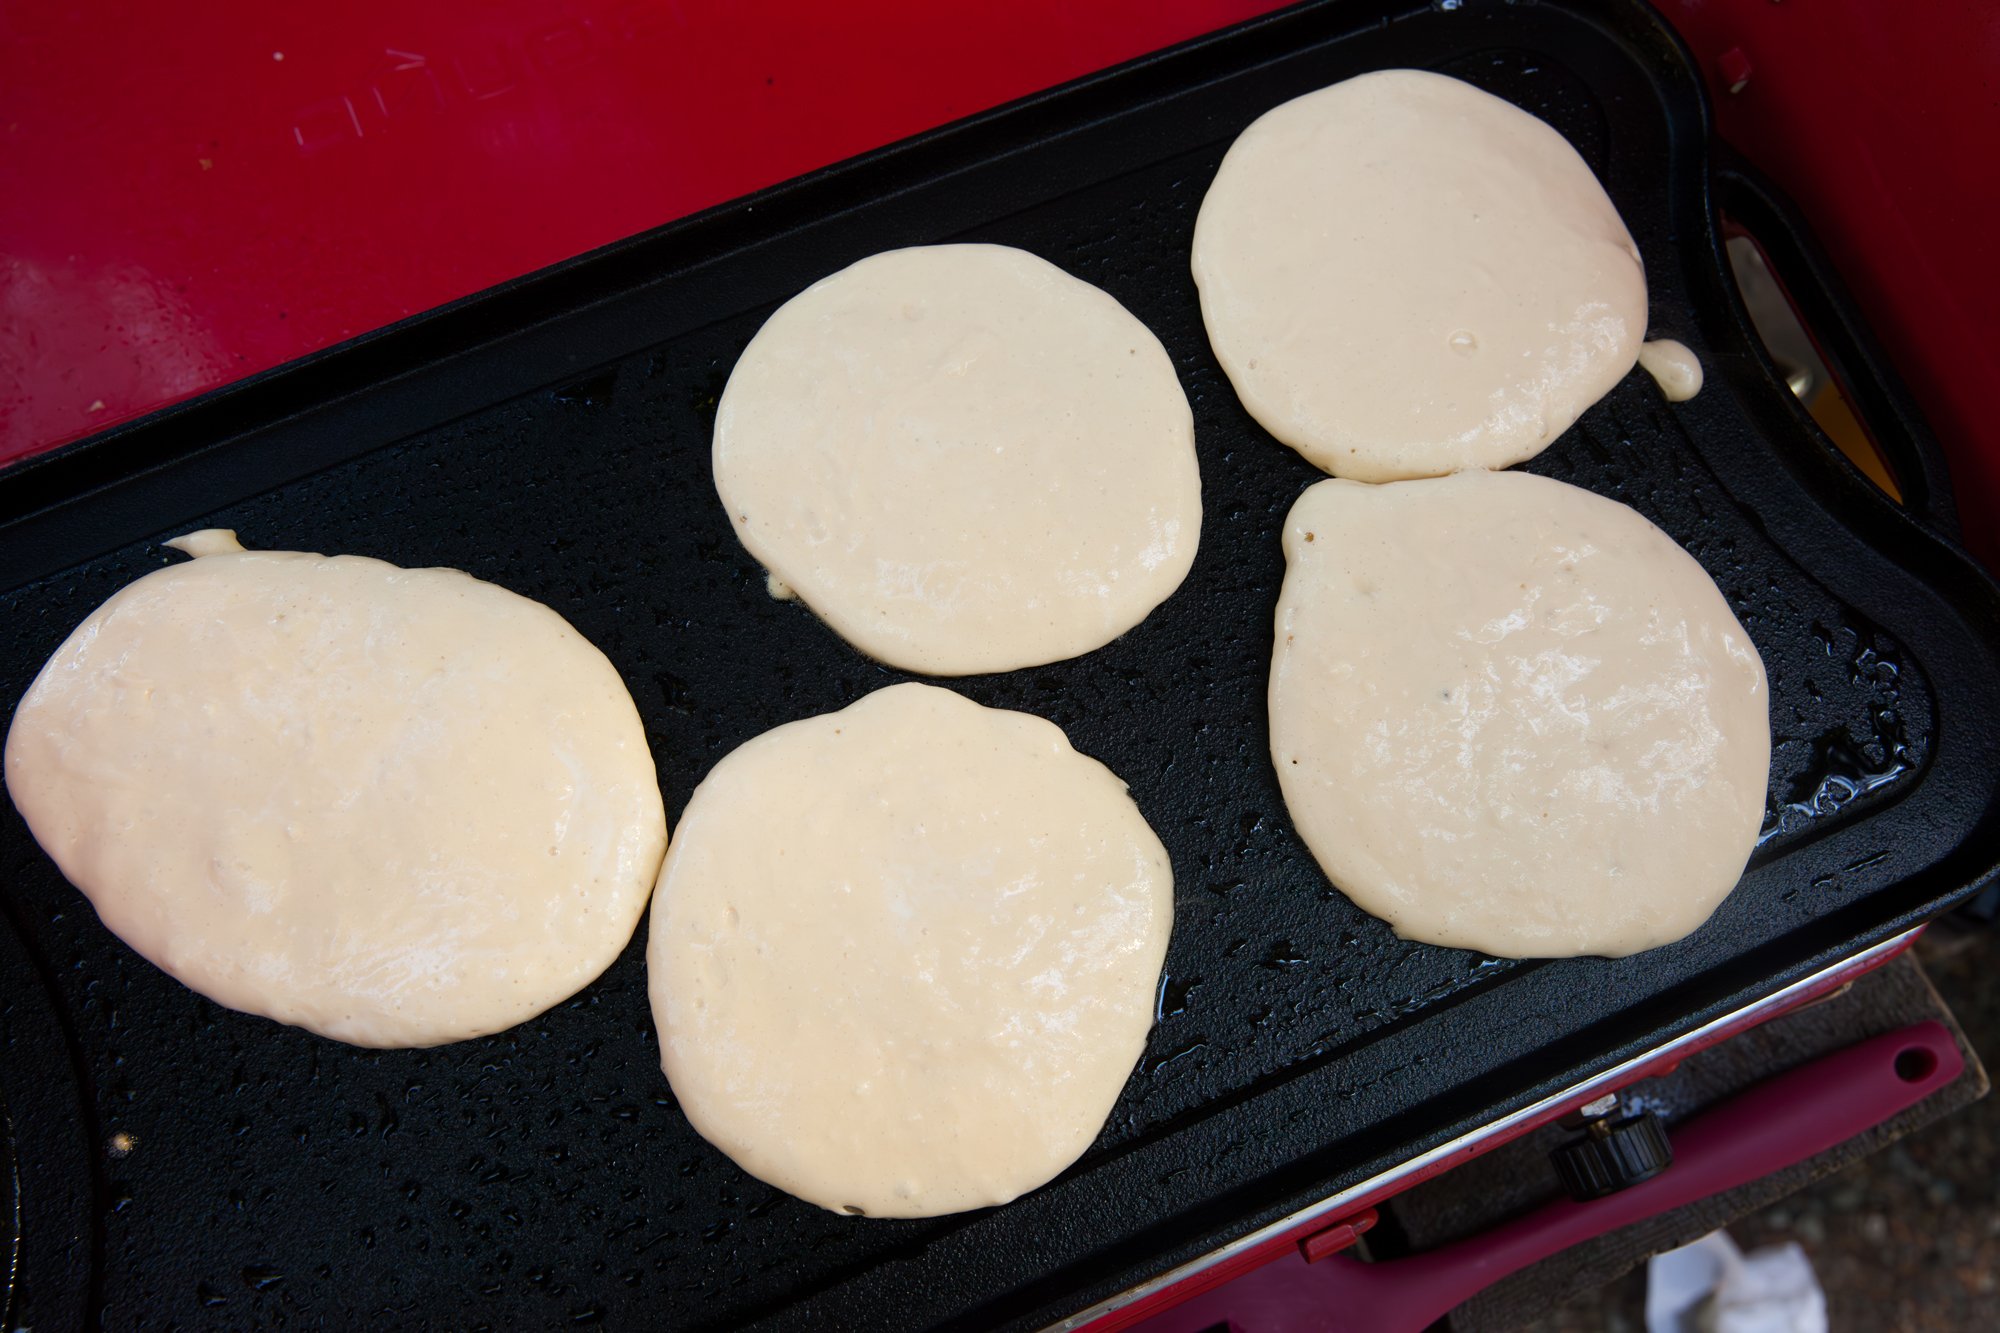
Heat a griddle, or frying pan over medium heat, and add the oil or butter.
Scoop out approximately ¼ cup of the batter at a time and place in the pan.
When you start to see the air bubbles, check the bottom to see if it’s browned and then flip to cook the opposite side.
Cook until the second side is brown and then repeat with the rest of the batter.
Serve with syrup and any other toppings you’d like.
Makes Approx. 10-12 Pancakes
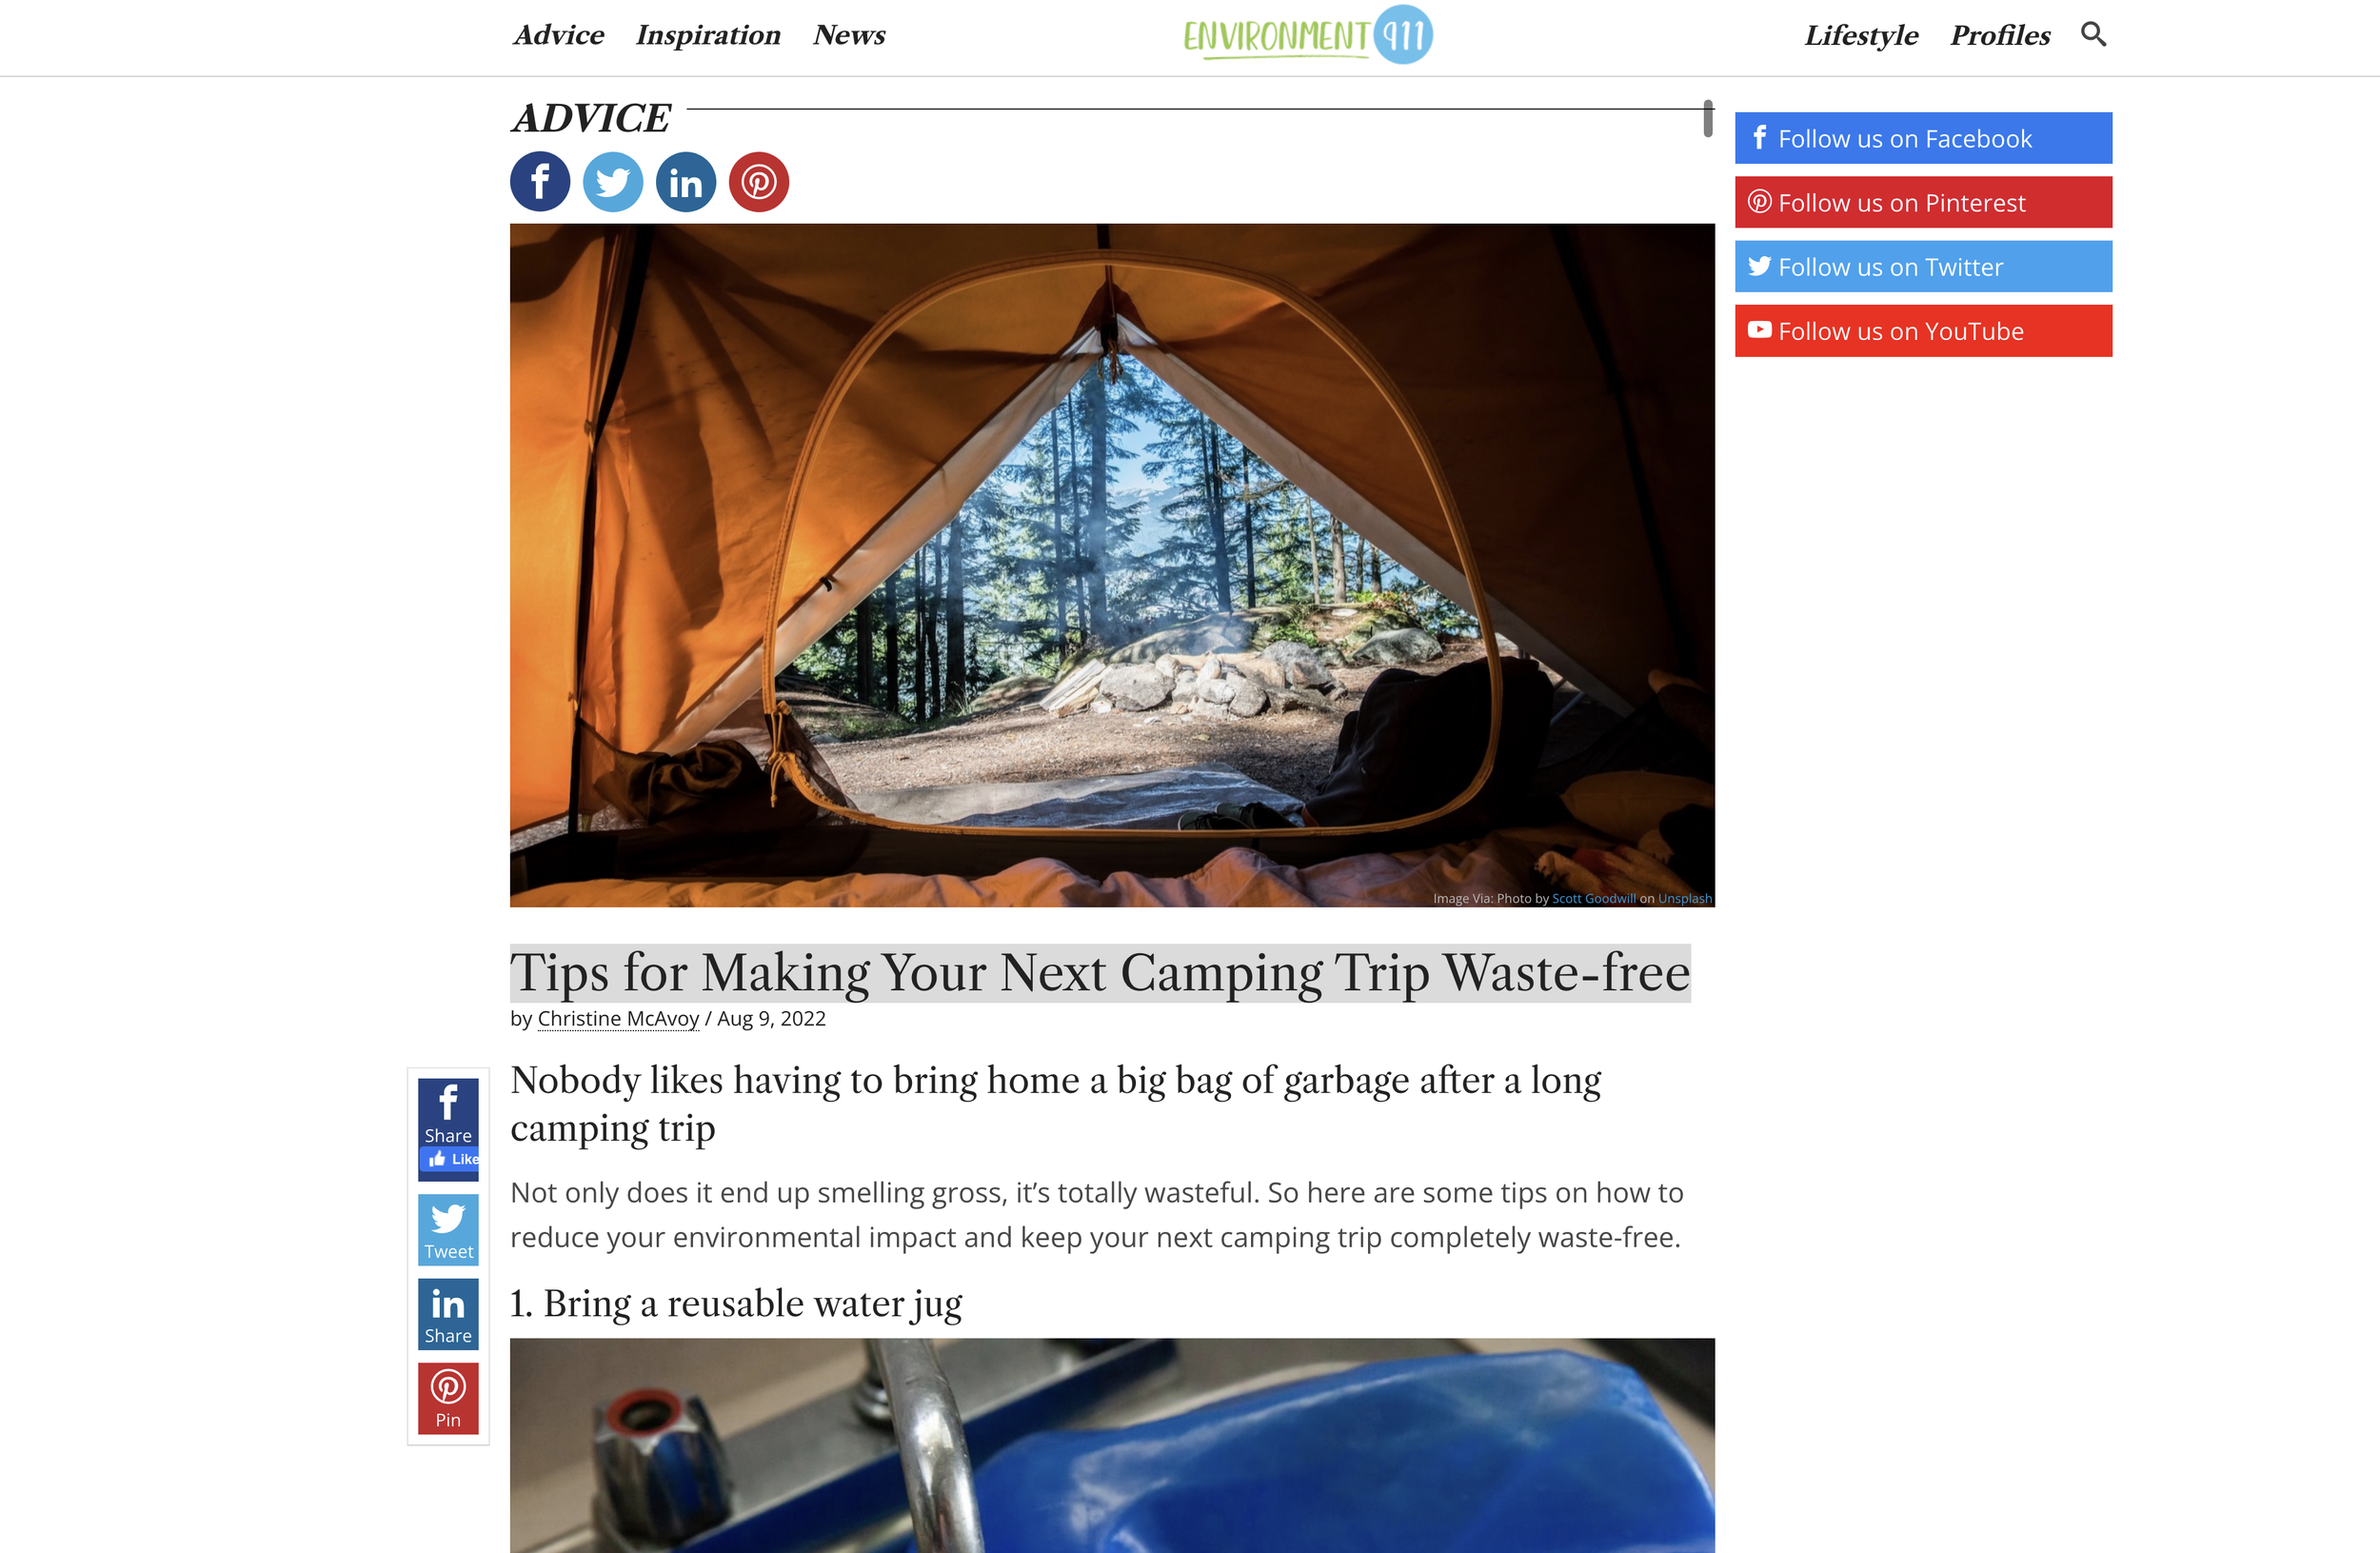
Tips for Making Your Next Camping Trip Waste-free
for Environment911.org
Nobody likes having to bring home a big bag of garbage and cans after a long camping trip. Not only does it end up smelling gross, you know it’s totally wasteful.
So here are some tips on how to reduce your environmental impact and keep your next camping trip completely waste-free.
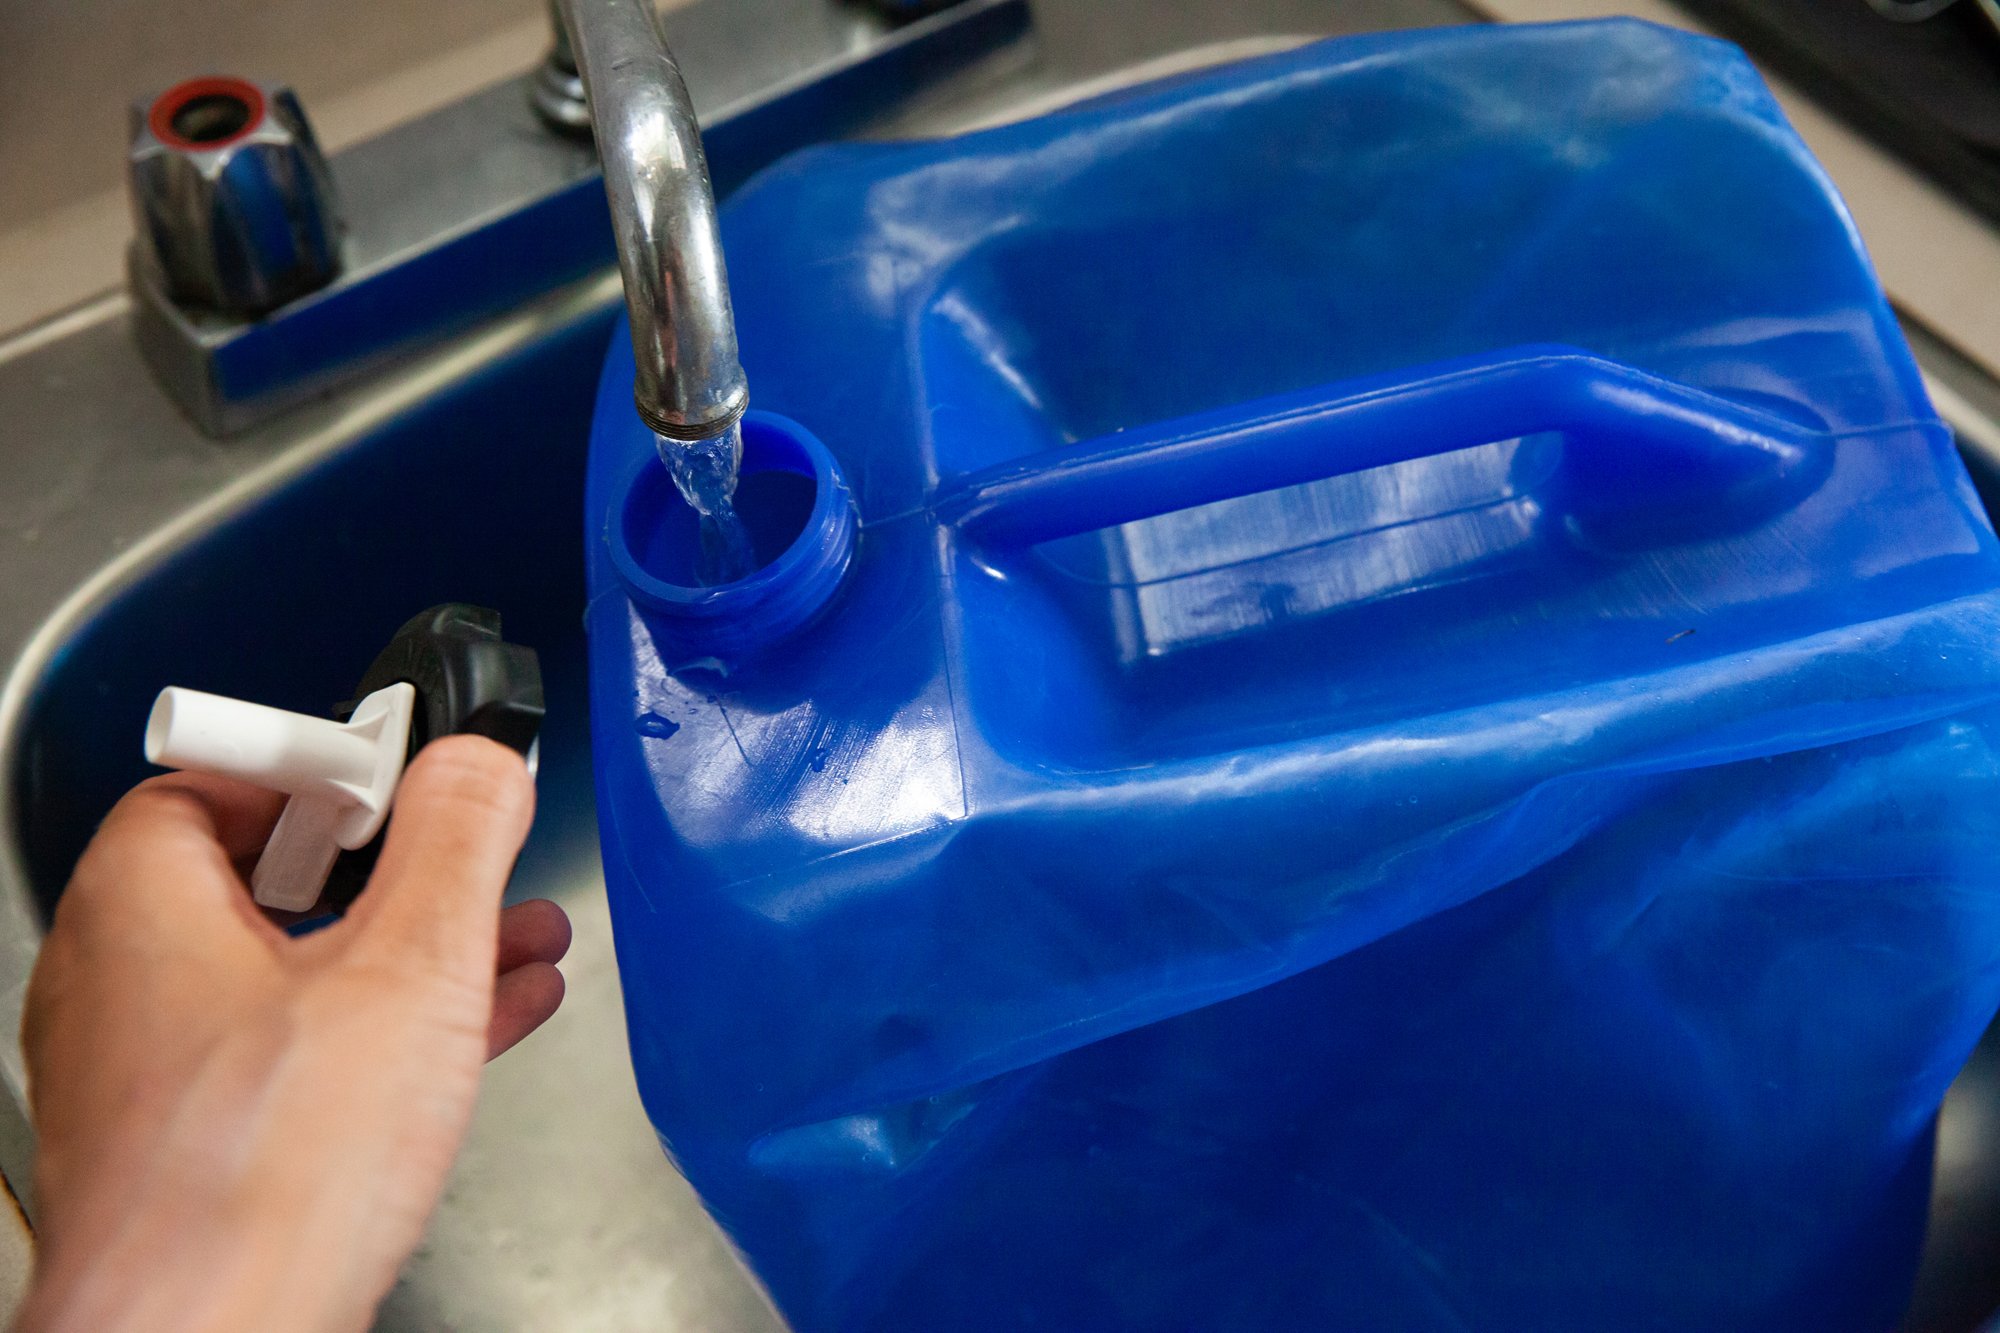
Reusable Water Jug – You can fill it up at home, and it collapses down when it’s empty for easy storage. This will save you from buying any big plastic water jugs or bottles from the store.
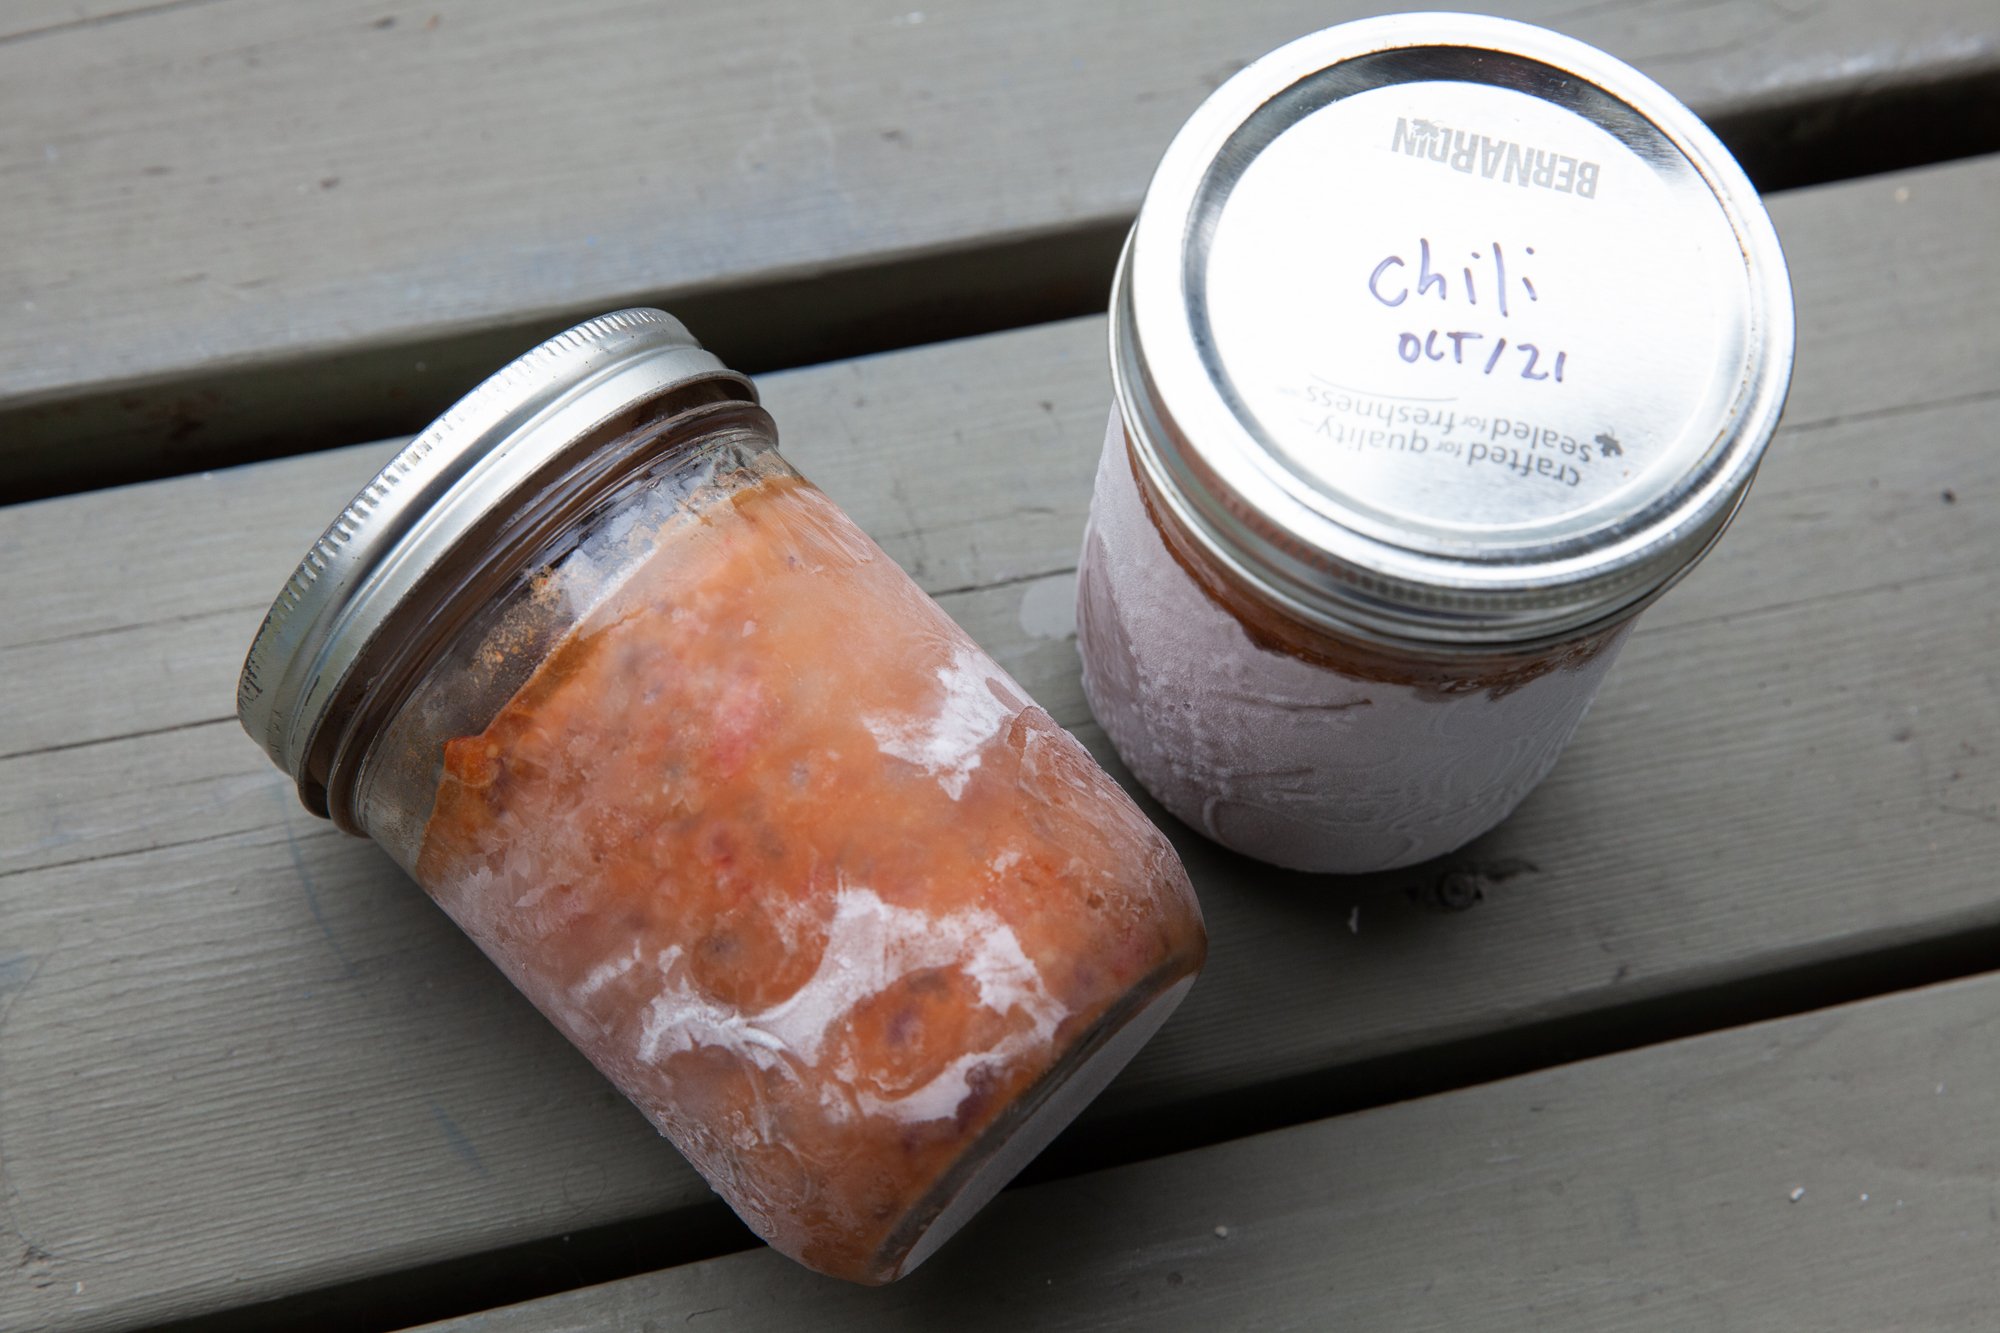
Prep Food at Home & Bring Frozen – If you decide on meals that you can prep at home, it means saving time at the campsite, and if you can freeze them, it helps keep things in the cooler cold while it defrosts. Another bonus is that you can store any leftovers from meals in said jars afterwards.
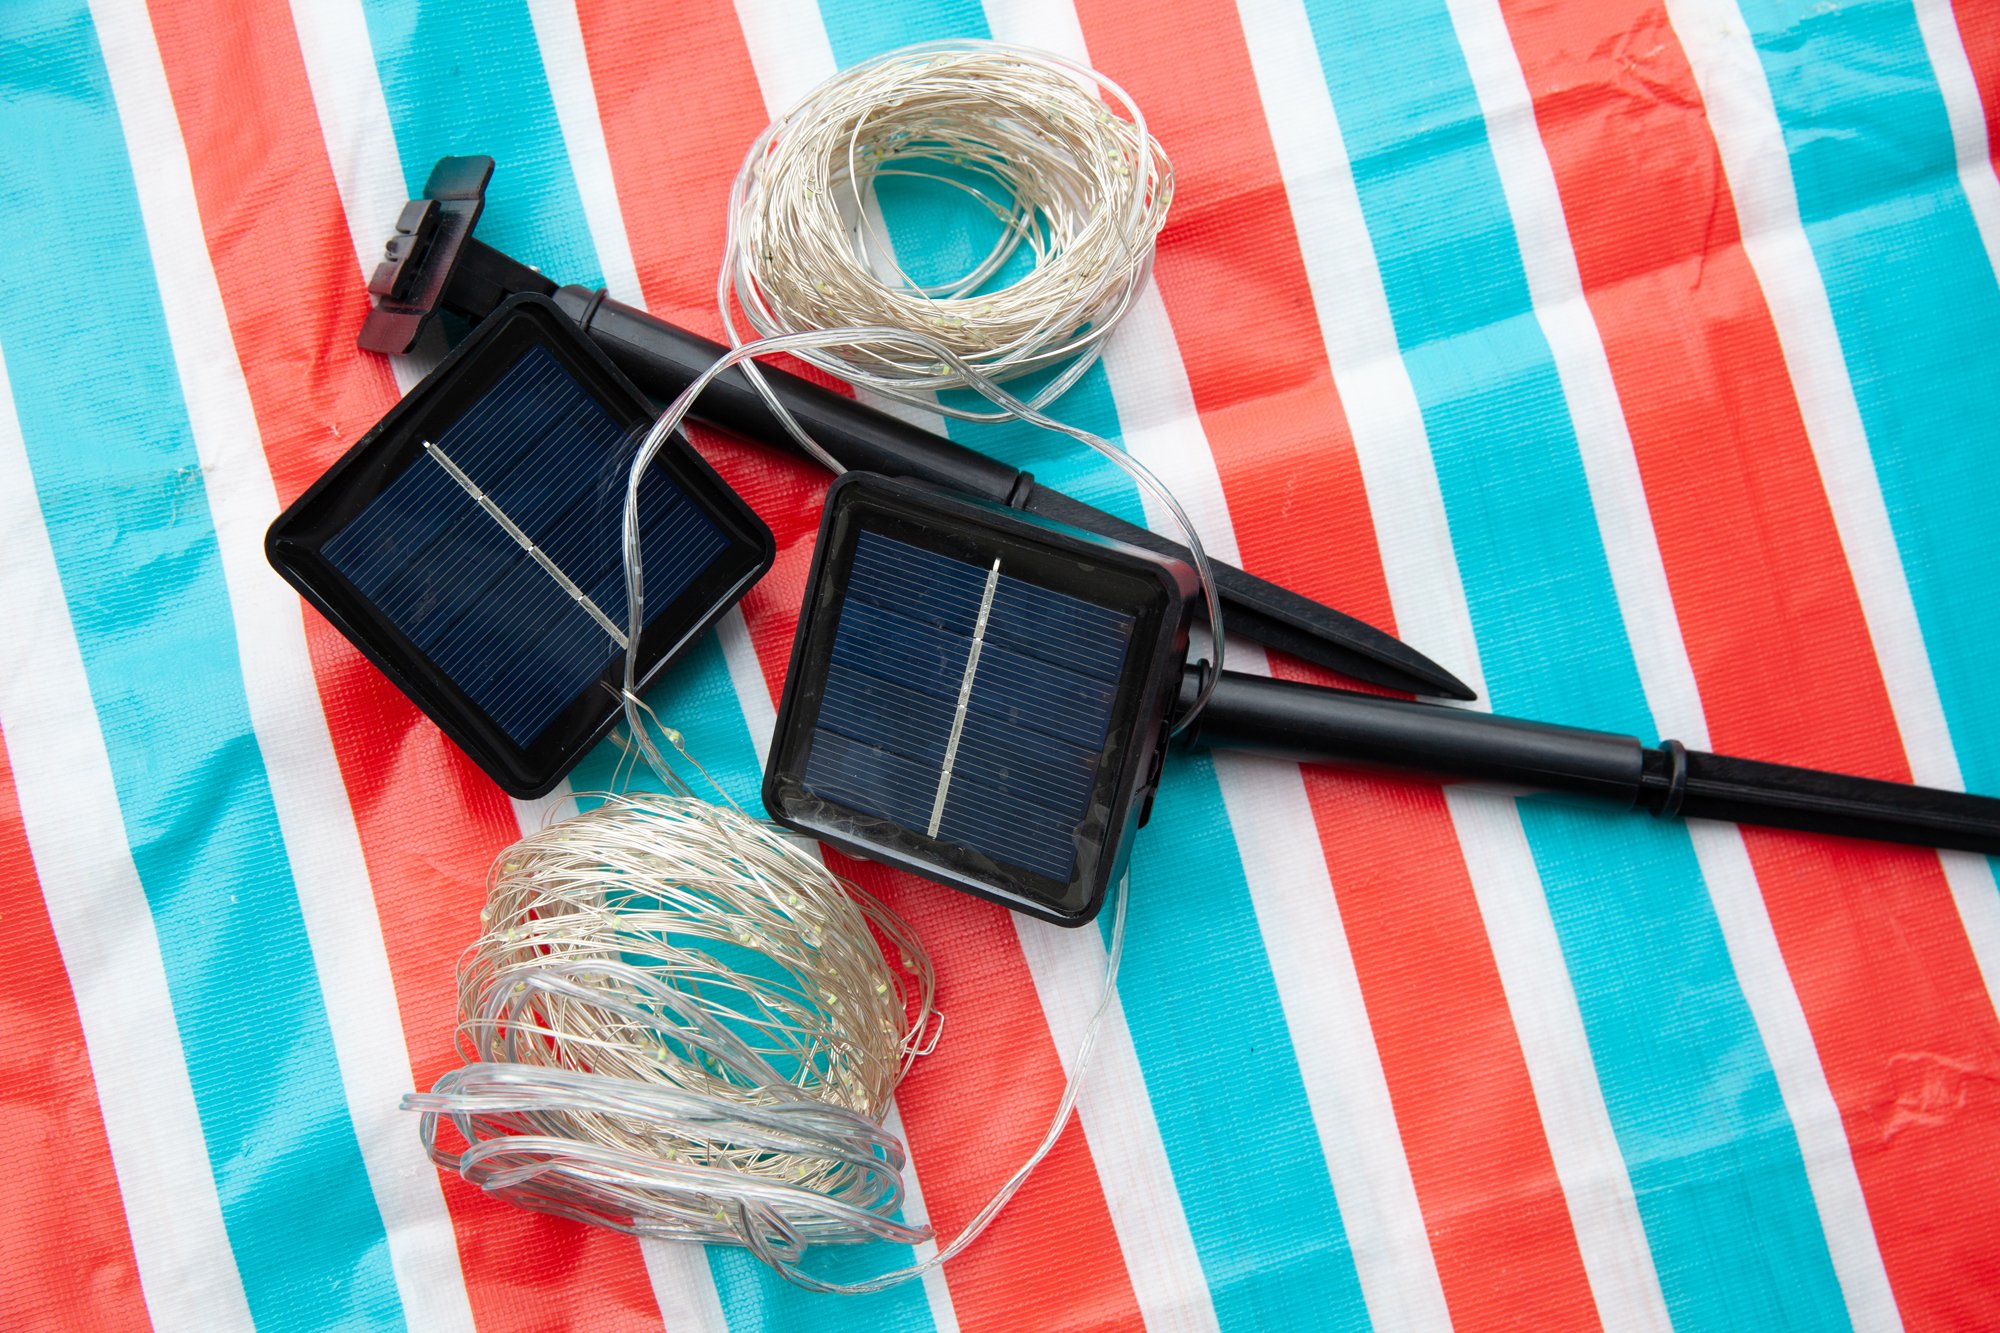
Solar Lights – This is a no brainer as there are lots of string and in-ground solar lights that will help you save on lanterns that use batteries or fuel.
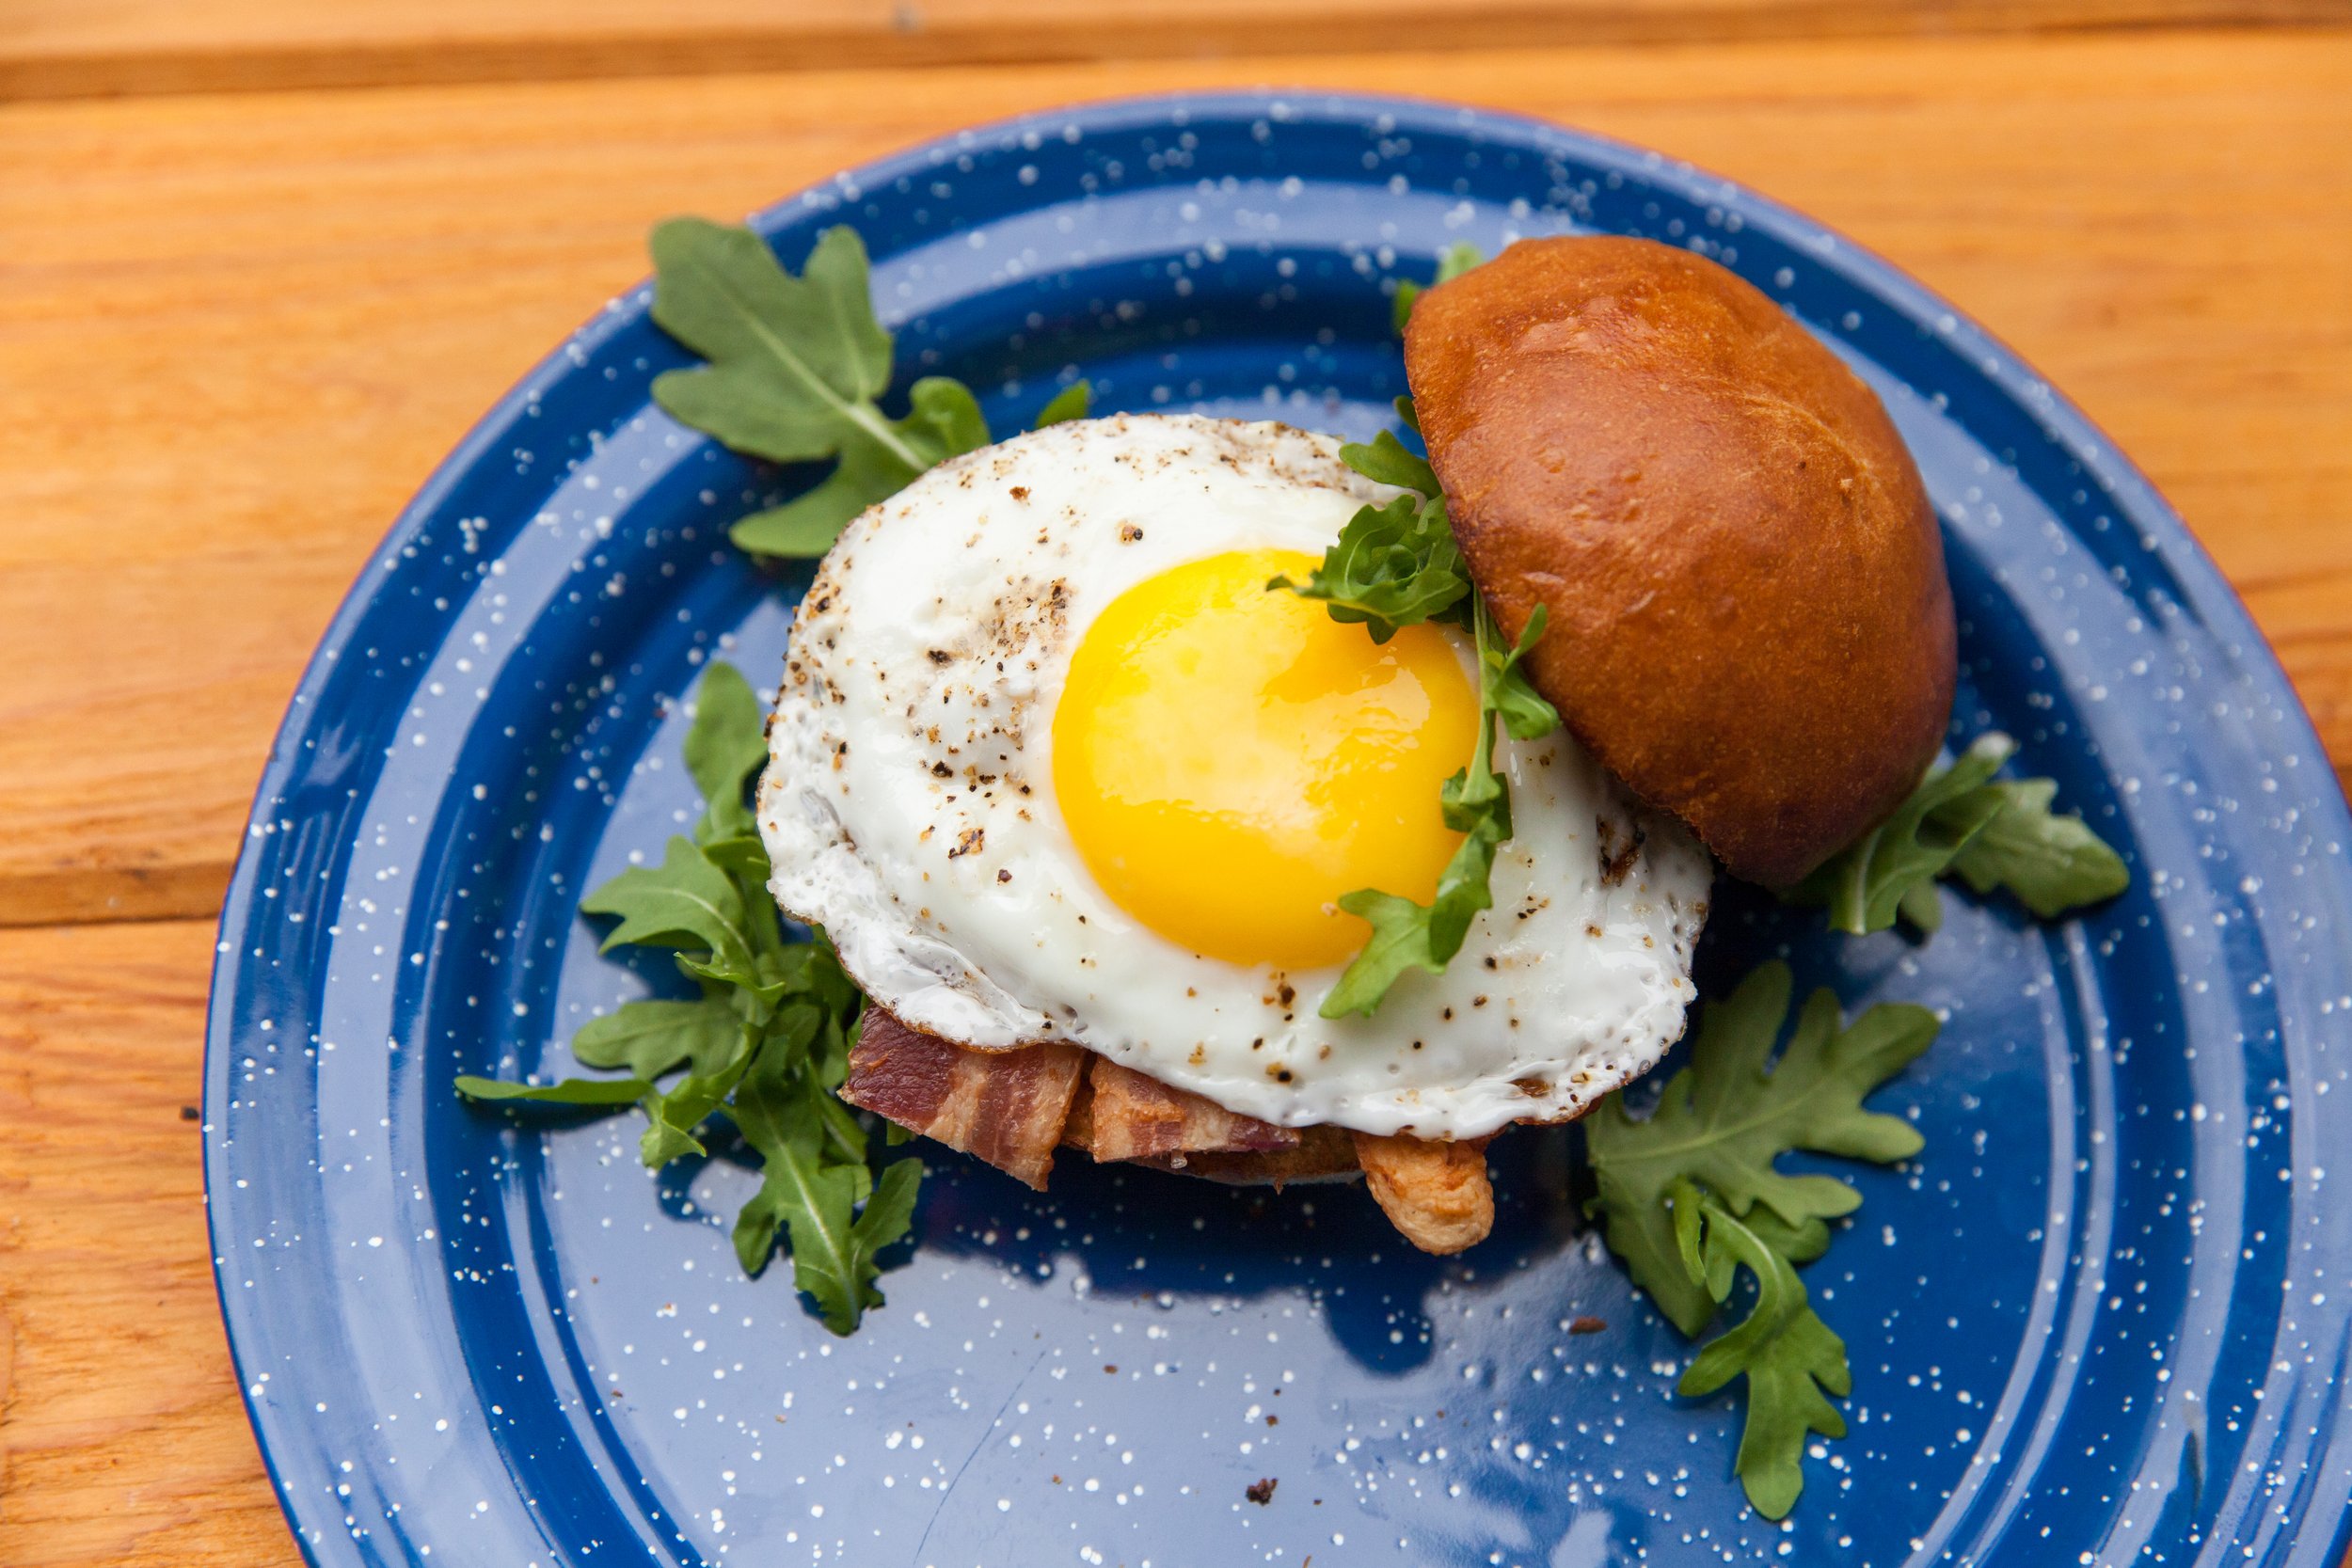
Reusable Plates, Cutlery, Glassware – Yes paper plates might seem easier (and might be if you’re camping when there isn’t a fire ban), but if you bring enough reusable camping dishes, they’re easy to clean, or if it’s a short trip, just rinse them and do the dishes at home. And if you wash some of the mason jars you brought your food in, you can use them as glassware as well.
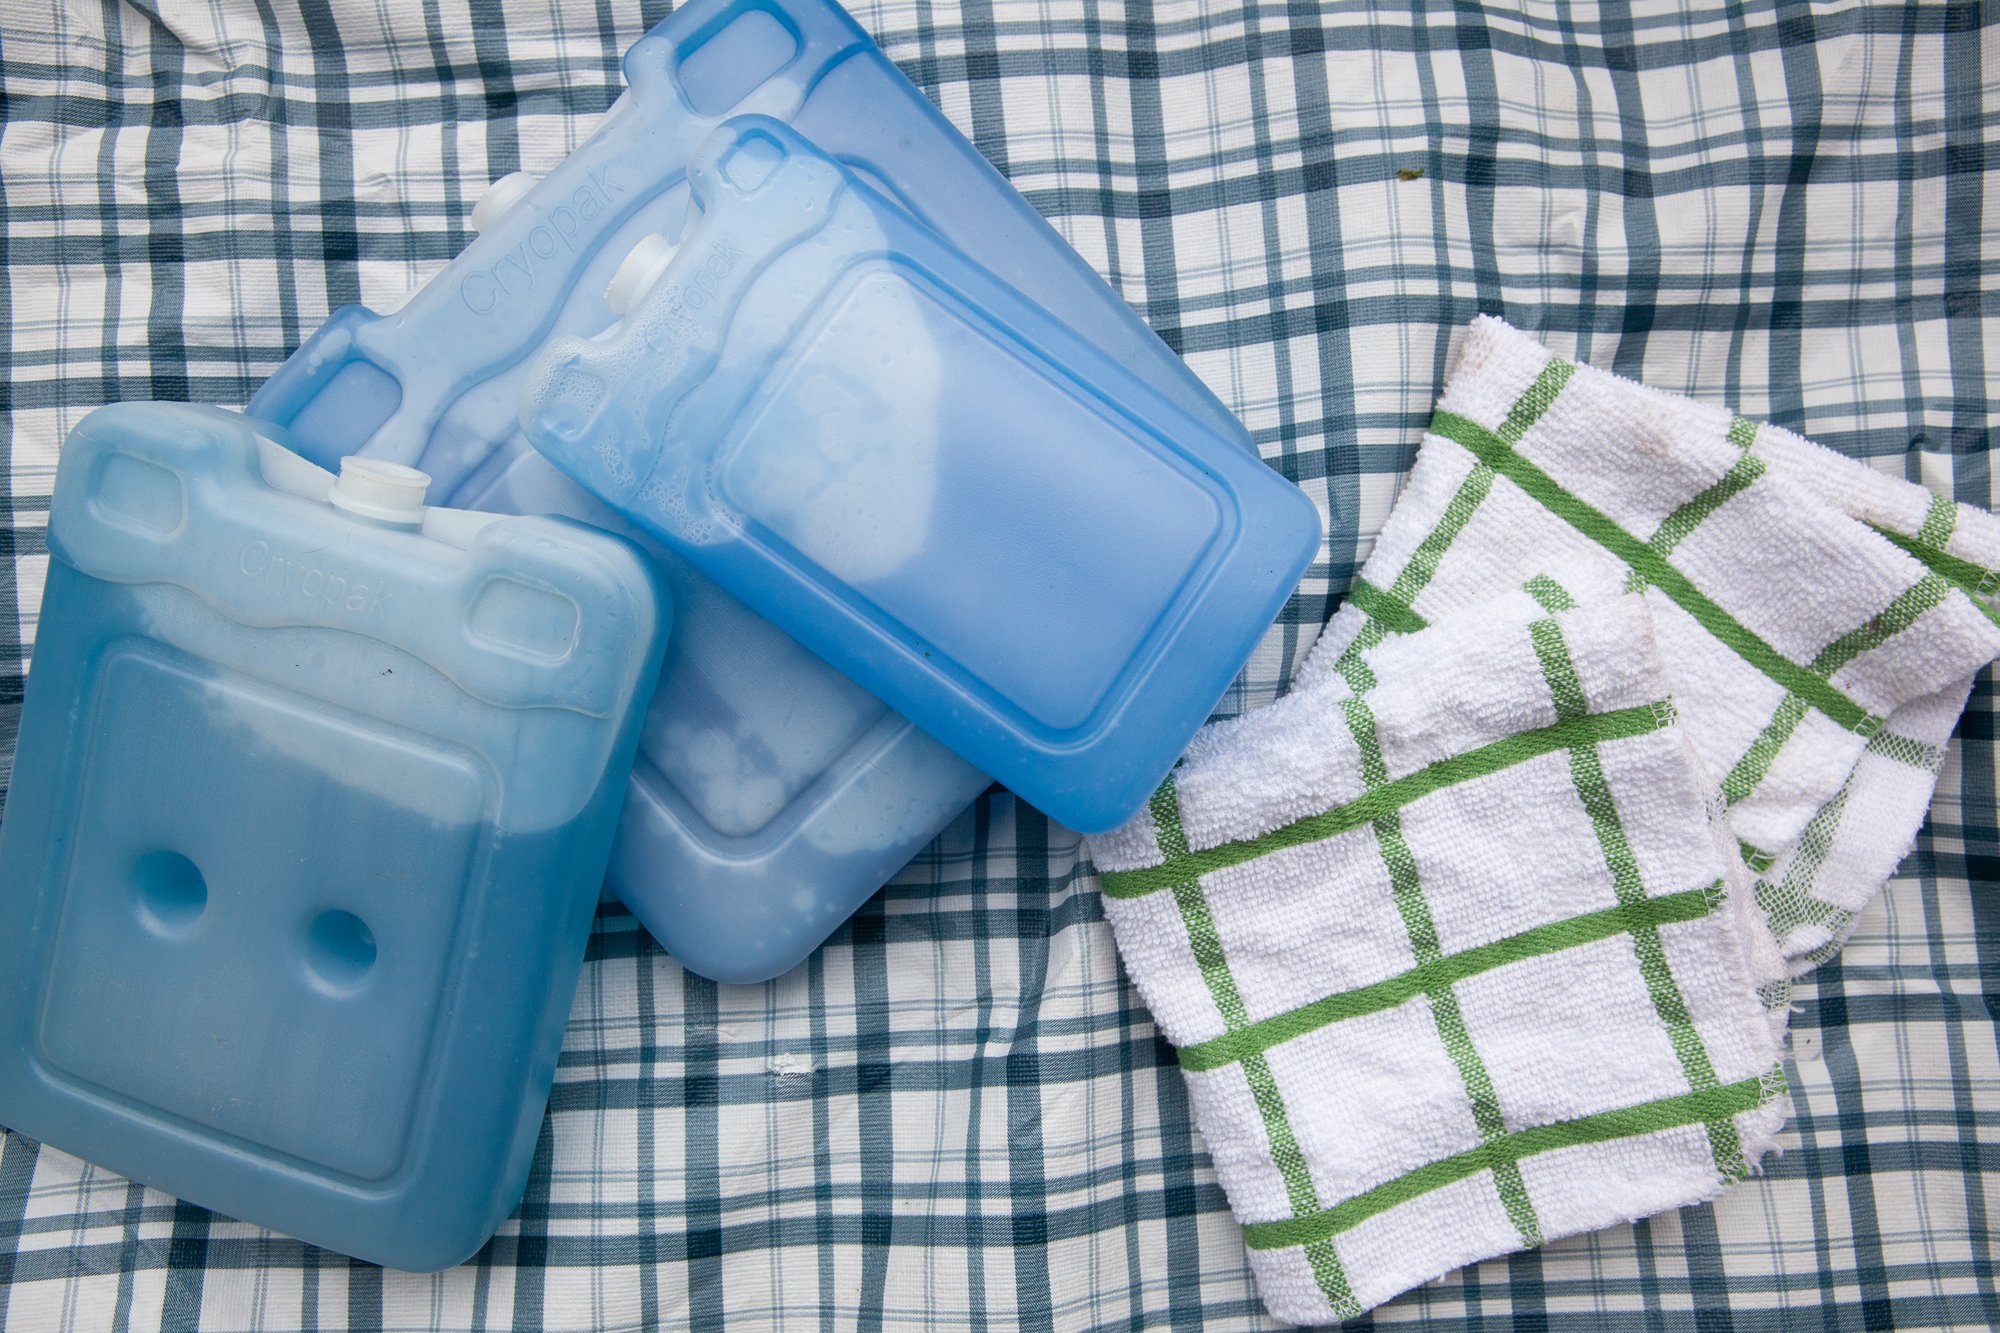
Dish Towels vs Paper Towels – Same thing as above – bring a few dish towels instead of letting the paper towels pile up. If you have a clothesline, they’ll dry easily during the day as well.
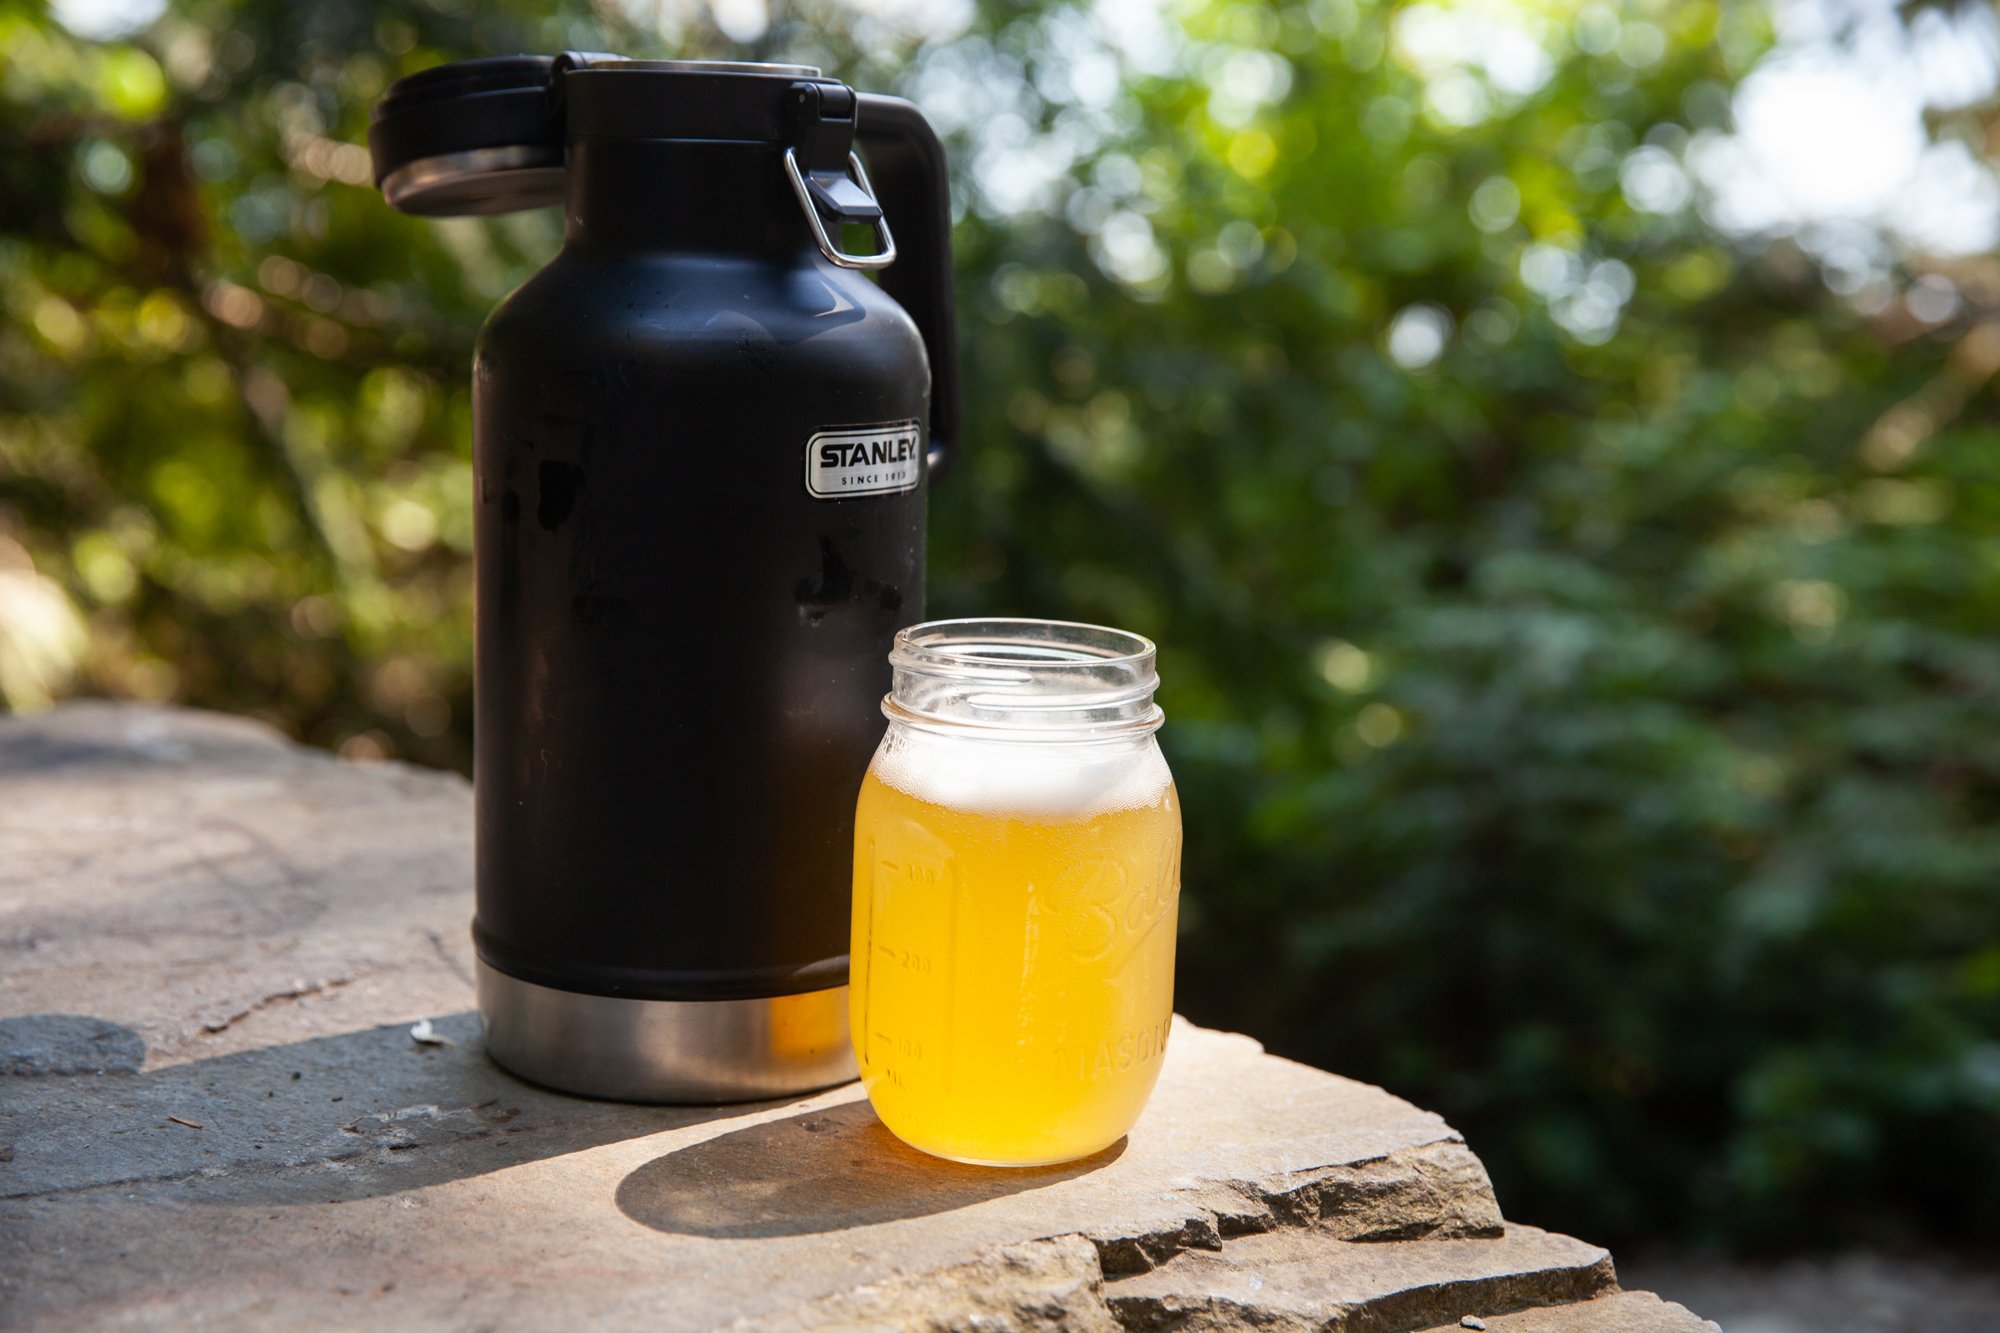
Growler Fill & Pre-Mix Drinks – Get growlers filled on the way to the campsite and then you’re not left with piles of cans that you have to deal with the whole time. And if you pre-mix some cocktails in mason jars, you’re also not dealing with juice jugs of all sorts and then all you have to do is add ice.
Ice Packs vs Bags of Ice – Speaking of ice, ahead of time, make some ice for your drinks in your freezer at home, and just use ice packs (and your frozen food) in the cooler to cool your items. Not only will this prevent you from having a ton of plastic ice bags afterwards, but it’ll save a bunch of money as the ice packs are reusable. (My friends even reuse the ice pack from their meal kit delivery boxes.)
Invest/Repair/Rent/Borrow/Buy Used Camping Gear – If you don’t have an item that you want for camping, there are lots of places to get it instead of buying something brand new. Sometimes you can find brand new things for sale online, or call up that friend you know that’s an avid camper and ask to borrow an item for your trip. It saves you money, and you can give some gear a second life.

BLOG: “Which B.C. Campsite is the Best Match for You?”
BC Living
May 16, 2022
Follow me on Social Media