Blogging

RECIPE: Homemade Bagels

RECIPE: Bagels
for BC Living column “From Scratch”
November 2021


There’s a certain quality about baking something from scratch that you almost always would get from a grocery store or bakery, and bagels is definitely one of them for me. They’re much easier than you’d expect, and with trials you can nail down the texture you prefer. Not to mention the toppings. And you likely have everything you need in your cupboards already.

INGREDIENTS 

  • 450 grams (approx. 3.5 to 4 cups) of bread flour (unbleached)

  • 2.5 teaspoons of dry active yeast

  • 1.5 cup of warm water (more if needed)

  • 4 teaspoons granulated sugar

  • 1.5 teaspoons salt

  • Sweetener: 2 tablespoons barley malt syrup, brown sugar or honey

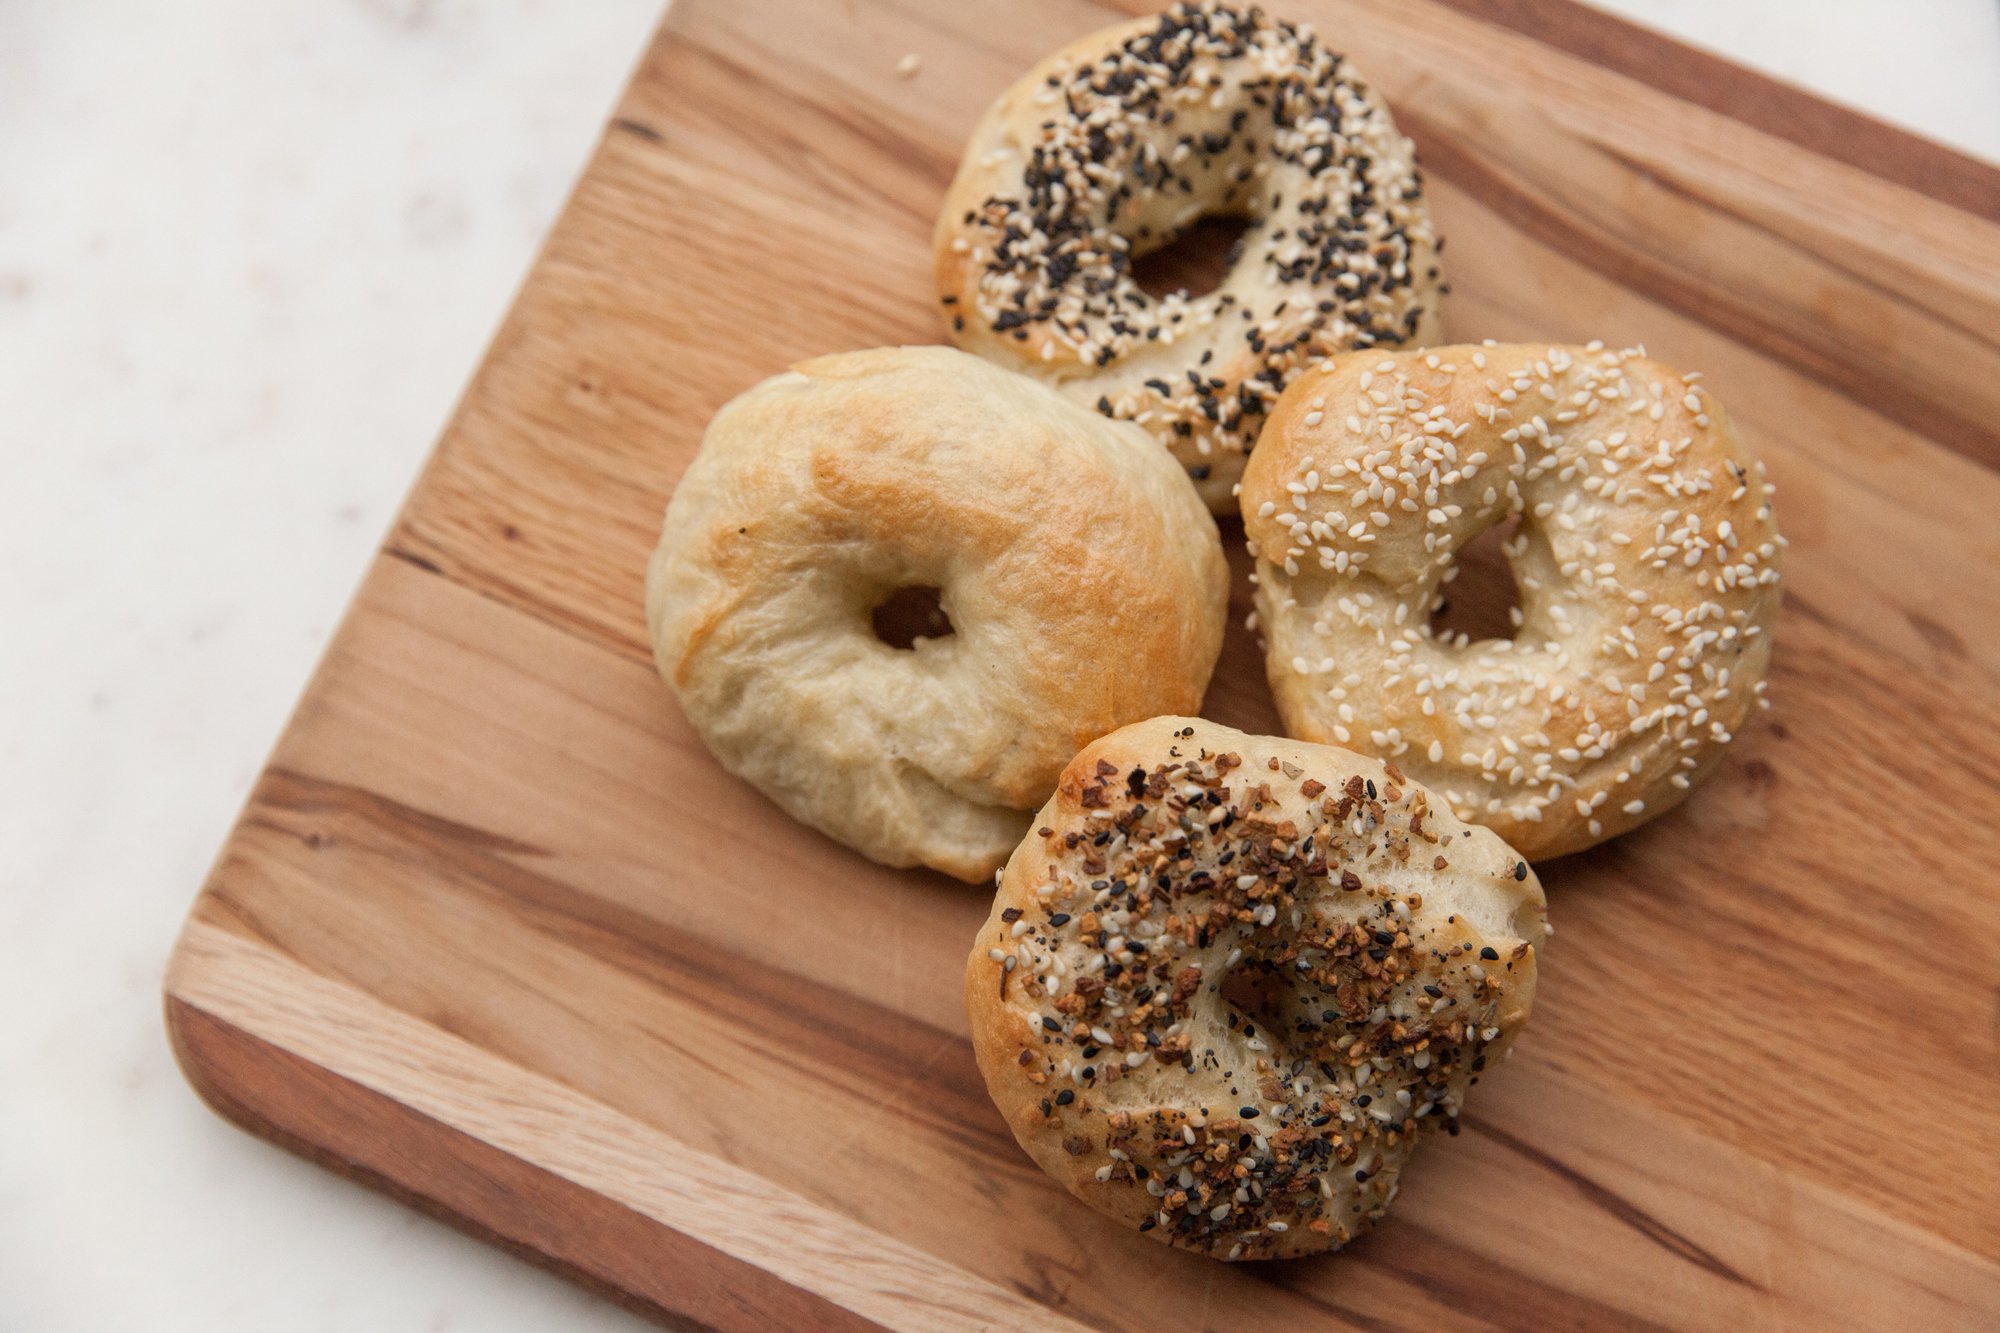
  • Toppings (like sesame seeds, 'everything bagel' seasoning or poppy seeds)

INSTRUCTIONS

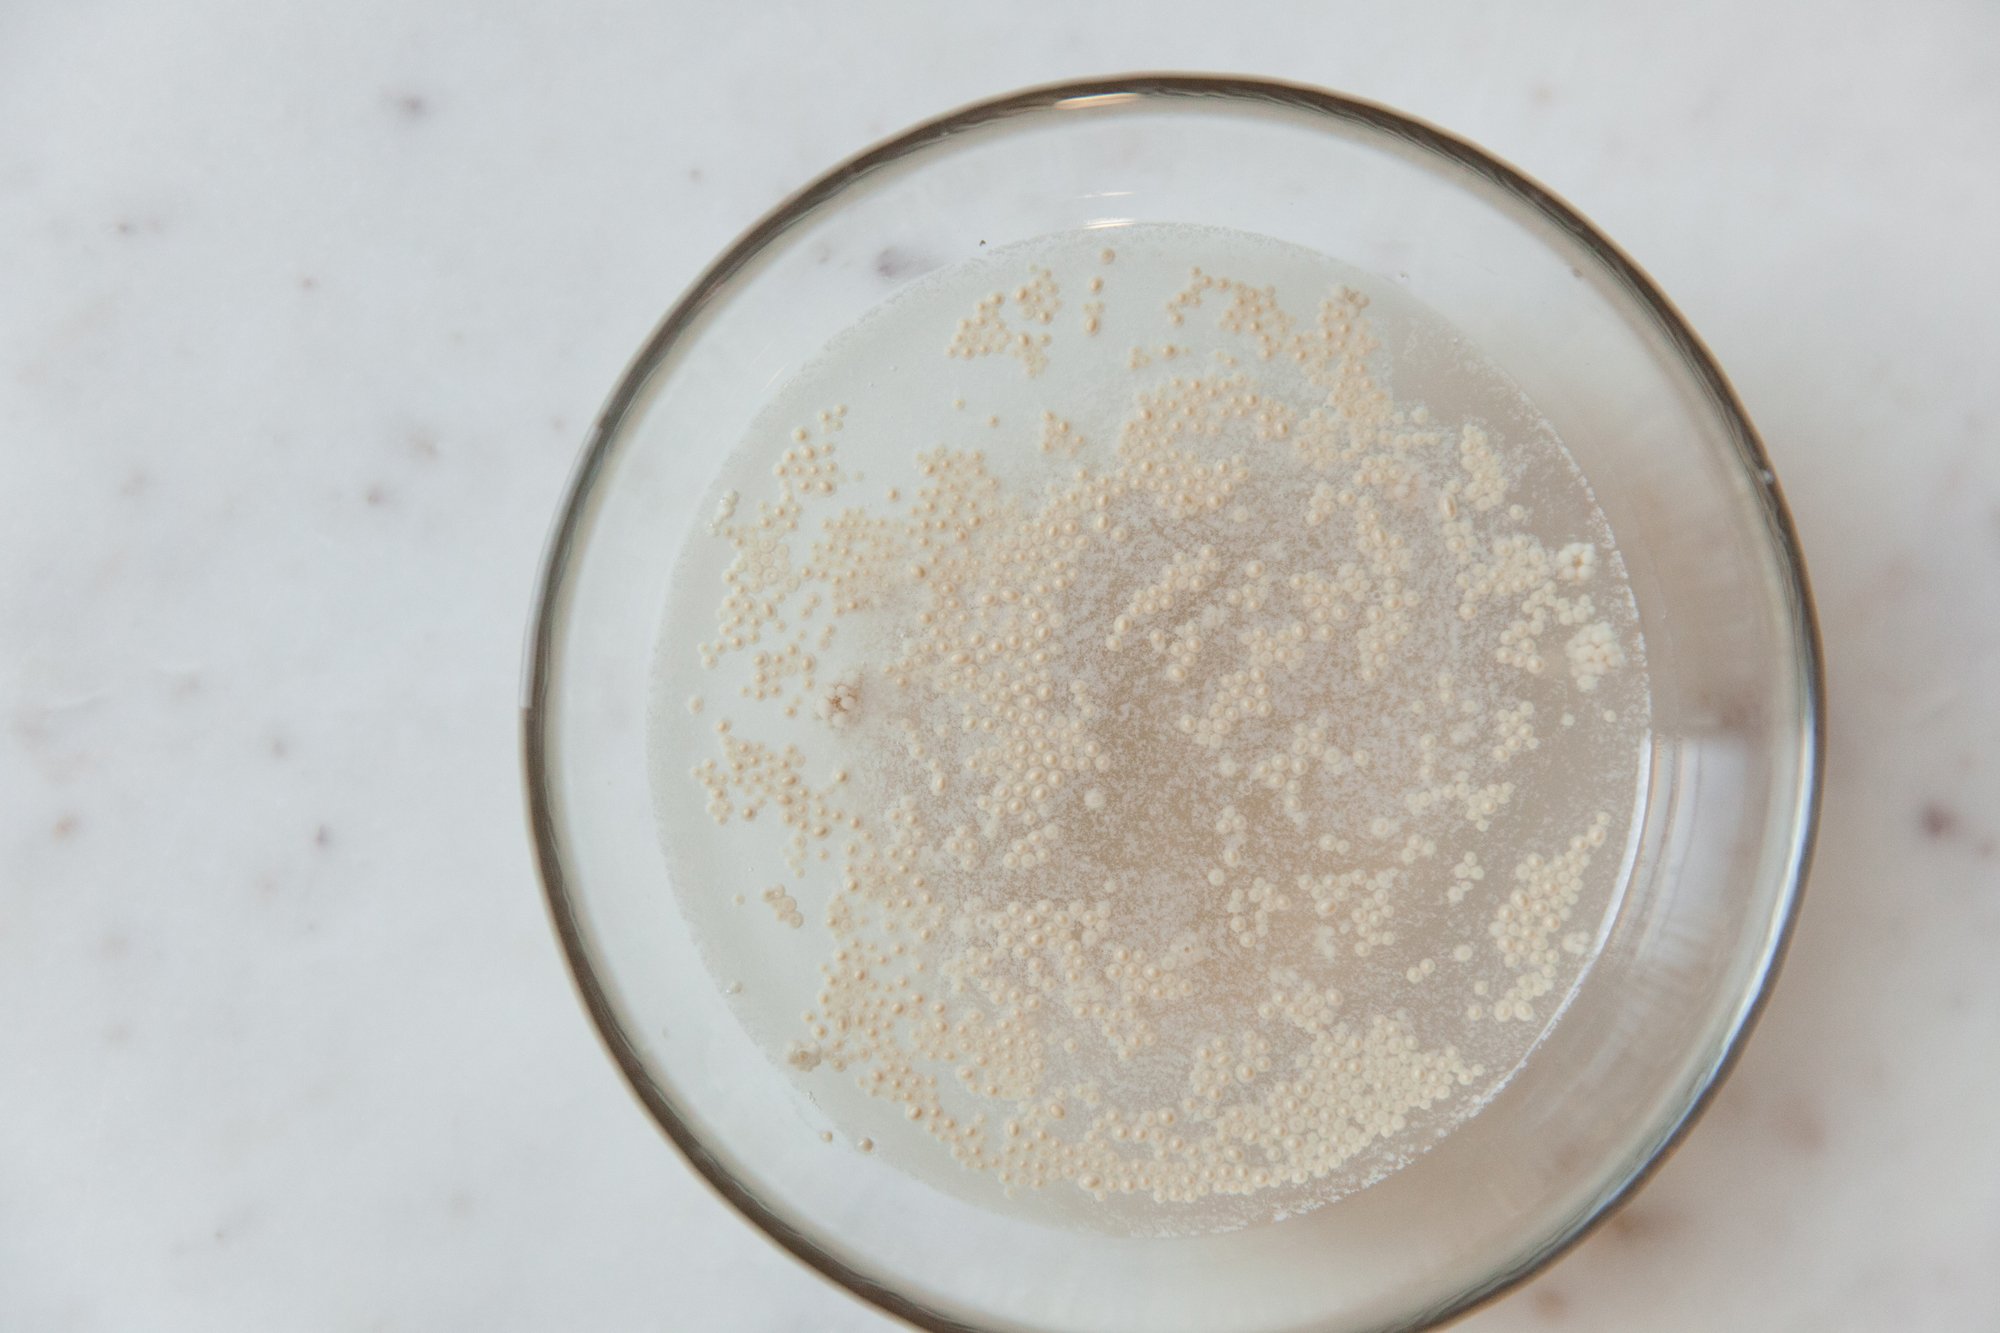
  1. In a small bowl, add the yeast, sugar, and half a cup of the warm water and let sit for five minutes. Then, stir to combine until all is dissolved.

  2. While the yeast mixture sits, add the salt and the flour into a large bowl and mix together, then make a well in the middle.

  3. When the yeast is ready, pour it into the well, and gradually stir in the flour. Add more of the warm water as needed and continue stirring (hands work well here), until a loose dough has formed.

  4. Turn over onto floured countertop and continue kneading until dough has become a smooth ball (this may take up to 10 minutes). You might need more water, or more flour if they dough is too dry, or too wet.

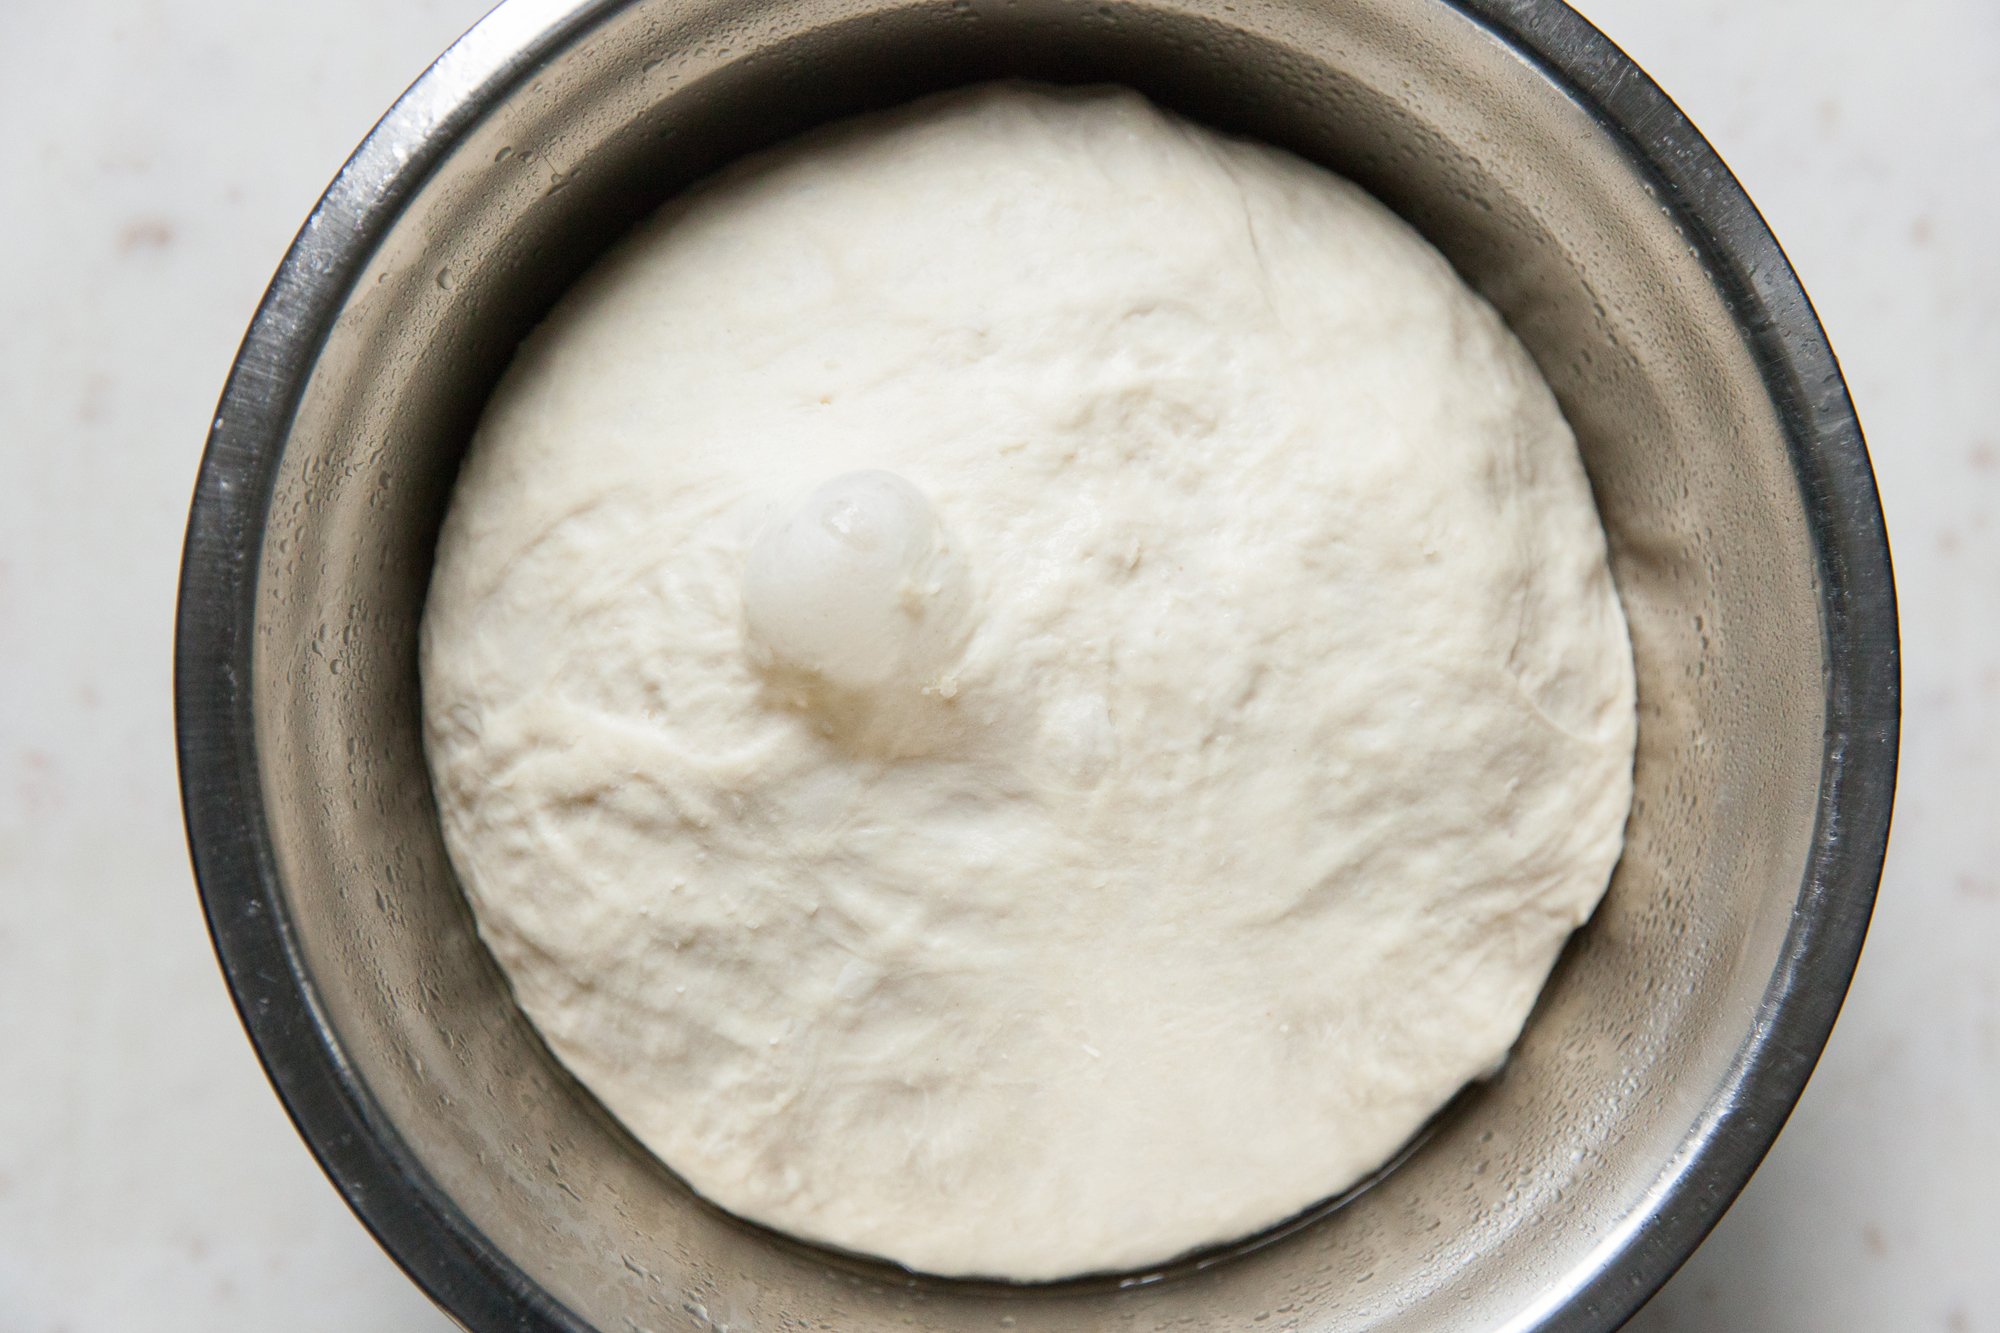
  5. Grease a large bowl, and place the smooth dough into it, and cover with a greased piece of plastic wrap (or a wet tea towel), and let the dough rest for at least an hour.
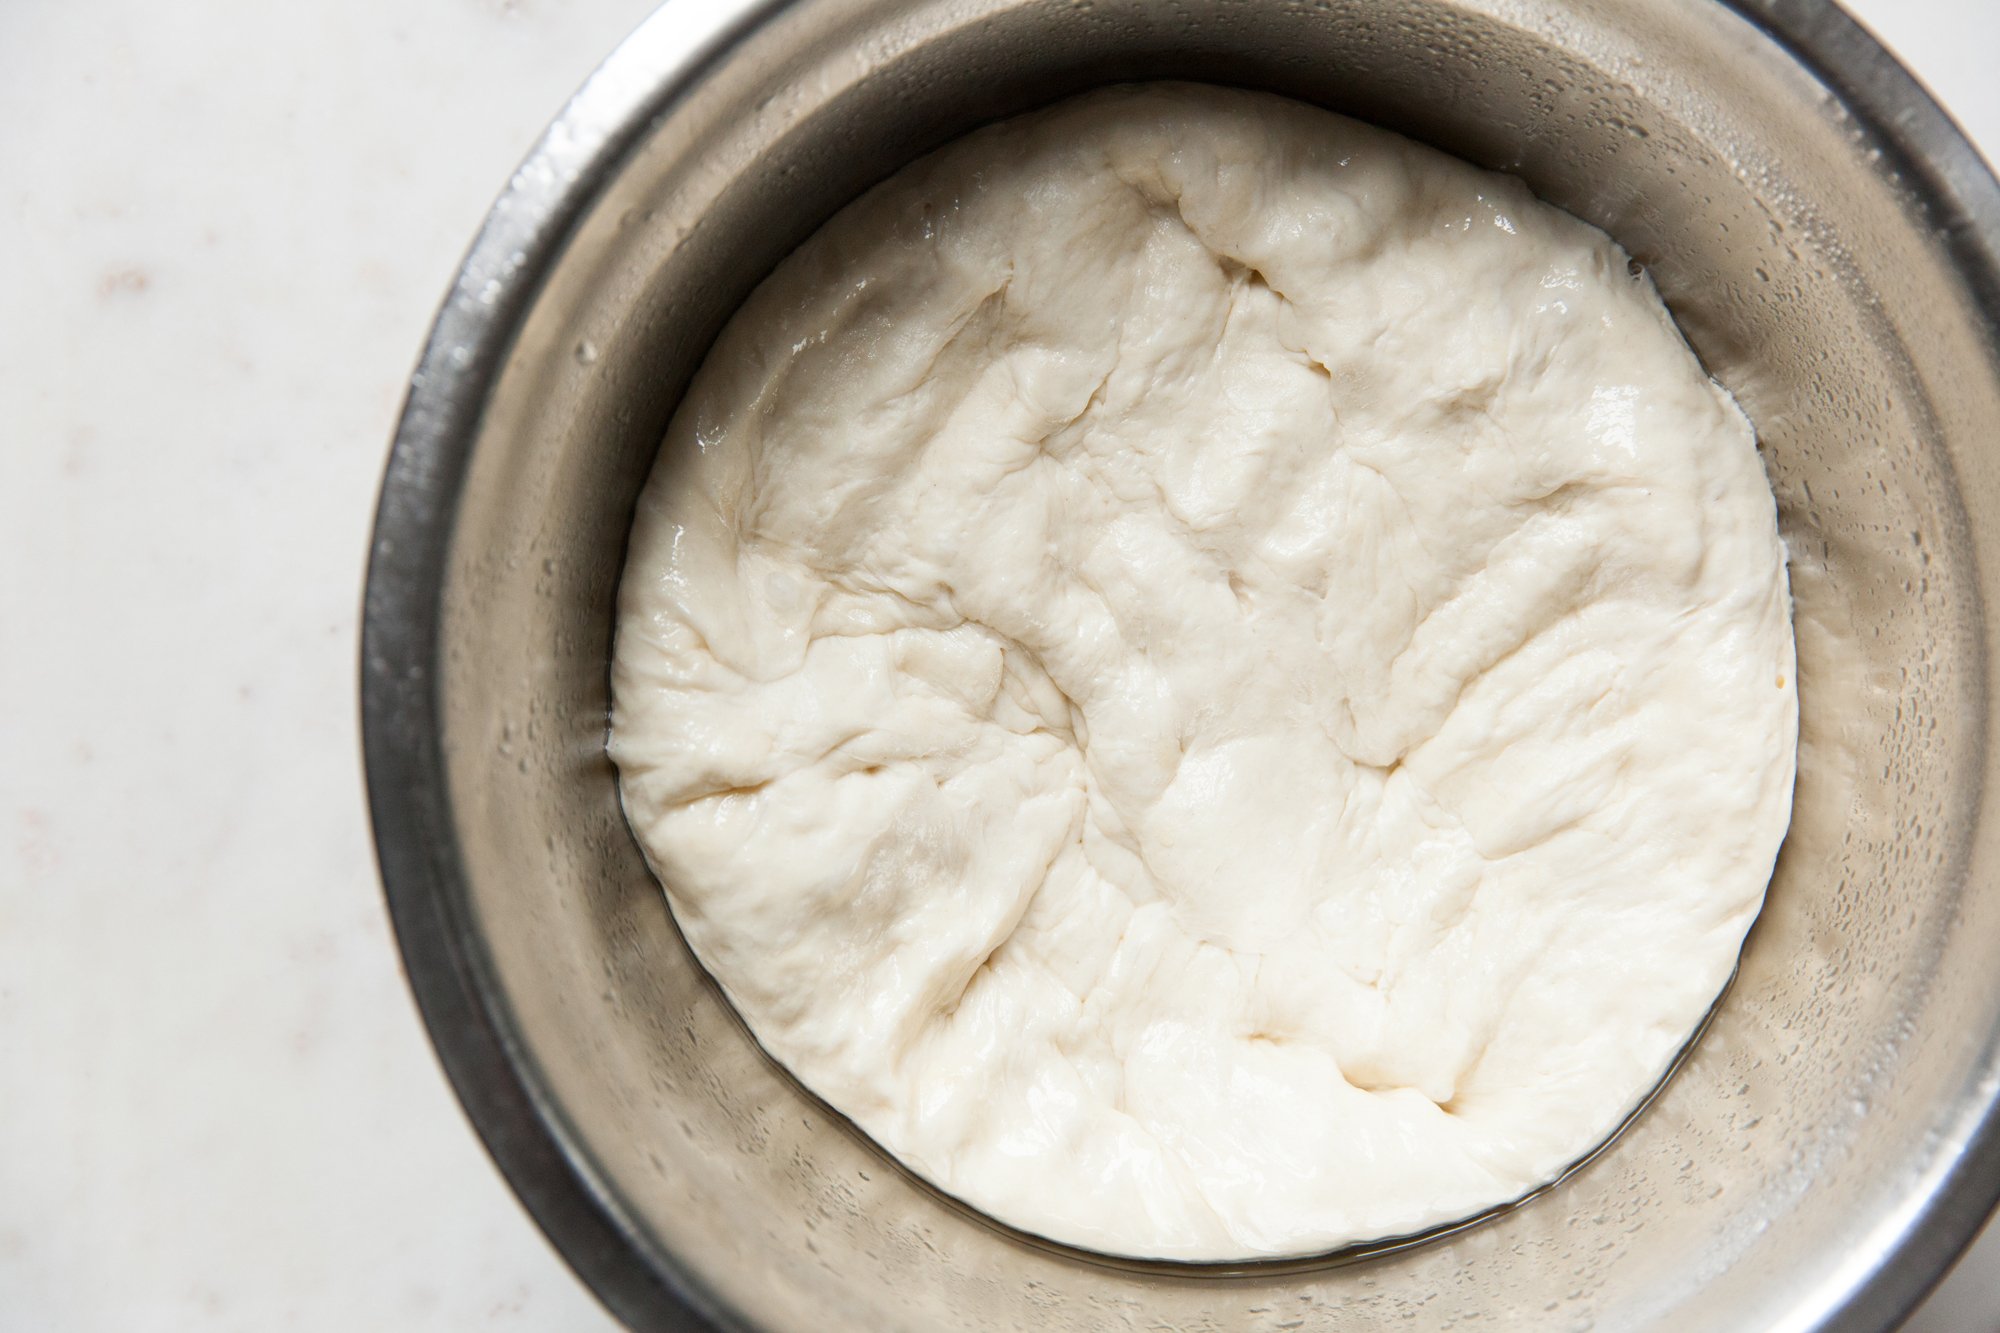
    If you’d like to make the bagels in the morning, you can let the dough rest in the fridge at this point, covered overnight, and remove it in the morning. Let it stand for at least 30 minutes to come to room temperature.

  6. Once the dough has risen, punch it down slightly to release some of the air.

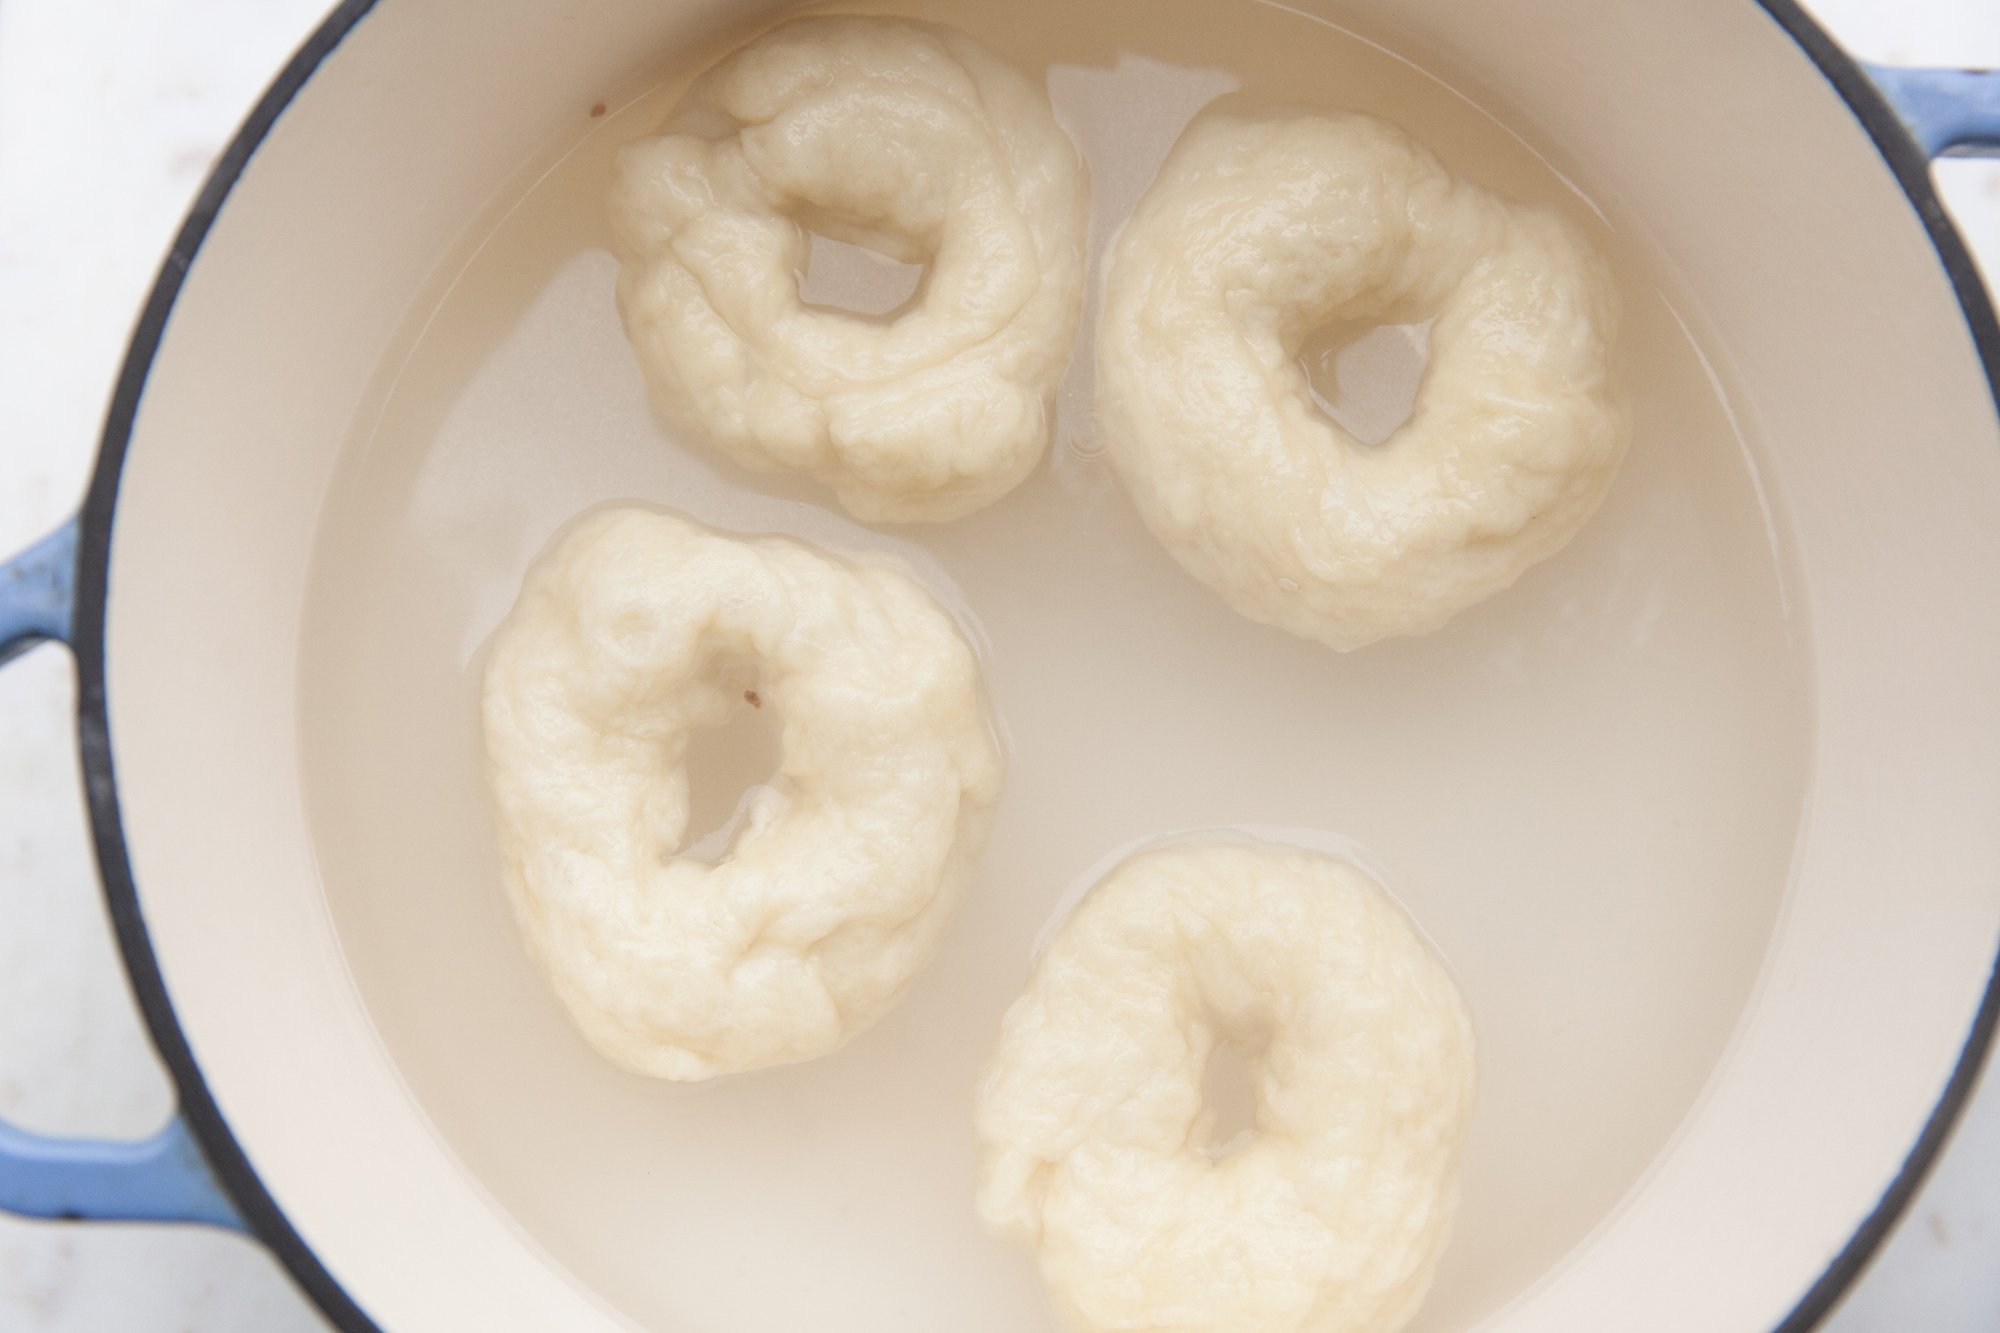
  7. Set the oven to 425 F, and fill a large pot with about eight cups of water, and add in the sweetener and bring to a rolling boil.

  8. Meanwhile, divide the dough into eight to ten equal pieces (or more if you want smaller bagels). The best way to do this is to weigh the dough, and then divide the pieces equally, but eyeballing it works just fine. Roll each of the pieces into smooth balls, and then, to make the hole, pinch your index finger and thumb through the center, and stretch slightly until you get the desired size.

  9. Place the bagels on a parchment lined baking sheet. Cover and let rest while the oven preheats and water comes to a boil.

  10. Lowering in the bagels one at a time with a slotted spoon, doing this in small batches (Three or four at a time max), let them cook in the water bath for approx. 30 seconds to one minute per side, flipping with the slotted spoon. The longer they are in the water bath, the chewier the outside of your bagel will be. Once they’ve cooked, remove them, letting them drain, and placing back on the parchment paper.

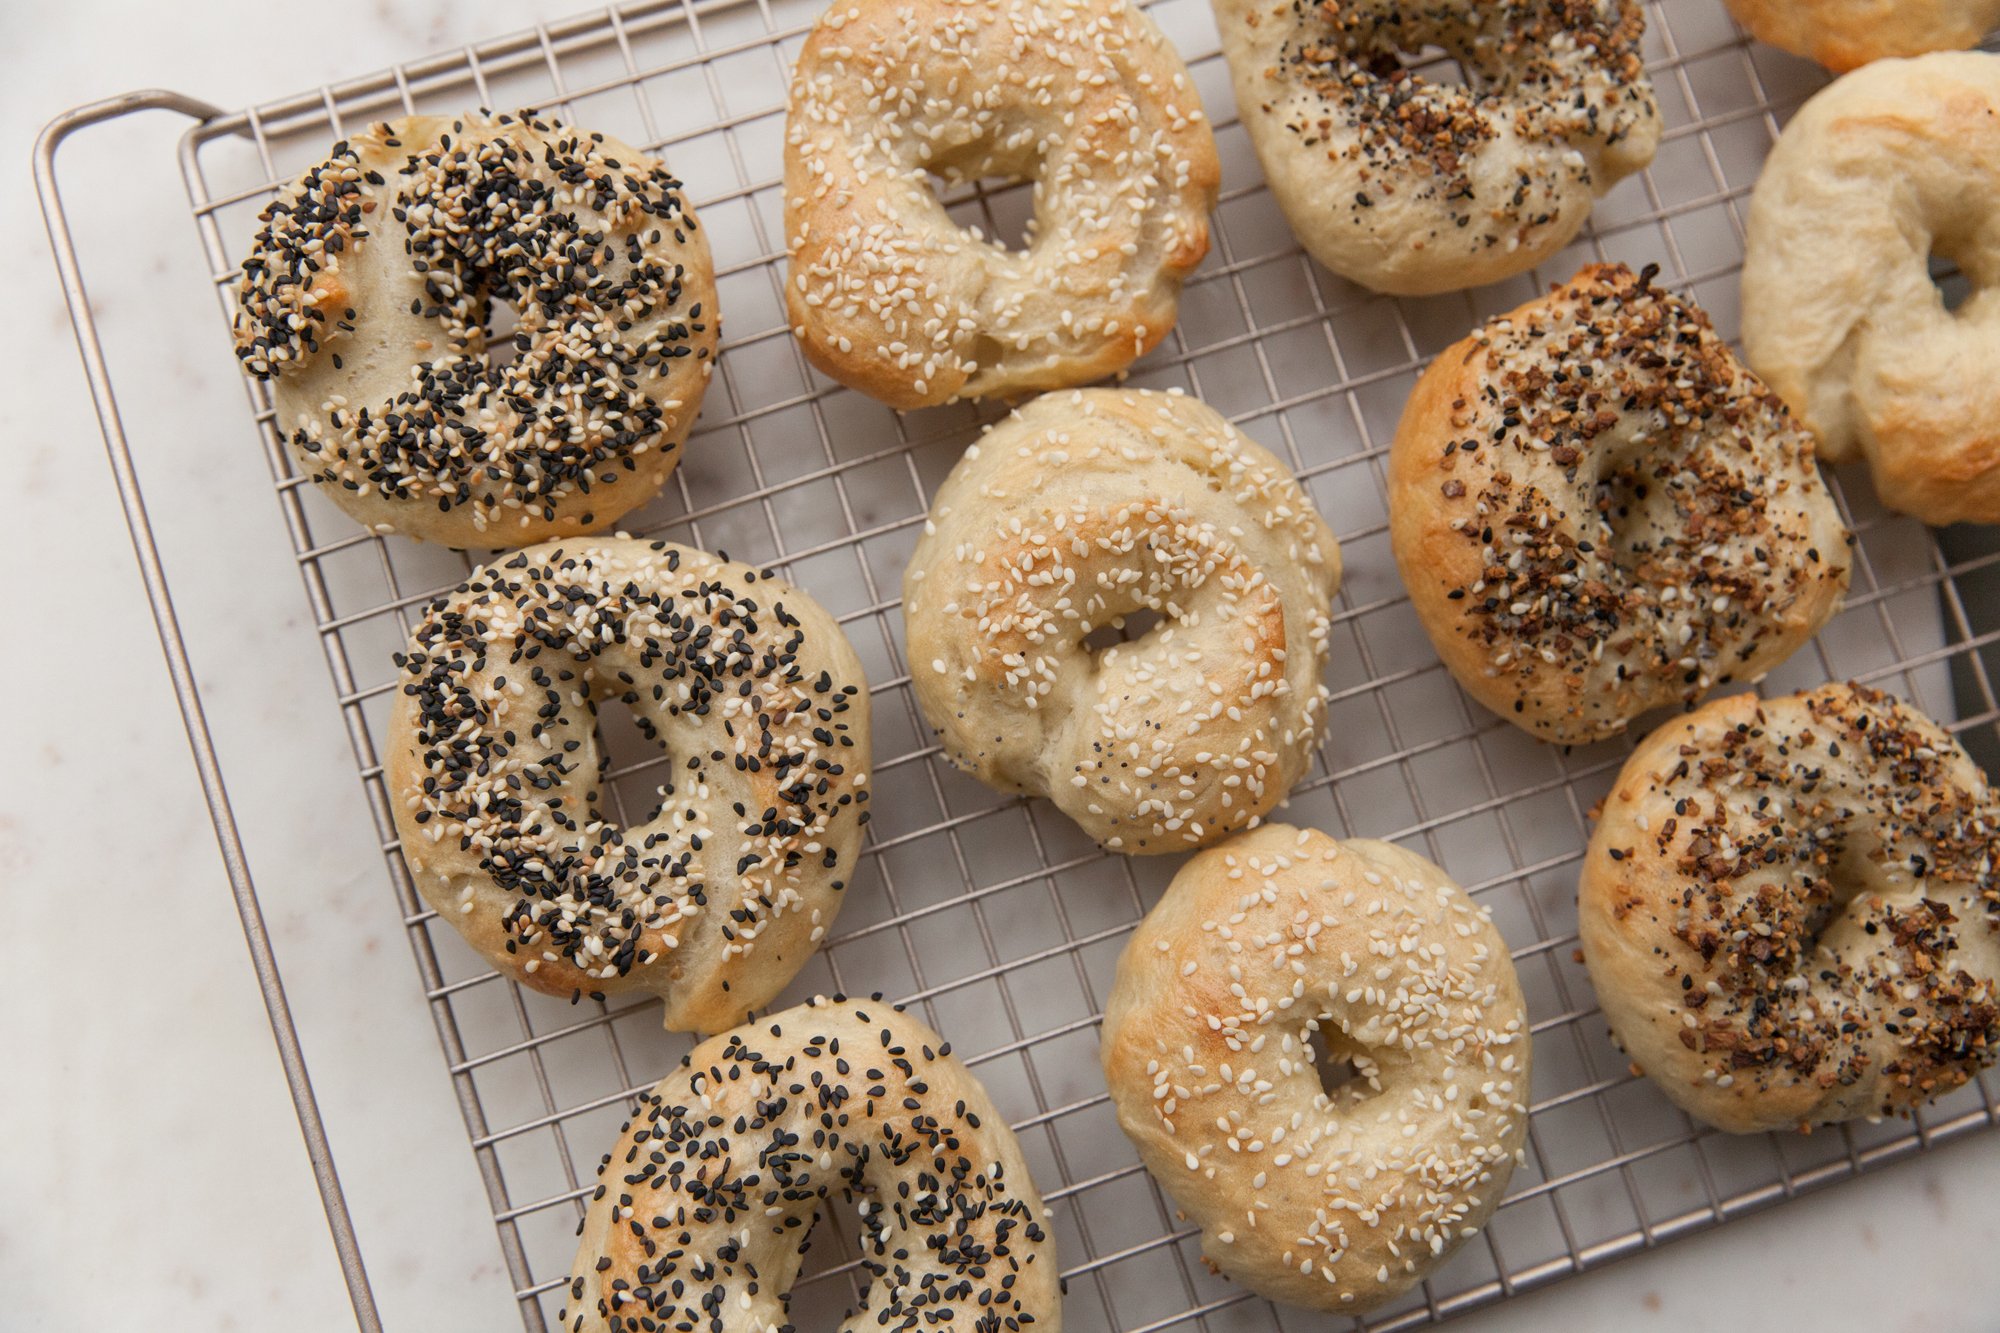
  11. While the water comes back up to a boil, this is the time to season your bagels, as the toppings will stick to the bagels now.

  12. Repeat until all of the bagels have been cooked in the bath, and had the toppings added, then transfer into the oven.

  13. It will take about 20 to 30 minutes to fully cook and brown, depending on your oven, and how toasty you want them, so keep an eye on them. You can also flip them over (carefully) halfway through if you’d like.

  14. Once done, remove and let cool before cutting into them so they keep their shape.

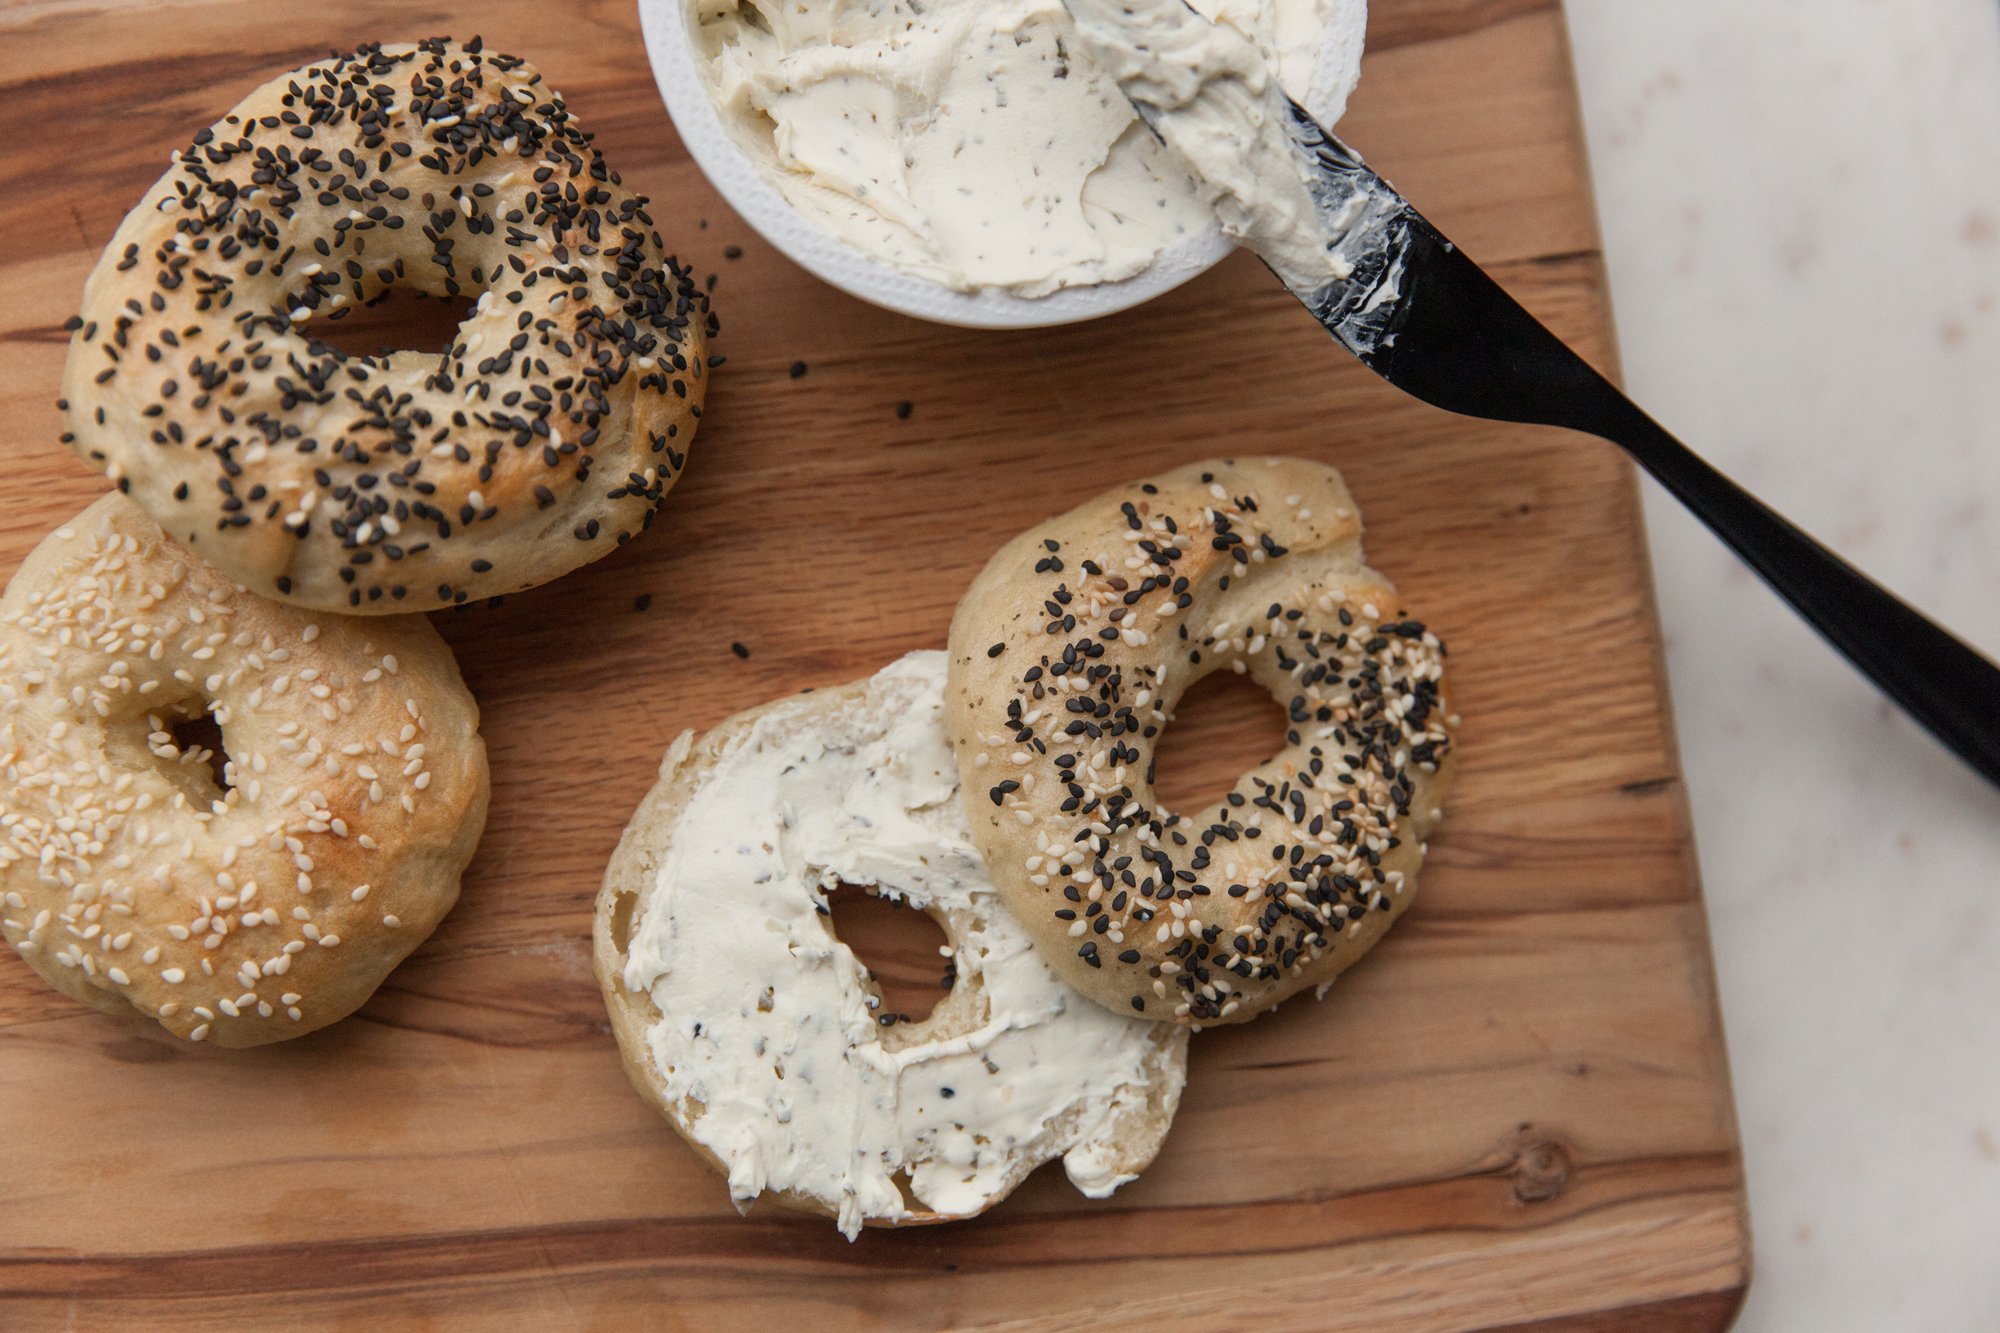
  15. Serve with cream cheese, or maybe make into a breakfast sandwich!

Makes eight to 10 bagels

RECIPE: Vegan Chilli

Vegan Chilli – But Make It Vegan
for Environment911.org


It’s cold. You want something hearty, easy and vegan. You need chilli.

INGREDIENTS

  • 2 tbsp olive oil

  • 4 to 6 cloves of garlic

  • 1 red onion

  • 1 or 2 red peppers (1 if large, 2 if small)

  • 1/2 tsp salt

  • 2 tsp cumin

  • 2 tbsp of chilli powder (I used two different kinds for more variety)

  • 1 tsp smoked paprika

  • 1 tsp dried oregano

  • 540 mL can of black beans, drained

  • 540 mL can of red kidney beans, drained

  • 796 mL can of tomatoes, crushed or diced works, depends how chunky you like them in your chilli

  • 1 cup vegetable broth

INSTRUCTIONS

  1. Finely chop onions and red pepper.

  2. Heat the olive oil in a heavy-bottomed pot over medium heat and then add in the onions and pepper, cooking until soft (about 8 minutes).

  3. Mince the garlic and add it to the pot, along with all the spices (chilli powder, cumin, paprika, oregano, salt). Stir to combine and cook for an additional minute.

  4. Add the beans, the tomatoes and the broth to the pot and stir. Bring to a low boil, then reduce to a simmer, cooking for another 35 mins with the lid on the pot. Stir the mixture occasionally making sure the bottom isn't burning.

  5. Serve with your choice of (healthy) topping and over rice (if desired).

  6. Should last at least 3 days in the fridge, and can also be frozen for up to 3 months.

*Tip I found on the internet: Scoop up a cup or two of the mixture and place it in a blender, then fold back into the chilli. It will thicken it/give it a bit more consistency.

RECIPE: Vegan Egg Salad

Vegan Egg Salad – But Make It Vegan 
for Environment911.org

Every now and then I get a craving for an egg salad sandwich but between the eggs and the mayo, it just ends up being too much for me. 
 
When I found out I could make something that tastes almost exactly like it with Medium-Firm Tofu, and it would have the same texture, I knew I needed to give it a try.  
Since then, especially with the addition of Shani Seasoning (a Vancouver company), it’s become a lunchtime favorite for me. 
 
I even made it for an afternoon tea with friends and blew their minds that it wasn’t actually eggs! 
 
INGREDIENTS: 

- 1 package of medium-firm tofu (this firmness is KEY) 
- ¼ cup of vegan mayo (you might need more to taste) (can also sub a mashed avocado) 
- 2 green onions, finely chopped 
- 1 celery rib, diced (optional) 
- 2 tsp of Shani Seasoning * 
- crusty bread 
- sprouts or lettuce 
 
* If you cannot find Shani (they ship world-wide), a mix of turmeric, black salt, and fresh ground pepper will work. Taste for seasoning. 
 

INSTRUCTIONS: 
 
Drain the tofu and press to release excess water. You can use a tofu press or wrap the tofu in a clean tea towel and weigh it down with heavy books for at least 10 minutes. 
 
Roughly chop the tofu into small squares (like you would with egg), but you can also optionally finely crumble some of it to give the texture that the yolk has. 
 
Mix the seasoning in with the mayo, and then the mayo, green onion, and optional celery in with the tofu. 
Taste for seasoning, and you might need a bit more mayo to hold it together. 
 
Chill until ready to use, and serve on some good crusty bread with your favorite lettuce or sprouts. 

RECIPE: Apple Sauce

RECIPE: Apple Sauce
for BC Living column “From Scratch”
October 2021


Some things are just better when they're made from scratch—and making something with your own two hands provides such satisfaction. When you cook from scratch, you know exactly what ingredients go into your meals, and it offers you the flexibility to adjust your recipe for dietary or taste preferences.

It’s apple season, and I just happened to get a huge bag of them for super cheap. I’m not a big pie person, so I knew I wanted to make applesauce. Not only is a great little side dish for all ages, but it's incredibly easy to make. (And it can be used to replace eggs in vegan baking!) By making it from scratch, you can also control the sweetness. 
 
I recommend not putting any sugar into it while you’re cooking. Depending on the apples you have, they might be sweet enough already. You can add sugar in afterwards when you taste test, or on an individual basis when serving. Try just sprinkling some cinnamon sugar on top for an added kick!

INGREDIENTS

  • 4 lbs of apples (about 10 medium)

  • ½ cup water

  • Juice of half a lemon

INSTRUCTIONS

  1. Peel and core the apples. I have an apple peeler which makes this job take far less time, but a regular peeler will do as well. Next, dice into small pieces.

  2. Place the apples into a large pot, and pour juice over the apples to help stop them from browning.

  3. Add the ½ cup of water and set over medium-high heat until the water starts to boil.

  4. Bring it down to a simmer and cover, cooking for about 20 minutes until the apples are fully cooked and easy to mash.

  5. For chunky applesauce, use a potato masher and roughly go over them until you have your desired consistency. Alternatively, process until smooth in a blender or with an immersion blender.

  6. Serve warm or cold, and optionally sprinkle with cinnamon.

Makes approximately four cups

RECIPE: Cold Soba Noodle Salad

Soba Noodle Salad
for BC Greenhouse
August 22, 2021


This light, refreshing and veggie-forward noodle salad is an excellent lunch or starter. The vegetables themselves take center stage, and the dressing is just enough to add a flavorful punch. 
 
INGREDIENTS 
 
For the Salad: 
- ~125g soba noodles 
- 1.5 bell peppers (red, orange, yellow or a mix), thinly sliced 
- 1 medium carrot, peels and then shaved into ribbons 
- ¼ cup cilantro, chopped 
- green onions, chopped 
- sesame seeds (white and/or black) 

For the Sauce: 
- ¼ cup low-sodium soy sauce, or tamari 
- 3 tbsp sesame oil 
- 1 tbsp lime juice 
- 2 cloves of minced garlic 
- 1 tsp ginger (fresh), finely minced 
 
INSTRUCTIONS 

Cook the soba noodles according to package instructions, then drain and immediately run under cold water to stop the cooking process. 

While the noodles are cooking, whisk the sauce ingredients together in a bowl. Taste for seasoning, you may want to add a bit more soy sauce, or water to thin it down. 

Place the drained/cooled noodles in a bowl, add in the carrot, peppers, cilantro and green onions. 
Add in some of the dressing at toss until combined, adding more dressing as needed. 
 
If you are not serving right away, reserved some of the sauce until right before serving to loosen everything up. 
Top with sesame seeds in serving bowl or in individual portions. 
 
Serves Approx. 4 

CHICKEN & CABBAGE WONTONS 
for BC Living “From Scratch” Column

Everyone is starting to gather again, and the prospect of BBQ parties and park potlucks are super tempting. Finger food where everyone can take their own individual portions is a smart way to go, and sure, you could go to the frozen food section and pick up some generic flavourless appies, but it’s super easy to make some from scratch, and you can put whatever you’d like in them. 
 
These are easy to modify to be vegetarian by switching out the chicken for more veggies or crumbled tofu. And to make it vegan, make another binder to use in lieu of the egg white. The sweet and sour sauce on the side cools them nicely, or you can go for a spicier dipping sauce. 
Plus, you can bake them, so they’re healthier than their fried counterparts. 

 
Makes ~24 (but can be doubled) 

INGREDIENTS 
 
- wonton wrappers 
- 1 chicken breast, cooked and shredded 
- 1 small carrot, peeled and shredded 
- ½ cup cabbage, shredded 
- ¼ cup of water chestnuts, chopped finely 
- 2 green onions, finely diced 
- 1 clove garlic, minced 
- 1 tsp fresh ginger, minced 
- 1 tbsp soy sauce (low sodium) 
- 1 egg white 
- sweet & sour sauce for dipping 
 

INSTRUCTIONS 
 
Finely dice your cooked chicken breast (can pulse in a food processor to make it even easier), and place in a bowl. 
 
Add shredded carrot and cabbage, chopped water chestnuts, green onions, and mix. Then add the garlic, ginger, soy sauce, and egg white, and stir until evenly distributed. 
Preheat the oven to 425 or 450 degrees (if your oven runs hot, choose the lower setting). 
 
Lay out the wonton wrappers and place 2 tsp of the mix into the center. Get a small bowl of water for sealing them and set it next to the wontons. Dip your finger in the water and wet the edges of the wontons, and then roll them into logs, sealing the edge, and pinching the sides until they are closed. 

Repeat until the mix is used up. Cover the wontons as you finish them so they don’t dry out. 
You can also freeze them at this stage by placing them on a parchment paper lined tray and freezing for about 30 mins, and then place in an air-tight freezer bag to bring out when you want to cook them. 
 
Place finished logs on a greased baking sheet, and spray with cooking spray on the top (or lightly brush with oil). 
Bake for 10-15 minutes – you'll have to watch to make sure you don’t burn them, but you want them to be nice and toasty brown, a bit of a bubble and crisp to them. 
 
Plate and serve with dipping sauce – optionally top with some sesame seeds or green onions. 

If cooking from the freezer, they may need some extra time, so use the low setting so the insides have enough time to thaw and heat up, and the outsides can cook properly. 
 
ENJOY!