food photographer vancouver

RECIPE: Pretzels - From Scratch for BC Living

Pretzels
From Scratch for BC Living
June 2022 

One of my favorite items to get at the concession stands at sporting events is a soft pretzel. Nothing against their crunchy counterparts, which I also enjoy, but a warm, soft, salty pretzel is the best. 

As luck would have it, they’re pretty easy to make at home too. It might take you some practice to get the knots twisted perfectly (but who cares, because they taste the same). 
 
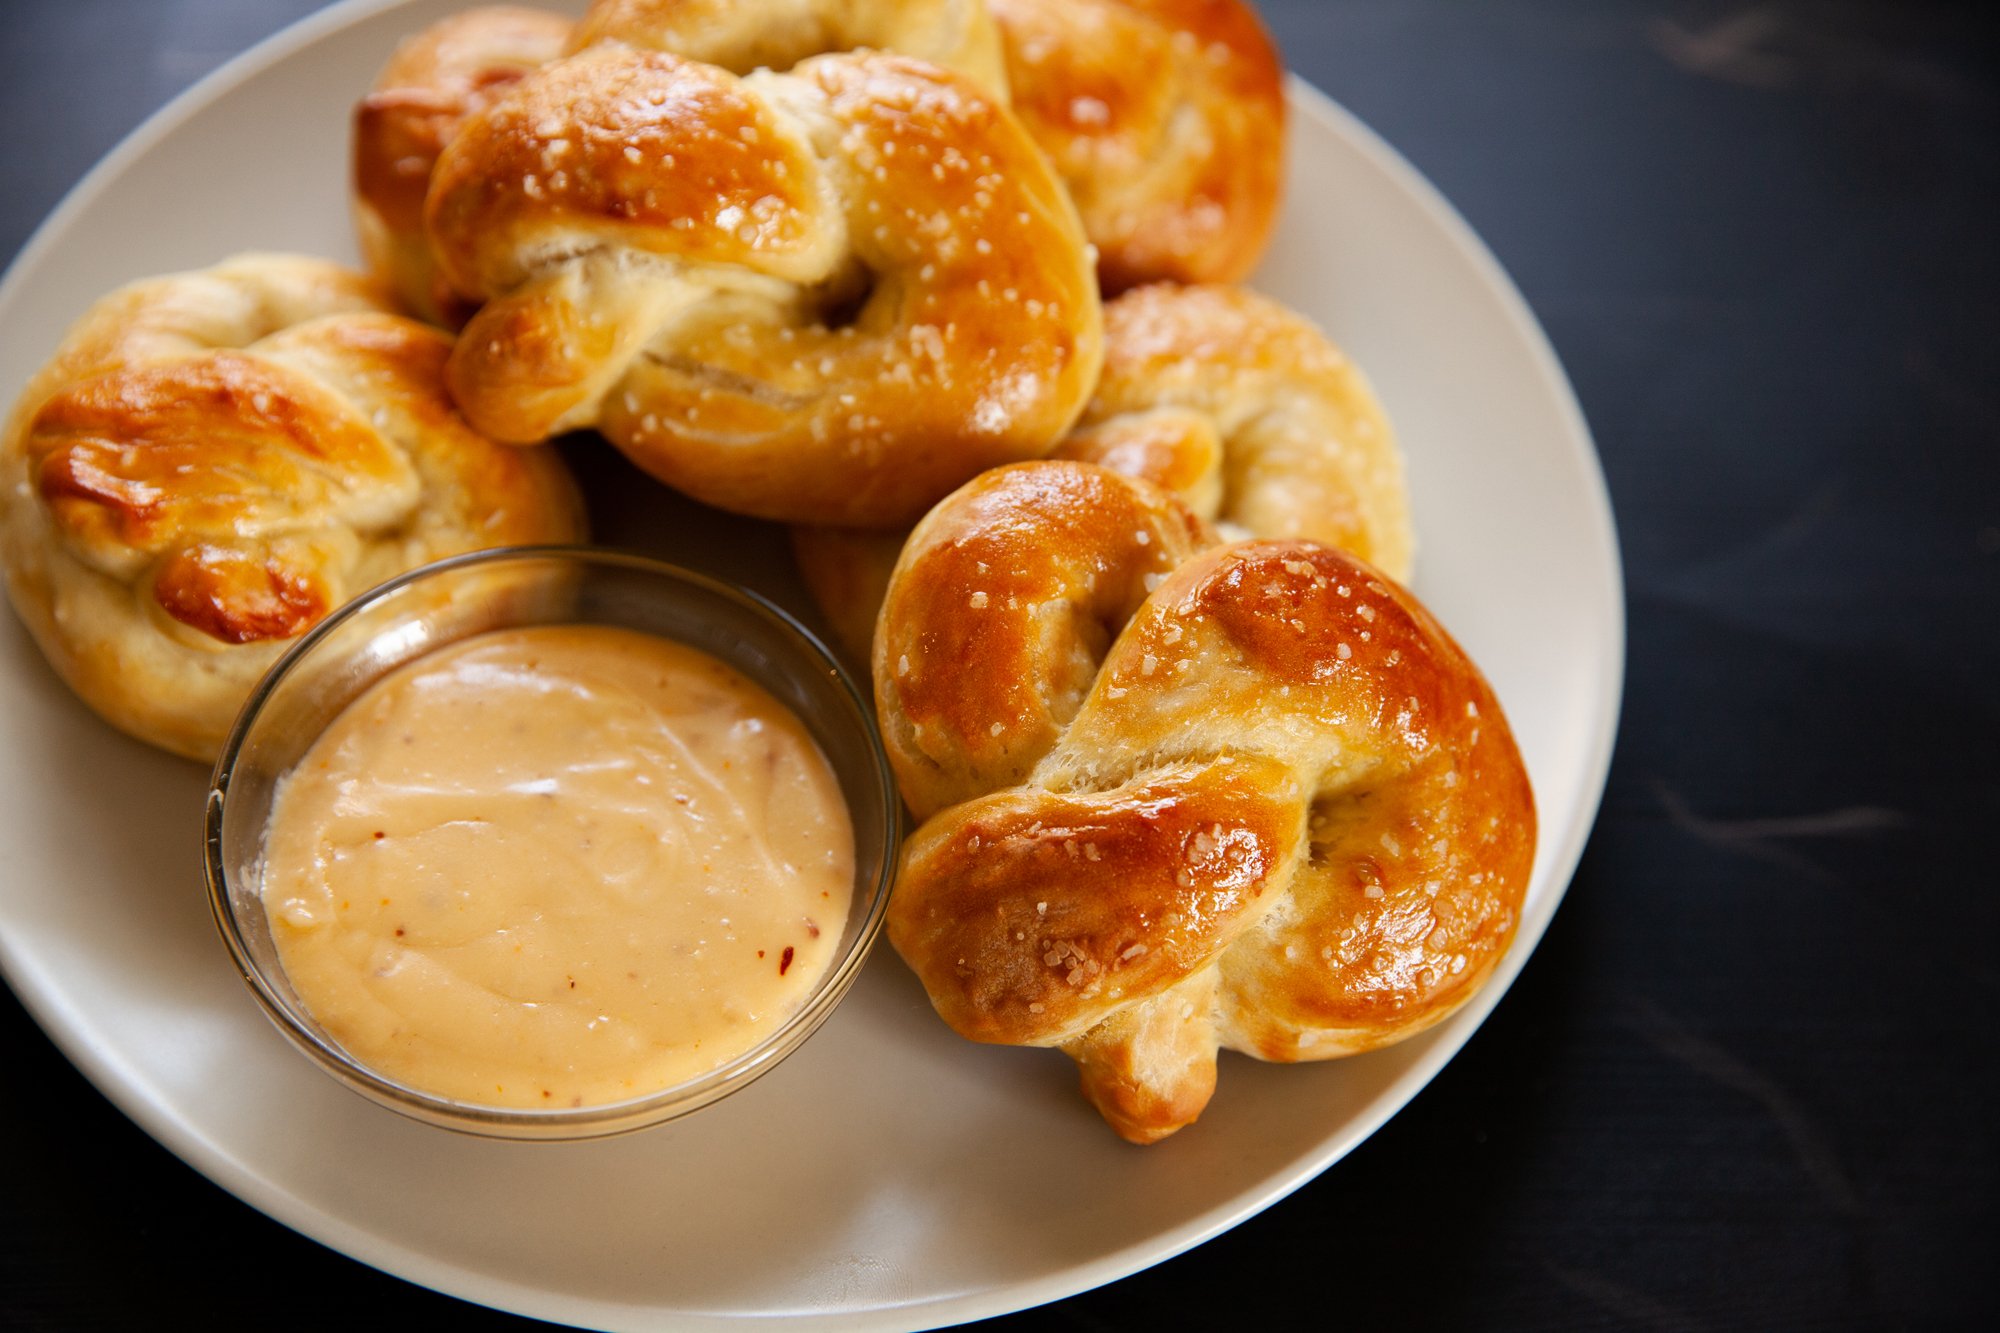
Throw in some homemade beer cheese to dip on the side, or mustard if you prefer, and this is just an awesome snack. 
 
INGREDIENTS: 

- 1.5 cups warm water  
- 2 ¼  tsp (~7g) dry active dry yeast (this is about one packet) 
- 1 tsp salt  
- 1 tbsp granulated sugar  
- 2 tbsp oil 
- 1 tbsp butter, unsalted, melted  
- 4 cups all-purpose flour (addition for working with the dough)  
- kosher salt or coarse sea salt for sprinkling 
 
-1/3 cup baking soda 
 

INSTRUCTIONS: 
 
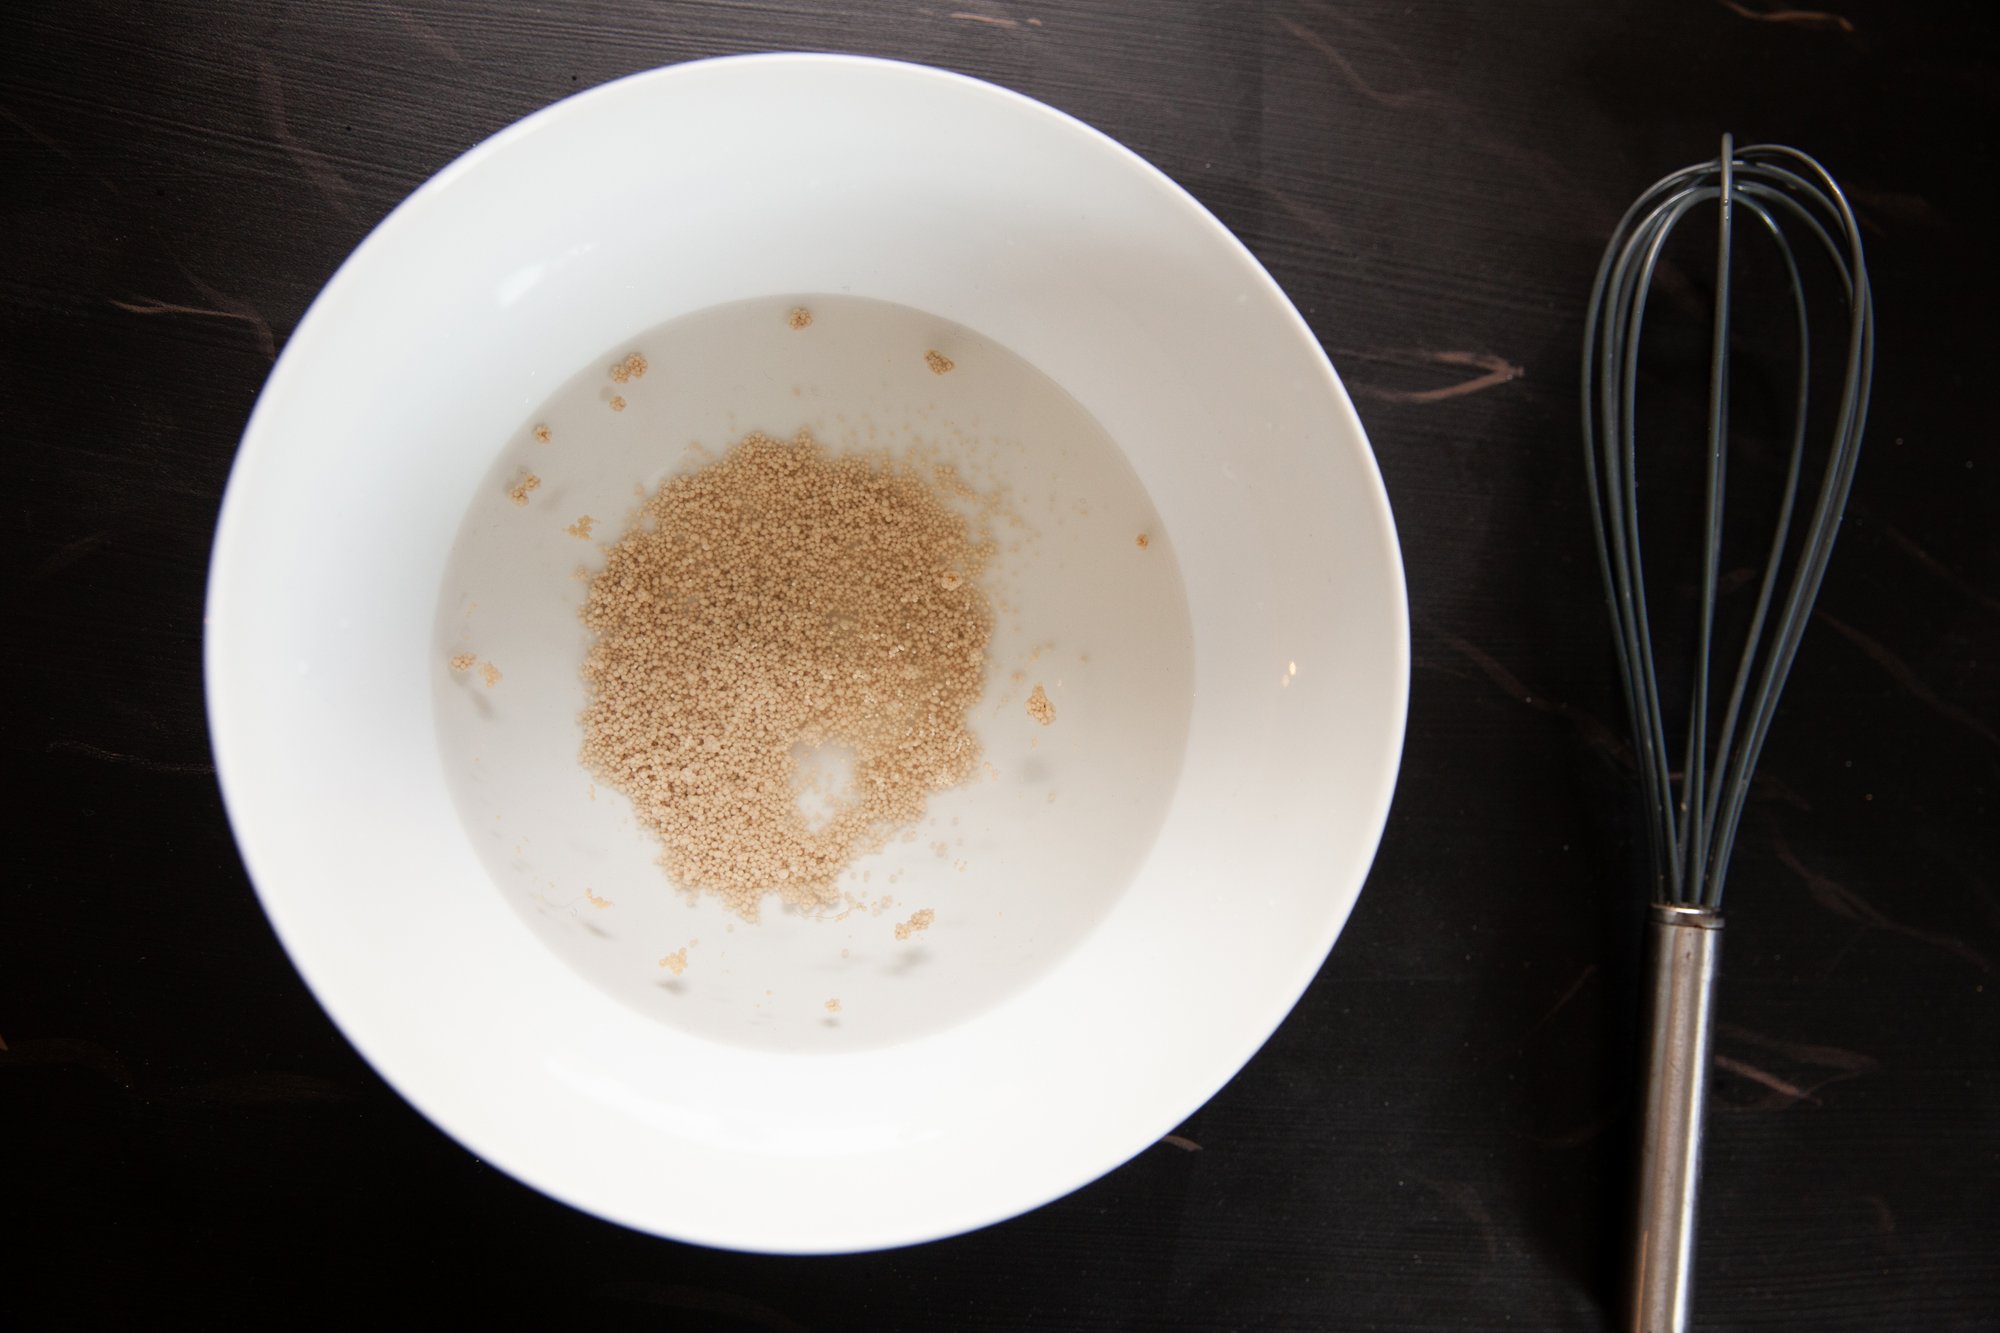
In a large mixing bowl, add the water, salt and sugar until combined/dissolved - then mix in the yeast. 
Let this stand for 5-10mins until it becomes bubbly/foamy. 
 
Add 1 tbsp of oil, and then the flour a small amount at a time, mixing with a wooden spoon until the flour has been incorporated. 
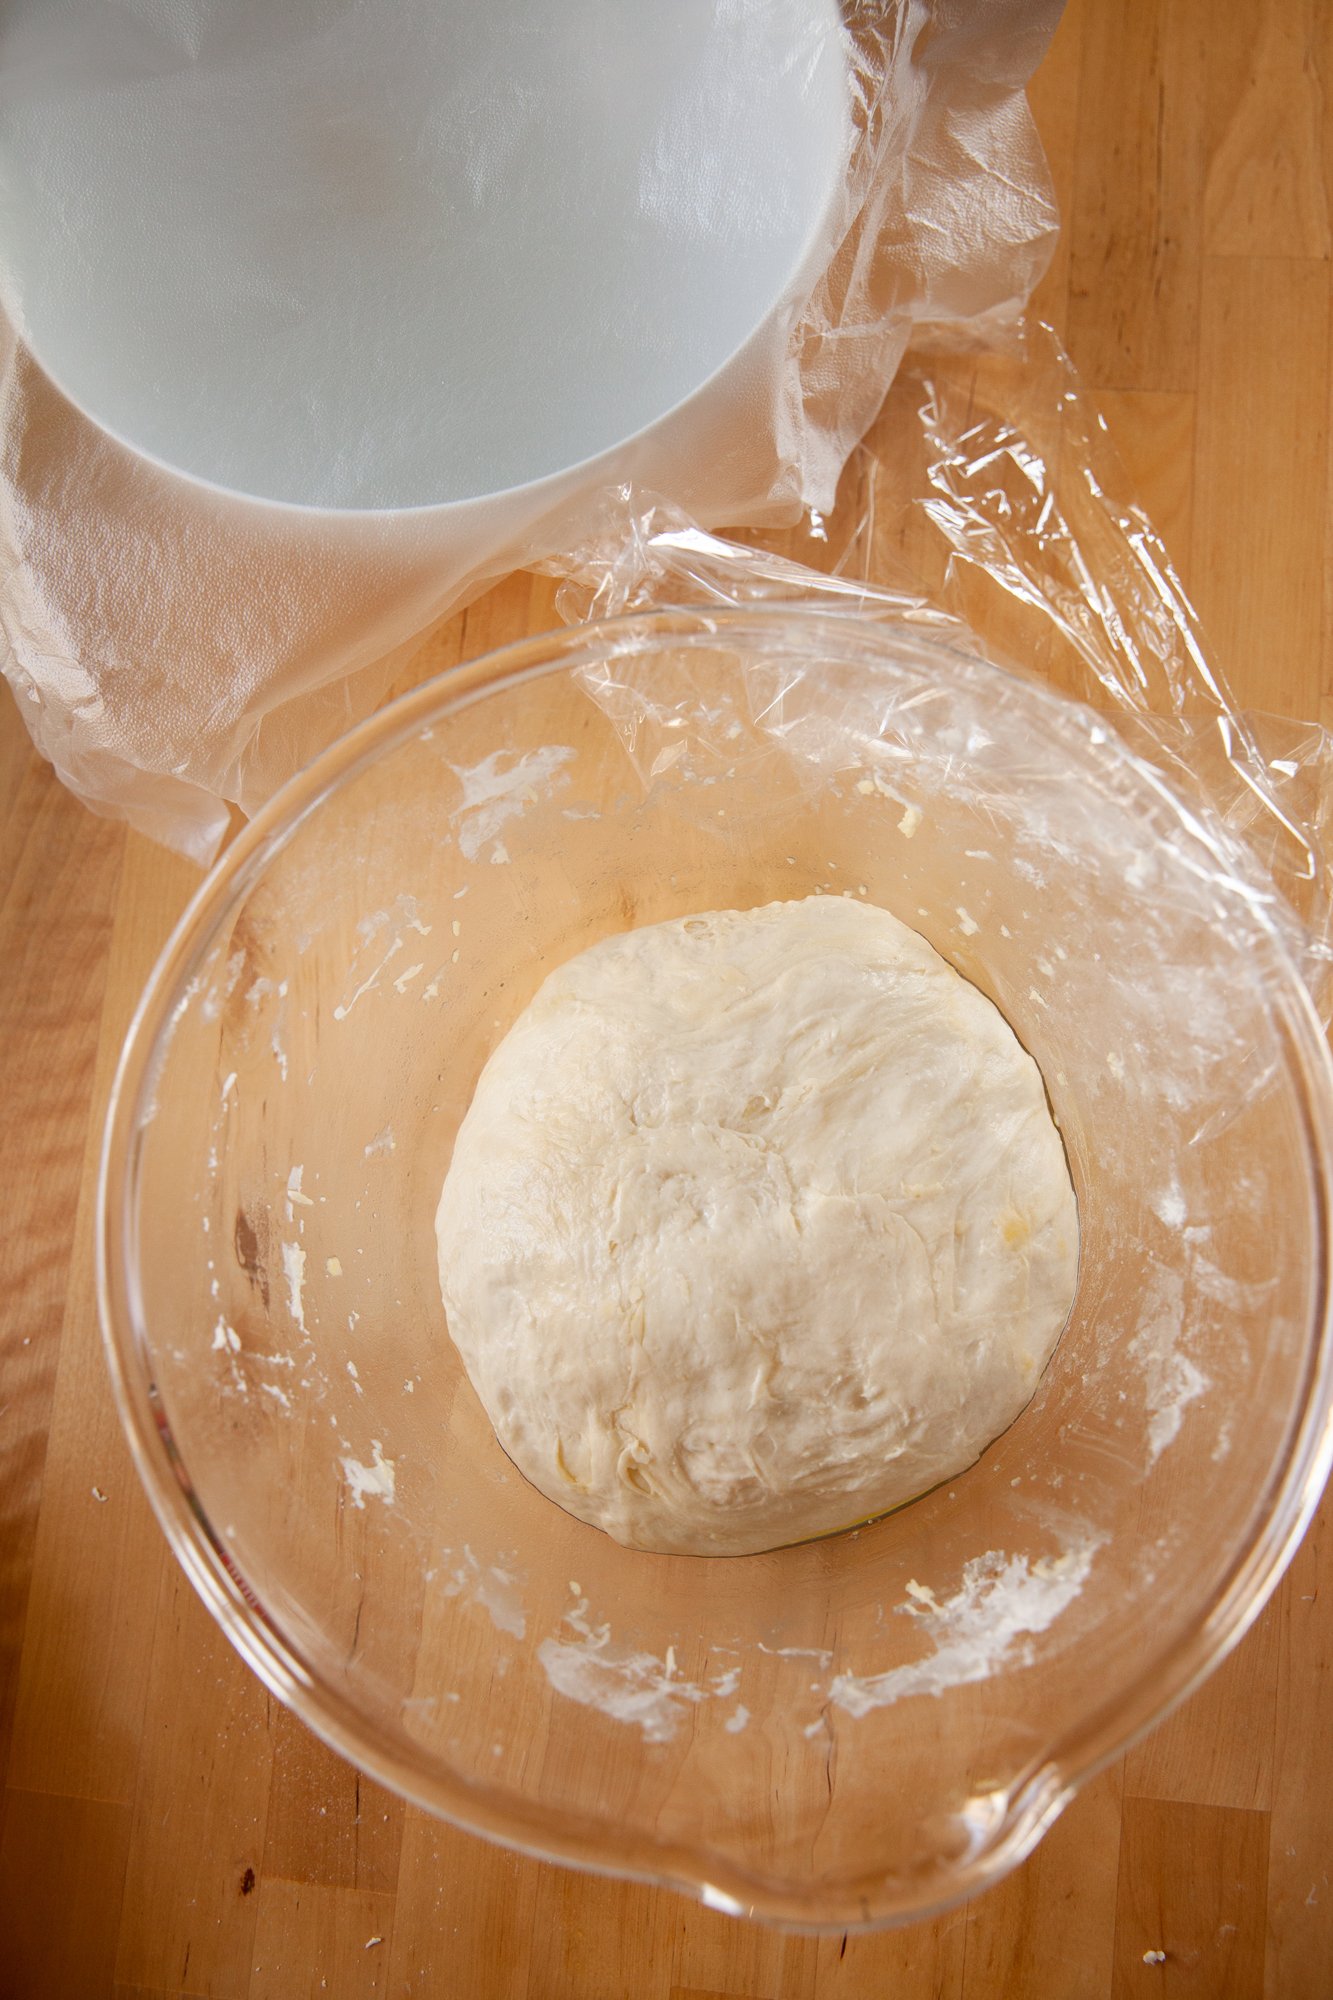
Move to a clean, floured surface, and knead until a smooth ball forms. 
 
Coat the bowl with the second tablespoon of oil, and drop the dough back into the bowl. Cover with plastic wrap, and place in a warm area for about an hour until the dough has doubled in size. 
 
In the meantime, preheat the oven to 450 degrees and fill a large pot with water and bring to a low boil, adding 1/3 cup of baking soda. (This improves the texture and the color of the pretzels!) 
 
Cut the dough with a sharp knife into even pieces – I made smaller ones because there were more people to share with, but you can make them whichever size you want, just make sure they’re even. 
 
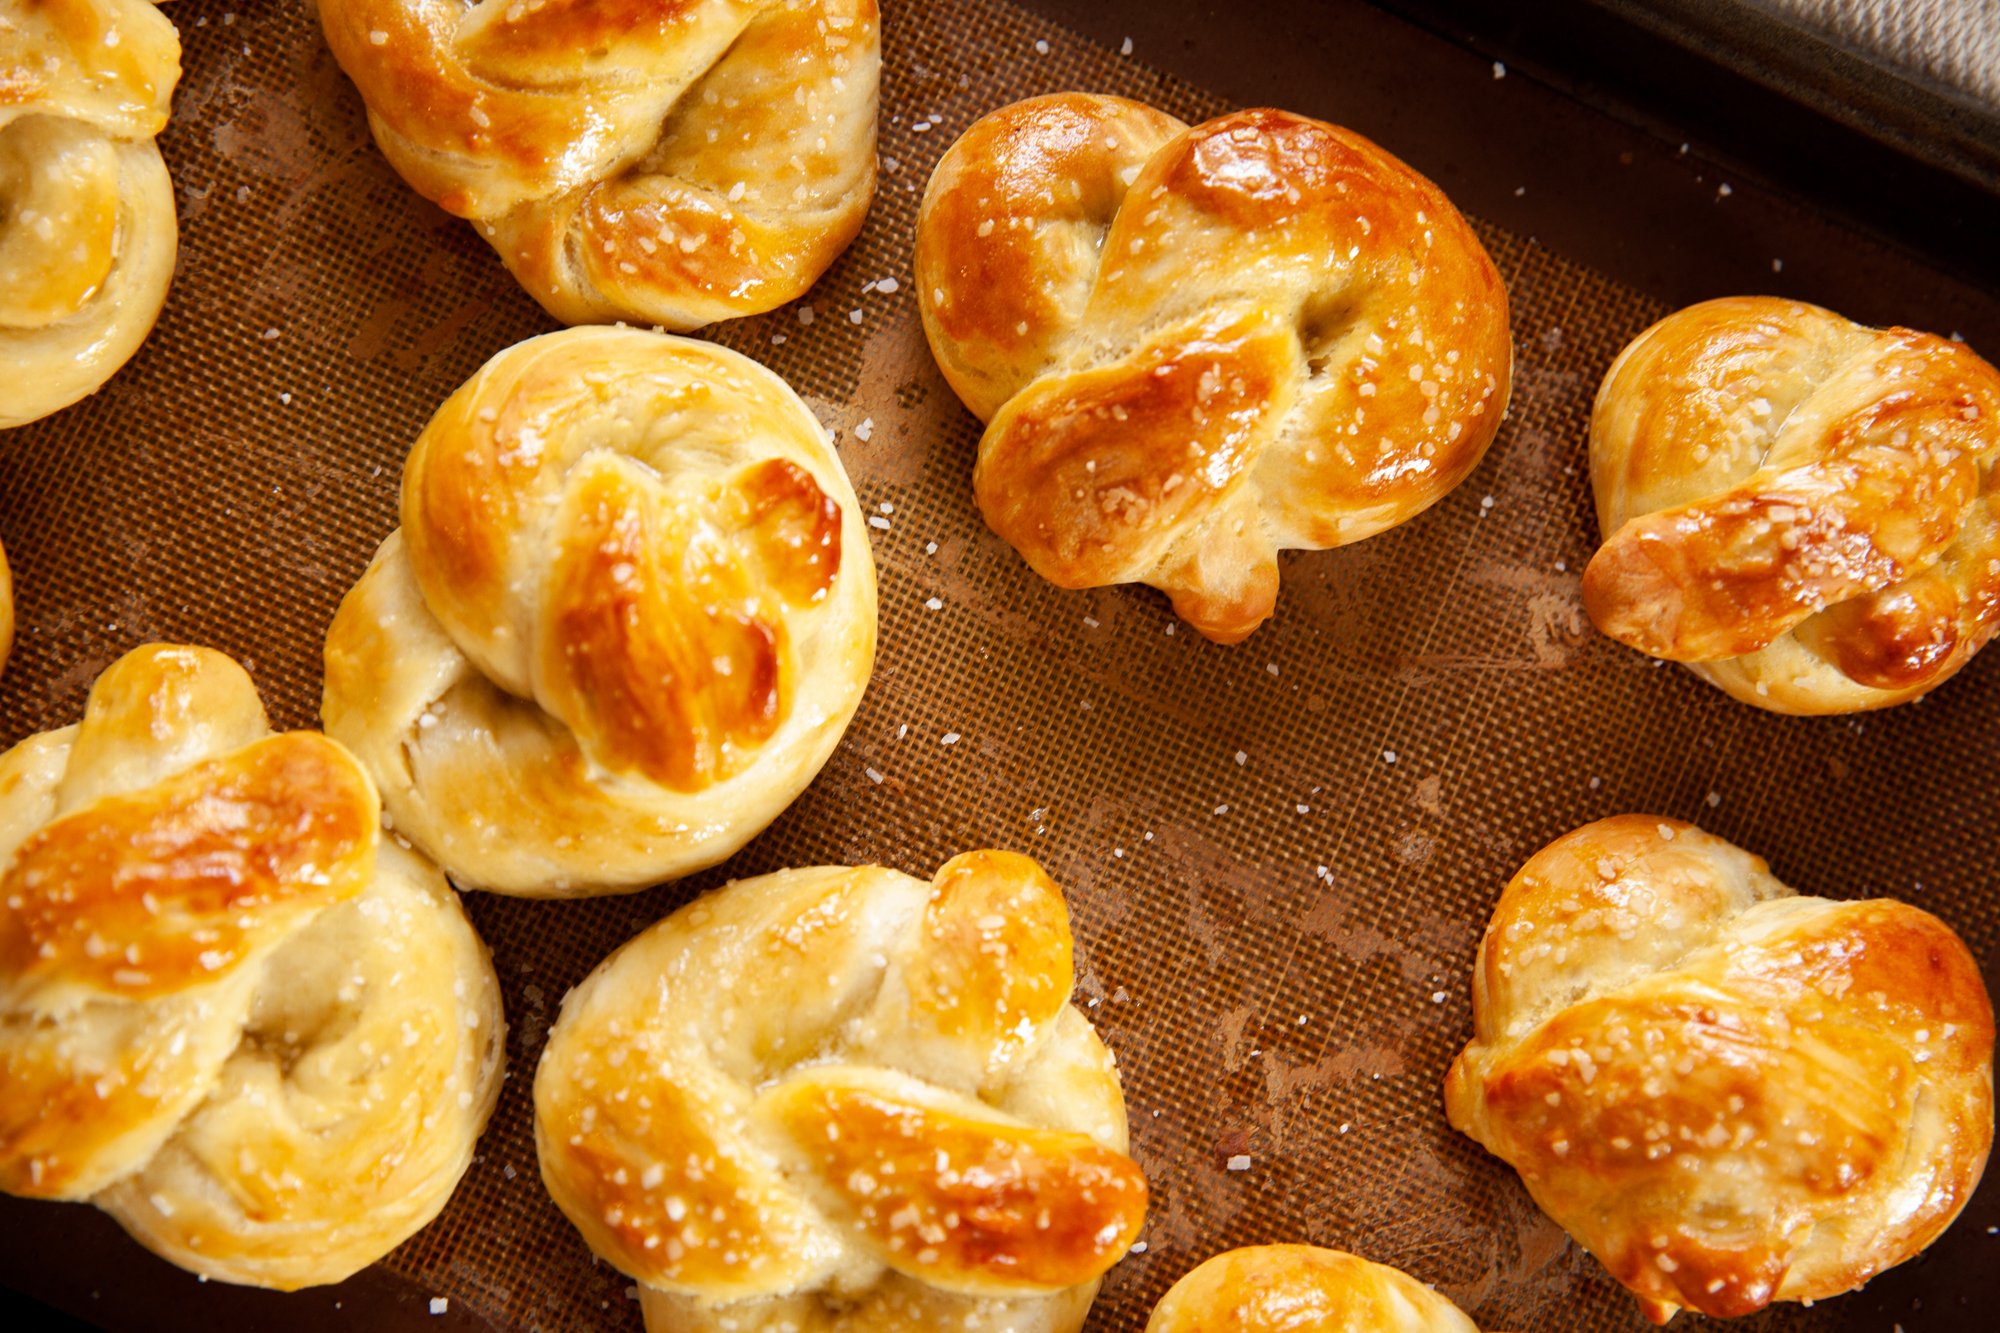
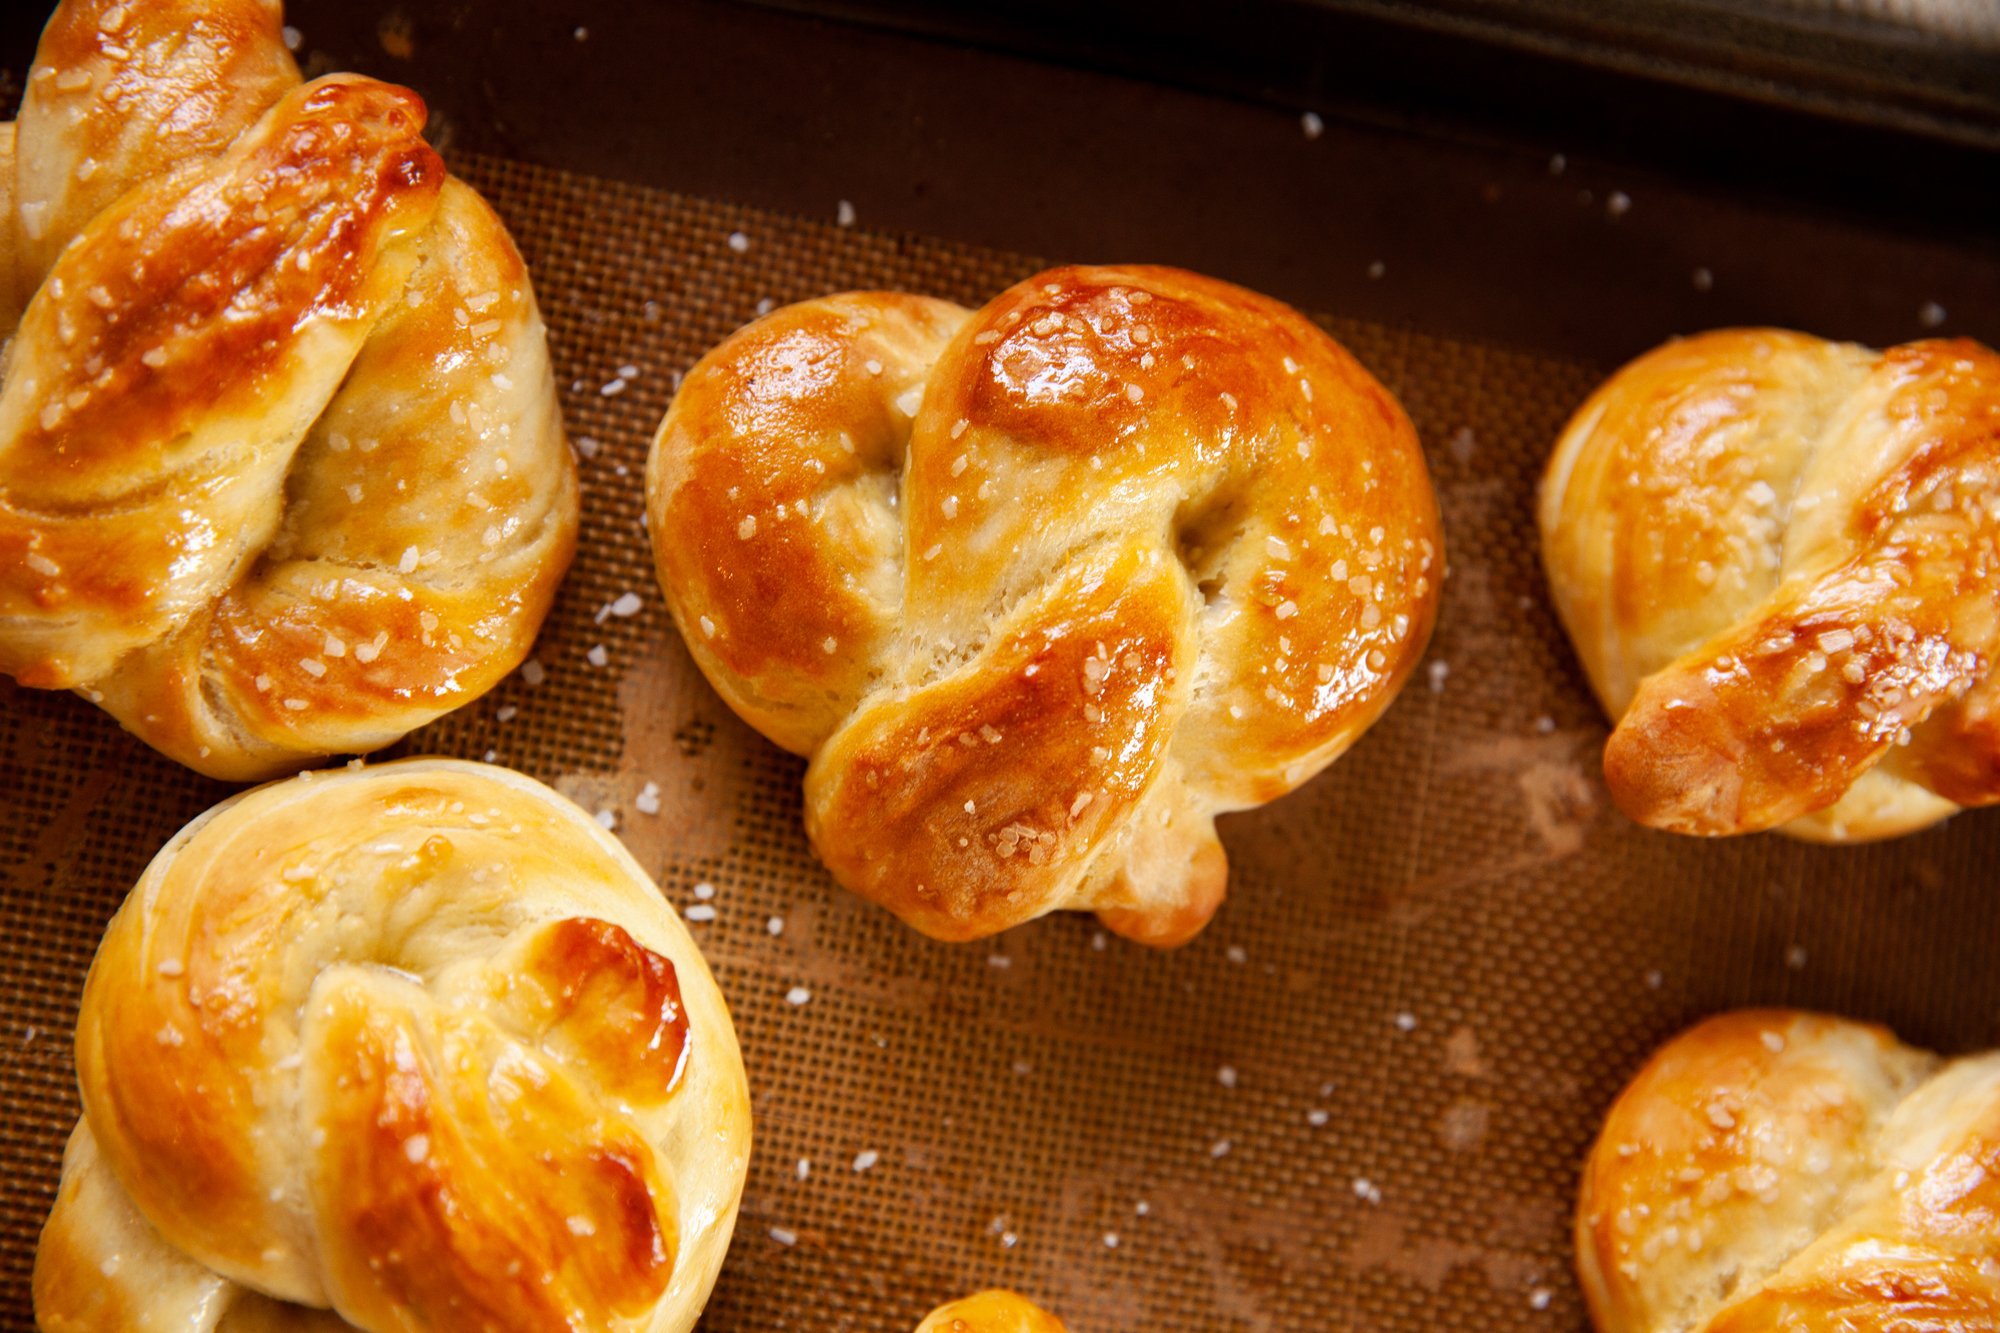
Roll the cut dough into long ropes, make a circle with ends overlapping, twist and pull across to the opposite end. Pinch the ends down to help keep the shape. (If you can’t figure this out, there are lots of tutorials – just do an internet search. And don’t worry, you’ll get the hang of it.) 
 
Place a silicone mat on a baking sheet, or grease some parchment paper and set aside. 
 
With a slotted spoon, lower 1 or 2 pretzels at a time into the baking soda bath for 30 seconds, flipping over halfway, and then remove with the slotted spoon, allowing the pretzels to drain as much as possible. 
 
Sprinkle the pretzels that just came out of the bath with your coarse salt before moving on to the next so it sticks to them better. 
 
Repeat until all pretzels are on the baking sheet and have been salted. 
 
Bake for 10-15 minutes, watching them after 10 to make sure they don’t burn (especially if they’re on the smaller side). Then remove from oven and using a pastry brush, brush them with the melted butter and add any more salt as desired. 
 
Serve warm with your choice of dip! 
ENJOY! 

RECIPE: Cold Soba Noodle Salad

Soba Noodle Salad
for BC Greenhouse
August 22, 2021


This light, refreshing and veggie-forward noodle salad is an excellent lunch or starter. The vegetables themselves take center stage, and the dressing is just enough to add a flavorful punch. 
 
INGREDIENTS 
 
For the Salad: 
- ~125g soba noodles 
- 1.5 bell peppers (red, orange, yellow or a mix), thinly sliced 
- 1 medium carrot, peels and then shaved into ribbons 
- ¼ cup cilantro, chopped 
- green onions, chopped 
- sesame seeds (white and/or black) 

For the Sauce: 
- ¼ cup low-sodium soy sauce, or tamari 
- 3 tbsp sesame oil 
- 1 tbsp lime juice 
- 2 cloves of minced garlic 
- 1 tsp ginger (fresh), finely minced 
 
INSTRUCTIONS 

Cook the soba noodles according to package instructions, then drain and immediately run under cold water to stop the cooking process. 

While the noodles are cooking, whisk the sauce ingredients together in a bowl. Taste for seasoning, you may want to add a bit more soy sauce, or water to thin it down. 

Place the drained/cooled noodles in a bowl, add in the carrot, peppers, cilantro and green onions. 
Add in some of the dressing at toss until combined, adding more dressing as needed. 
 
If you are not serving right away, reserved some of the sauce until right before serving to loosen everything up. 
Top with sesame seeds in serving bowl or in individual portions. 
 
Serves Approx. 4 

Spinach and Artichoke Dip – But Make It Vegan
for Environment911.org

I love a good spinach and artichoke dip and miss sharing some with my friends. This one is easily sharable if you bring plates and a serving spoon and everyone can choose their own dipping materials. 

Usually, this dish is full of cheese and dairy, but using white kidney beans as the base and tapioca starch to keep it together, you won't even know it’s dairy-free.  

Serves 6-8 (approx.) 
 
INGREDIENTS: 

- 1 large onion chopped 
- 1 tbsp olive oil 
- 4 cloves of garlic, minced (more or less doesn't hurt, it's all preference) 
- about 6 cups of baby spinach or kale (or combo of both) 
*- 1/2 cup of soaked raw cashews 
- 3/4 cup of almond milk 
- 1 tsp lemon juice 
- 2 tsp apple cider vinegar 
- salt & pepper 
- 1 tsp onion powder 
- 1/2 tsp dried basil 
- 2 tbsp of tapioca starch 
- 1 395mL can of white kidney beans 
- 1 can of artichokes (in water, not oil), drained 
- 3-4 tbsp of nutritional yeast, additional for sprinkling on top 
 
- veggies, pita, corn chips to dip 
 

INSTRUCTIONS: 

*Soak cashews overnight, or for a least 3-4 hrs, or for an hour in boiling water* 

Preheat oven to 425. 

Sauté chopped onions in olive oil in a pan over medium heat for a few minutes until soft and translucent. Add in garlic and stir. 

In batches add in the spinach or kale and stir until it wilts (I used a lid to help this along), until all of the greens have been added and they have wilted. Take off the heat and set aside. 

In a blender or food processor, add the drained cashews and blend until broken down. 

In a small bowl add some of the almond milk to the tapioca starch to dissolve it then add it and another 1/4 cup of the almond milk to the blender with the cashews, along with the apple cider vinegar, lemon juice, salt & pepper, onion powder, dried basil and 2 tbsp of the nutritional yeast. Blend until smooth adding some almond milk if needed. 

Next toss in the kidney beans and the artichokes, as well as the remaining almond milk, and again blend until smooth. You can add a bit more milk if required, but try not to make it soupy! 

Pour the processed mixture into a baking dish, then stir in the remaining nutritional yeast, and fold in the greens-onion-and-garlic until it's evenly distributed in the dish. 

Sprinkle the top with some more nutritional yeast and you have the option to drizzle some olive oil on the top too. 

Bake in the oven for 20-25 minutes until bubbling, and starting to brown. Switch oven to broil to get a nice toasty layer on the top should only take about 3-5 minutes, just watch it closely. 

Carefully remove and let stand for a few minutes, and then serve with whatever sides you'd like! 


Curry "Chicken" Sandwich – But Make It Vegan
for Environment911.org
July 2021

I've made a similar type dish with chickpeas before, which are much quicker if you want something stat, but if you want to try a new texture, give soy curls a try. 
 
It was my first foray into them as a chicken substitute and honestly, I was quite impressed. They really hold the flavor well, and it was even better the second day – so I’d recommend making it the day before you’re going to eat it. 
 
Many health food and vegan shops will have the soy curls, but you can also purchase bags from the internet. 

Serves 2-3  
(Can be doubled) 
 
INGREDIENTS: 

- ¾ cup soy curls  
- 1 1/4 veg broth or a vegan chicken-style broth  
- ½ cup finely diced celery 
- ¼ cup finely diced red onion 
- 1/3 cup vegan mayo, more if needed 
- 1/4 teaspoon garlic powder  
- 1/4 teaspoon onion powder  
- 2 tsp of curry powder (more to taste) 
- salt and pepper, to taste 

- bun or lettuce cups for serving 

INSTRUCTIONS: 

Bring the broth to a low boil (or use a cup of water and add a vegan Boullion cube and dissolve) and then remove from heat. 

Place the dried soy curls in the broth and gently stir around until they are fully covered with it. 
 
Chop the onion and celery into finely diced pieces. In a small bowl, place the vegan mayo, and the rest of the spice and mix until evenly distributed. 
 
After the curls have soaked for 8-10 mins, drain them and place them on a tea towel to dry. 
 
You can chop them up at this stage and use them as is, but you can also toast them lightly in a very lightly oiled frying pan until they get slightly browned. 
 
Once ready, combine everything into a bowl, adding more mayo if needed. Taste for seasoning, esp. the curry powder. And either serve straight away or let cool in the fridge. 

Homemade Fruit Leather Roll-Ups
for BCLiving
July 2021

Making your own fruit leather rolls is way easier than you might think, and the oven or the dehydrator does most of the work for you. Basically, you can make them out of any kind of mixture of fruit you want, and right now is a great time, as there are tons of fruit coming into season.  
Plus, you can make them with frozen fruit, so even after the season is over, pull the fruit out of the freezer! 
One more bonus? They’re great to take camping, on a hike or with you to the beach for a snack.  
 
Makes 6-8 rolls per flavor (depends how long you make them) 

Strawberry-Rhubarb 
 
INGREDIENTS: 
- 1 cup strawberries 
- 1 cup rhubarb chopped 
- 1 tsp honey (or maple syrup) 
 

INSTRUCTIONS: 
Boil some water and blanche the rhubarb for one minute and then drain. 
 
Blend the rhubarb, strawberries and honey in a high-speed blender. and then strain into a bowl through a fine mesh sieve if you want to remove the seeds. 
 
If you are going to use a food dehydrator, follow the instruction for your own machine. 
For the oven, pre-heat it to the lowest possible setting. 
 
Line a baking sheet with parchment paper (or silicone mat) and then pour mixture onto the baking sheet and spread evenly into a rectangle. 
Place in oven and bake for 5 to 6 hours until no longer wet (just tacky to the touch) - keep an eye on it! 
 
Remove from oven and let cool. Cut leather (and parchment) into desired sizes/shapes and roll, tying with string. 
Store in an air tight container so it doesn't dry out for up to 2 weeks, but fresher the better. 
 

Mango-Blueberry 
 
INGREDIENTS: 
- 1 cup blueberries 
- 1 cup mango 
- 1 tsp honey (or maple syrup) 
 

INSTRUCTIONS: 
Boil some water and blanche the rhubarb for one minute and then drain. 
 
Blend the blueberries, mango, and honey in a high-speed blender. and then strain into a bowl through a fine mesh sieve if you want to remove the seeds. 
 
If you are going to use a food dehydrator, follow the instruction for your own machine. 
For the oven, pre-heat it to the lowest possible setting. 
 
Line a baking sheet with parchment paper (or silicone mat) and then pour mixture onto the baking sheet and spread evenly into a rectangle. 
Place in oven and bake for 5 to 6 hours until no longer wet (just tacky to the touch) - keep an eye on it! 
 
Remove from oven and let cool. Cut leather (and parchment) into desired sizes/shapes and roll, tying with string. 
Store in an air tight container so it doesn't dry out for up to 2 weeks, but fresher the better. 

Lentil Bolognese
for “But Make It Vegan” - Environment911.org
June 2021

I was craving something hearty, and considered making a vegan chili, but I thought a good vegan Bolognese might do the trick.  

I made enough to freeze some for future cravings, and have eaten it both with whole wheat spaghetti and zoodles. Next up will be with homemade pasta. 

Sauces like Bolognese are a great way to sneak in healthy foods like nutritional yeast, or hemp hearts. You won't notice them in the sauce, but your body will take note! 

Serves 4  
(Can be doubled) 
 
INGREDIENTS: 

- 1 tbsp of olive oil 
- 1 onion, finely minced 
- 2 cloves garlic, minced 
- 1/2 cup finely chopped carrots 
- 1/2 cup finely chopped celery 
- 1/2 cup finely chopped mushrooms (your choice, I used shiitake) 
- 1/2 cup dry brown or red lentils 
- salt & pepper 
- 1/2 tsp dried basil 
- 2 tbsp tomato paste 
- 1/2 tsp red pepper flakes (optional, if you like heat you can add more) 
- 2 tbsp nutritional yeast 
- 2 bay leaves 
- 1/4 cup of white wine 
- 2 cup vegetable stock (or water) 
- 2 tsp chopped parsley to top 
- vegan parmesan 
- pasta to serve 

INSTRUCTIONS: 

Finely chop the onion, carrot, celery, garlic and mushrooms. I did these in a food processor to get it super fine, but you can also do it by hand. 
 
In a frying pan with high sides, heat the olive oil over medium heat, and then add the onion, garlic, carrots, celery and mushrooms mix. Cook until soft (approx. 15mins). 

Add in the tomato paste and cook for another minute until it begins to caramelize. 
Pour in the white wine and deglaze the pan, getting any browned bits loose and letting the wine evaporate. 

Then add the lentils, vegetable stock, basil, optional red pepper flakes, nutritional yeast, bay leaves and some salt and pepper. 

Stir to combine, cover and then cook over medium heat until lentils are cooked through - this will take about 30 mins to an hour. You may want to add more water if the lentils need more cooking time. Test them to see how soft they are and go from there – you don’t want it to be watery. 

When done, remove from the heat and check the spices, adding anything more that might be needed. 
 
Cook the pasta you’re using until just al dente, and then reserve some of the pasta water and drain. 
In the warm pasta pot, add the pasta back and scoop some of the Bolognese into it, adding some of the pasta water to finish cooking the pasta and making the Bolognese creamier. You can add vegan parmesan here as well. 
 
Plate the noodles, then top with a small extra scoop of the Bolognese, and sprinkle on some chopped parsley and more vegan parm!