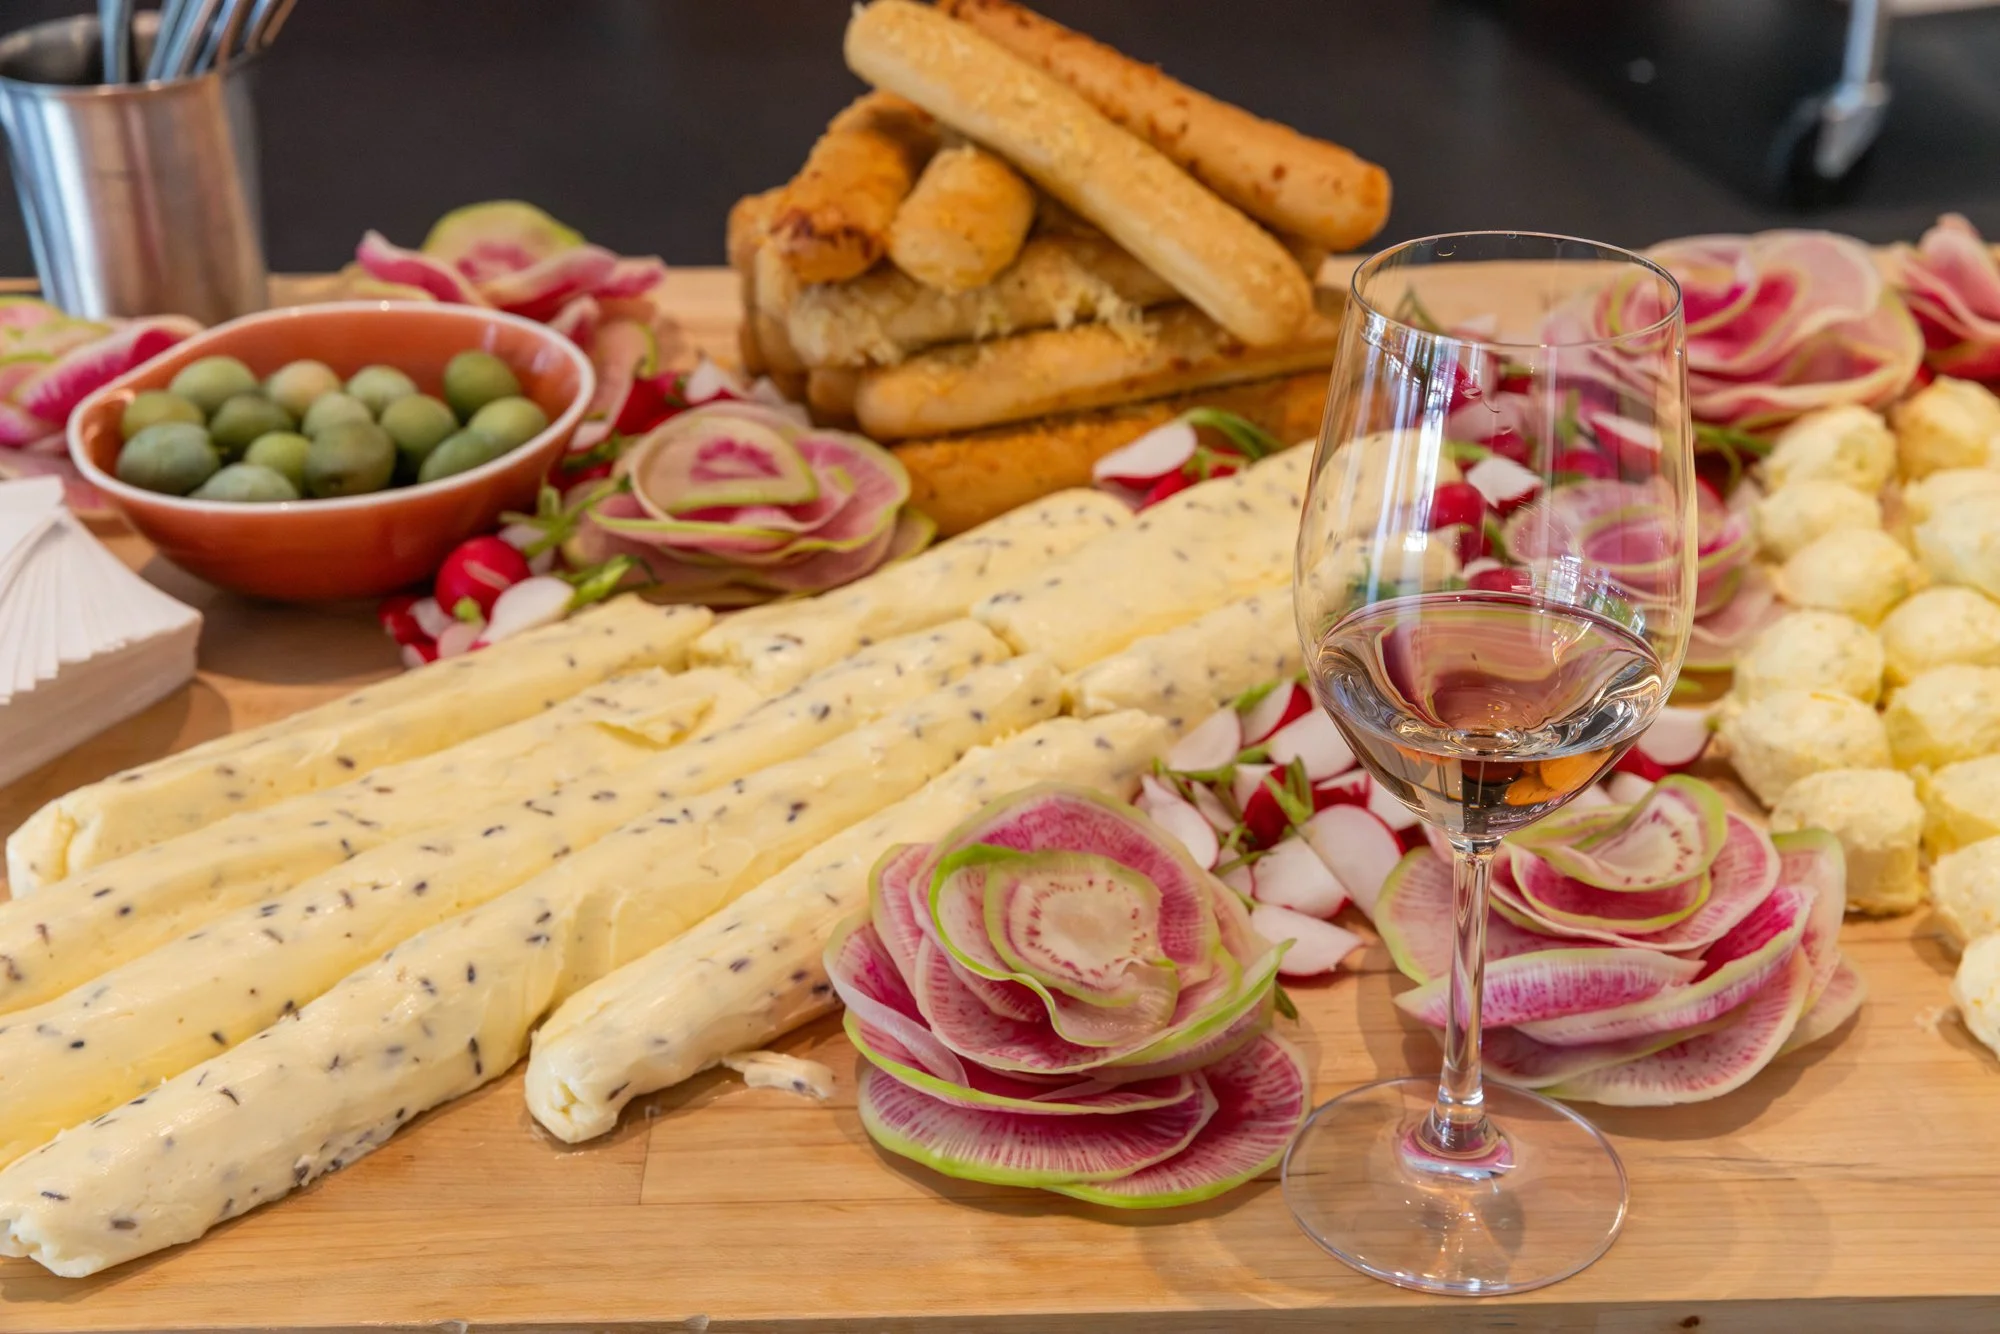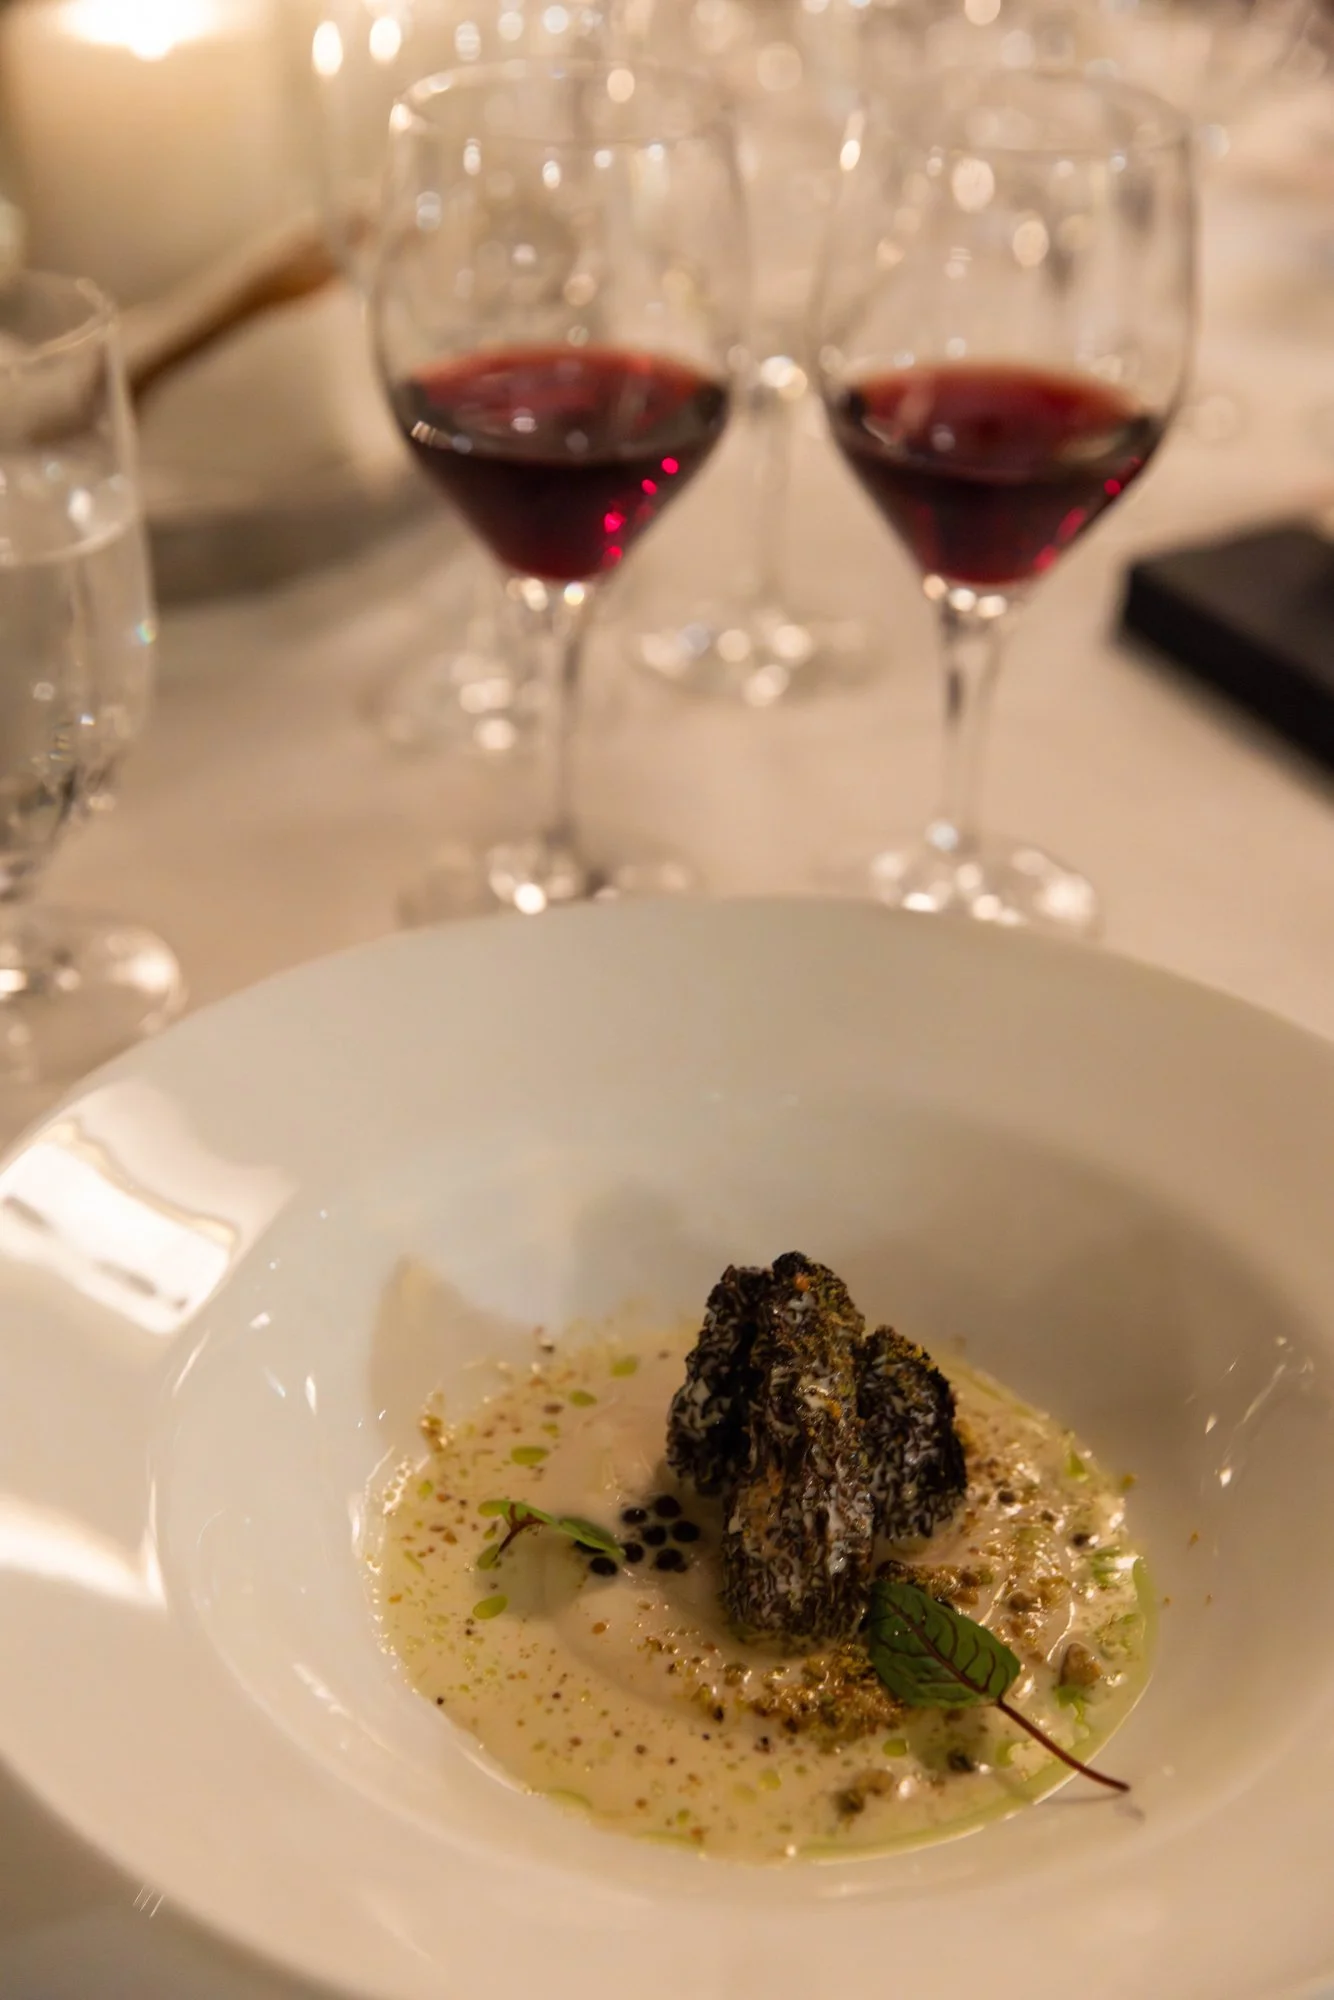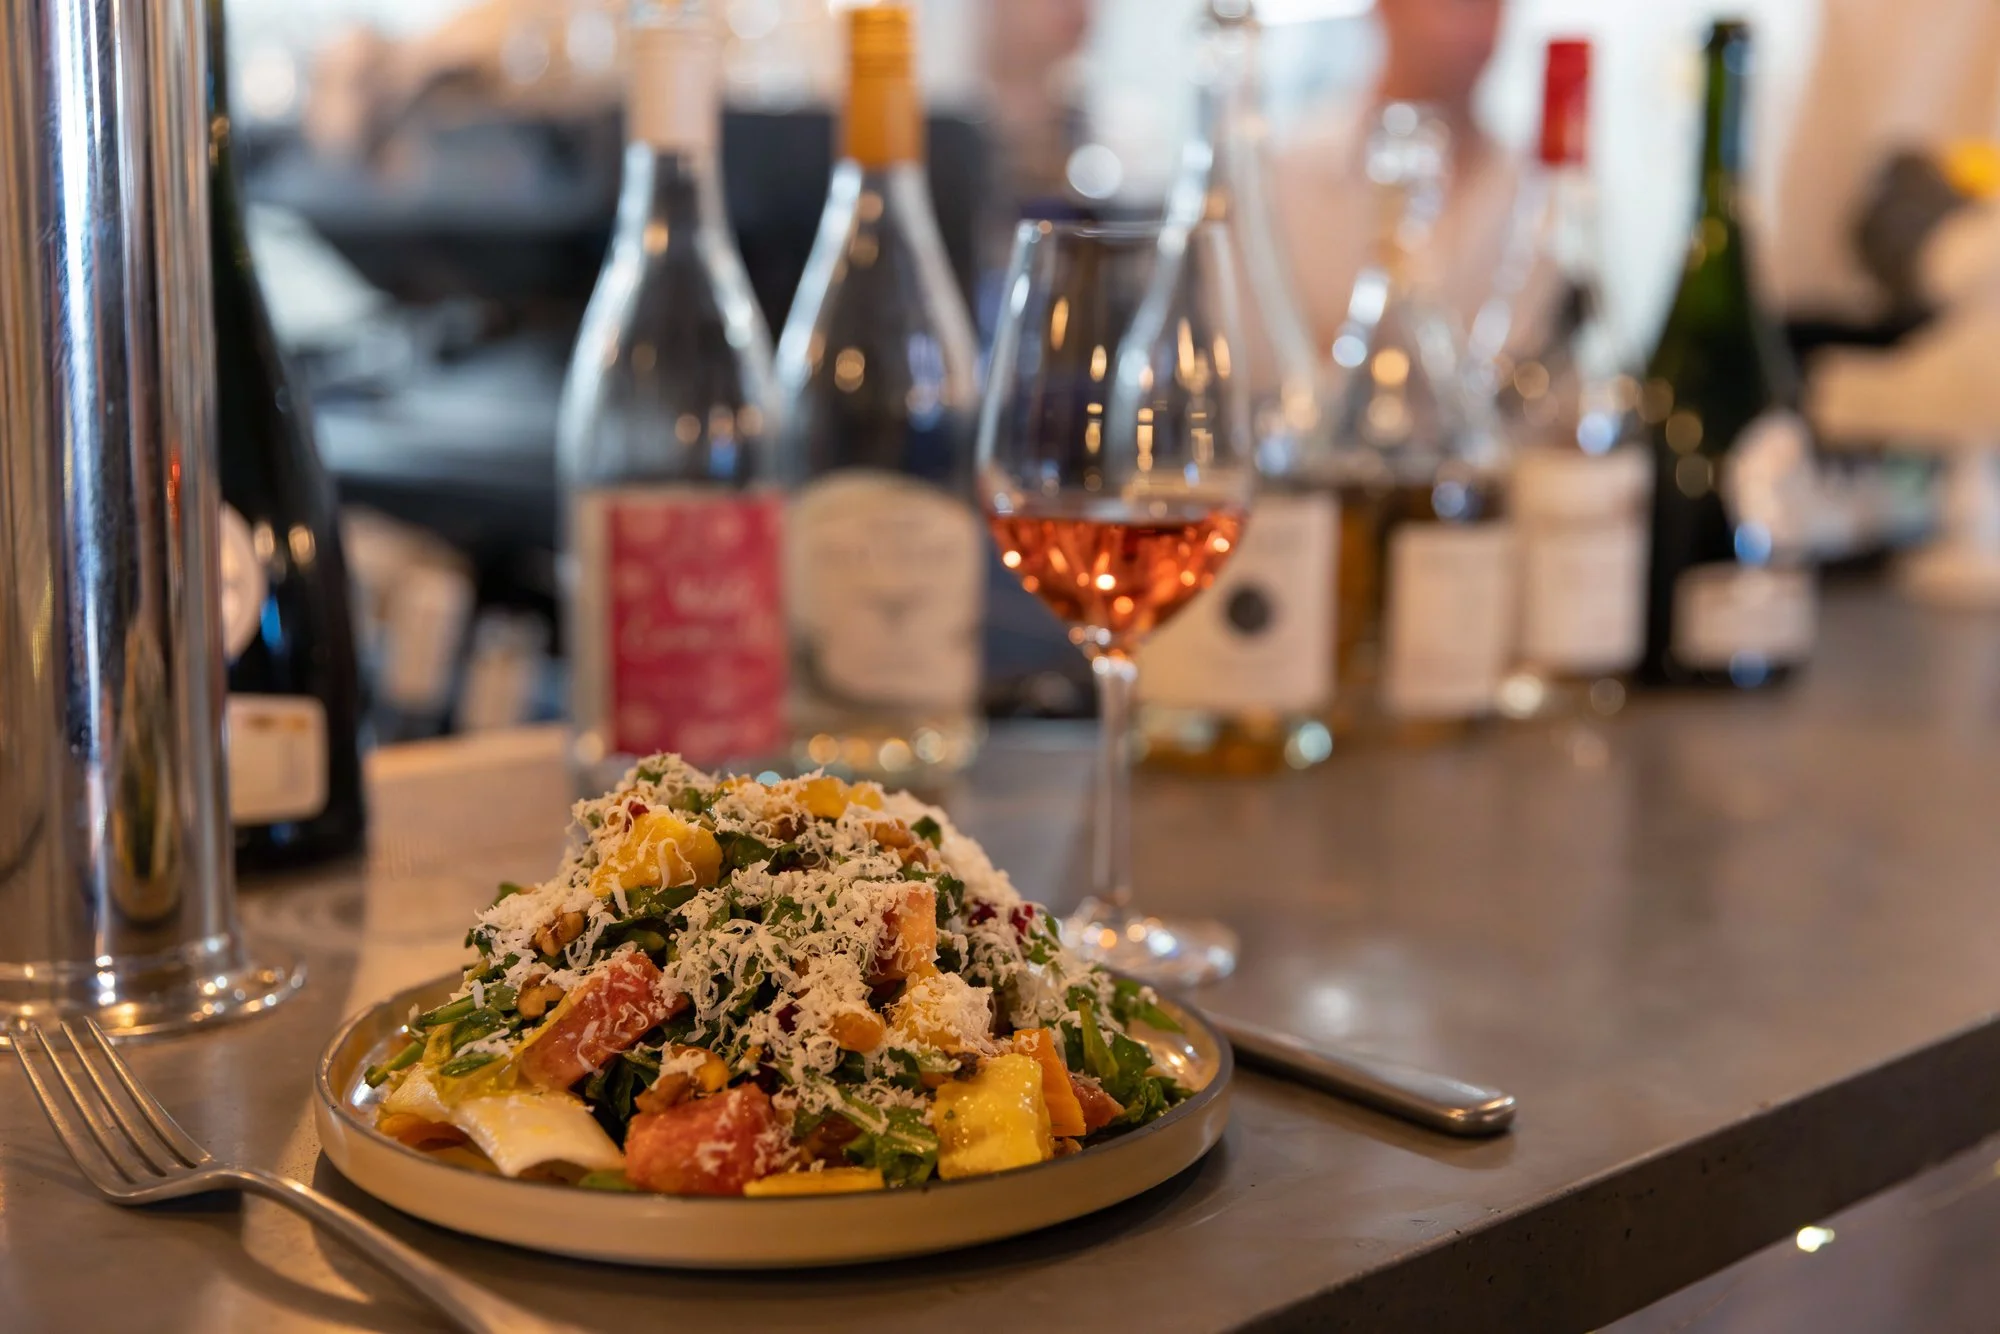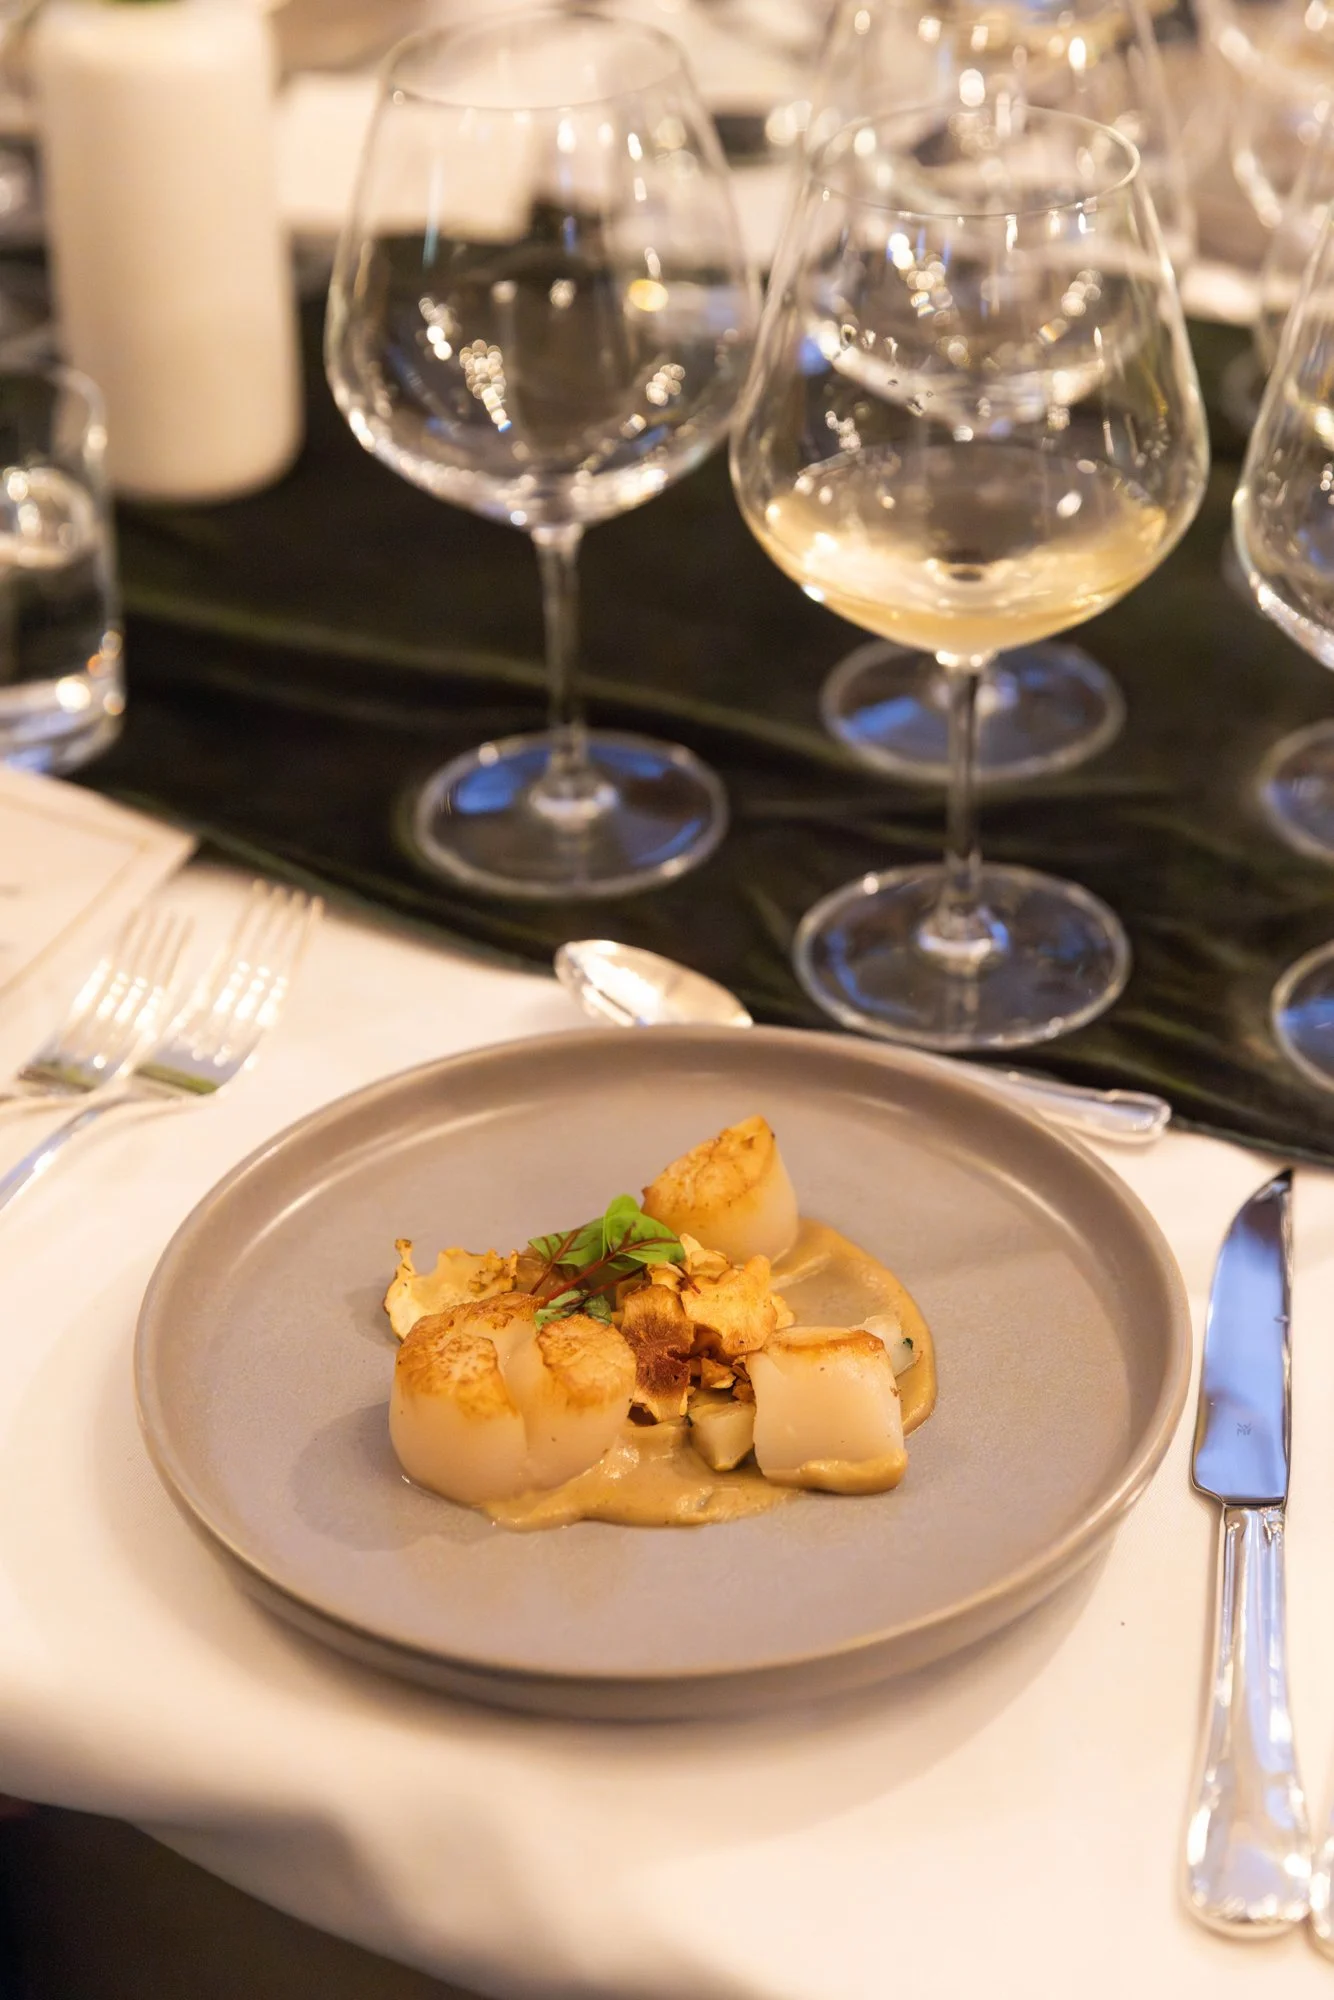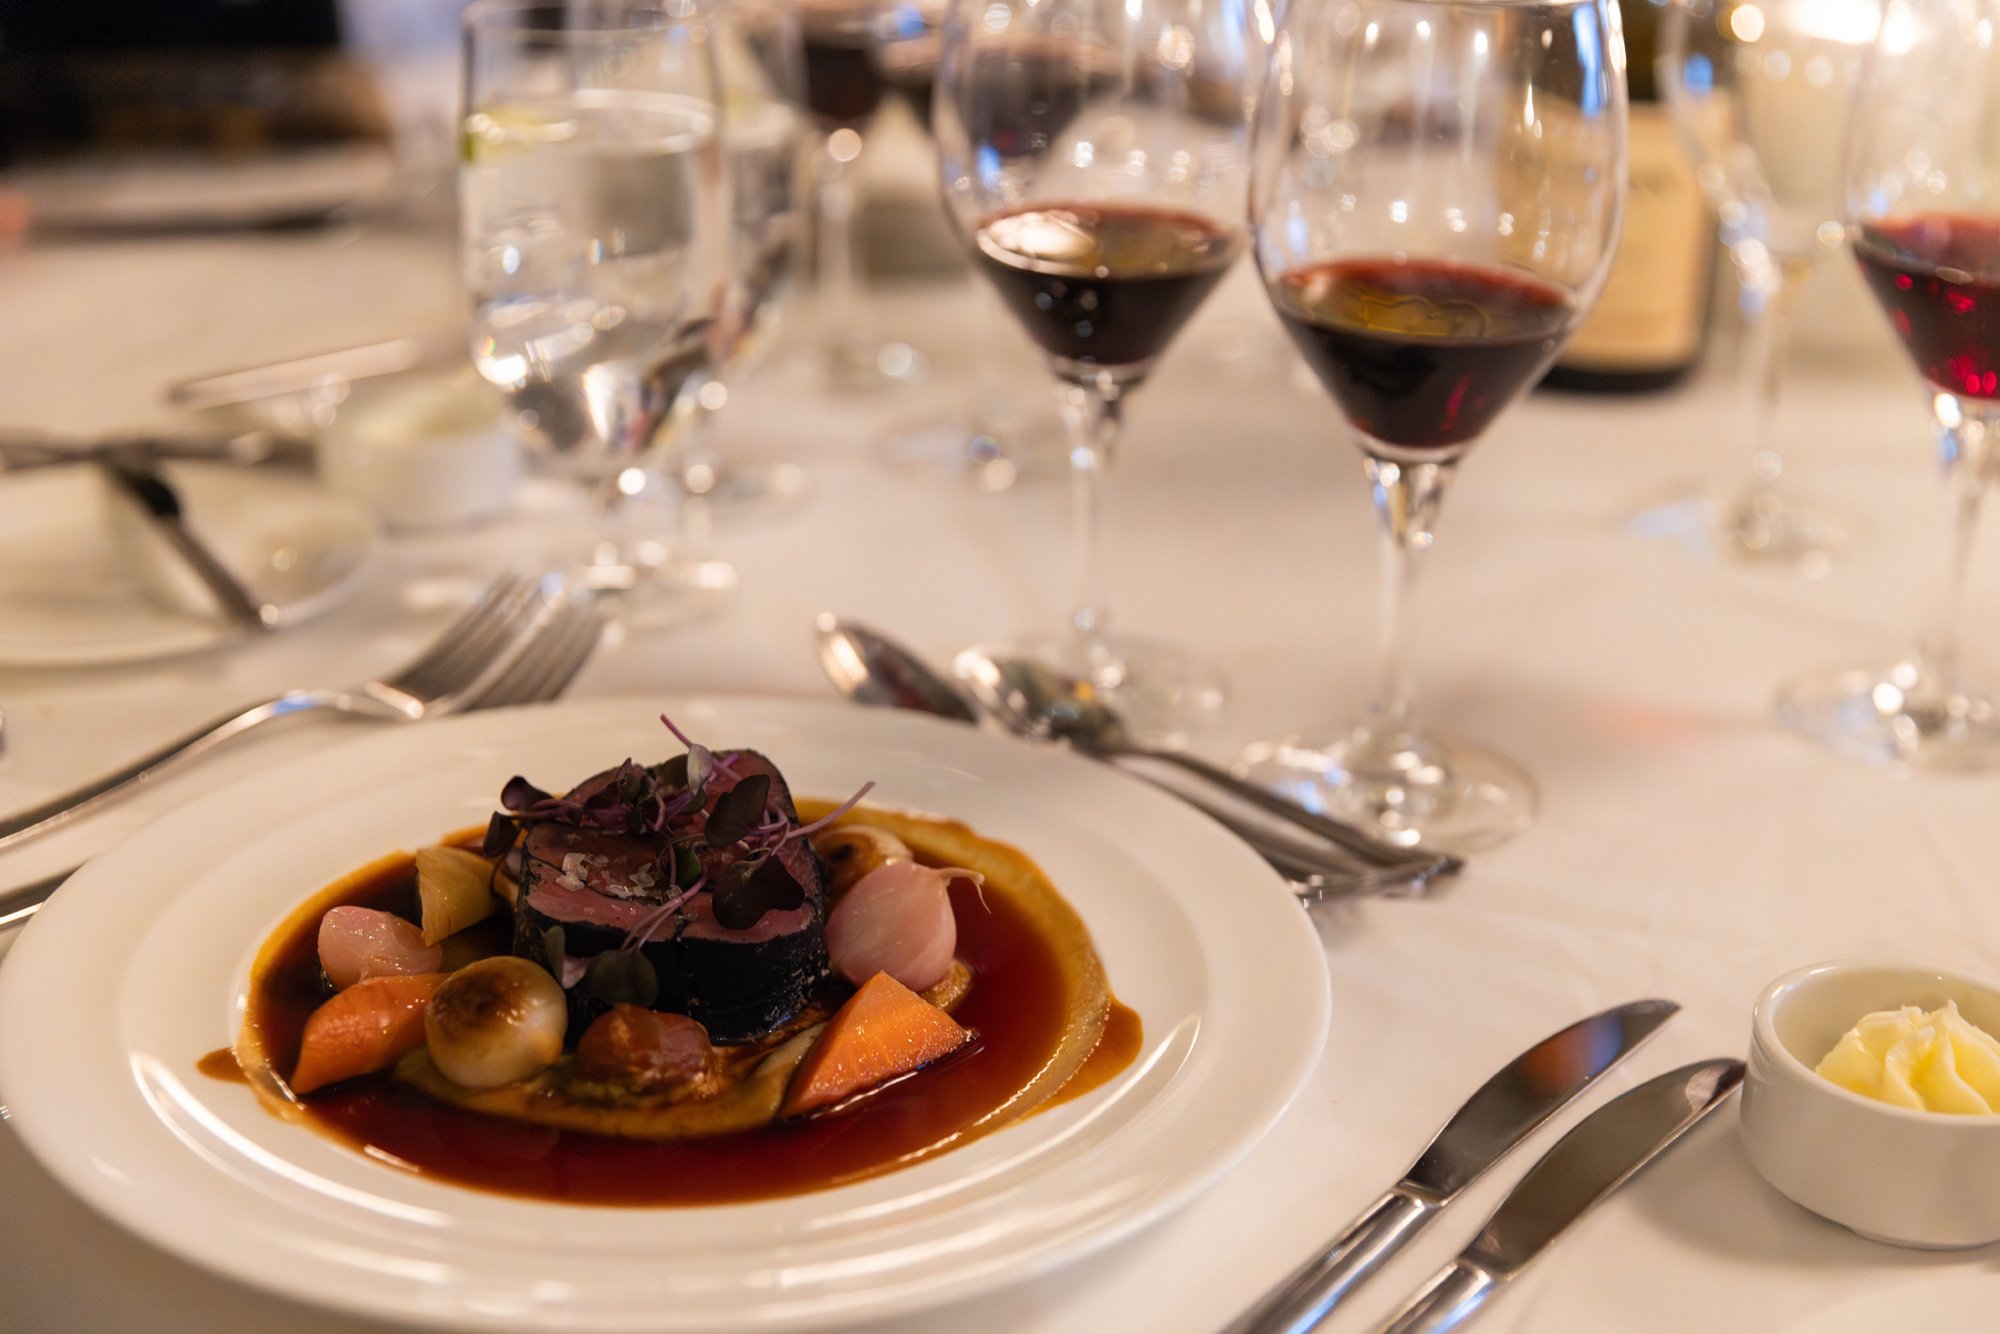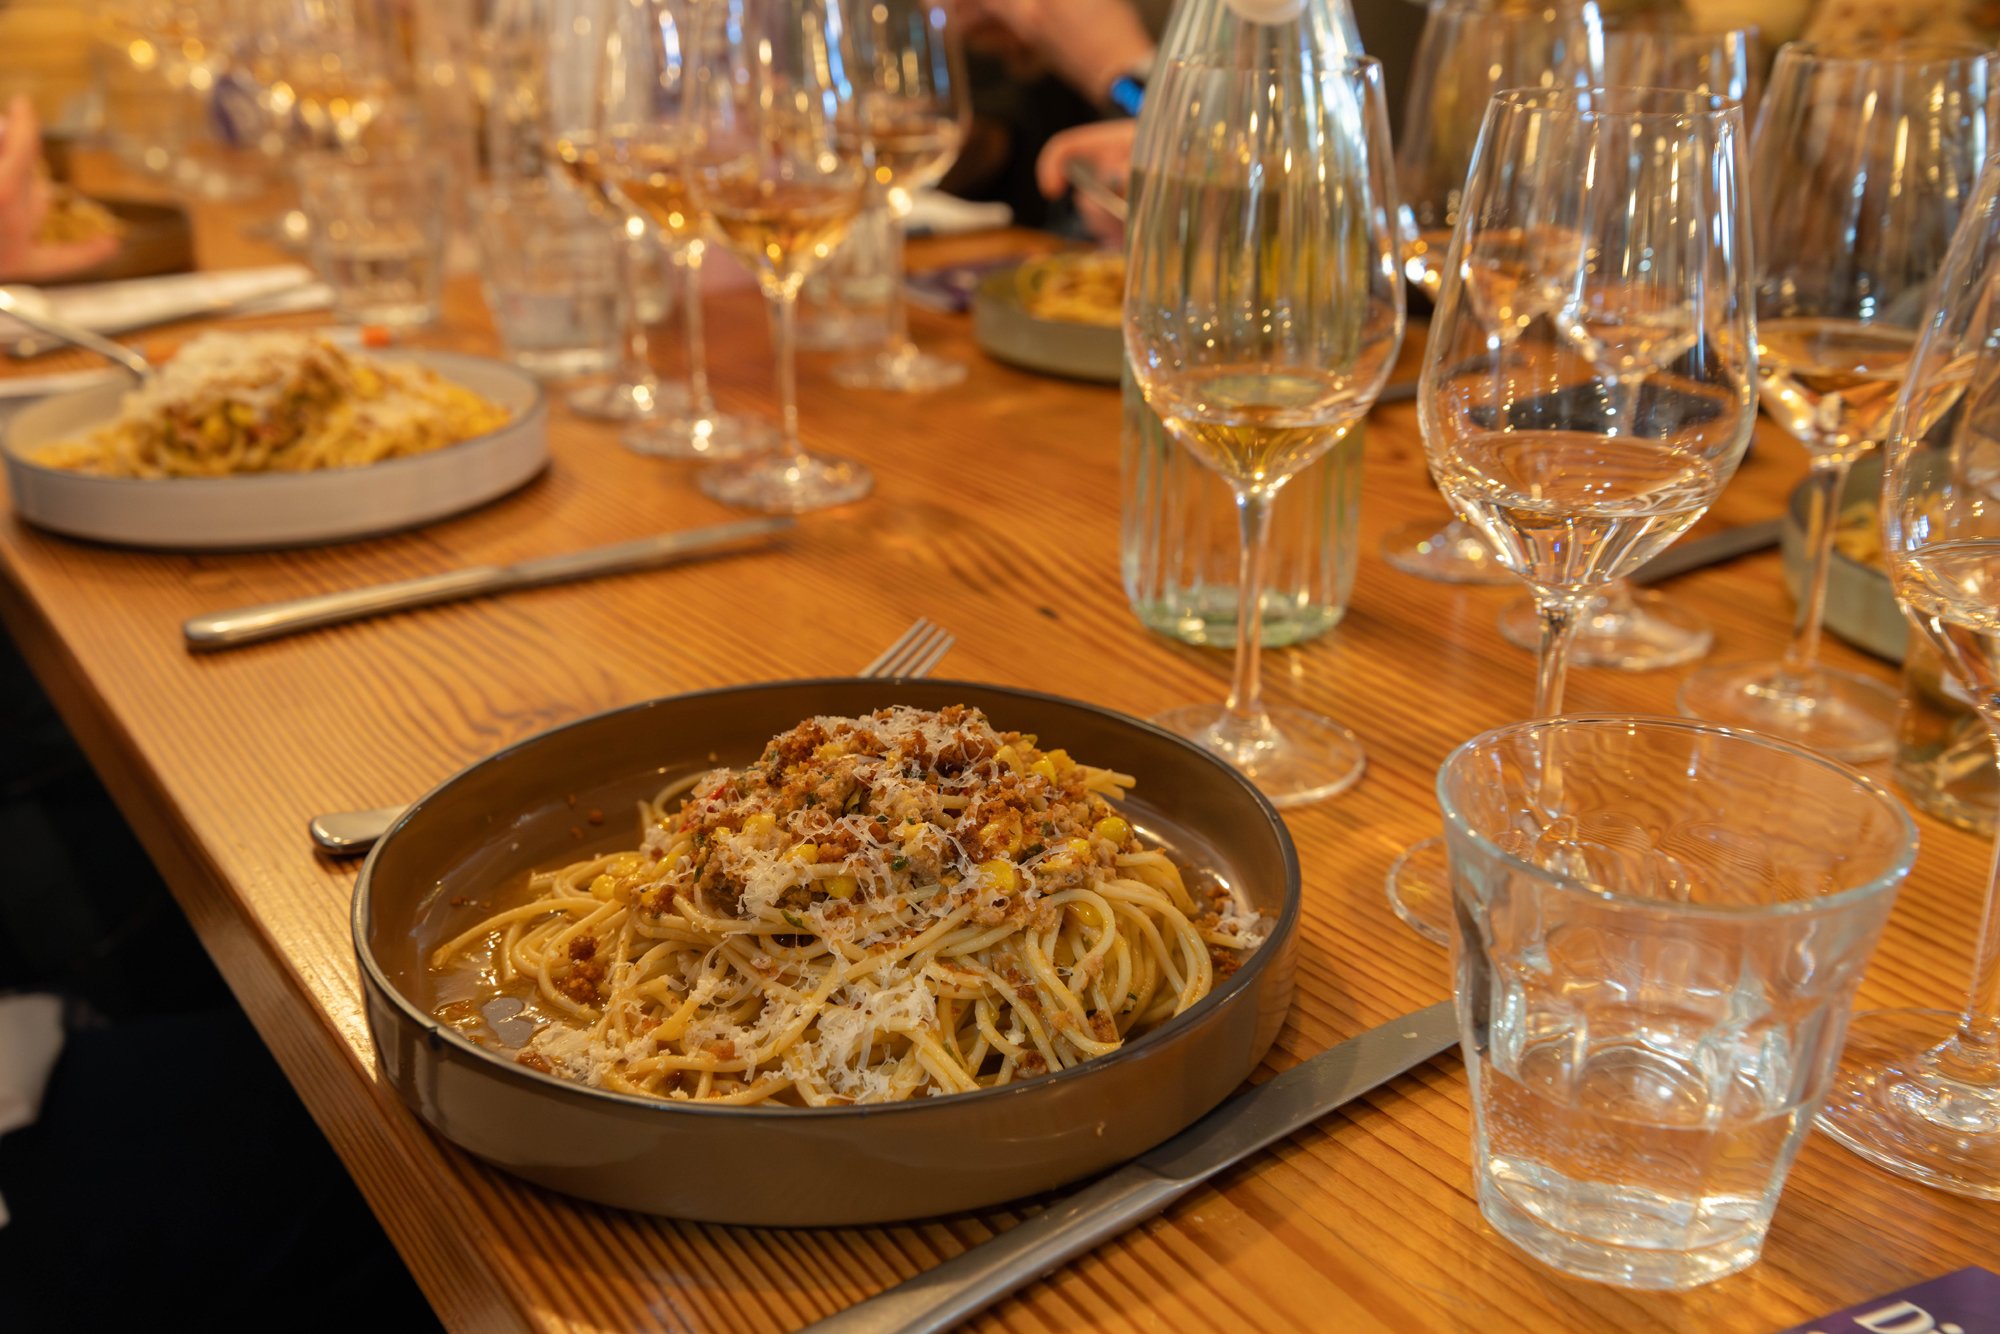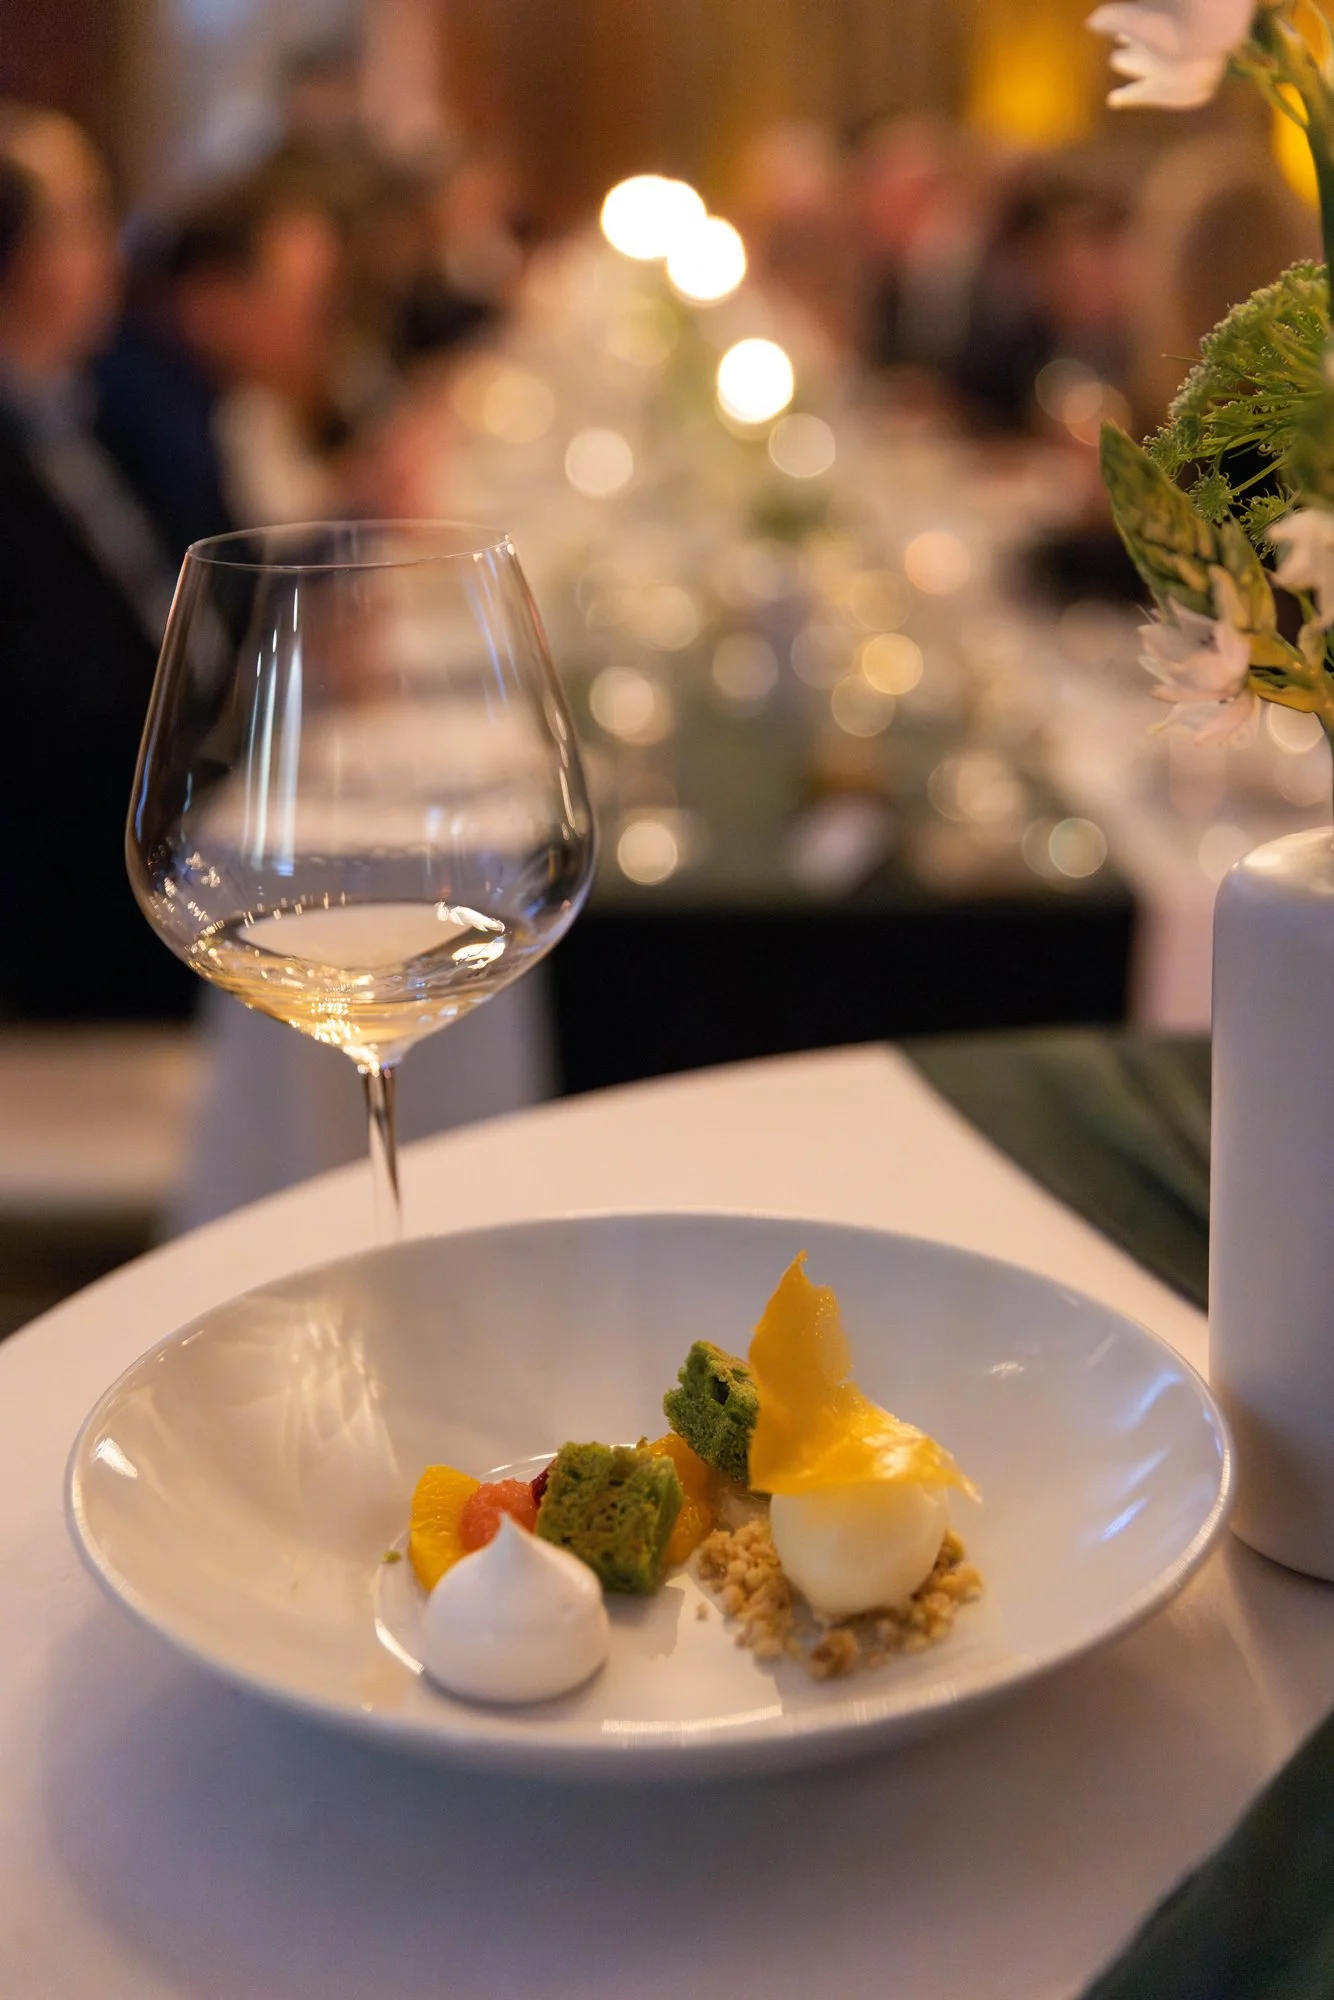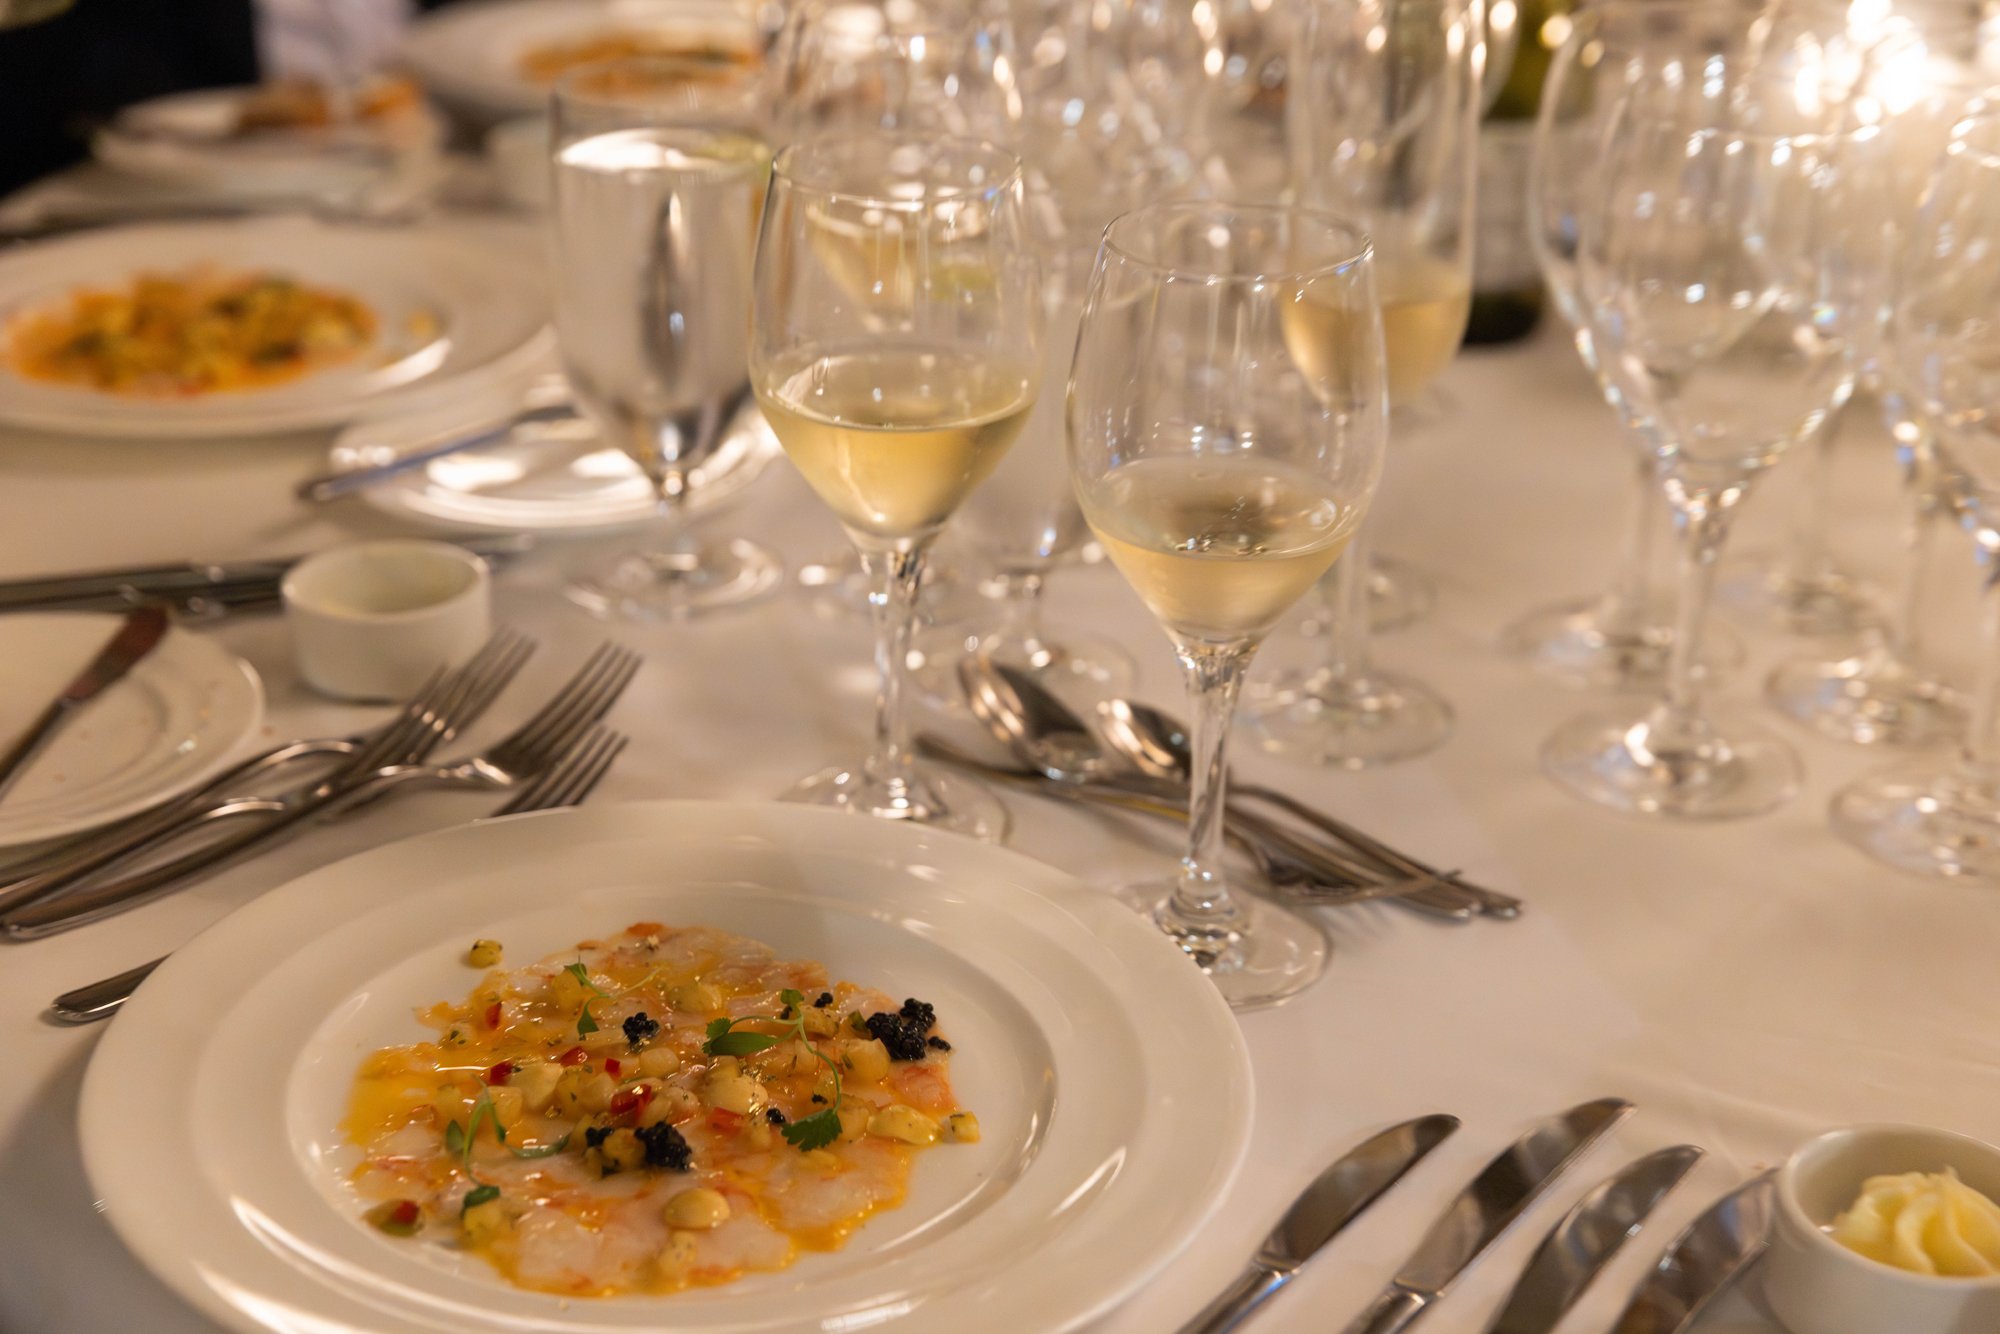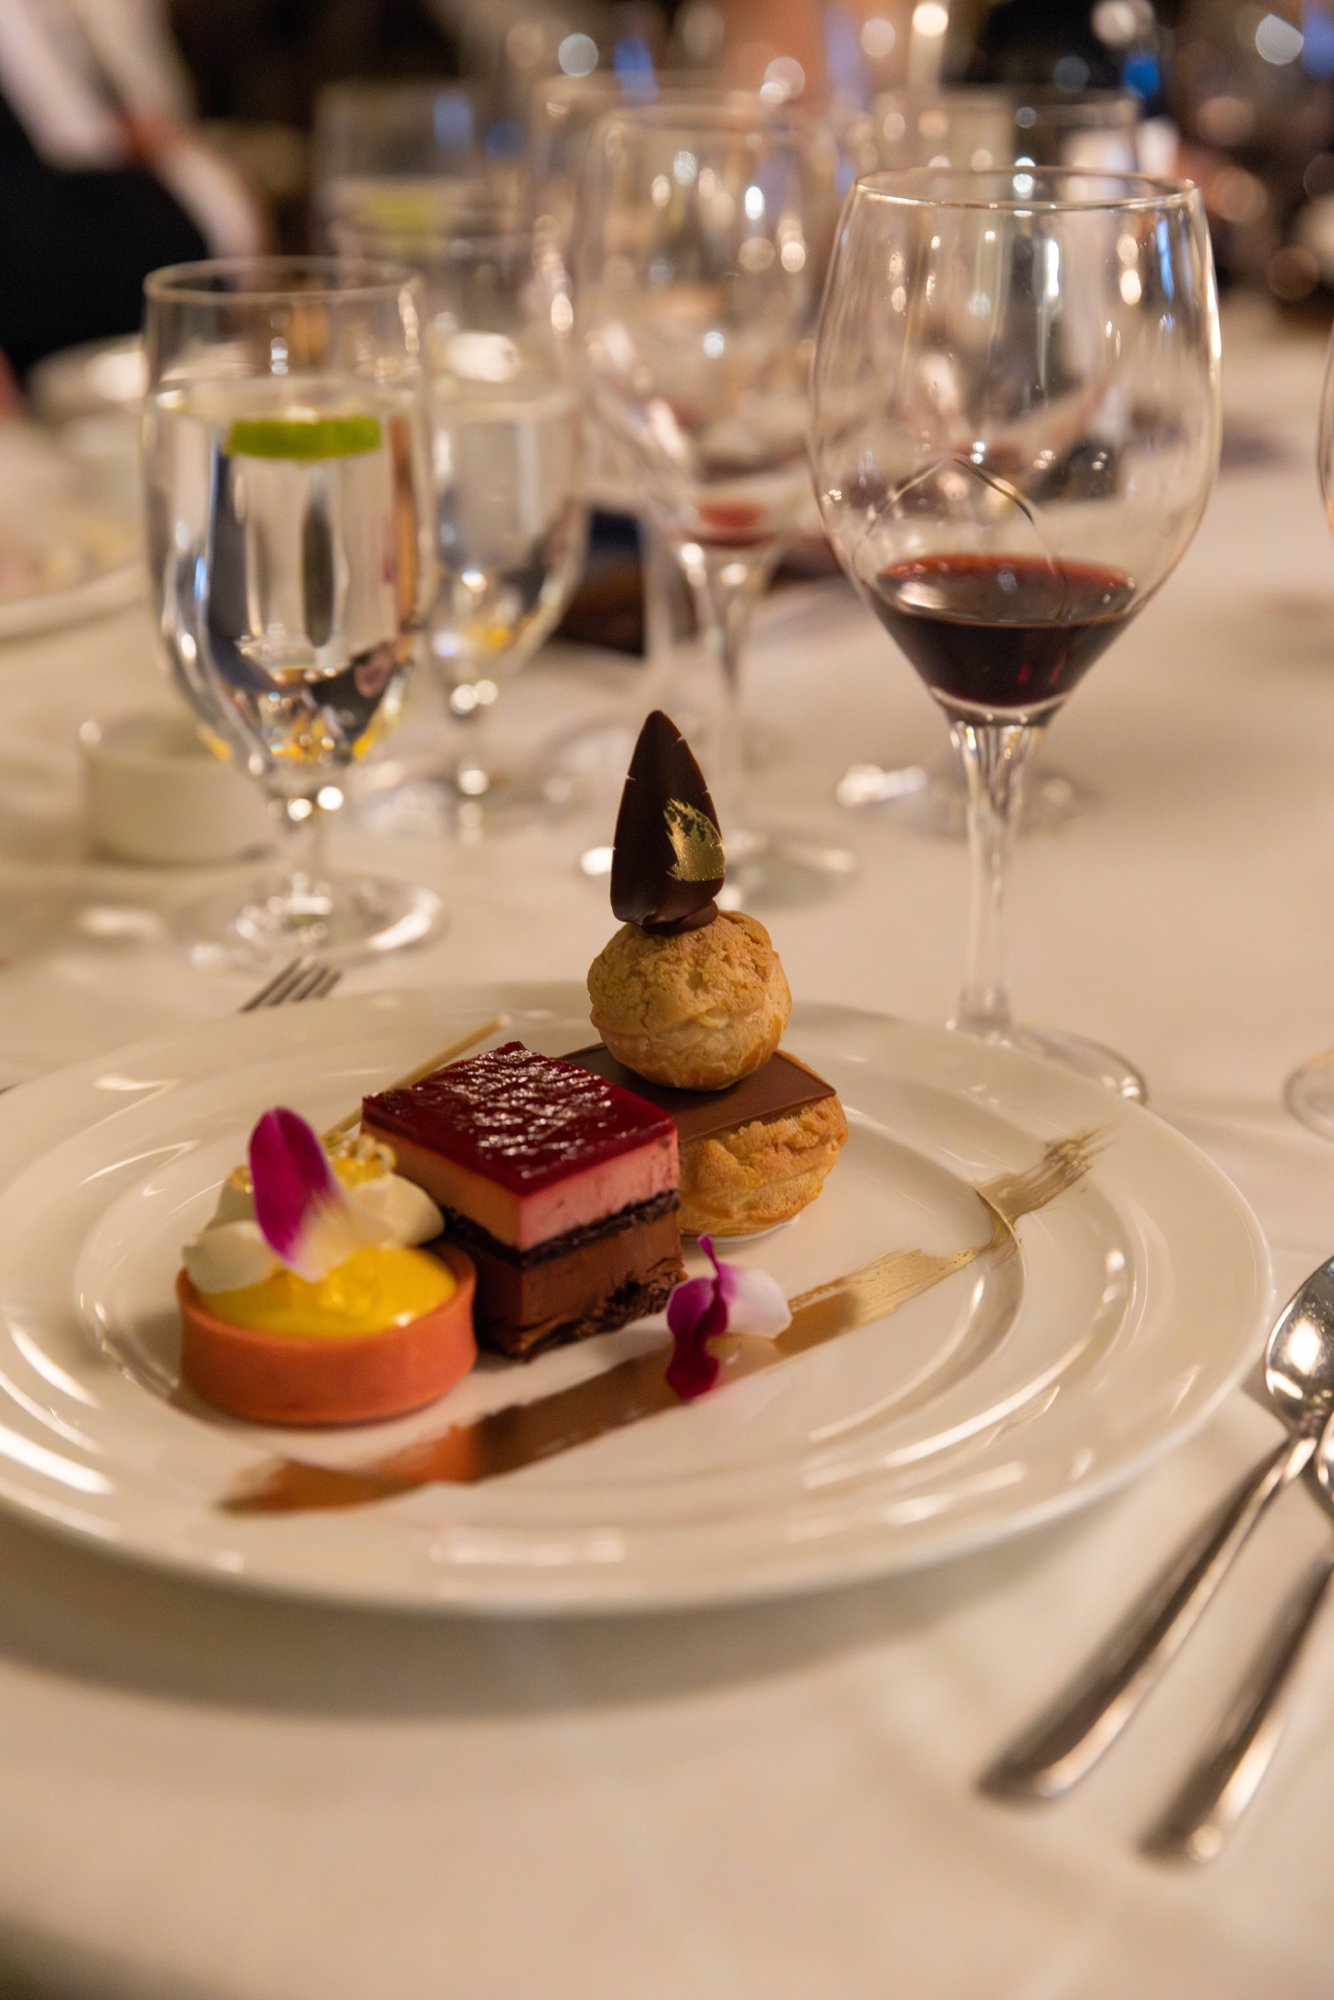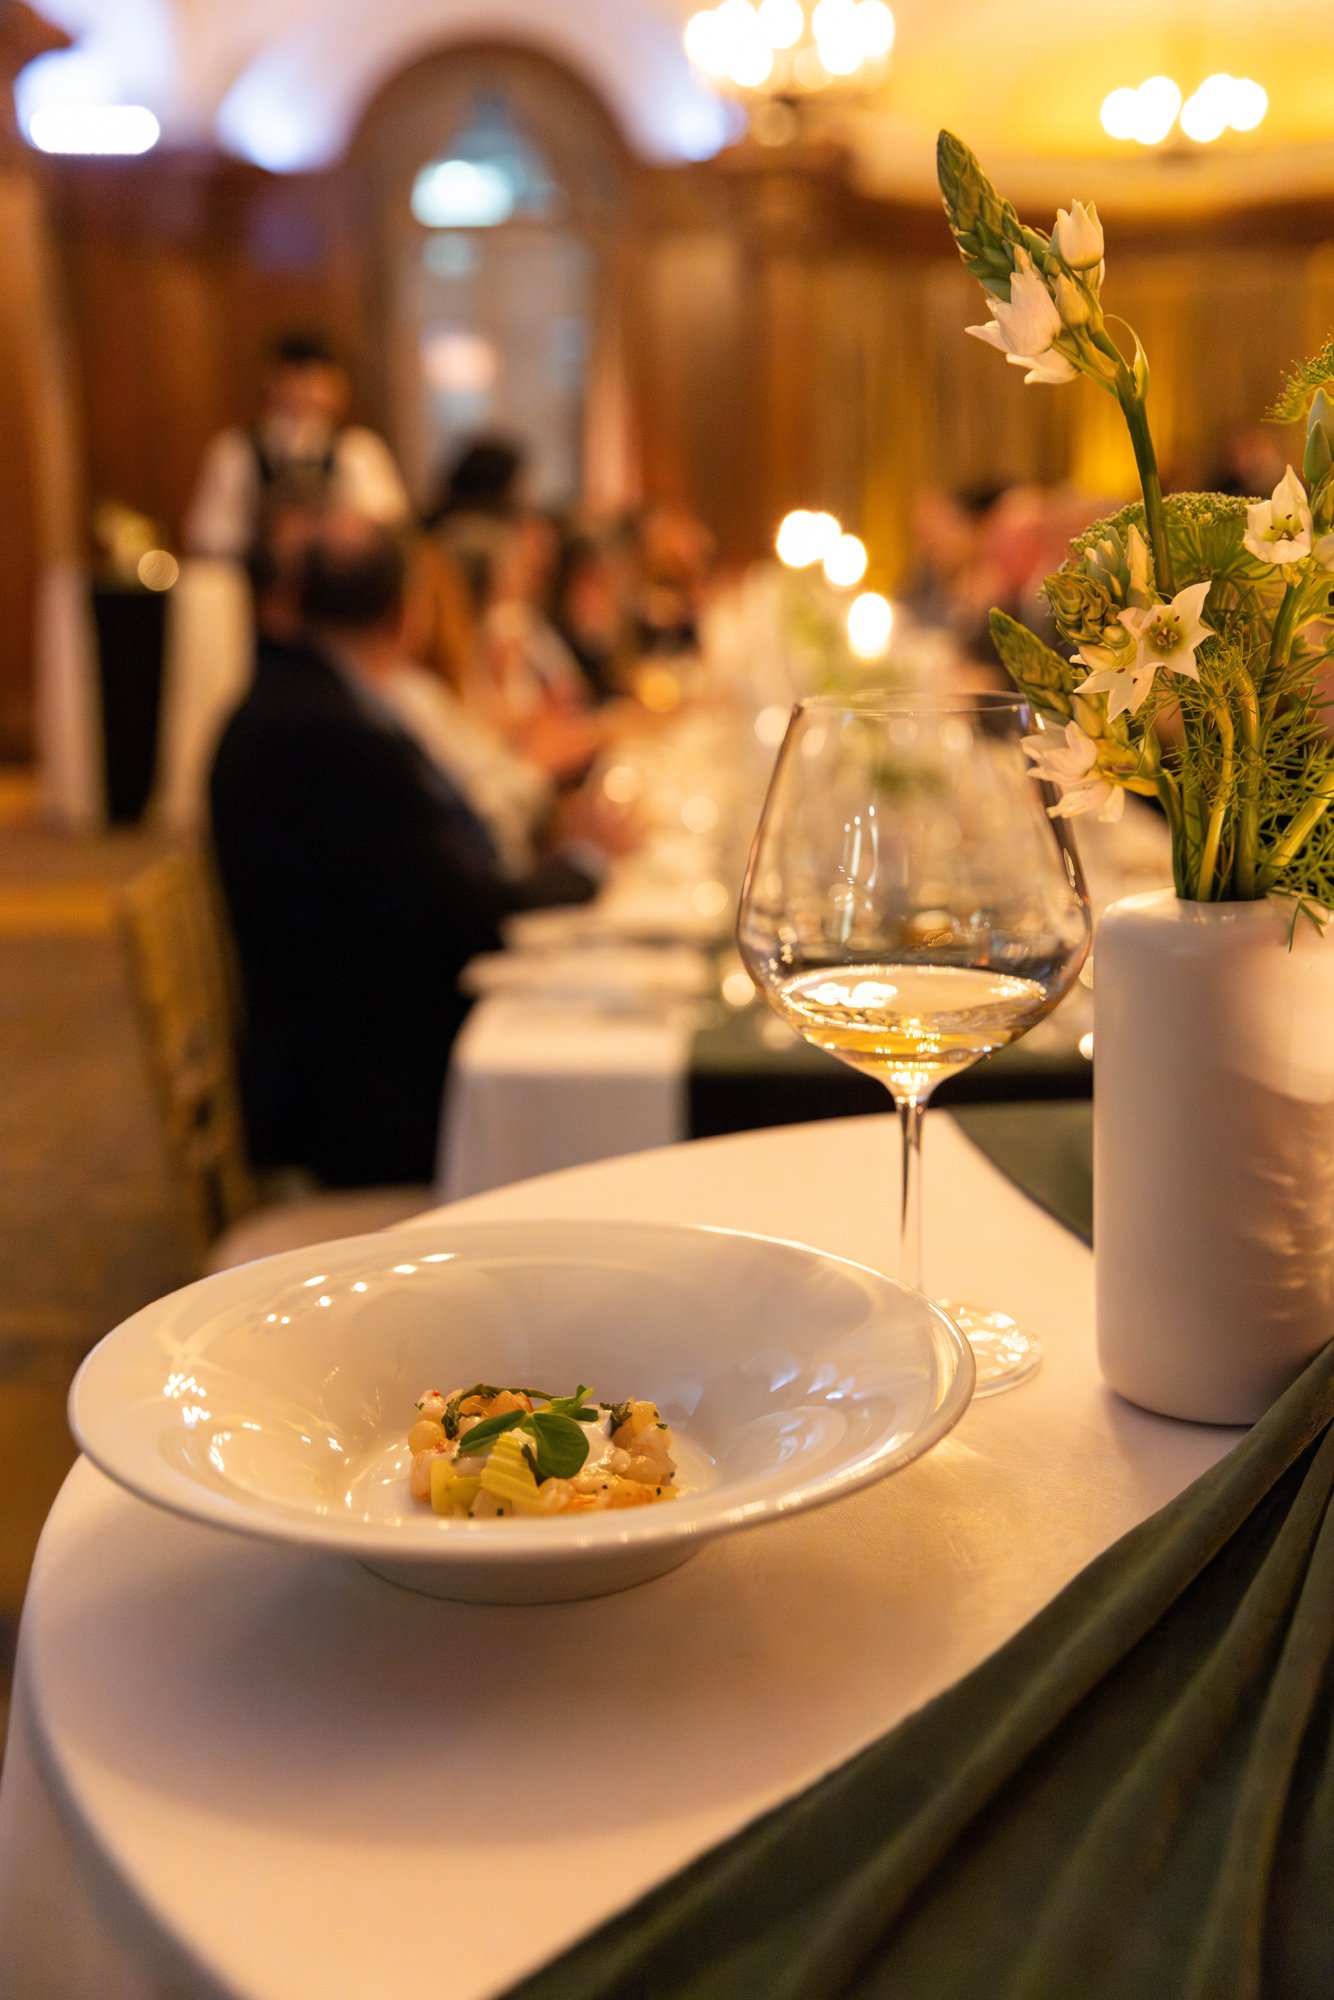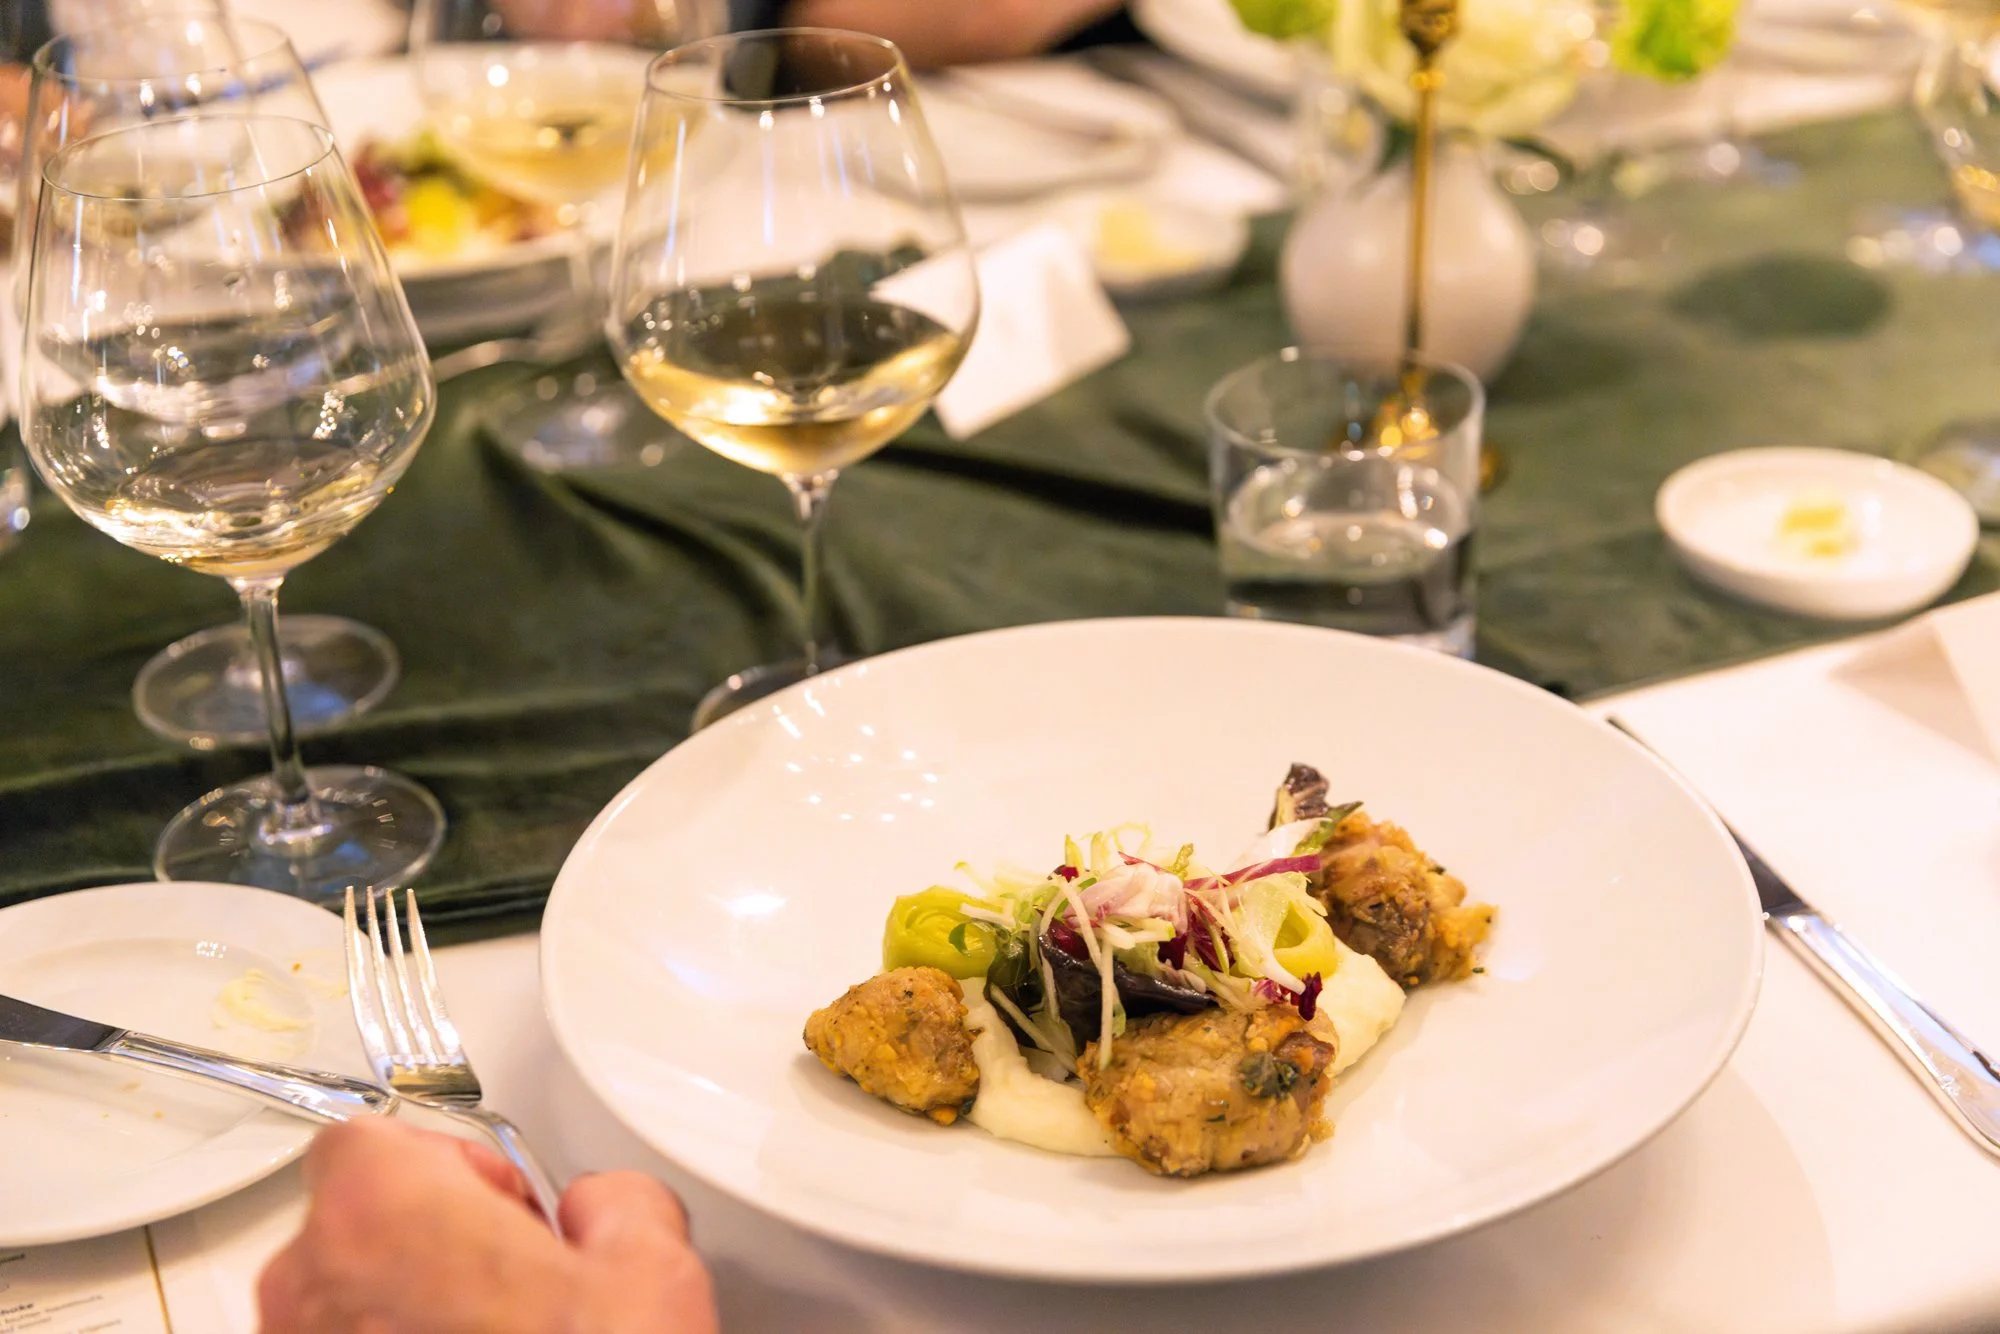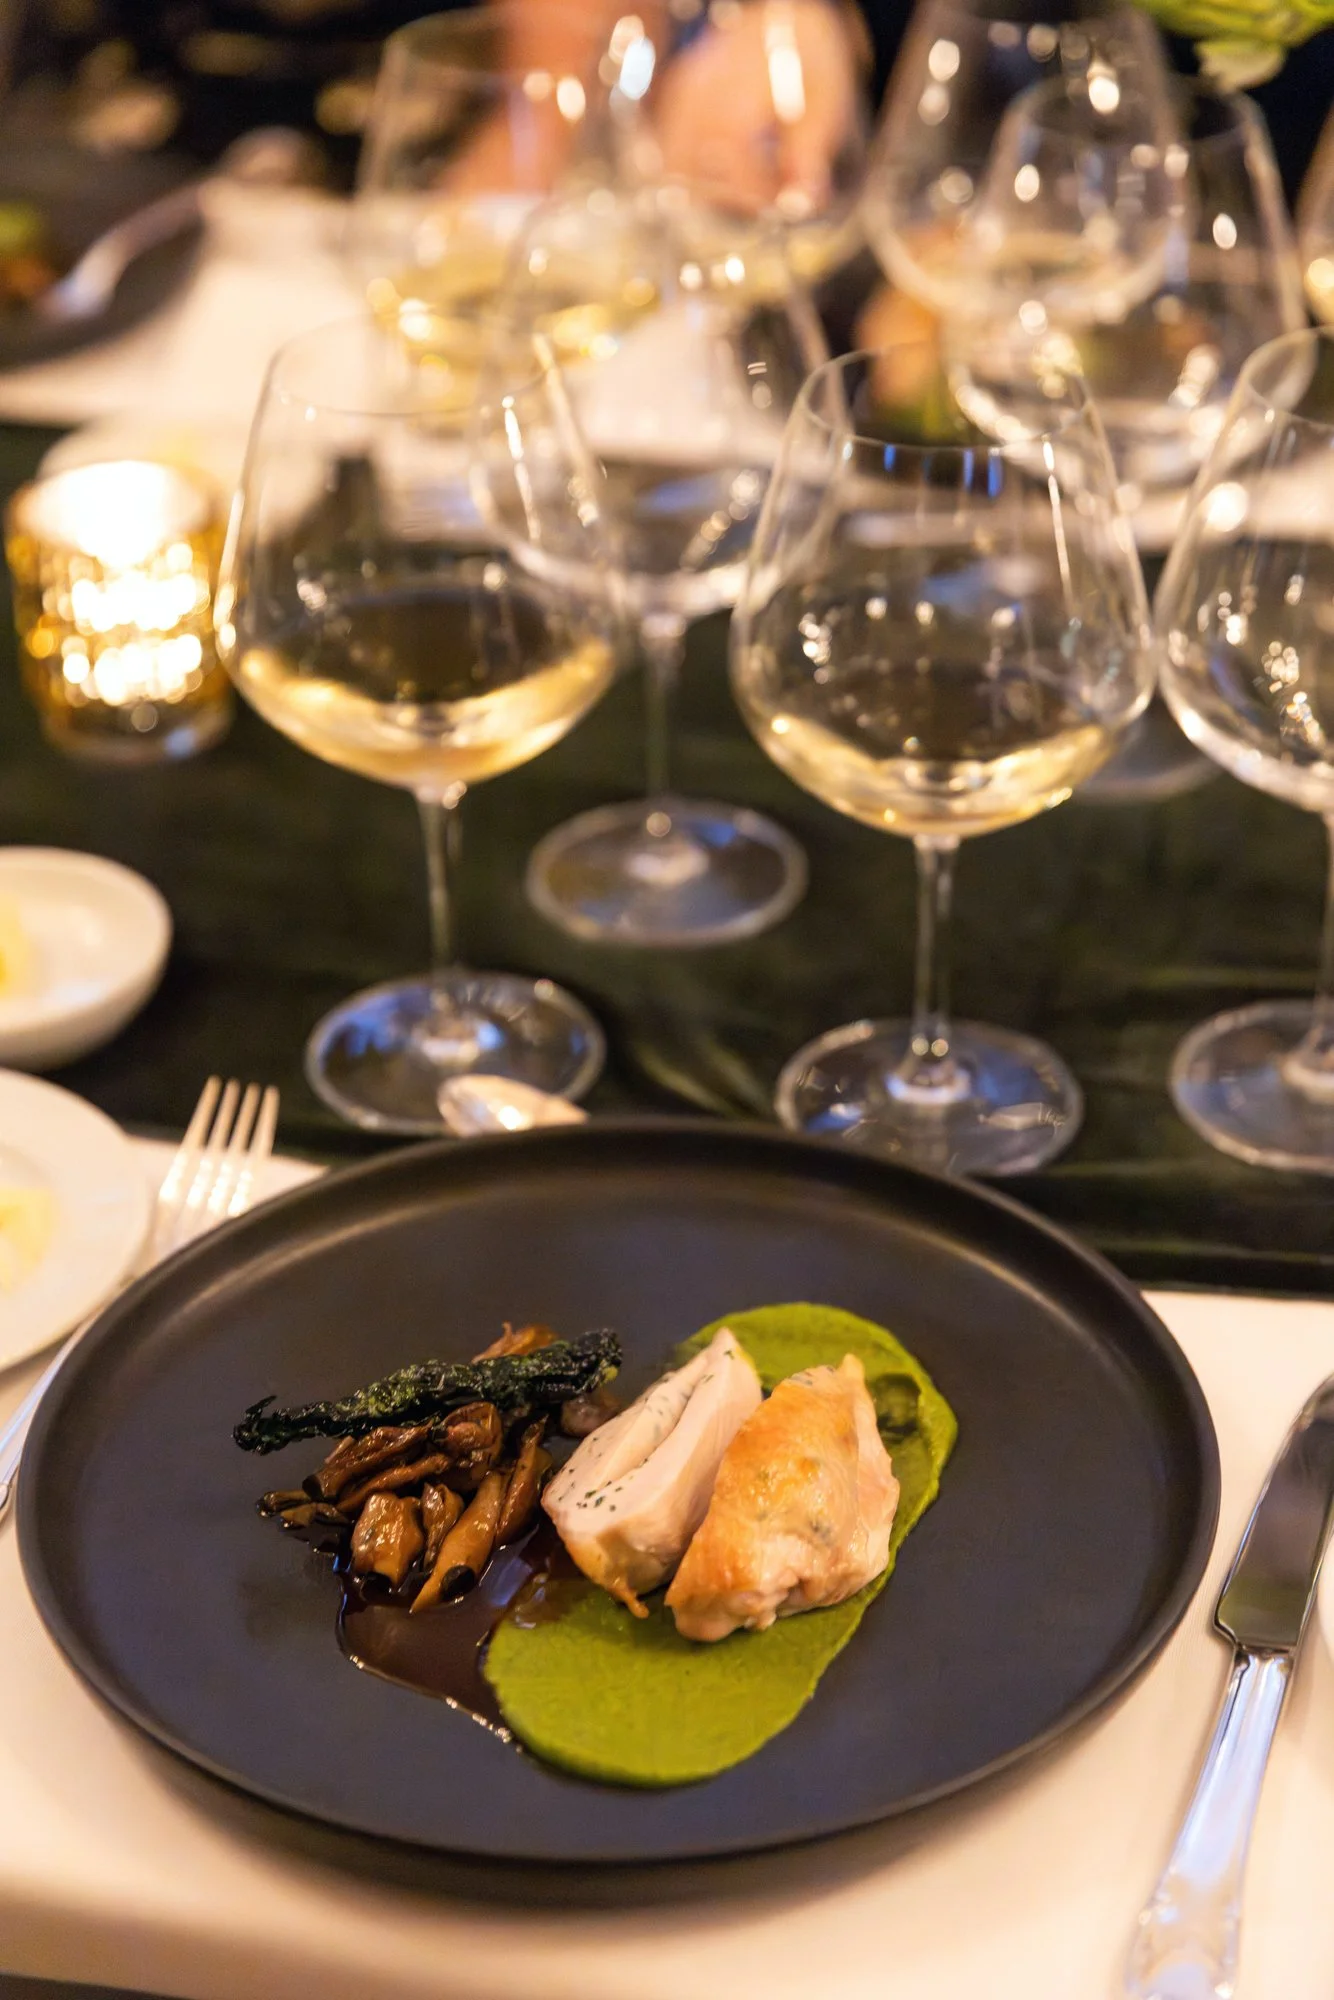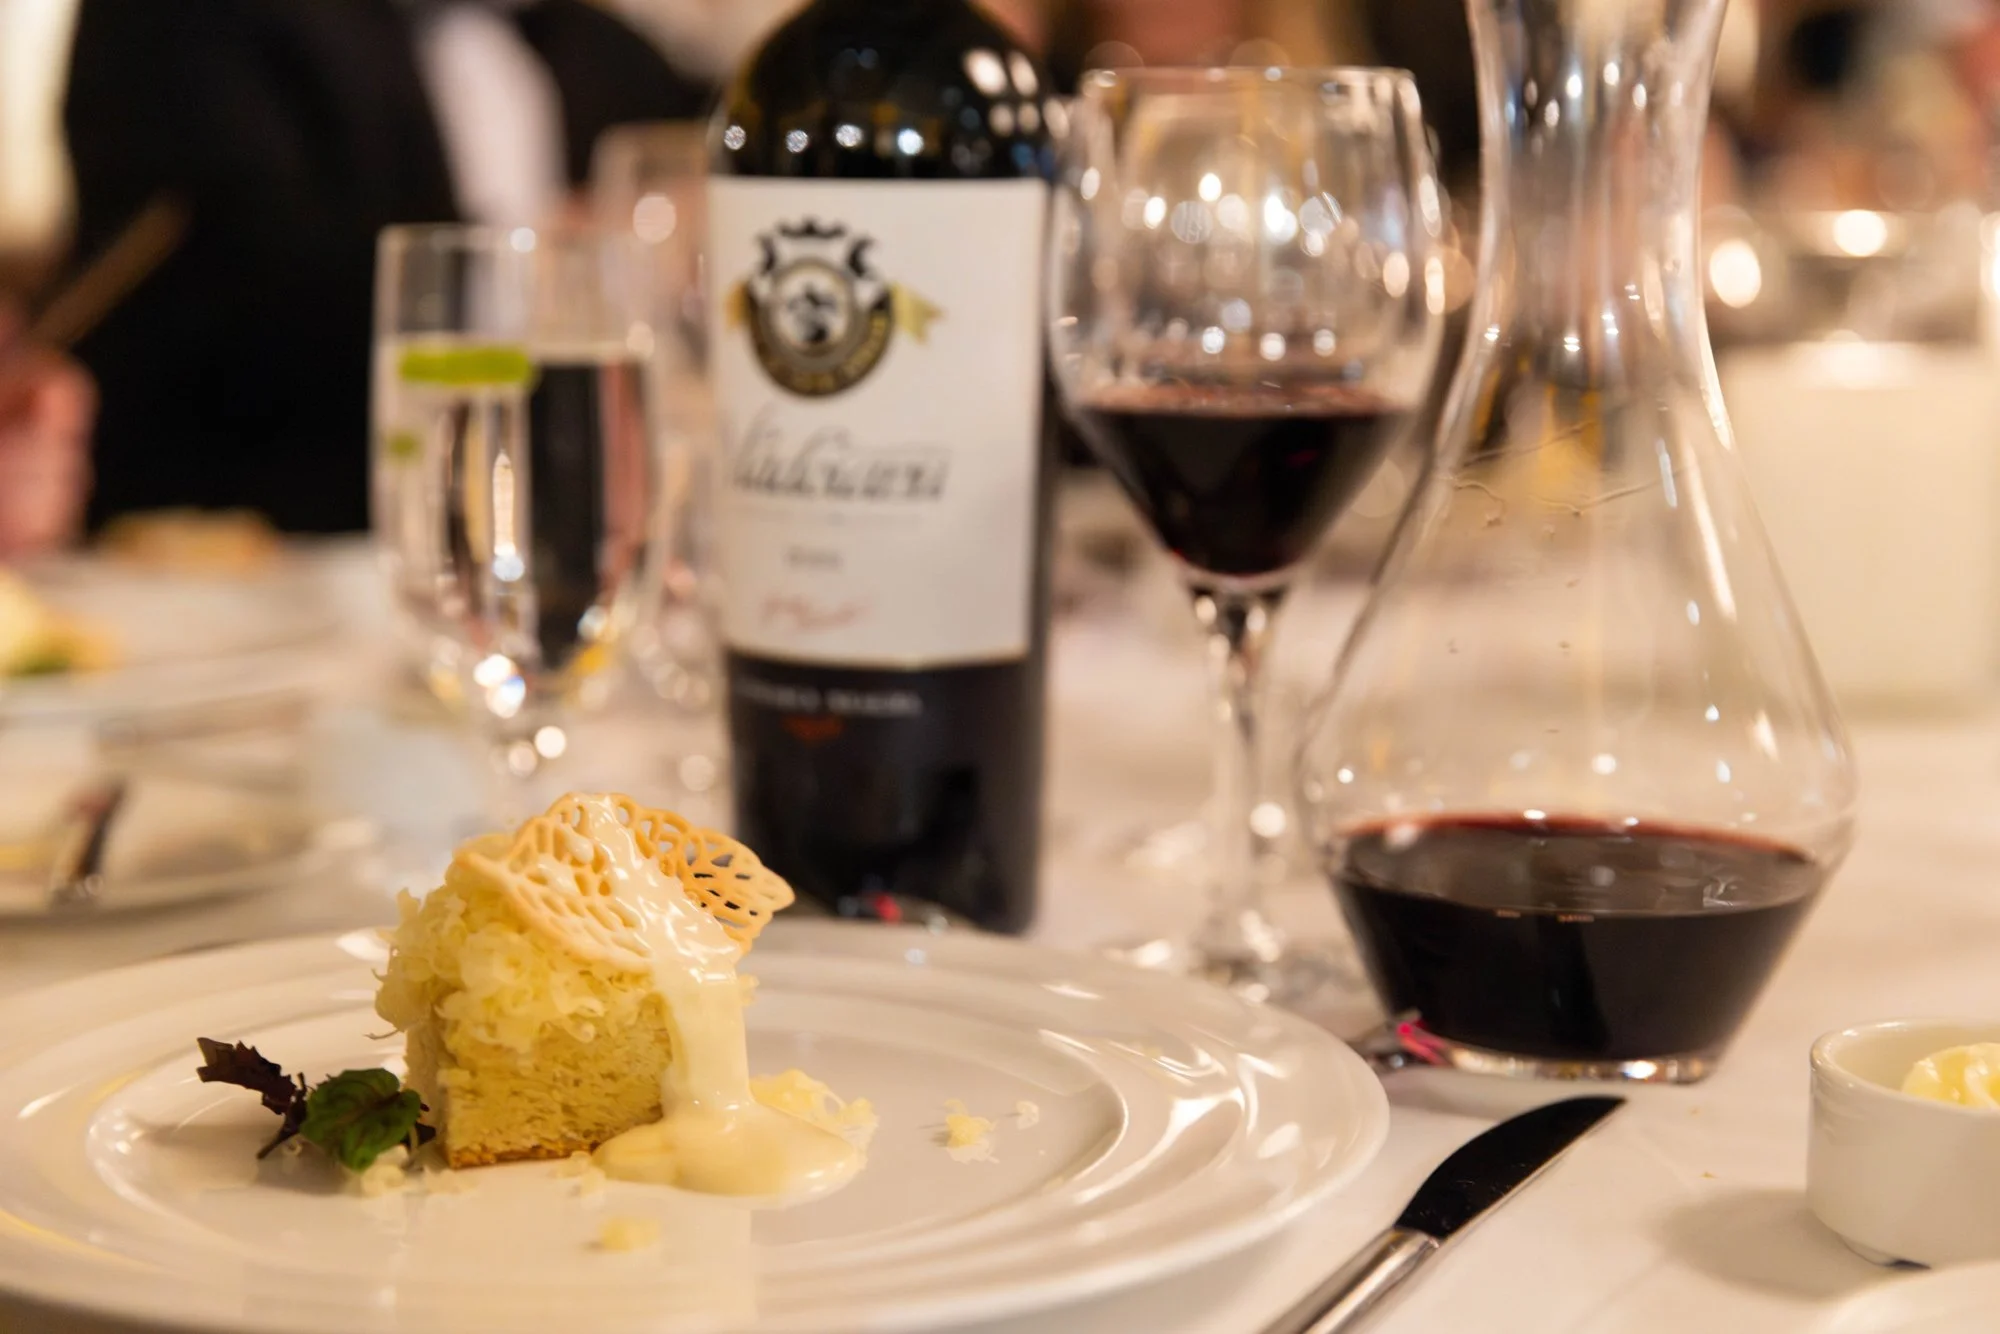






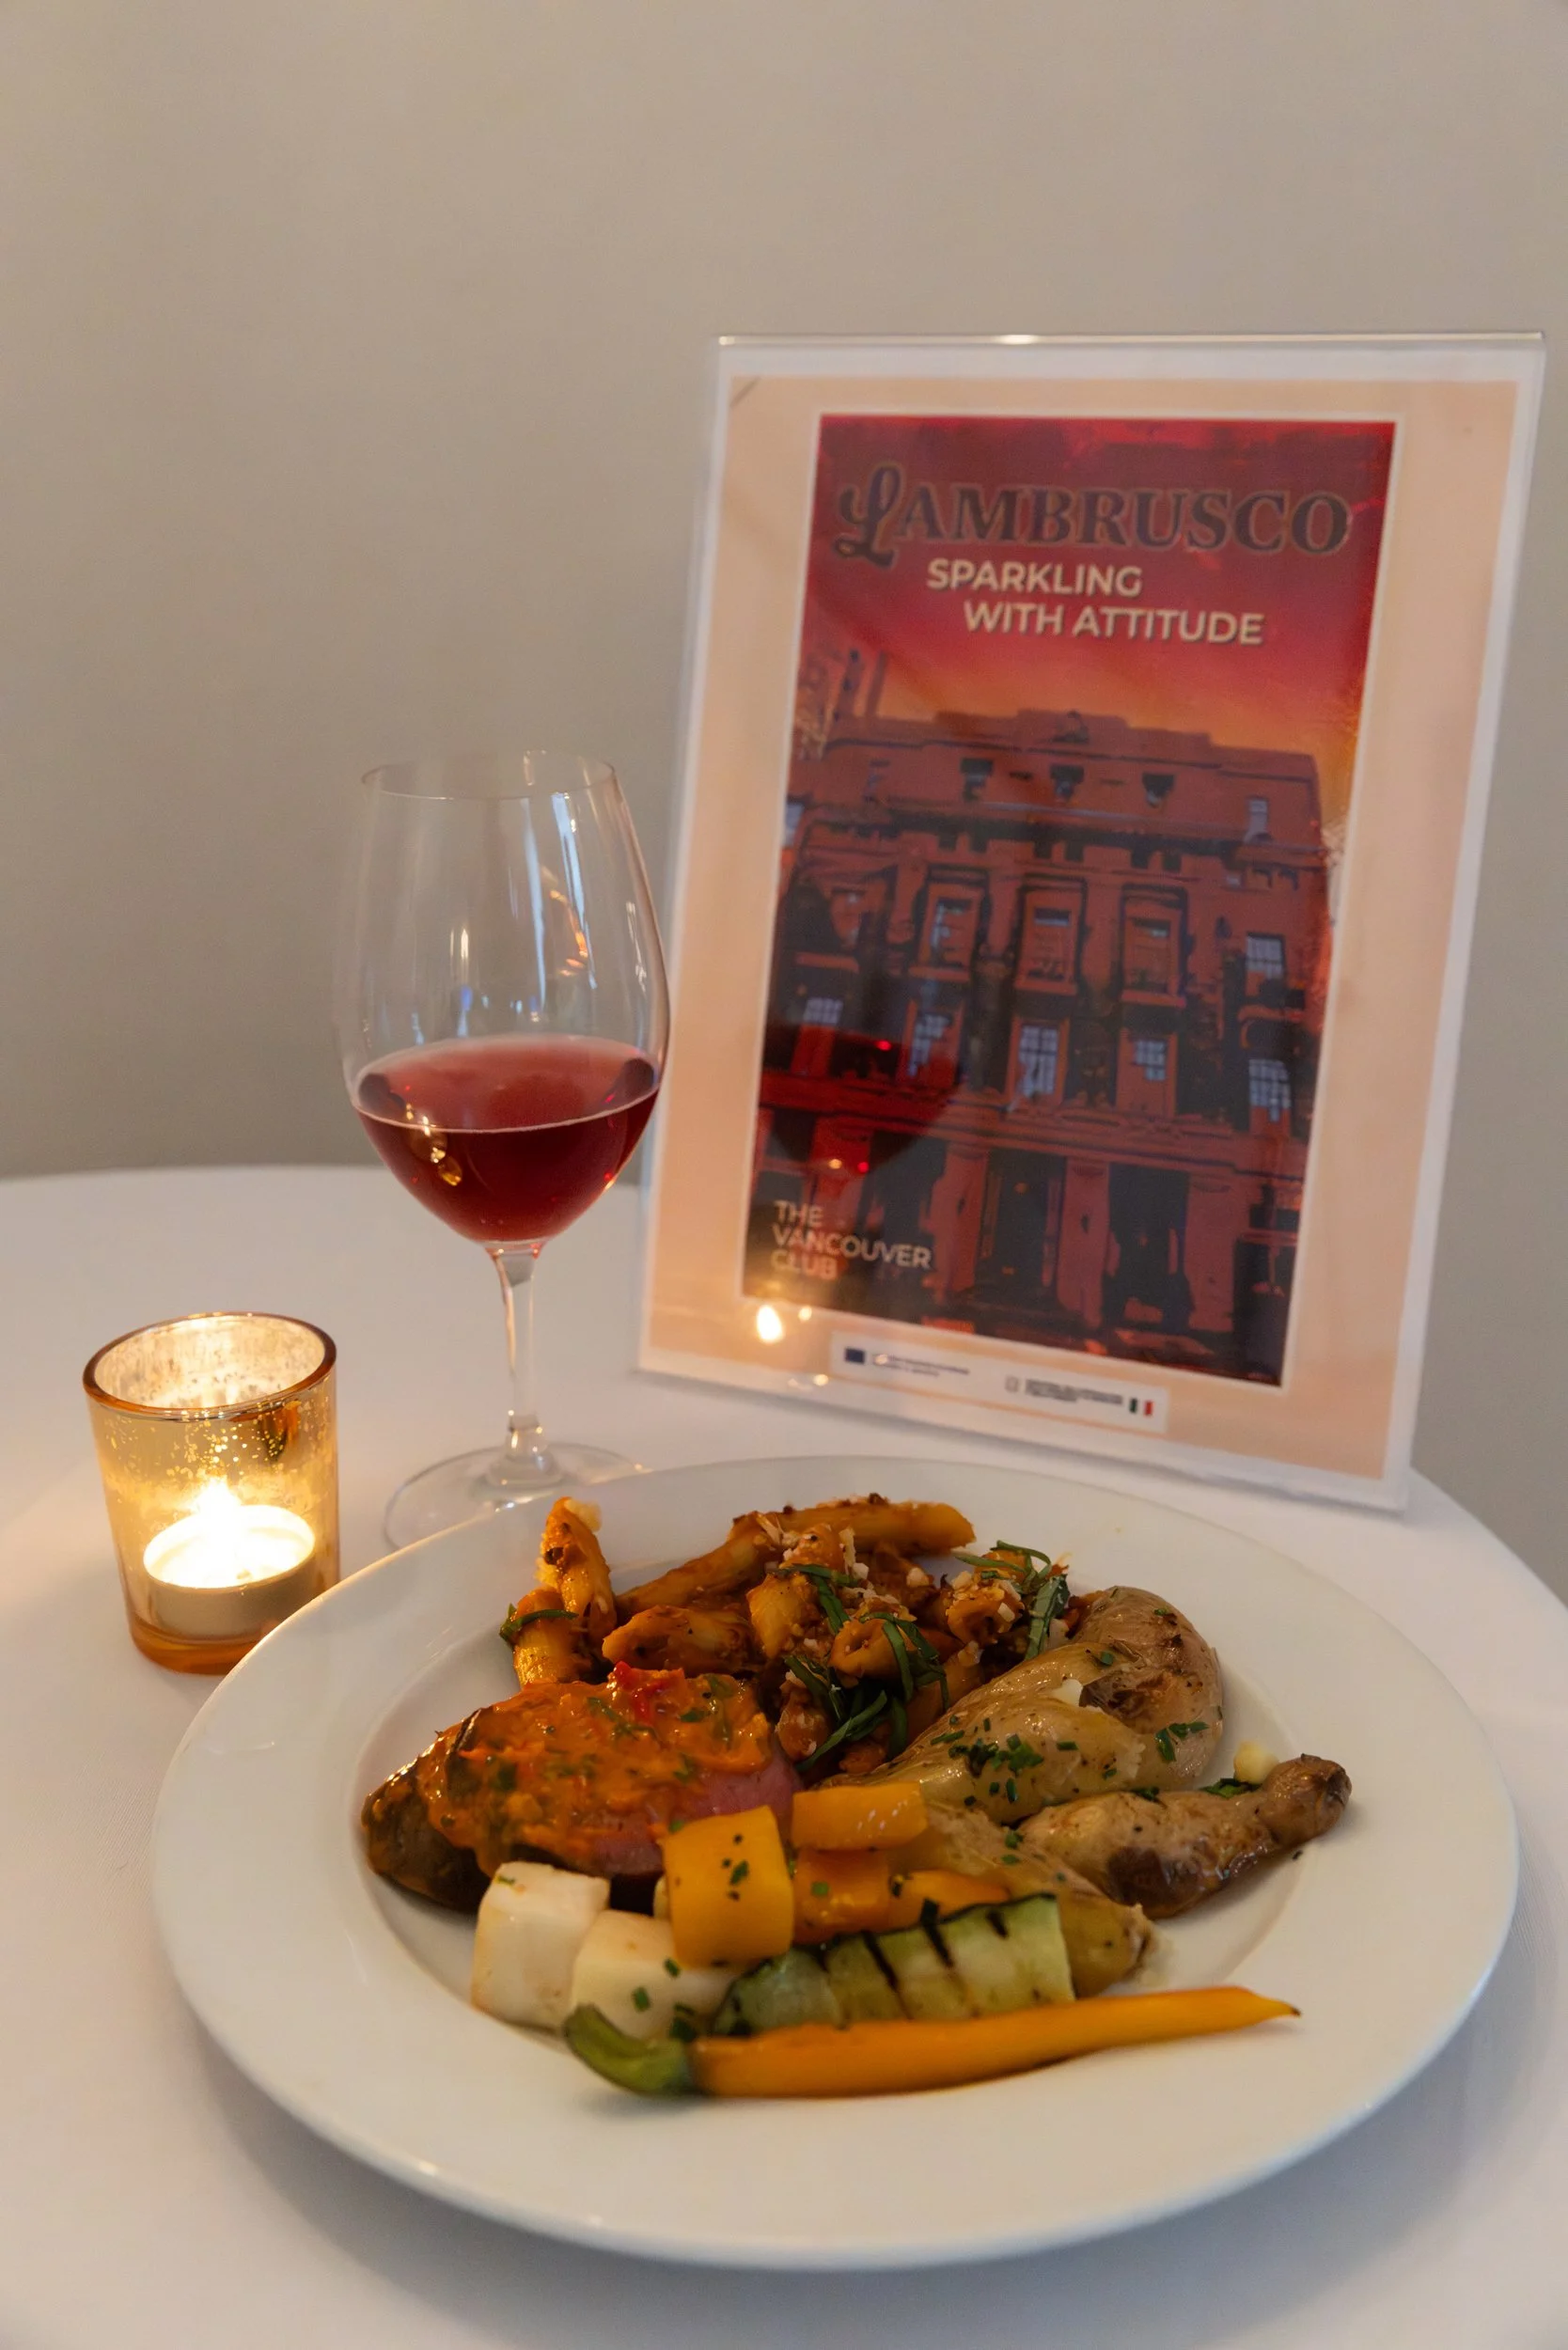
Lambrusco Masterclass
Event Photography
The Vancouver Club
May 2026

BLOG
Lambrusco Masterclass
Event Photography
The Vancouver Club
May 2026
Vancouver International Wine Festival 2026
Food and Wine
March 2026
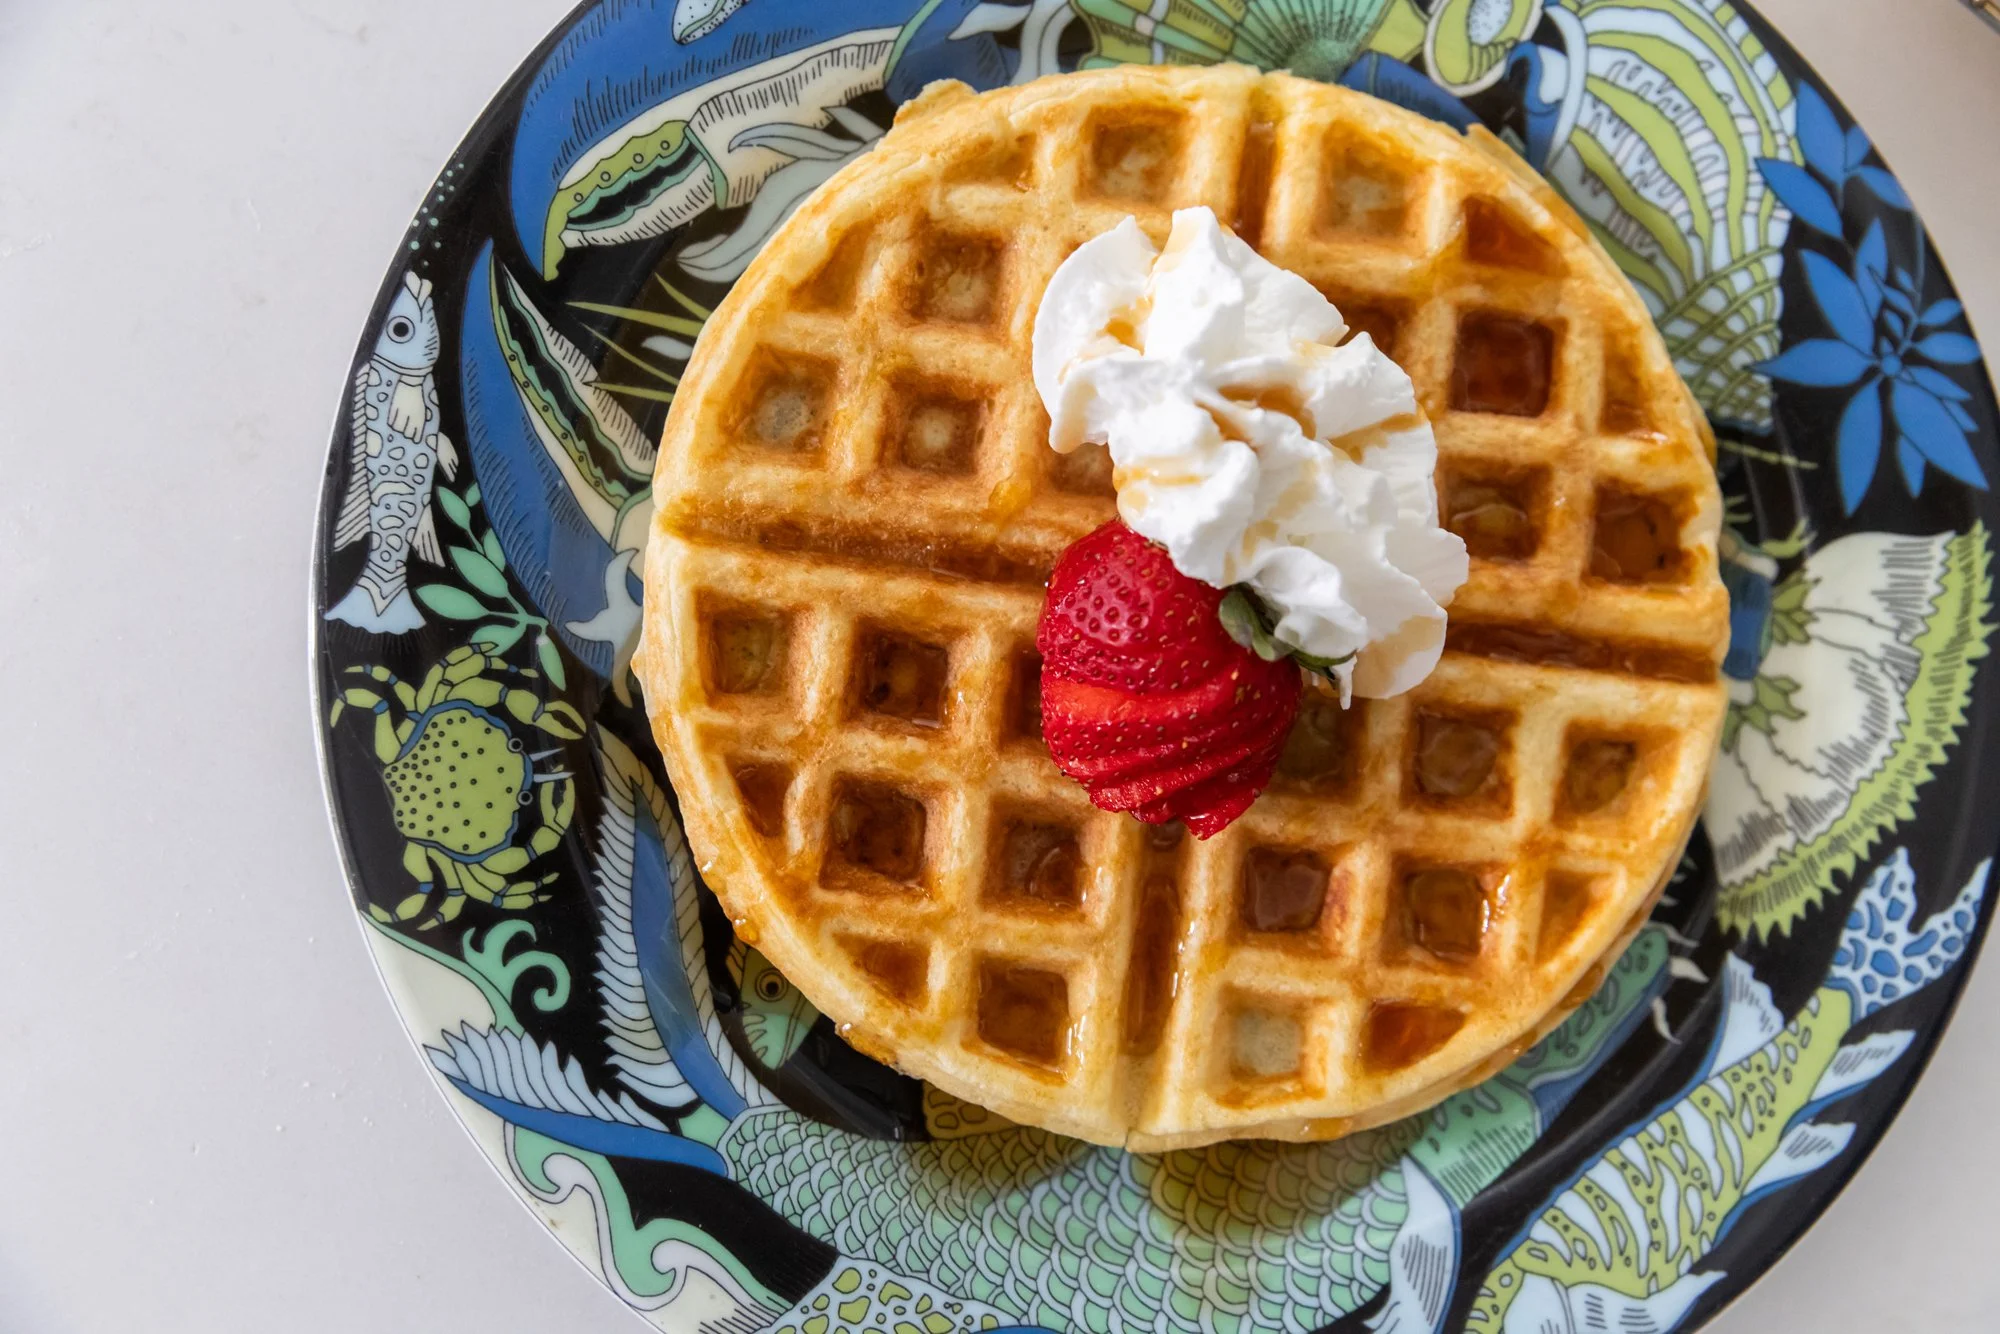
Waffles
for BC Living - “From Scratch”
April 2026
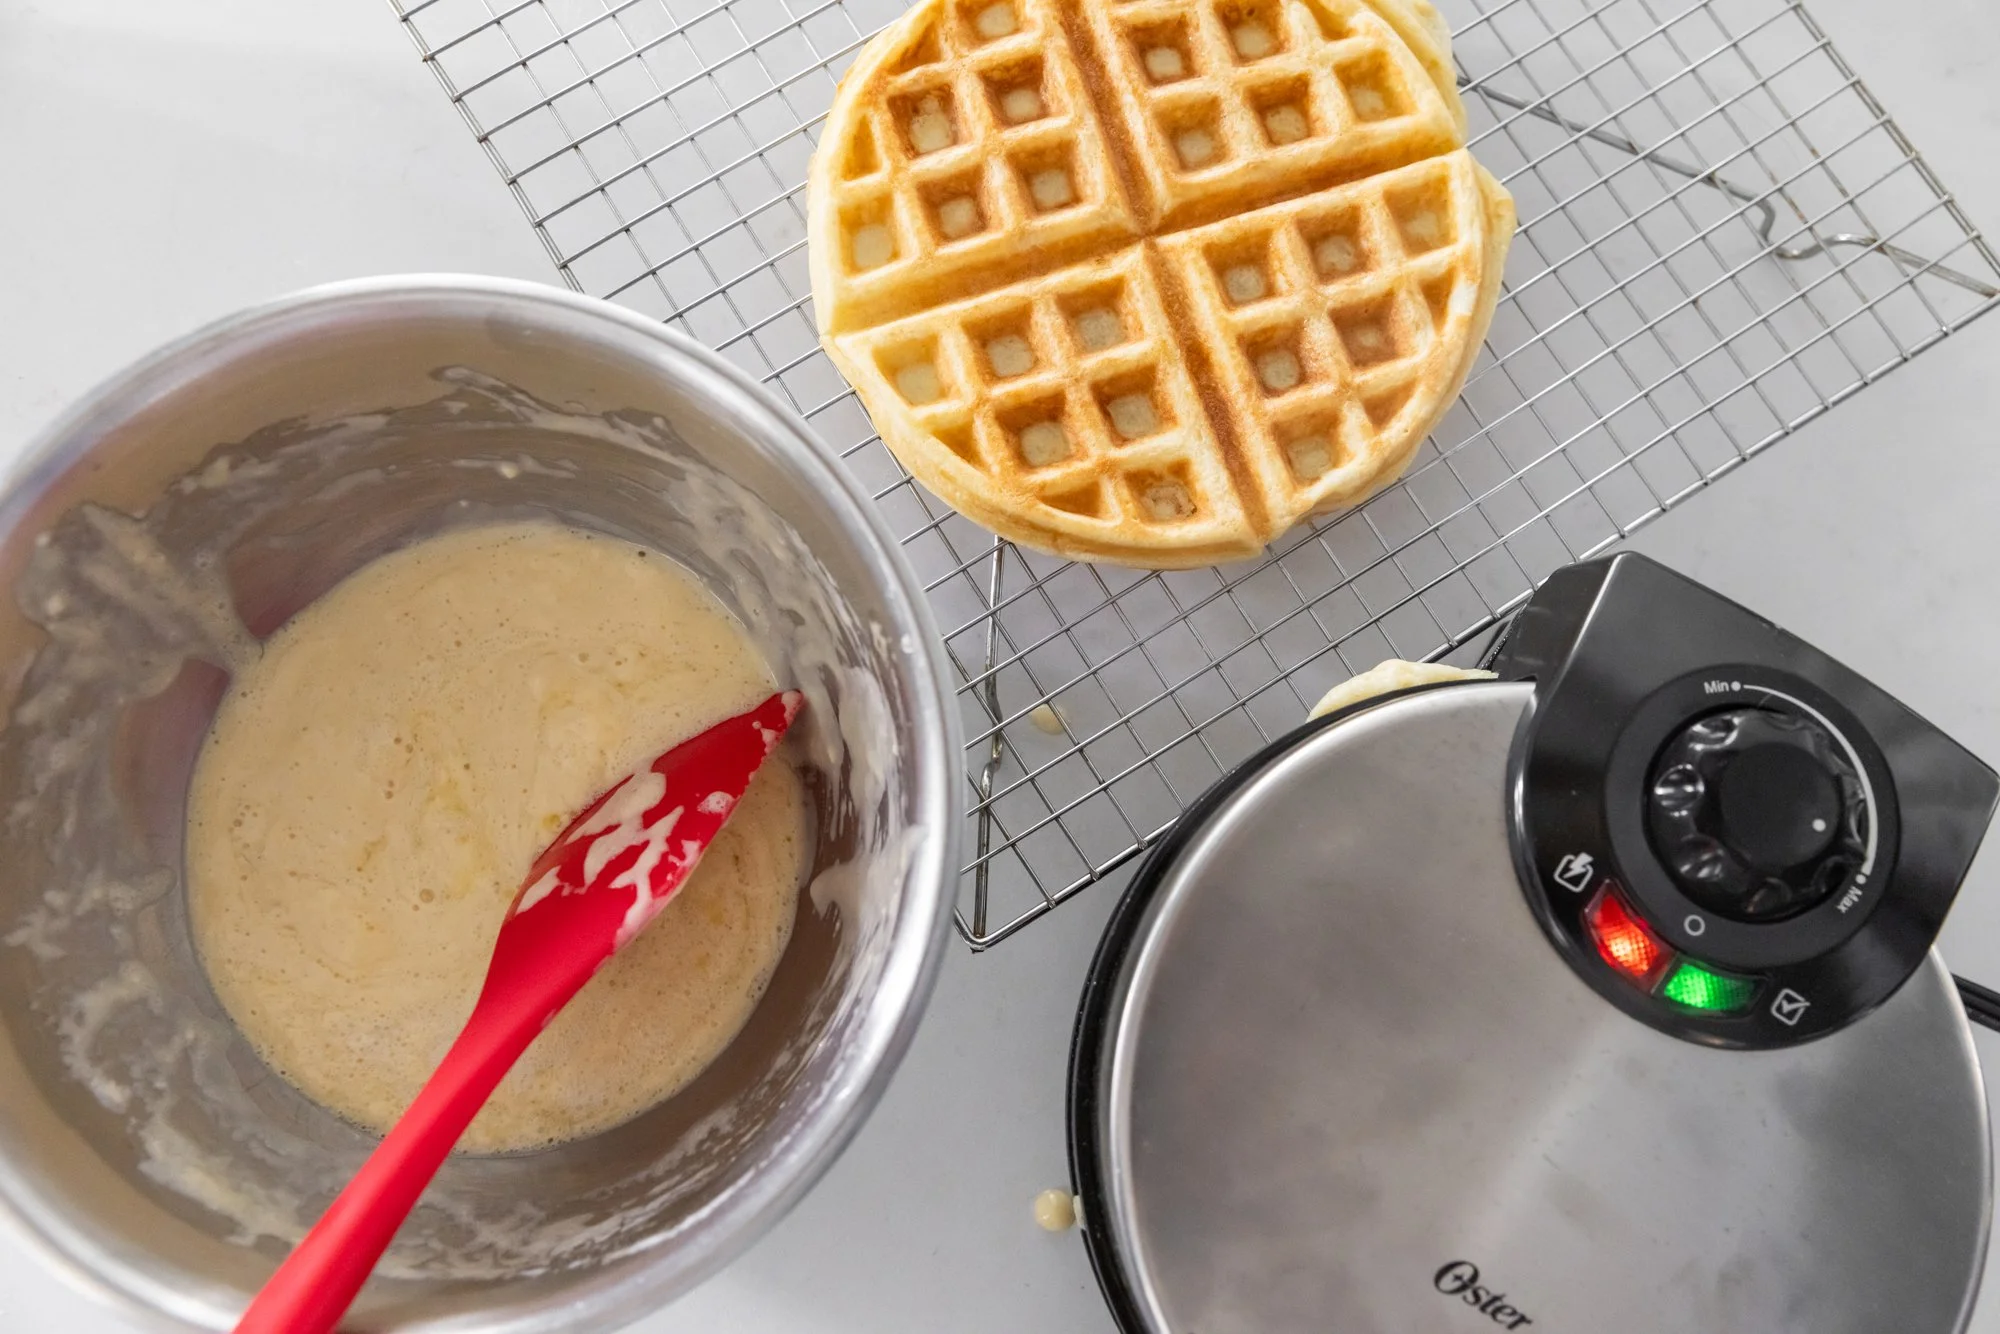
I love a good warm waffle right out of the iron on a slow weekend morning, but pulling out the waffle maker every weekend is kind of a messy pain. Well, this recipe for homemade waffles is completely freezer-friendly, so your syrupy dream can come true without fuss.
And if you think that a waffle iron is only for sweet breakfast treats, you’re wrong – I think my favorite use was making falafel waffles!
Makes 4-5 full-sized waffles (depending on your waffle maker!)
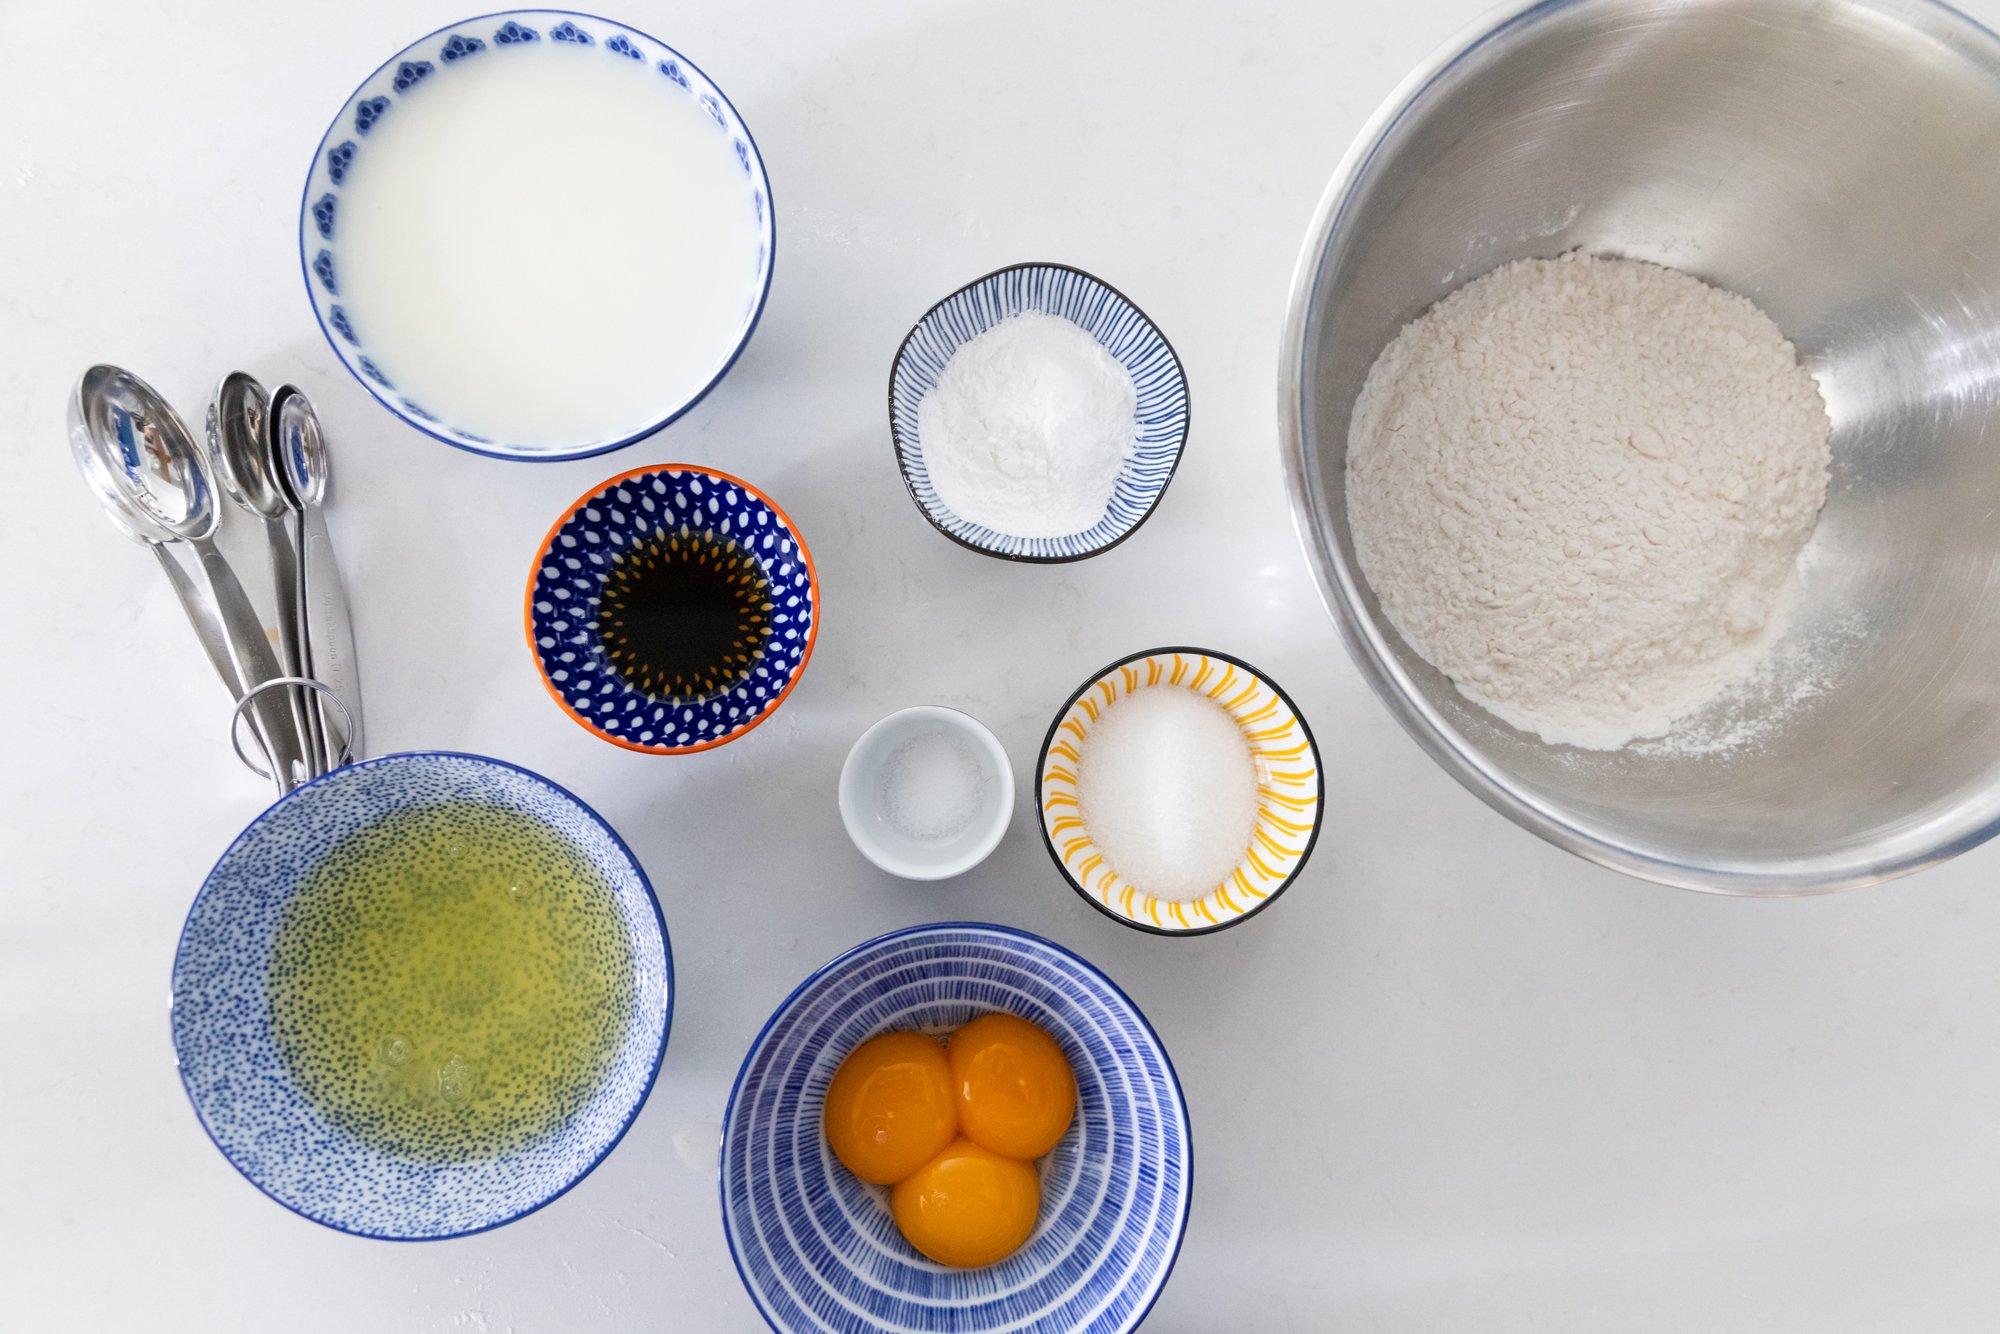
INGREDIENTS:
*You will need a waffle iron to make these – this is the one I use!
1 cup flour
3 tsp baking powder
¼ tsp salt
1 tbsp sugar
3 eggs, separated
1 cup milk (plant-based works)
4 tbsp oil
1 tsp vanilla
Optional/For Serving:
Maple syrup
Fruit
Powdered Sugar
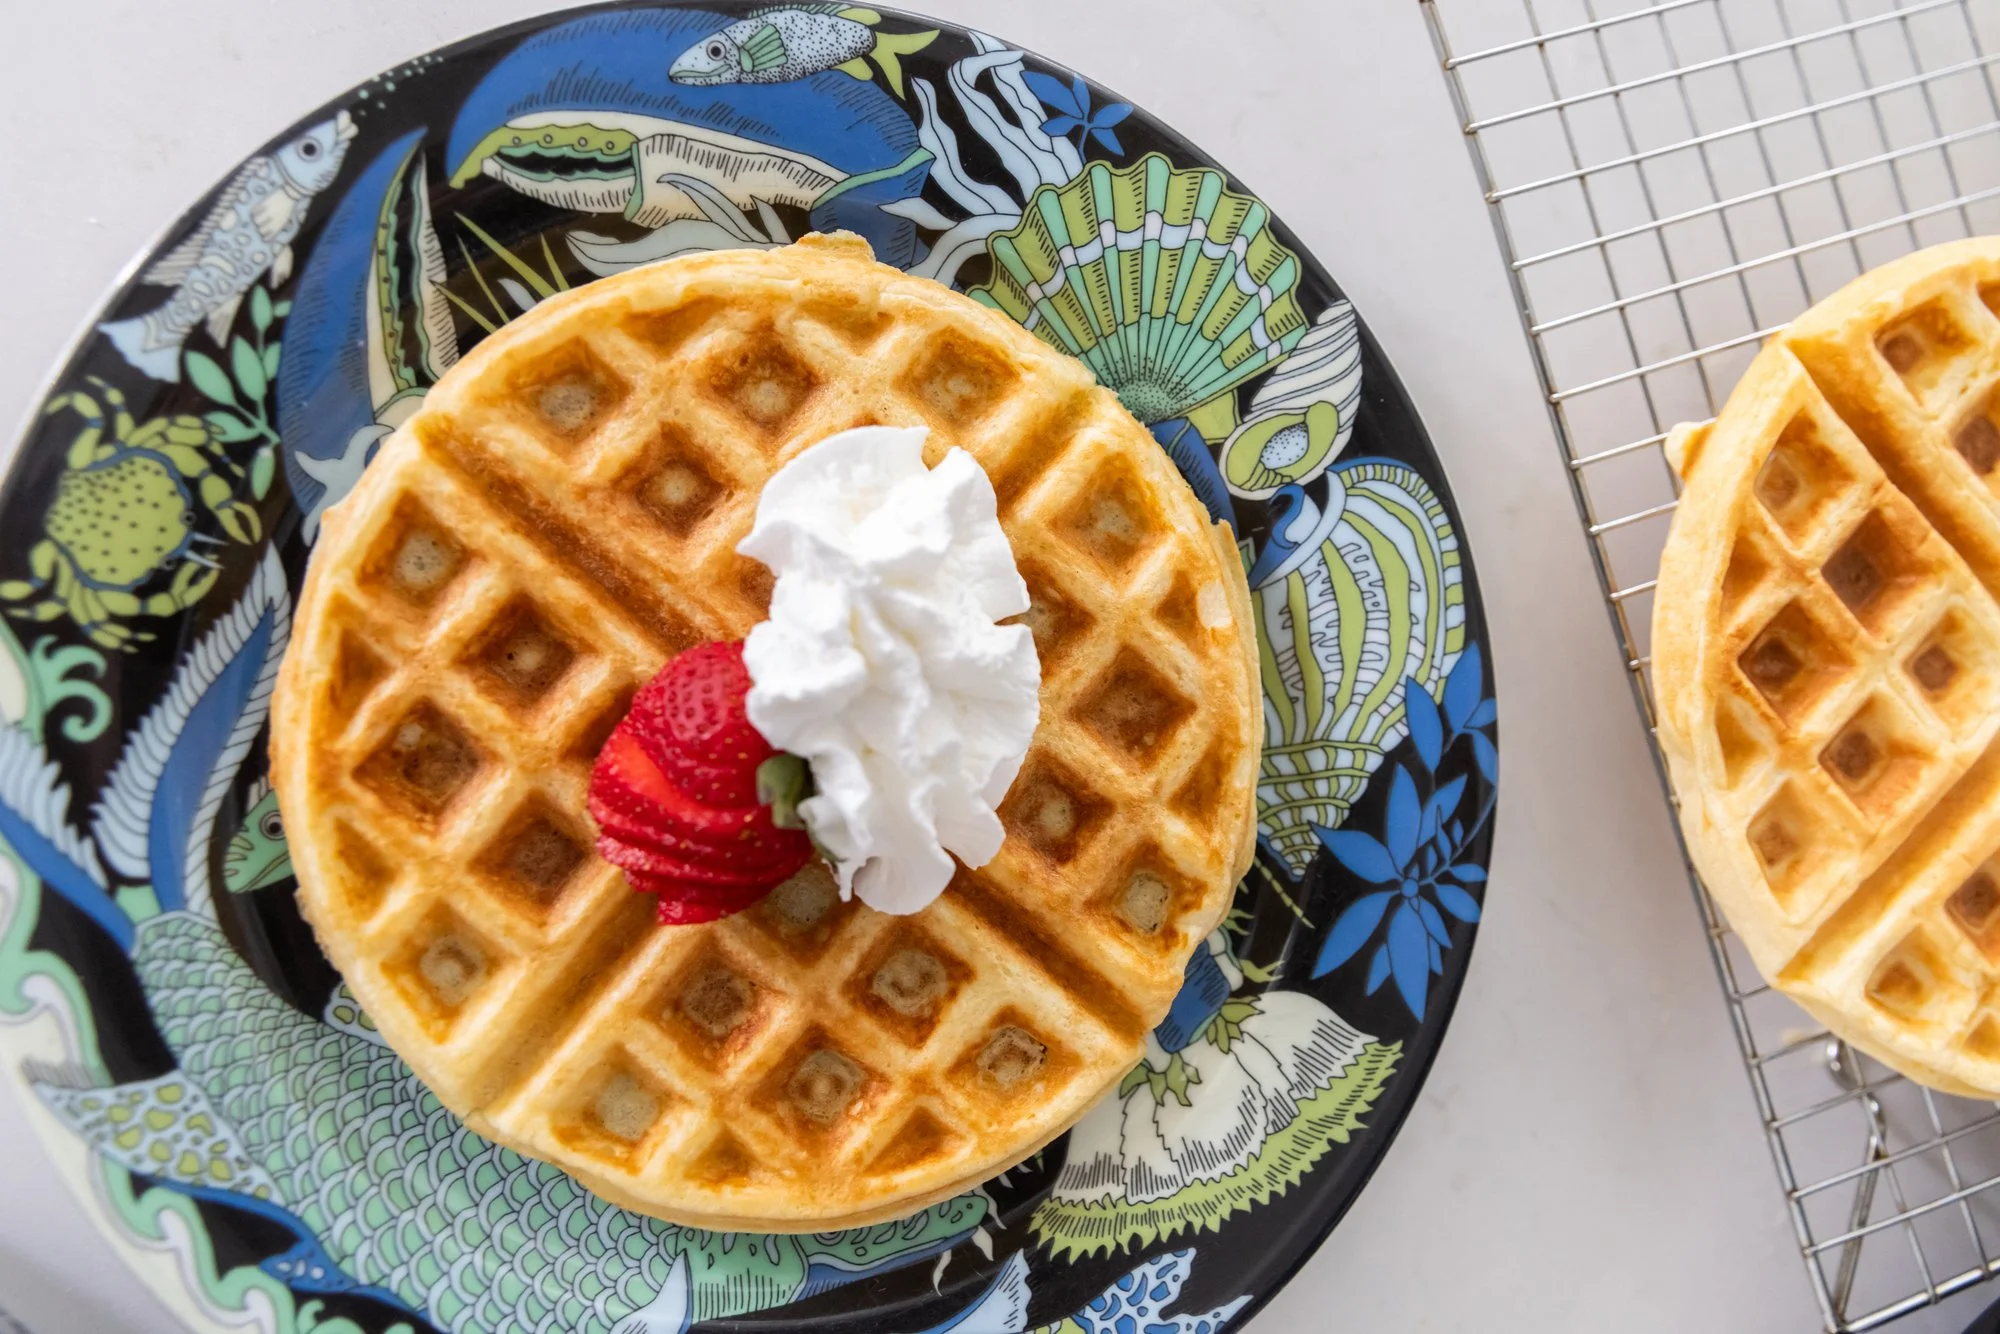
Whipped Cream
INSTRUCTIONS:
Pre-heat your waffle iron and, if needed, spray with cooking oil.
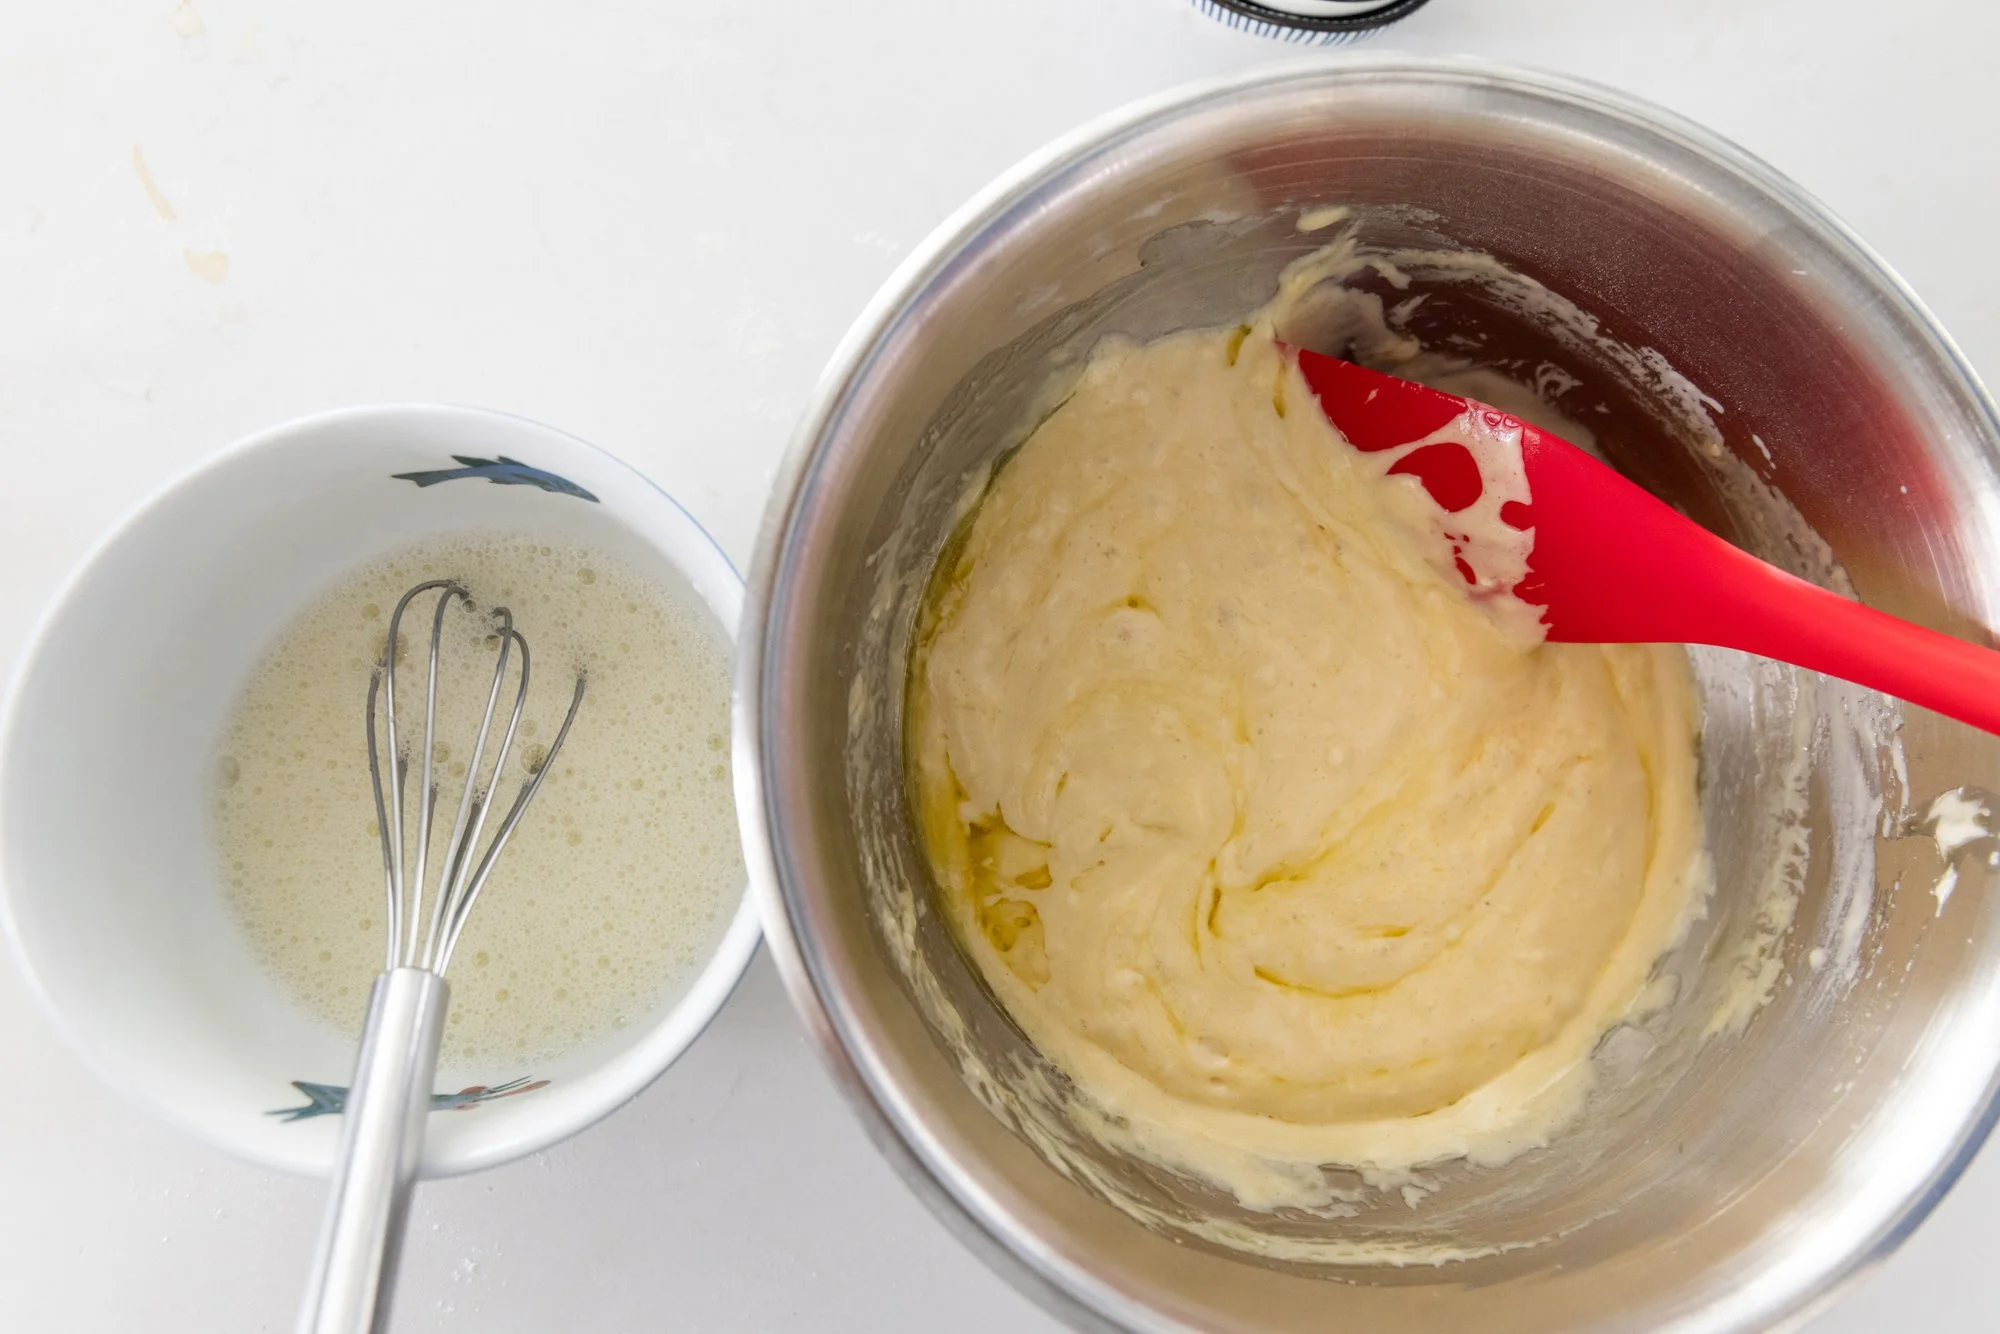
In a large bowl, whisk the flour, salt, baking powder and soda, and sugar together. Add the milk and egg yolks in and mix thoroughly until smooth. Then add the oil and vanilla and mix well (don’t over mix though) and then set aside.
In a small bowl whisk the egg whites until stiff peaks form – then fold the eggs into the batter.
Pour about 2/3 to 3/4 of a cup into the pre-heated iron – amount may vary based on your machine – it's better to under-fill than over-fill on the first one, so you don’t make a goopy mess.
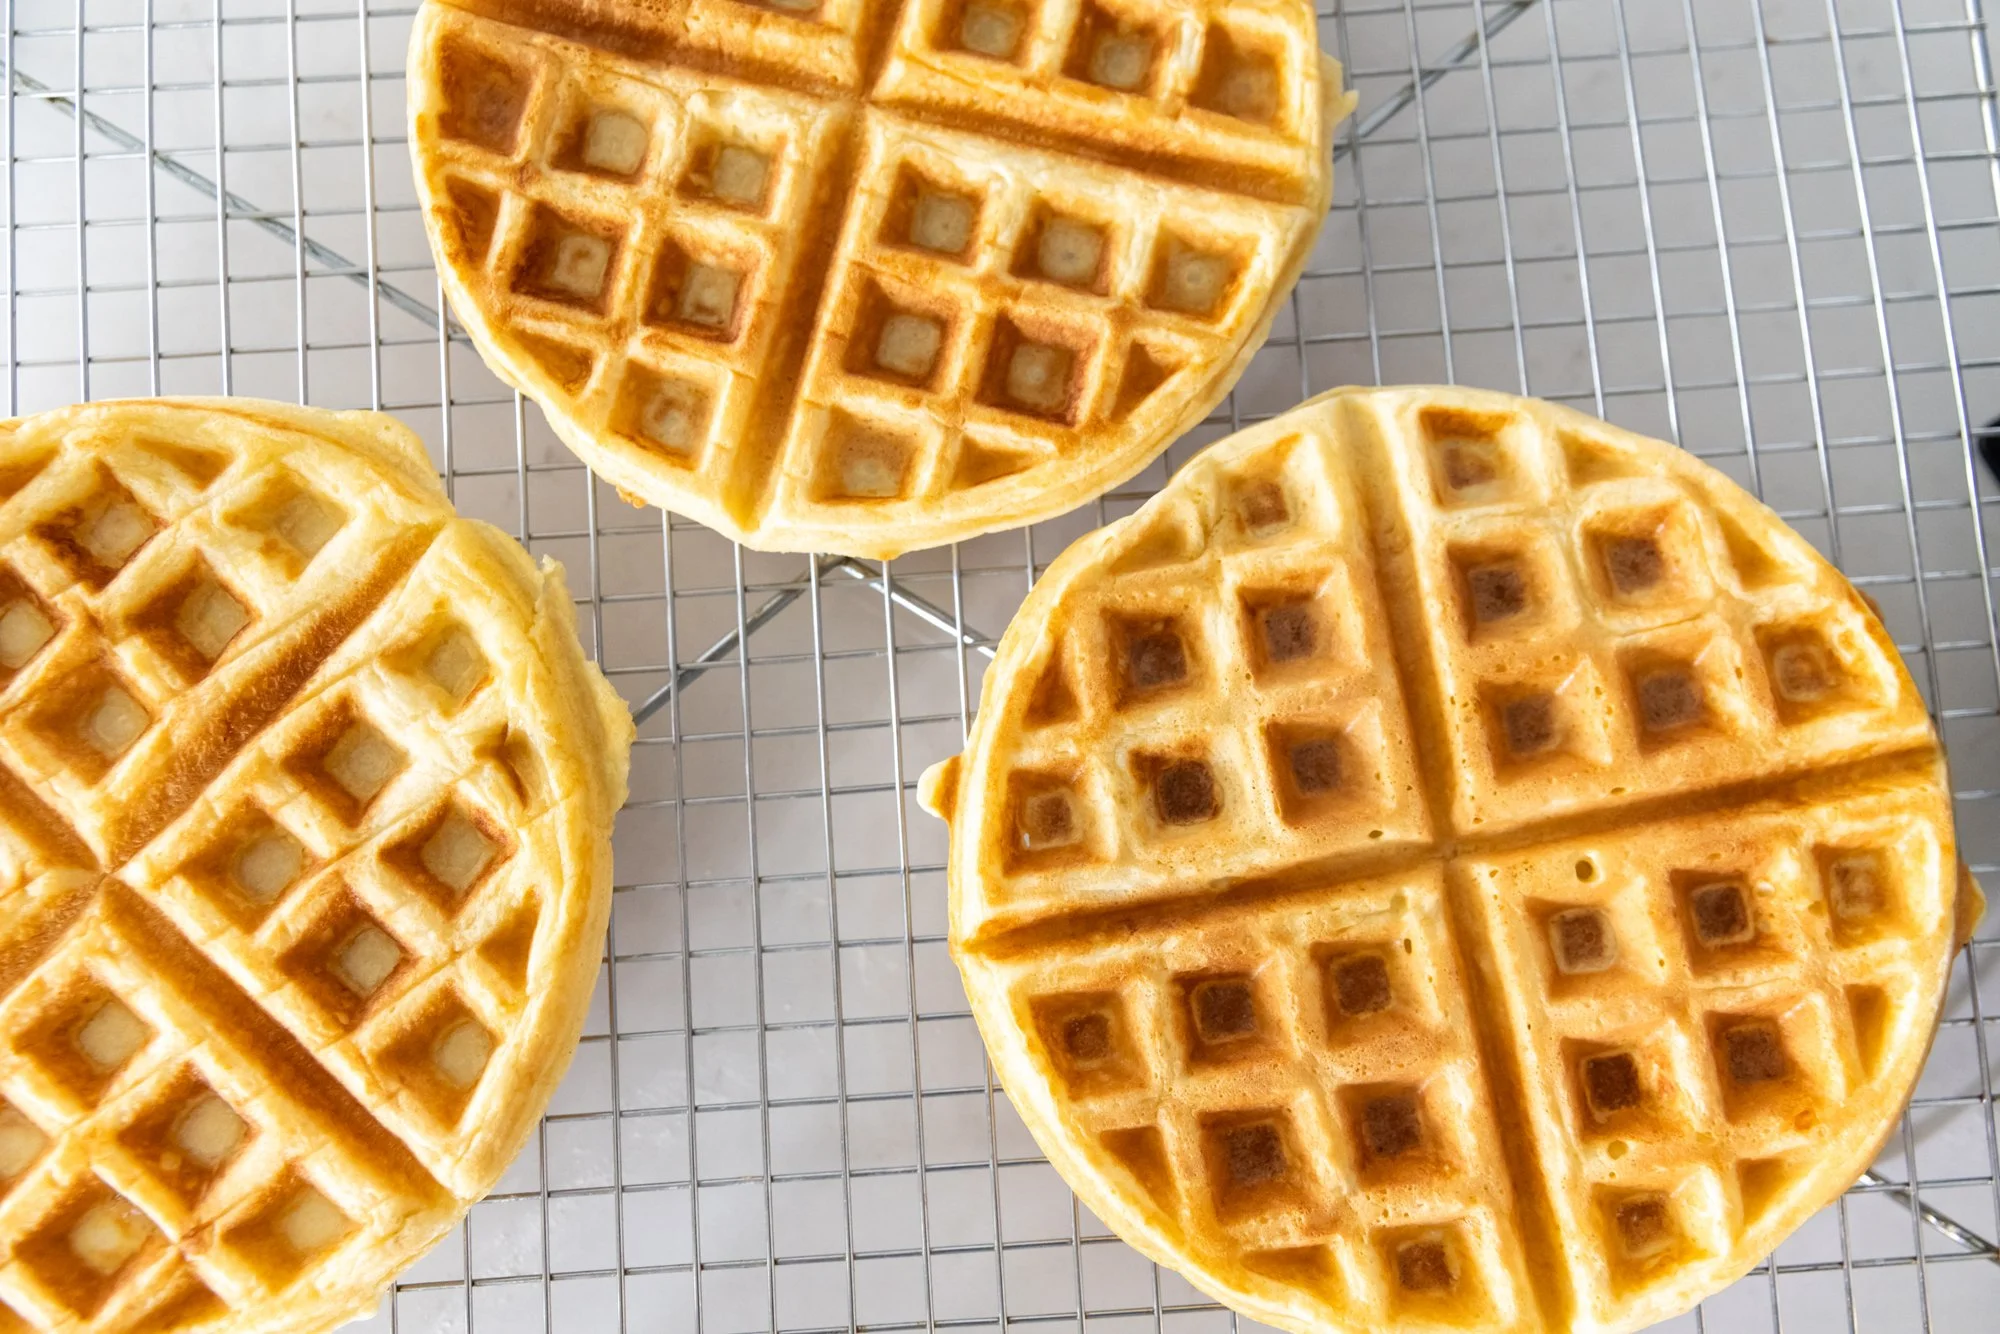
Cook for 5 minutes, or until your desired golden-brown coloring appears.
To freeze, let them cool completely on a wire rack and either break them into sections, or freeze them as a whole.
You can toast (or warm in the oven) from frozen, but thawing in the fridge the night before will also work.
ENJOY!
Tomato Soup
for BC Living “From Scratch”
March 2026
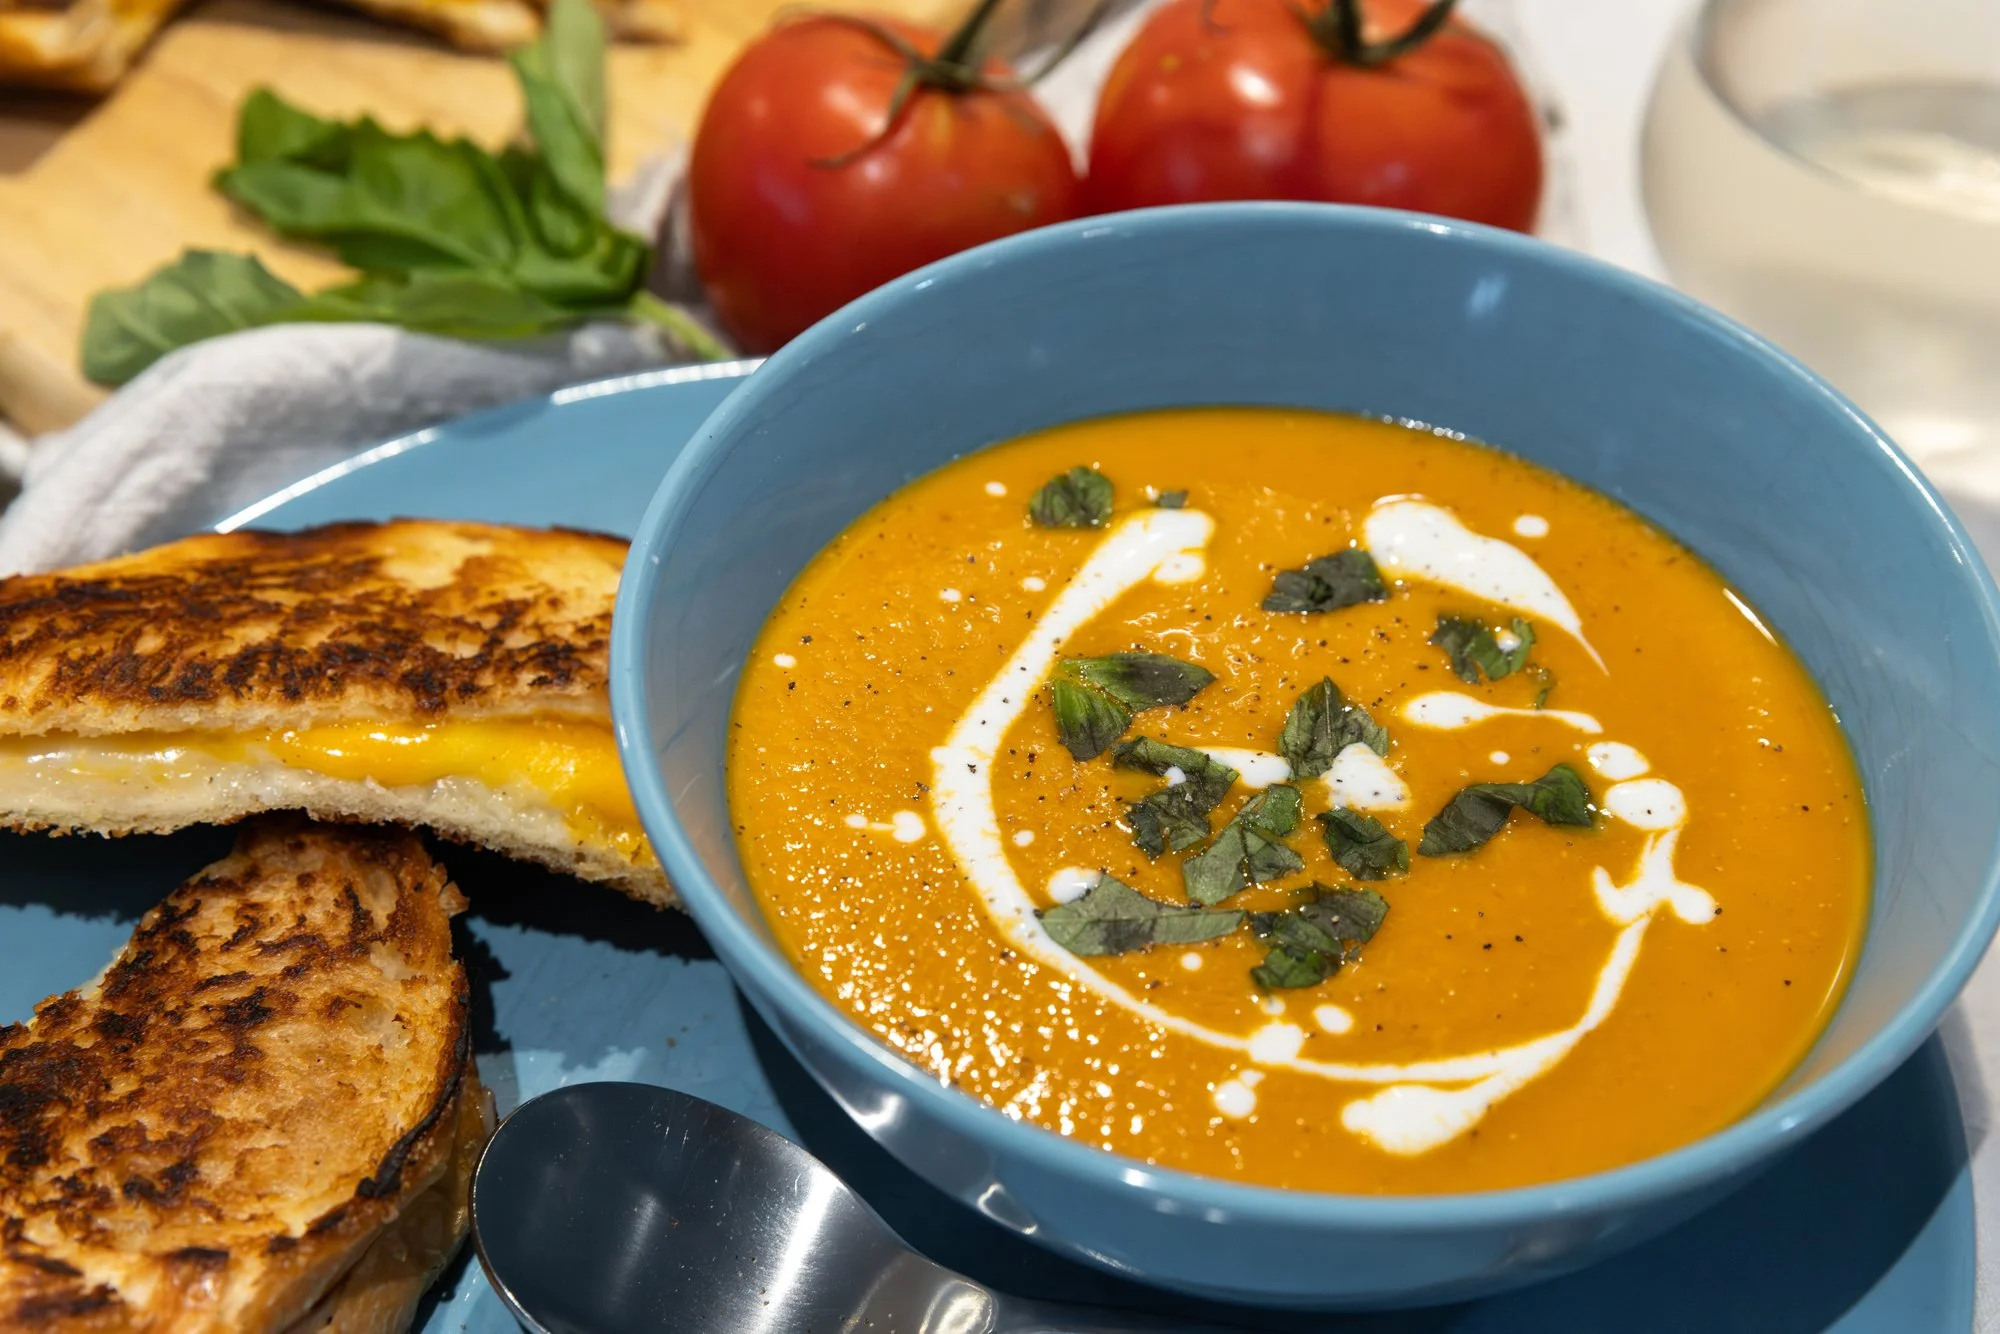
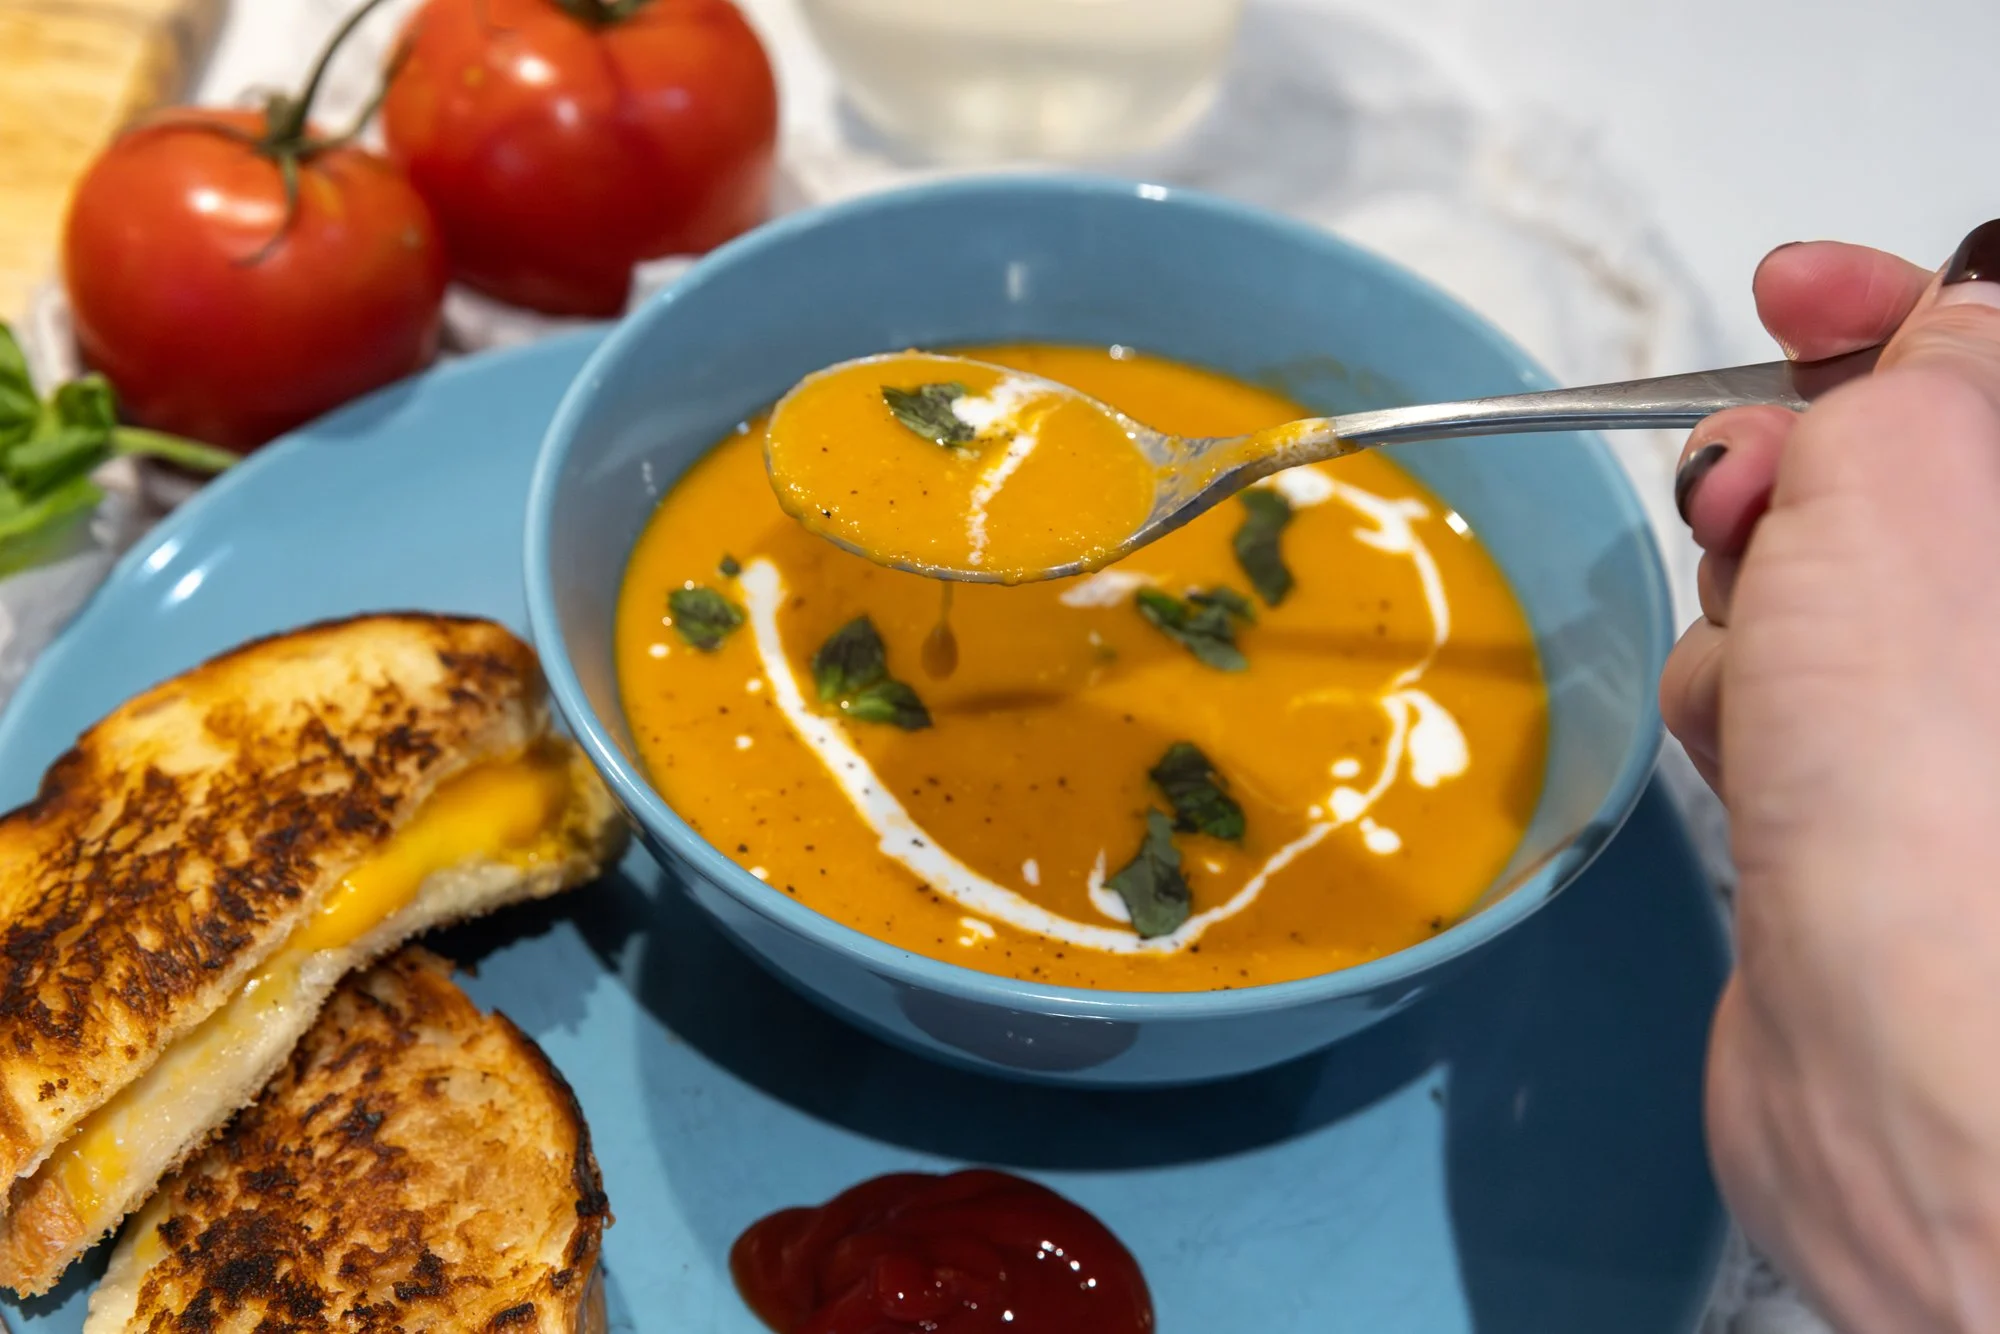
Almost nothing pairs better with a rainy day than tomato soup and grilled cheese—except maybe when that tomato soup is made from scratch.
I find most canned tomato soups far too sugary, but when you make your own, the spice world is your oyster.
You can easily customize this recipe—add heat with red pepper flakes or paprika, or deepen the flavor by tossing in a few Parmesan rinds from the freezer, like I did.
Then get yourself some good, fresh bread and some fancy cheese for your grilled cheese, and you’ve got a perfect lunch - or heck, dinner - that everyone will love.
Serves Approx 6
INGREDIENTS:
4 tbsp extra-virgin olive oil, divided
1 tsp fresh rosemary, finely minced
1 tsp fresh thyme
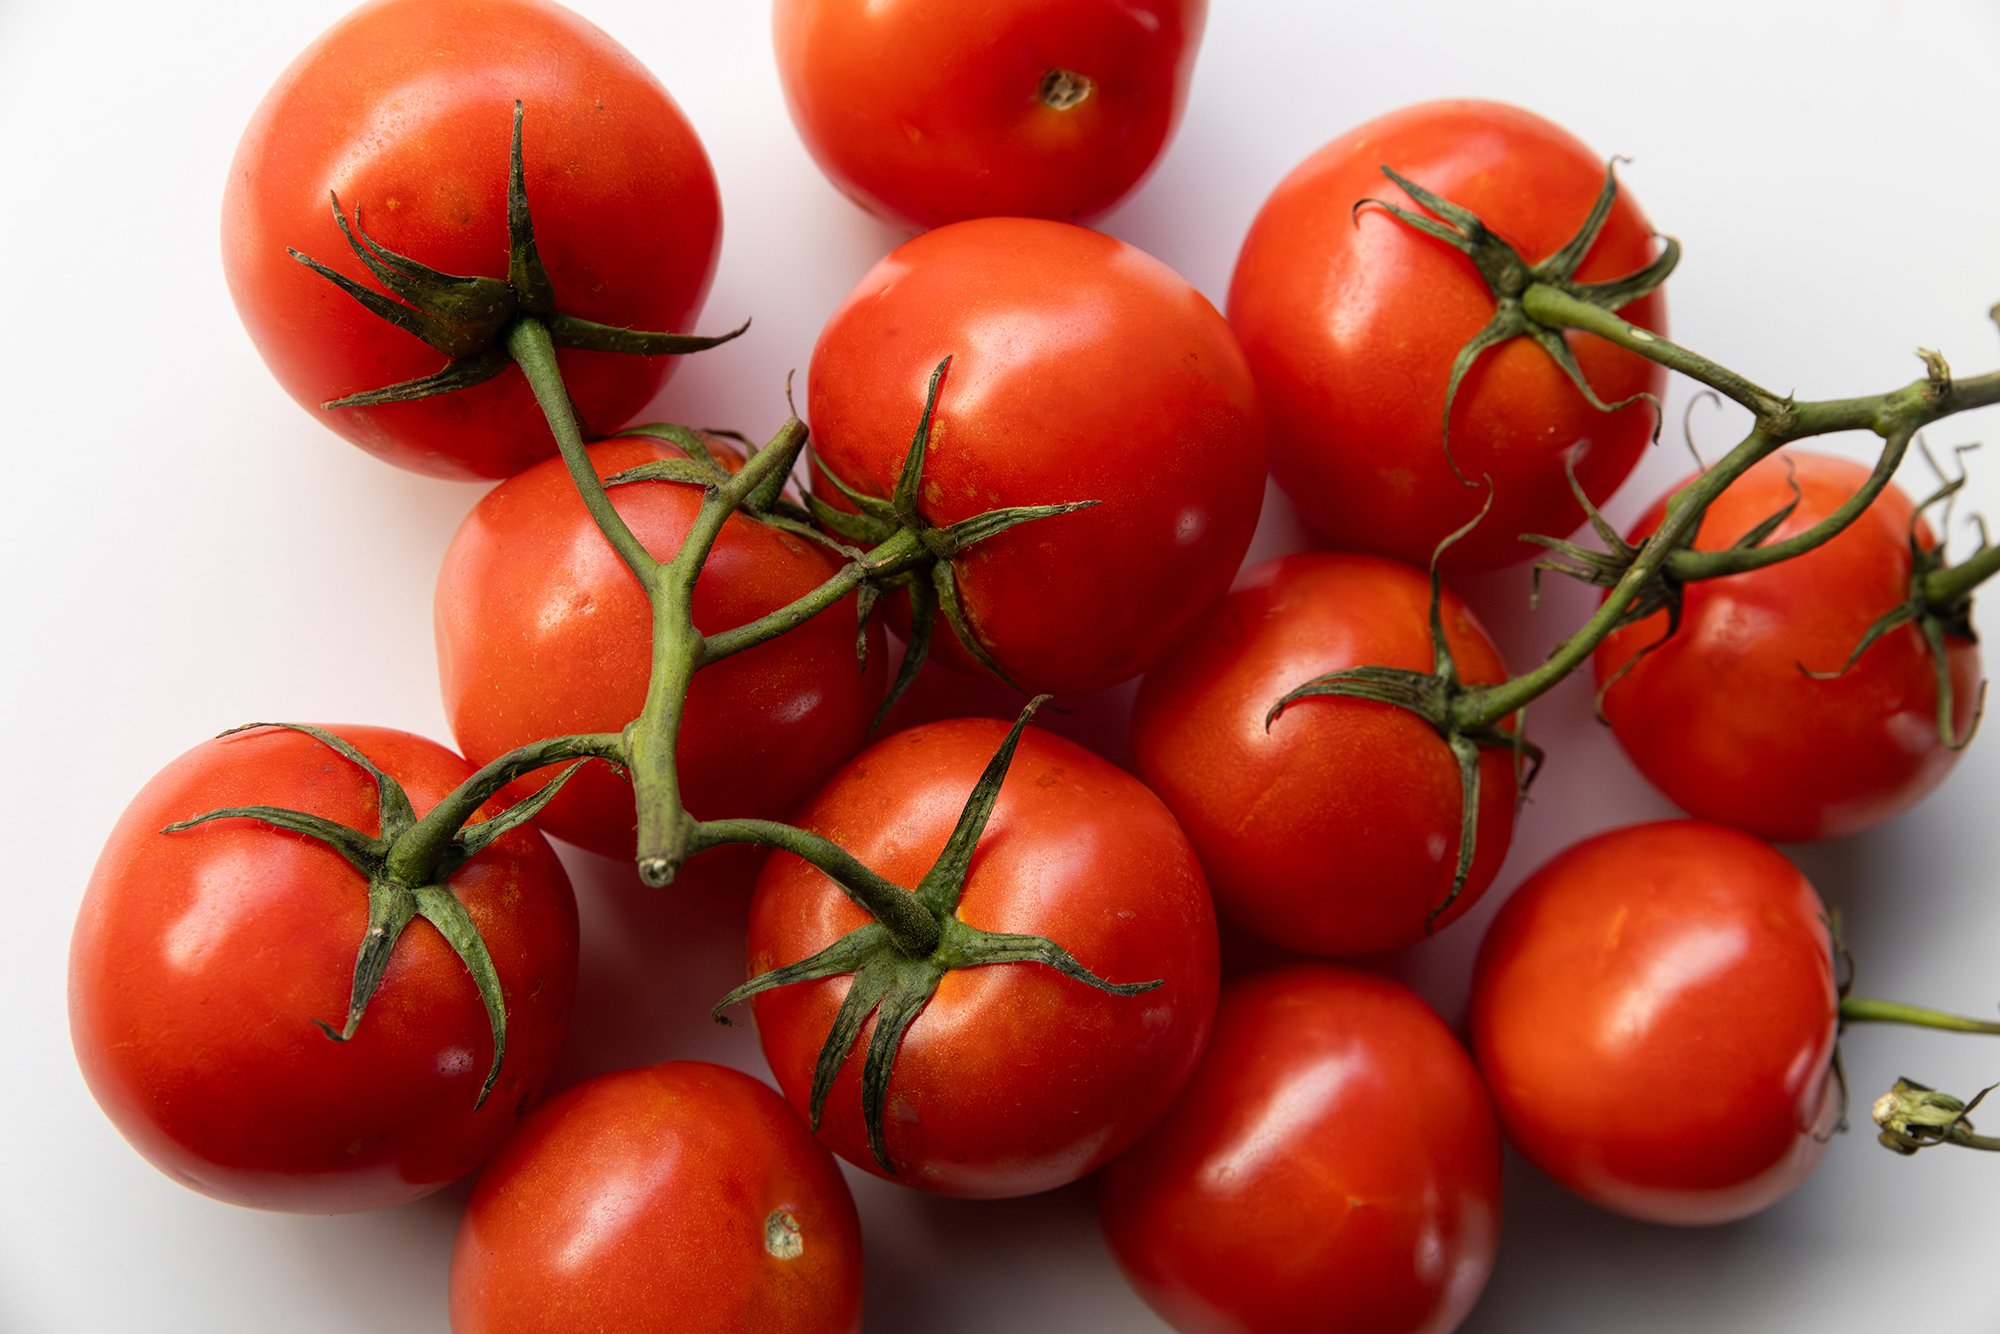
10 medium tomatoes (on-the-vine preferred; Roma work well)
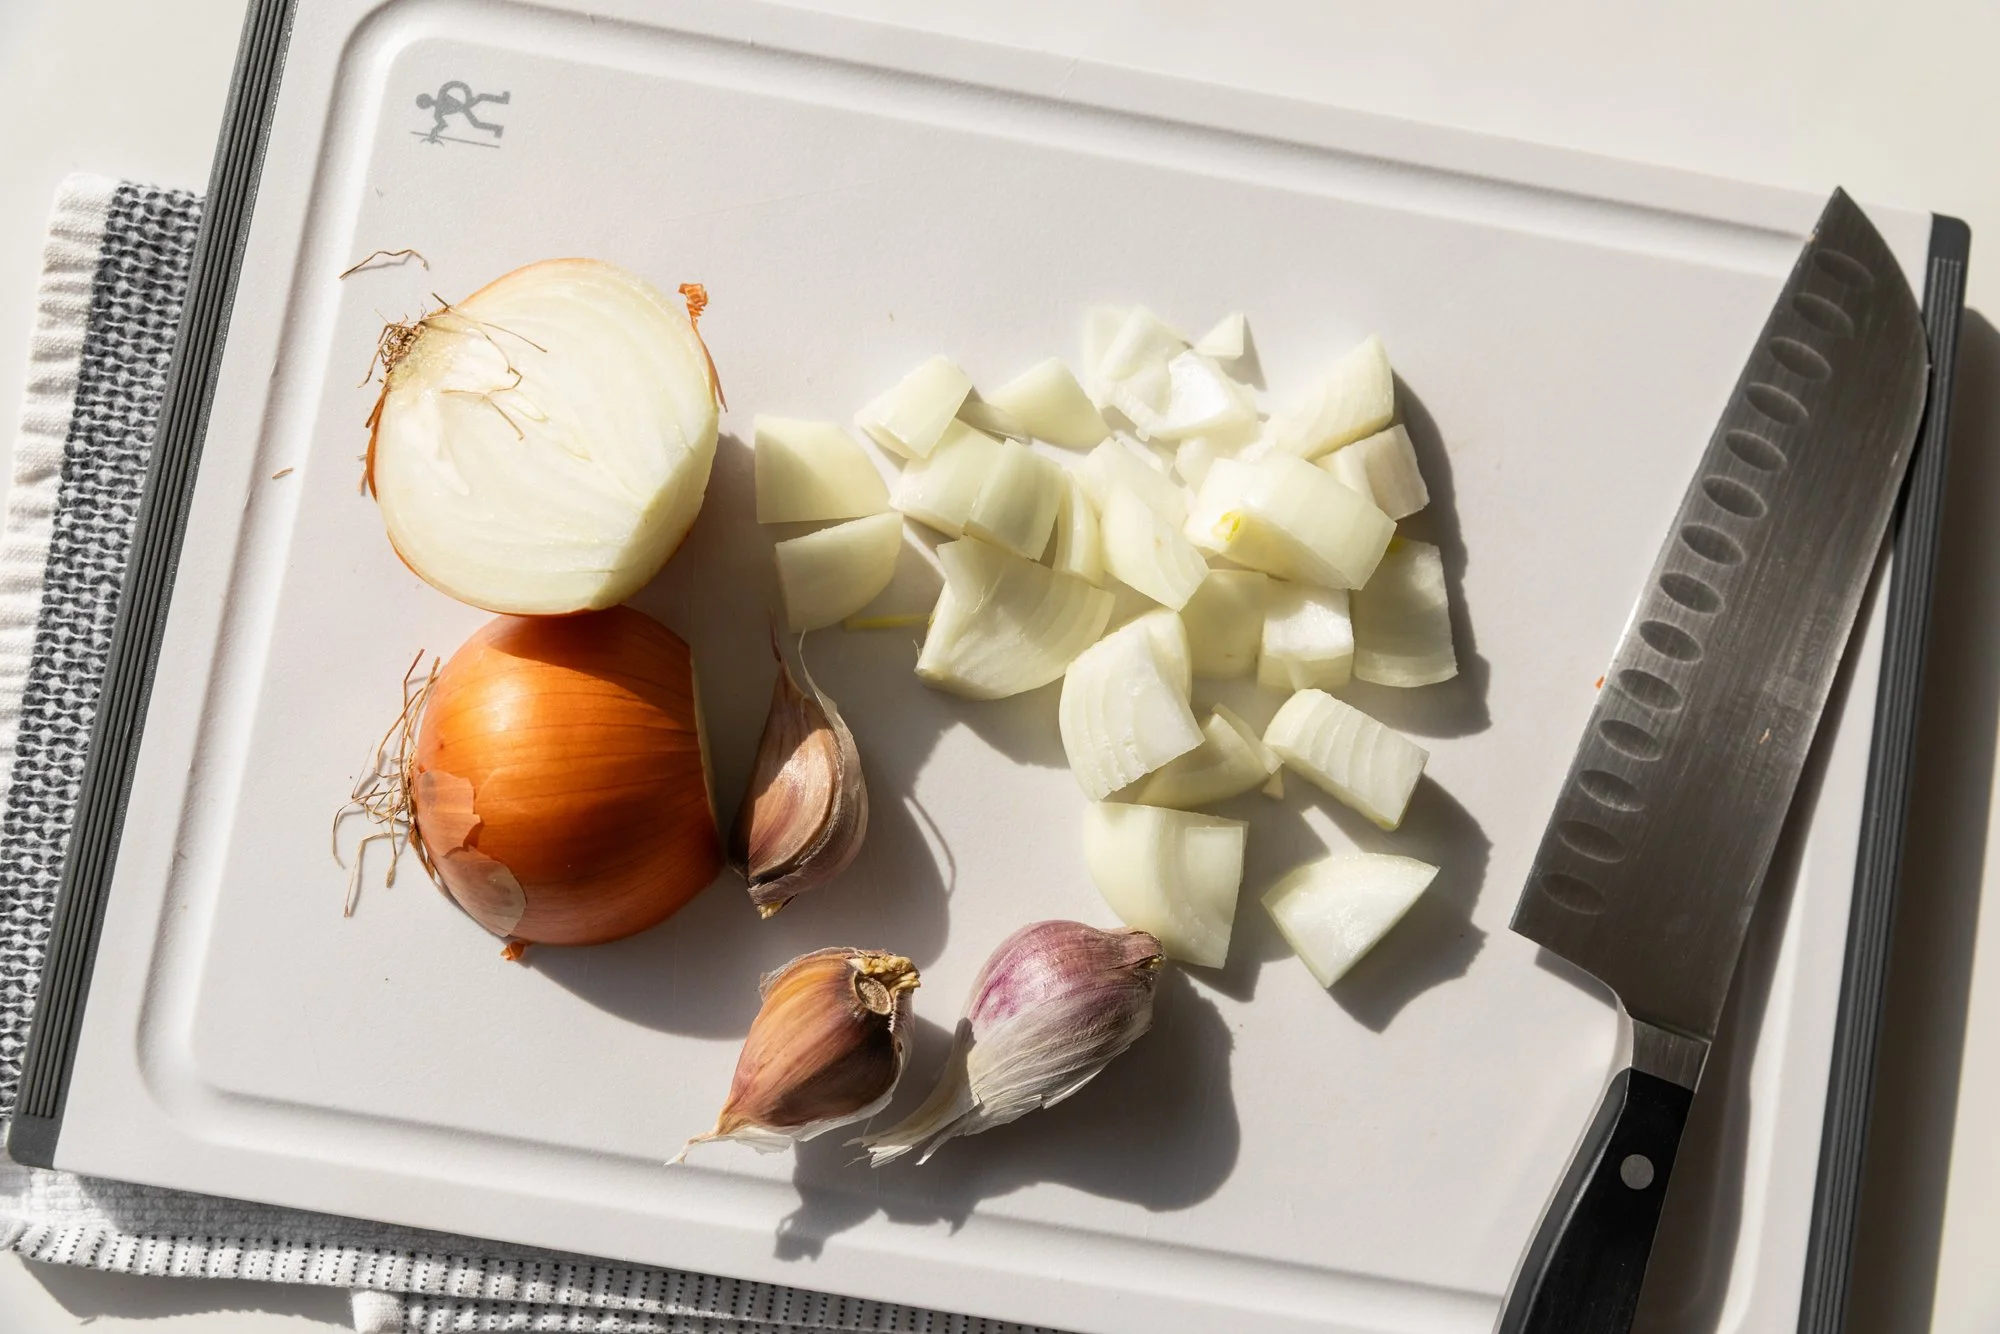
1 large onion (about 1½–2 cups), roughly chopped
4 cloves garlic, smashed
½ tsp salt (plus more to taste)
2–3 bay leaves
Parmesan rinds (optional)
2½ cups vegetable broth
½ cup freshly grated Parmesan cheese
1 tbsp plain Greek yogurt or sour cream (for serving)
Fresh basil (optional, for serving)
INSTRUCTIONS:
Preheat the oven to 400°F and line a baking sheet with foil (a double layer may be helpful).
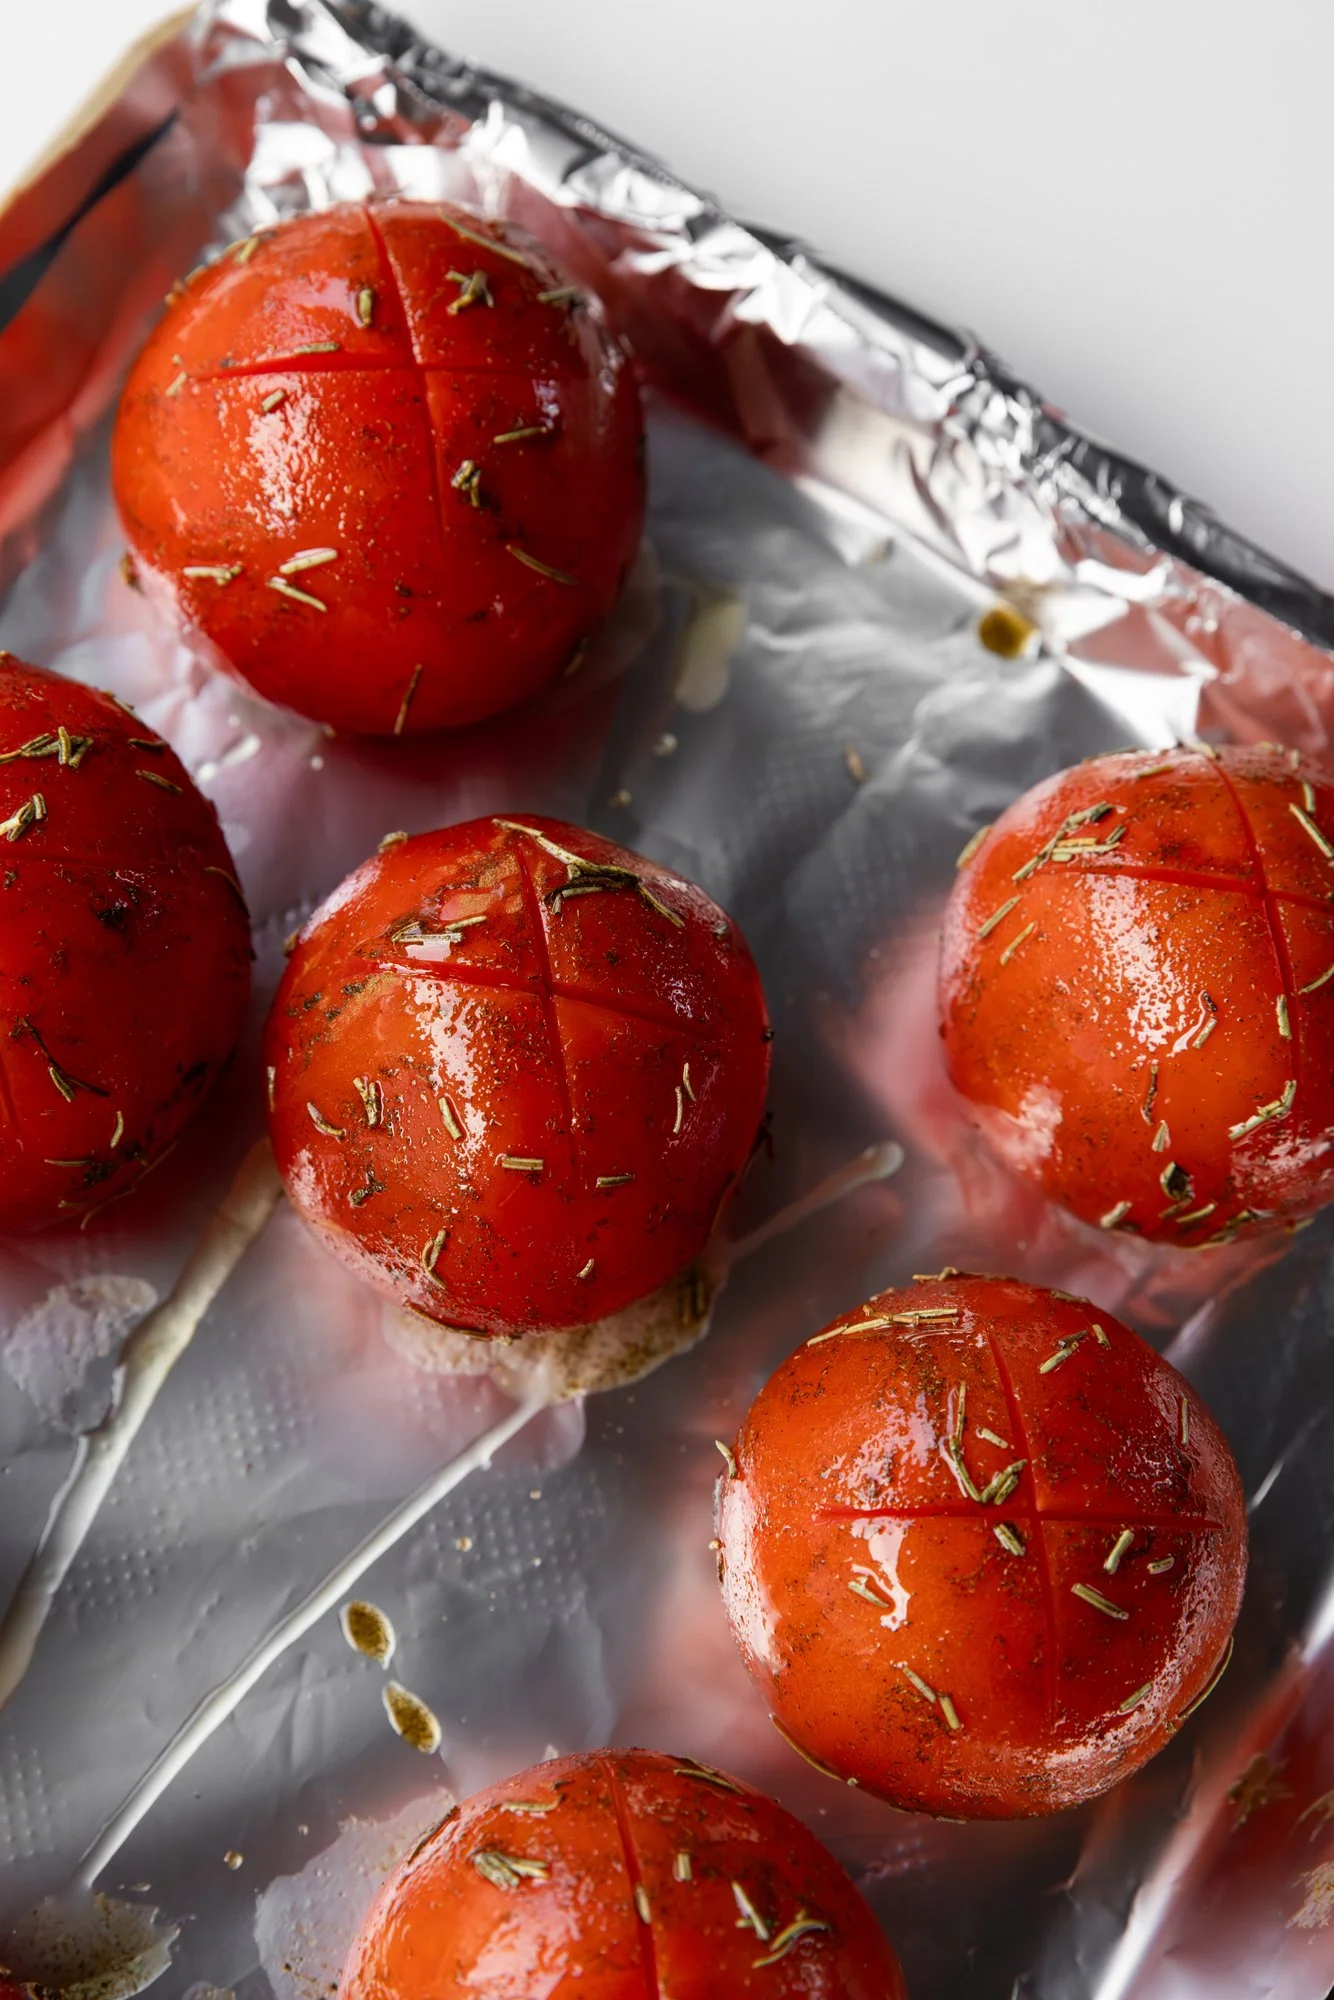
In a large bowl, toss the tomatoes with 2 tablespoons of olive oil, thyme, and rosemary until well coated.
Arrange the tomatoes on the baking sheet, stem-side down. Using a knife, cut a small “X” in the bottom of each tomato. Add on any of the rosemary and thyme left in the bottom of the bowl.
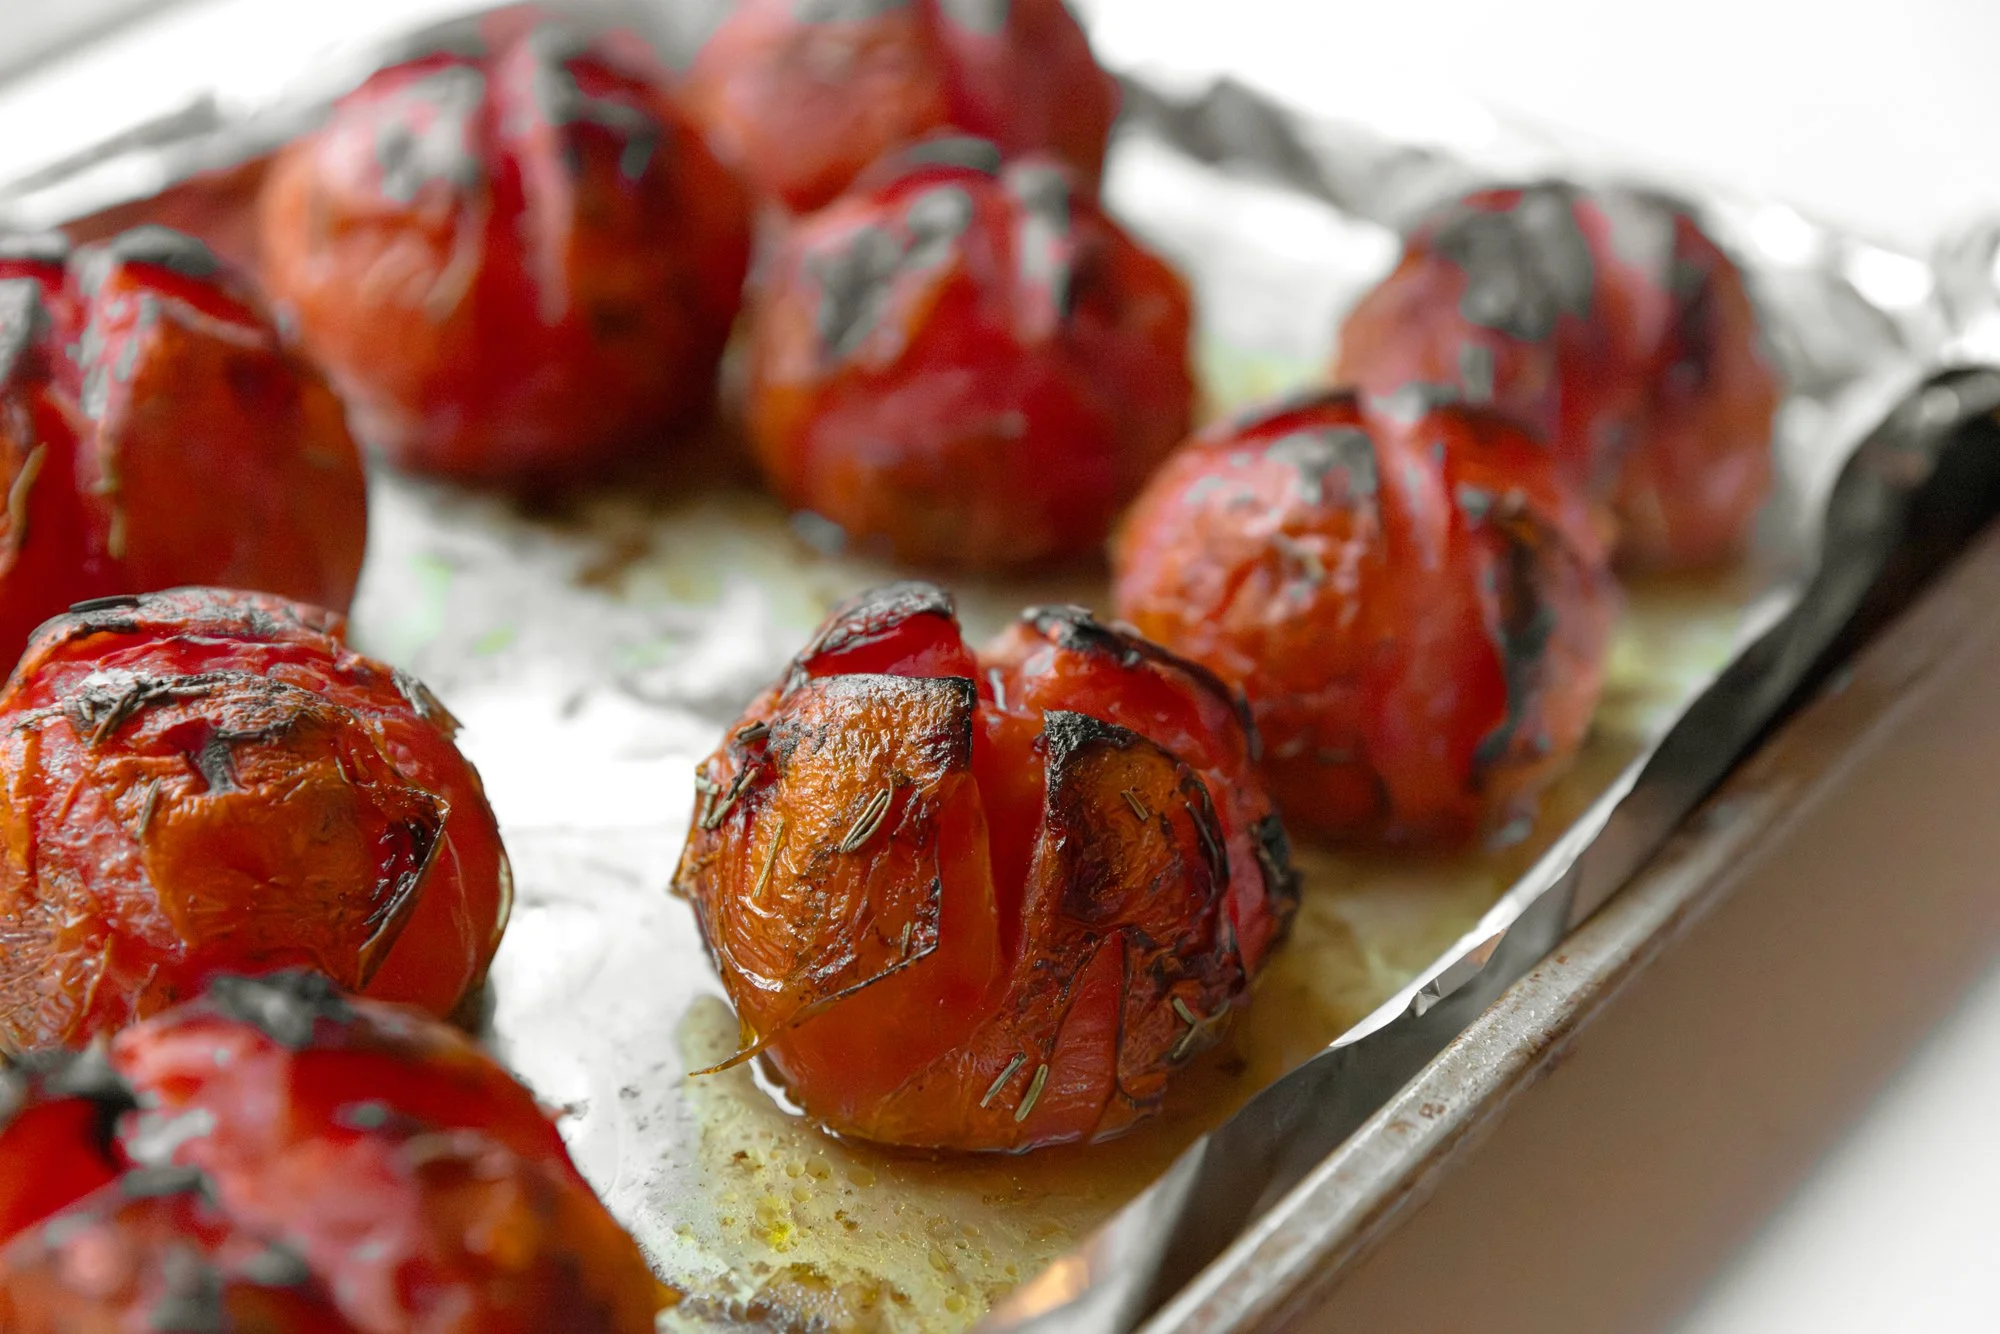
Place in the oven and cook for 30 minutes and then turn the broil on and broil the tomatoes for another 10-15 minutes, checking them every so often. A little blackening on the top is what you’re aiming for; do not let them burn.
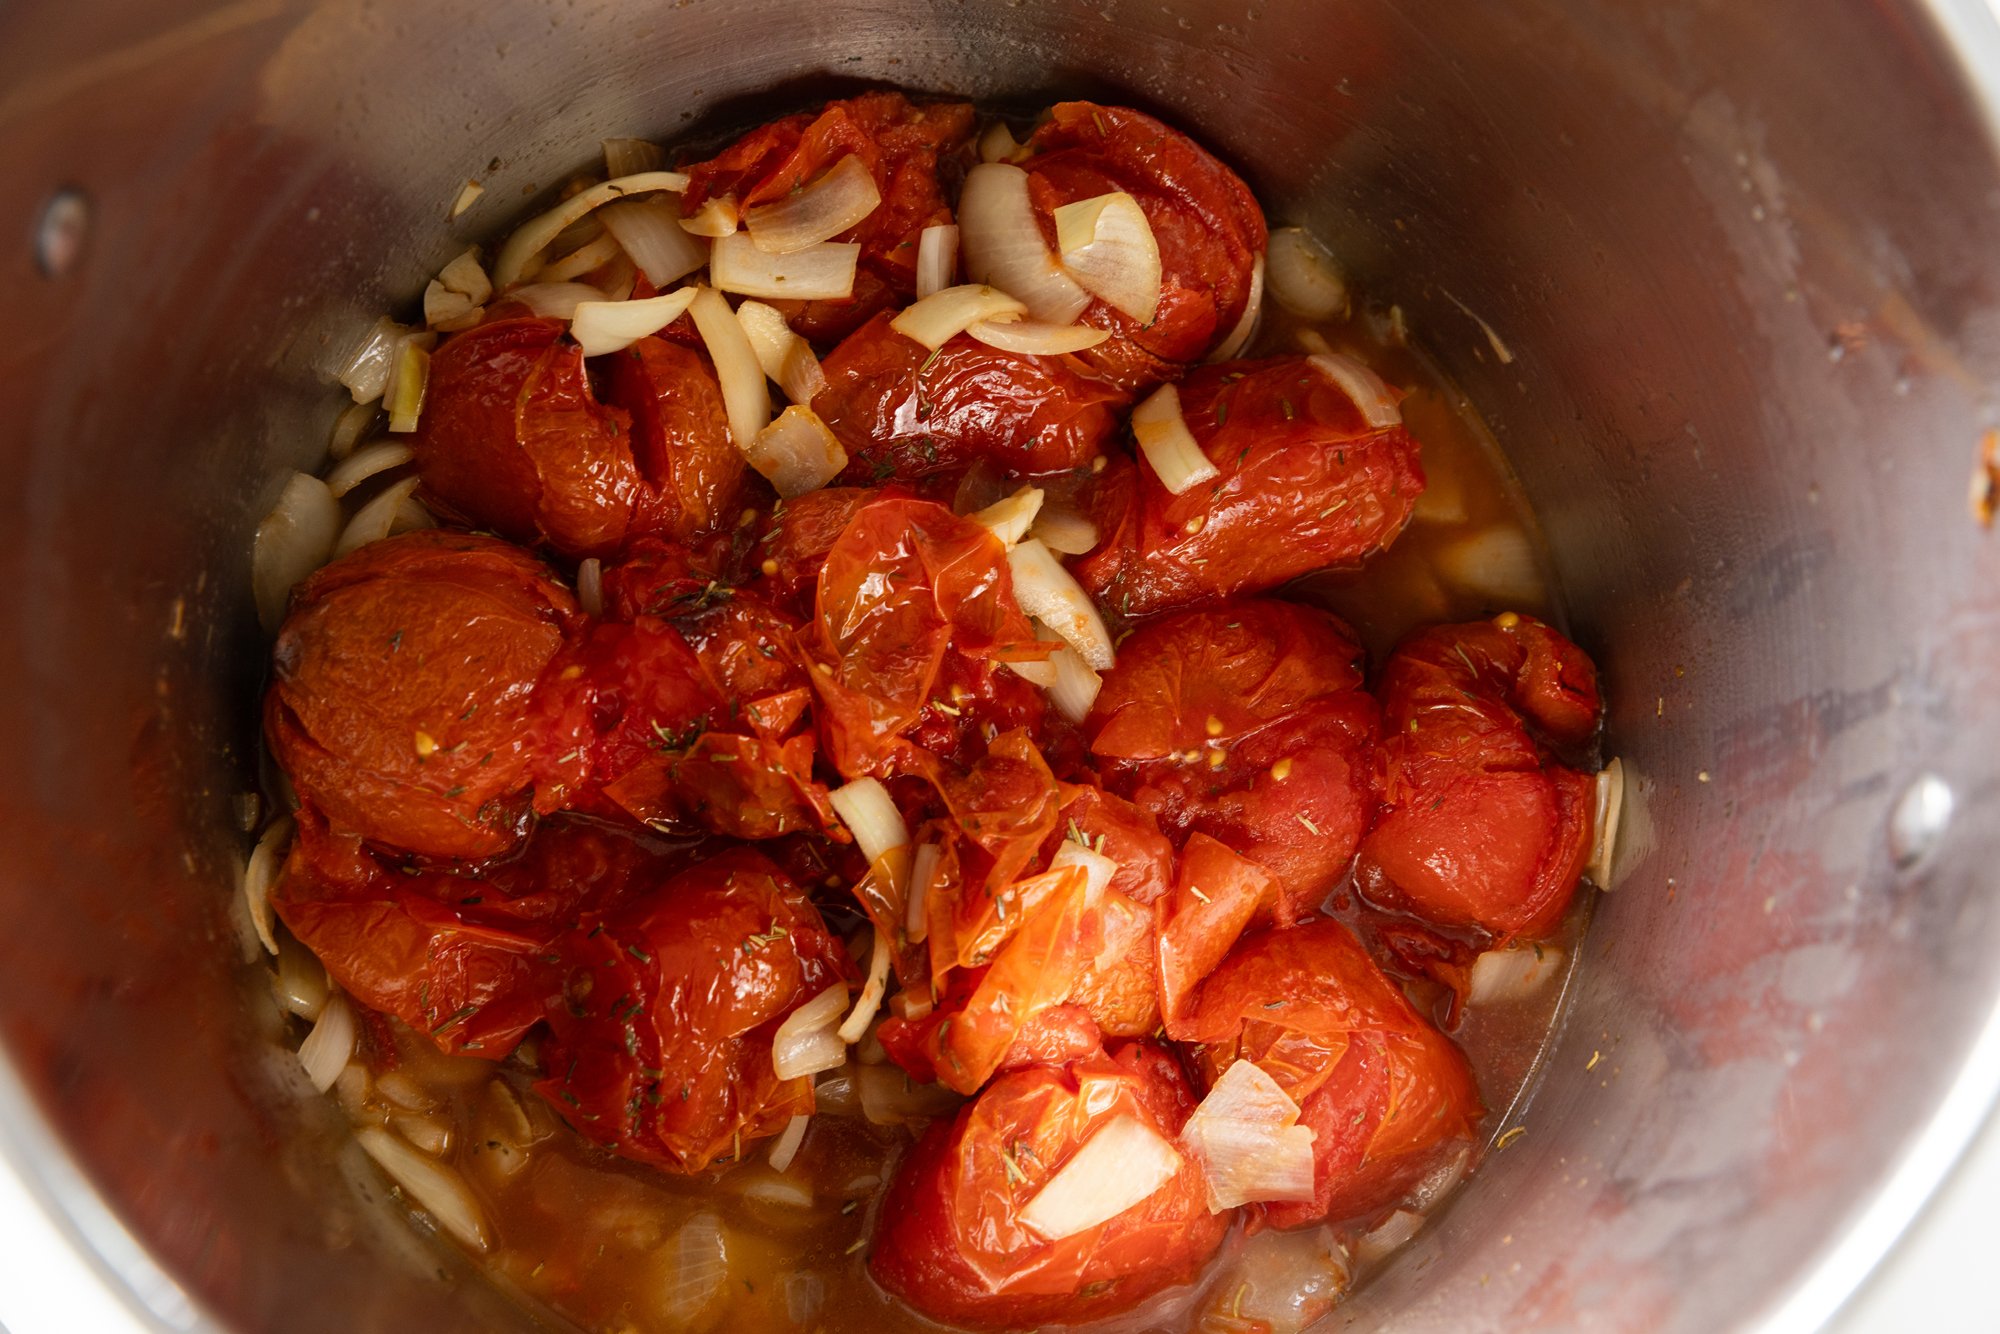
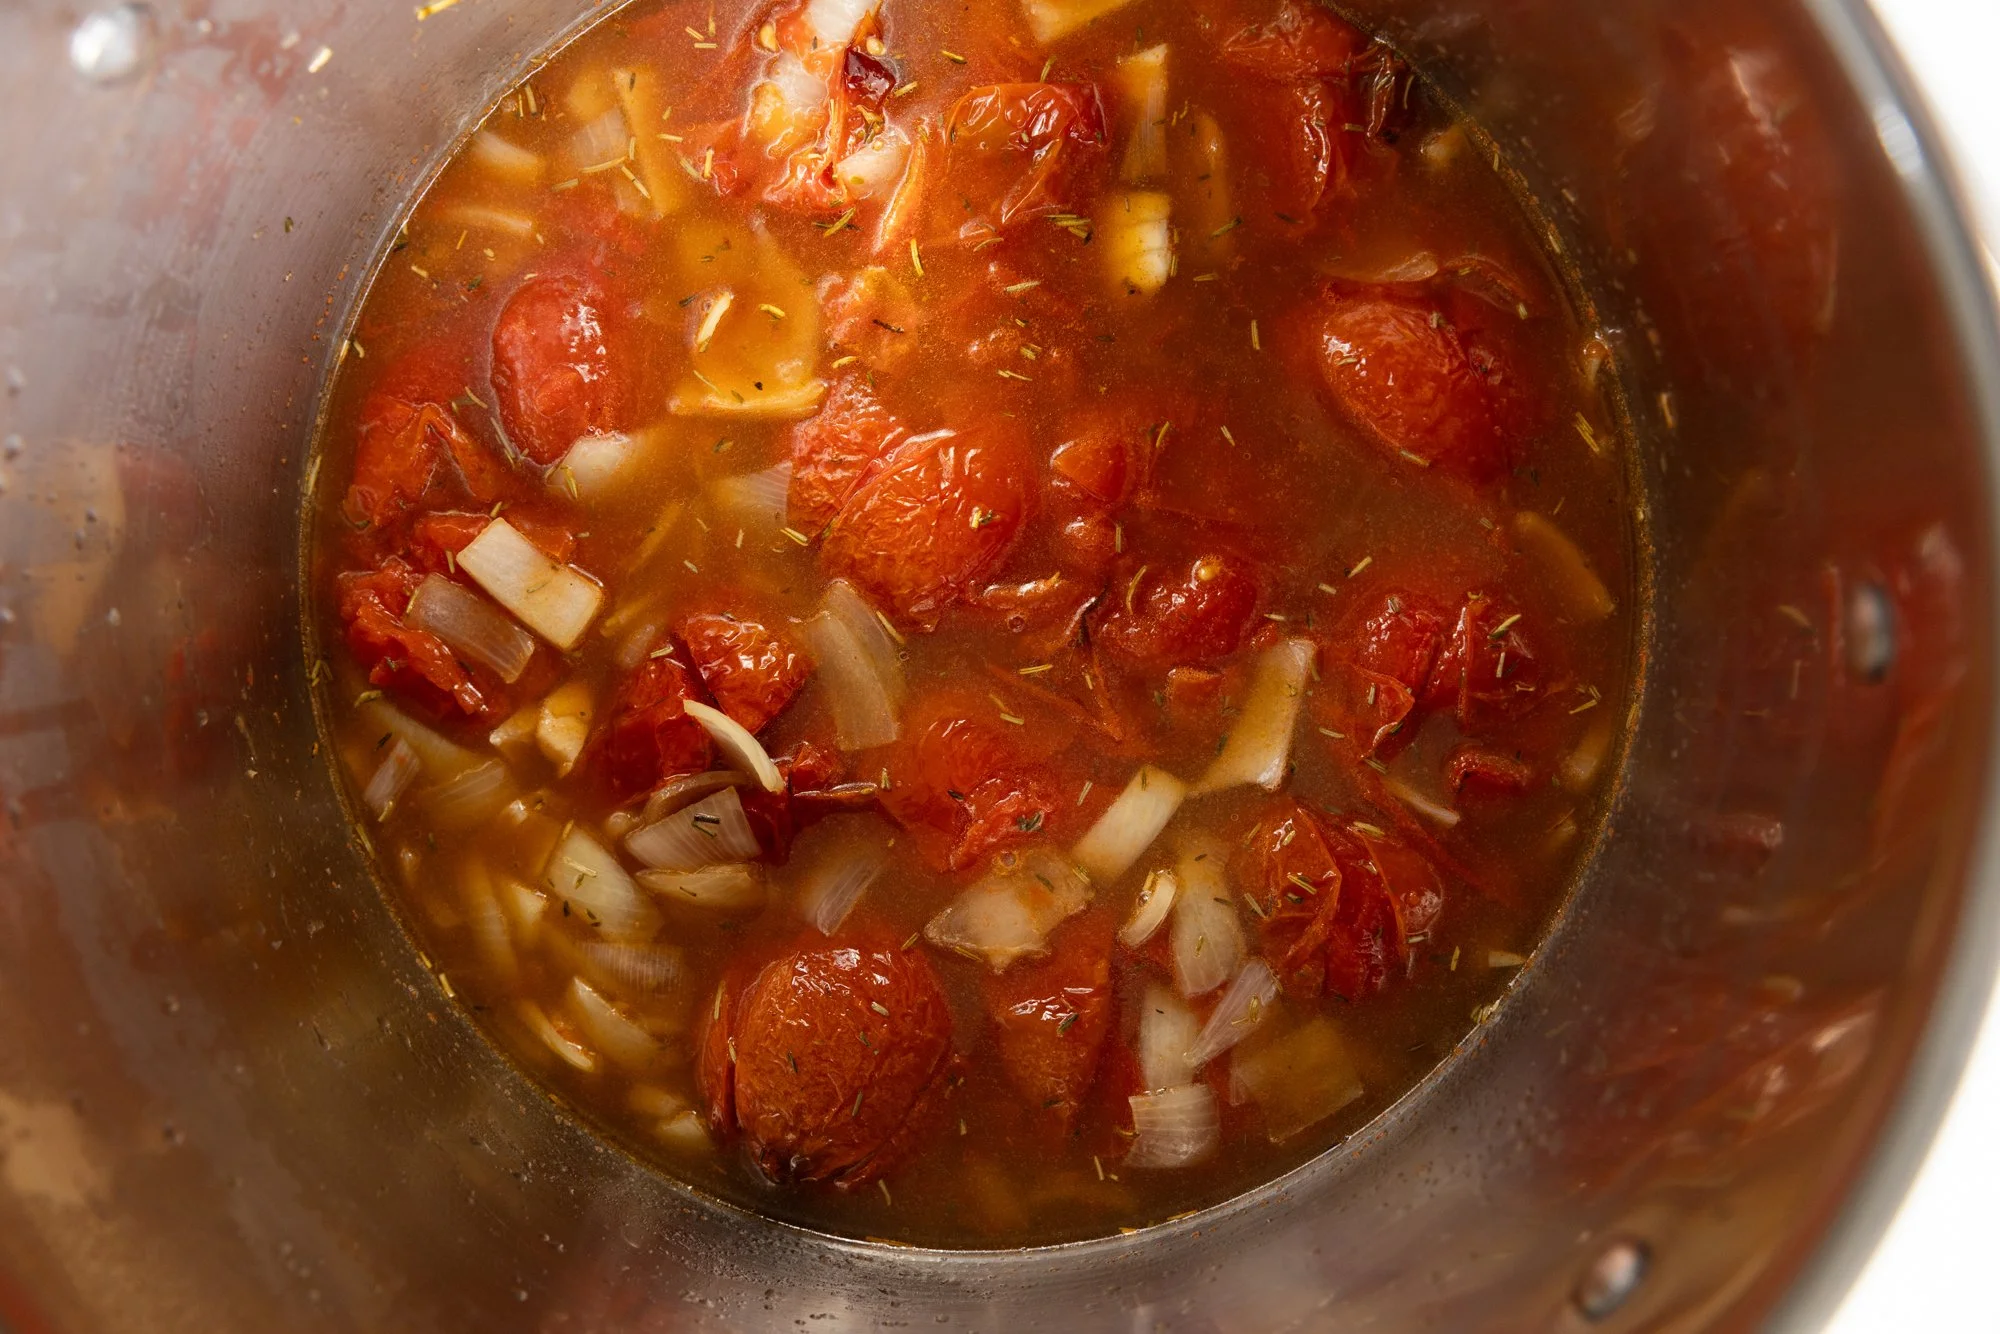
While the tomatoes finish cooking, heat the remaining olive oil in a heavy-bottomed pot over medium heat. Add the onion and garlic, sprinkle with salt and sauté for 5 minutes. Once the tomatoes are done, add them into the pot, along with the vegetable broth, bay leaves, and optional parmesan rinds if you have some in the freezer!
Gently break up the tomatoes with the back of a spoon. Bring to a simmer and cook on low for about 15 minutes, then remove the bay leaves and parmesan rinds.
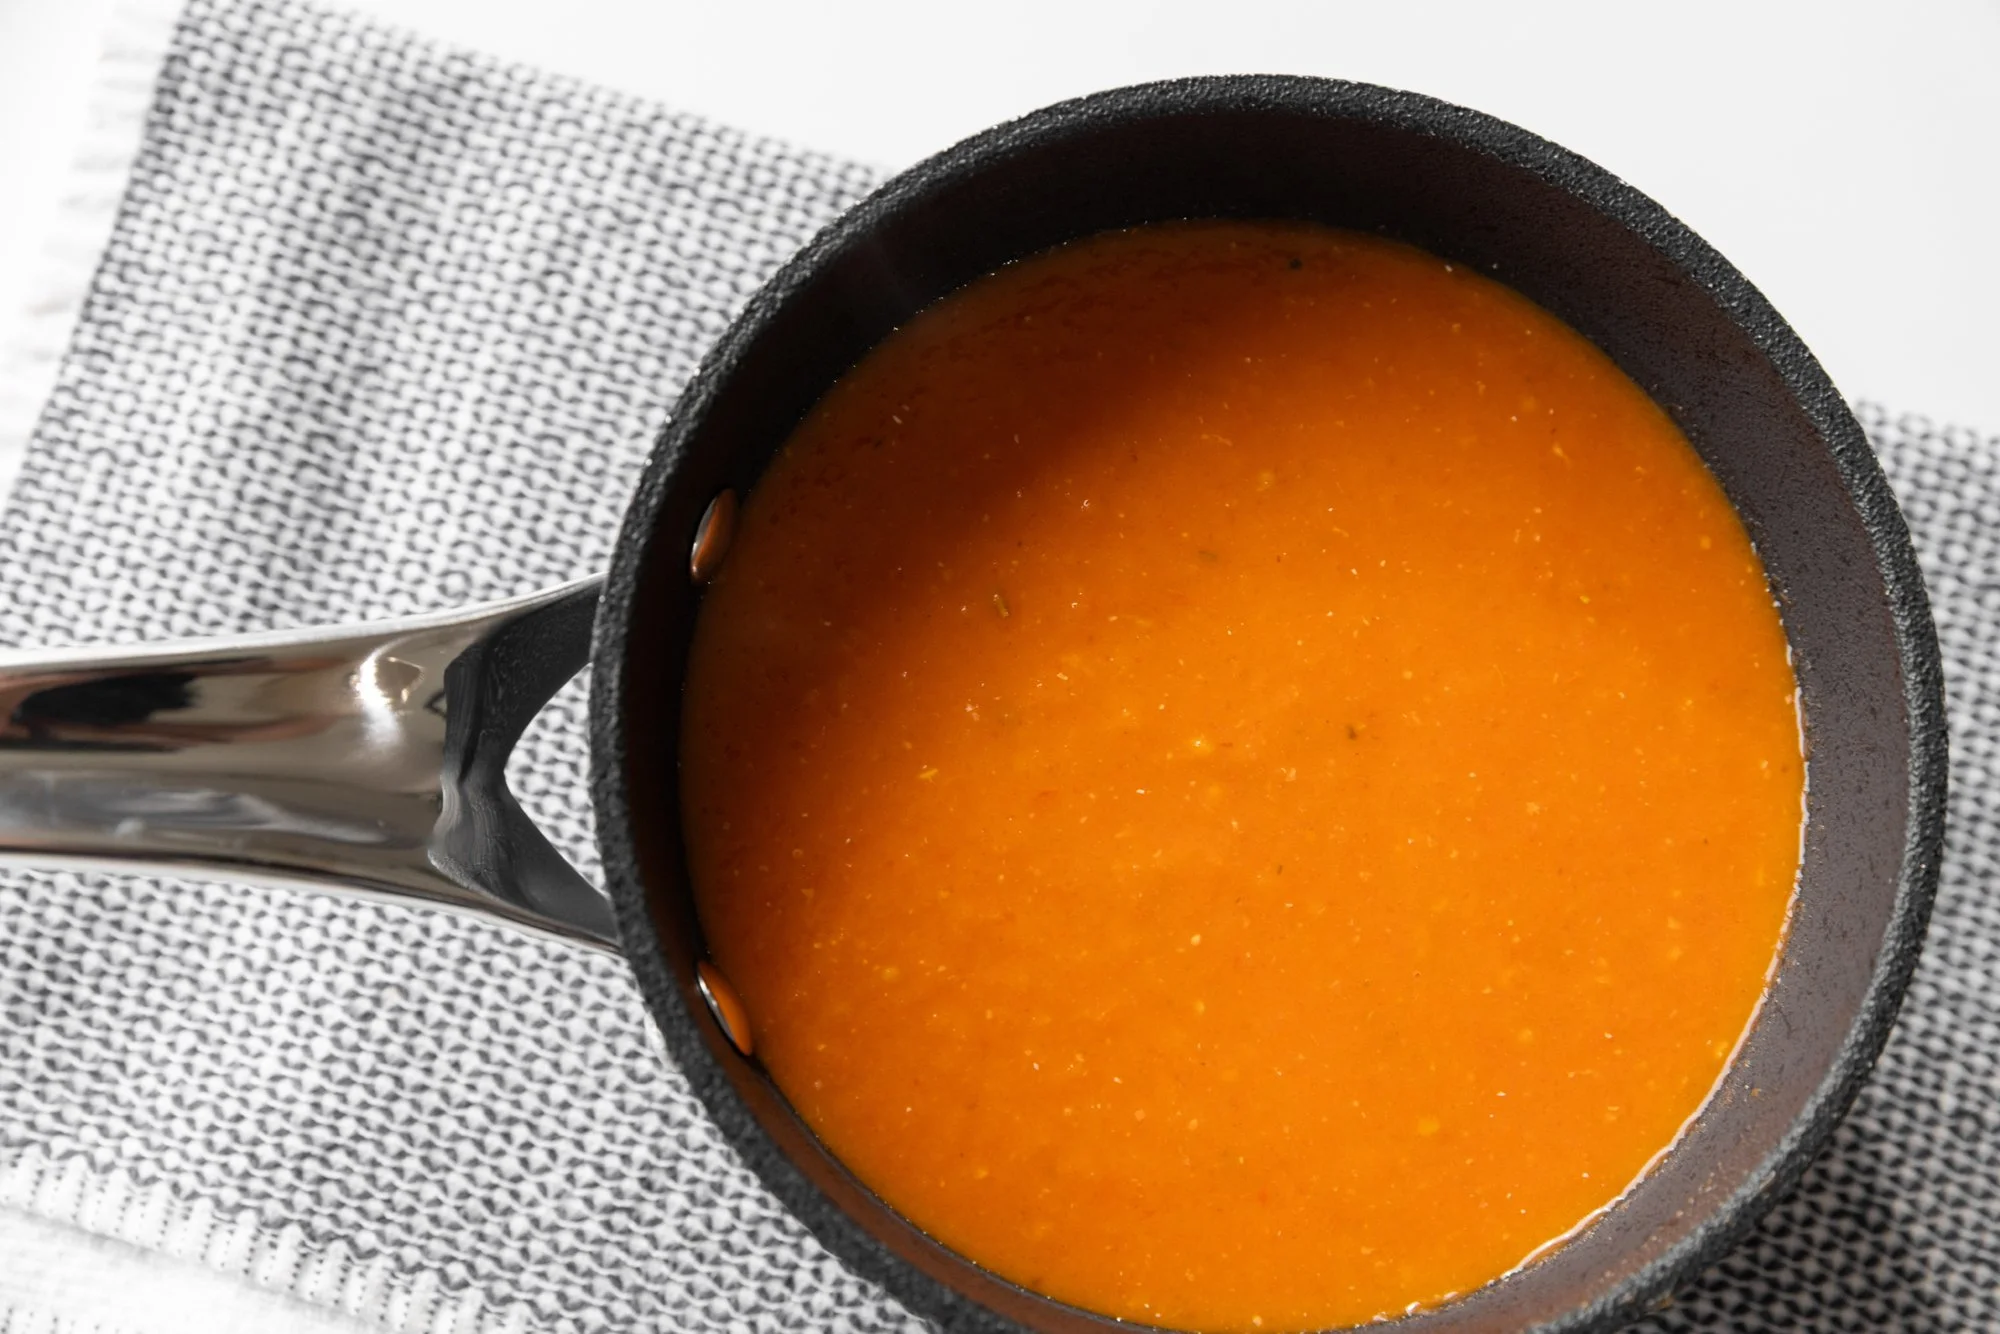
Carefully blend the soup until smooth using a high-speed blender (in batches if needed), or use an immersion blender directly in the pot.
For an extra smooth texture, strain the soup back into the pot, discarding any remaining solids.
Stir in the grated Parmesan cheese until melted. Taste and adjust seasoning as needed.
Ladle into bowls and top with a swirl of thinned Greek yogurt or sour cream, fresh basil (if you have it), and cracked black pepper and serve with that that extra-gooey grilled cheese!
This soup freezes well, so future-you will thank you on the next cold afternoon.
ENJOY!
Vancouver International Wine Festival 2026
Wine Pours & Cheers
March 07, 2026
Cauliflower Wings
for BC Living “From Scratch”
February 2026
If you need a good weekend mid-day snack to go along with whatever sports you’re watching on the TV, this is a super easy, and tasty recipe.
You can adjust the seasoning of the breading to make it spicier, and you could also coat them in hot sauce of your choice once they’re baked.
Great vegetarian option for a gameday spread, and you can even swap out some ingredients to make it vegan!
Serves 4-6
INGREDIENTS:
- 1 medium to large head of cauliflower, cut into bite-sized pieces
- 1 small head of garlic
- 1 cup panko breadcrumbs
- 1/2 cup parmesan
- 1 cup milk
- all-purpose flour (approx. 1 cup)
To Taste/You can adjust:
- 1/2 tsp garlic powder
- 1/2 tsp onion powder
- 1/4 tsp salt
- 1/4 tsp pepper
- 1/4 tsp paprika (optional, more if you want more heat)
- optional zest of one small lemon
For The Dip
- juice of one small lemon
- 1/4 cup buttermilk (you can make your own)
- 1/4 cup yogurt (plain) or mayo
- finely chopped parsley and/or chives (approx. 1 tbsp)
- salt and pepper
- paprika and/or hot sauce (optional)
INSTRUCTIONS:
To save time roast the head of garlic first (in a foil packet, cutting the top off and drizzling with olive oil – approx. 30mins, at 450) - which allows it time to cool so you don't burn your fingers as well!
Preheat oven to 450.
Place an OVEN-PROOF (important), non-stick, cooling/wire rack on a baking sheet.
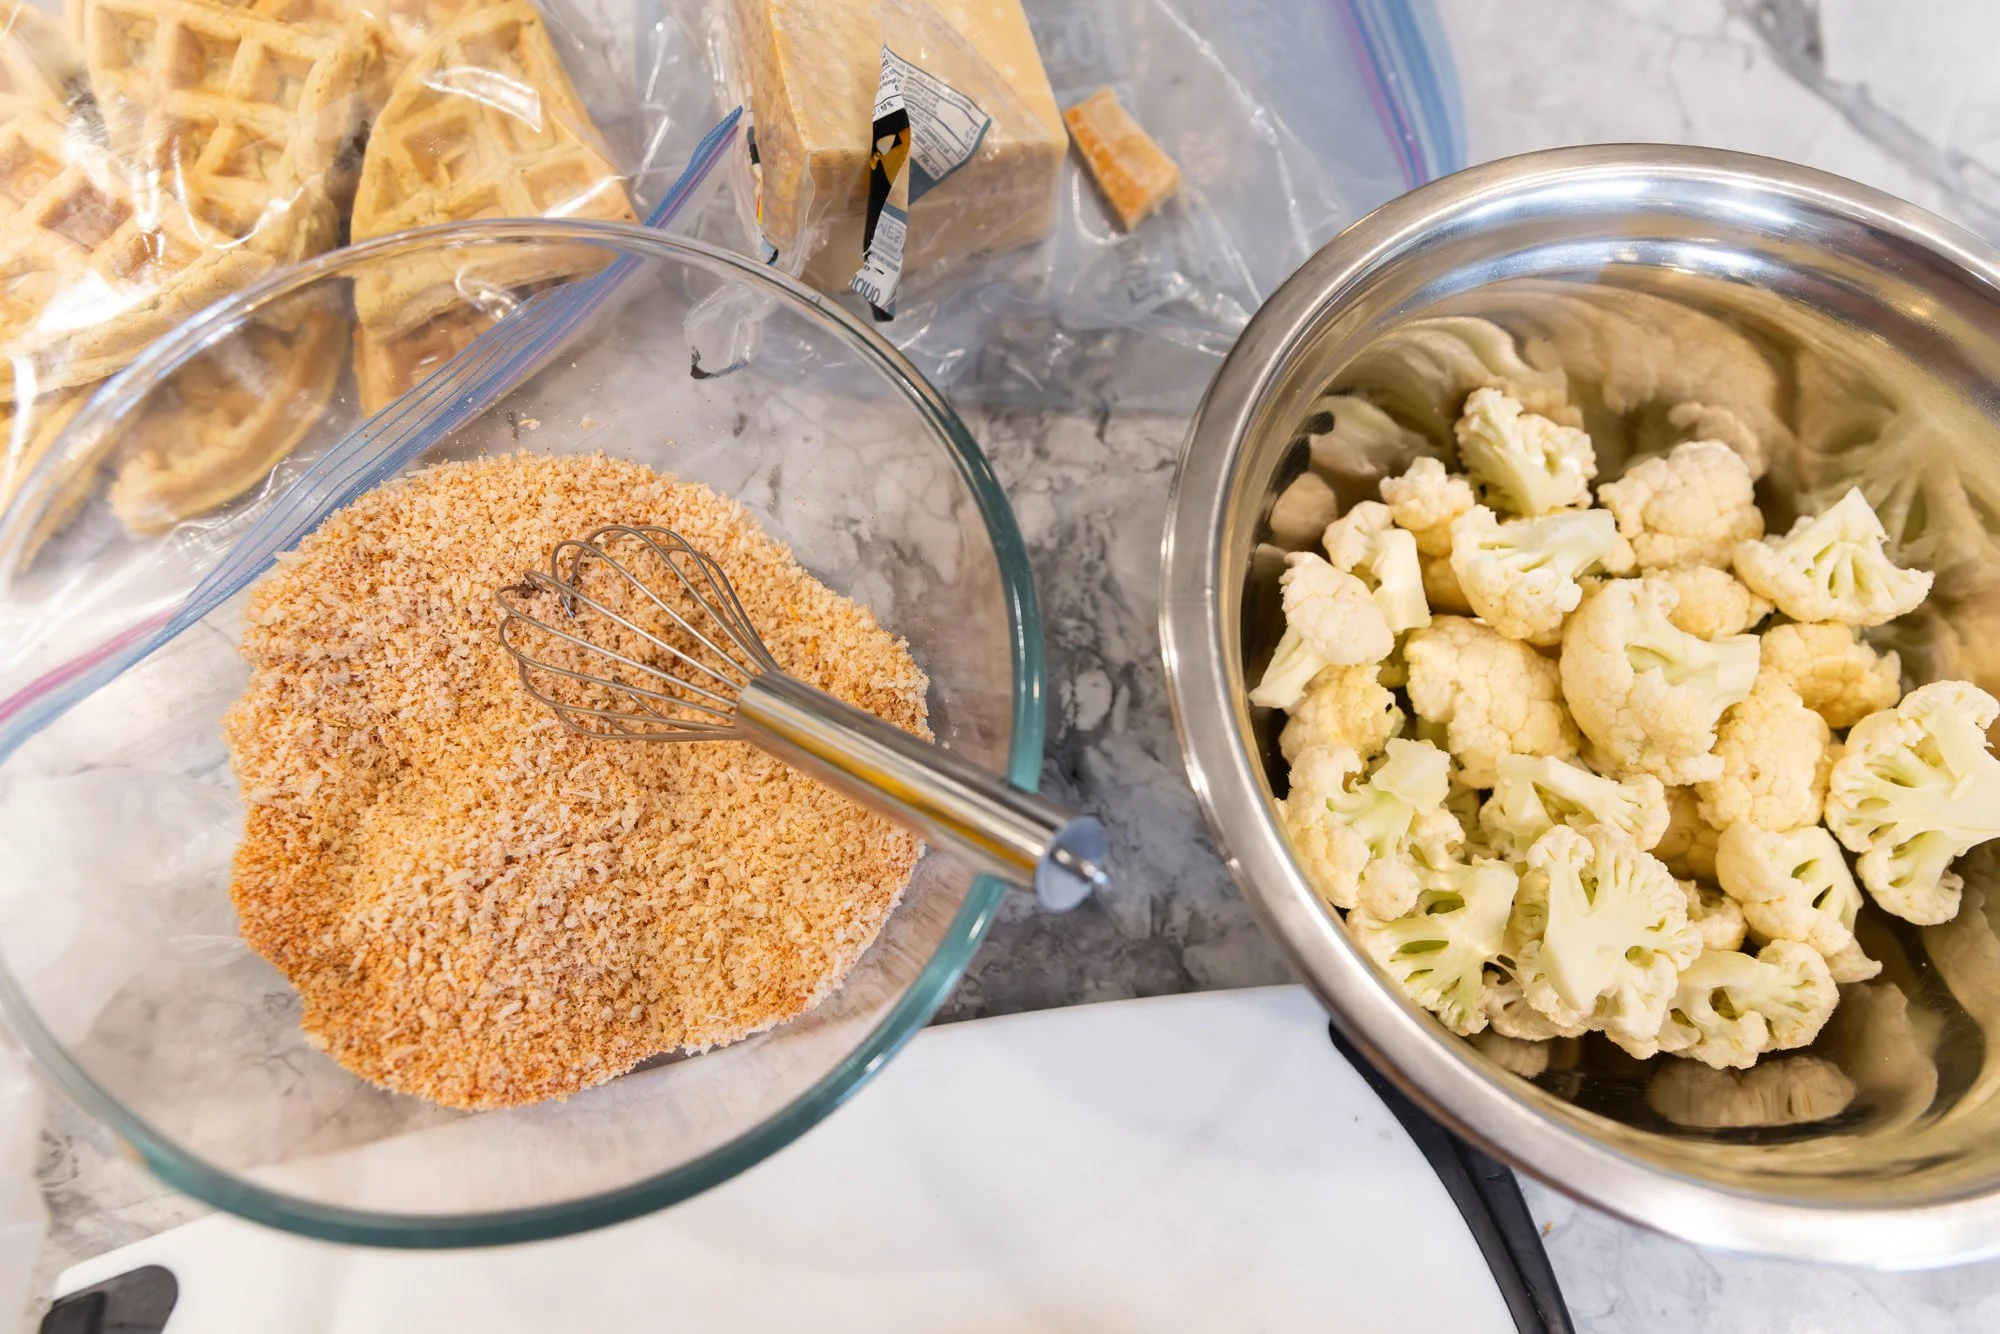
In one shallow bowl, add the cup of milk and whisk in the all-purpose flour until paste-like. In a 2nd bowl, combine the panko, onion and garlic powder, paprika, vegan parmesan, salt and pepper, and lemon zest (if using) until thoroughly mixed.
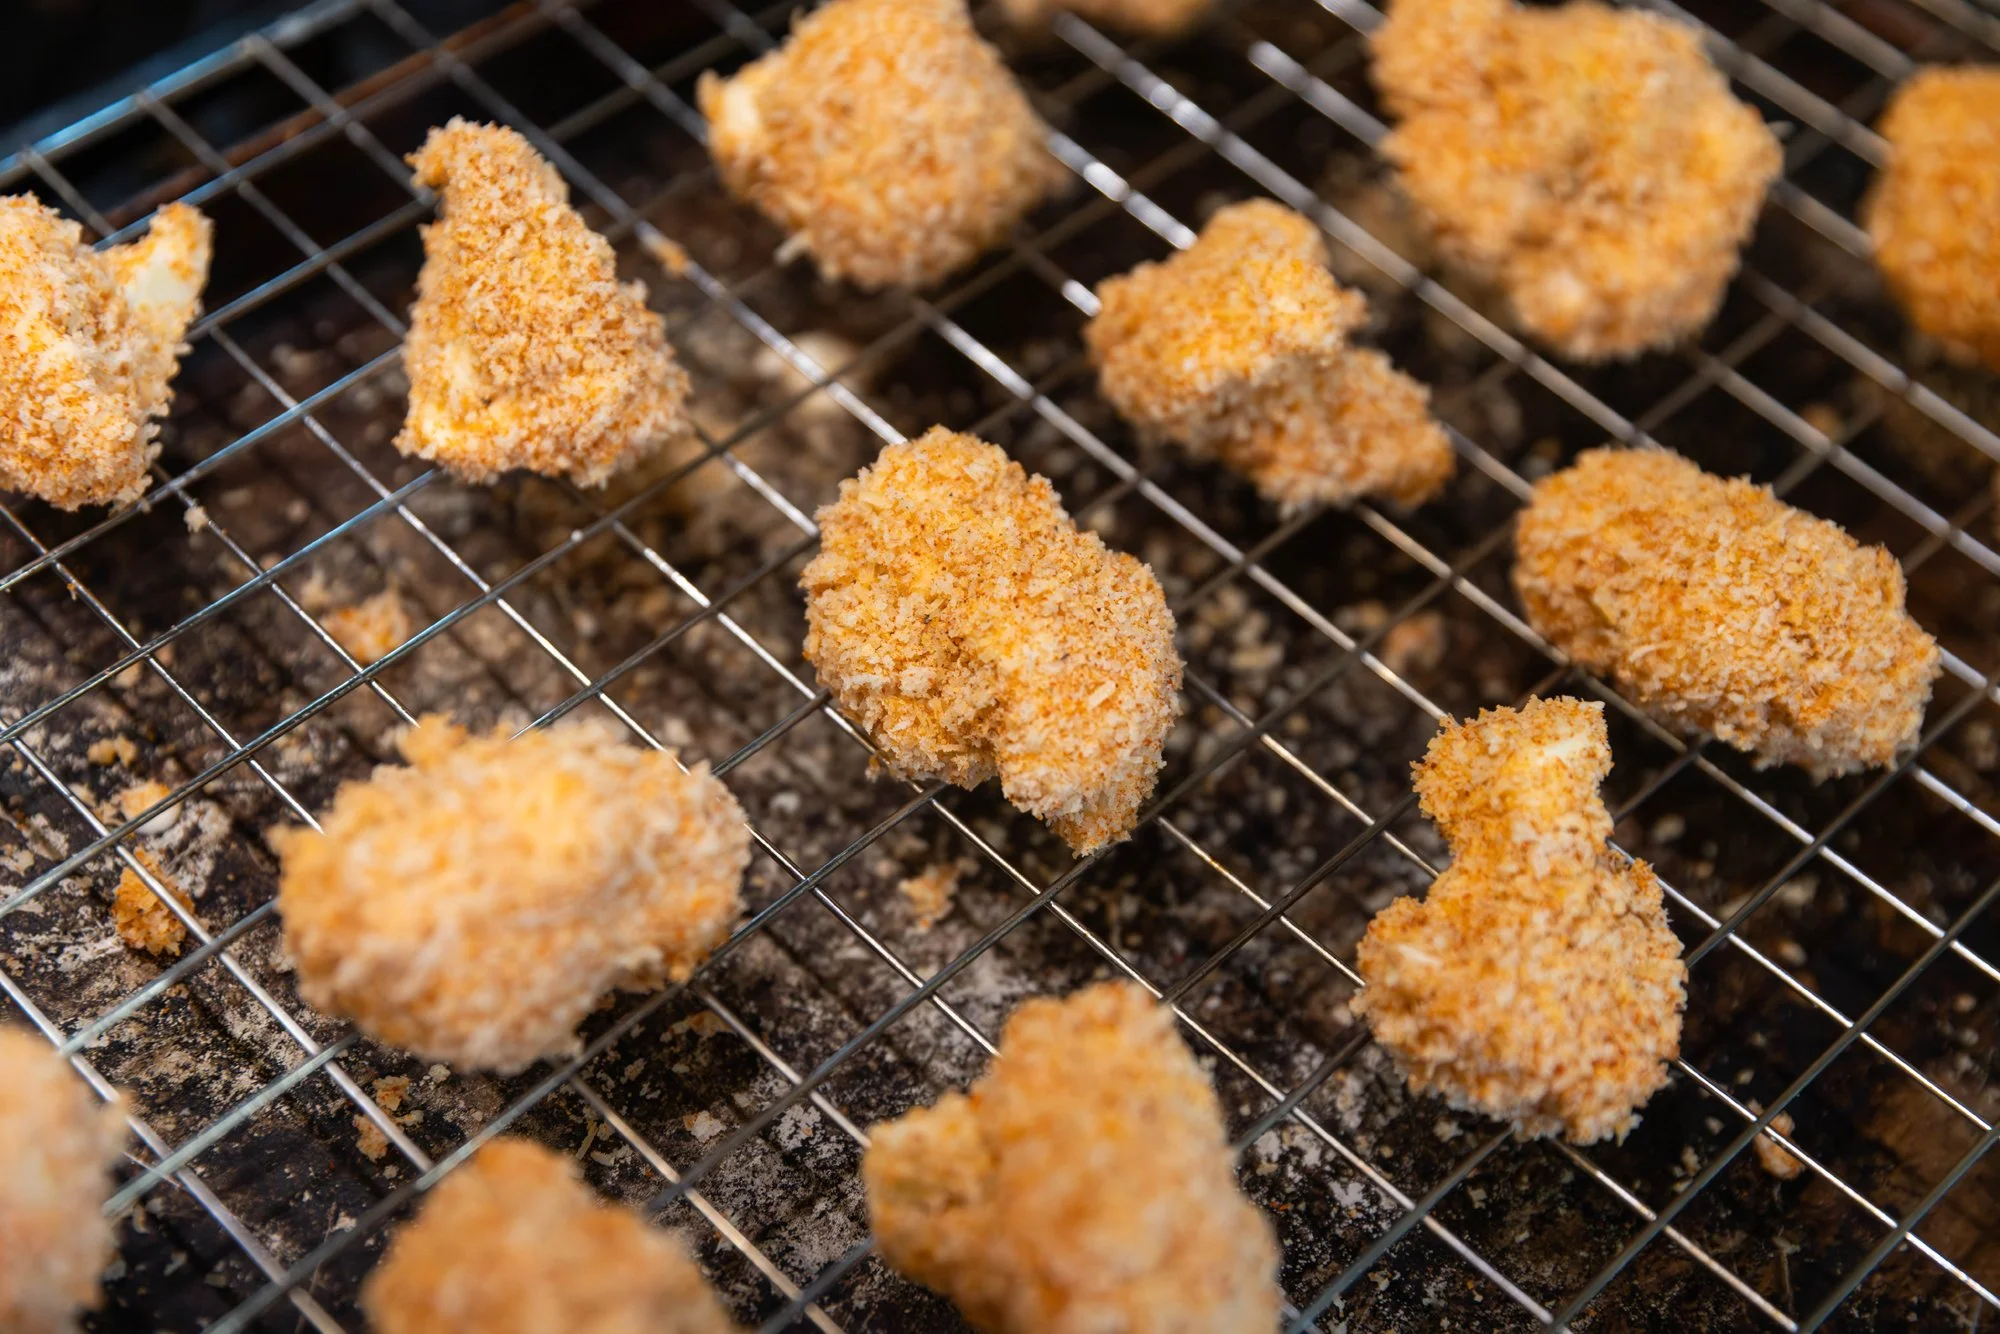
Dunk the cauliflower florets in the milk/flour and then dredge them in the panko mixture (press it in so it sticks better) and then put them on the cooling rack on top of the baking sheet (you may want to spray it down with cooking spray for extra non-stickiness.
Bake in the oven for about 20 mins and then flip and bake again for about 15-20 mins until brown and crispy! Keep an eye on them throughout, as some ovens may cook them faster than others.
While this is baking, make the dip by combining the roasted garlic, lemon juice, buttermilk, yogurt (or mayo), parsley or chives, optional hot sauce/paprika, salt and pepper. You can do this by hand, but I used an immersion blender to make sure it was nicely pureed.
Pour into a small bowl for dunking once blended.
Plate the cauliflower on a serving tray with the dip – sprinkle with parsley (optional) and ve sure to serve hot!
GO TEAM!
Follow me on Social Media