3 Cocktails for Summer At The Pool, Campground & Beach
for BCLiving
July 2021

The heat is definitely on, and you deserve a cocktail while you try to keep cool. Here are three drinks designed specifically for summer fun.  
A punch you can have while you dip your toes into the pool, kiddie or otherwise, a woods-inspired gin frizz to enough after you set up camp, and a sangria to sip while you read a book at the beach. 
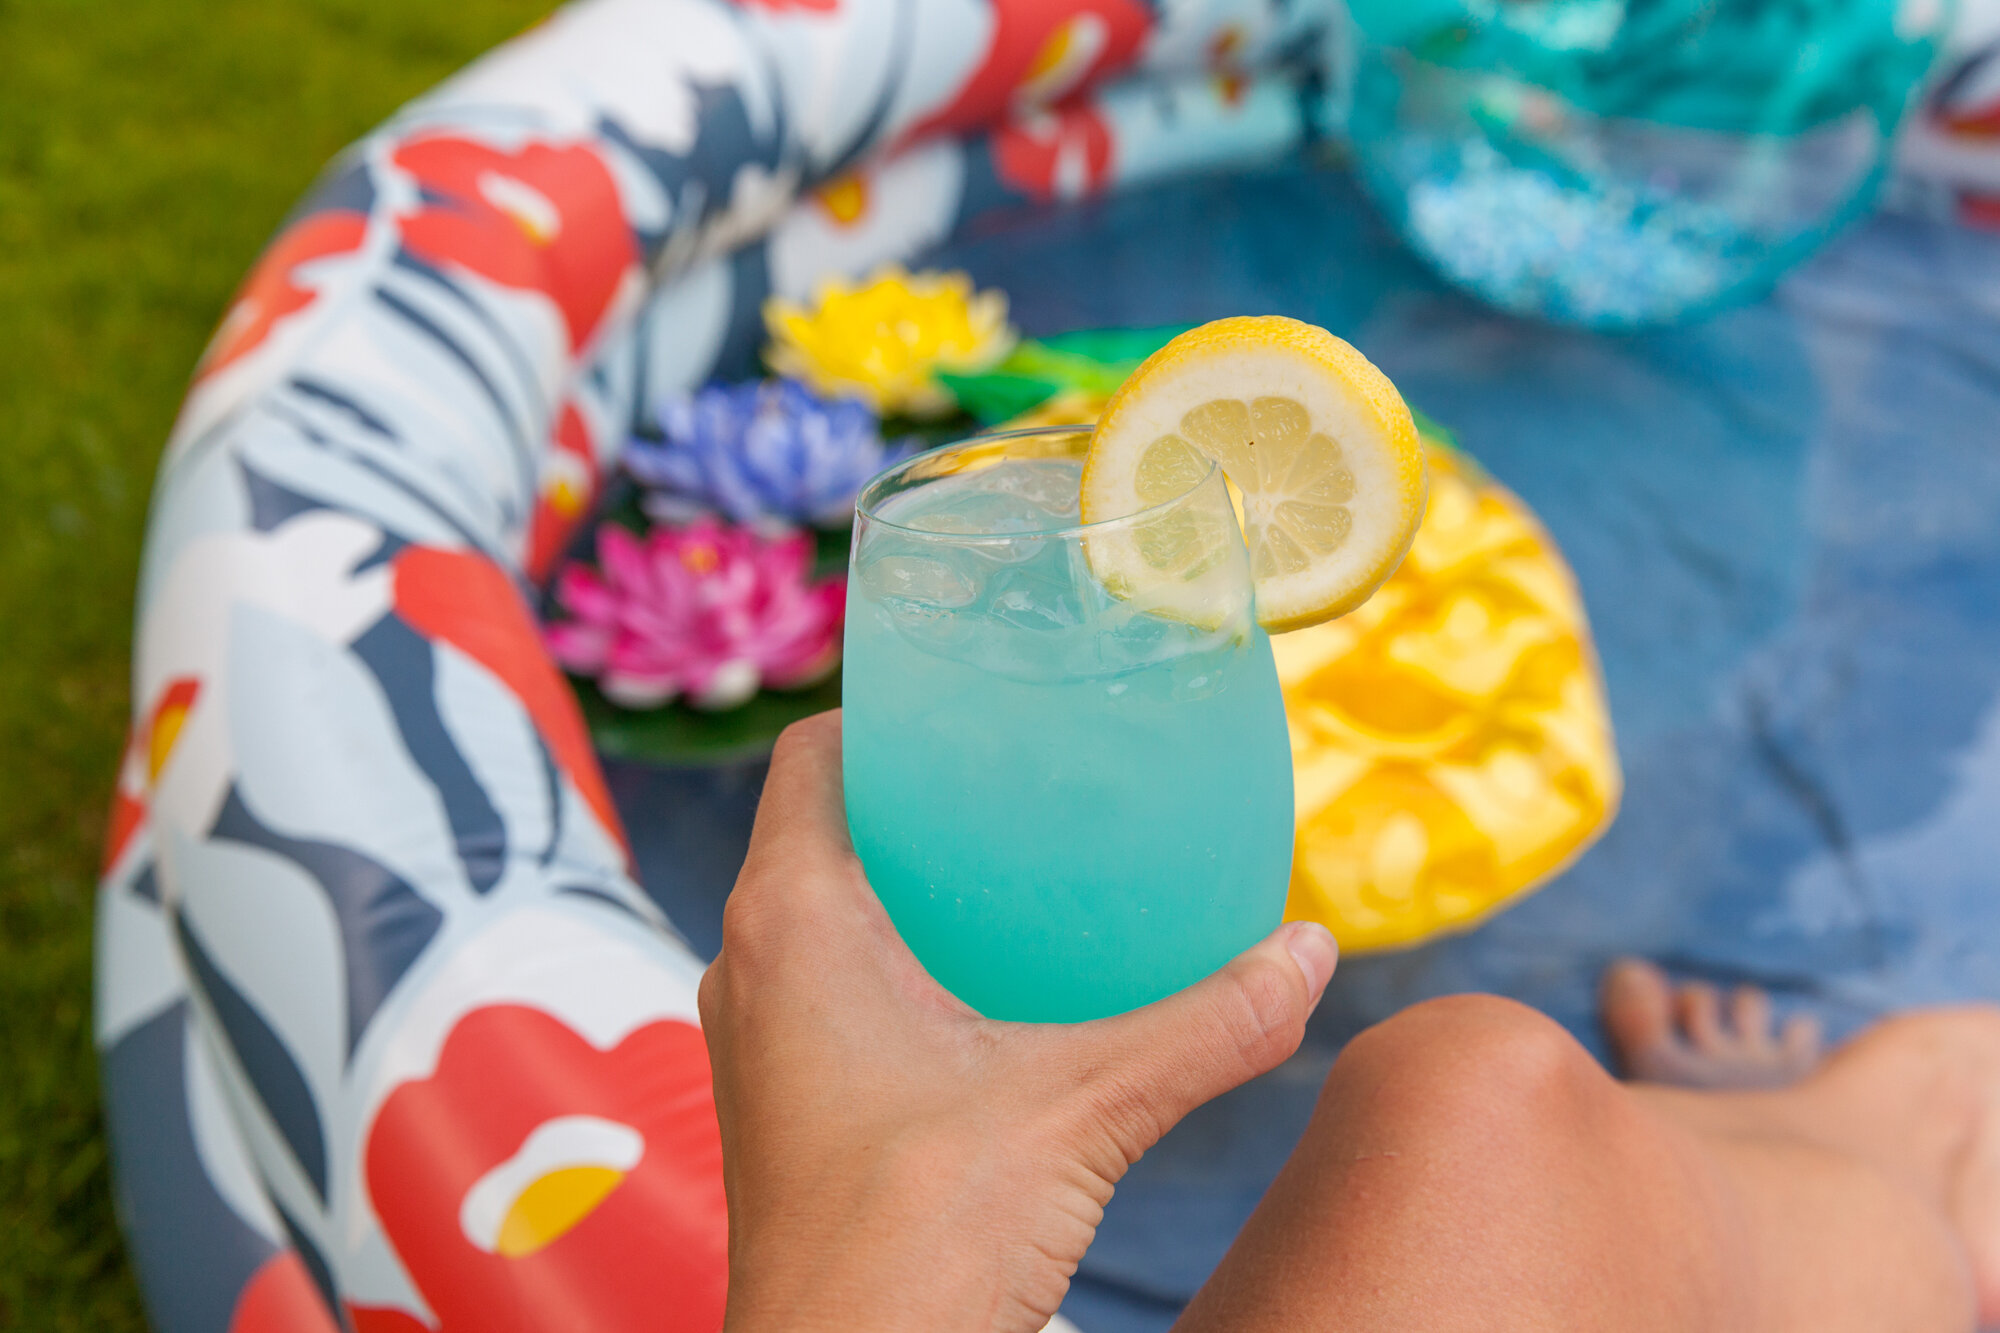
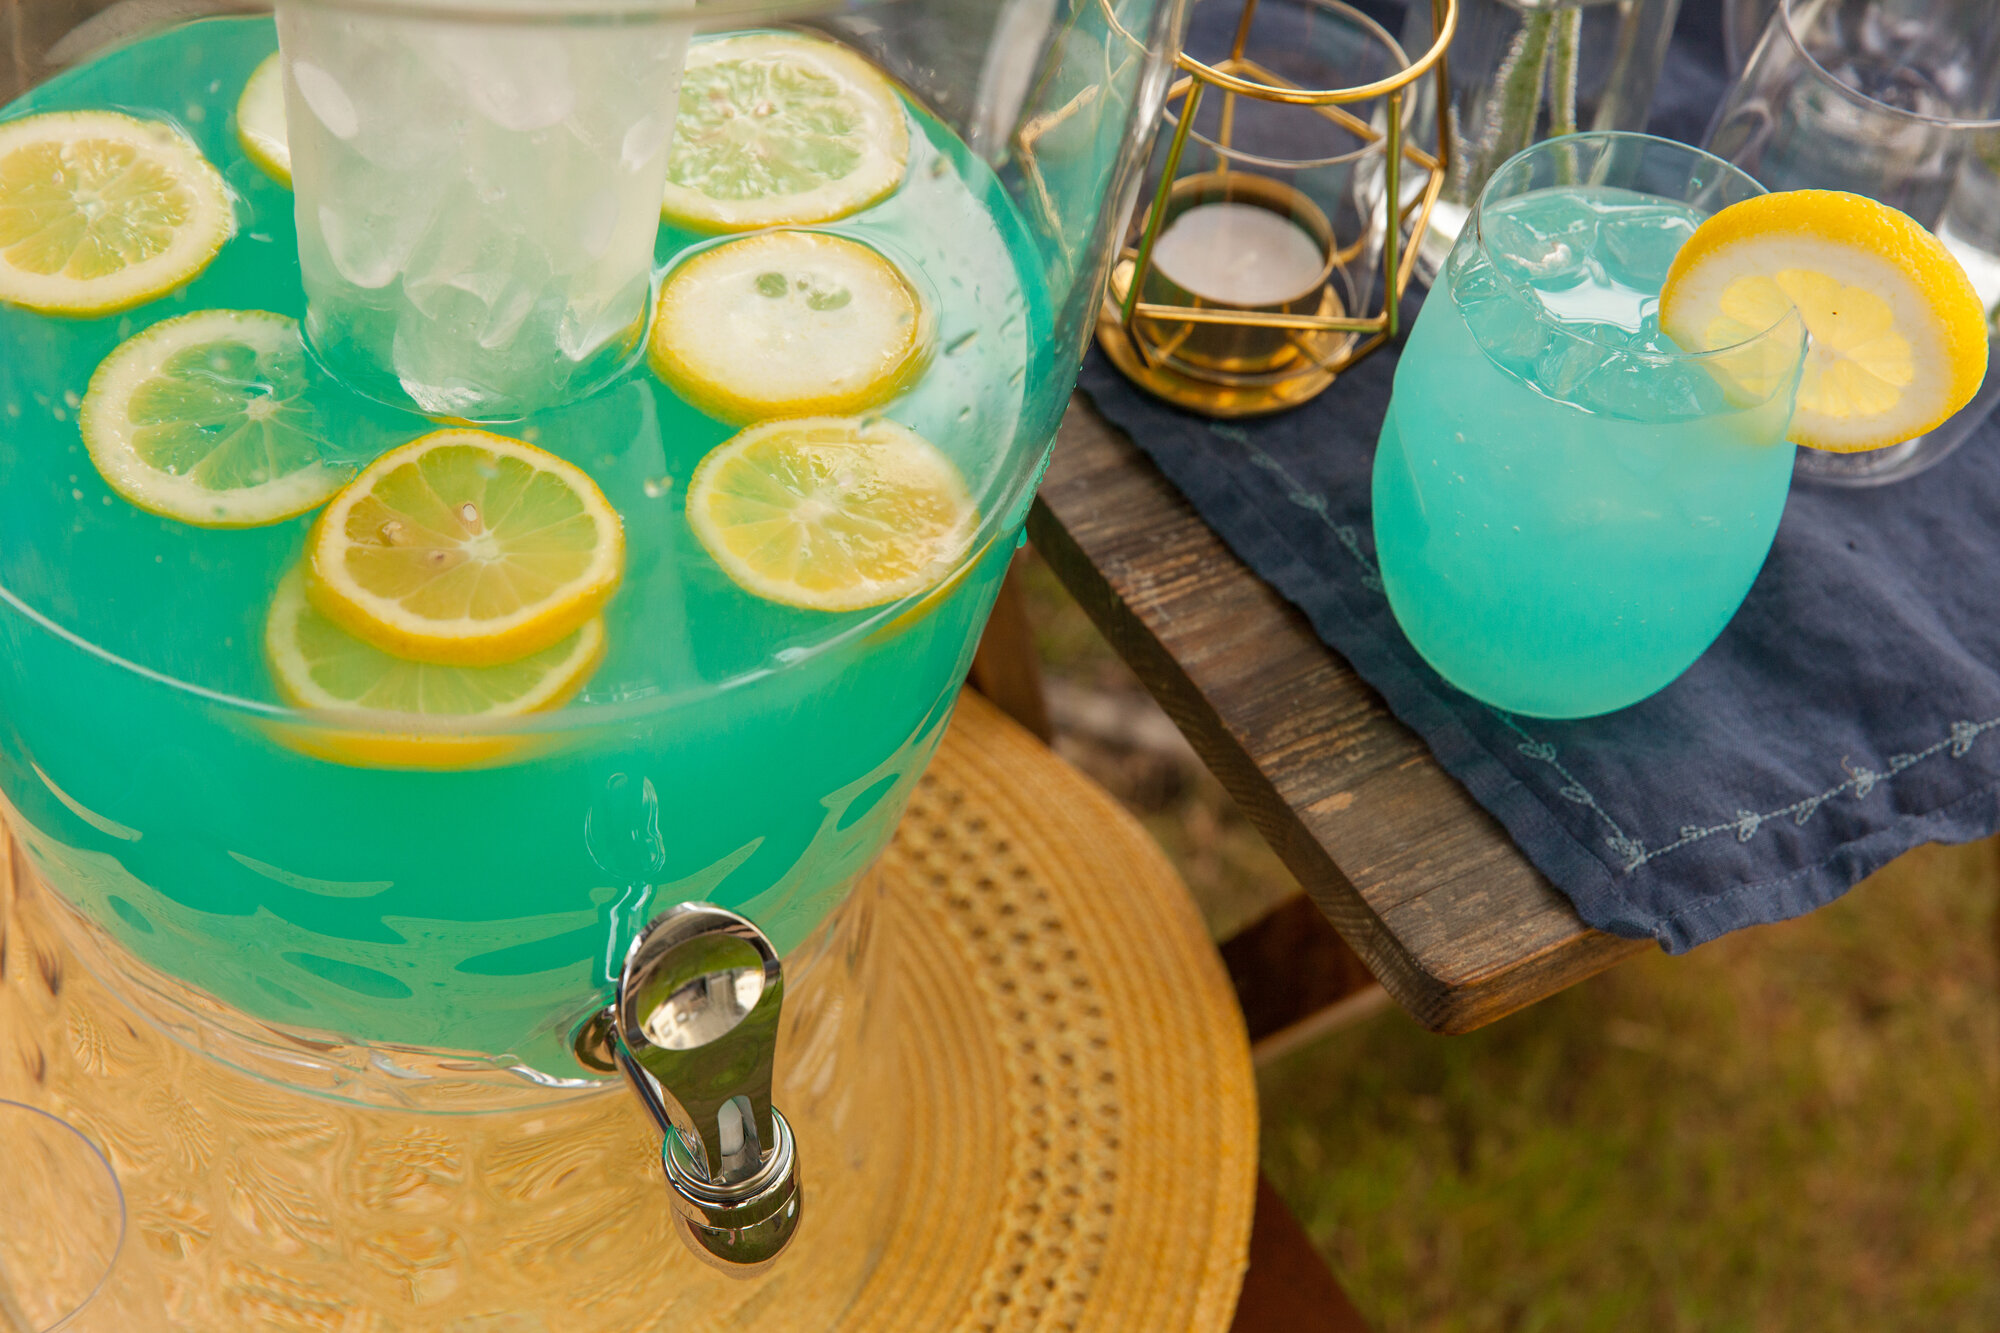
 
Pool-Blue Punch 
 
This is a fun one because you get to match the blue of the cocktail to the blue of the pool! It’s pretty boozy, so maybe make some blue Kool-Aid for the kids if you need to. Fun tip if you don’t have a reservoir for ice in your bowl, freeze some grapes and toss them in if it starts to warm up, this way the punch won’t get watered down. 

 
Makes: ~3L of Punch 
Ingredients: 
 
- 750ml Vodka 
- 2L of lemonade 
- several splashes of Blue Curacao  
- 2-3 lemons 
- sugar or simple syrup (optional) 
- lemon flavored sparkling water (optional) 
 
Instructions: 
 
Mix vodka and lemonade together in whatever you’ll be serving the punch in. Add small amounts of blue curacao and stir until you get the color you want. 
 
Give the punch a try and decide if you want it more on the tart-side or sugary-side. If you want more sugar, you can either stir in some white or raw sugar, or add it via a simple syrup. 
 
Slice a lemon into rounds and add to the punch just before it’s ready to be served (or else they’ll start to become quite blue). 
 
For serving, add a lemon wedge, and if you’d like some bubbles, or to cut it down a bit, you can top off with some sparkling water or soda. 


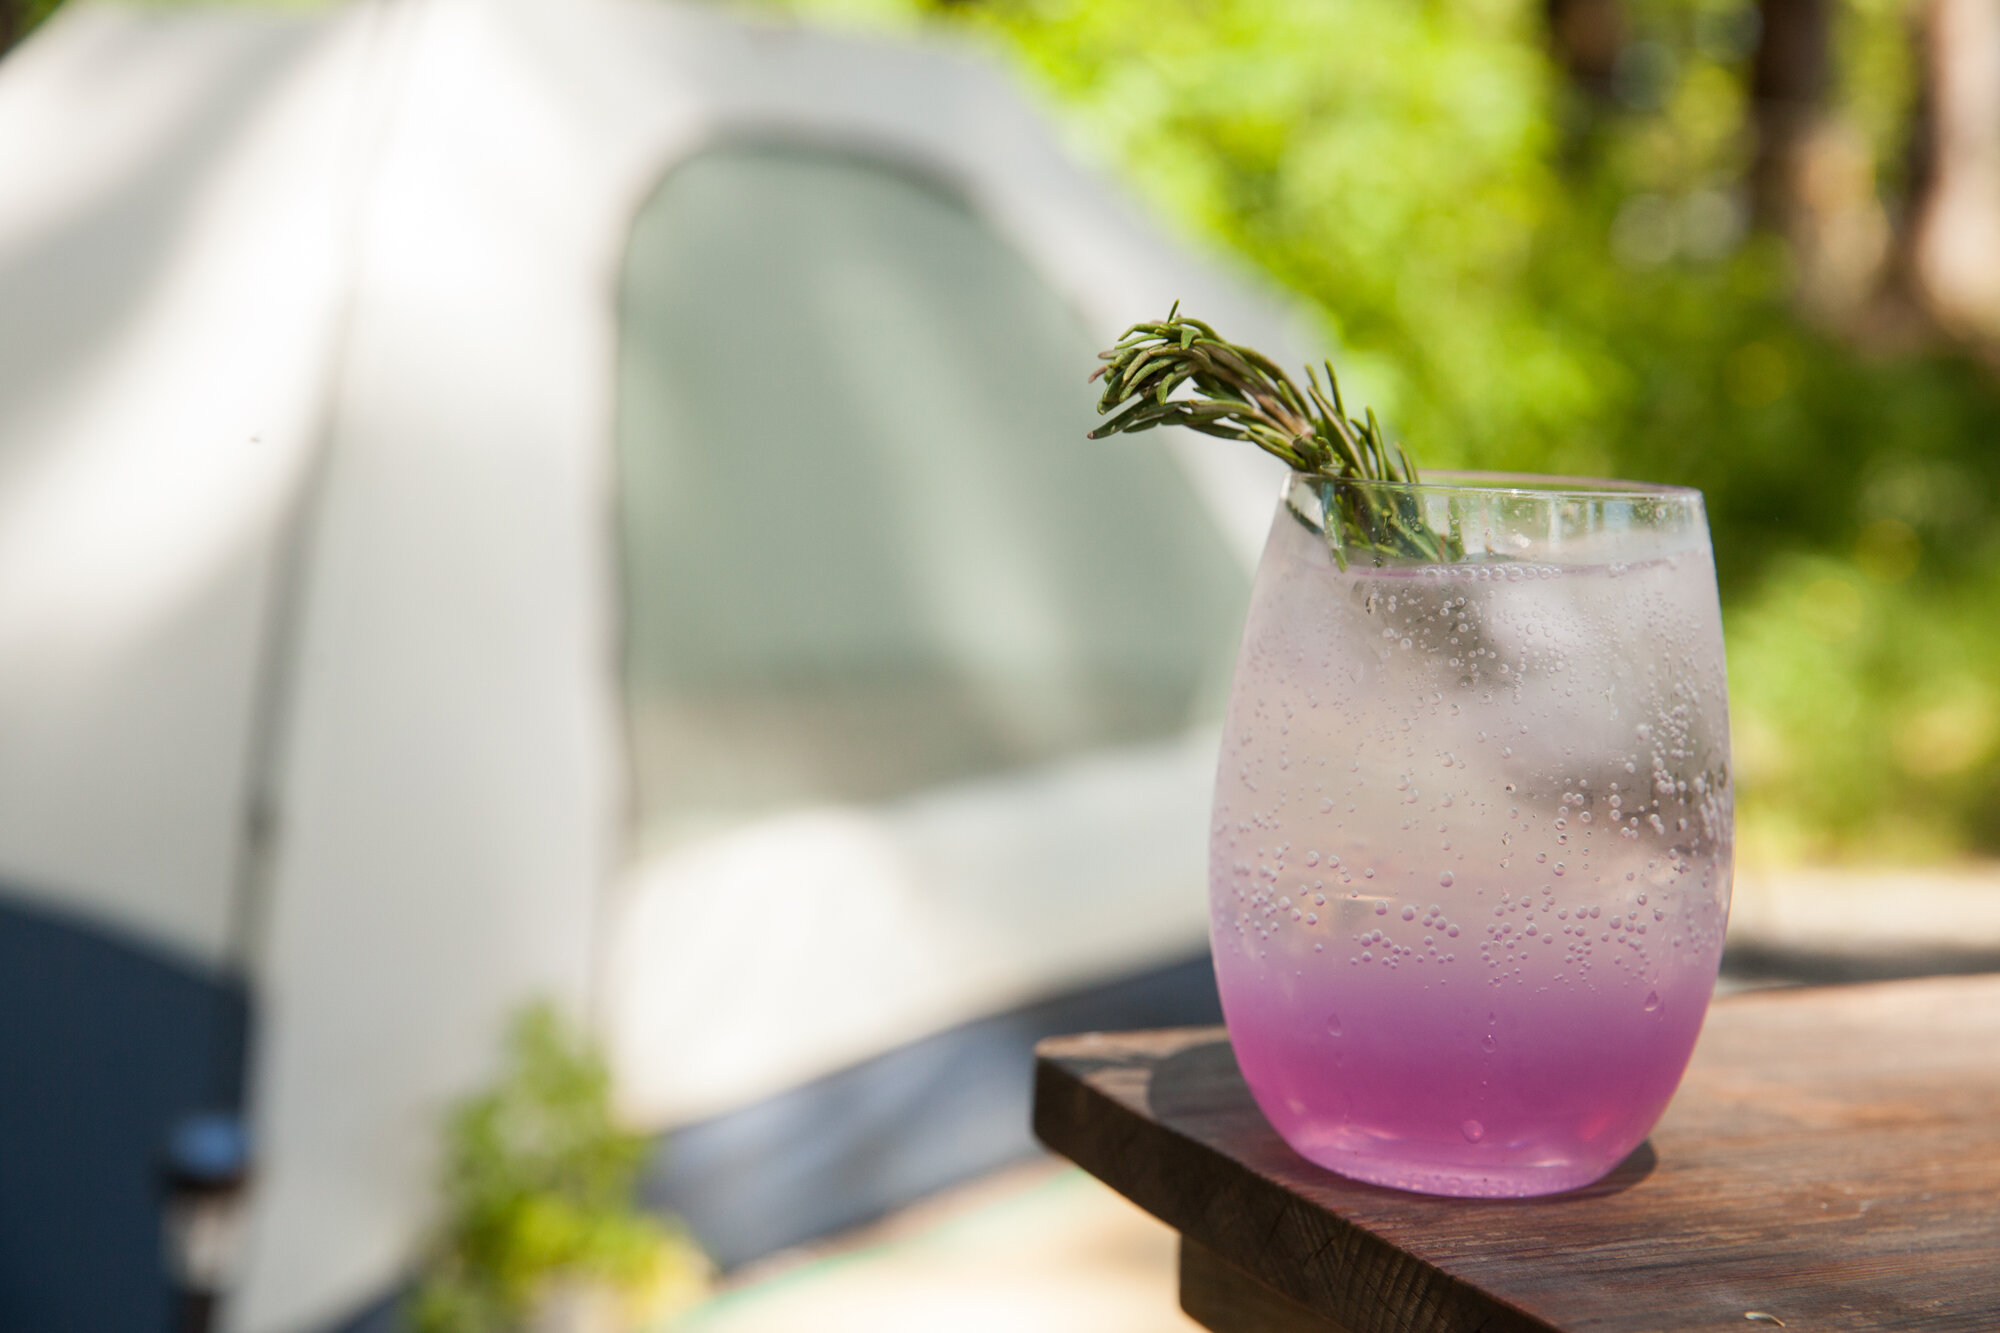
Into The Woods Rosemary Gin Fizz 
 
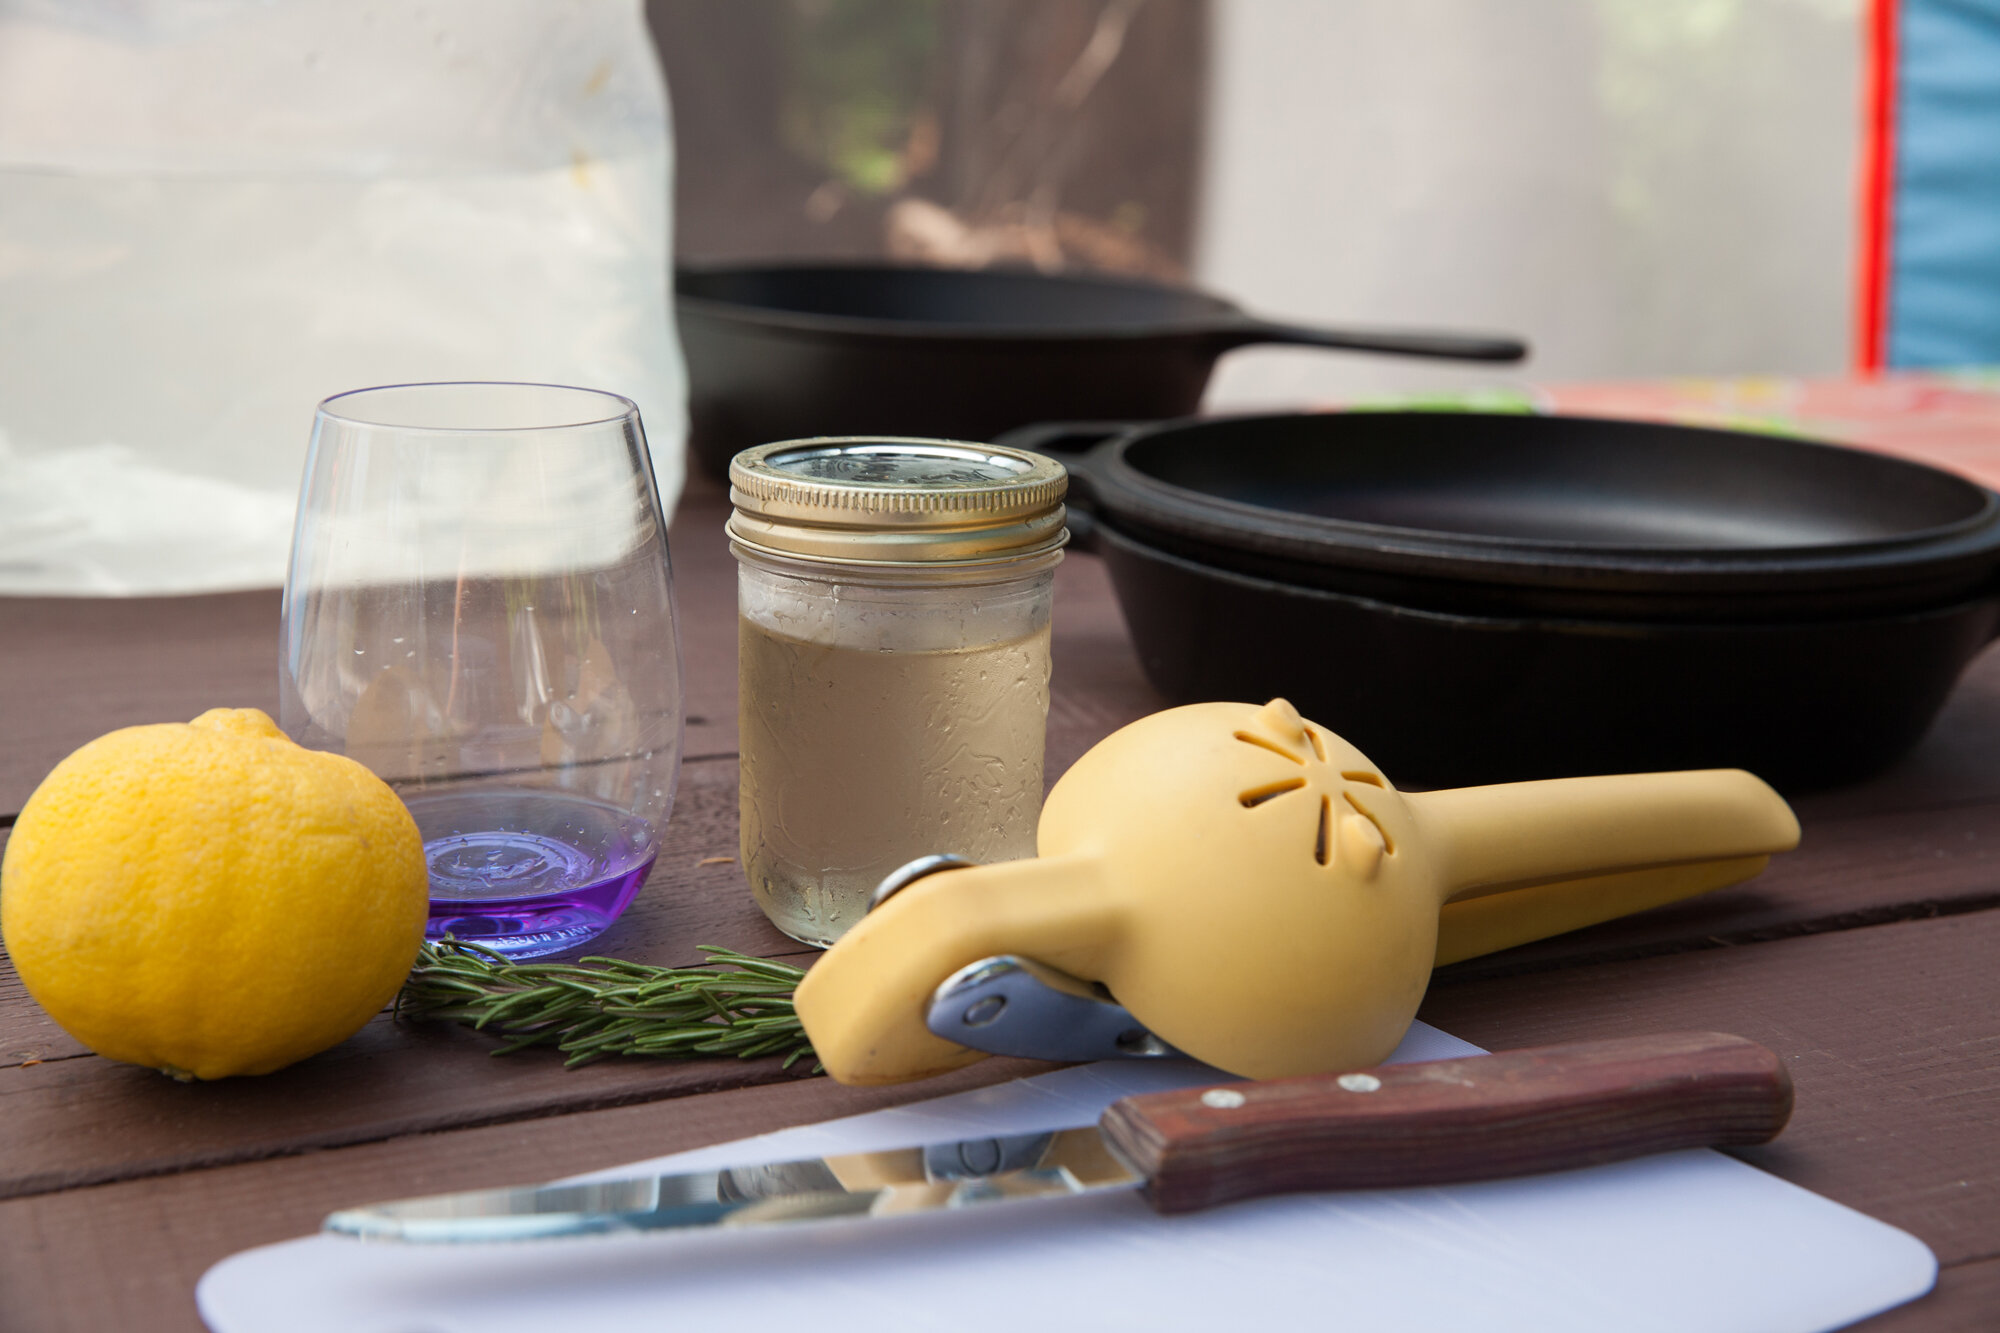
When you’re surrounded by nature and the fresh woodland air, it just makes sense to have a drink with botanicals in it. Prep the simple syrup before you head to the campground, and bring some fresh rosemary along for garnish. You can use the extra for camping potatoes at breakfast the next day. 
And you can make the drink even prettier by using some purple gin from Victoria Distillers. 
 
Makes: 1 Cocktail 
Ingredients: 
 
- 1.5oz gin 
- 1oz rosemary simple syrup 
- 0.5oz lemon juice (approx. half a lemon) 
- fresh rosemary sprigs (additional for garnish) 
- club soda 
- ice 

Instructions: 
 
To make the simple syrup, bring ½ cup of water to a boil, turn off the heat, then add ½ cup of sugar and stir until it is dissolved. Add a large sprig of rosemary and let steep for an hour then remove the rosemary and cool the syrup in the fridge. 
This can be doubled and should keep for about a week in the fridge. 
 
To make the cocktail, fill your camping glass with ice, then add the gin, simple syrup and lemon juice. Top with soda (you don’t need tonic as you’re using the simple syrup), and garnish with rosemary and admire your camp set up. 
 
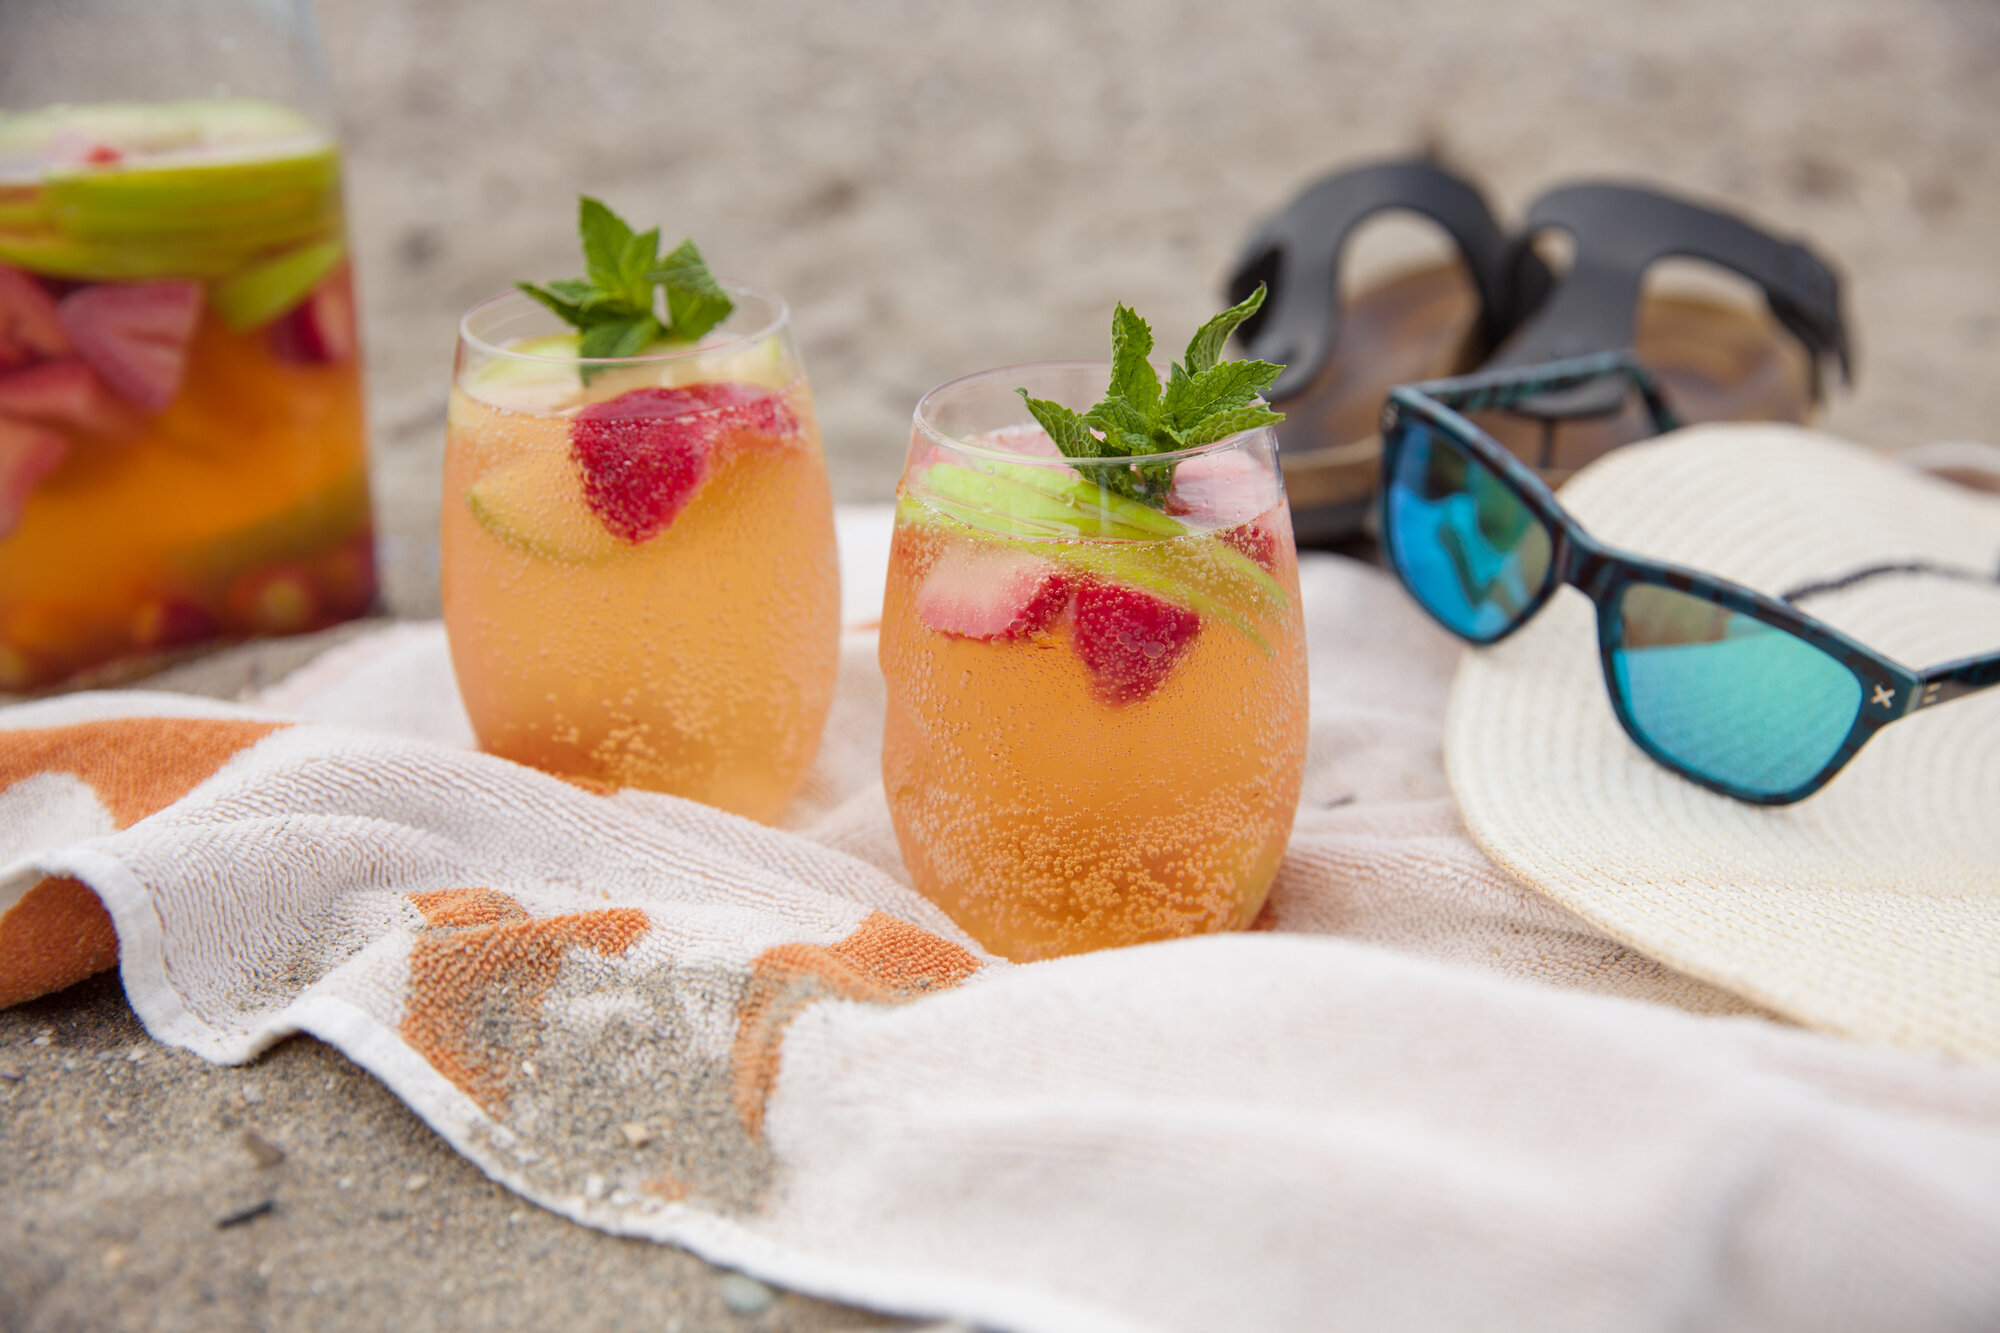
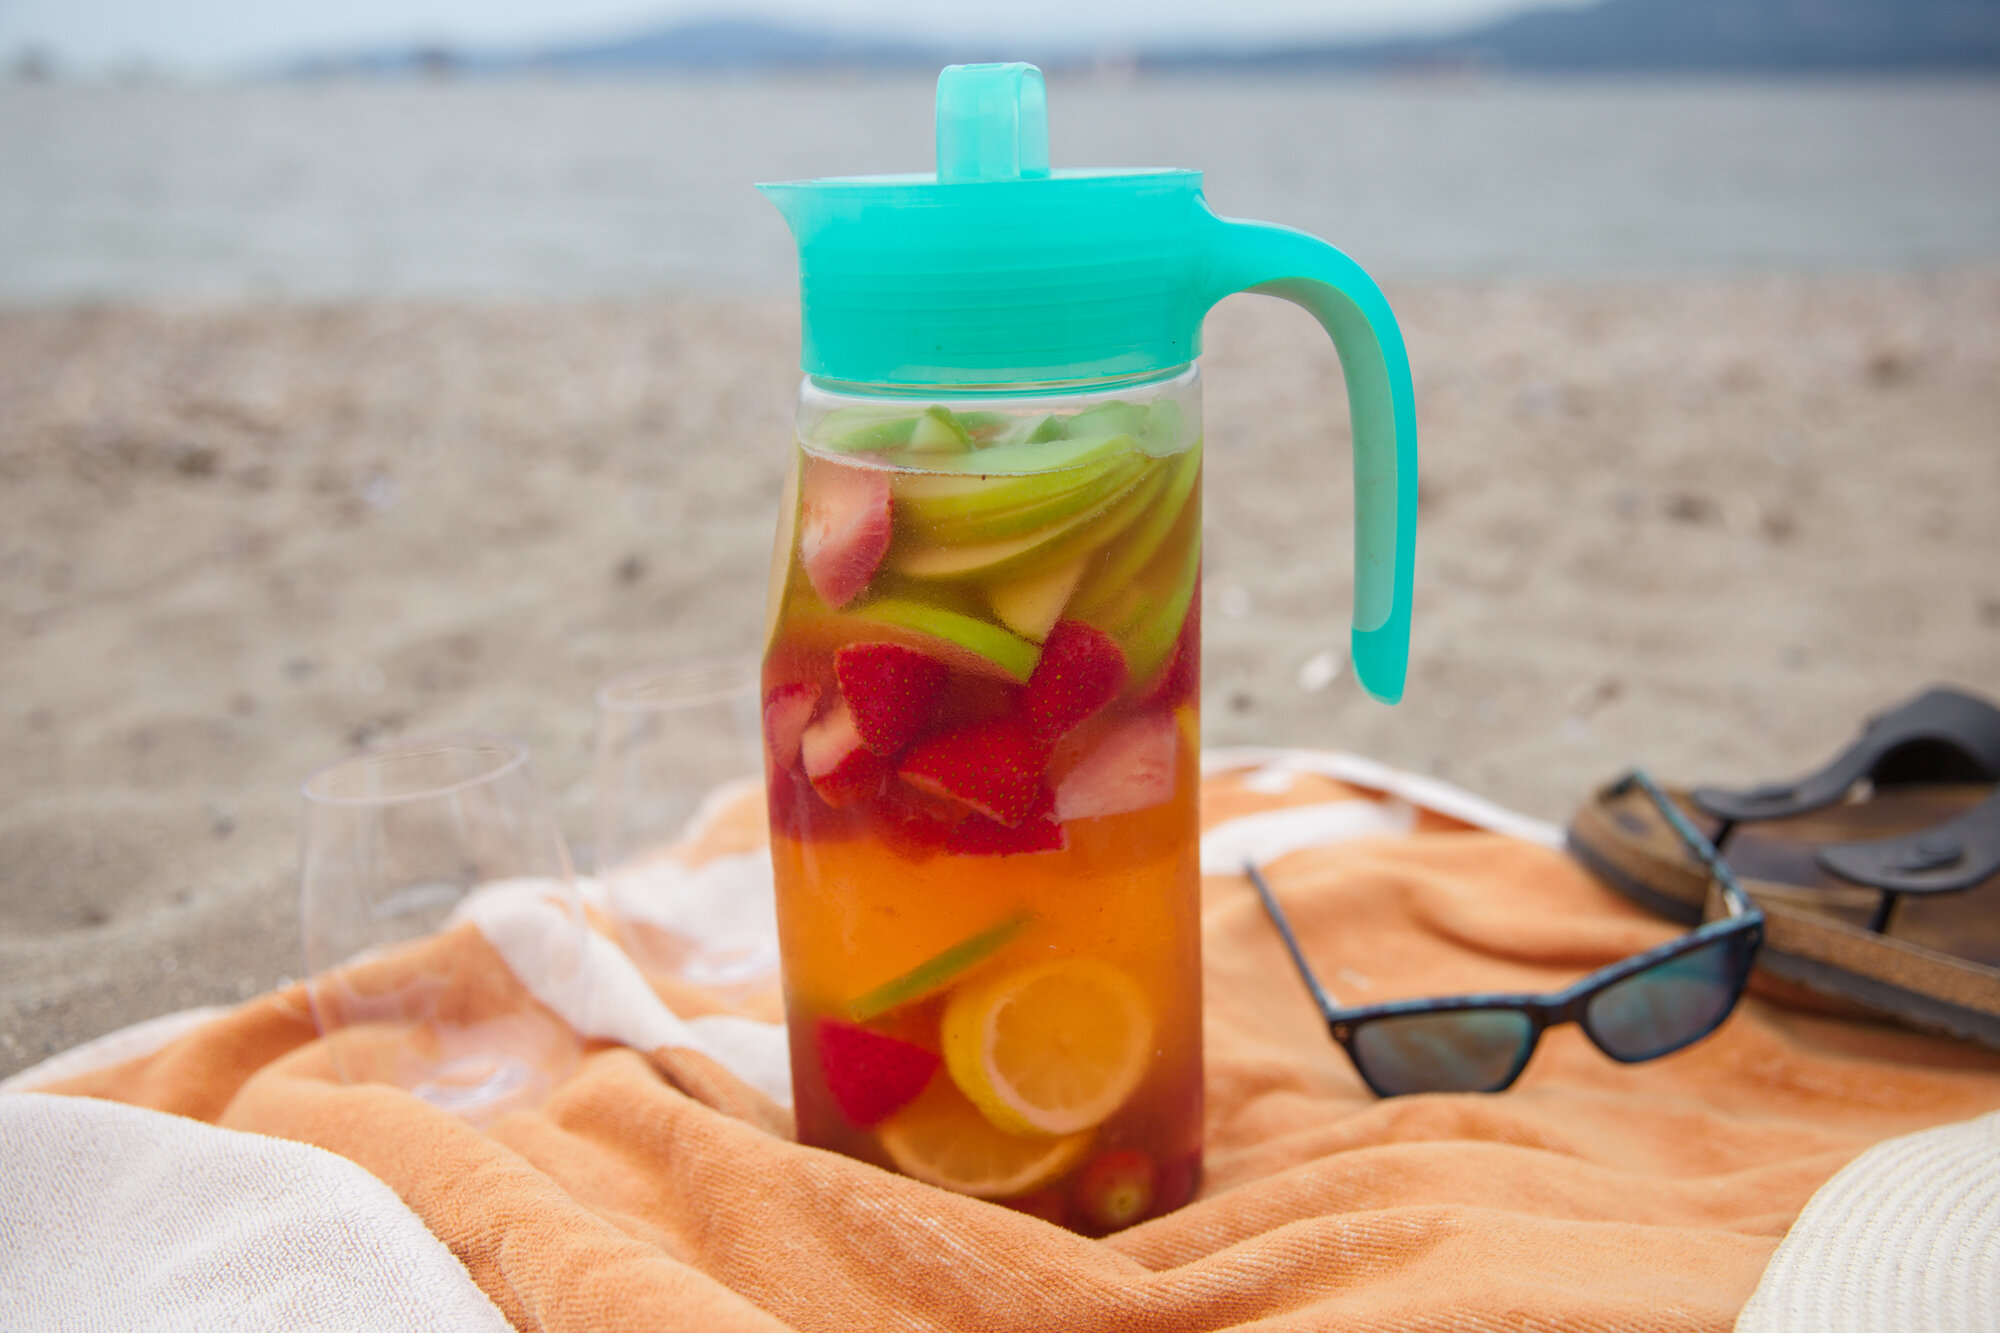
Sand & Sunshine Sangria 
 
One of the best things about sangria is that it’s hard to mess it up and it’s incredibly versatile. You can pick the fruit that you enjoy, the wine you prefer, and the sweetness level. 
I went with a dry white wine for this one, so be sure to give the mix a taste and then determine if you’d like more sweetness (add in some simple syrup). 
I also wanted some bubbles, so I added in sparkling wine too right into the glasses at the beach. 

If you want to skip the alcohol, use a dry non-alcoholic wine, and add half a cup of orange juice instead of the triple sec, and ginger ale to top it off. 
 
Ingredients: 
 
- 750mL bottle of white wine (I used a Pinot Grigio) 
- ½ cup triple sec 
- 1 cup strawberries, sliced 
- 1 granny smith apple, thinly sliced 
- 1.5 cup of grapes 
- 1 lemon, sliced into rounds 
- fresh mint, for garnish (optional) 
- sparkling wine, to top (optional) 
 
Instructions: 

 
Slice up your fruit and add to the base of your pitcher. Fill with the white wine, add the triple sec and stir. 
 
Give it a taste and decide if you’d like to add some simple syrup/sugar, and tweak until you have it the way you’d like it. 
Chill for at least a few hours. 
 
Pour into glasses (ice optional), top with sparkling wine, and garnish with fresh mint. 
Should be consumed within 24 hours. 

CHEERS! 

Curry "Chicken" Sandwich – But Make It Vegan
for Environment911.org
July 2021

I've made a similar type dish with chickpeas before, which are much quicker if you want something stat, but if you want to try a new texture, give soy curls a try. 
 
It was my first foray into them as a chicken substitute and honestly, I was quite impressed. They really hold the flavor well, and it was even better the second day – so I’d recommend making it the day before you’re going to eat it. 
 
Many health food and vegan shops will have the soy curls, but you can also purchase bags from the internet. 

Serves 2-3  
(Can be doubled) 
 
INGREDIENTS: 

- ¾ cup soy curls  
- 1 1/4 veg broth or a vegan chicken-style broth  
- ½ cup finely diced celery 
- ¼ cup finely diced red onion 
- 1/3 cup vegan mayo, more if needed 
- 1/4 teaspoon garlic powder  
- 1/4 teaspoon onion powder  
- 2 tsp of curry powder (more to taste) 
- salt and pepper, to taste 

- bun or lettuce cups for serving 

INSTRUCTIONS: 

Bring the broth to a low boil (or use a cup of water and add a vegan Boullion cube and dissolve) and then remove from heat. 

Place the dried soy curls in the broth and gently stir around until they are fully covered with it. 
 
Chop the onion and celery into finely diced pieces. In a small bowl, place the vegan mayo, and the rest of the spice and mix until evenly distributed. 
 
After the curls have soaked for 8-10 mins, drain them and place them on a tea towel to dry. 
 
You can chop them up at this stage and use them as is, but you can also toast them lightly in a very lightly oiled frying pan until they get slightly browned. 
 
Once ready, combine everything into a bowl, adding more mayo if needed. Taste for seasoning, esp. the curry powder. And either serve straight away or let cool in the fridge. 

Homemade Fruit Leather Roll-Ups
for BCLiving
July 2021

Making your own fruit leather rolls is way easier than you might think, and the oven or the dehydrator does most of the work for you. Basically, you can make them out of any kind of mixture of fruit you want, and right now is a great time, as there are tons of fruit coming into season.  
Plus, you can make them with frozen fruit, so even after the season is over, pull the fruit out of the freezer! 
One more bonus? They’re great to take camping, on a hike or with you to the beach for a snack.  
 
Makes 6-8 rolls per flavor (depends how long you make them) 

Strawberry-Rhubarb 
 
INGREDIENTS: 
- 1 cup strawberries 
- 1 cup rhubarb chopped 
- 1 tsp honey (or maple syrup) 
 

INSTRUCTIONS: 
Boil some water and blanche the rhubarb for one minute and then drain. 
 
Blend the rhubarb, strawberries and honey in a high-speed blender. and then strain into a bowl through a fine mesh sieve if you want to remove the seeds. 
 
If you are going to use a food dehydrator, follow the instruction for your own machine. 
For the oven, pre-heat it to the lowest possible setting. 
 
Line a baking sheet with parchment paper (or silicone mat) and then pour mixture onto the baking sheet and spread evenly into a rectangle. 
Place in oven and bake for 5 to 6 hours until no longer wet (just tacky to the touch) - keep an eye on it! 
 
Remove from oven and let cool. Cut leather (and parchment) into desired sizes/shapes and roll, tying with string. 
Store in an air tight container so it doesn't dry out for up to 2 weeks, but fresher the better. 
 

Mango-Blueberry 
 
INGREDIENTS: 
- 1 cup blueberries 
- 1 cup mango 
- 1 tsp honey (or maple syrup) 
 

INSTRUCTIONS: 
Boil some water and blanche the rhubarb for one minute and then drain. 
 
Blend the blueberries, mango, and honey in a high-speed blender. and then strain into a bowl through a fine mesh sieve if you want to remove the seeds. 
 
If you are going to use a food dehydrator, follow the instruction for your own machine. 
For the oven, pre-heat it to the lowest possible setting. 
 
Line a baking sheet with parchment paper (or silicone mat) and then pour mixture onto the baking sheet and spread evenly into a rectangle. 
Place in oven and bake for 5 to 6 hours until no longer wet (just tacky to the touch) - keep an eye on it! 
 
Remove from oven and let cool. Cut leather (and parchment) into desired sizes/shapes and roll, tying with string. 
Store in an air tight container so it doesn't dry out for up to 2 weeks, but fresher the better.