

Said The Whale
The Vogue Theatre
March 26, 2022
Photos for 3amRevelations.com
RECIPE: Pierogis From Scratch

Pierogis From Scratch
for BCLiving
February 2022
I’m not going to sugar coat it (dessert pierogi’s do sound good though), making these little dumplings from scratch can take some effort, but it is 100% worth it.
Put a movie on or binge a TV show while you work, and then before you know it, you’ll have packed your freezer and your belly with some delicious pierogi goodness.
Feel free to get creative with your filling, as the potato makes an easy, creamy base for whatever you can think up.
Make Approx. 50-60 Pierogis
INGREDIENTS:
For The Dough:
- 3 cups flour (more for rolling/dusting)
- 1/2 tsp salt
- 1/4 cup vegetable oil
- 1 cup of water
For The Filling:
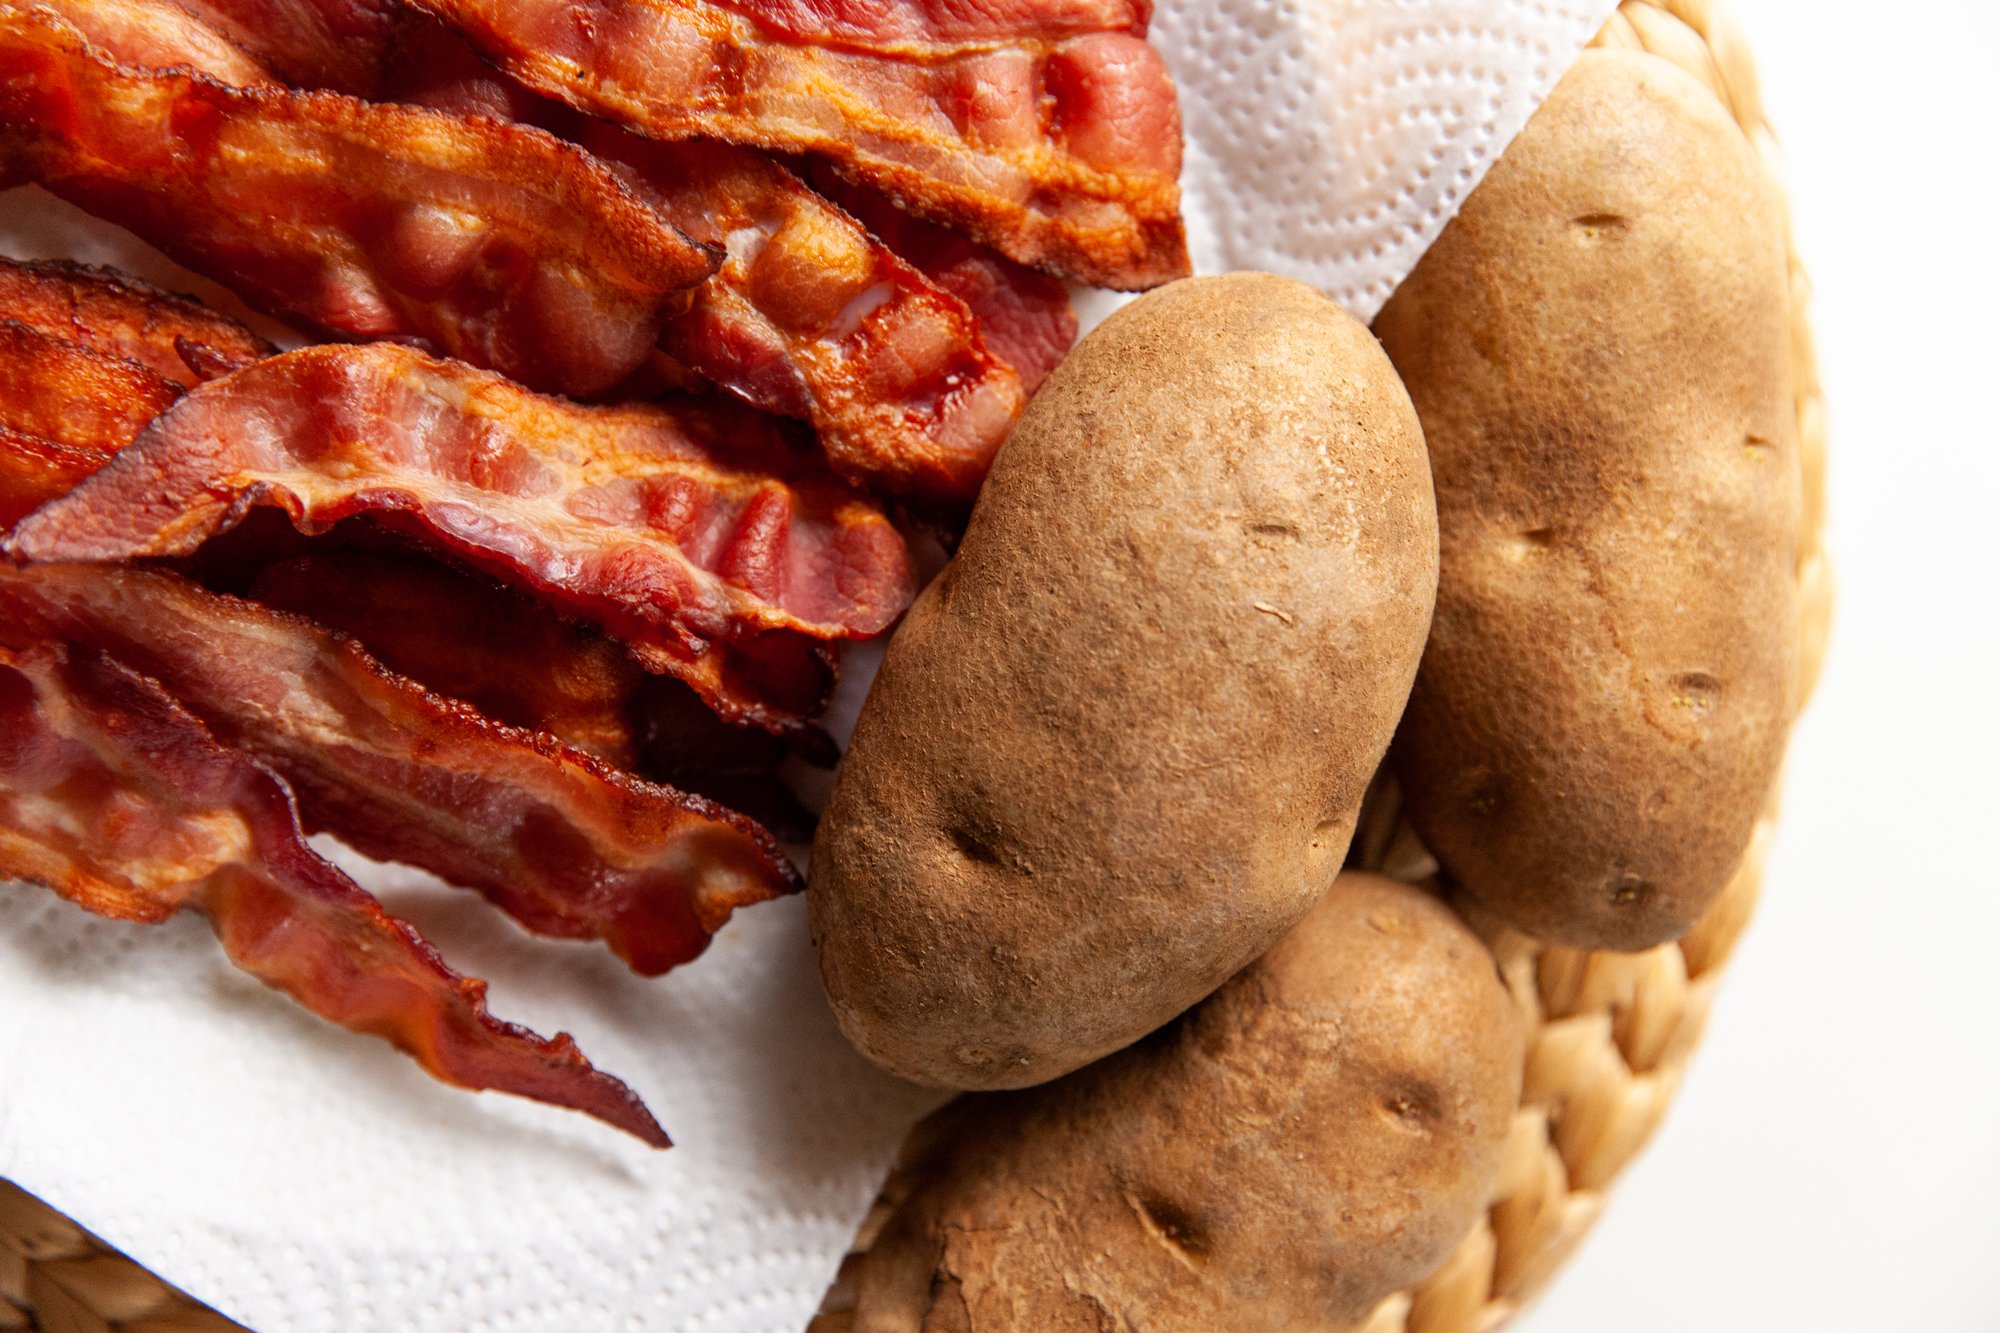
- 3 russet potatoes
- approx. 1.5 cups cheddar
- salt and pepper
- approx. ½ cup milk
- 2 tbsp butter
- Optional: 5-6 pieces of bacon, cooked and chopped finely
For Cooking & Topping:
- 2 tbsp butter and/or olive oil
- 1 onion
- olive oil
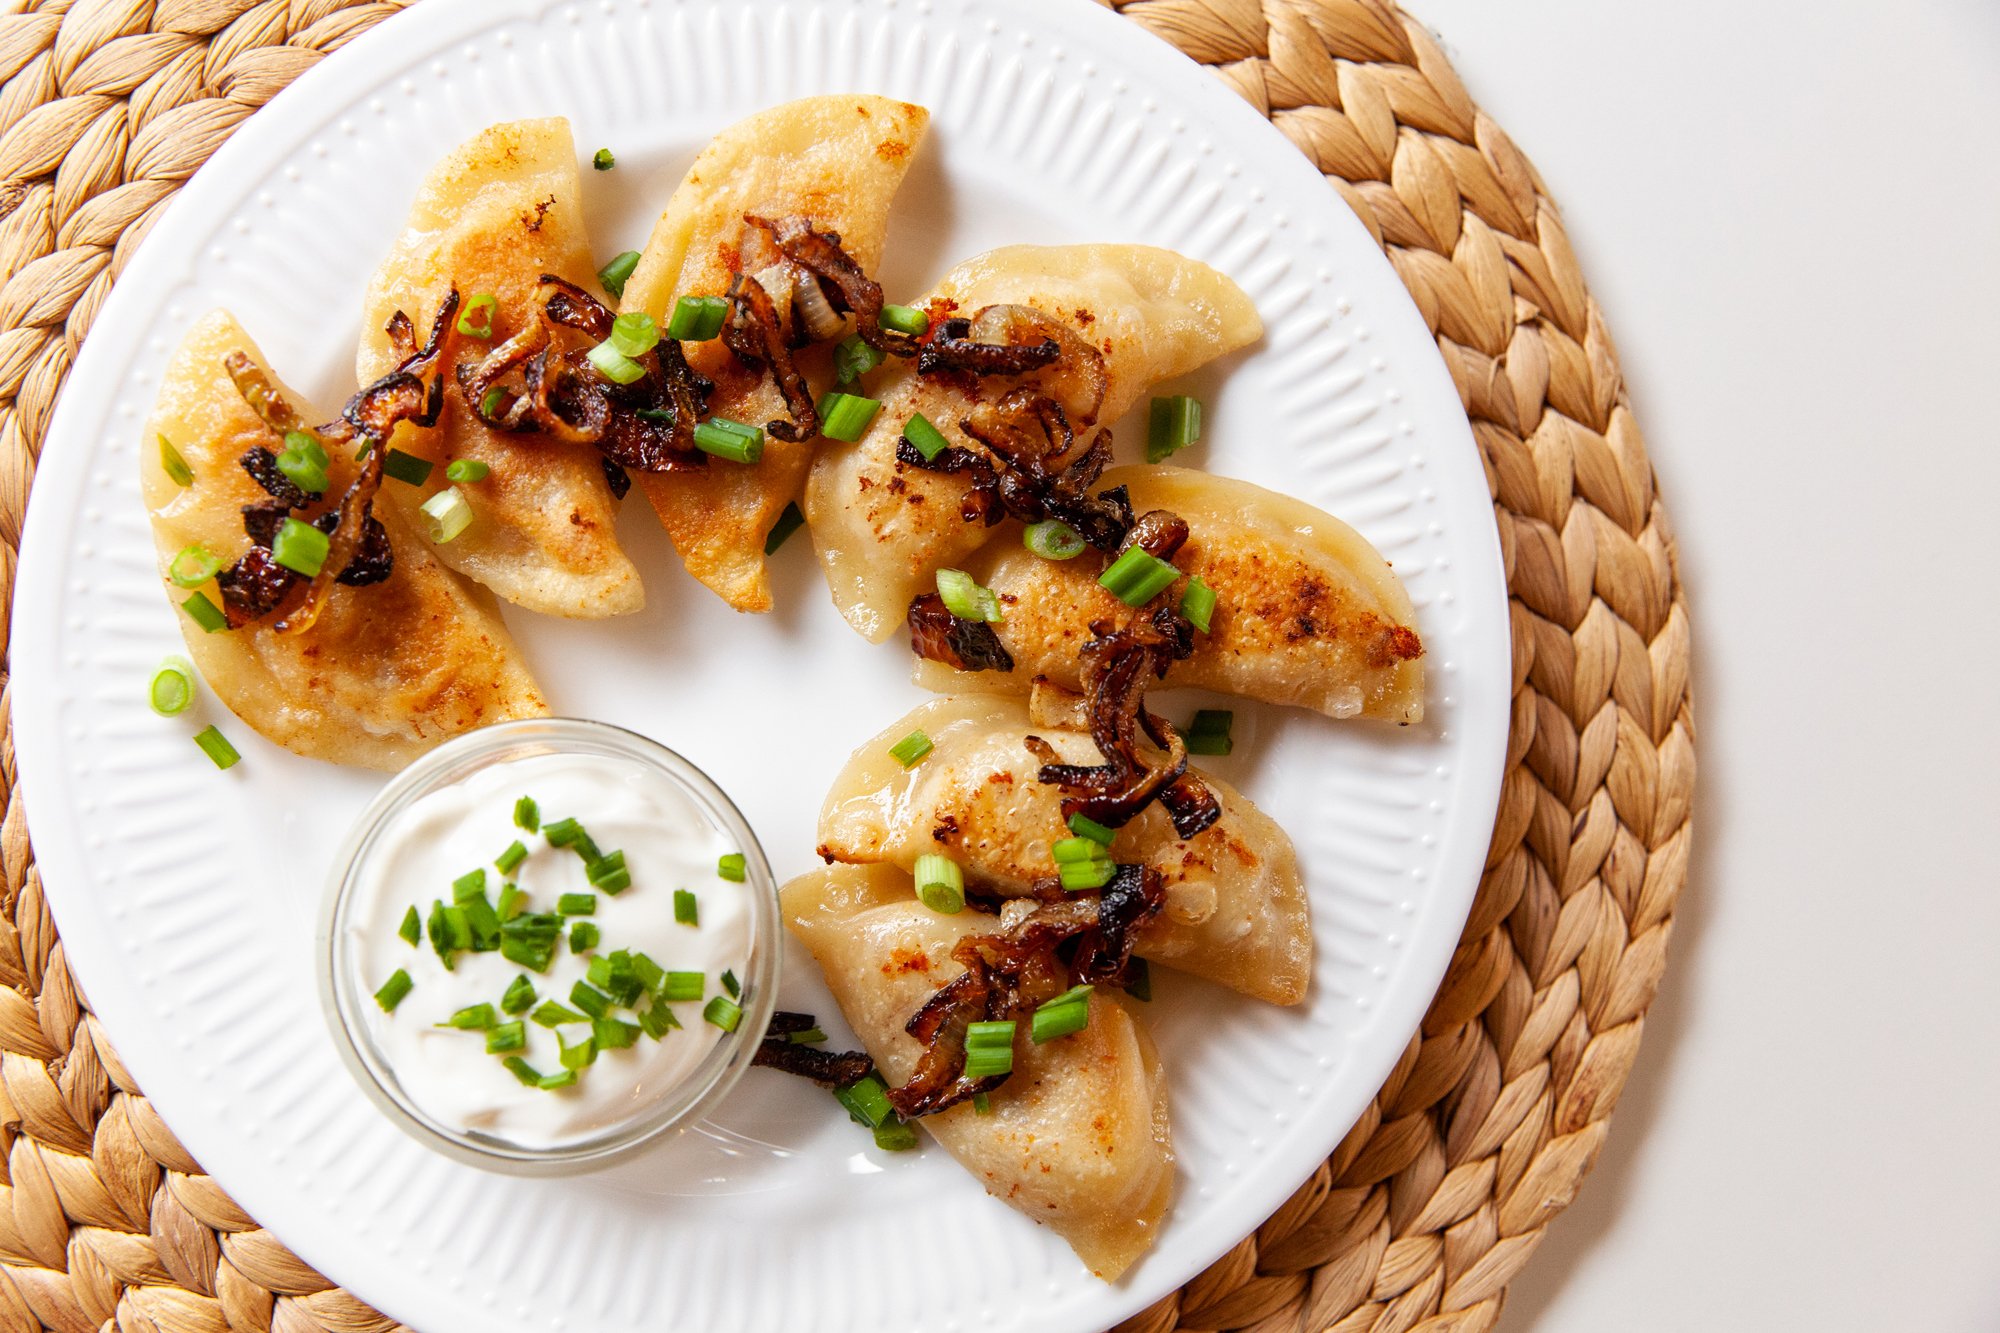
- chives and/or green onions
- sour cream
(all optional)
INSTRUCTIONS:
If using, cook the bacon and let cool, then chop into fine pieces.
For The Dough:
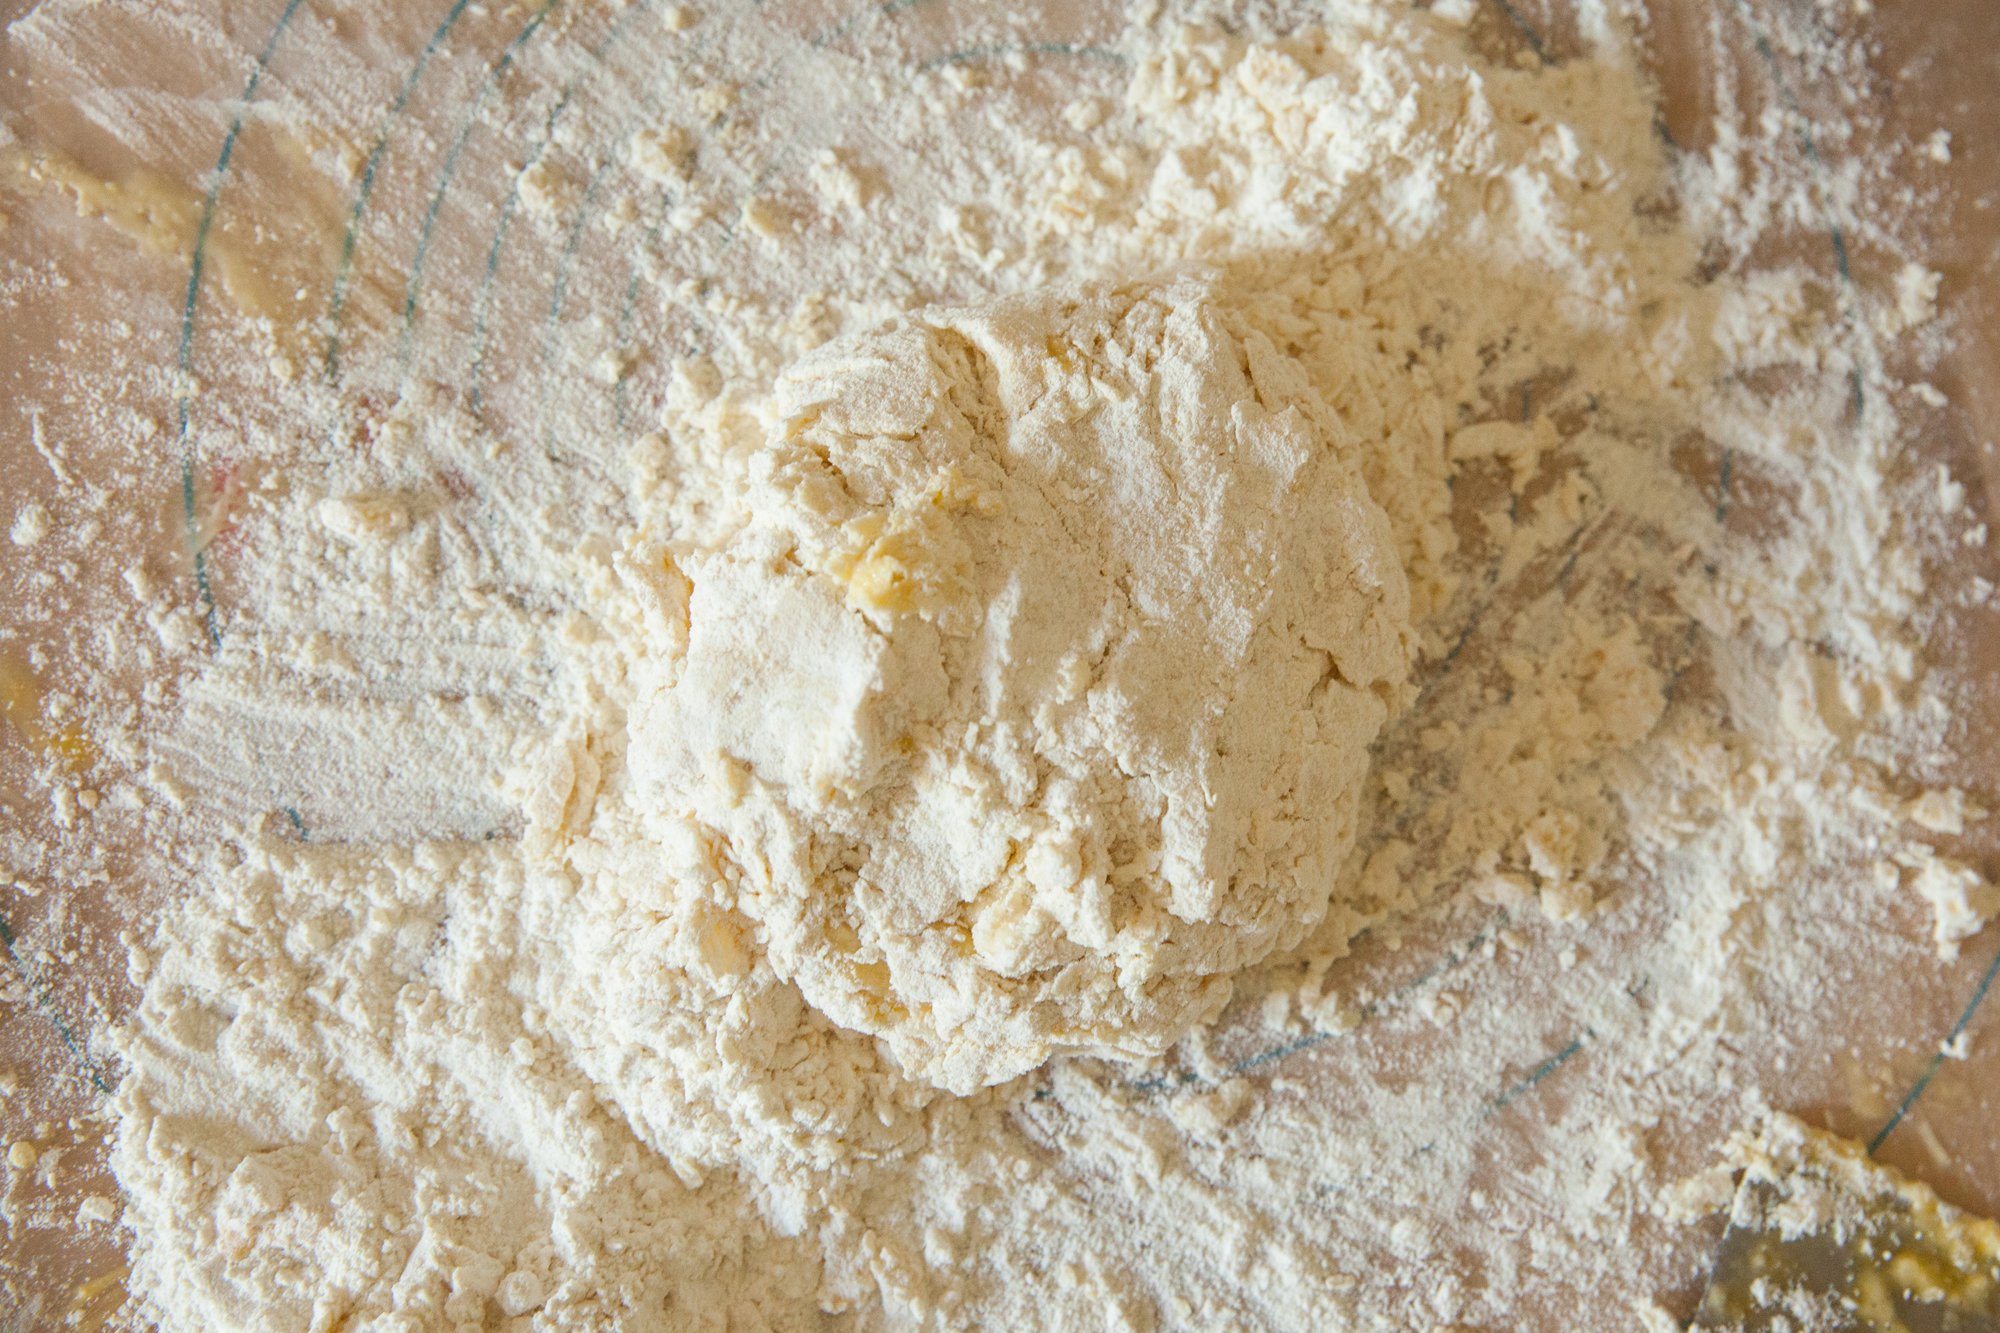
Measure out the flour in a large mixing bowl. Add in the salt and combine, then add the water and oil and begin to bring the dough together with your fingers.
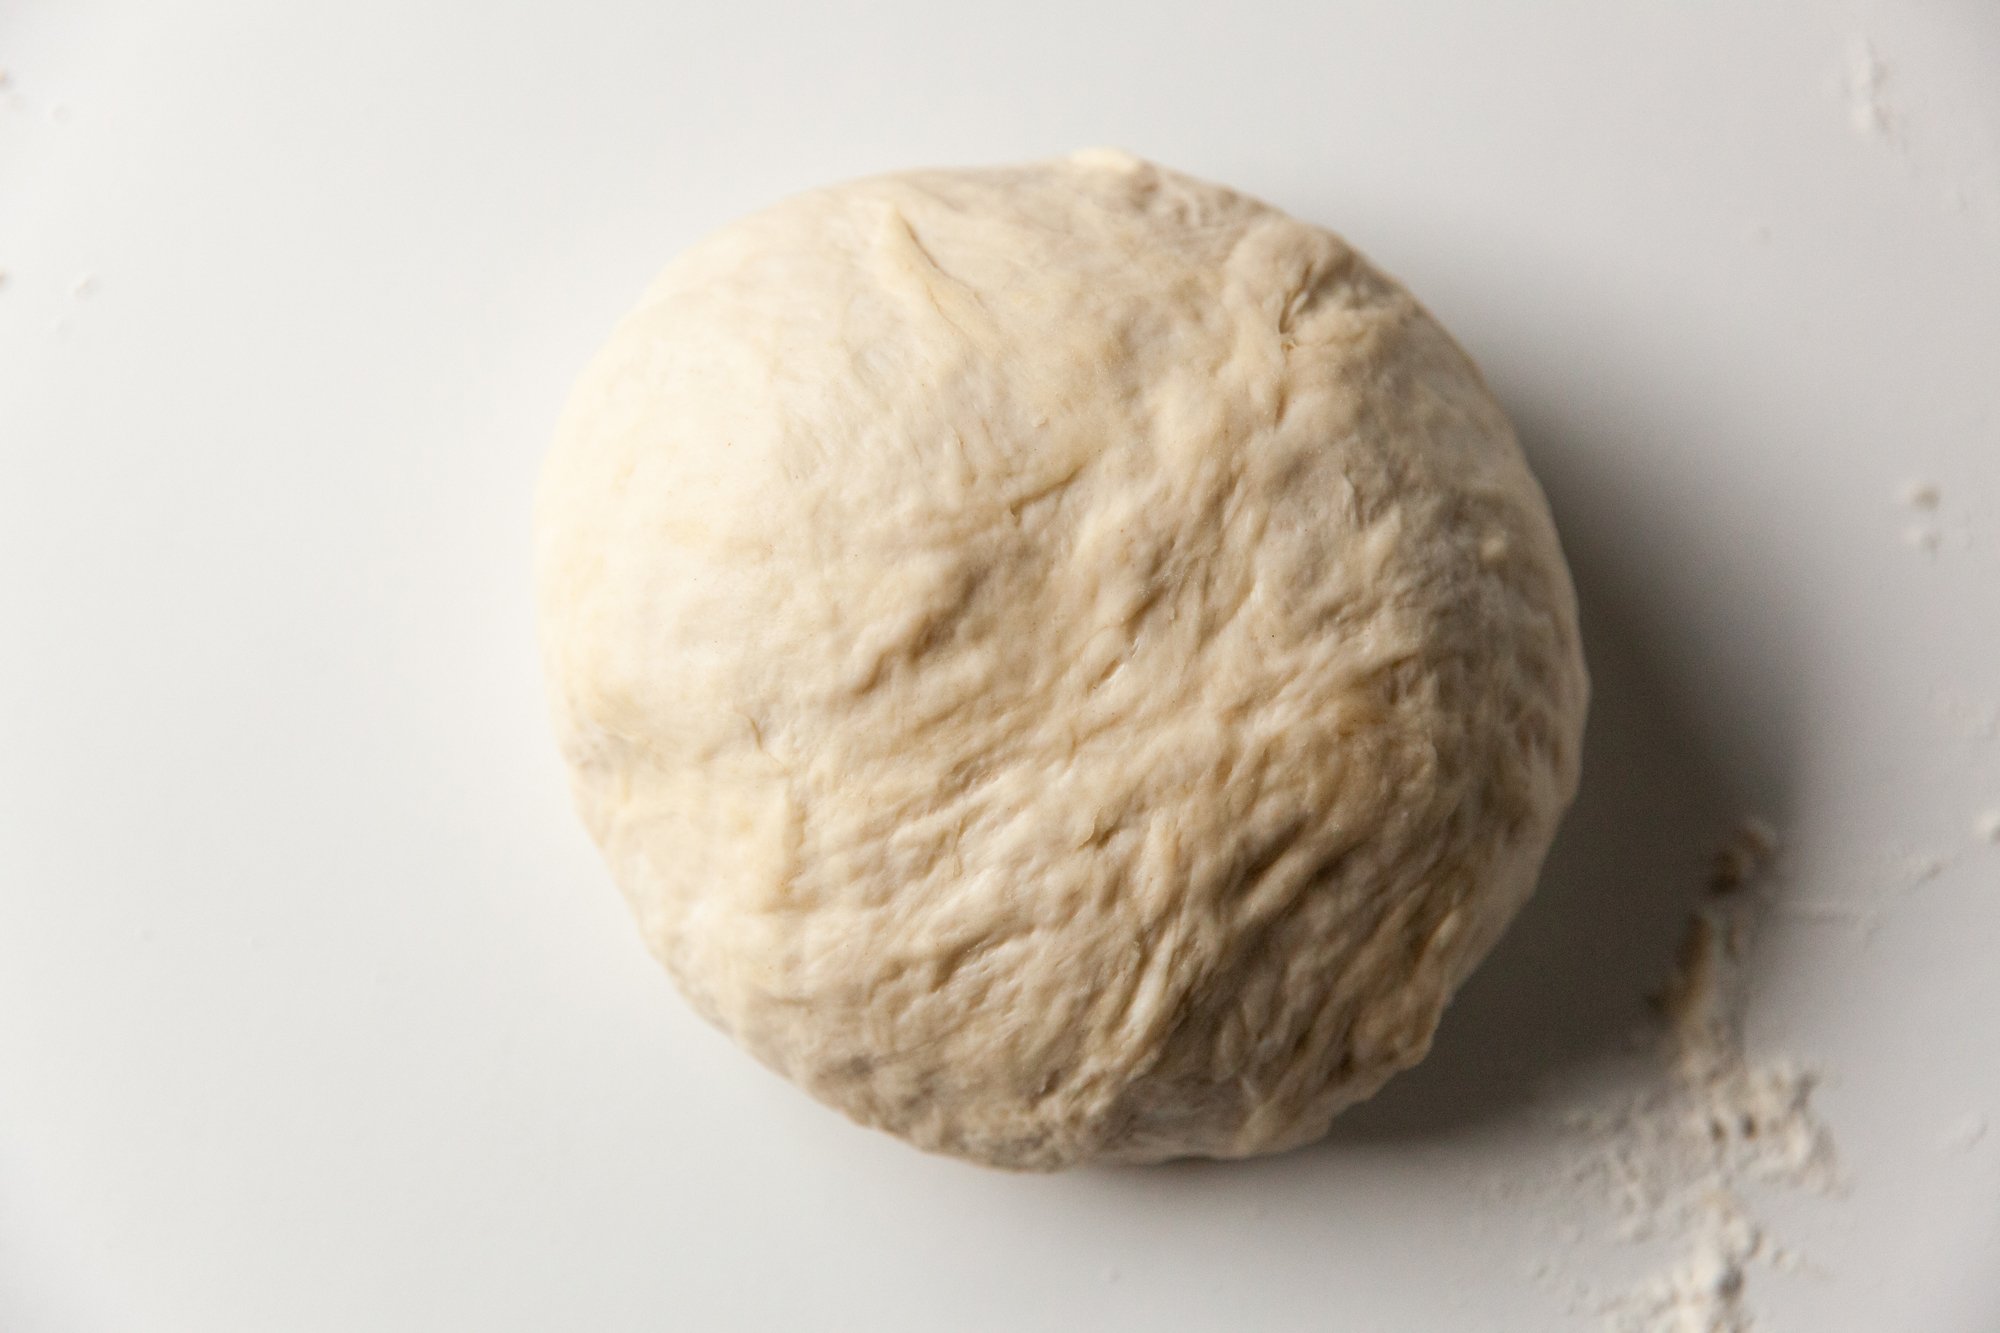
Once loosely mixed, dump on to a clean, floured countertop, and continued to knead the dough until it comes together in a smooth ball – approx. 10 mins.
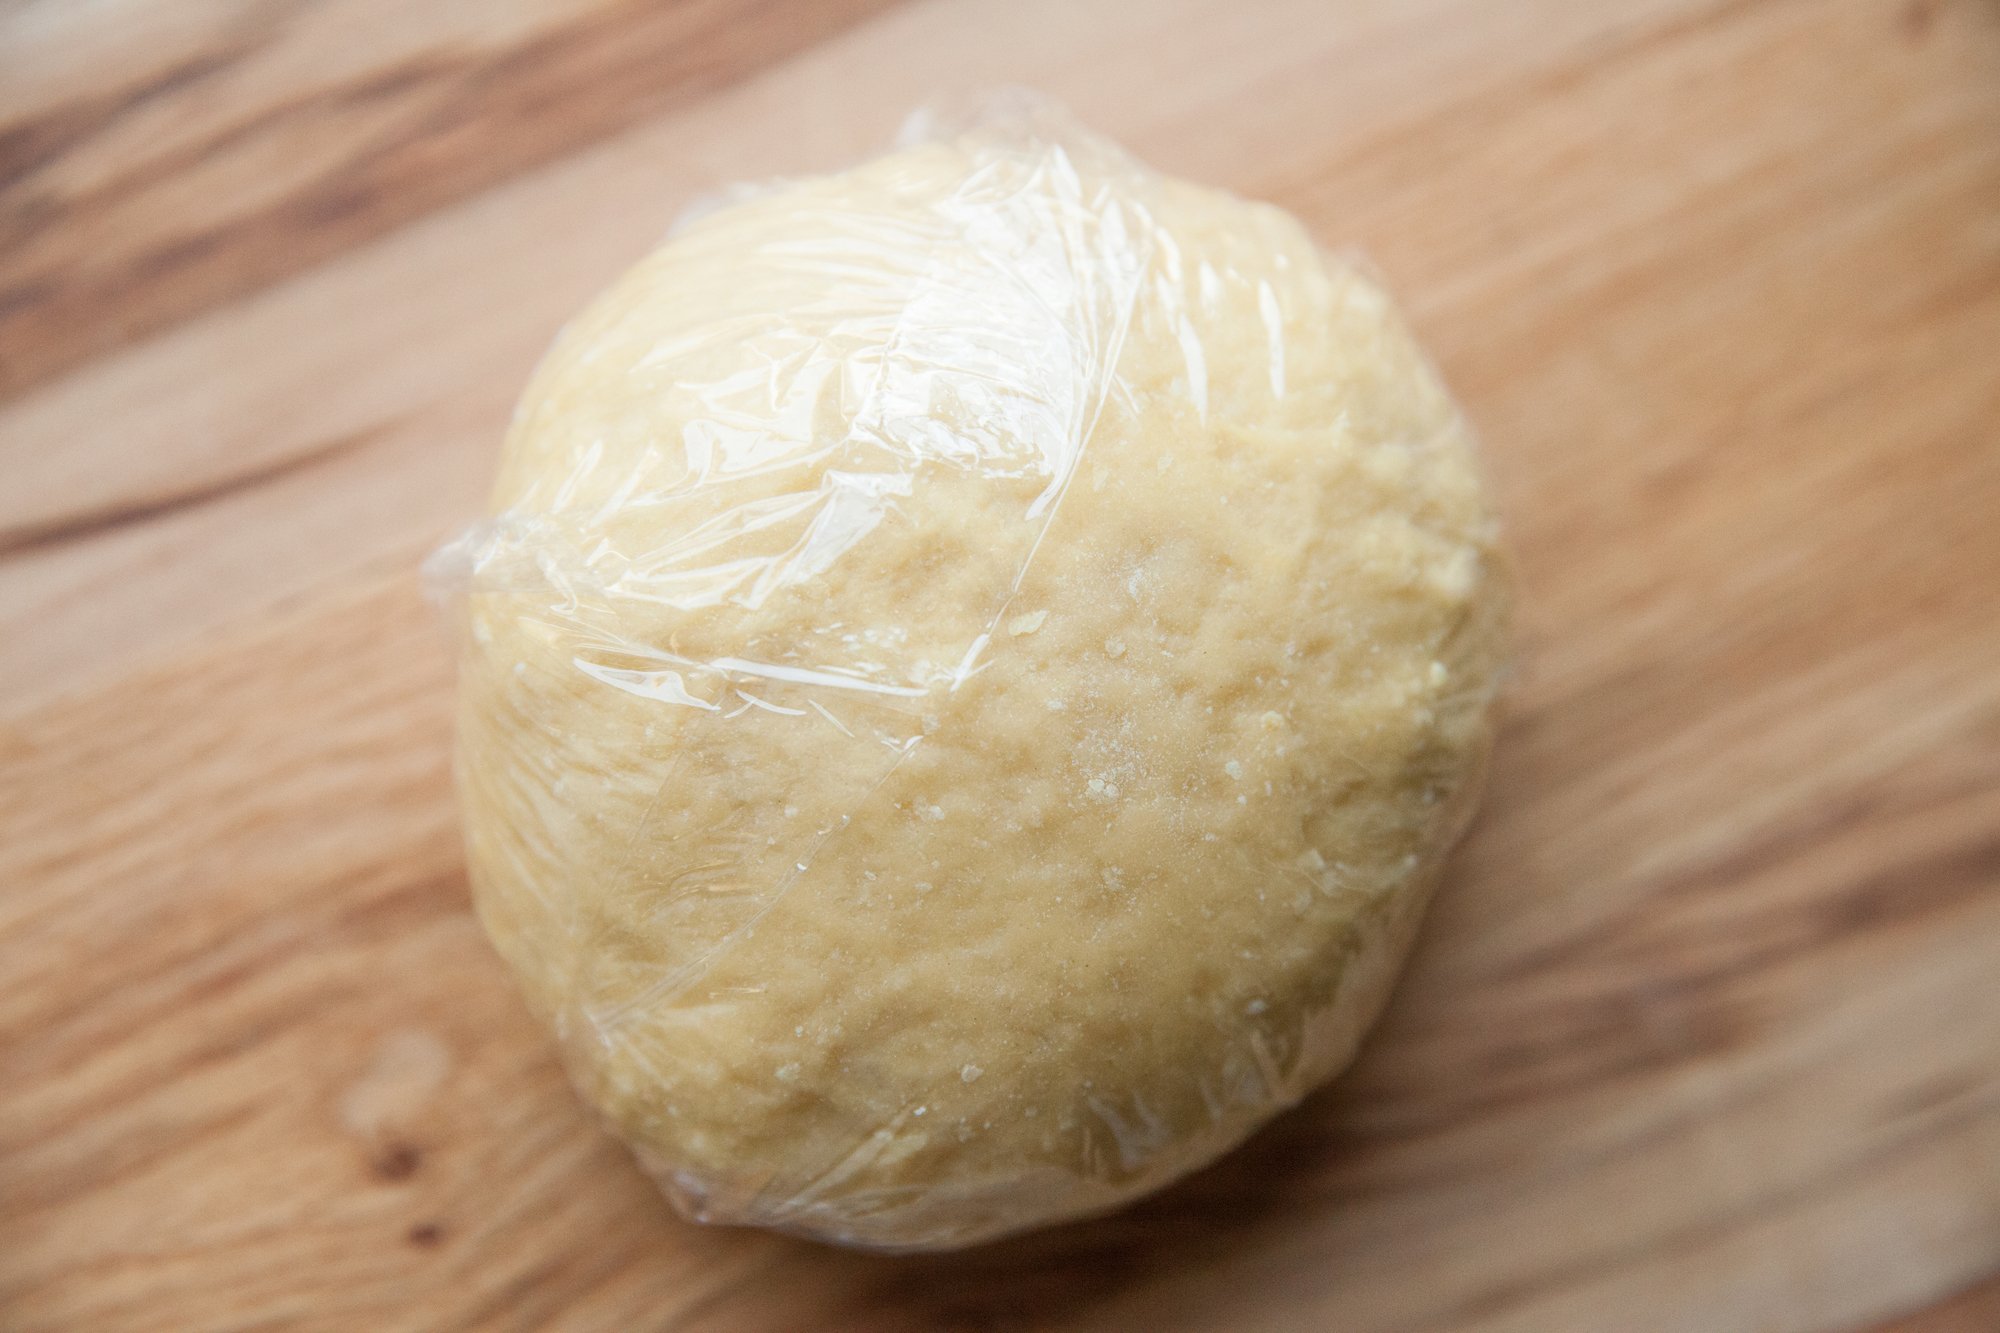
Cut the dough in half, and wrap each half with plastic wrap and let it rest for about 20 minutes* at room temperature.
*Make the filling(s) during this time.
For The Filling:
Potato is your base here, but you can add whatever you’d like into it. Cheese (different kinds), bacon, caramelized onions etc.
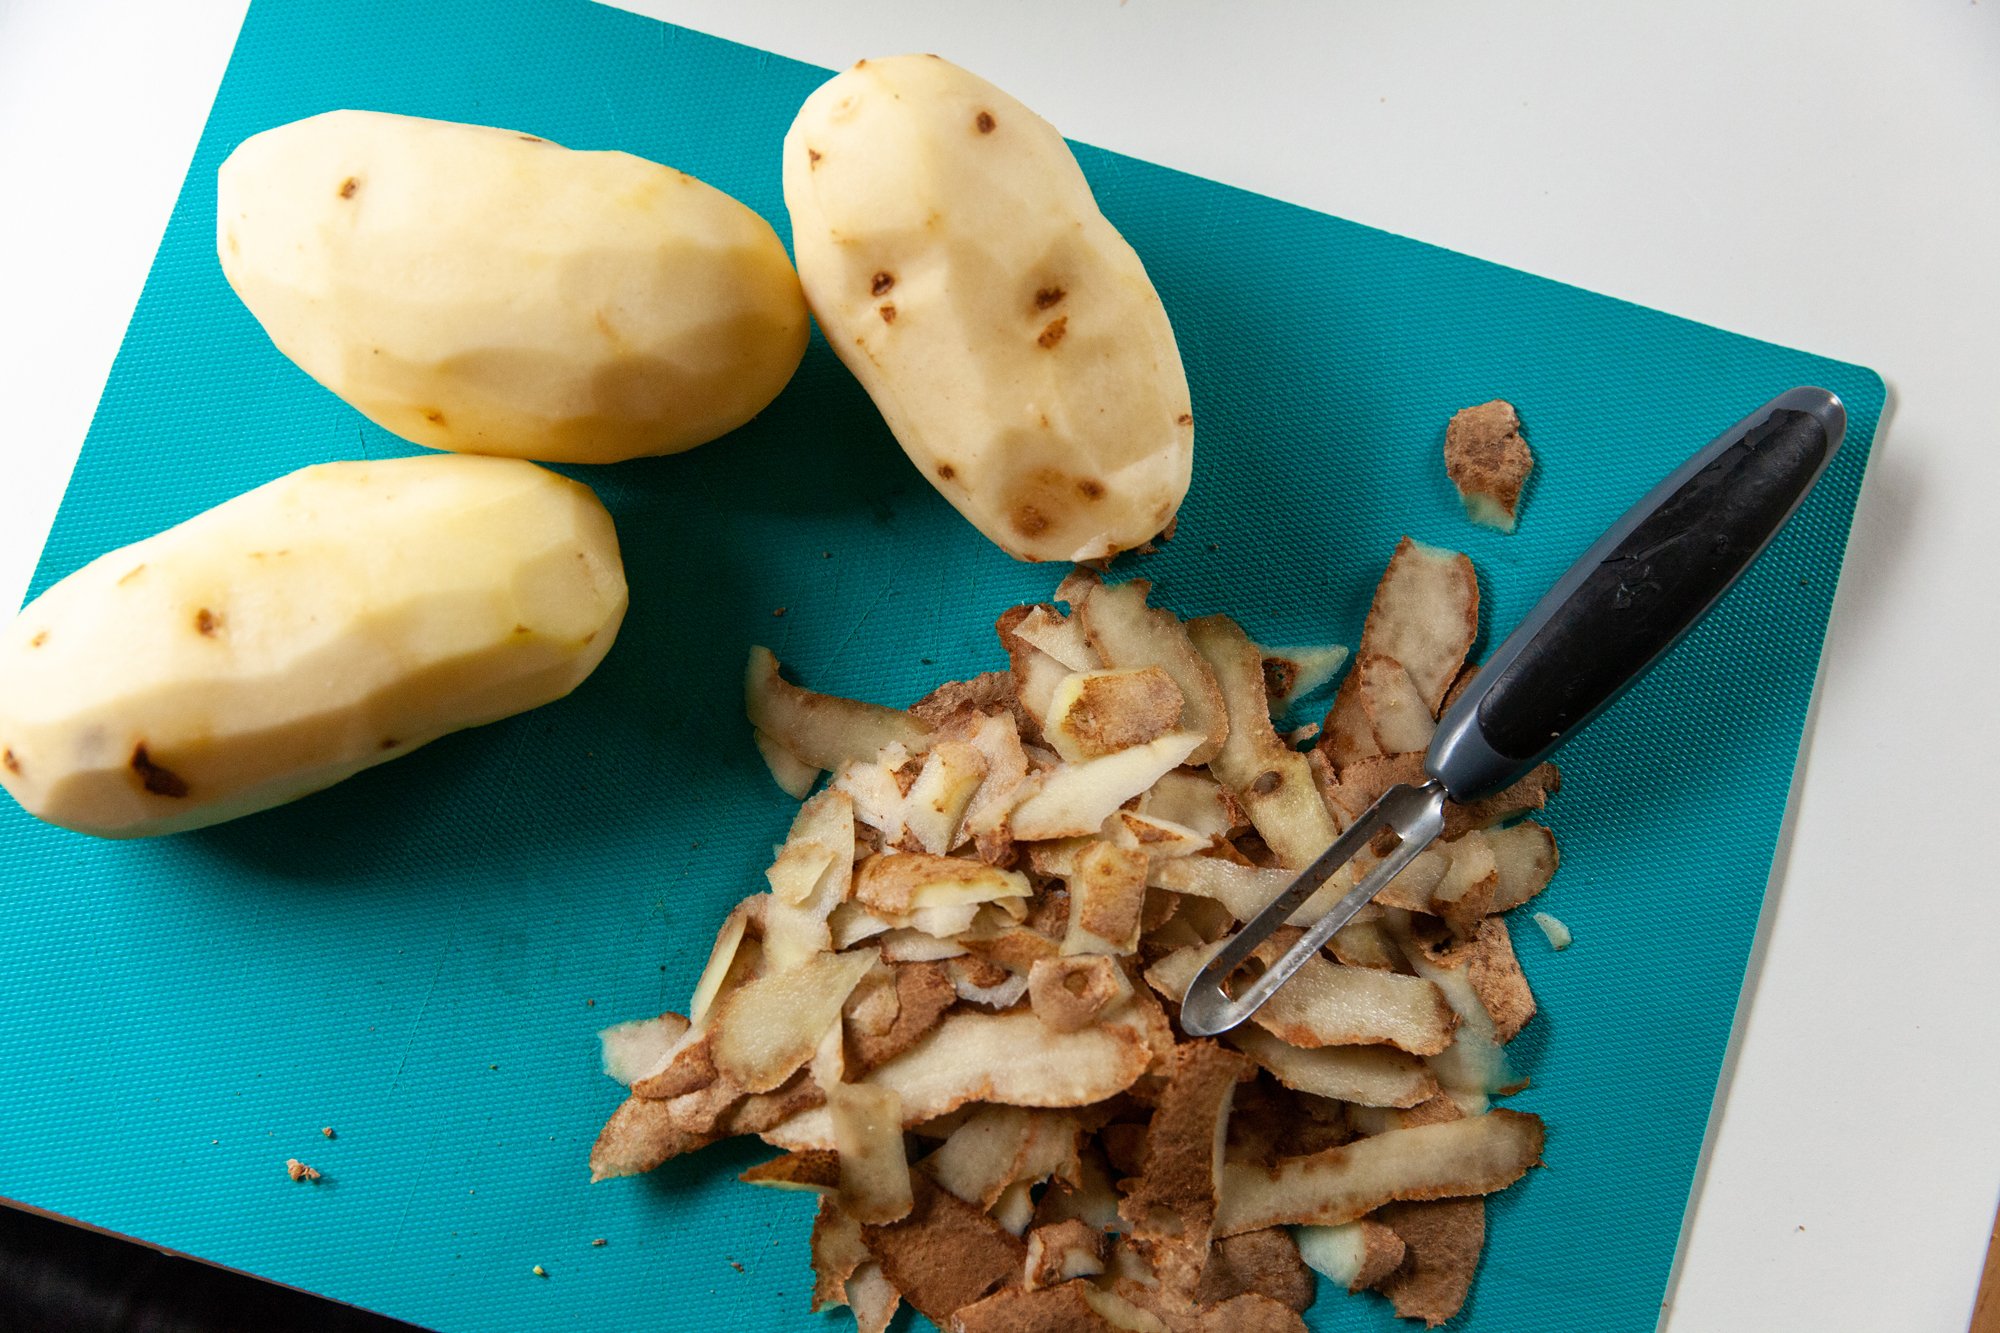
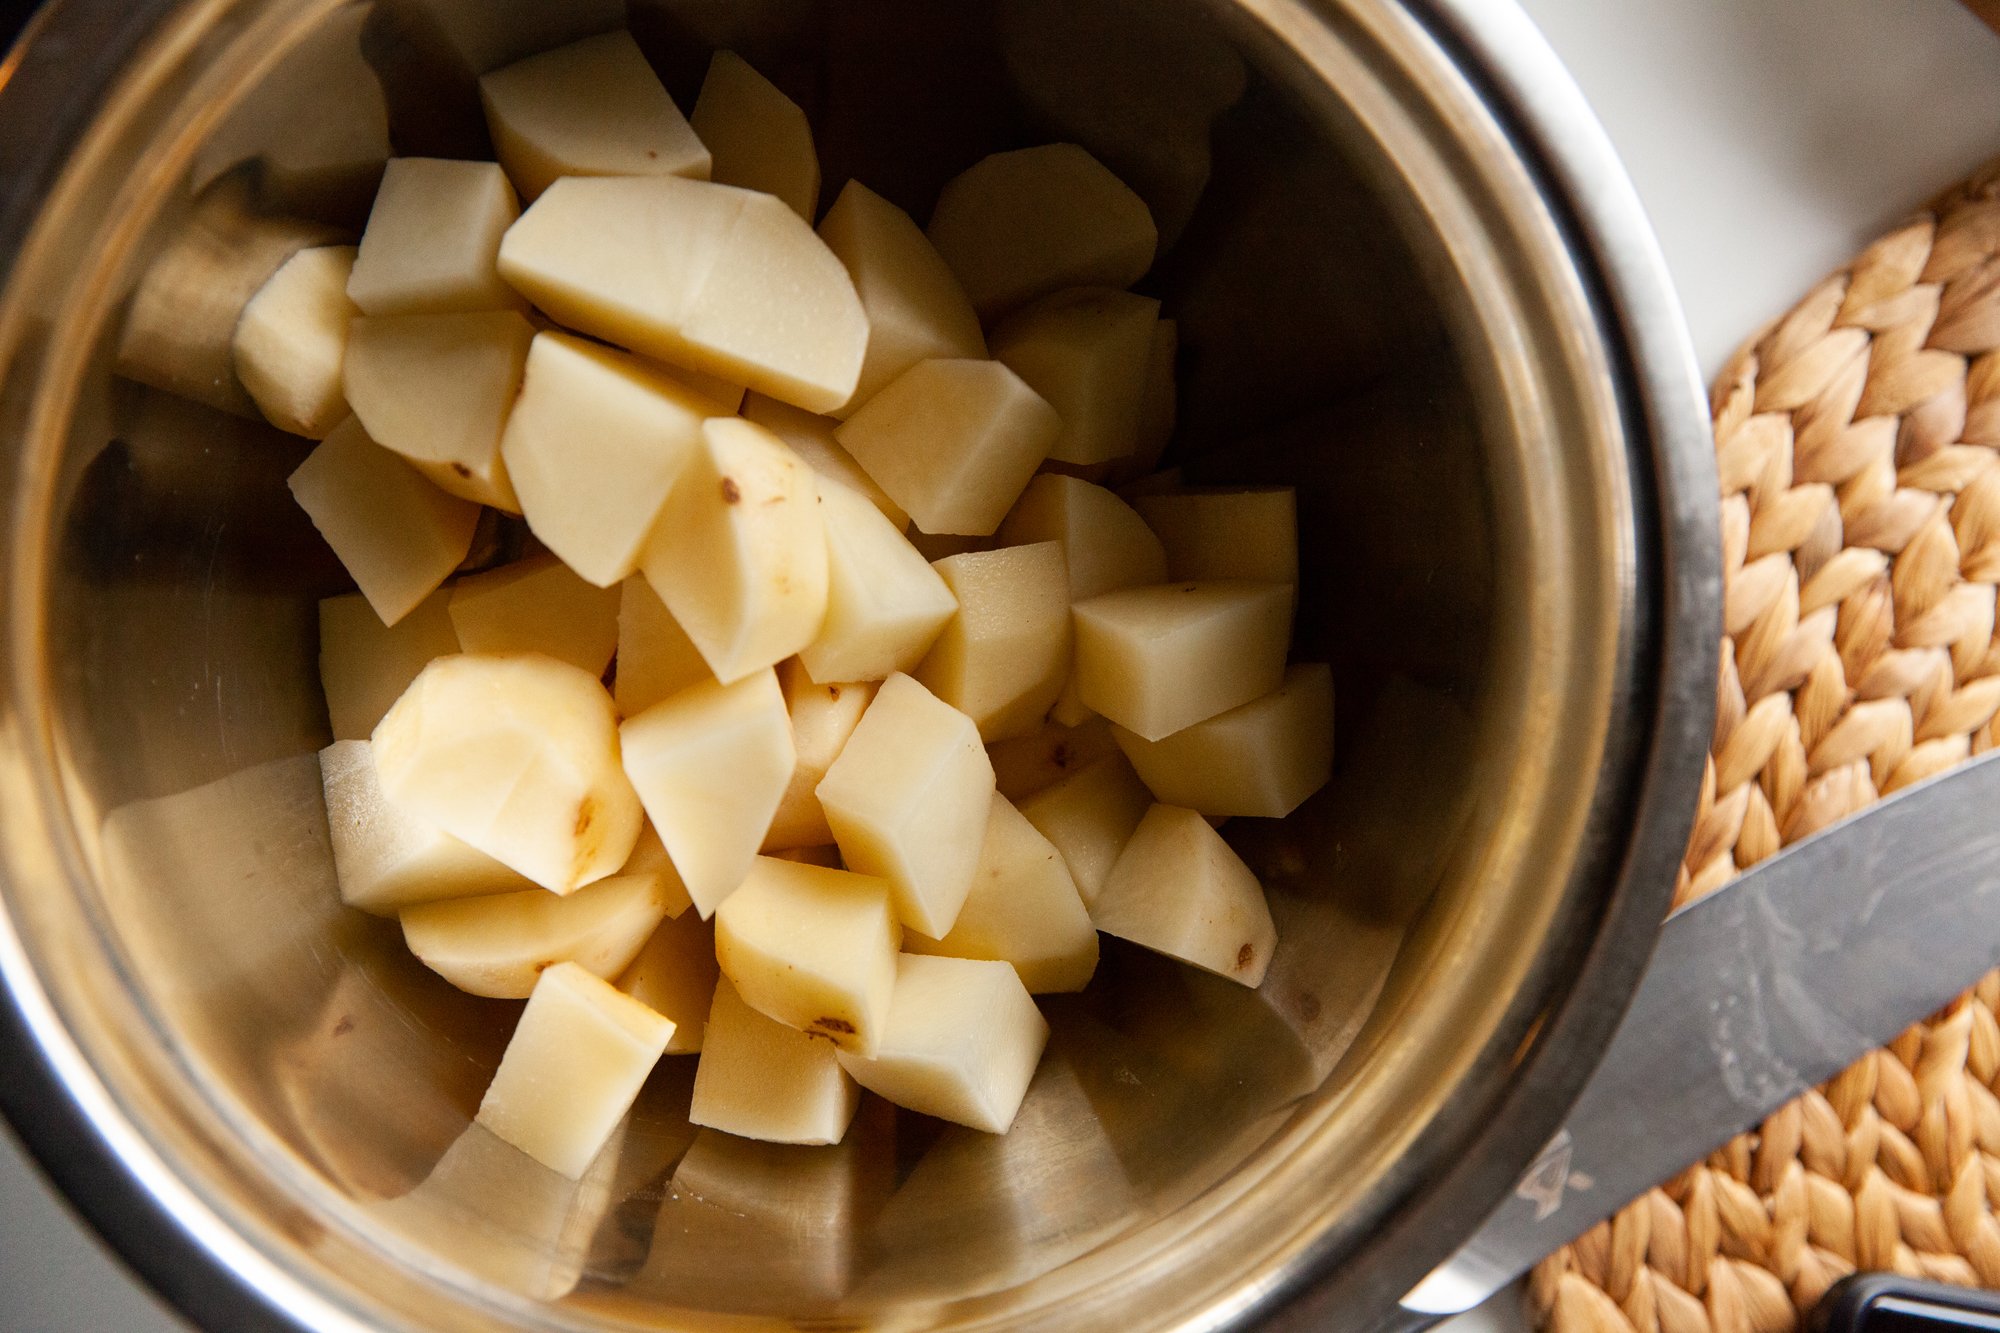
Scrub and peel your potatoes, and then cut into cubes. Cover with cold water, and then bring to a boil on the stove.
Let the potatoes cook at a rolling low boil until you can pierce them easily with a knife (around 10-15 mins-ish).
Drain and then place the potatoes back in the pot. Add the butter, and then either with a potato masher, or a hand mixer, work the potatoes until they're smooth, while slowly adding some milk as needed. Do NOT use an immersion mixture as this will make the potatoes way too starchy.
Lightly salt and pepper to taste.
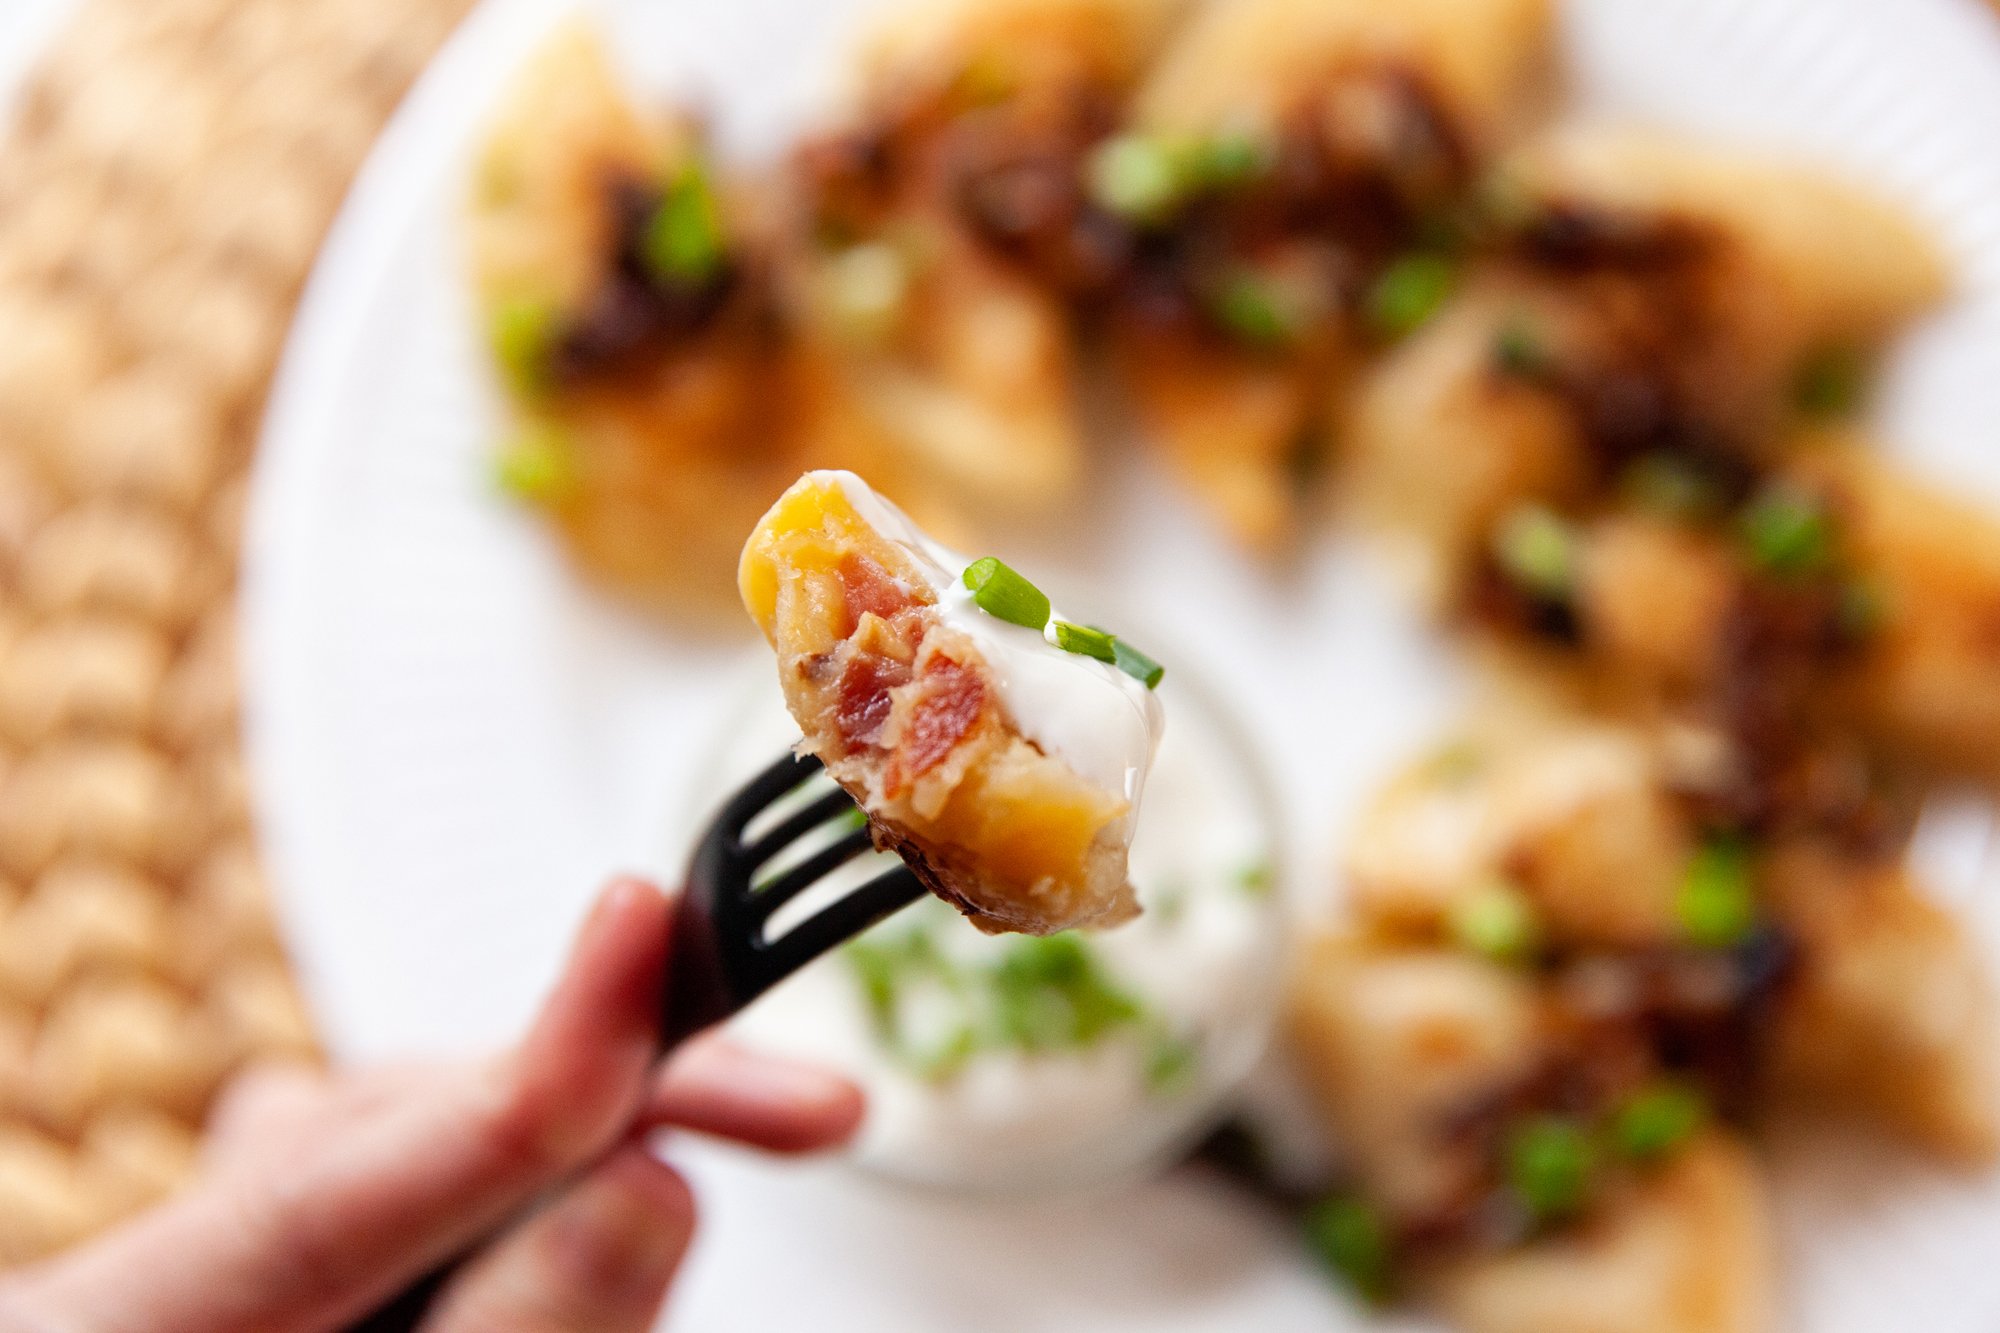
Now is the time to add whichever extra filling you’d like – for this recipe I used cheddar and bacon. Stir until evenly combined and then let cool to room temp, so you don't burn yourself when making the perogies.
To Make the Perogies:
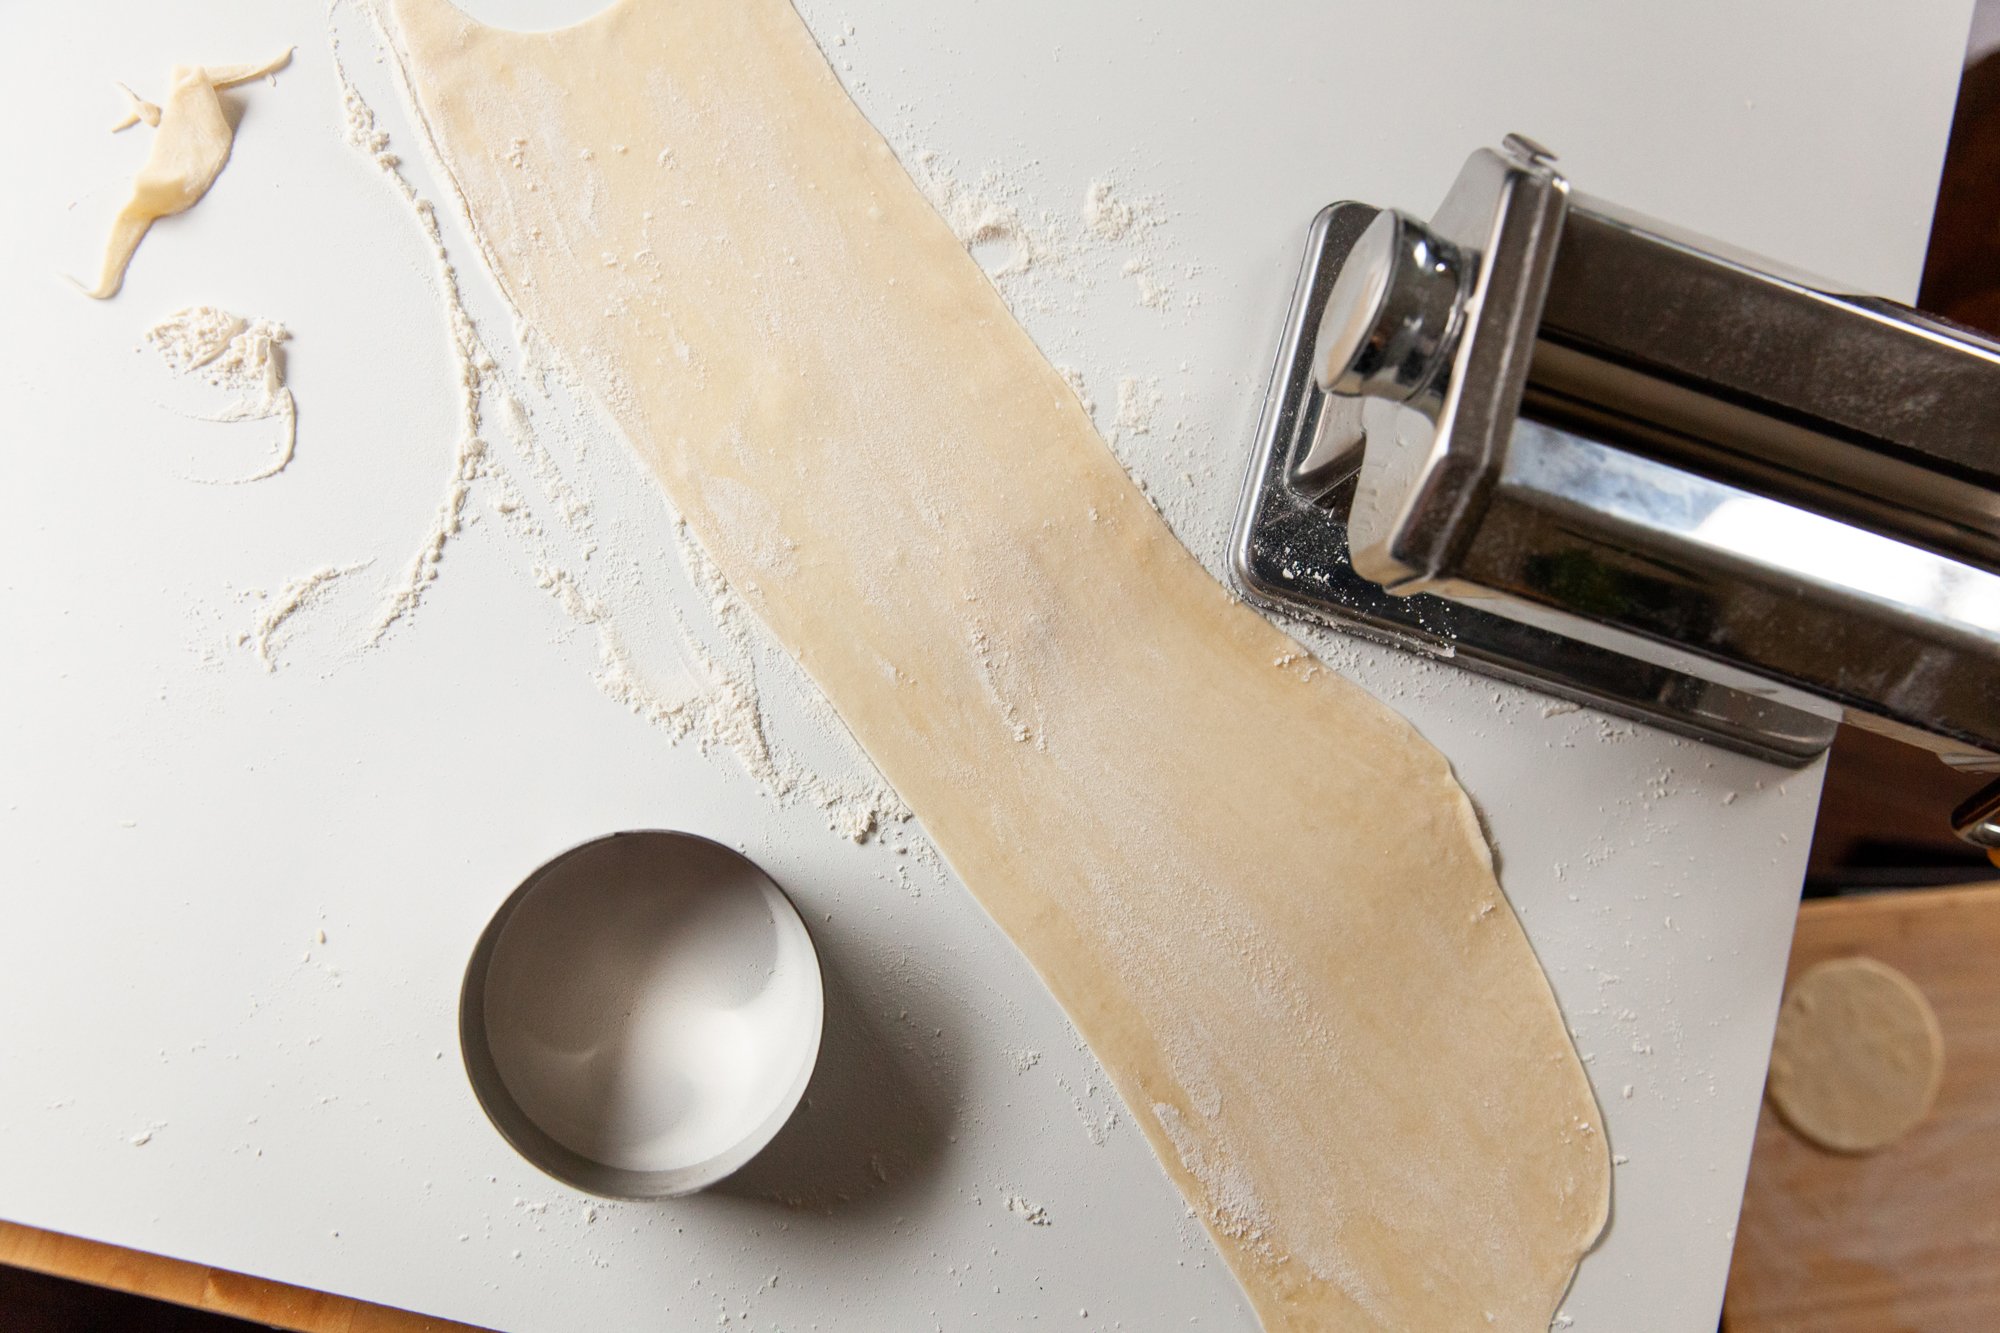
Roll out half the dough until it's about 1/8 - 1/16 inch thick (very thin) - either by hand, or in a pasta maker.
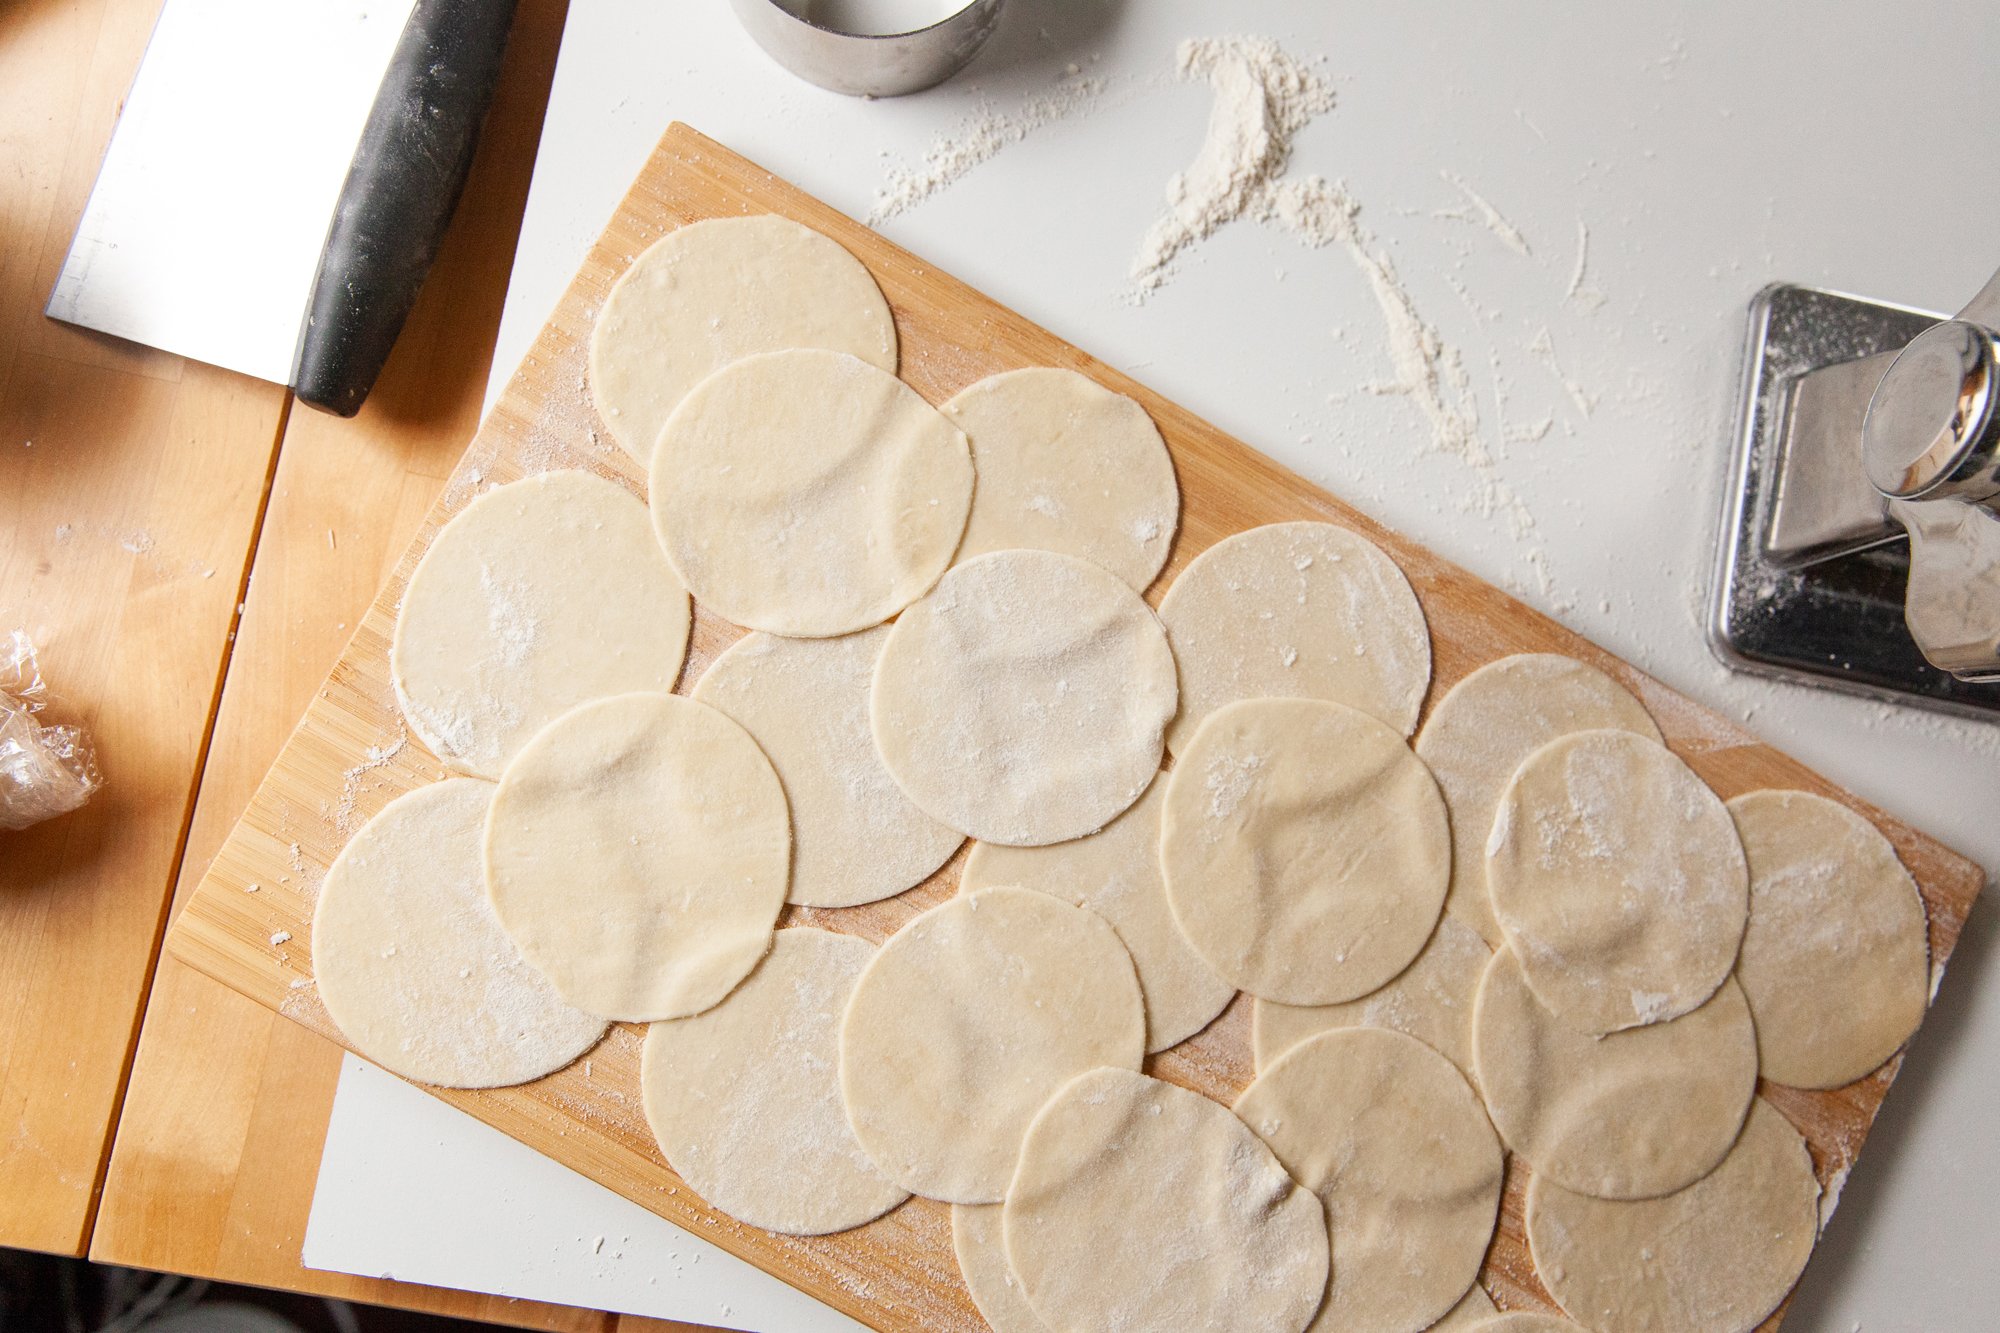
Use a round cookie cutter, or a glass, floured, and cut the dough into circles (or ovals). Place on a floured cutting board, or cookie sheet, while you do the rest of the dough.
Re-roll any leftover dough bits to maximize the amount of you can make.
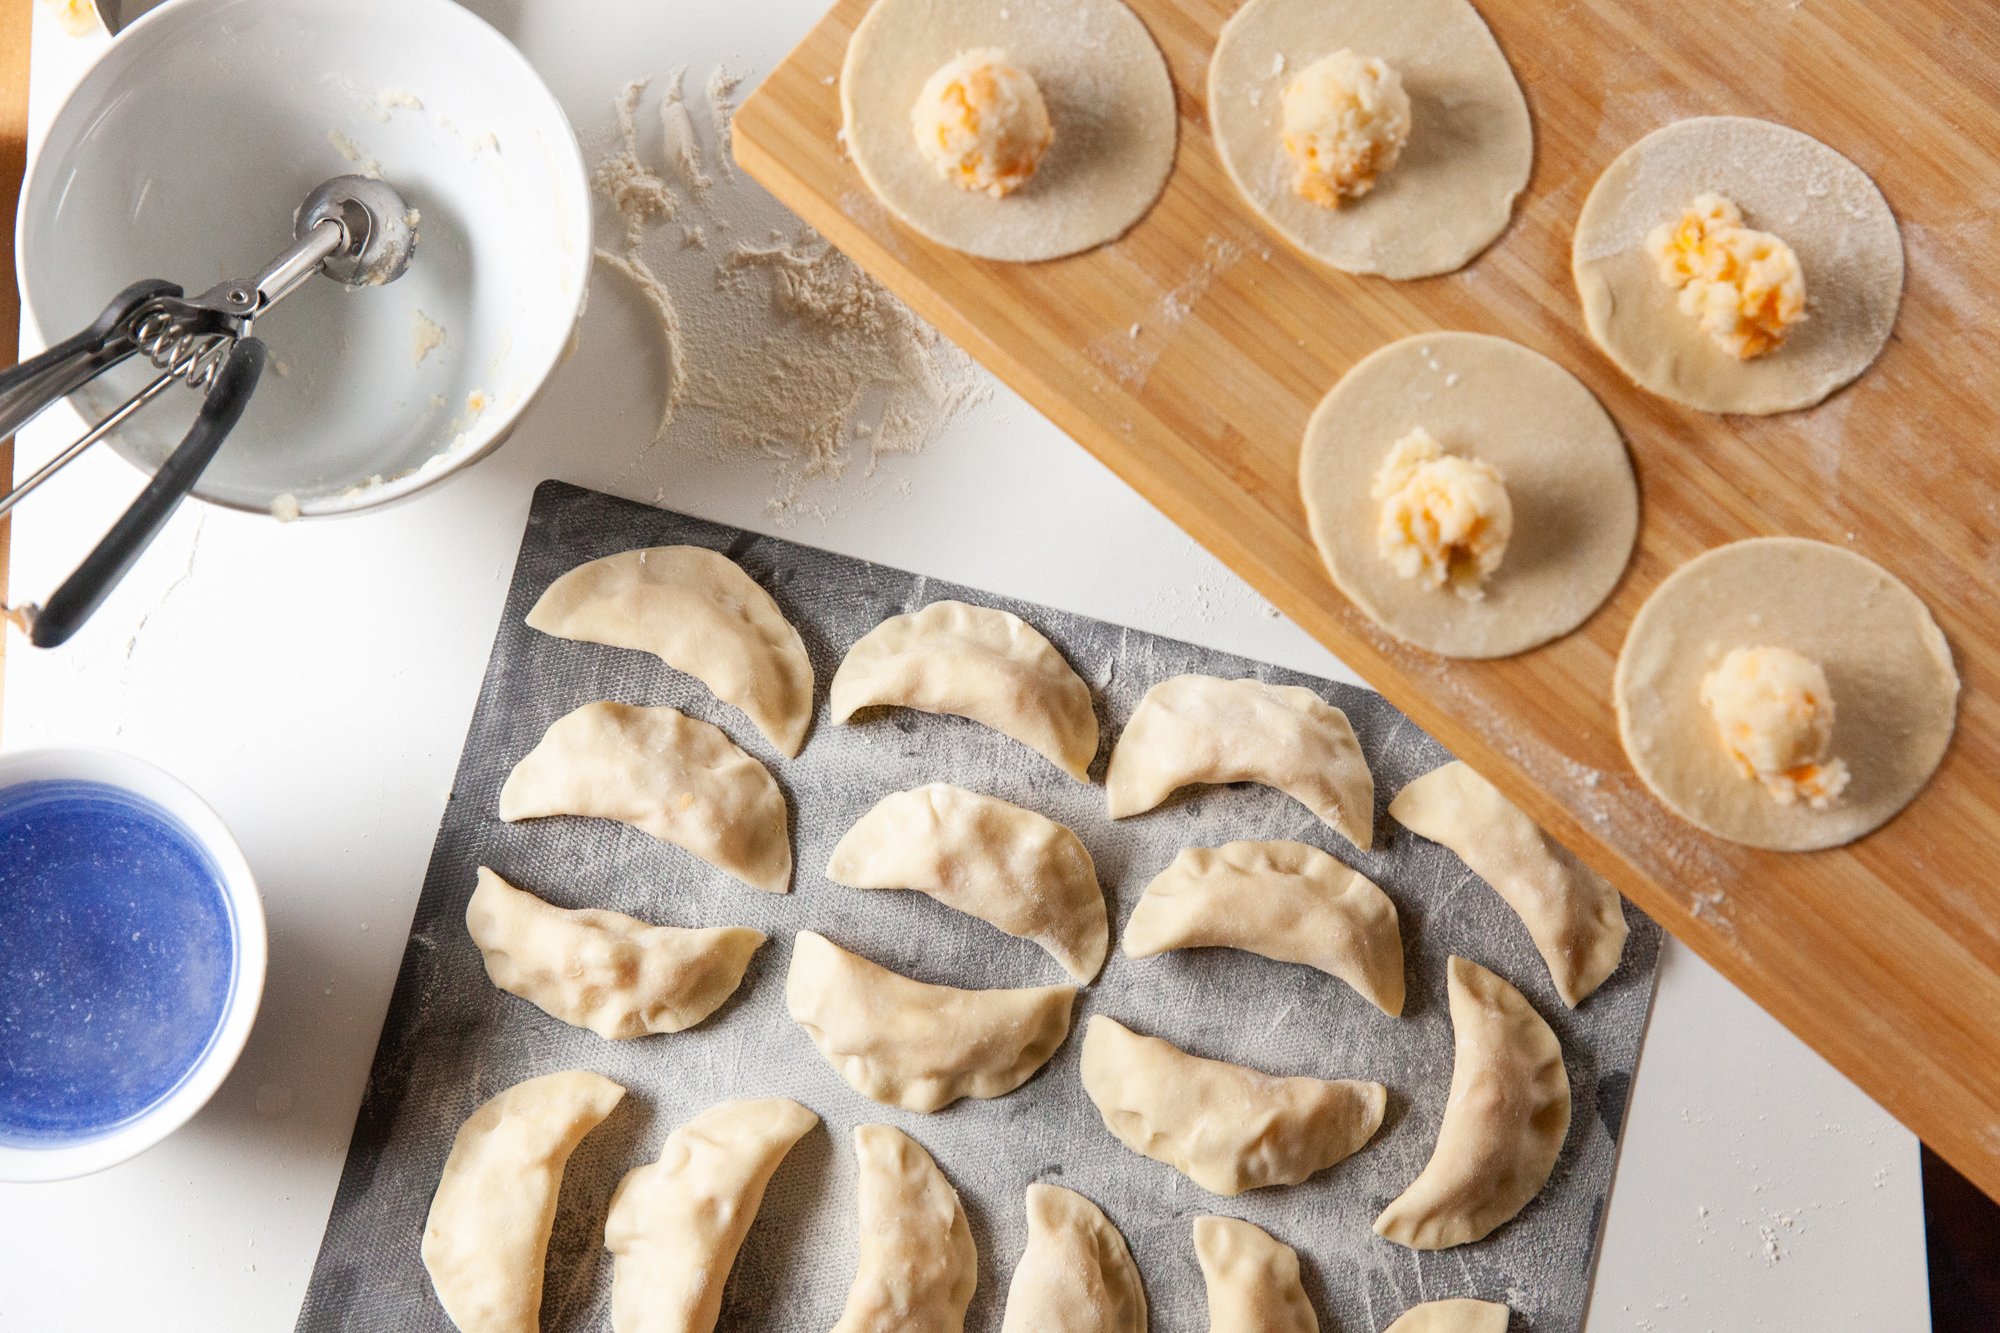
When the half of dough is ready and cut, grab a small bowl of room temp water. Place the circle of dough in your hand, and fill with about a heaping teaspoon of your filling of choice. This amount will vary with the size of your circles - it may take a few tries.
Dip a finger in the water bowl and run it around the edge of your circle, and then fold in half over the filling. I started pinching it together to seal it from the middle and working towards one edge, then doing the other.
Place on a floured surface and cover while you make the rest of the perogies in this manner.
Keep going until all of the dough is gone!
At this point, you can freeze the pierogis on a flat surface until solid and then place in a freezer bag.
To Cook:
(*If you want to have caramelized onions for a topping, it's good to make them first, as they take some time.
HOW TO: Cut an onion into half-moon slices, and then add to a frying pan that is on medium heat, with about a tsp of olive oil. Stir every few minutes, and you can add a sprinkle of salt as well. It will take them about 25-30 mins to caramelize. Keep warm while you make the perogies.
Boil some salted water in a large pot. and then drop the perogies one by one into the pot. You can do about 10 at a time max, as you don't want them to stick together (or the bottom of the pot).
[If you're one of those people that eats perogies just boiled and not fried, skip the next part and plate your perogies.]
In the meantime, heat some butter and/or olive oil in a frying pan over medium heat. When the perogies have cooked (about 3 mins) and rise to the surface (it may take a minute or two longer if you're cooking them from frozen), scoop them out with a slotted spoon and place them in the frying pan.
Cook them until they're golden brown on both sides.
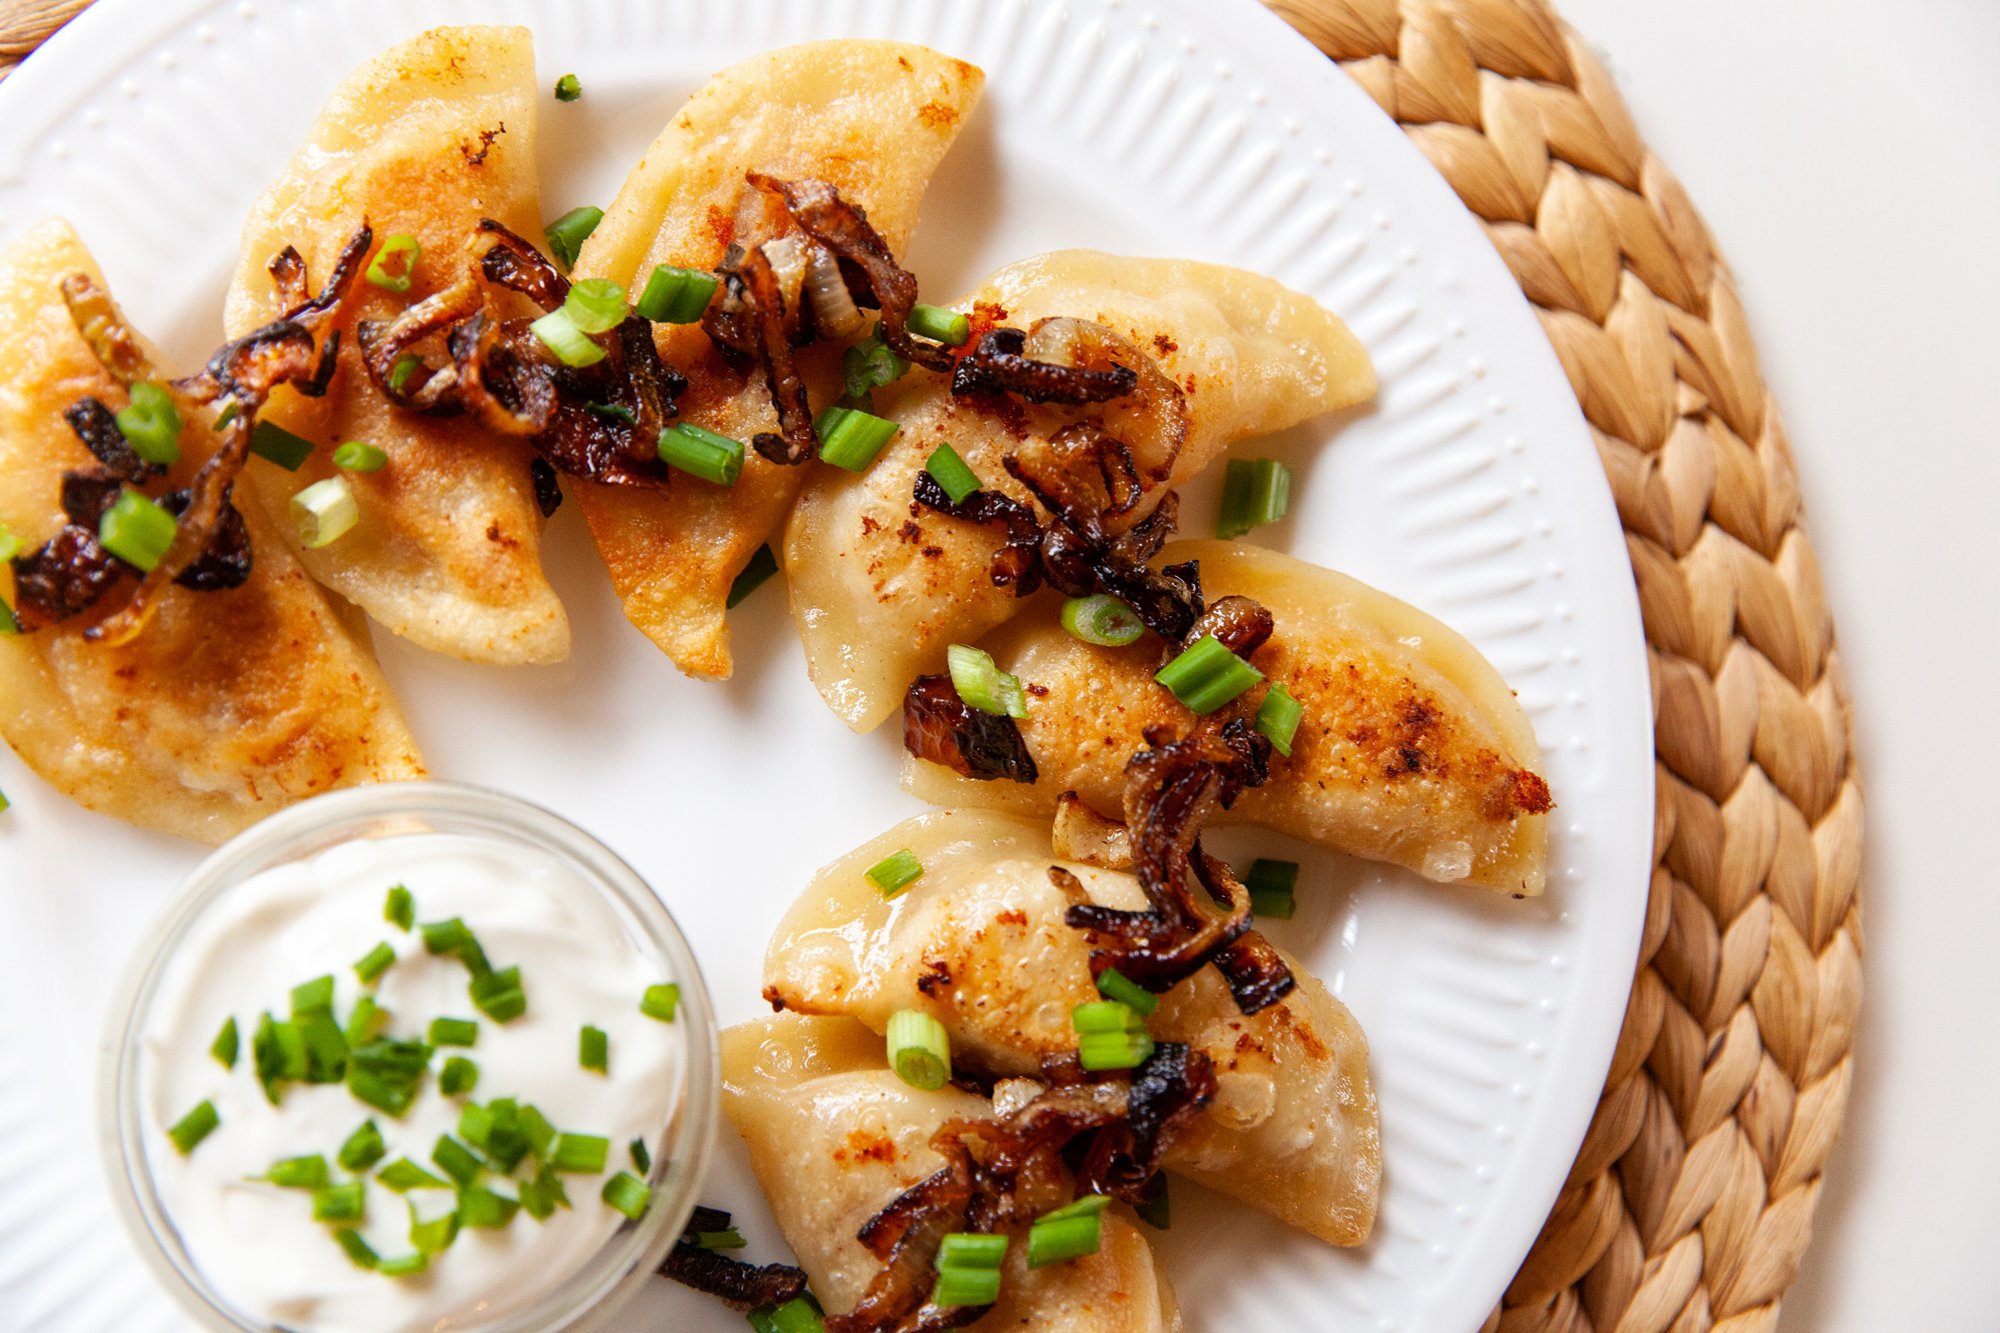
Place them on a plate, and top with your desired sides and toppings.
ENJOY!


Briana’s 30th Birthday
December 2021
RECIPE: Pasta From Scratch

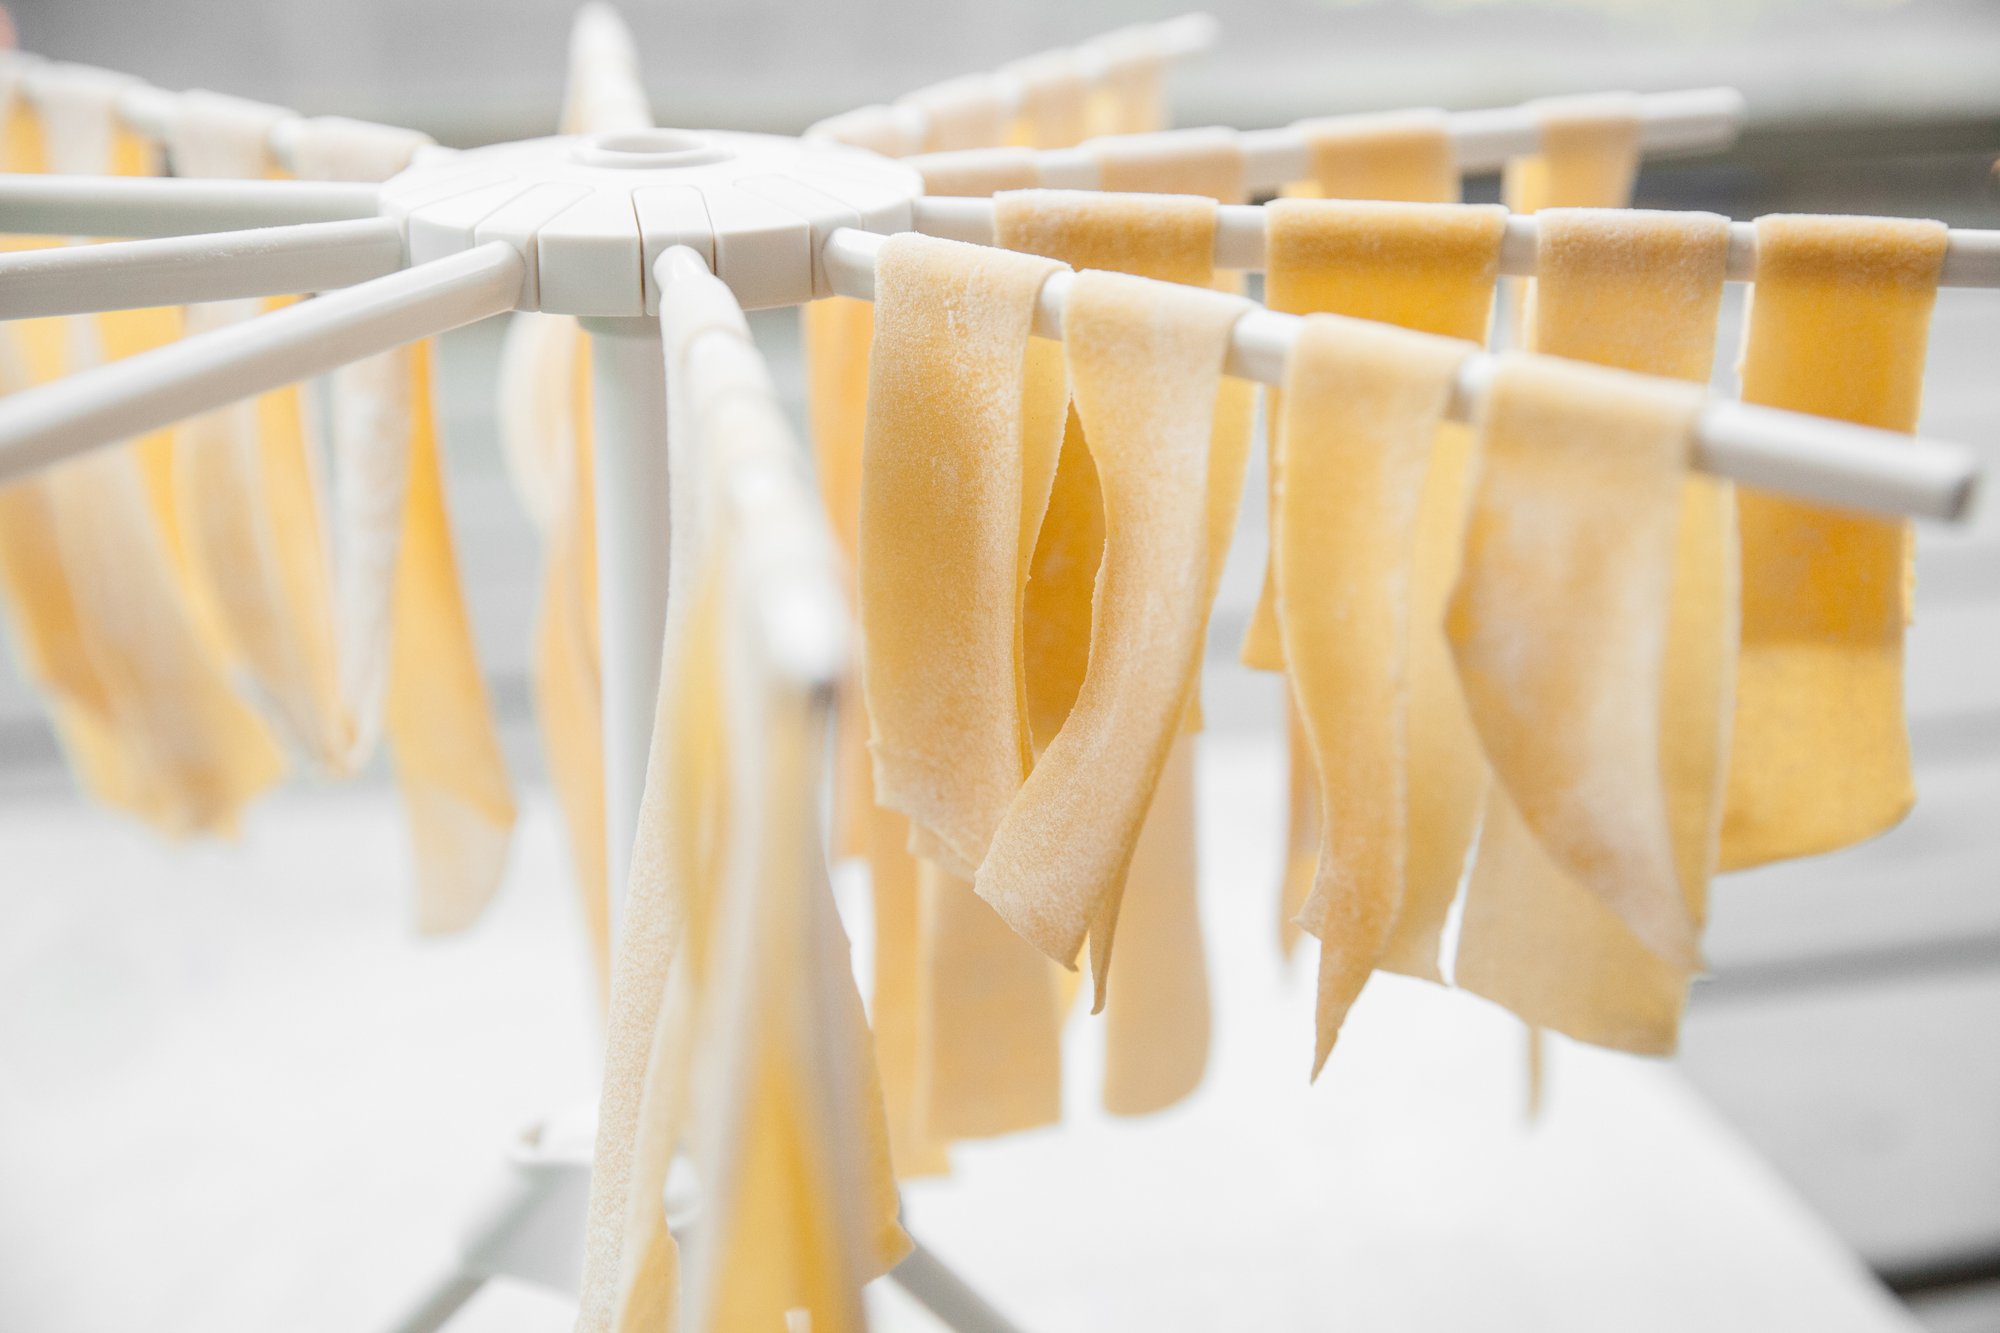
Homemade Pasta
for BCLiving
December 2021
Making pasta from scratch is not as daunting as it might seem, and the time invested is 100% worth the reward. You don’t NEED a pasta maker just a rolling pin and a sharp knife, but the pasta machine will definitely speed things along (esp. if you have the attachment for a stand mixer).
It may take you a try or two, so give yourself an afternoon to experiment.
Makes 4-6 Servings
INGREDIENTS
- 2 cups “00” Flour (AP will also work) - and more for dusting/rolling
- 4 eggs
- sprinkle of kosher salt
INSTRUCTIONS
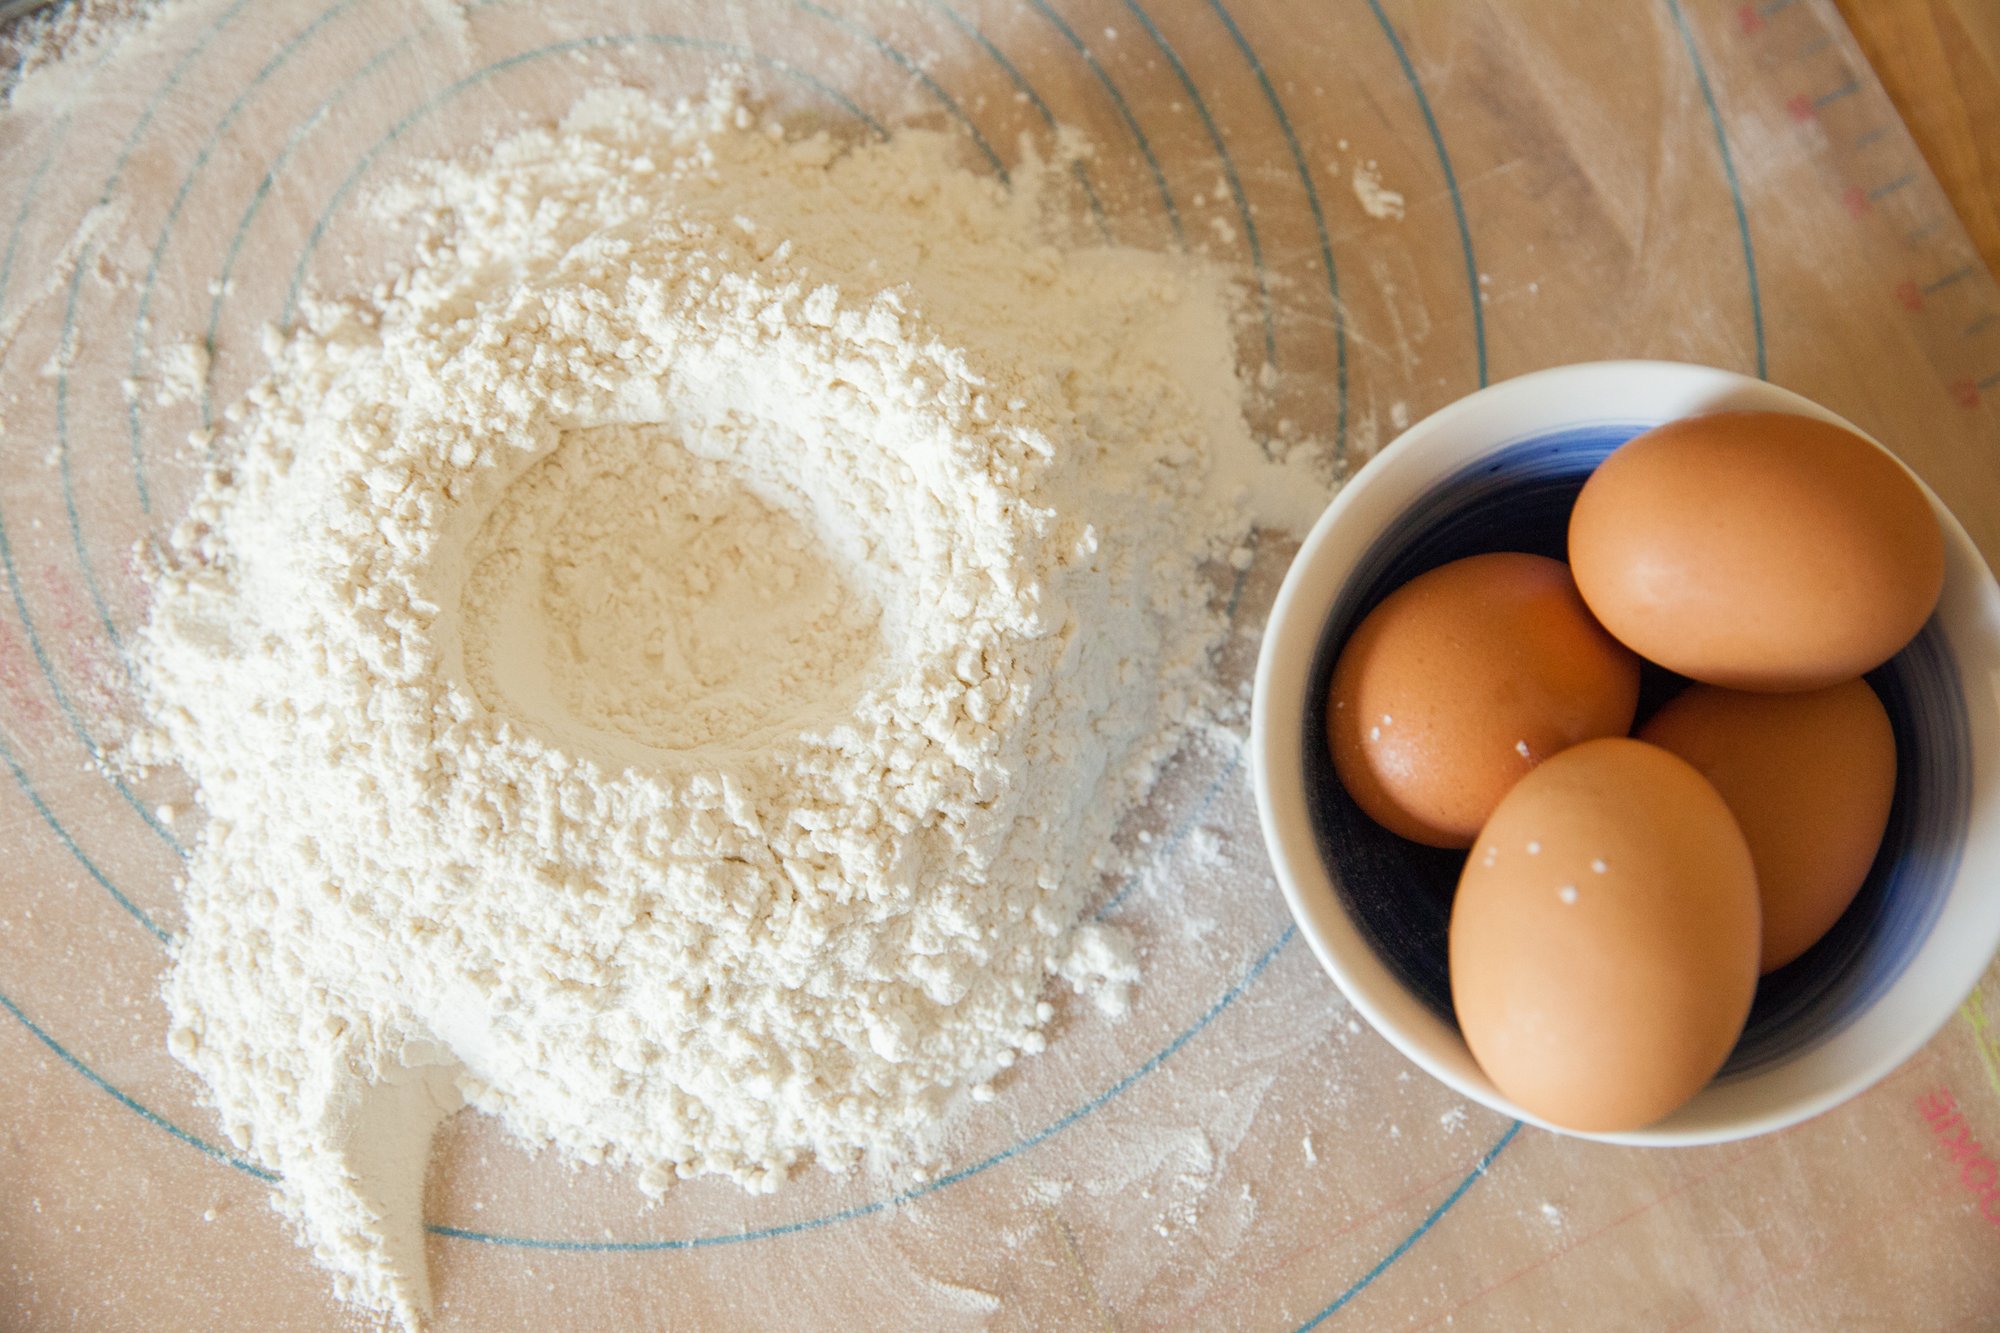
In a large bowl, mix the flour and salt together, and then create a well in the centre.
Crack the 4 eggs into the well, and then with a fork or your fingers, beat them together slightly. Once broken up, start adding the flour from the sides to the mixture, until a loose dough has formed.
On a floured surface, dump the dough out and begin kneading it for 5-7mins, adding flour as needed if it is too wet. The dough is ready when it is smooth, and if you poke it, it slowly springs back.
Cover with plastic wrap and let sit at room temperature for 30 mins.
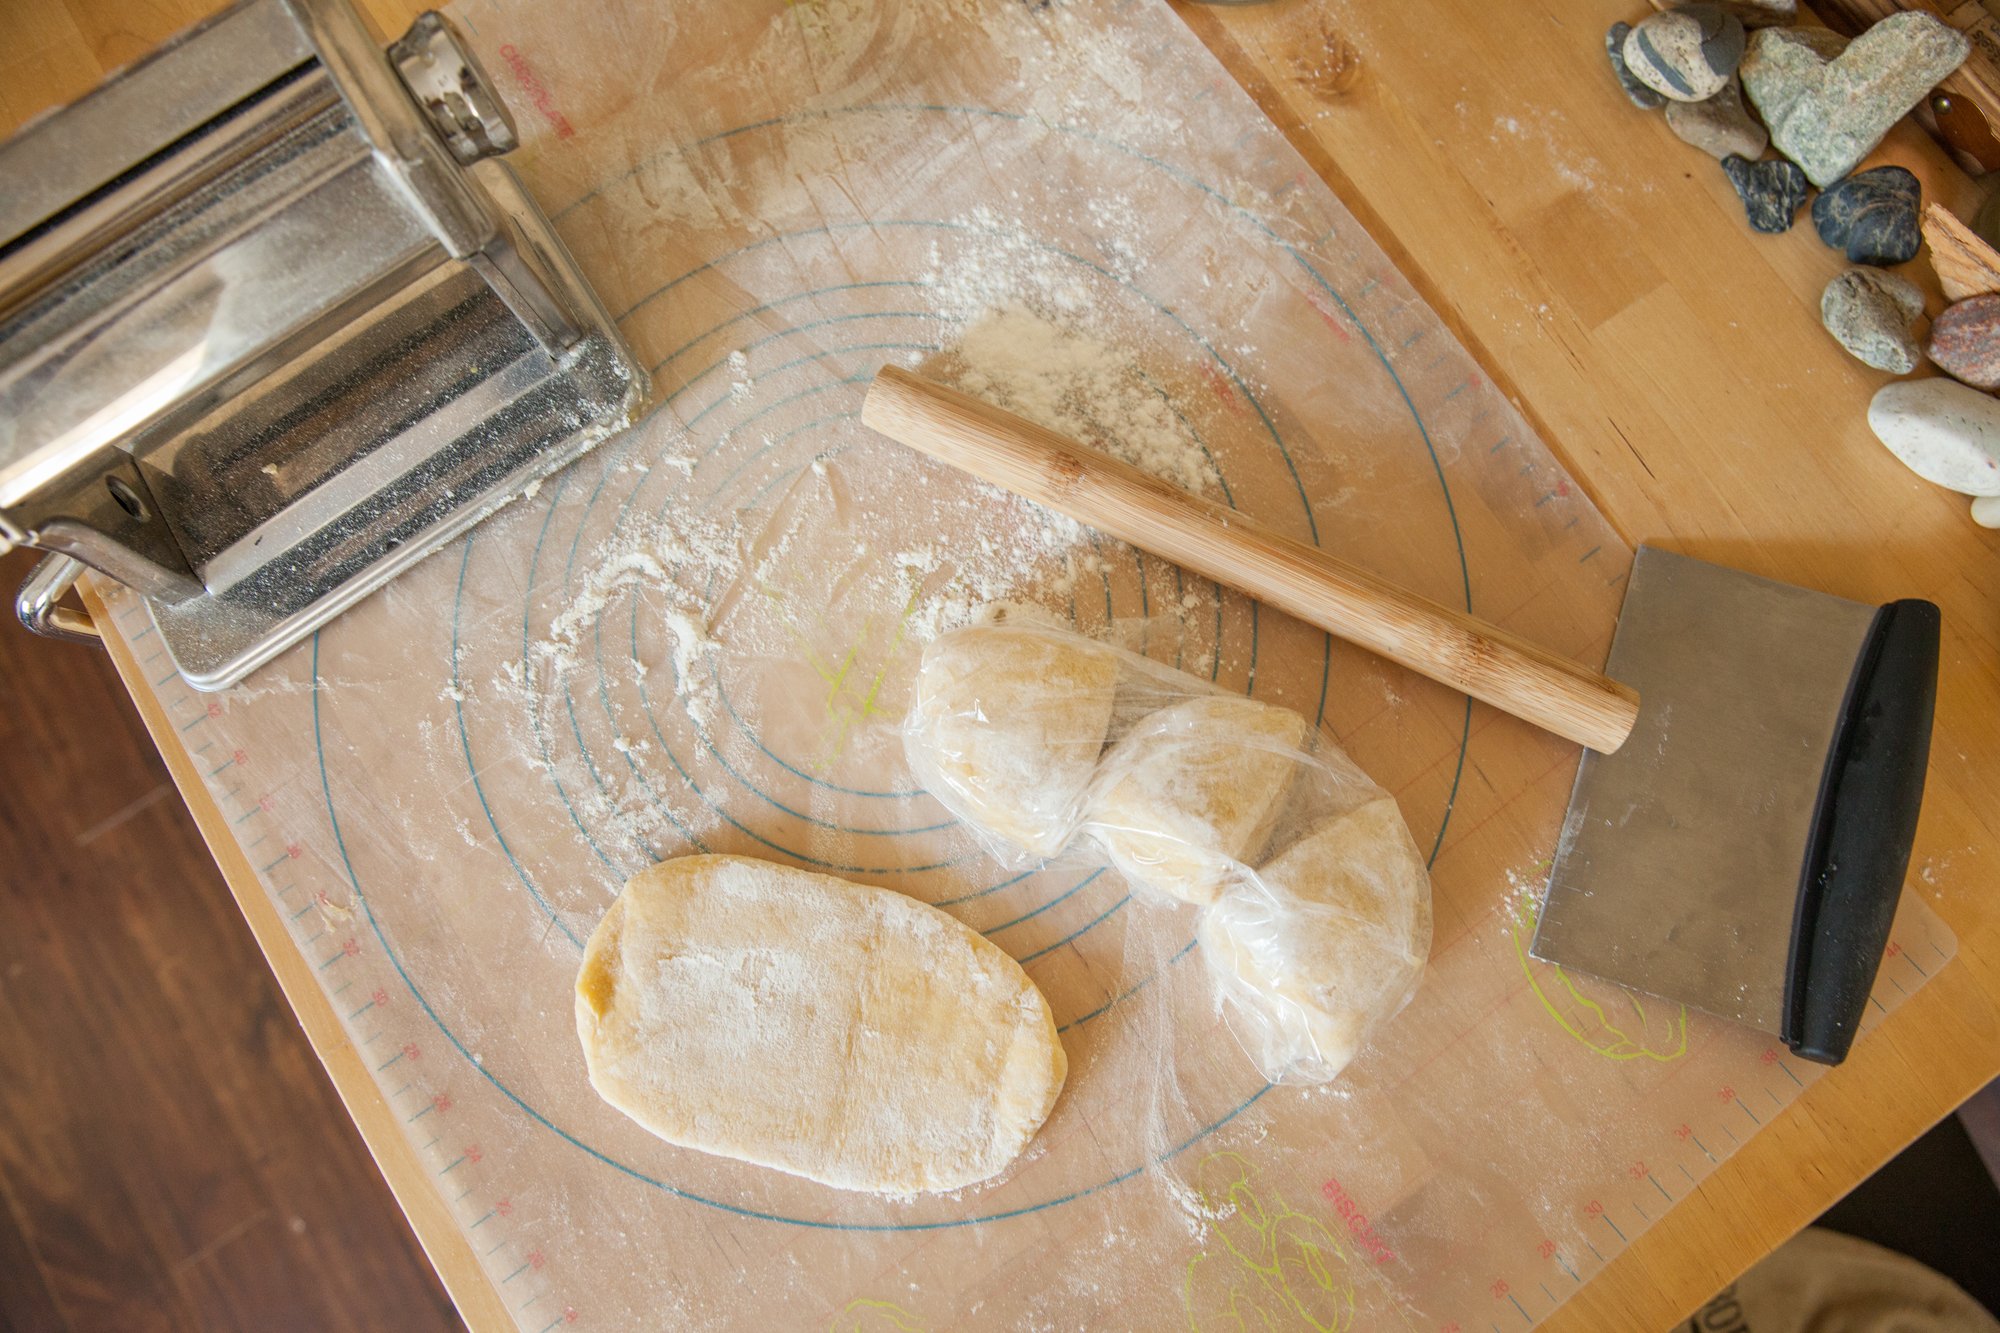
When ready, cut the dough into 4 equal-ish pieces, wrapping the 3 you are not using back in the plastic wrap.
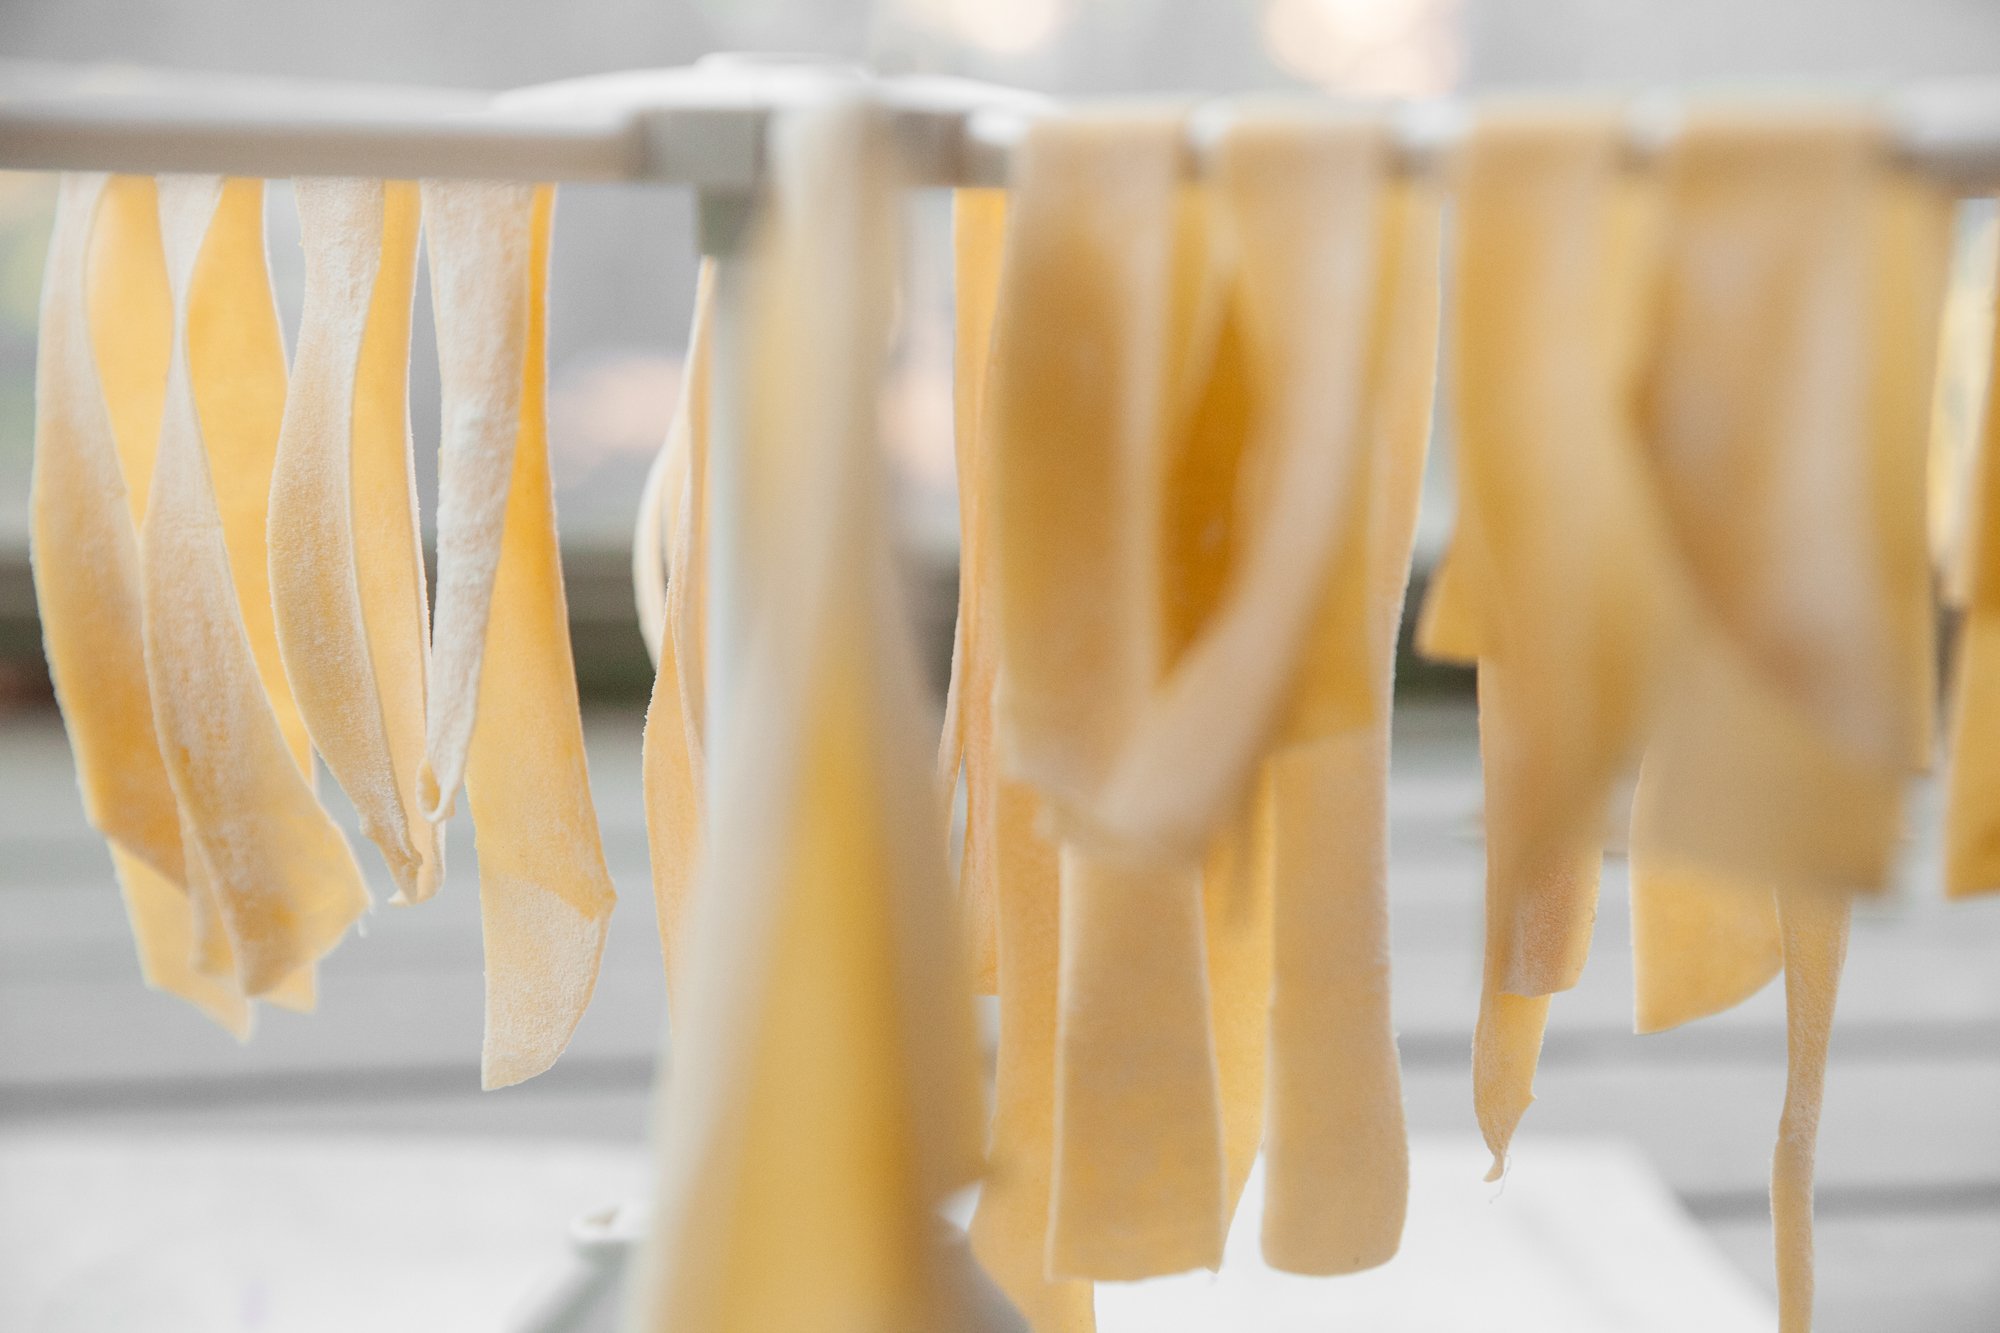
On the floured surface begin to roll the dough into a rectangle, then fold together like an envelope (if you are using a machine you can begin to pass it though). After laminating it a few times, start to roll it (either physically, or on smaller and smaller settings on your pasta maker) until it is quite thin and uniform - continue to thoroughly dust it with flour as needed.
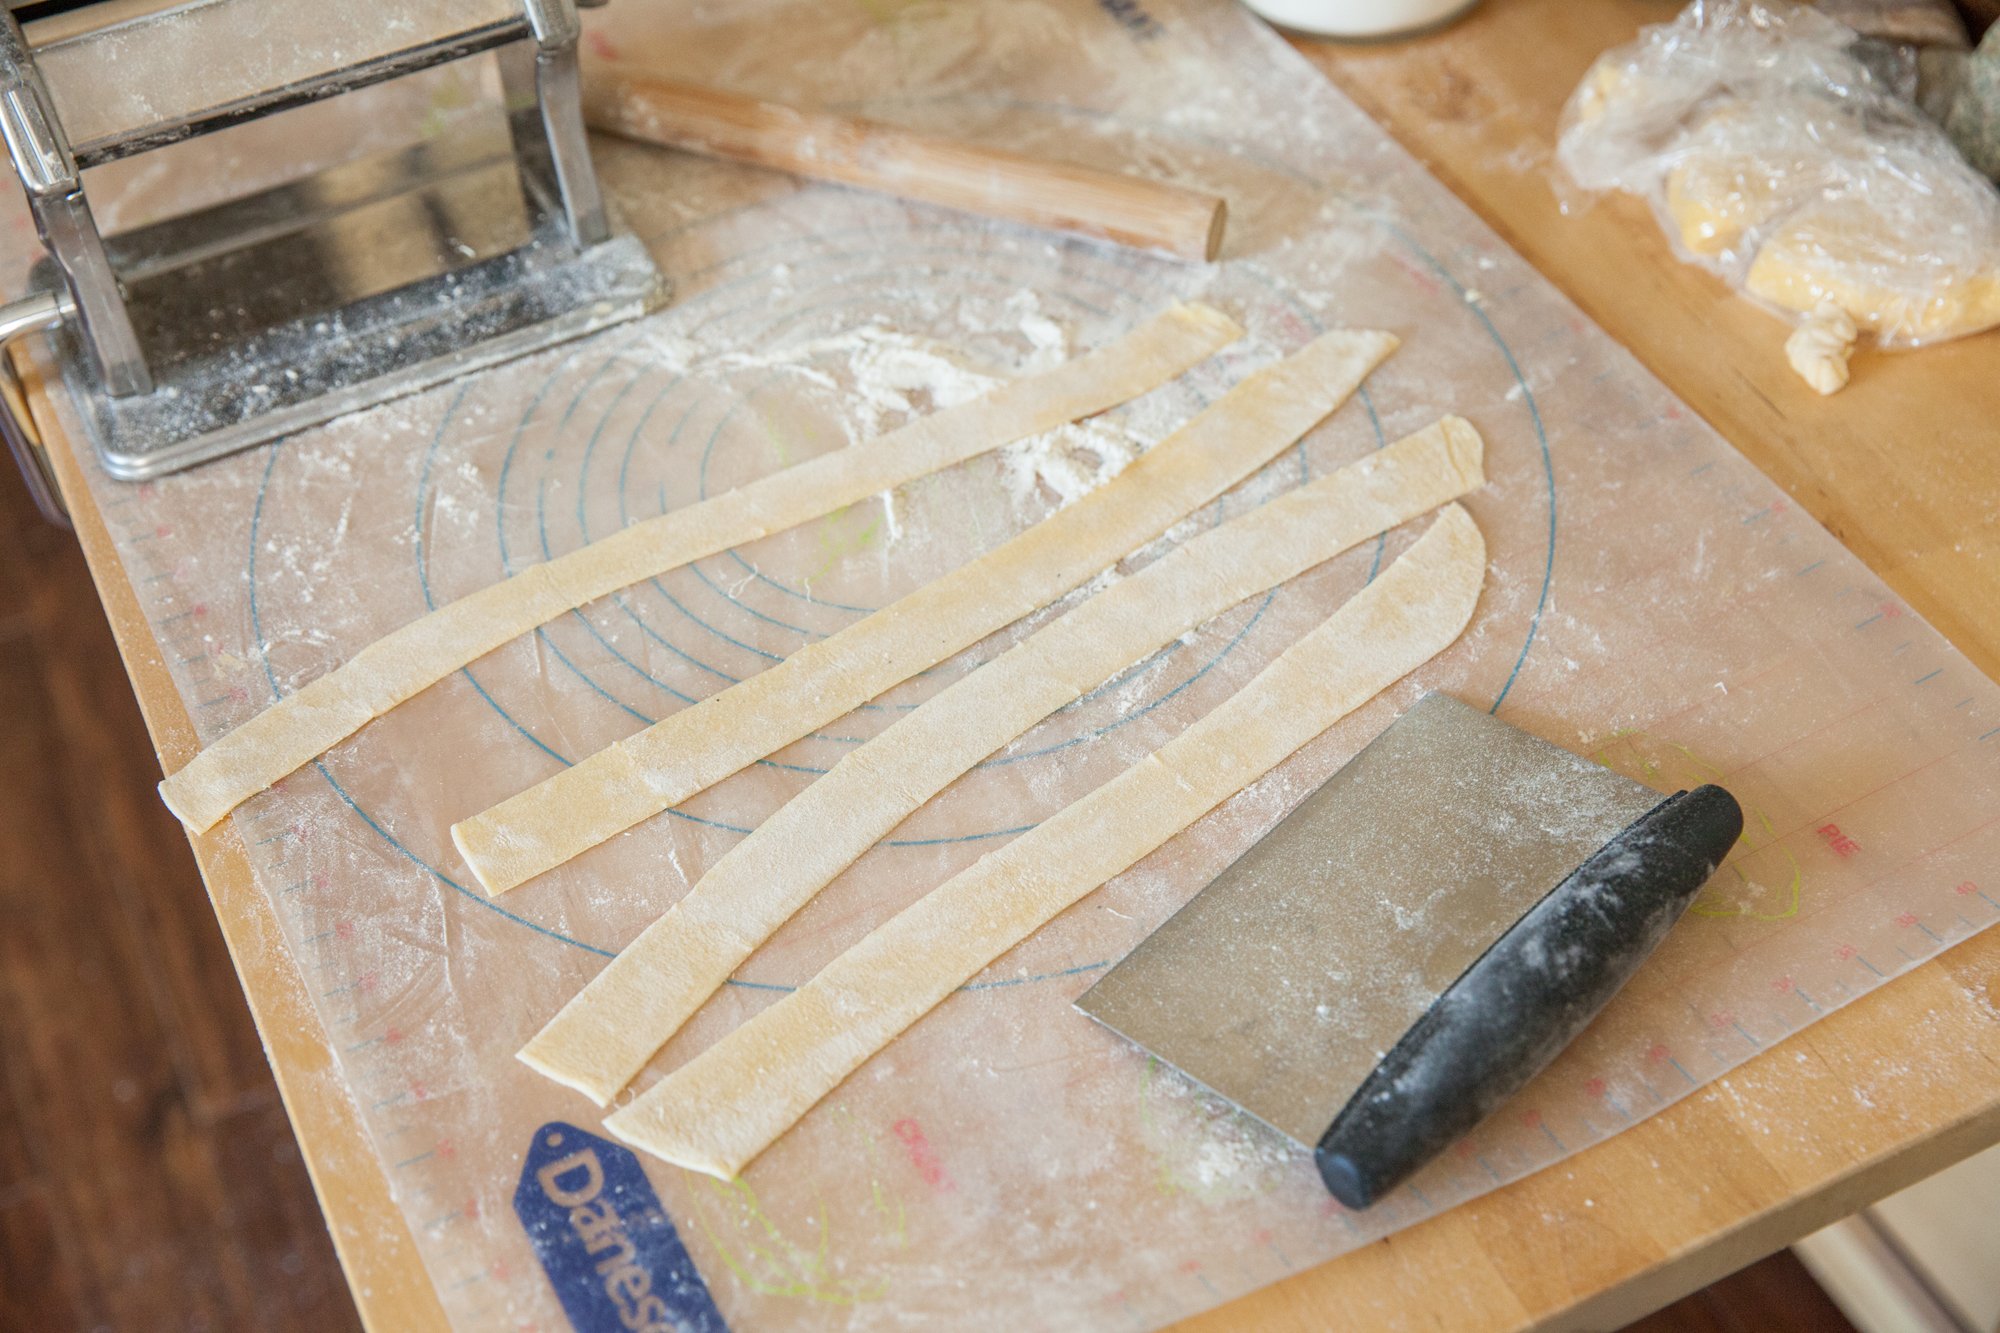
You can now cut it into whatever shape you’d like. If you have an attachment for your machine, run the pasta through and sprinkle with flour again, forming into nests if using immediately. If you want to cut wider strips, fold the sheet of pasta accordion style and cut evenly with a sharp knife.
To dry it, find yourself a pasta drying rack – and it also freezes very well this way!
To cook, bring heavily salted water to a boil, and gently drop the fresh pasta in. It only takes a few minutes to cook (depending on the shape and thickness), so keep watch, and have your sauce ready to go.
(Note: frozen pasta will take a few extra seconds to cook.)

Karen
Maternity Photos
November 16, 2021
RECIPE: Oat Milk
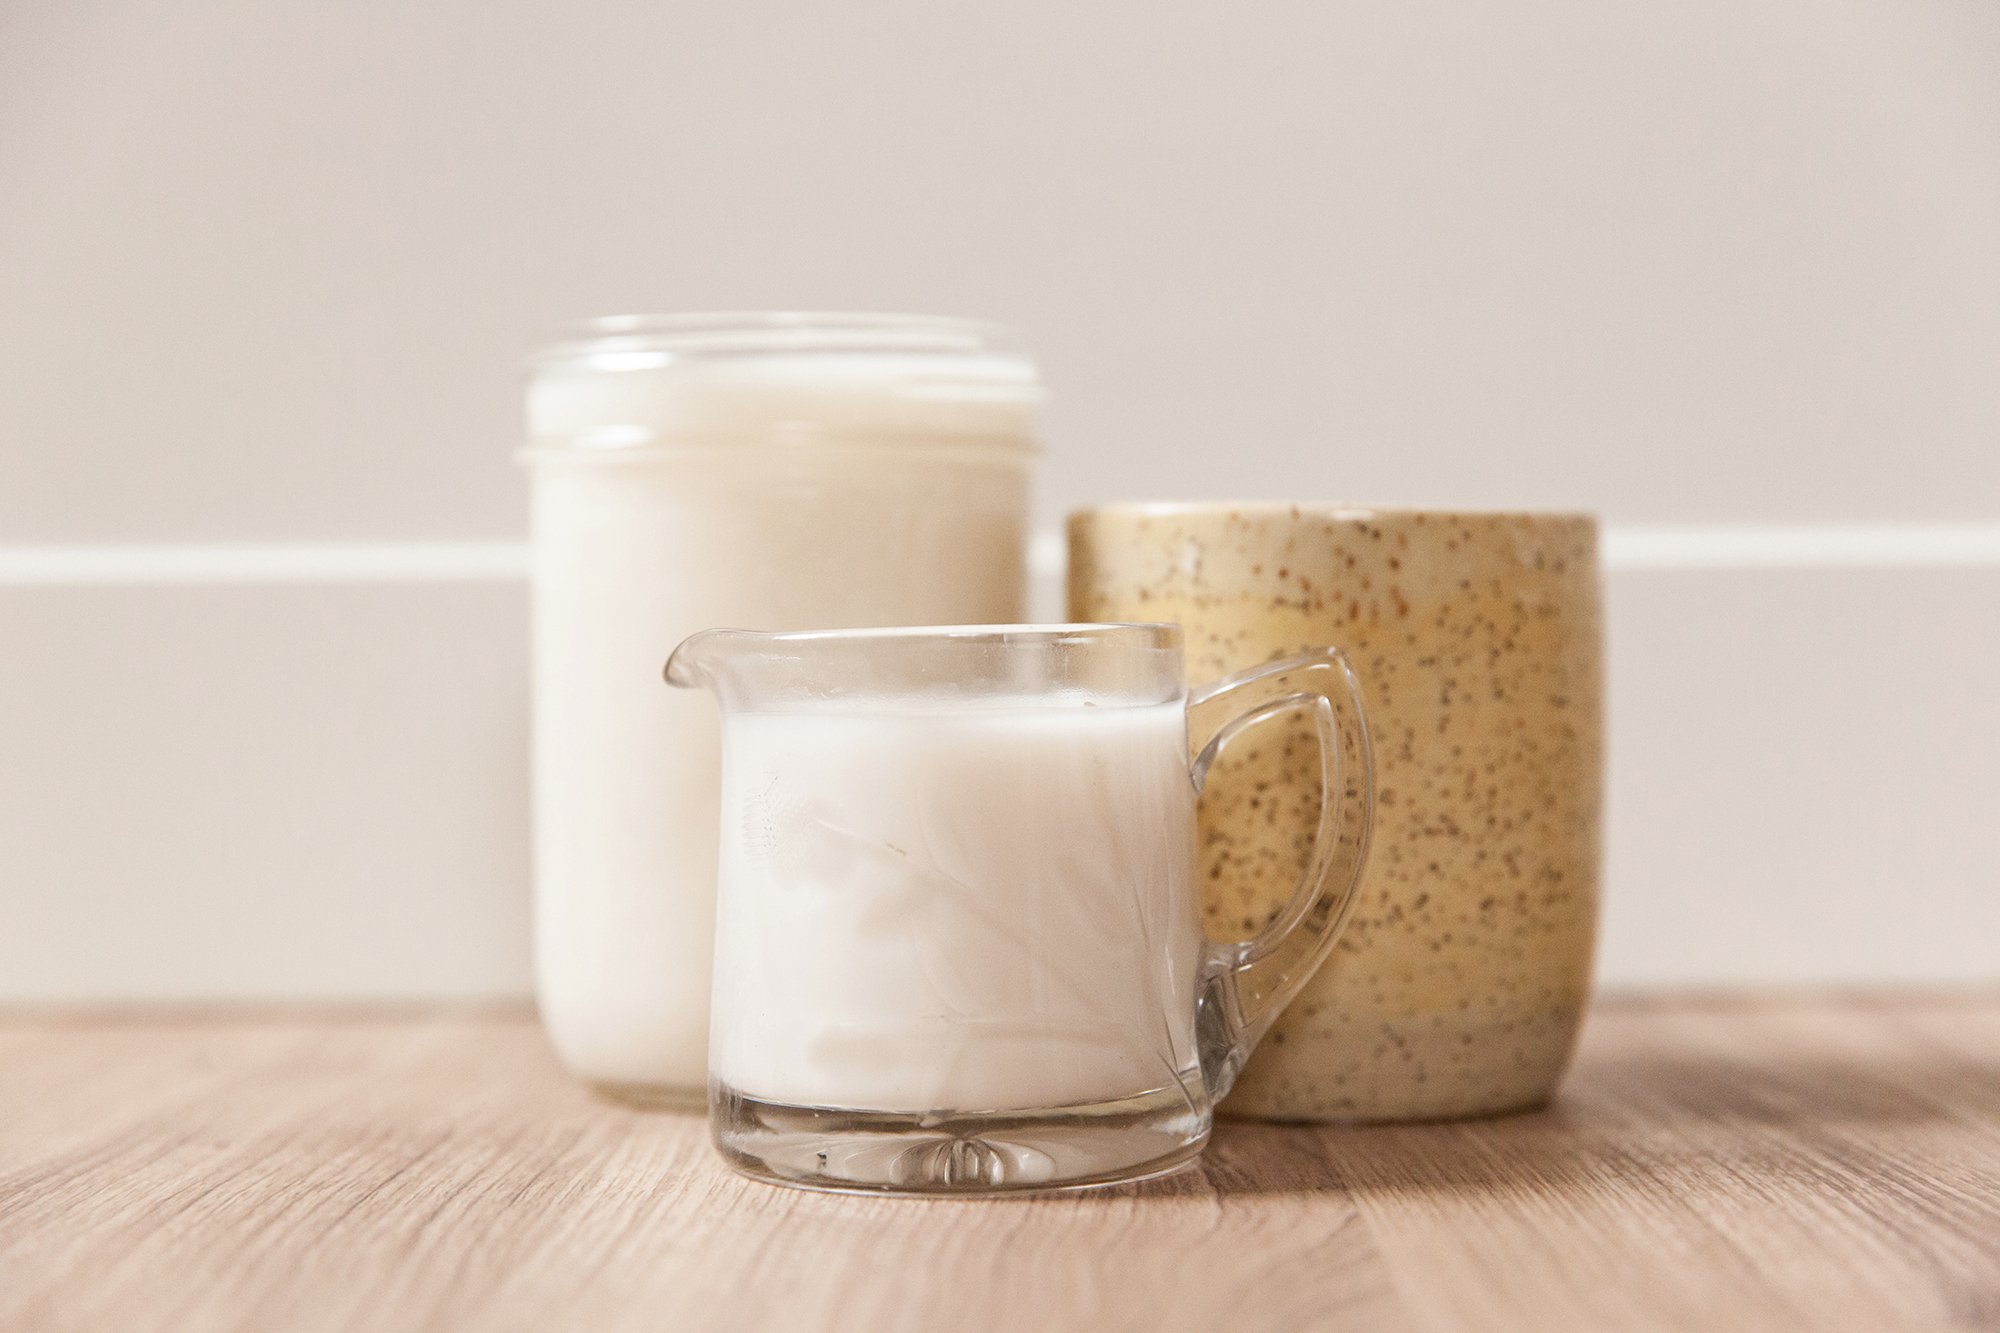


Oat Milk
for Environment911.org - “But Make It Vegan”
January 2022
If you love non-dairy milk, and are looking for a way to reduce your environmental impact by buying less packaged goods, making your own mylk at home is incredibly easy.
None more so than oat milk!
Two, maybe three, ingredients, a blender and finely woven tea towels and you’re set – plus you save yourself a trip to the store.
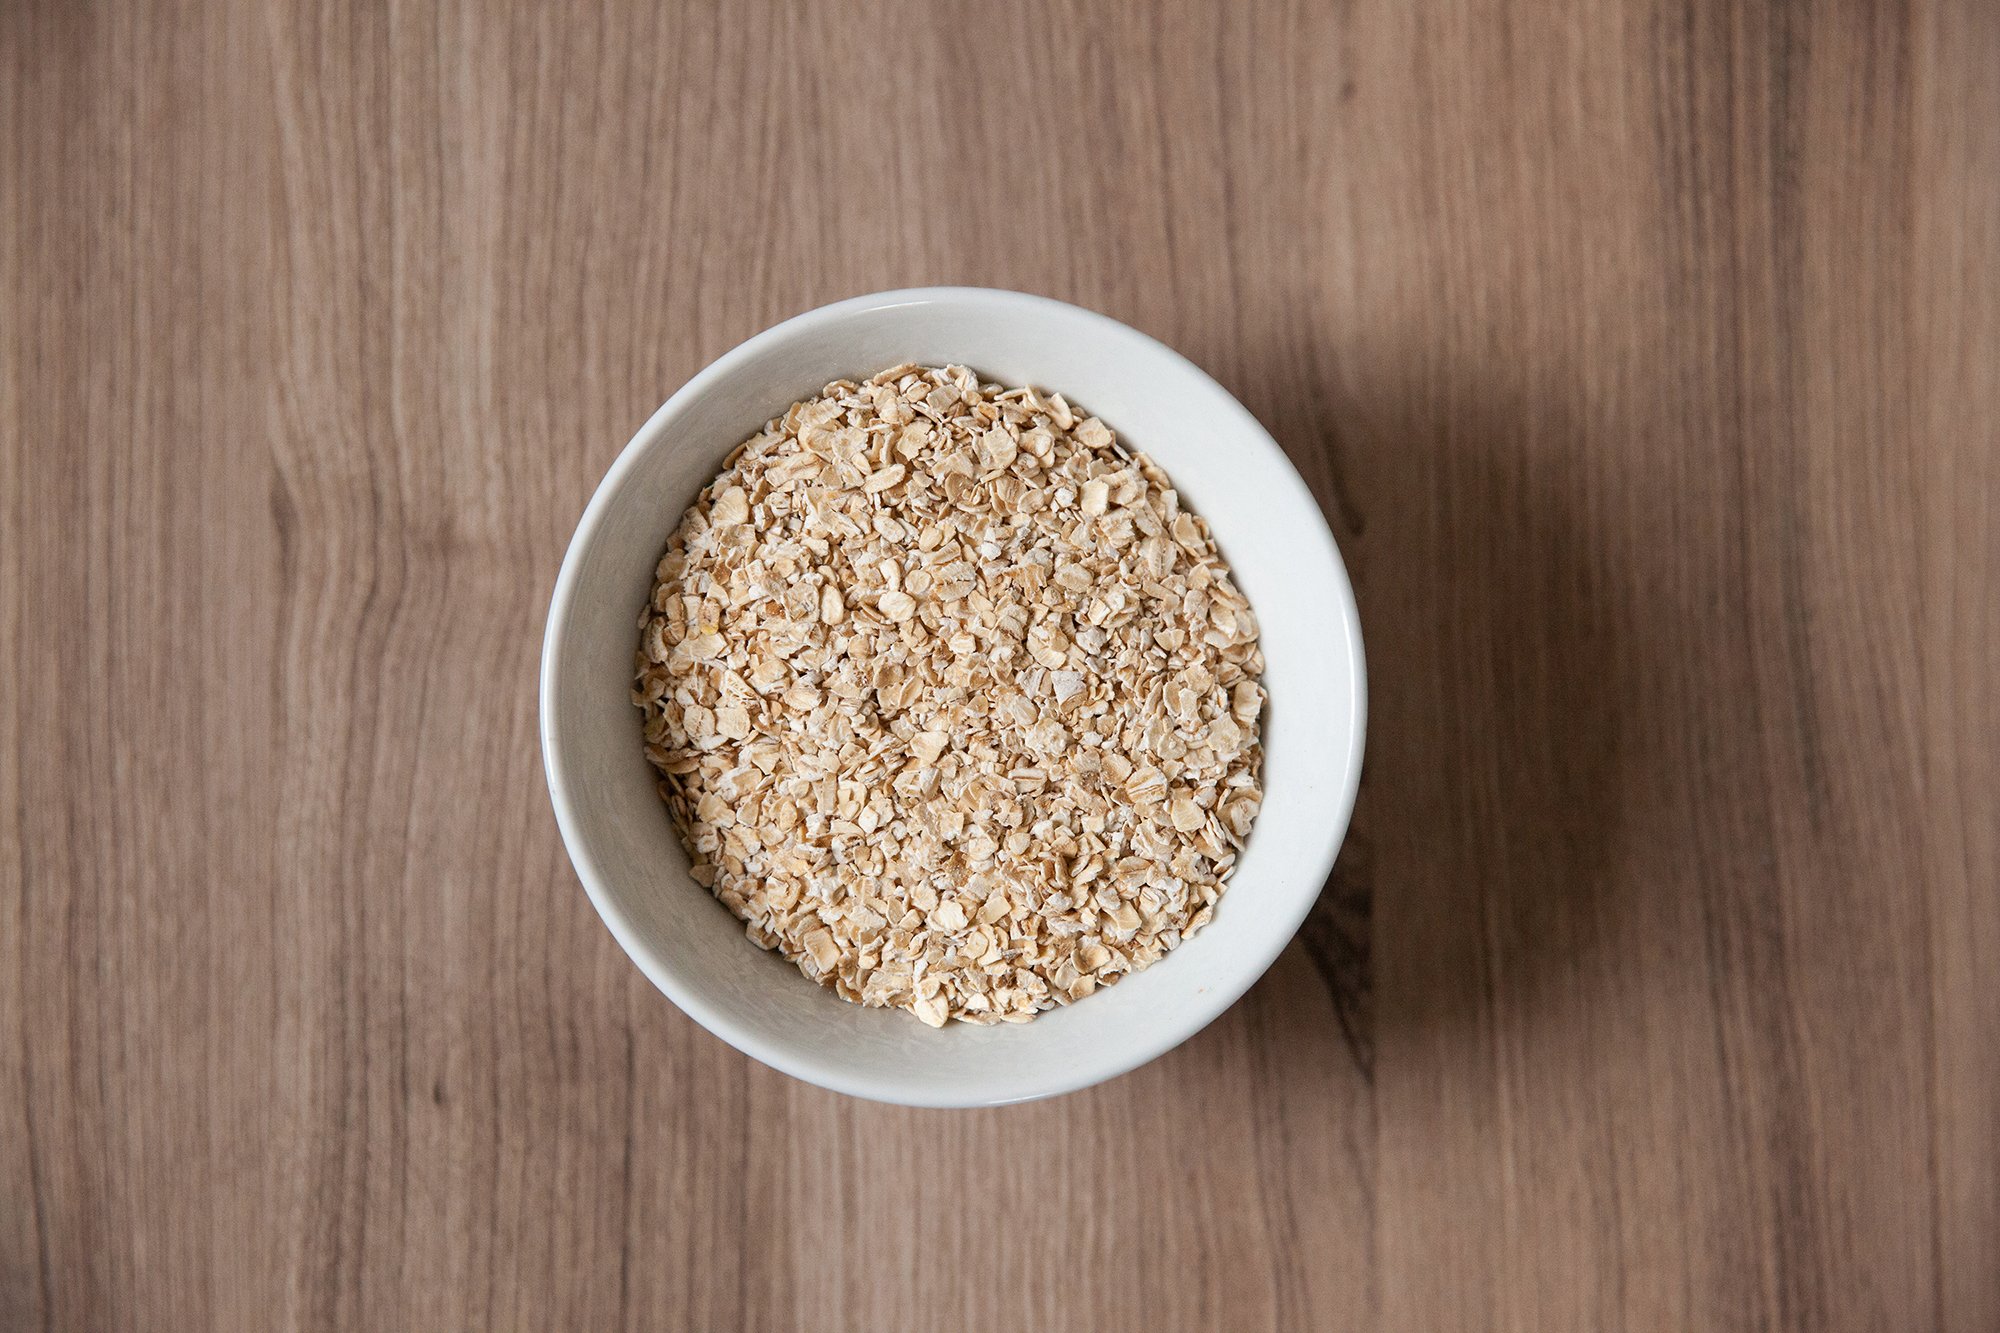
INGREDIENTS
1 cup rolled oats
4 cups of cold (preferably filtered) water (less if you want thicker milk)
OPTIONAL:
Pinch of salt
Vanilla extract
INSTRUCTIONS:
Add the water, oats and optional ingredients into a blender.
At high speed for 20-30 seconds (DO NOT over-blend as it will get slimy) blend together.
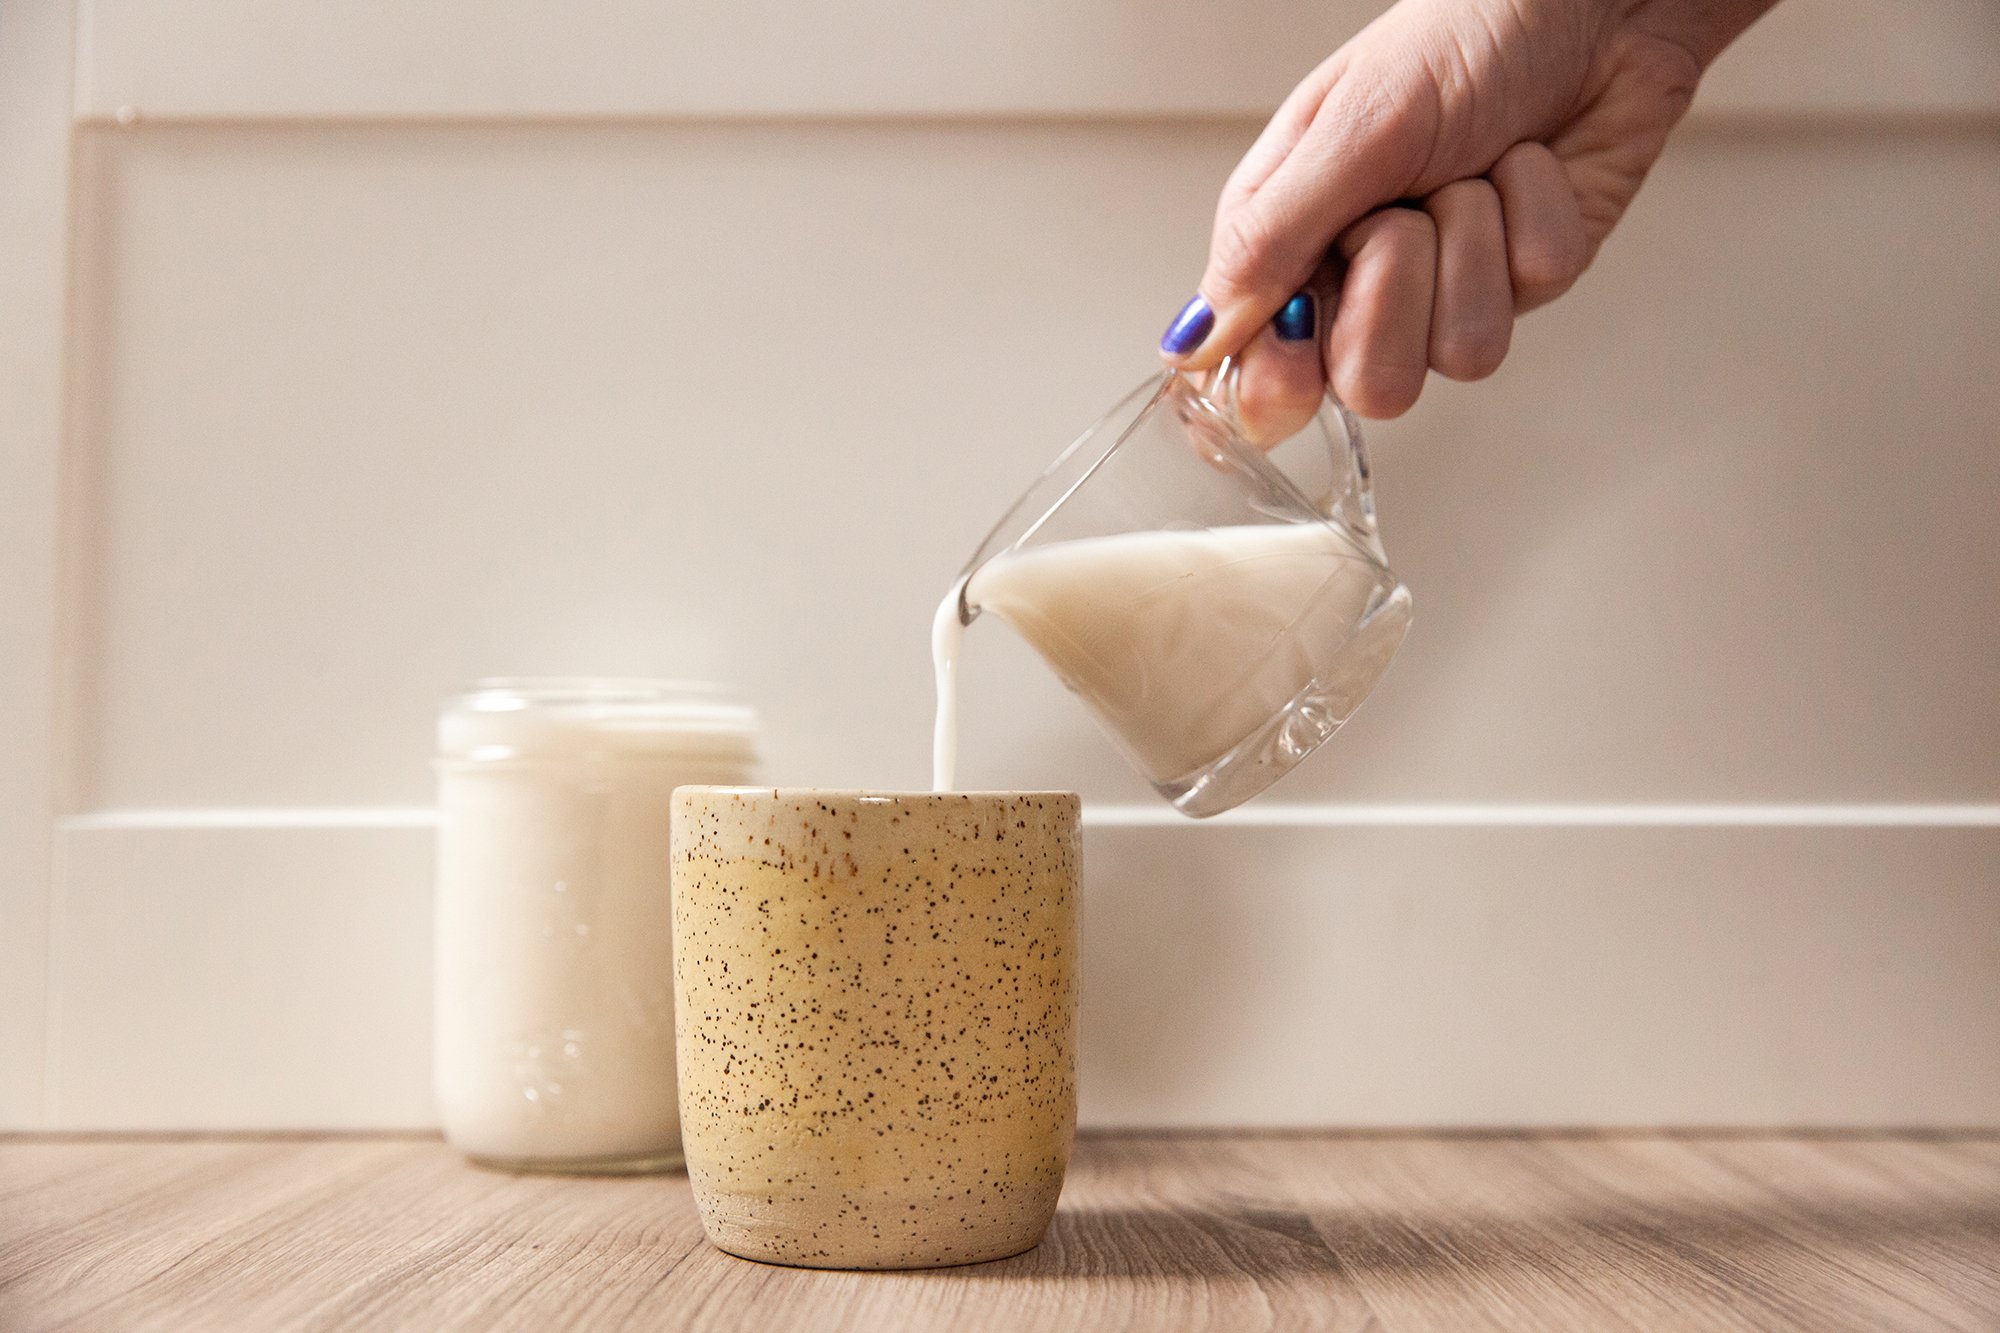
Over a large bowl, place a clean, finely woven tea towel, and then slowly pour in half of the mixture (it’s easier to do in stages).
Gently squeeze out the milk – too hard and you’ll get the oat sediment coming though – and then repeat with the second half of the blended mix.
Optionally once the milk has all been removed, you can do a second pass through another tea towel to remove any sediment that made it through.
Transfer to your desired containers, place in fridge to cool and enjoy.
Make sure to shake before consuming as it may separate a bit.
Should last a few days in the fridge/possibly up to a week (give it a smell!).