Condiments - From Scratch
for BC Living
July 2023
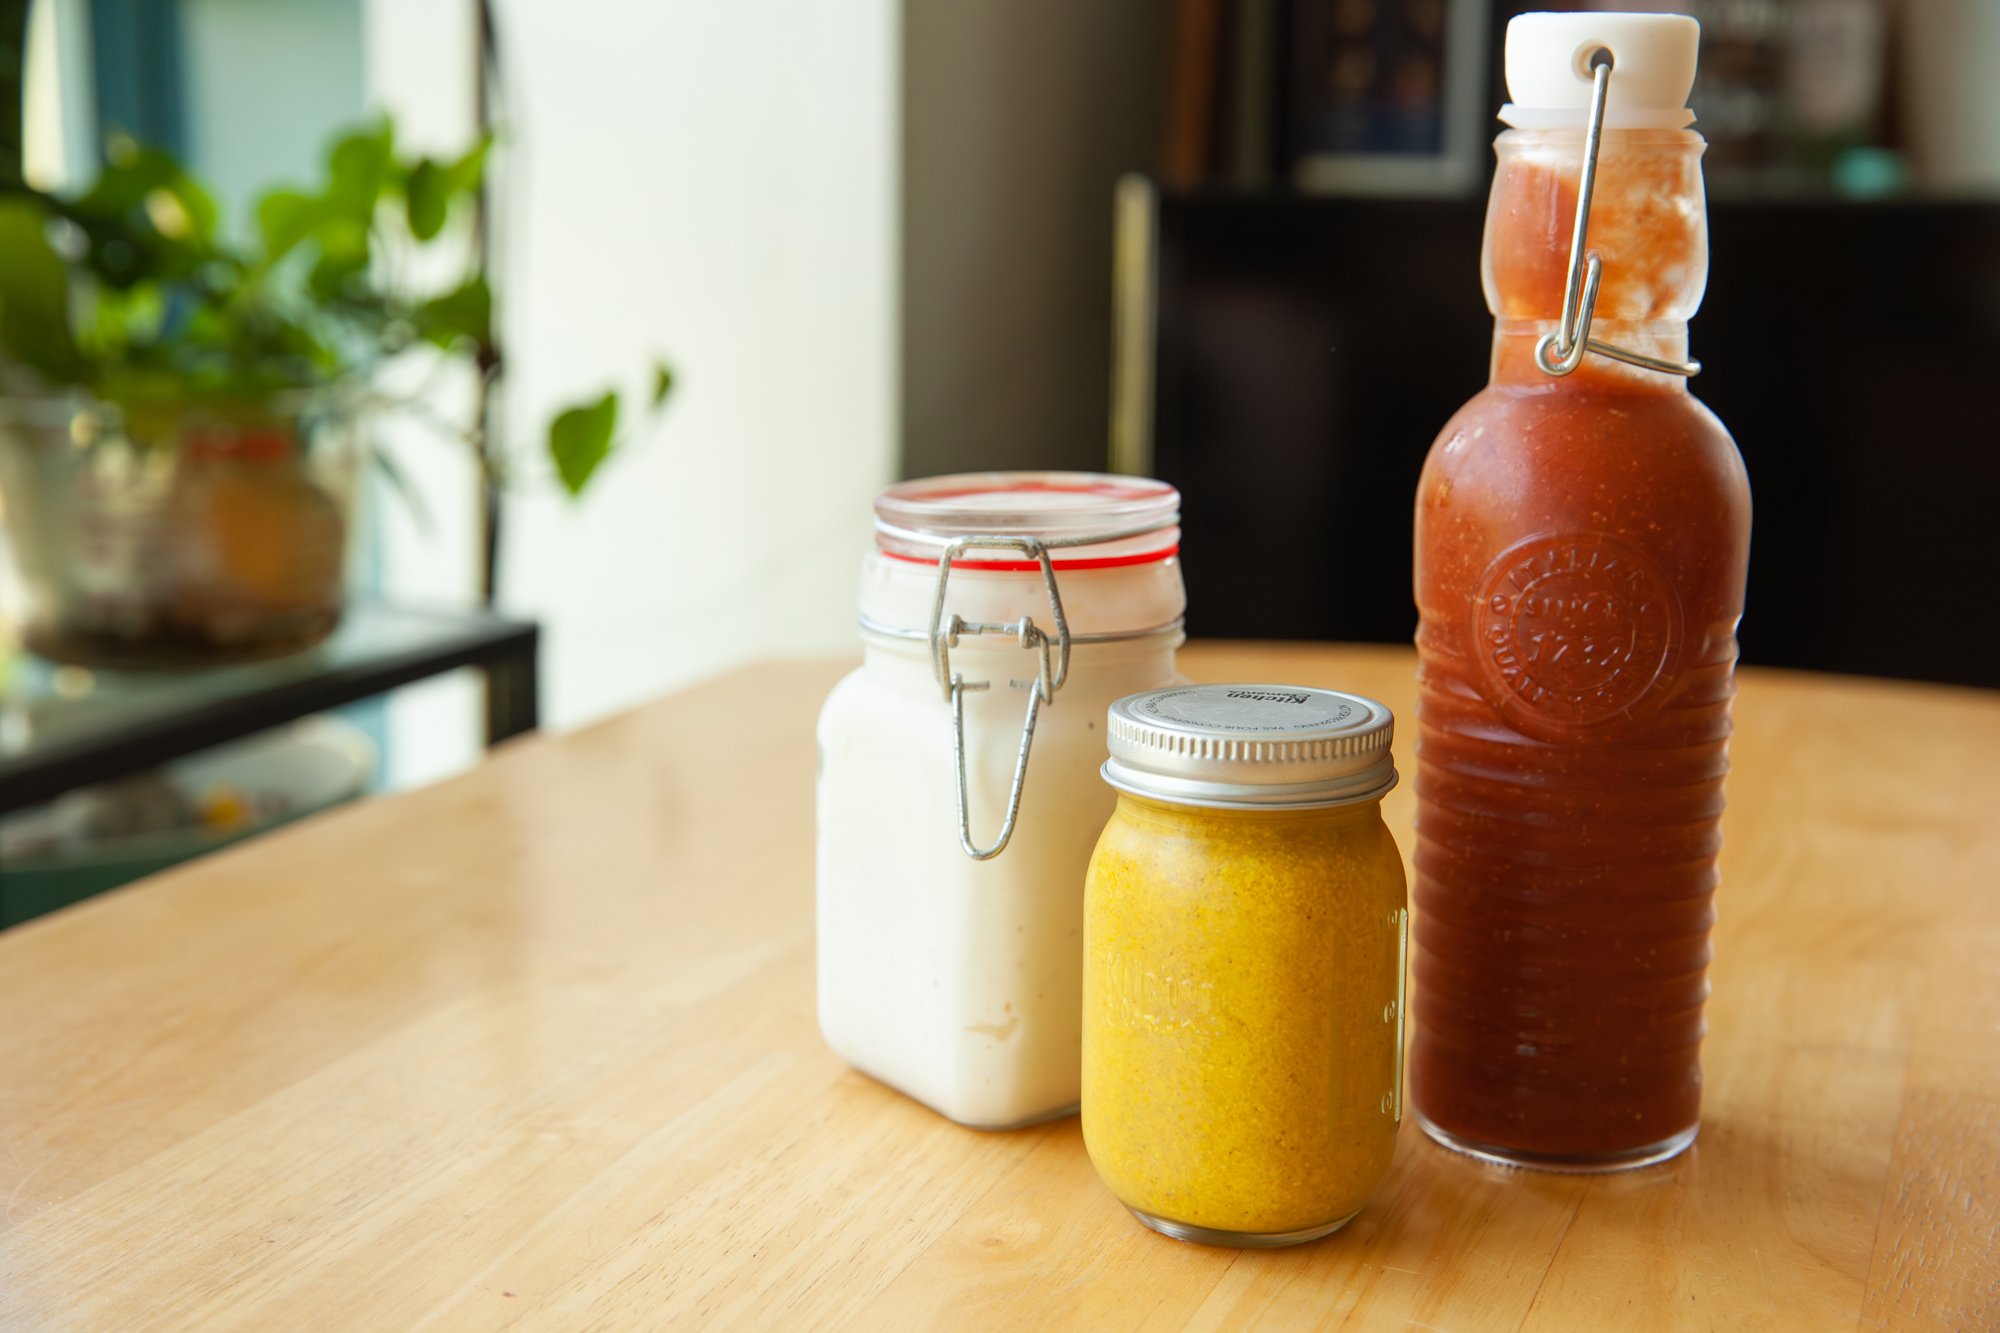
It’s BBQ season, and instead of having condiments full of sugar and elements to preserve them, why not go the extra mile and make yourself some mayo, ketchup and mustard from scratch.
One (the mayo) is super easy, and I’ll be making that instead of buying from the store from now on for sure, and the others are a bit more of a labor of love, but you can taste the difference.
Up your summer BBQ game with these three staples for the grill.
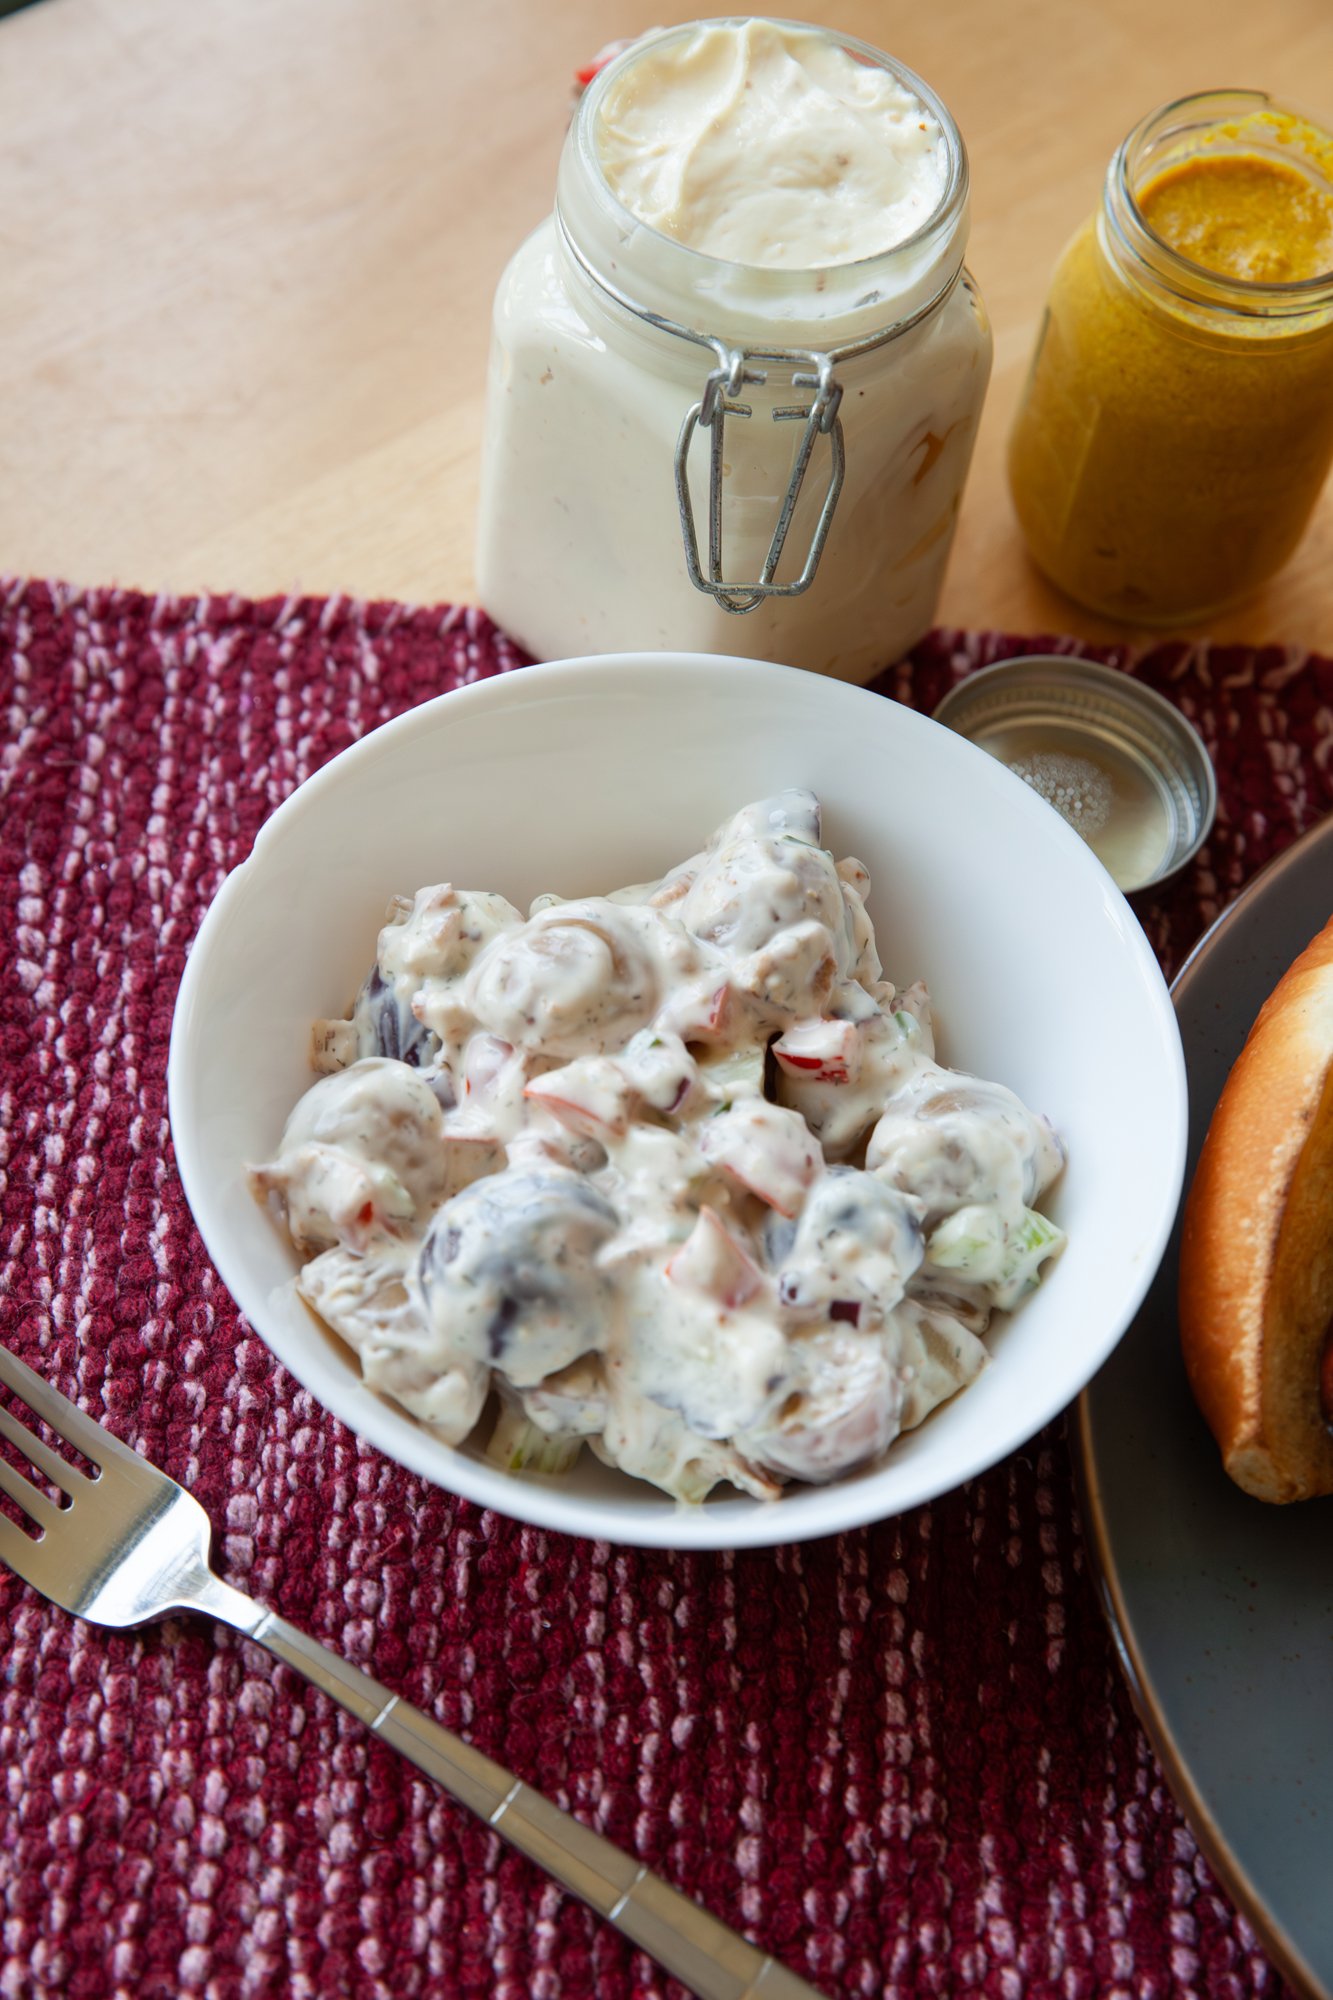
MAYO
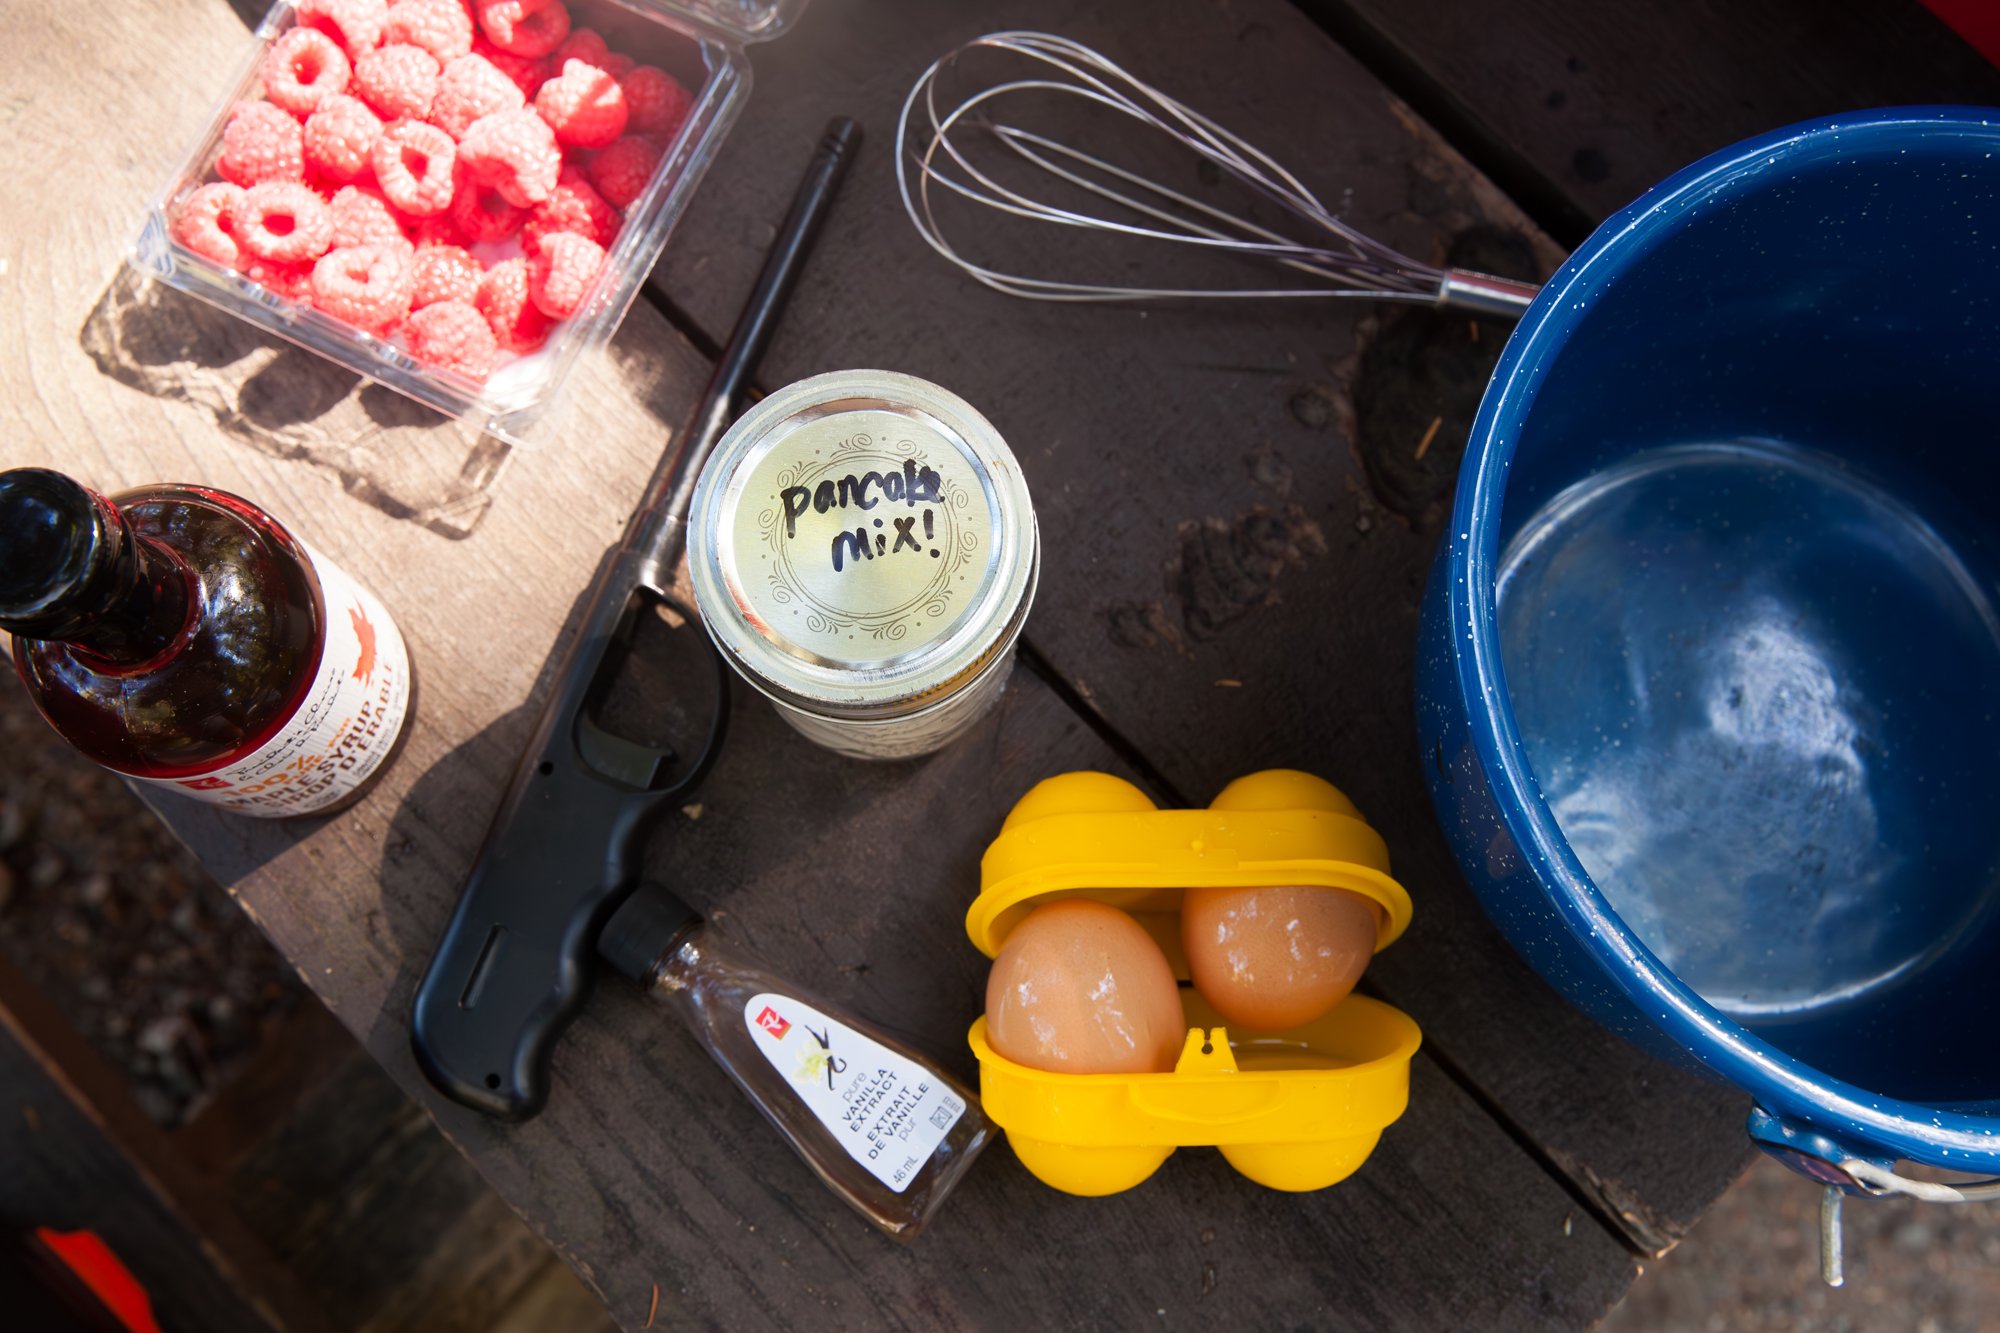
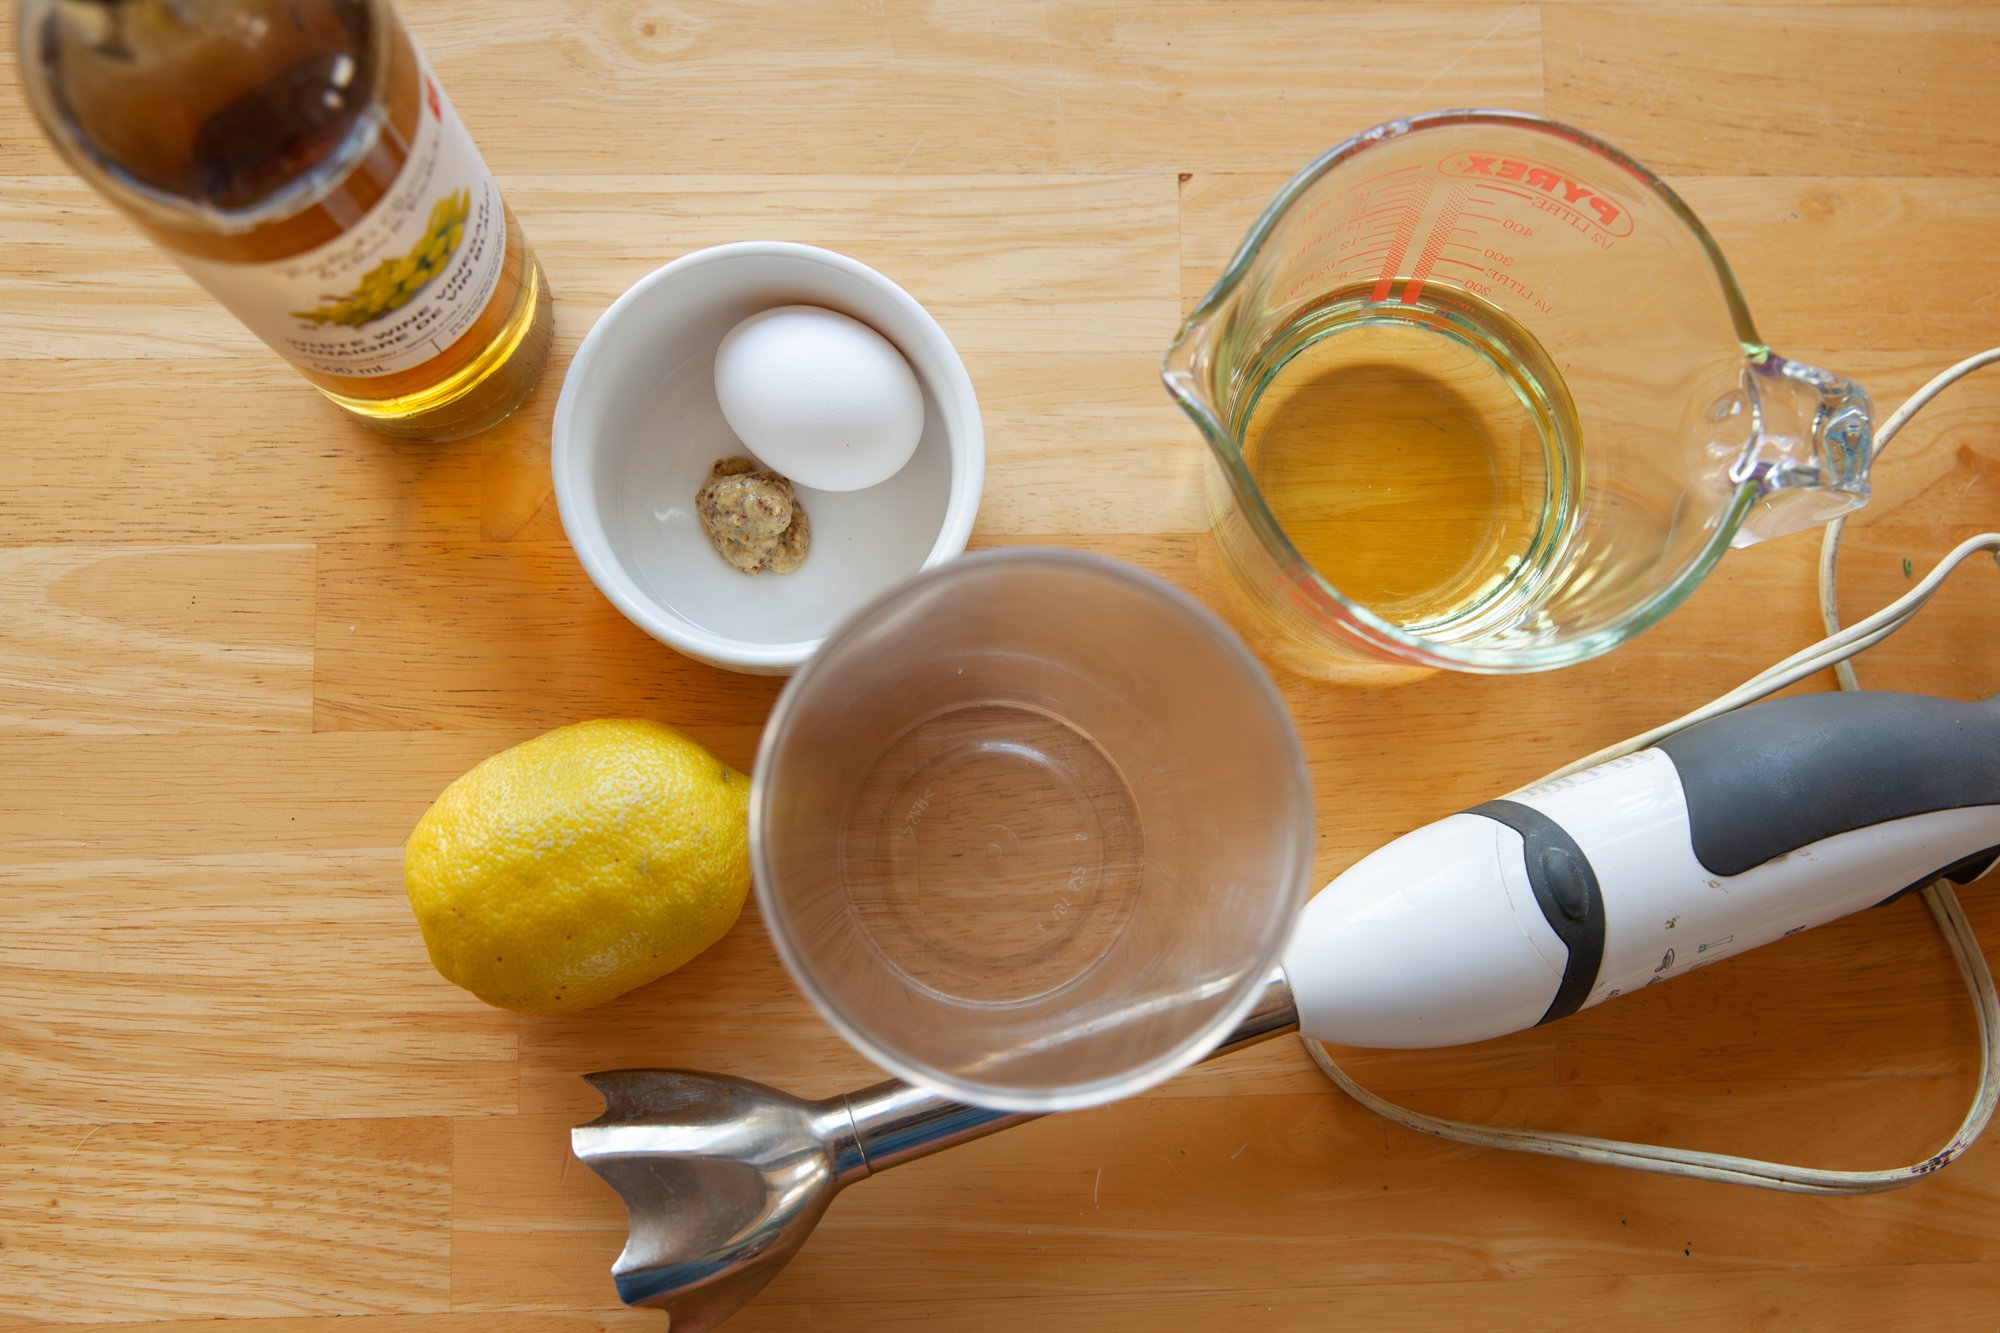
INGREDIENTS
- 1 cup sunflower, avocado or another neutral oil
- 1 egg
- juice of one lemon
- 1 tsp white wine vinegar
- ¼ tsp salt (more to taste
INSTRUCTIONS
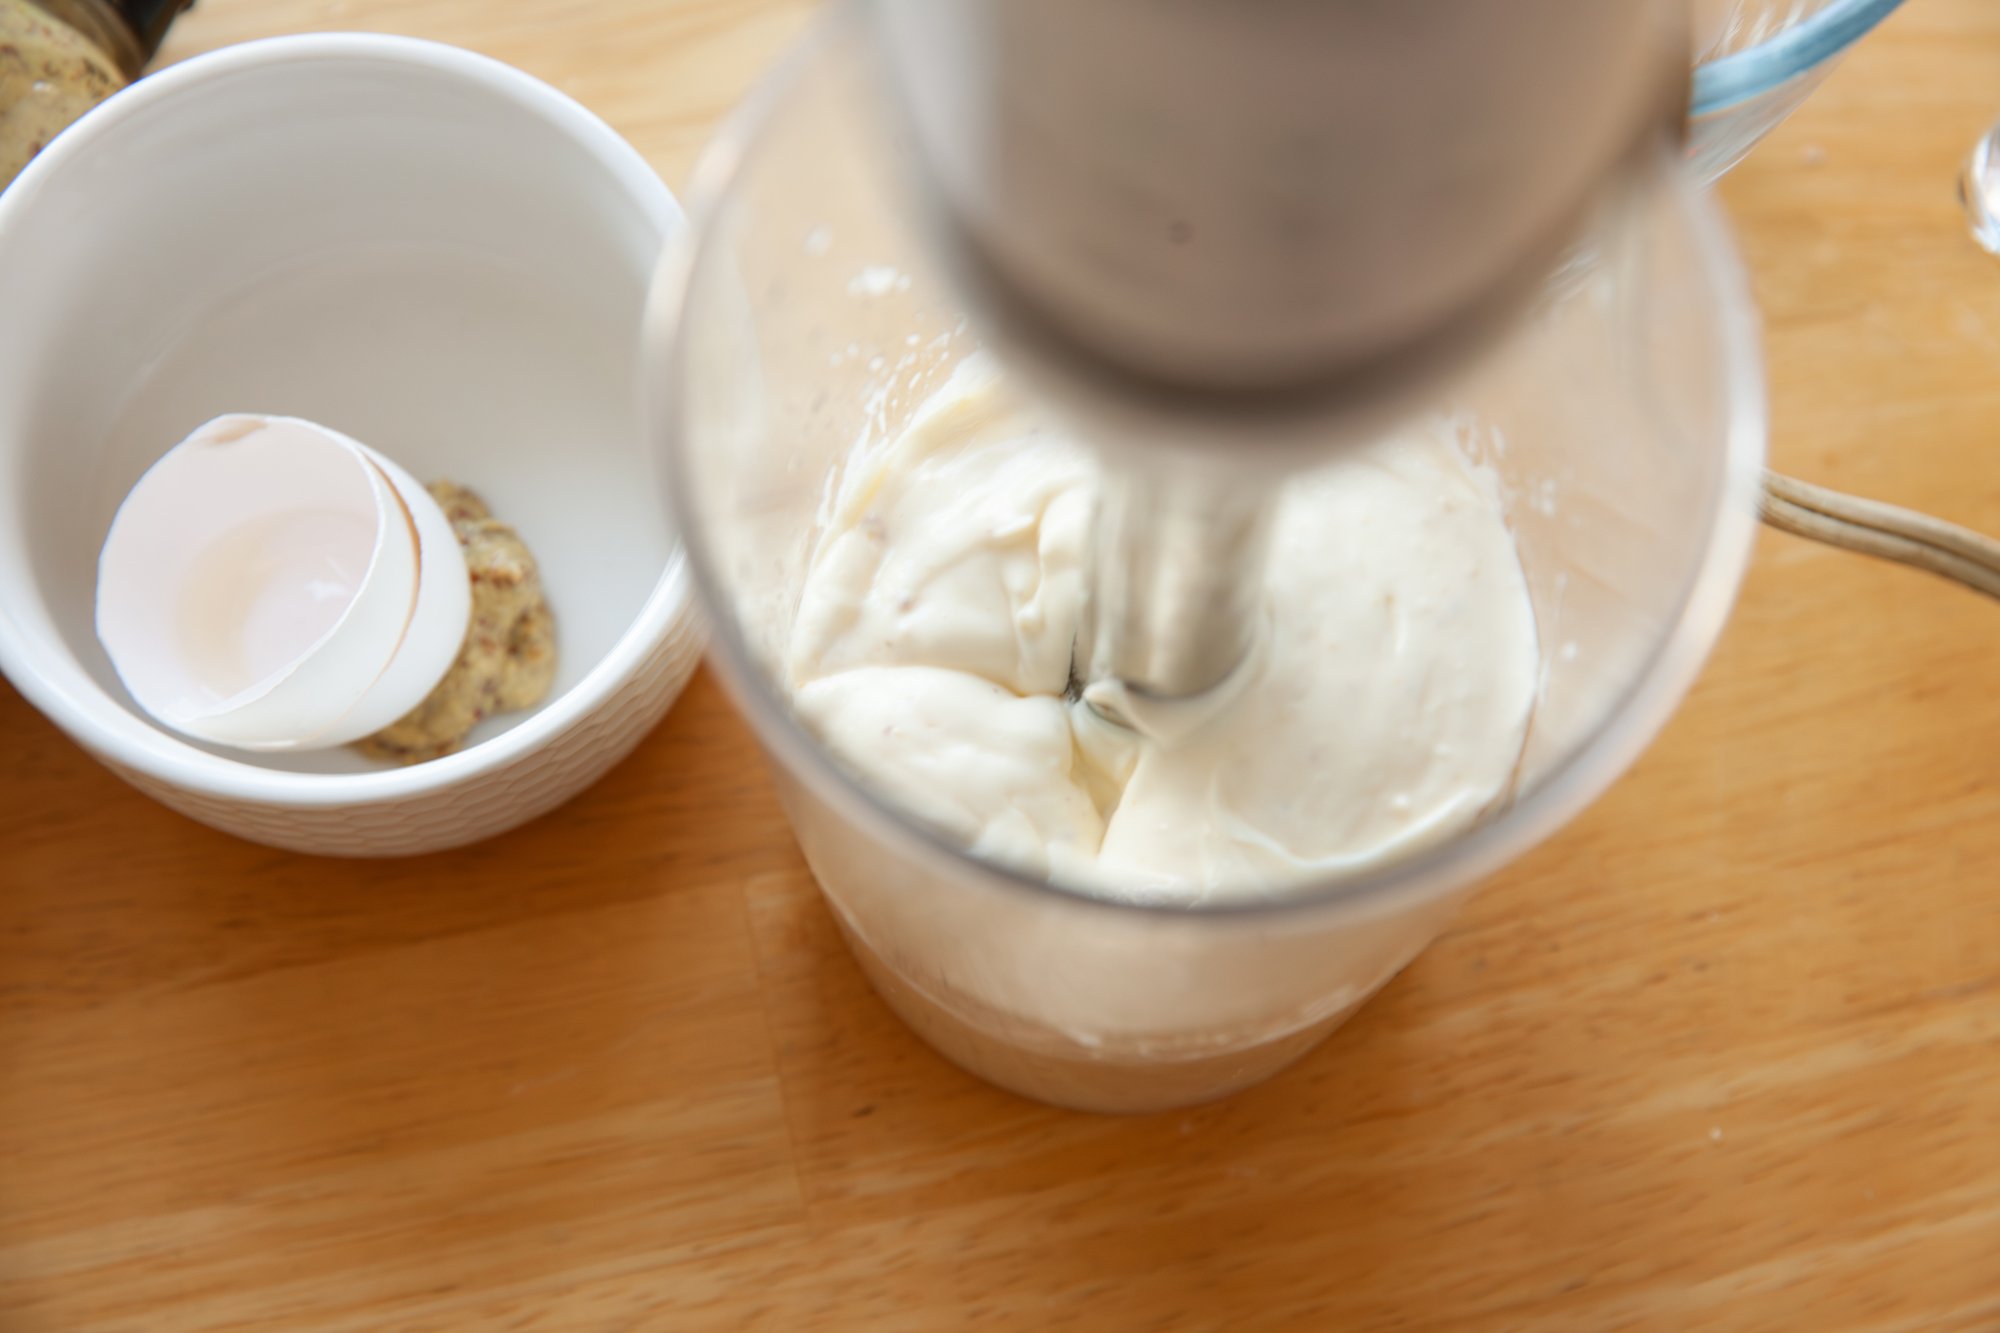
Place the egg, lemon juice, vinegar and salt, along with half of the oil in a narrow, bowl.
Be sure to do it in that order so that the egg is at the bottom.
Using an immersion blender, beat on high with the blades near the bottom of the bowl so the oil slowly emulsifies.
After about 30 seconds, start to add in the rest of the oil, very gradually, until the mixture is thick and creamy (like mayo!).
Taste and see if more salt is needed, then store in a jar in the fridge.
It will keep for about a week, possibly longer if your eggs are super fresh.
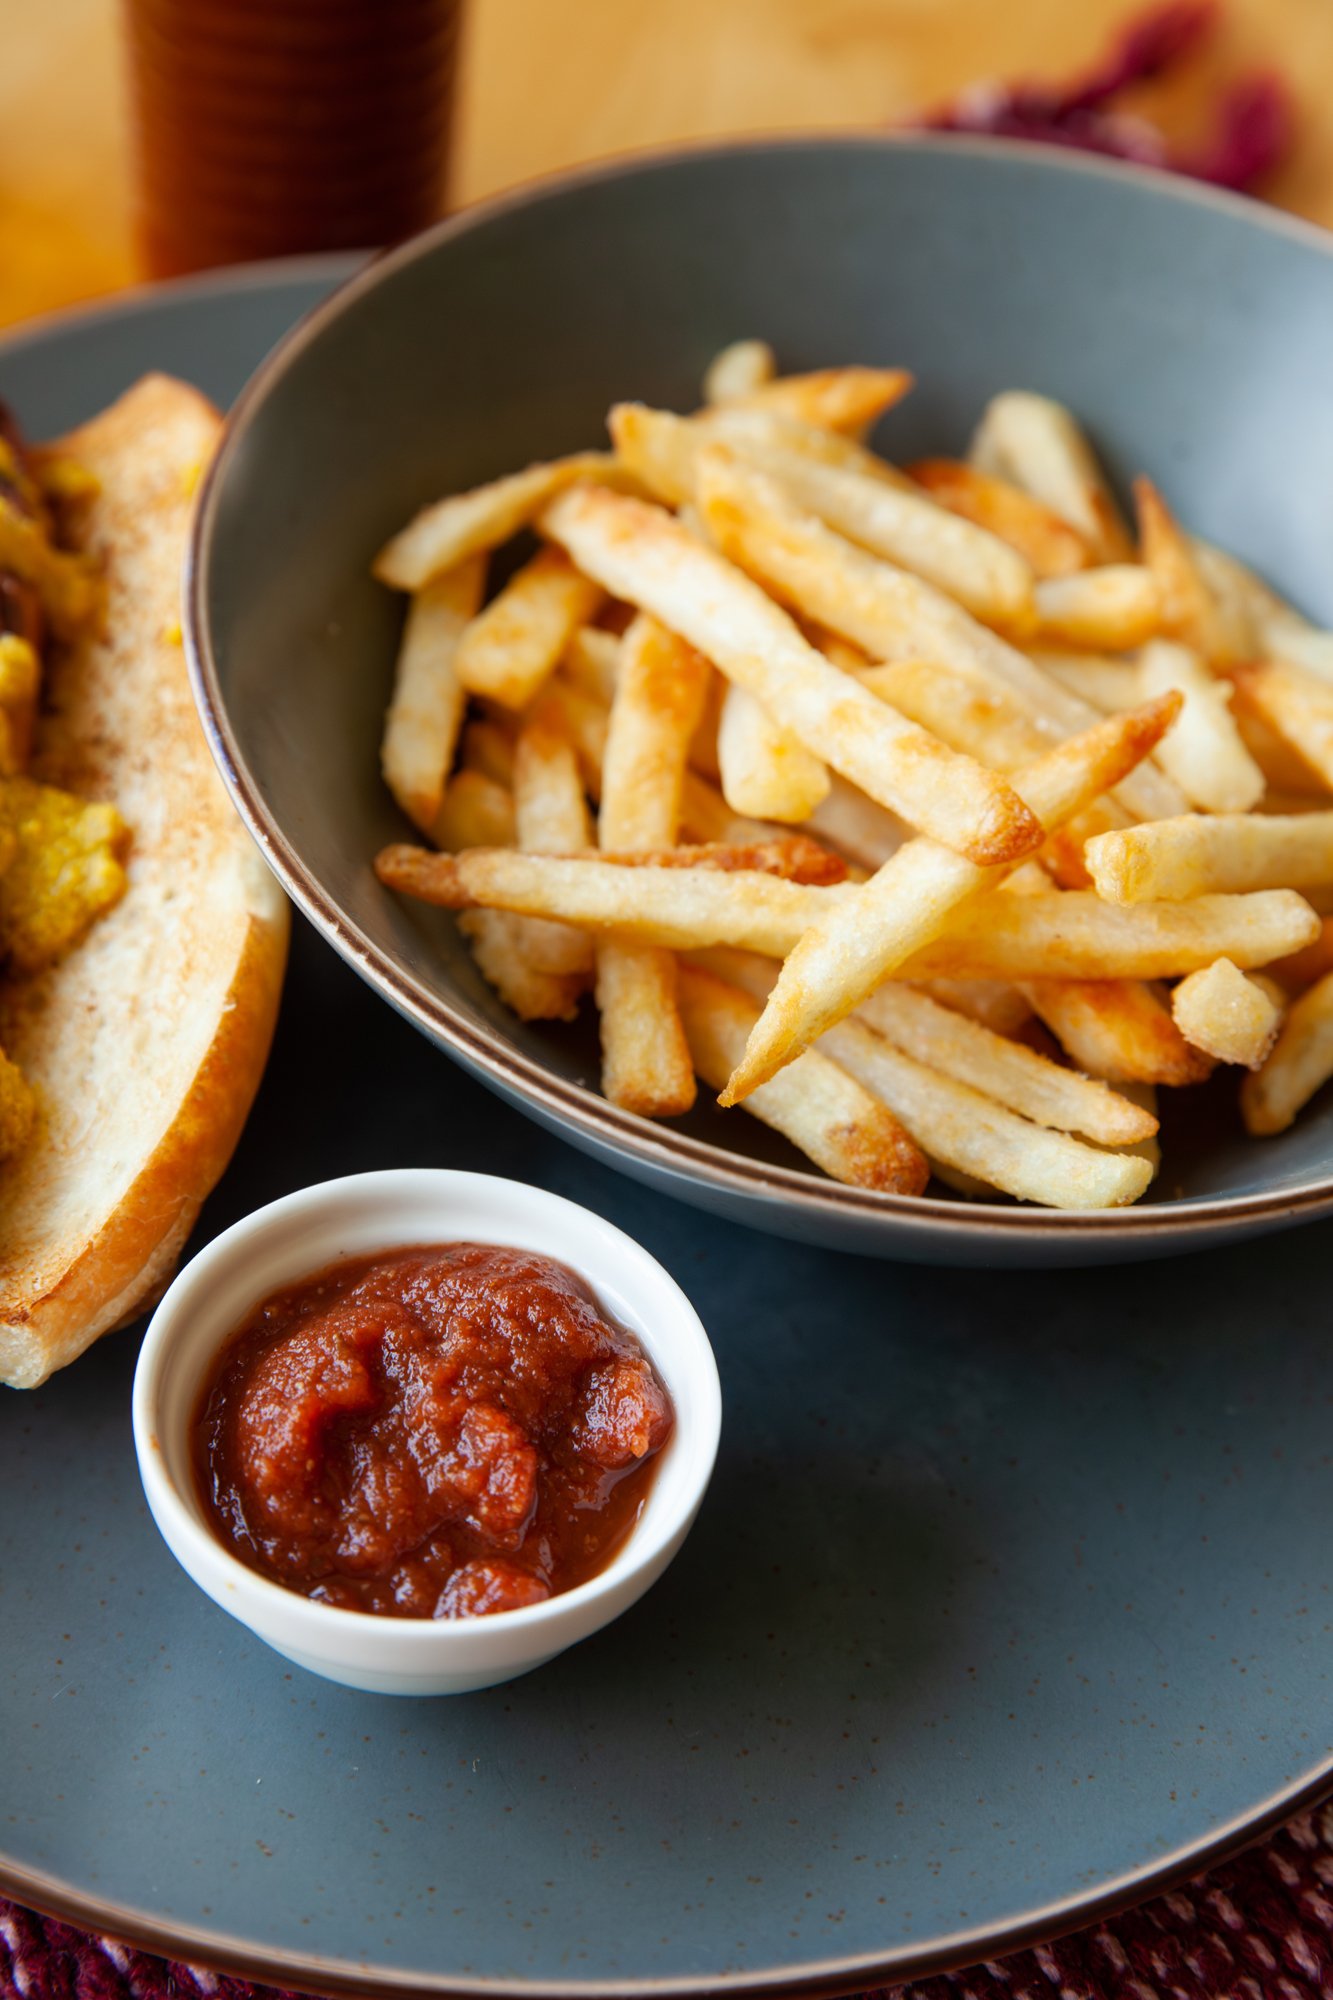
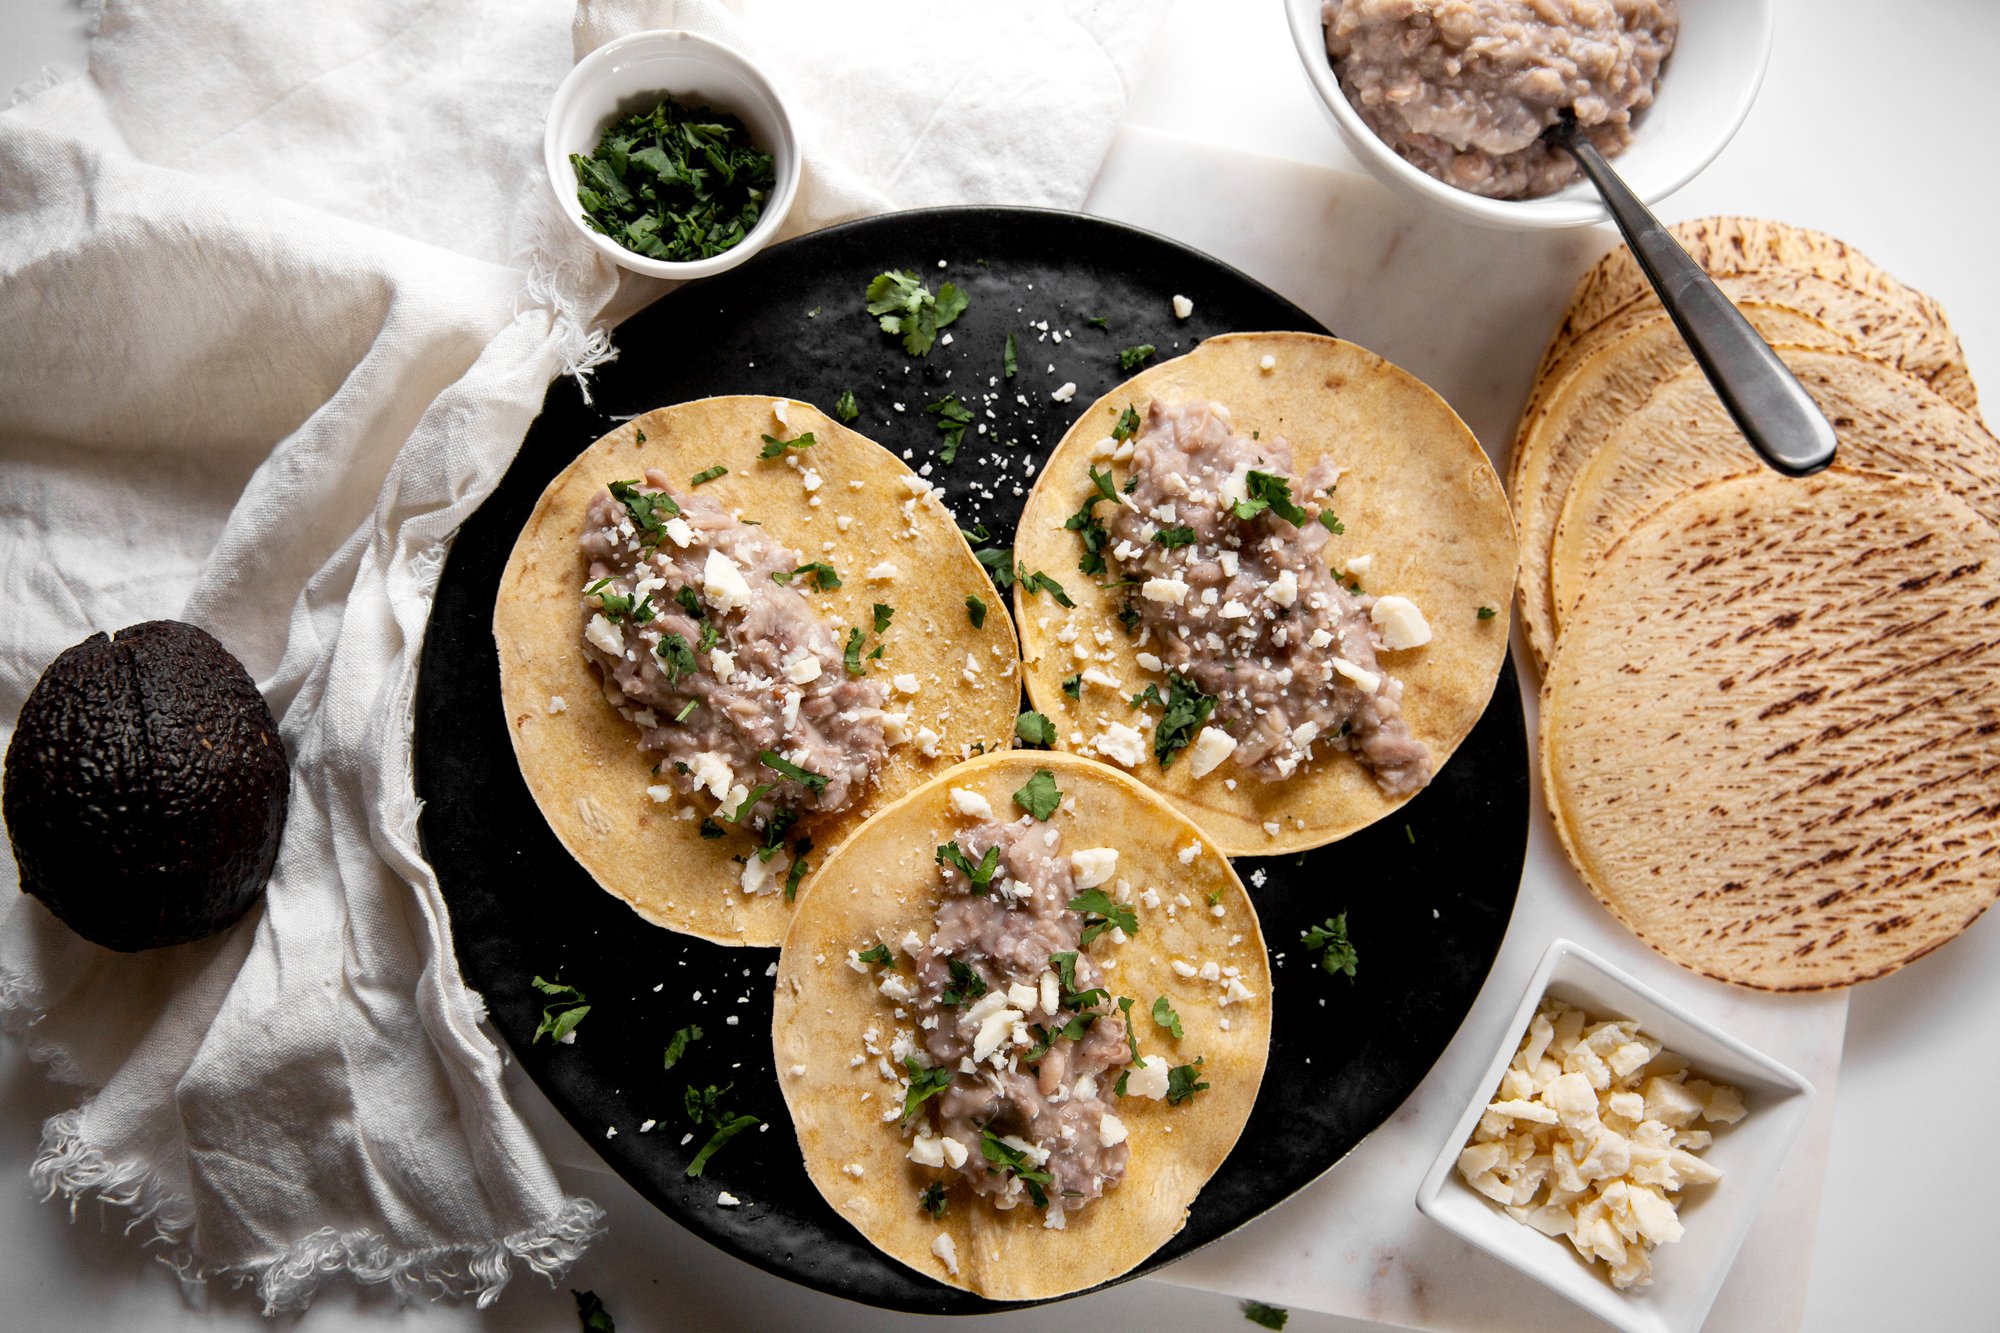
KETCHUP
INGREDIENTS
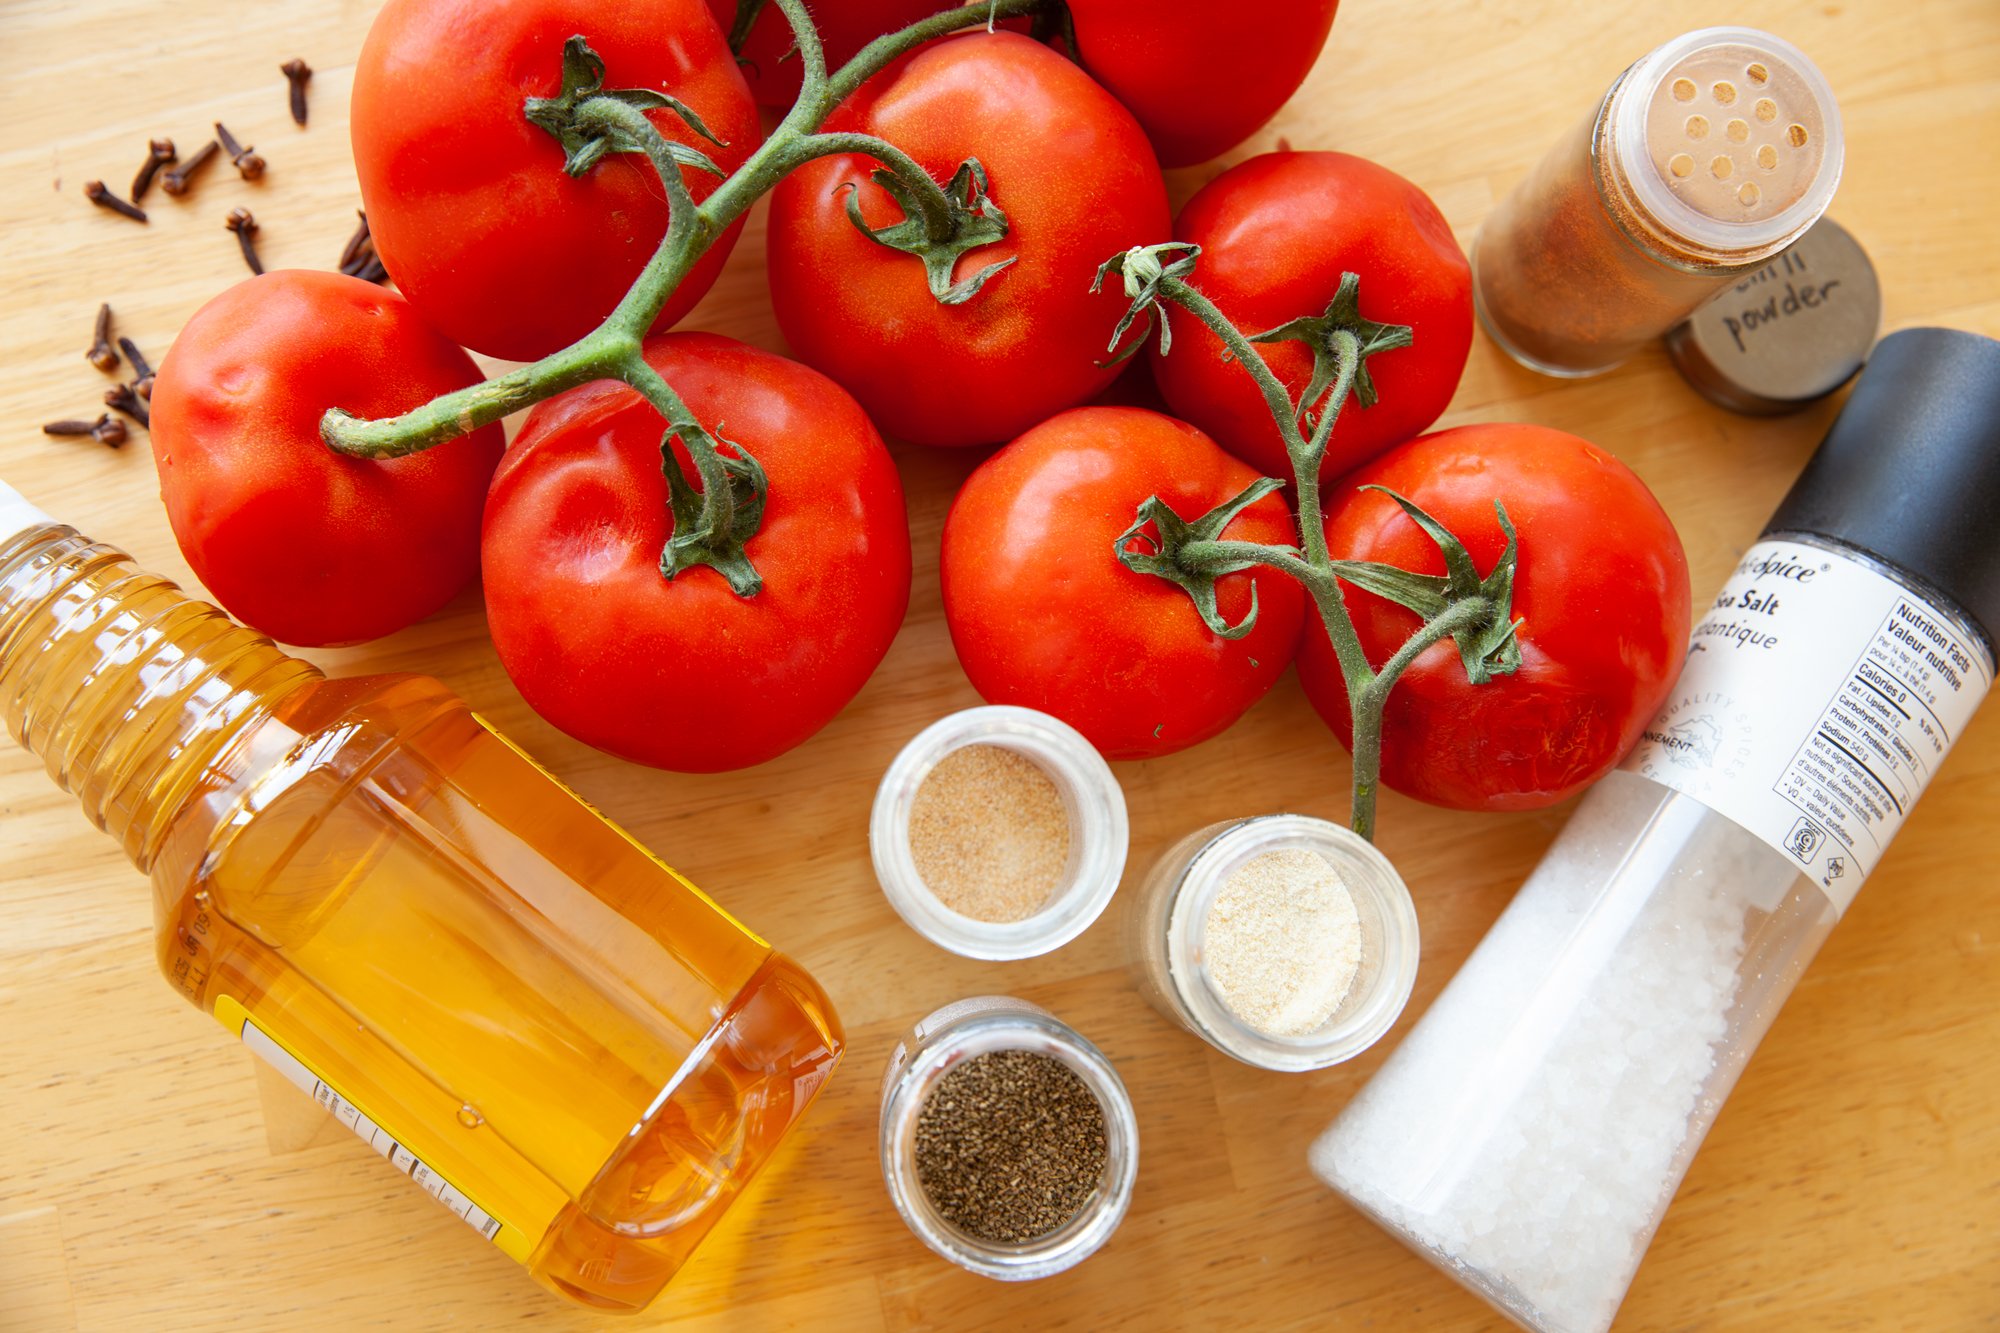
- 6 cups tomatoes (on the vine works)
- ½ cup apple cider vinegar (regular will work in a pinch)
- ¼ cup brown sugar
- 1 tsp garlic powder
- 1 tsp onion powder
- 1/8 tsp celery seed
- 1 tsp salt (more to taste)
-¼ tsp chili powder (more to taste if you want it spice)
- pinch of ground cinnamon
- ¼ tsp whole cloves, crushed finely
INSTRUCTIONS
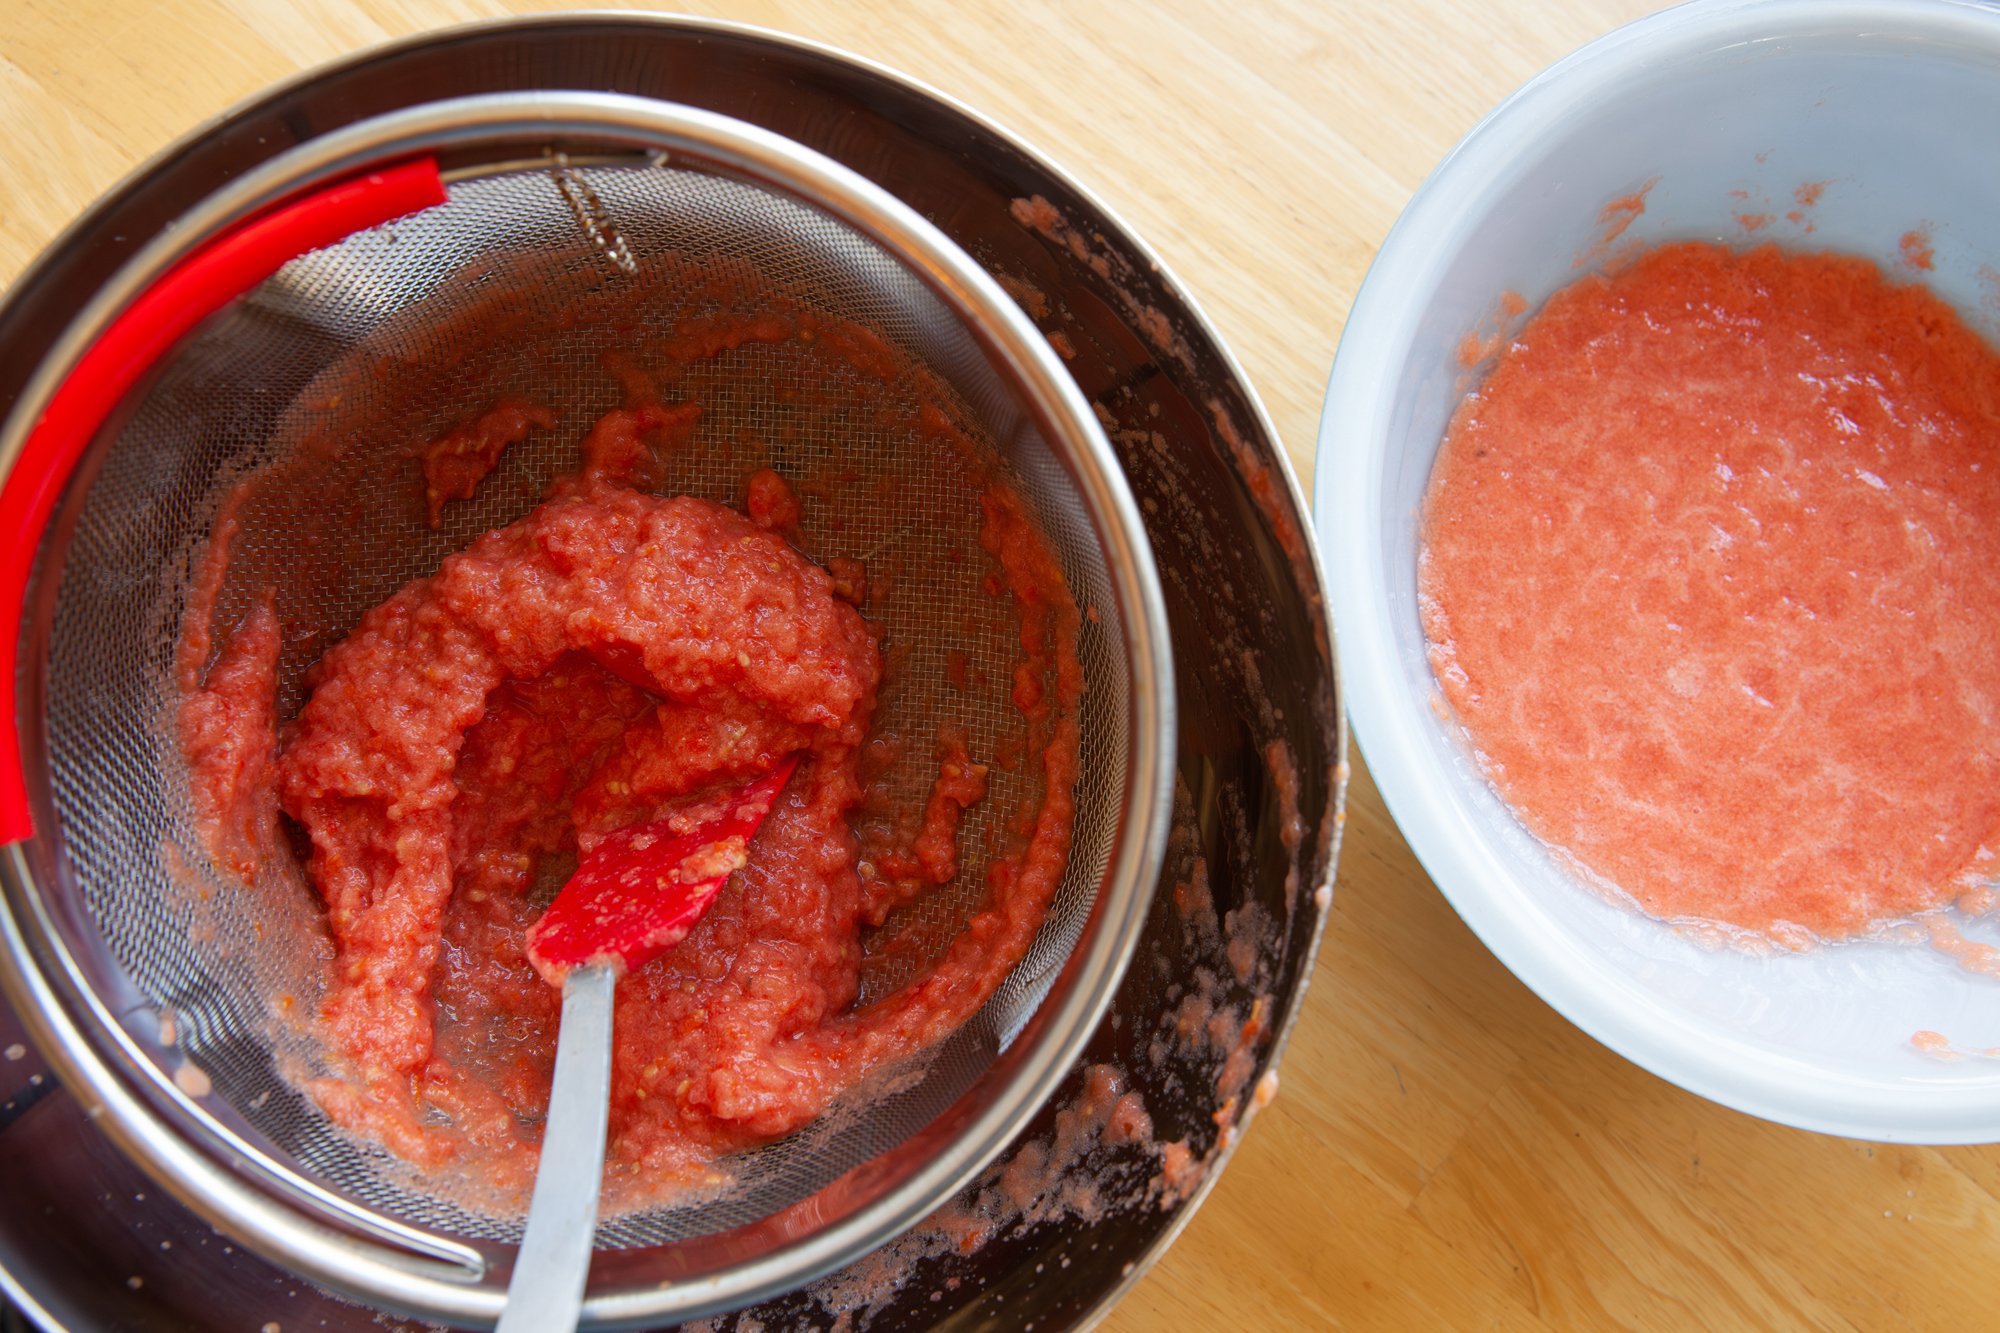
Remove stems from clean and dried tomatoes and then in a large bowl with an immersion blender, or in a food processor, puree the tomatoes.
Pour the tomatoes through a fine-mesh sieve, into a large saucepan, so only the juice remains, and the skins and seeds are left behind.
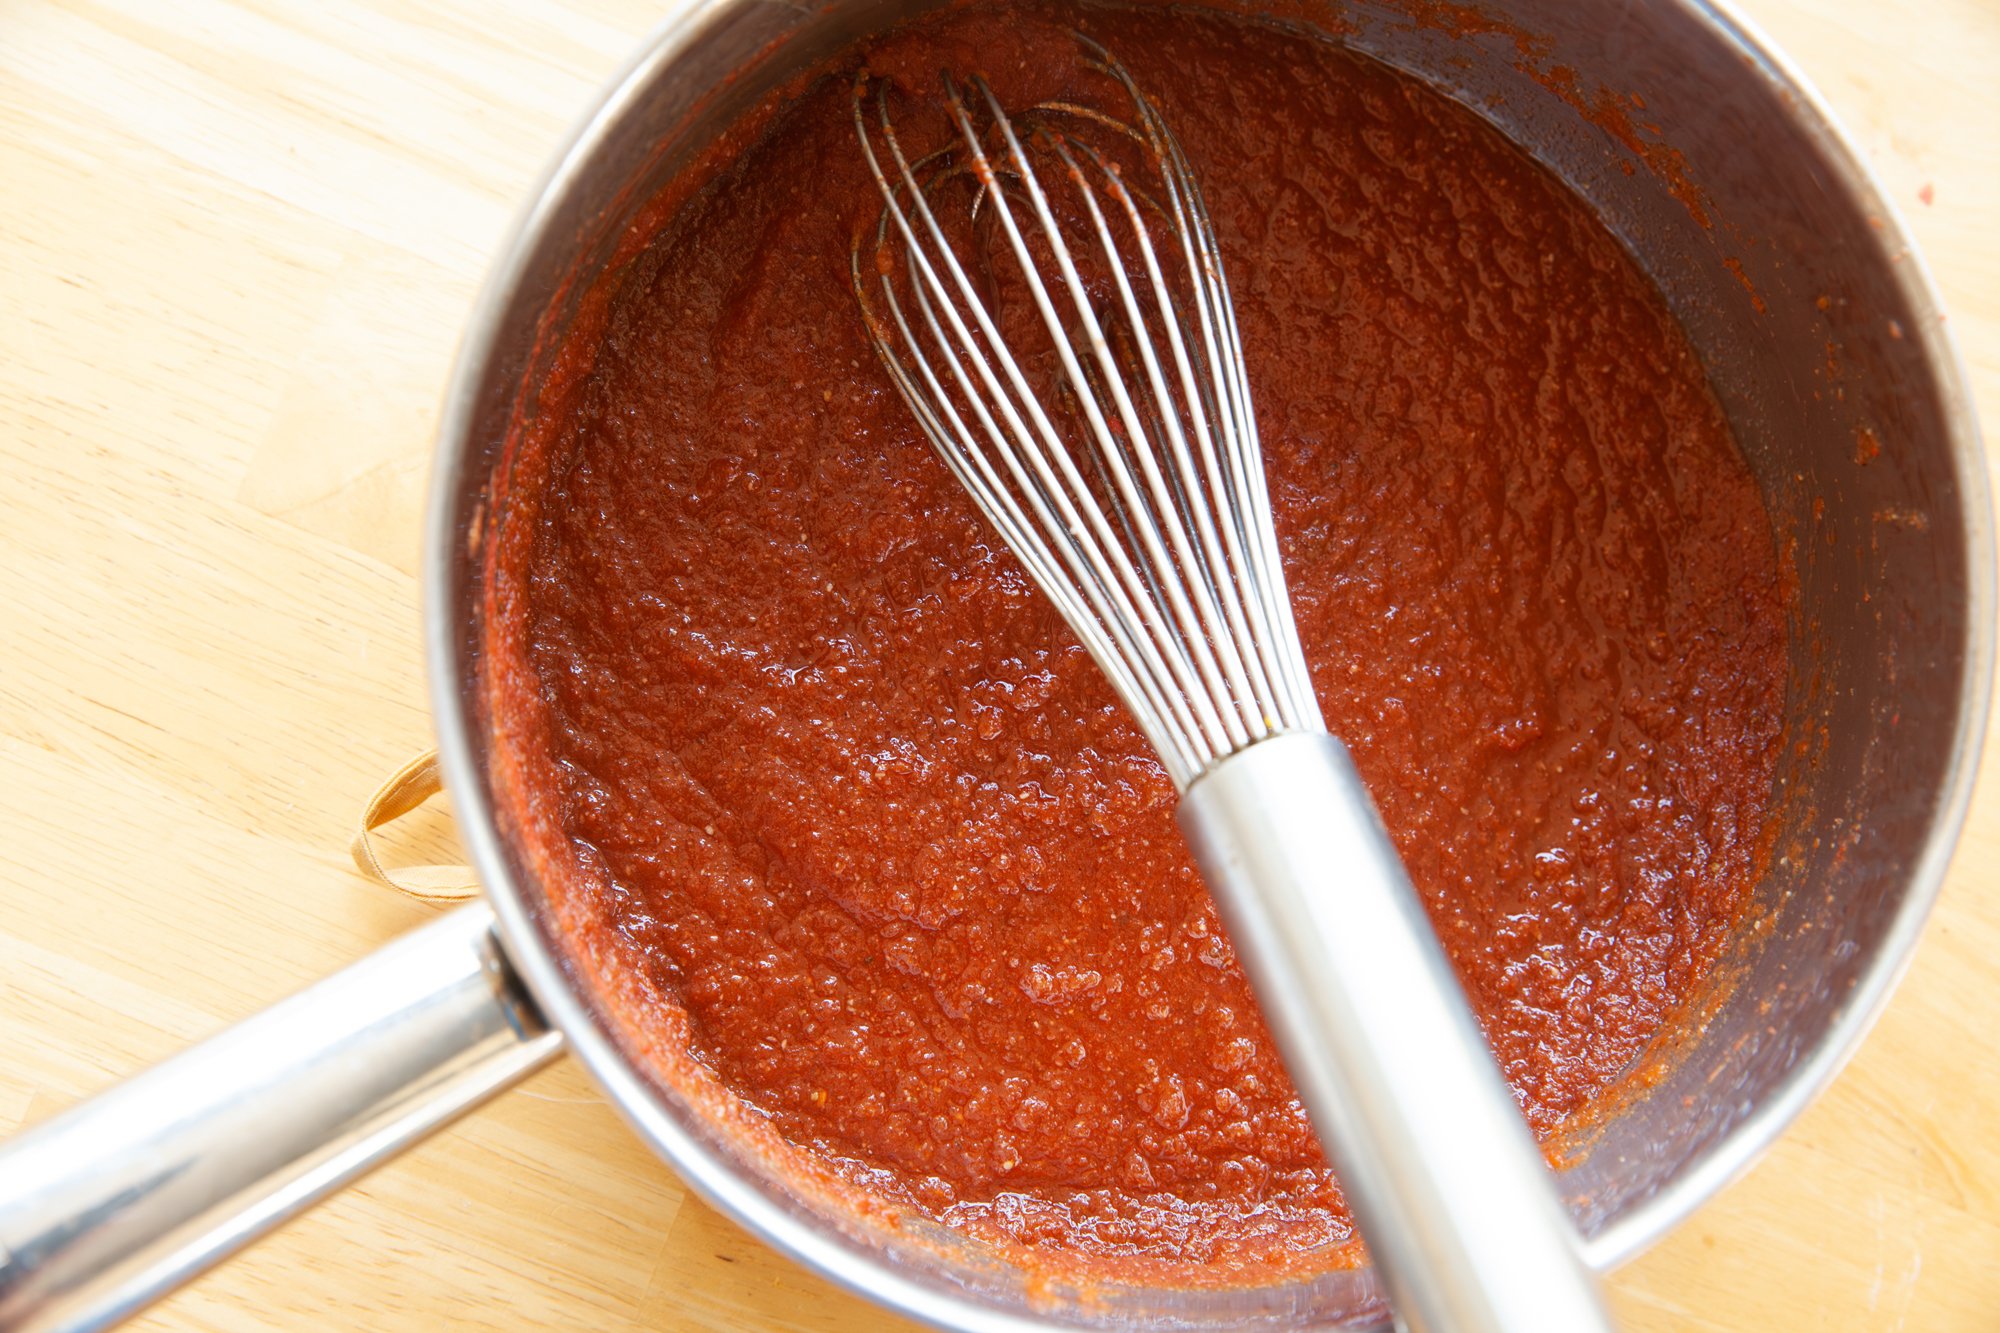
Turn the pot on over medium heat and bring to a boil and then simmer and reduce for approx. 45 mins, stirring and scraping the sides throughout.
Add the rest of the ingredients to the pot, and taste for seasoning – whether you’d like it sweeter, or spicier.
Cook for another 10 minutes or so, until the ketchup is at a consistency you prefer.
Let cool down completely and then transfer into a container that is airtight and refrigerate.
Can remain in fridge for a month.
NOTE: If you want to speed the whole process up, you can use 1.5 cups of tomato paste instead of reducing the whole tomatoes.
MUSTARD
*Note: This recipe is for yellow mustard but will still have a bit of grain to it, because of the mustard seeds vs mustard powder.
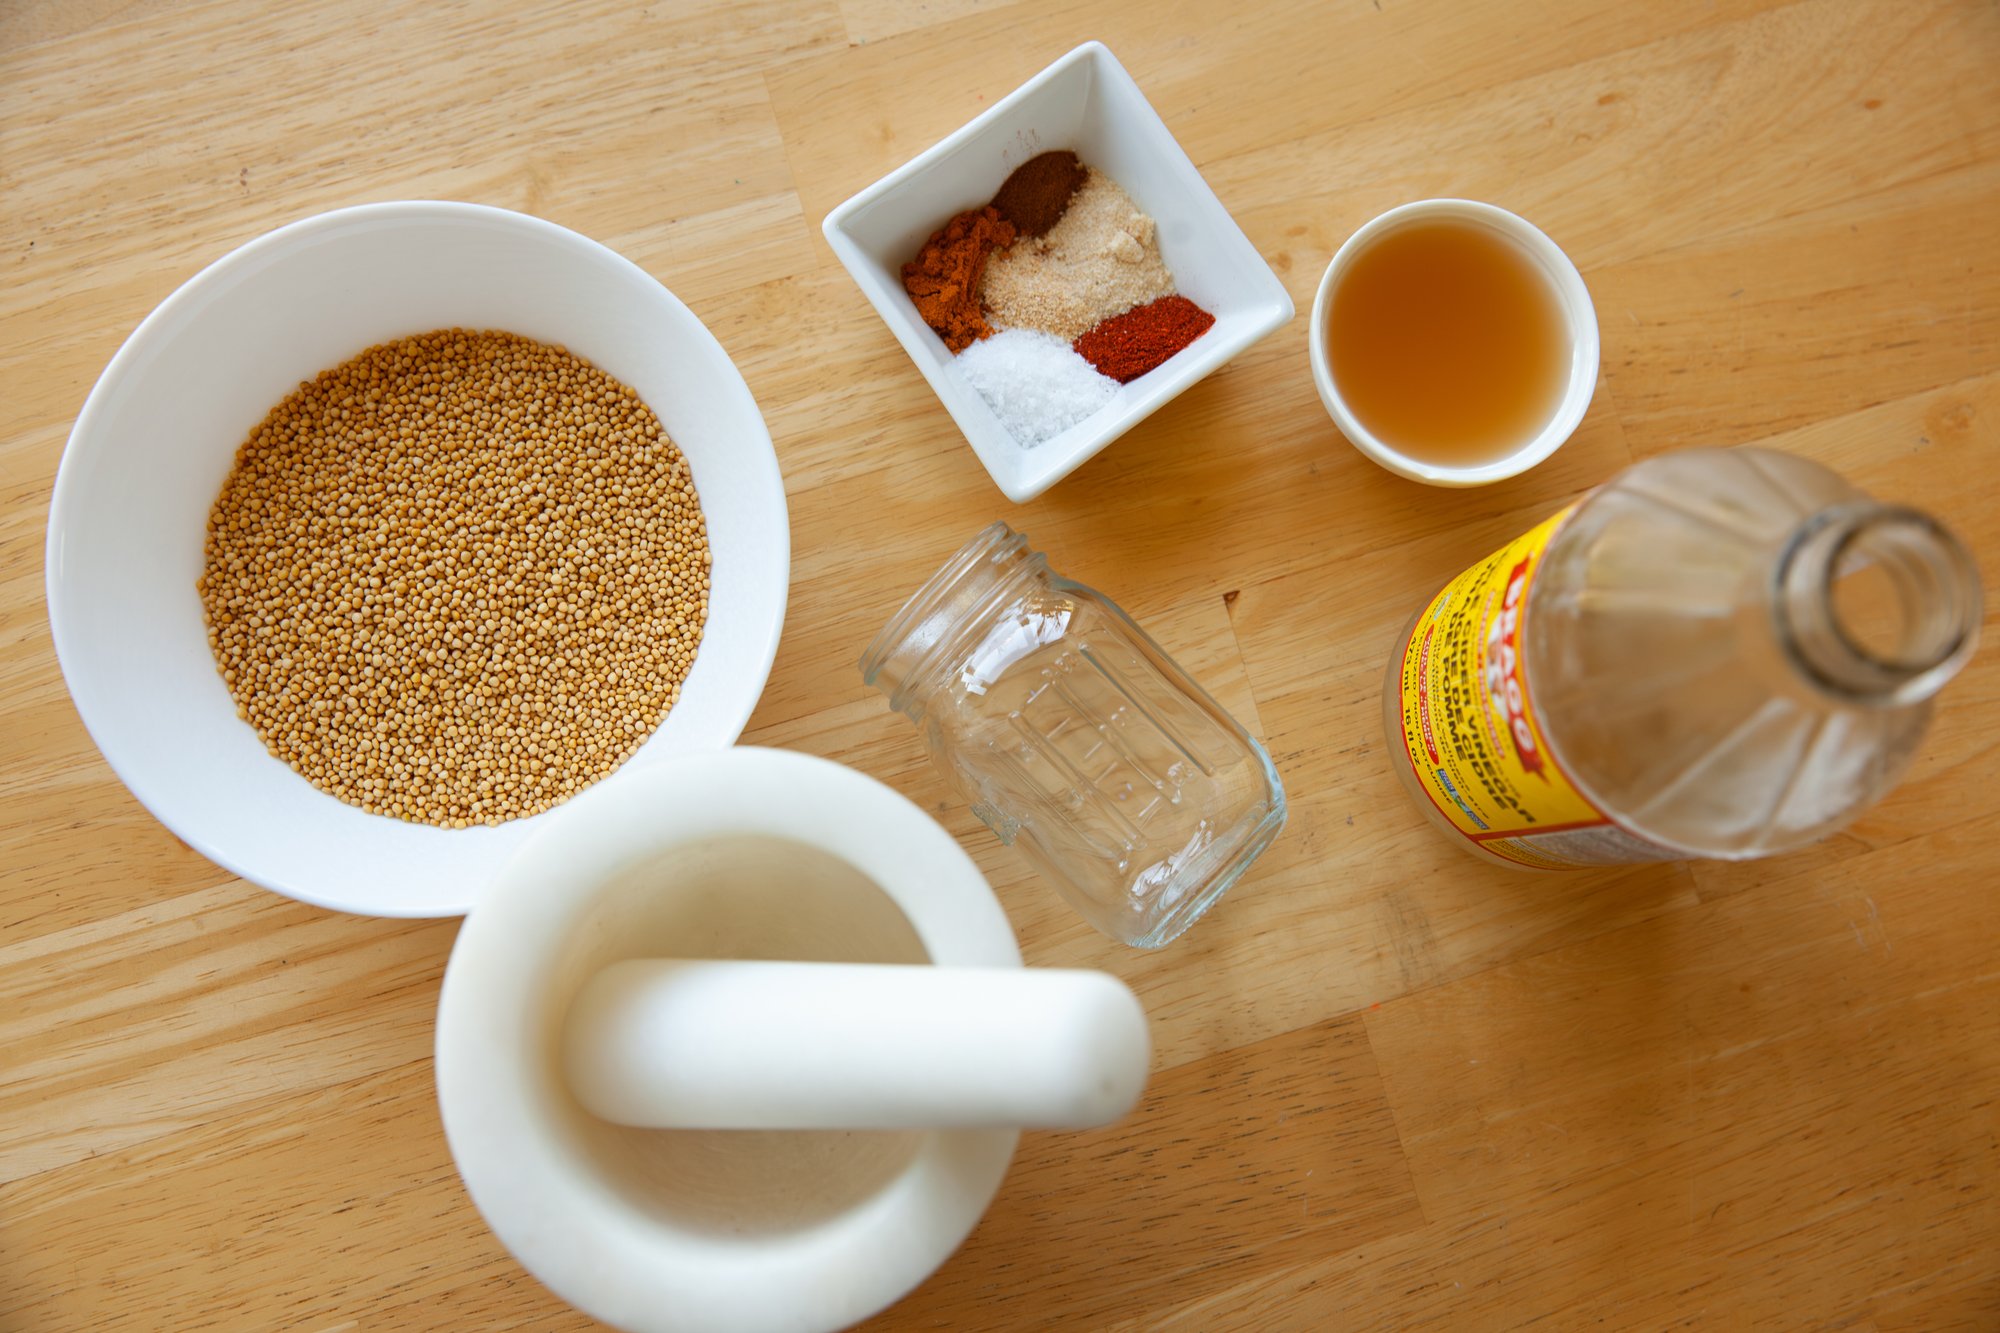
INGREDIENTS
- 1.5 cups filtered water (cold)
- ¾ cup yellow mustard seeds
- ¼ cup of distilled white vinegar or apple cider vinegar
- ¼ tsp onion powder
- ¼ tsp garlic powder
- ½ tsp salt
- ½ tsp turmeric powder
- ¼ tsp paprika
- pinch of ground cinnamon
INSTRUCTIONS
*NOTE: You will want to use stainless steel in this entire process, do NOT use aluminum utensils OR pots! If you do, it will change the taste of your mustard.
Wash all of your tools in boiling hot water before you begin.
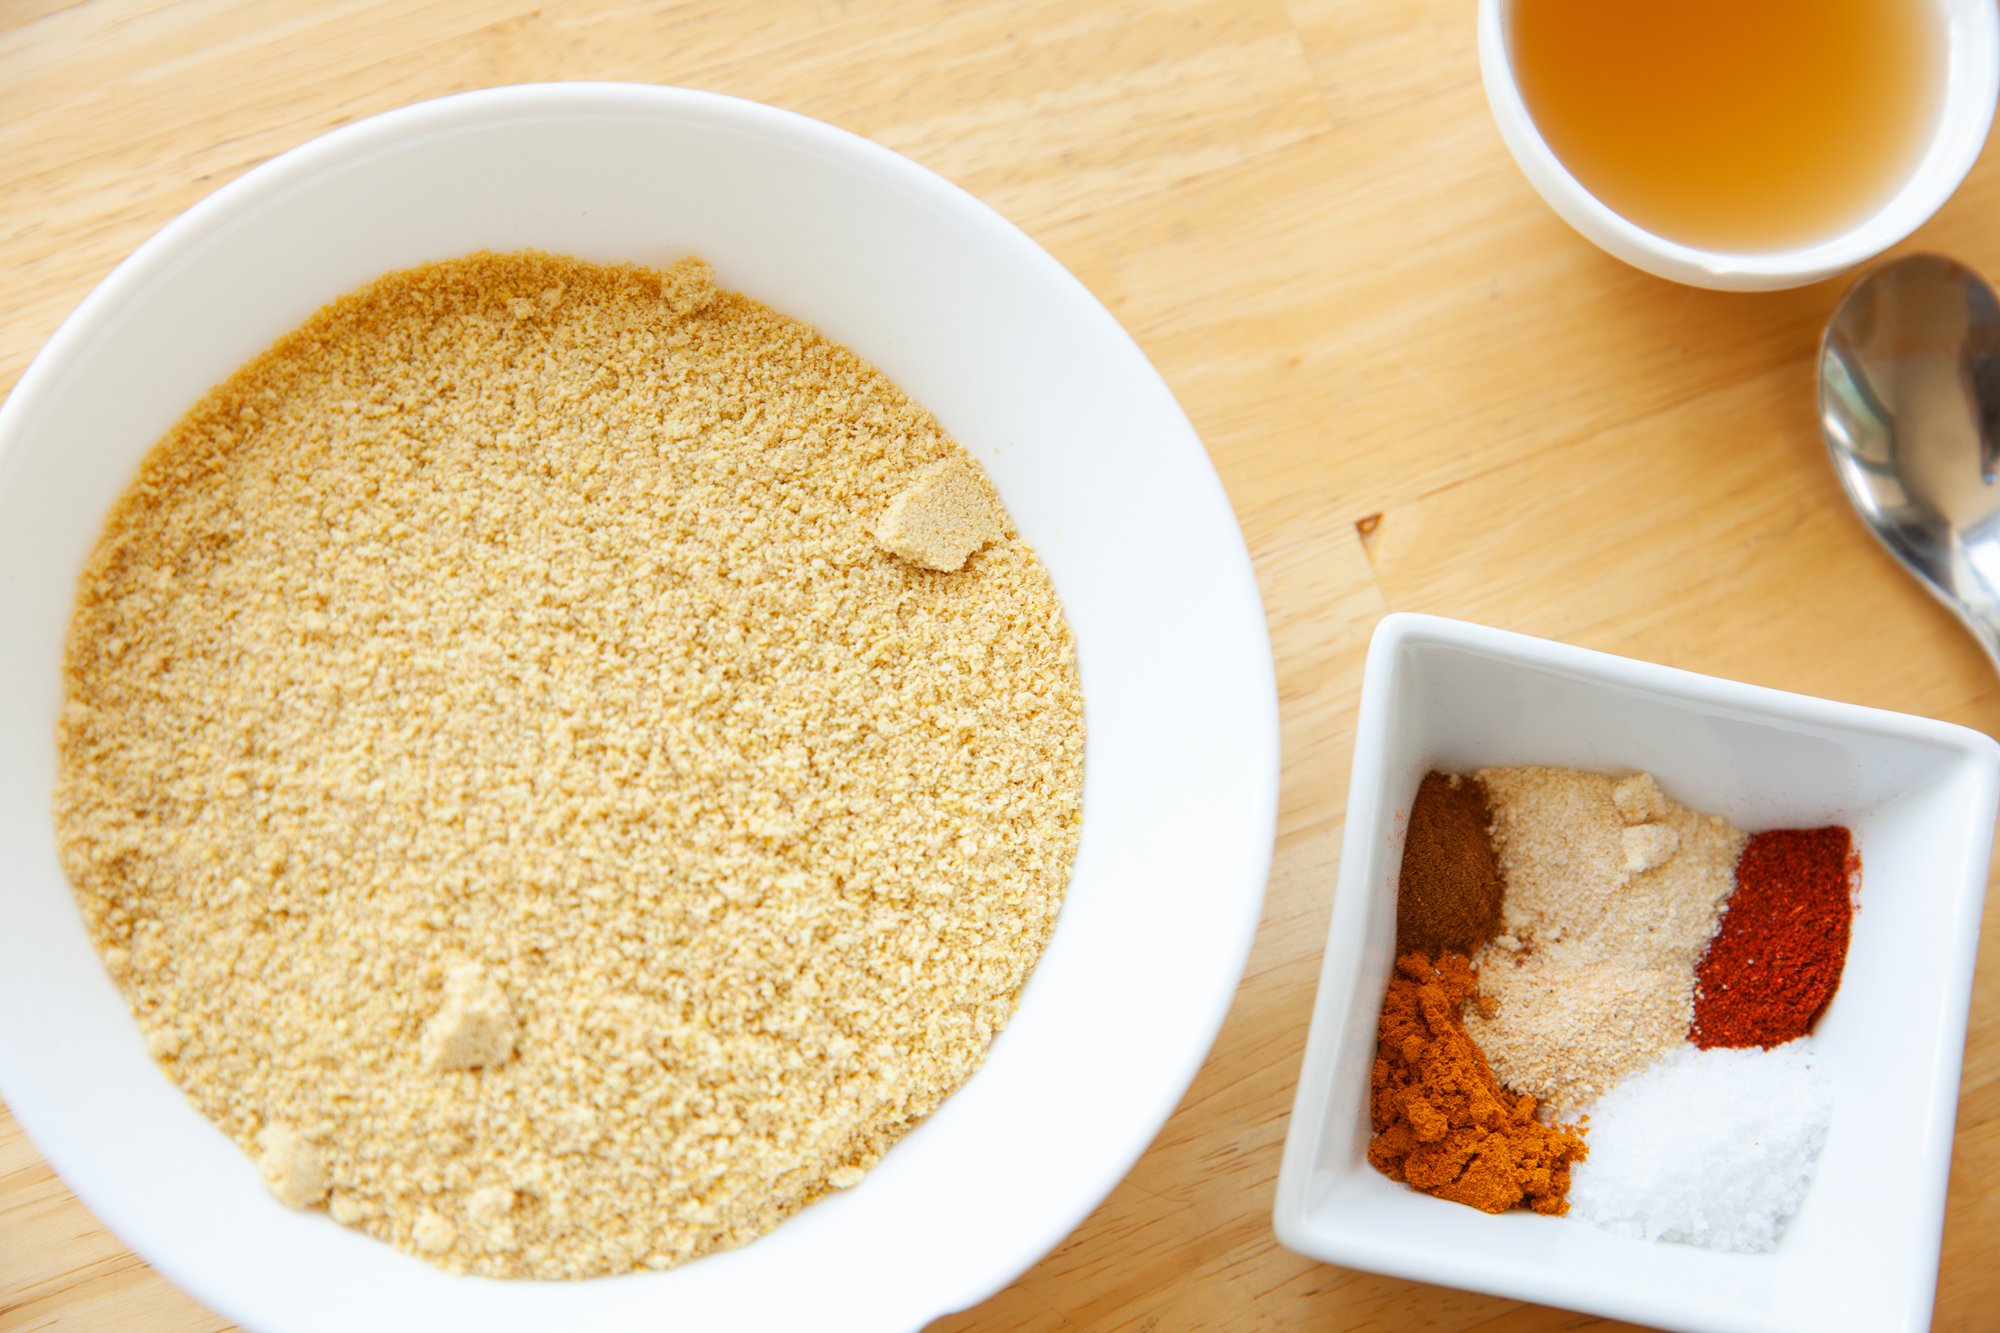
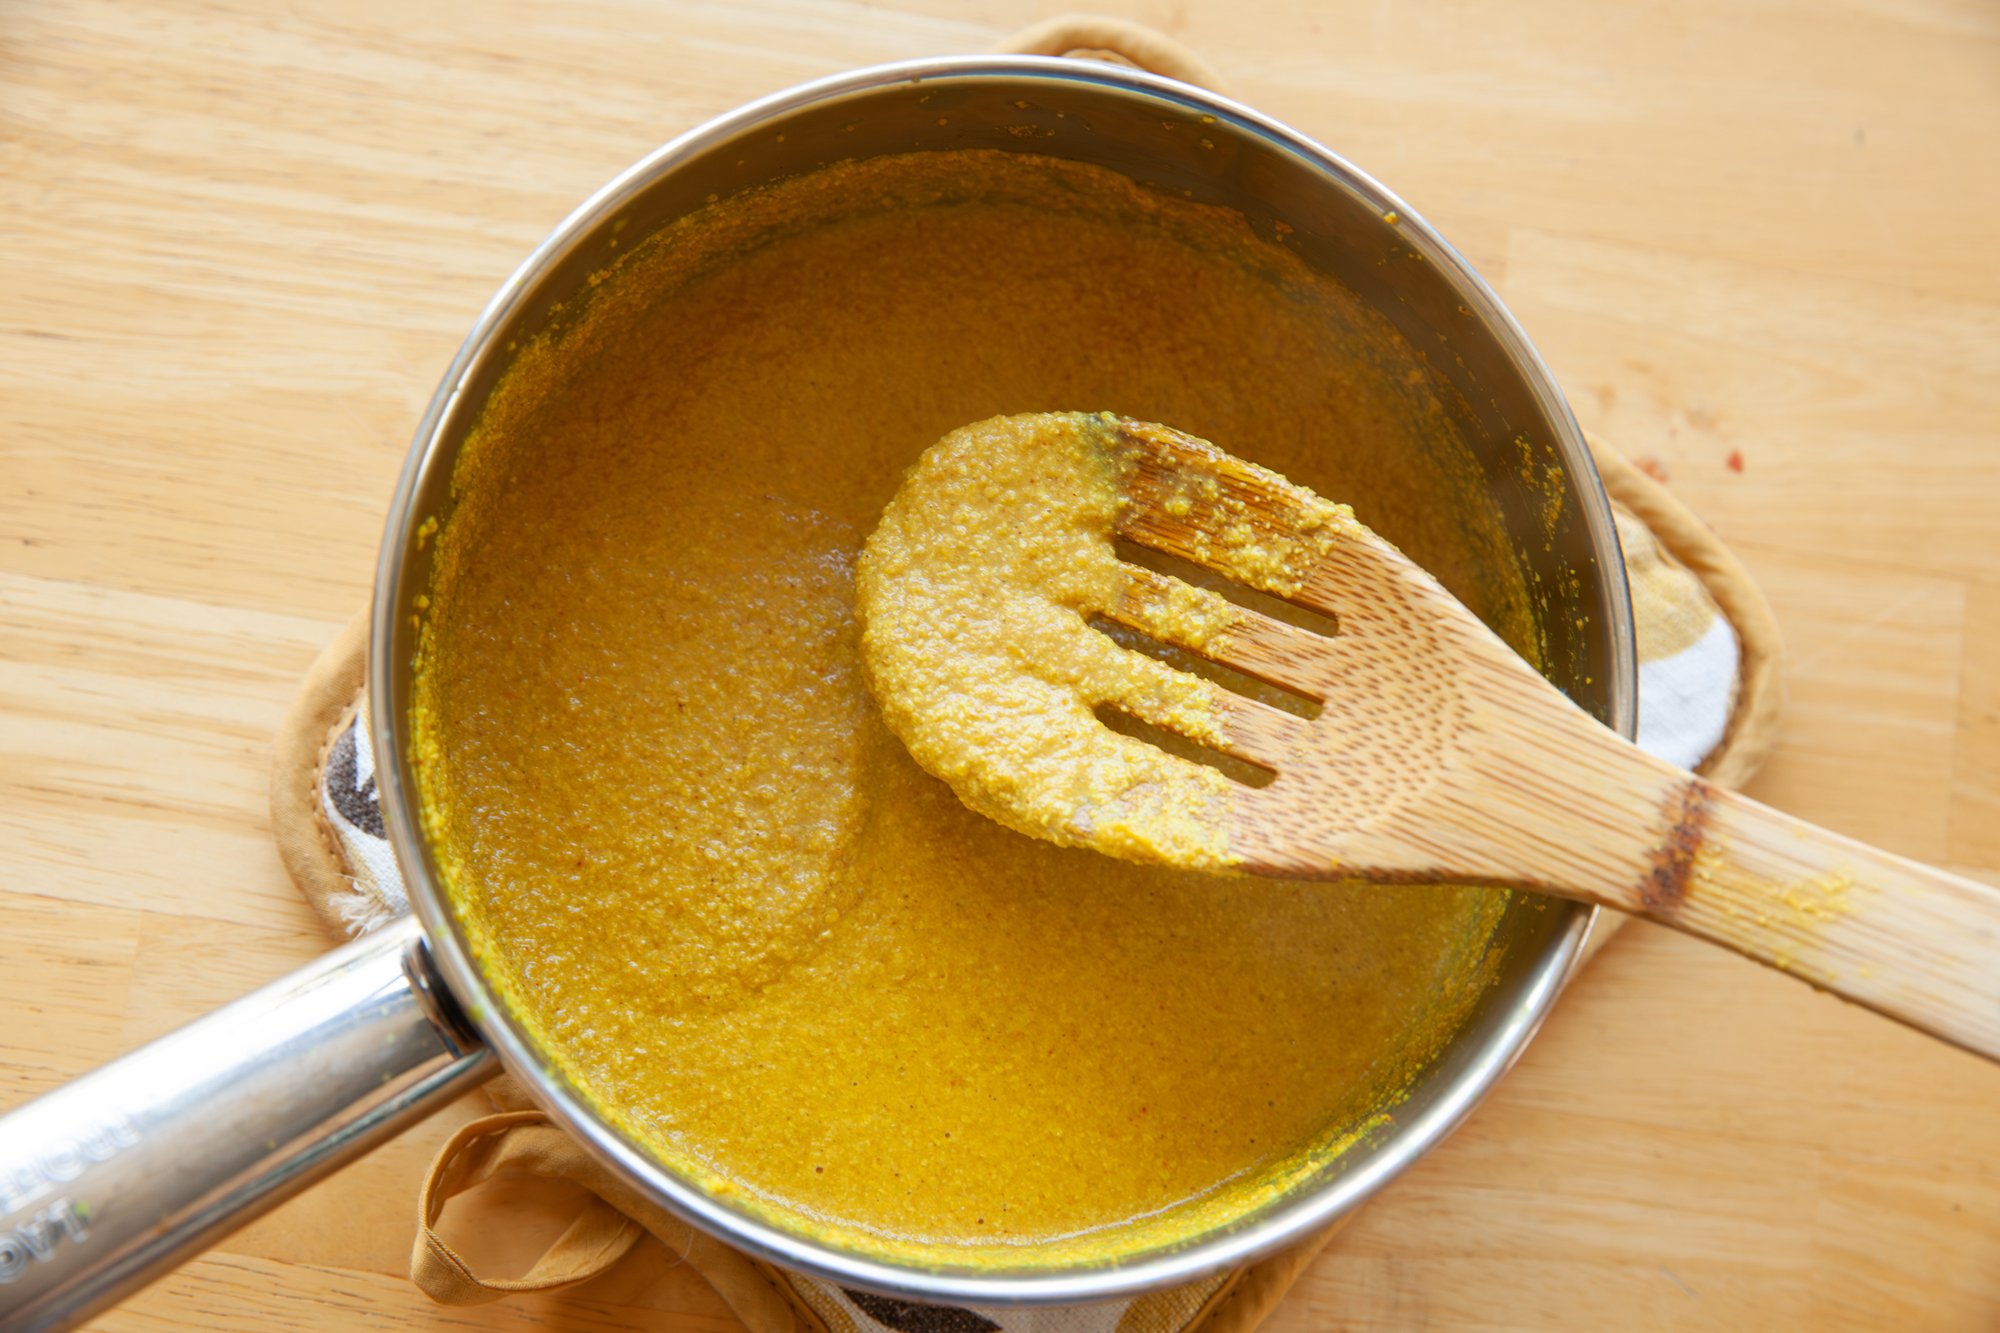
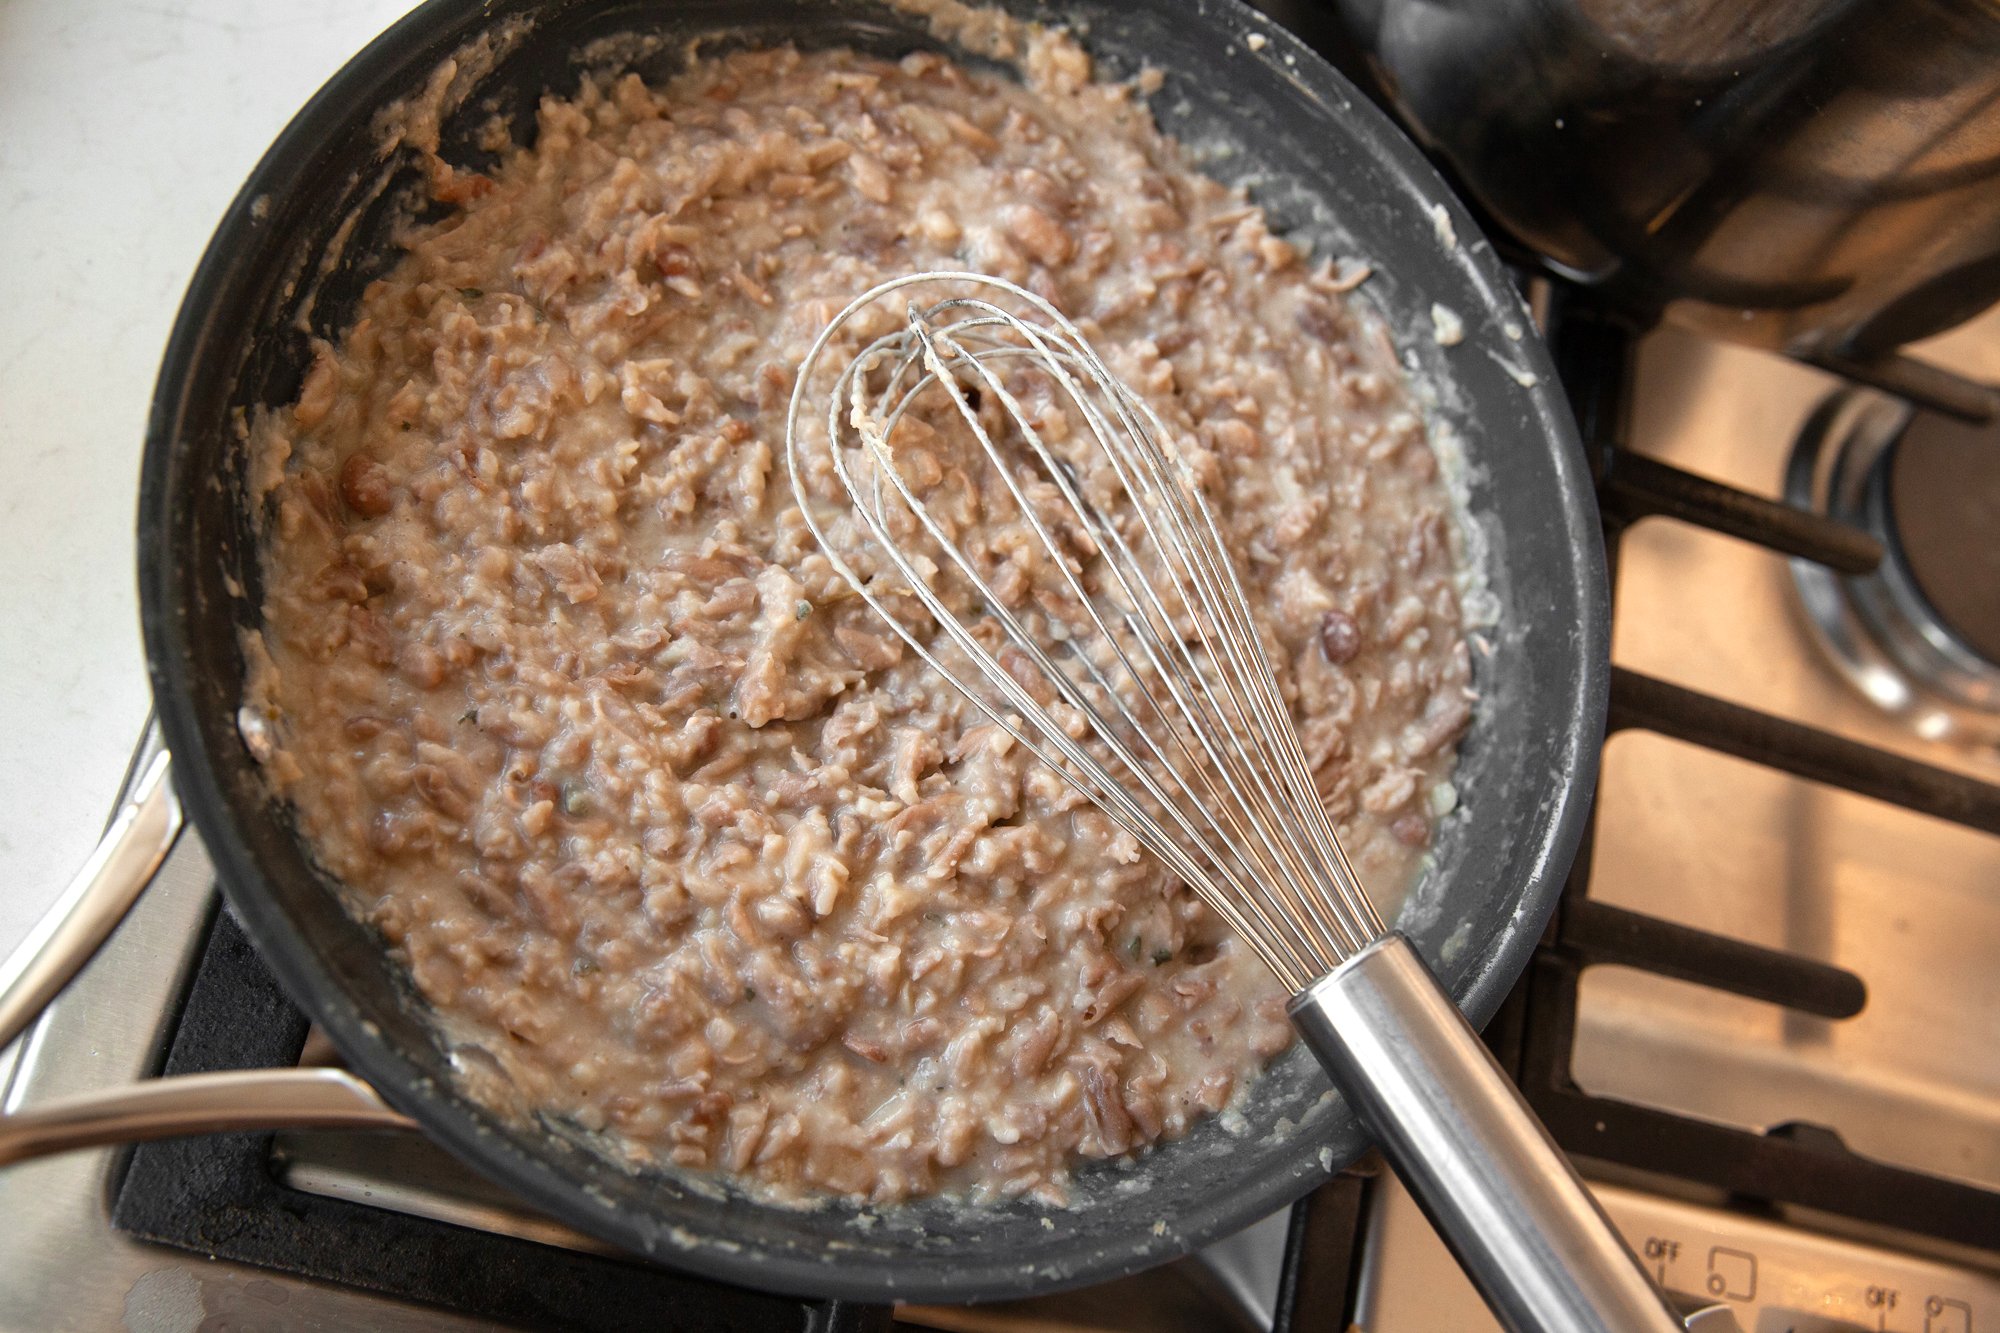
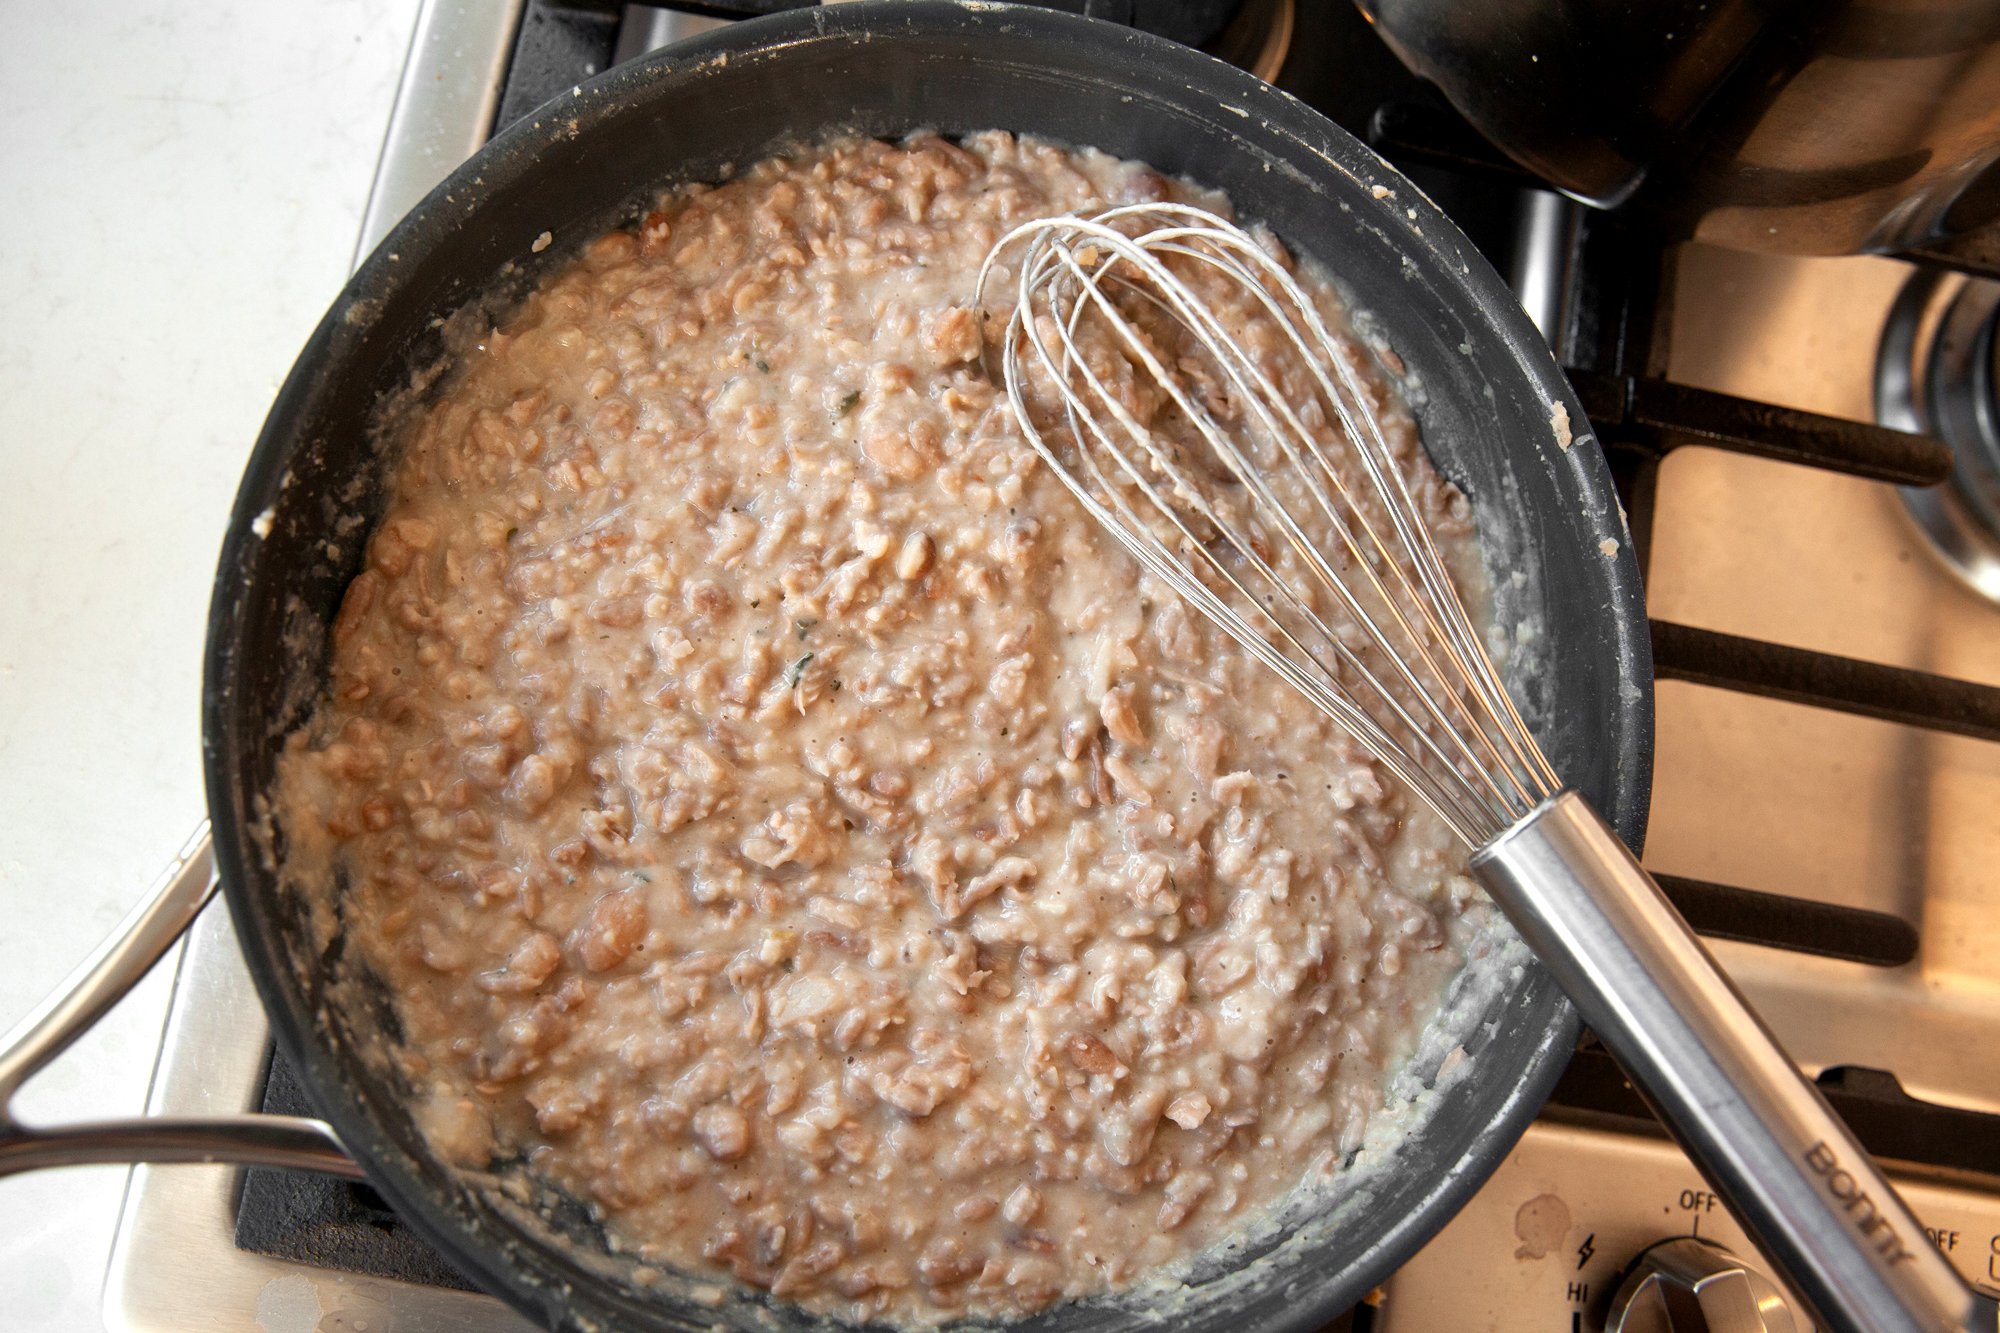
In a spice grinder (or mortar and pestle – but that will take a long time), grind the mustard seeds into a fine powder. The finer it is, the smoother the mustard is – so go by how you enjoy your mustard.
Mix the ground mustard in with the rest of the spices.
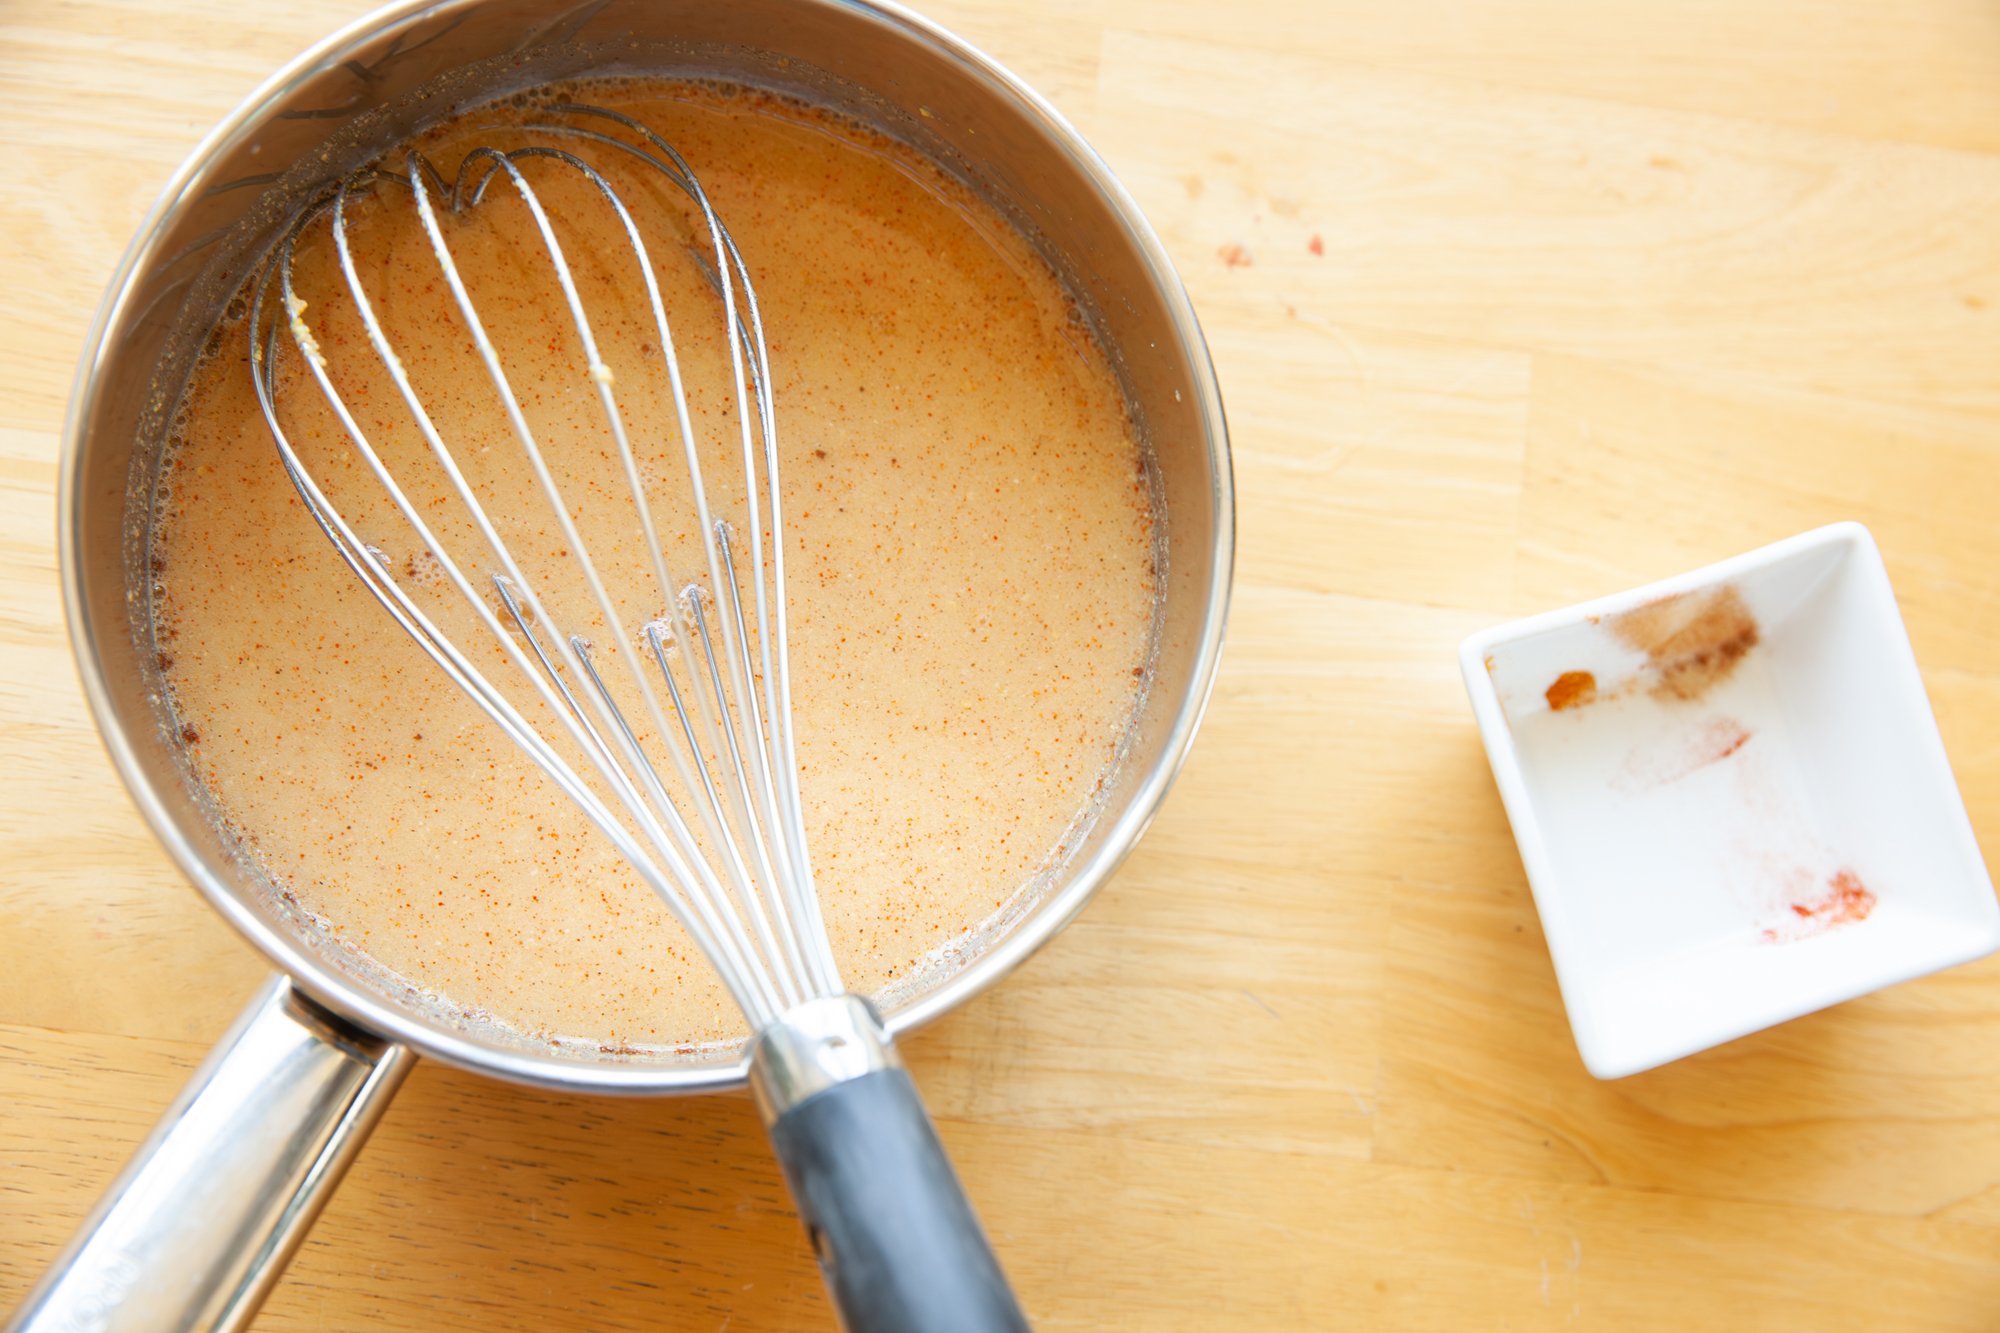
In a saucepan, add the water and all of the spices and stir, and then cook on low for 40-45mins, or until it begins to bubble.
Now add the vinegar, give it a quick stir and let it come back to a bubble, for 5-10 mins, stirring so it doesn’t stick to the bottom.
With a funnel, pour the mixture into a glass container and then let it cool completely, and place in the fridge.
Let it sit there for at least a day, if not two before using, so the flavors can meld together, or else it will be very bitter.
NOTE: If you would like this to be honey mustard, add honey at a 1:1 ratio to the mustard or to your desired taste.