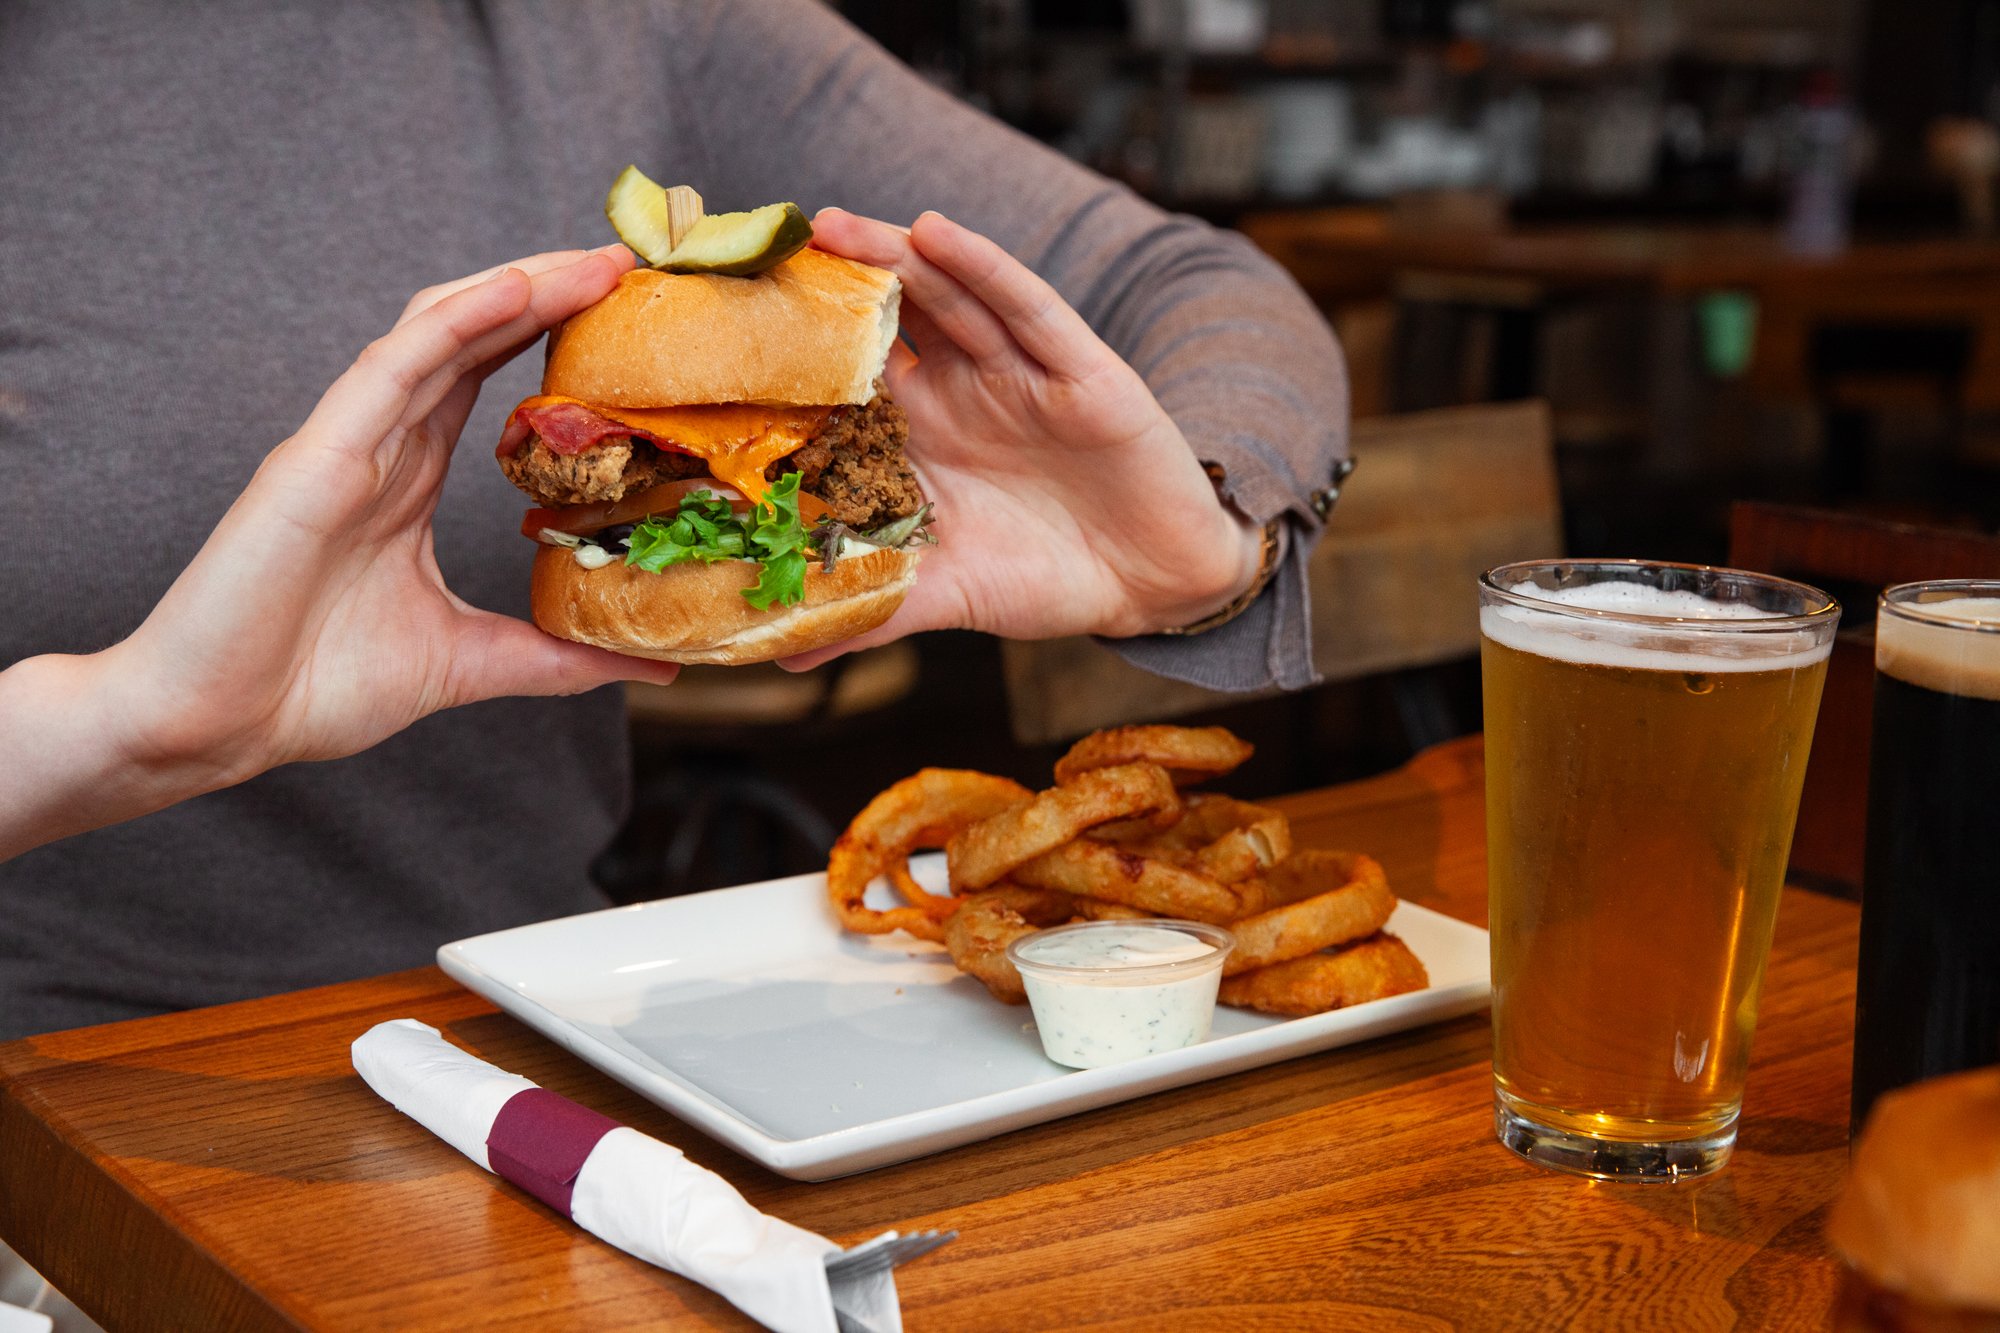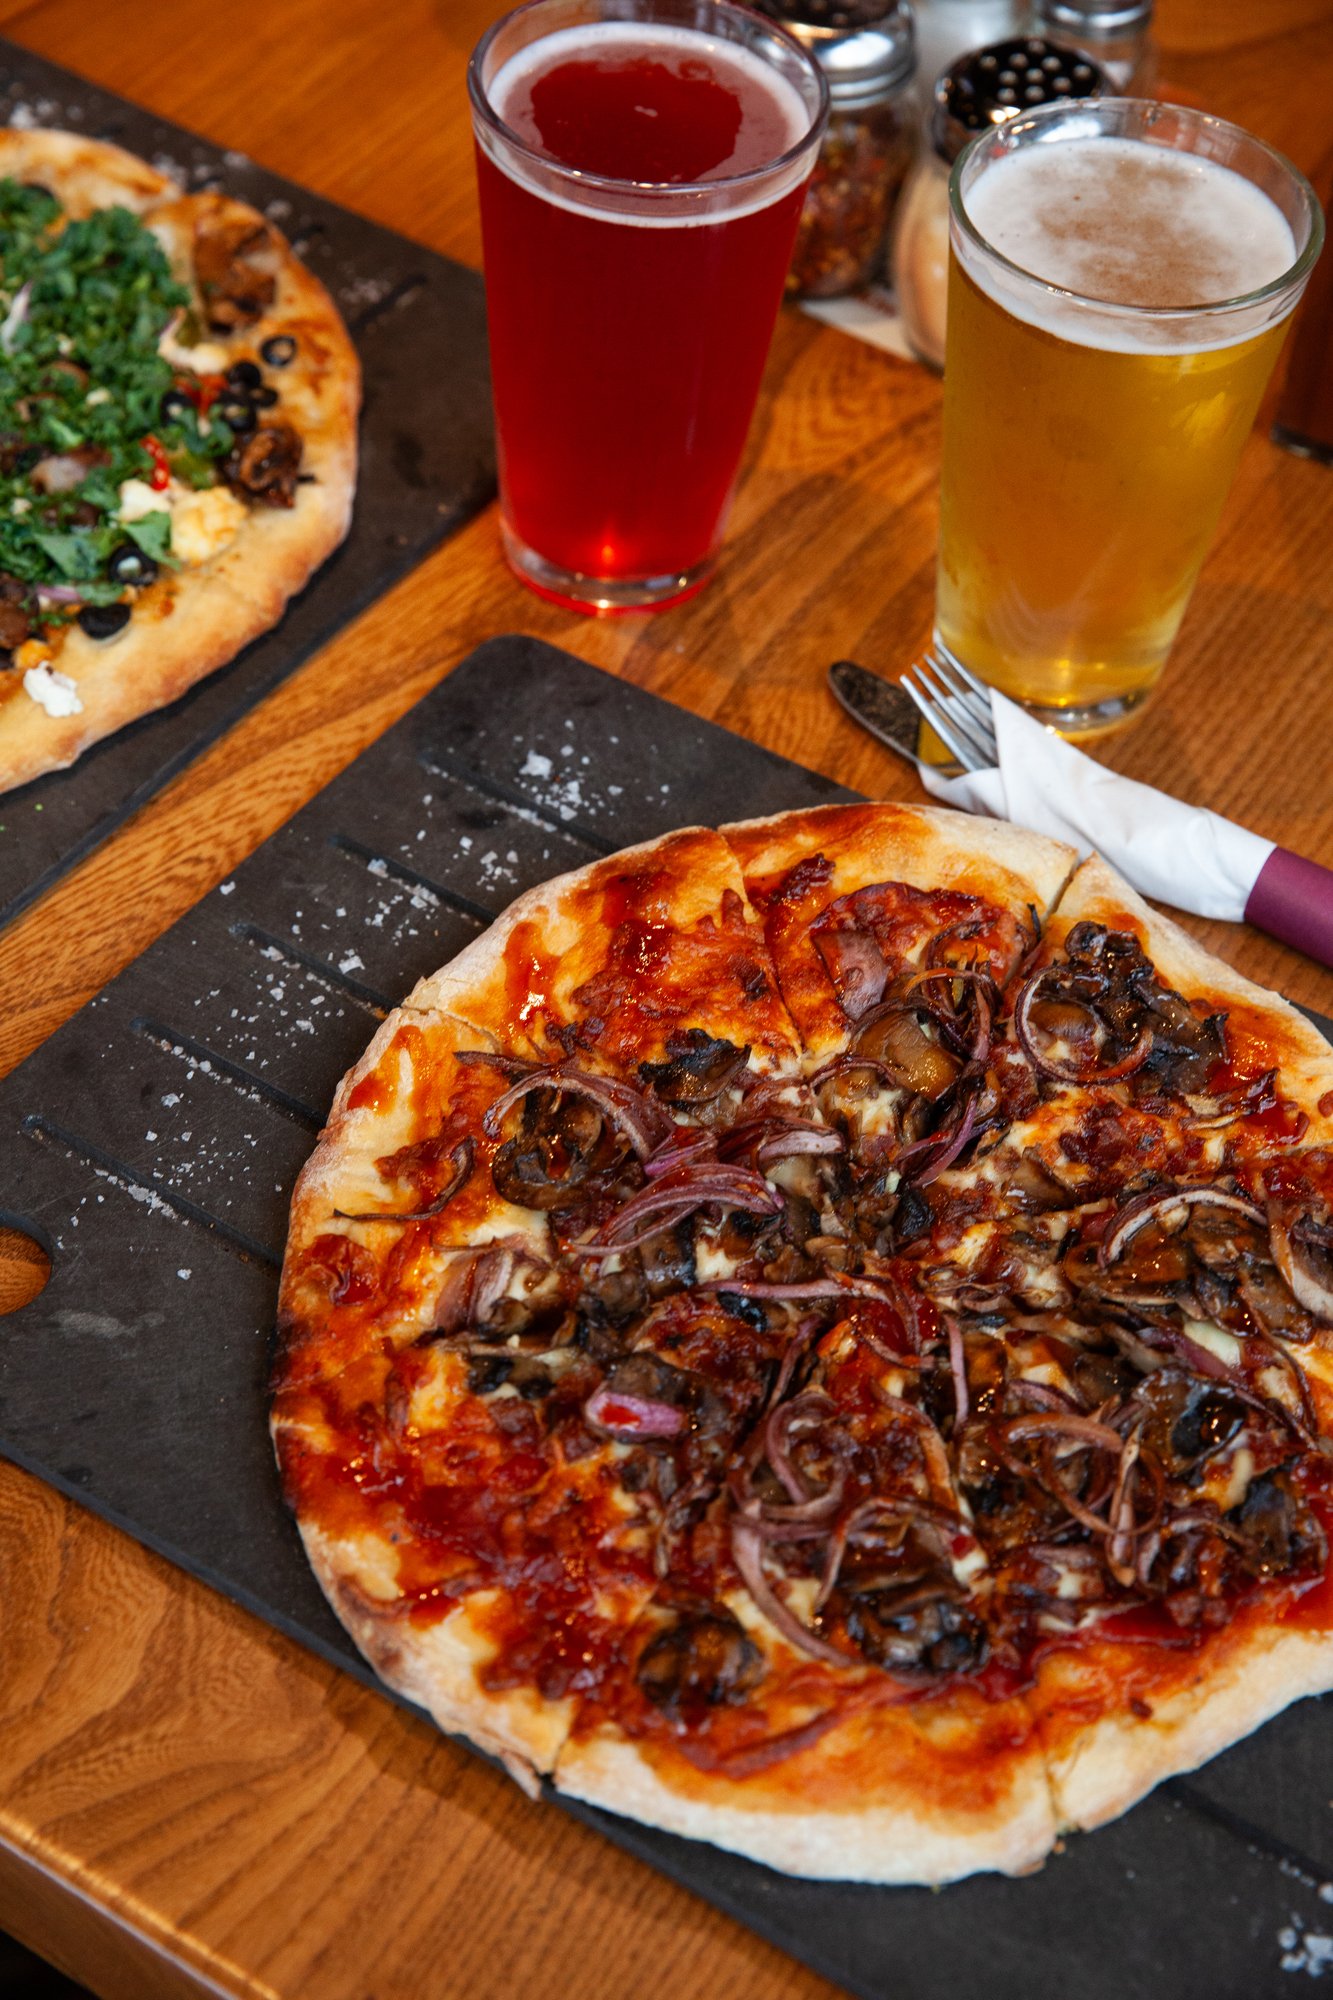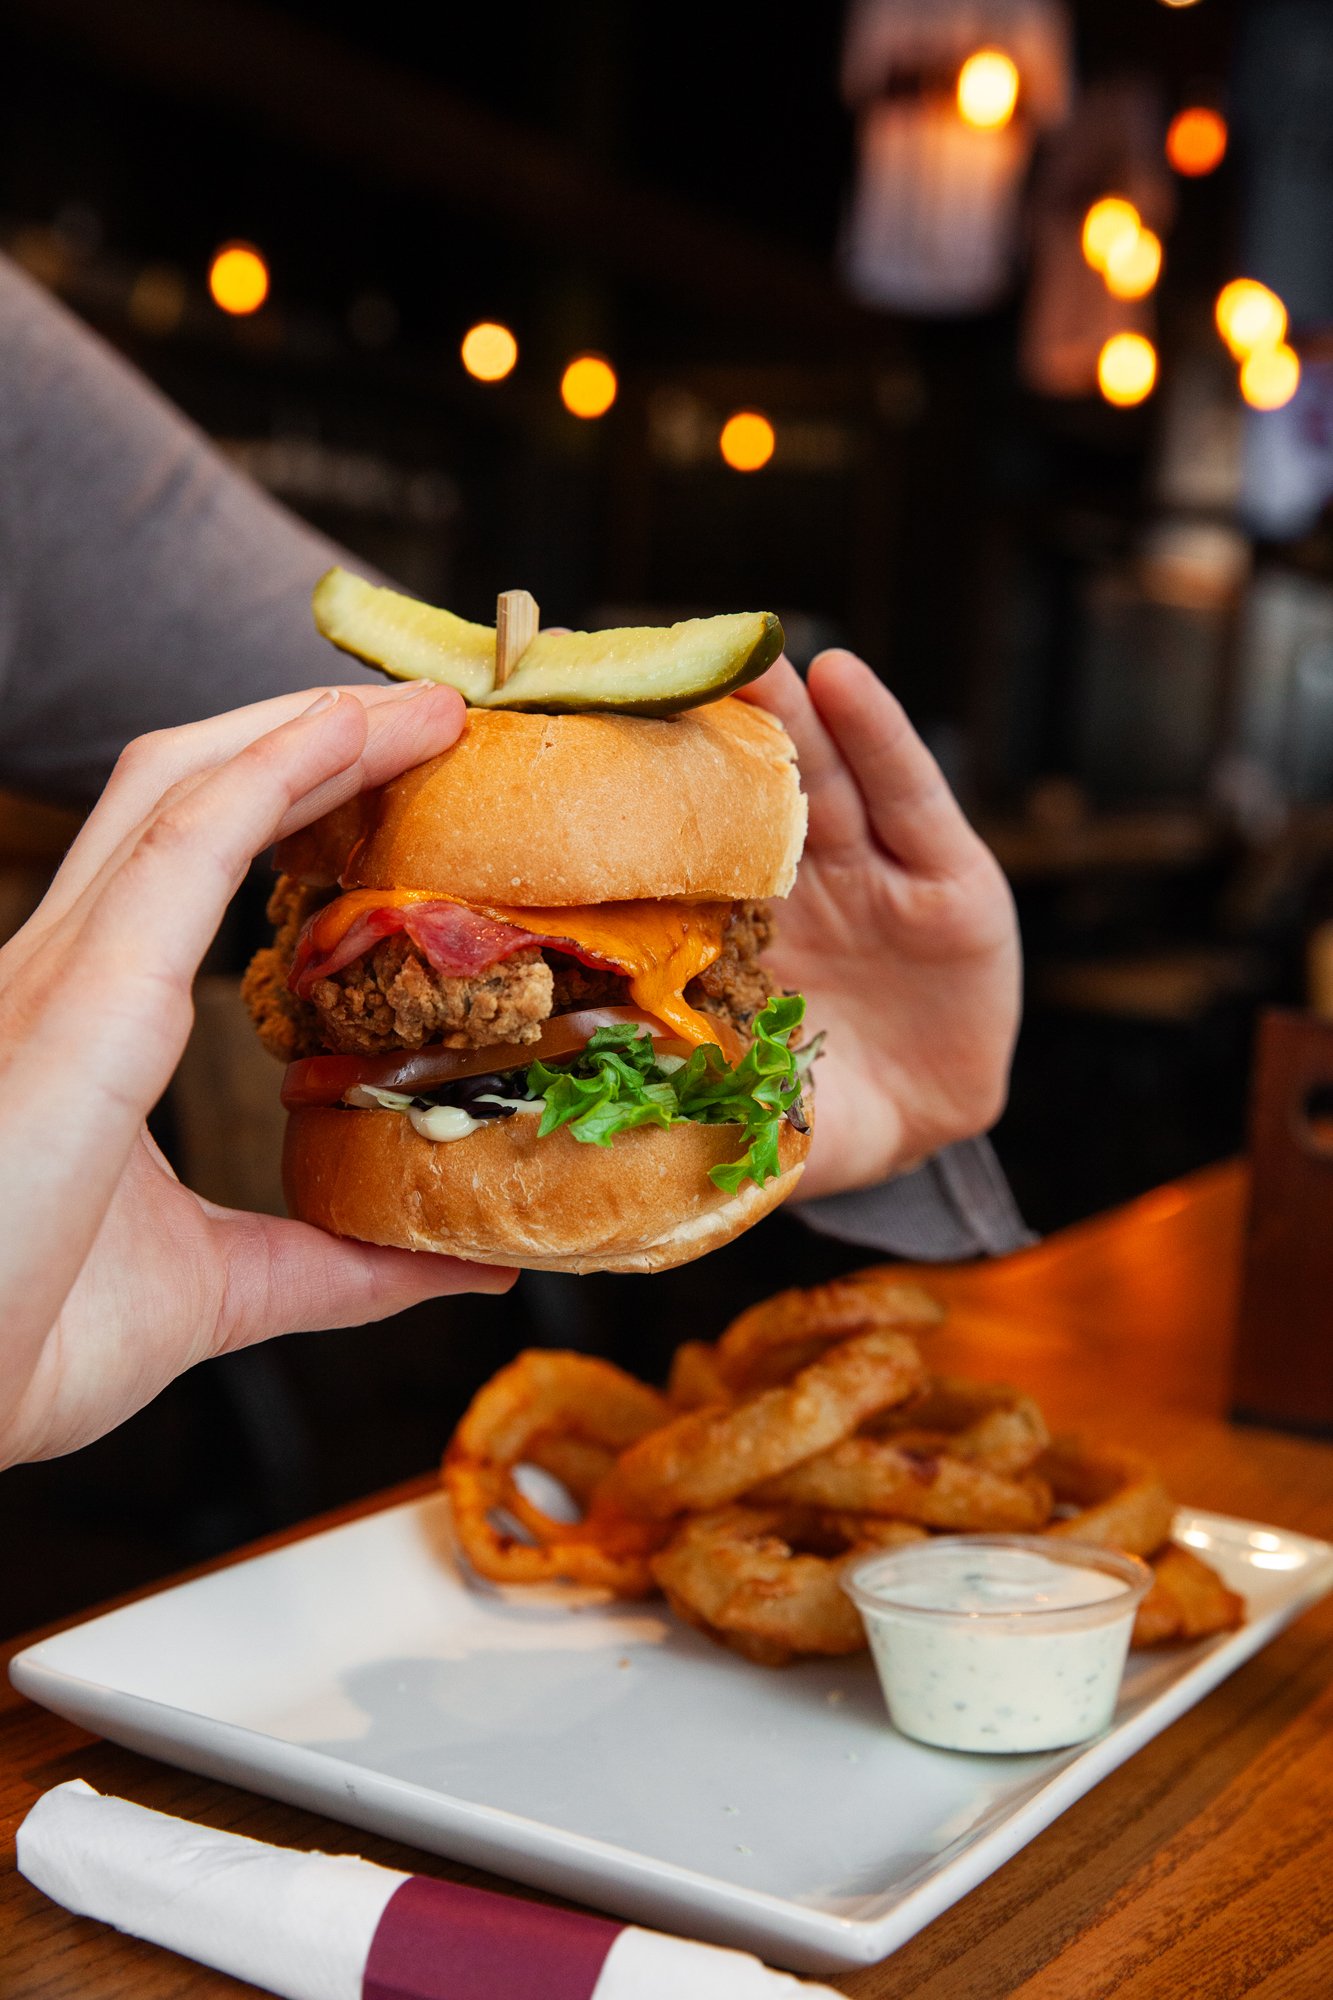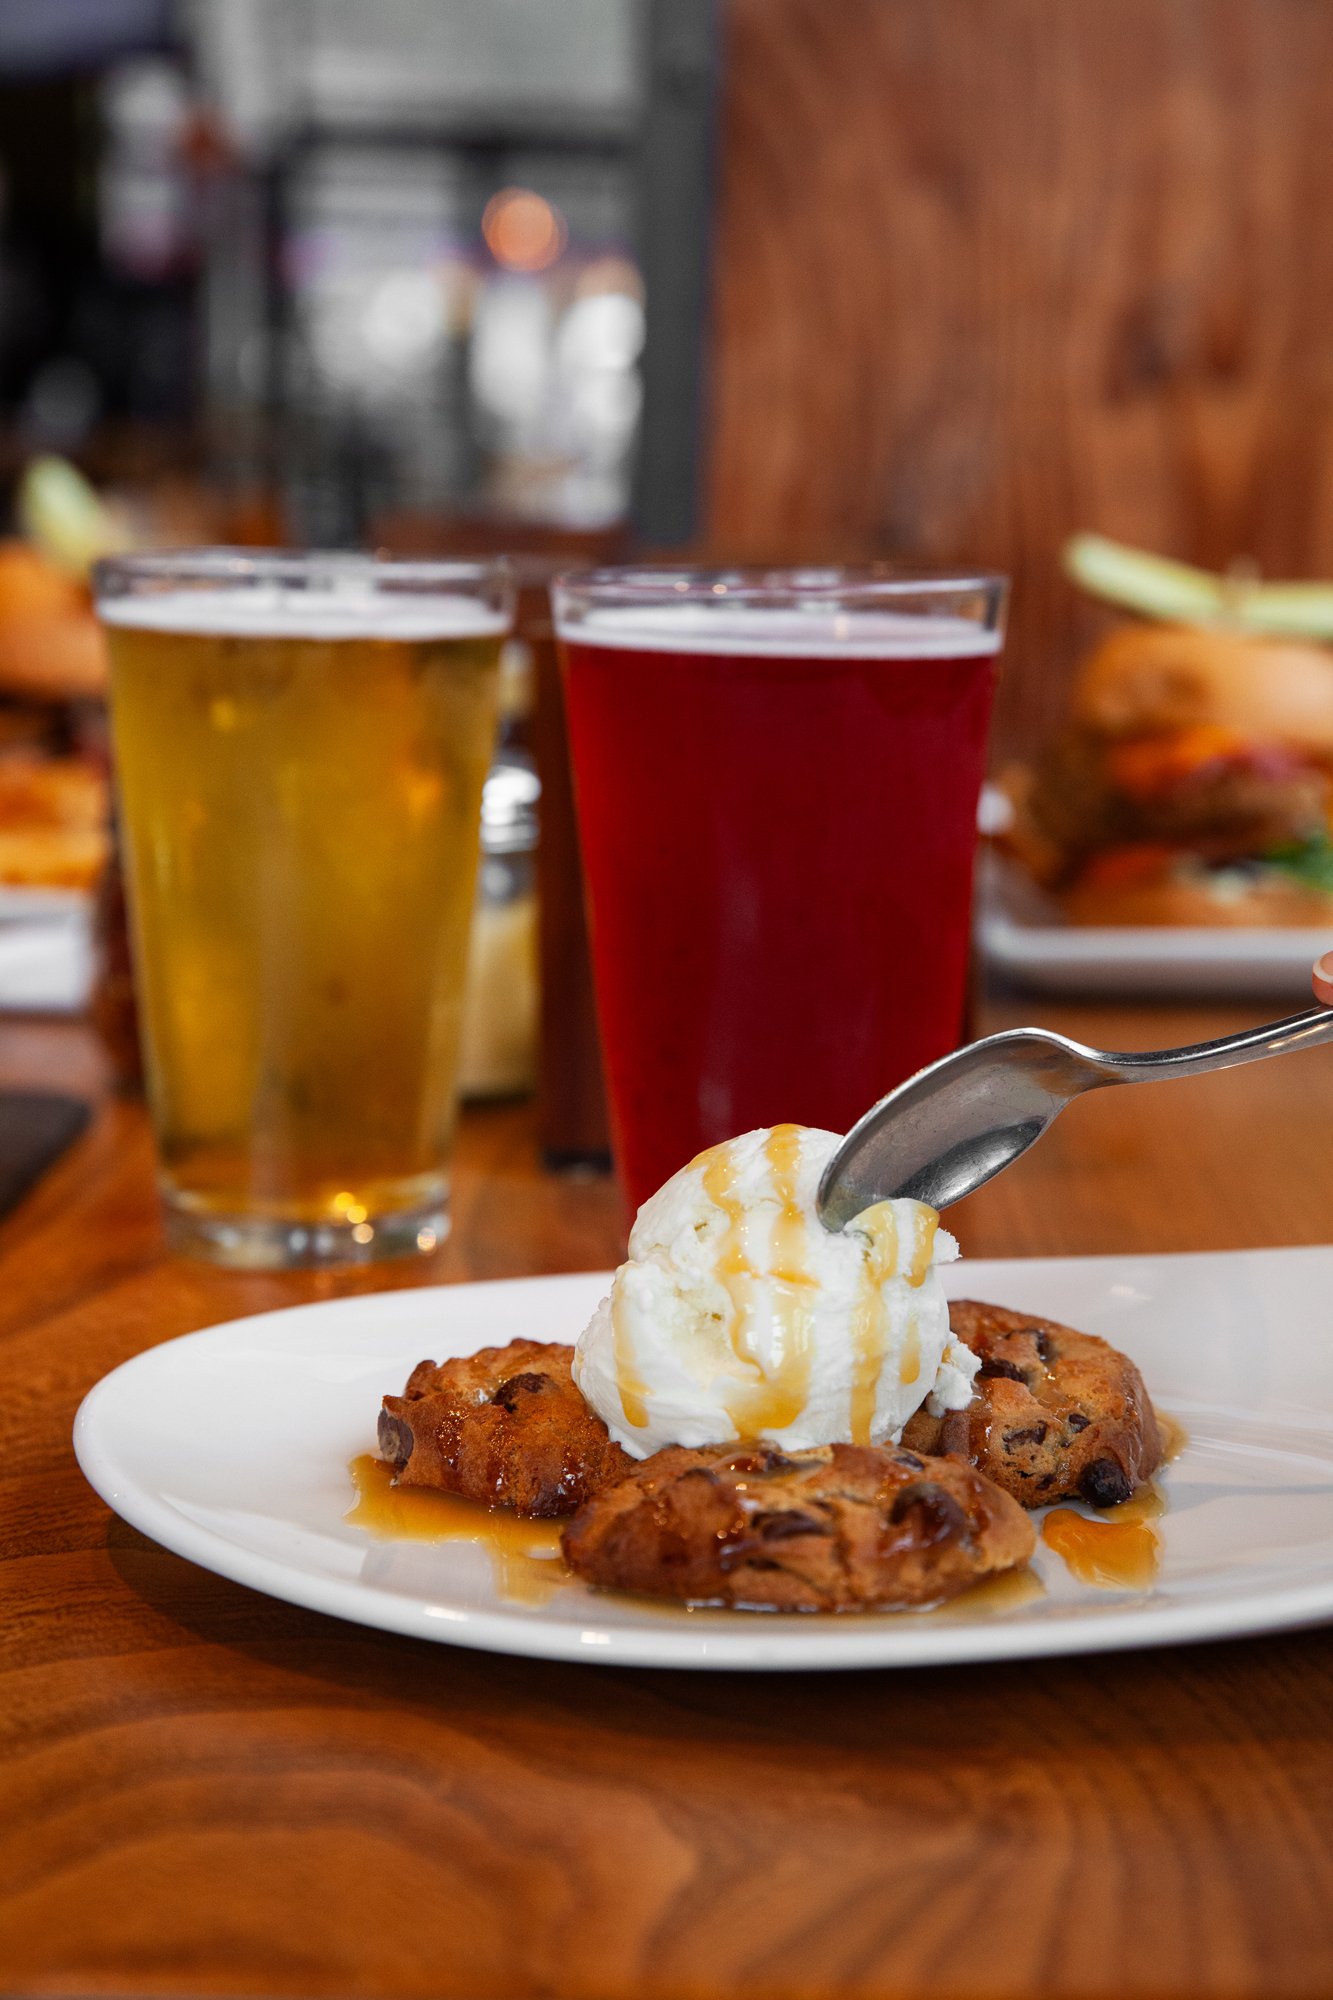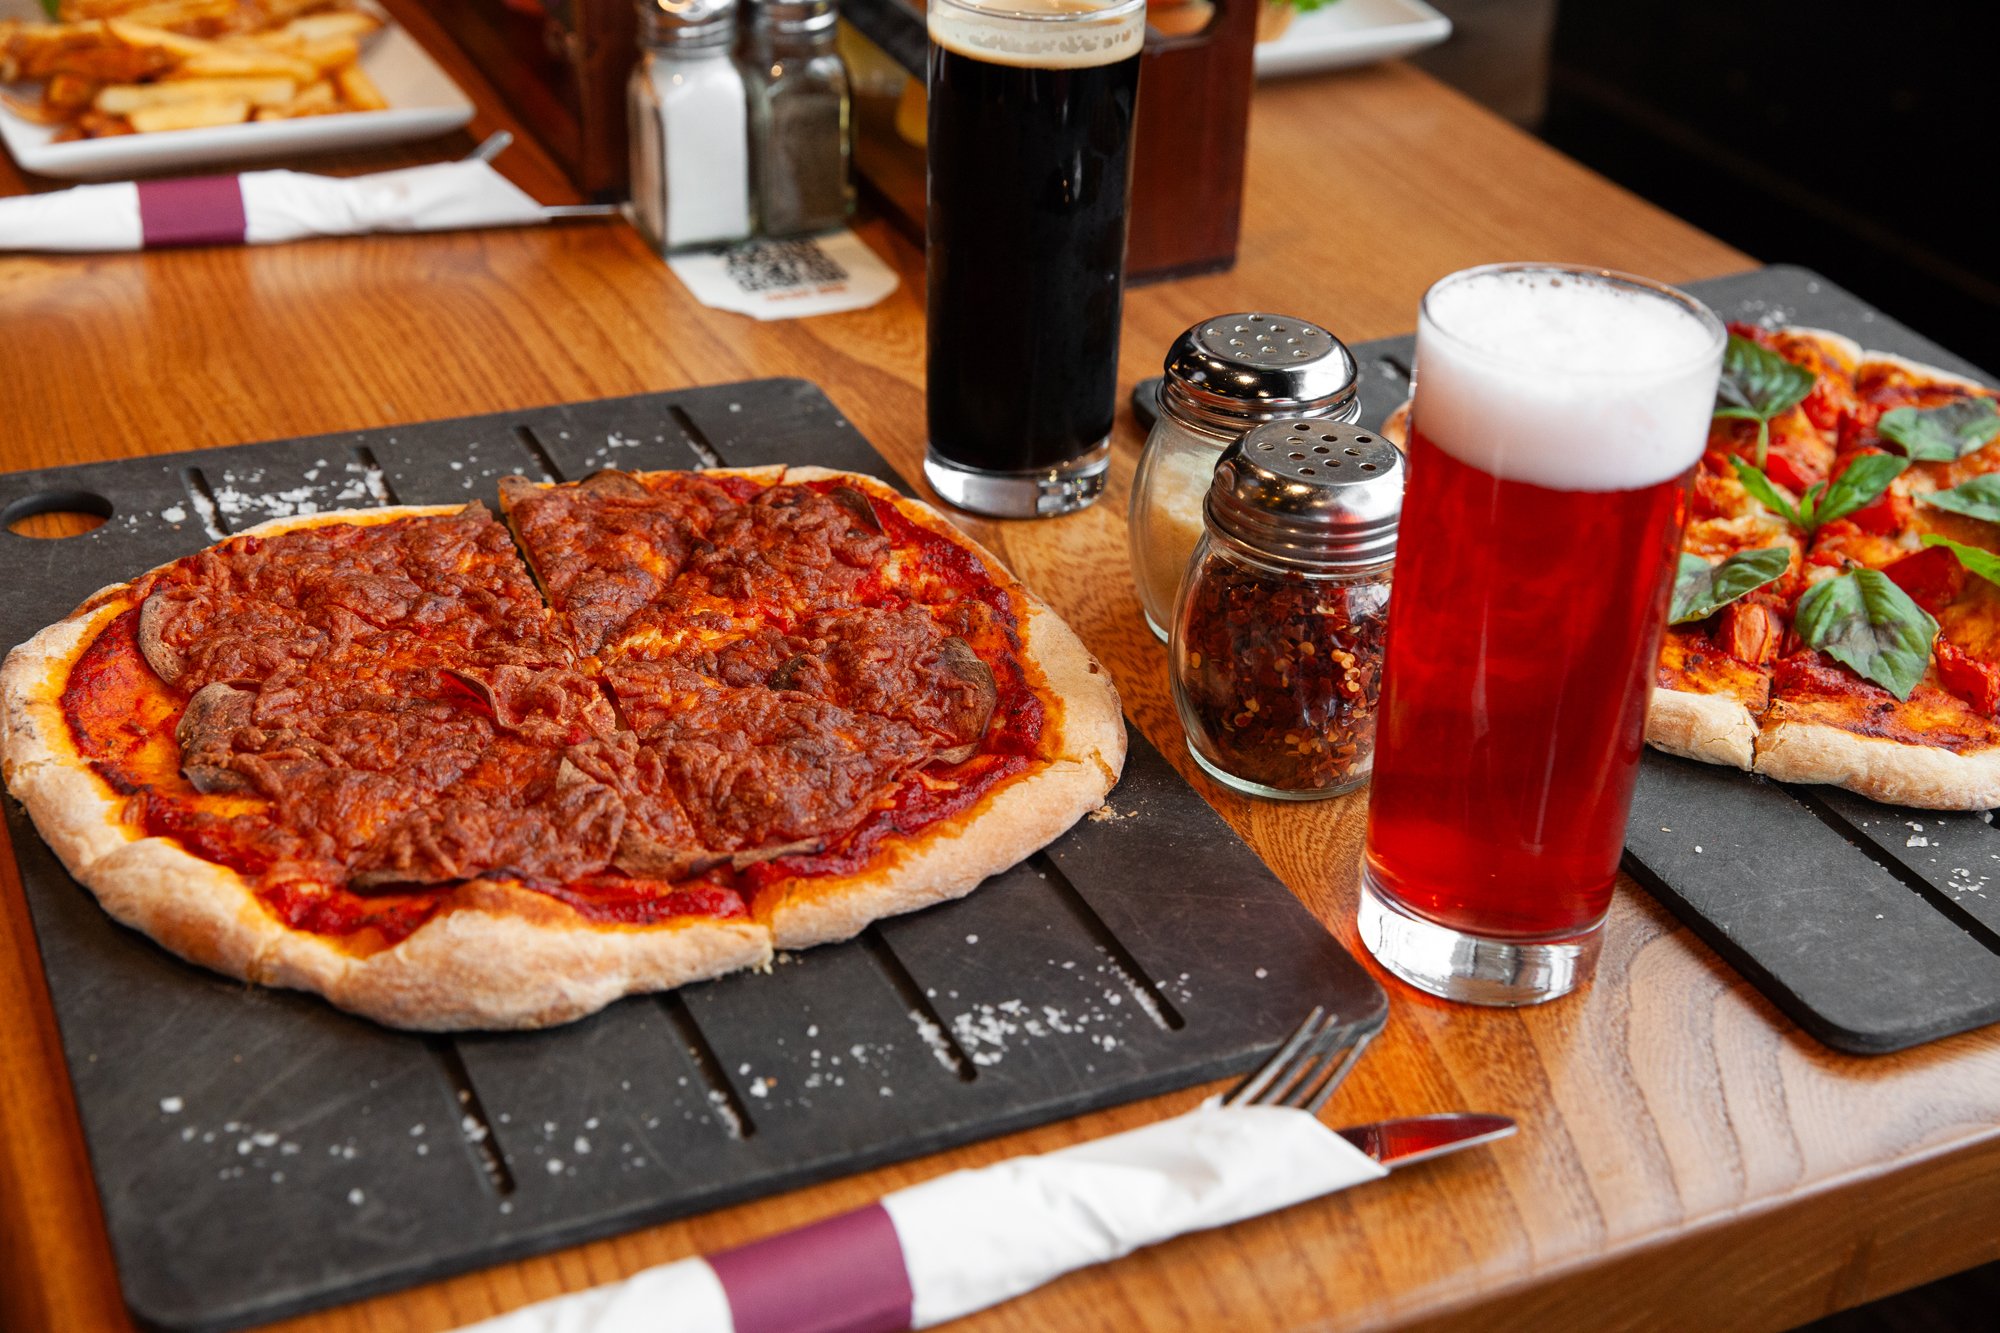


Highwayman Pub South Surrey
Food & Drink Photography
February 23, 2024
BLOG
Highwayman Pub South Surrey
Food & Drink Photography
February 23, 2024
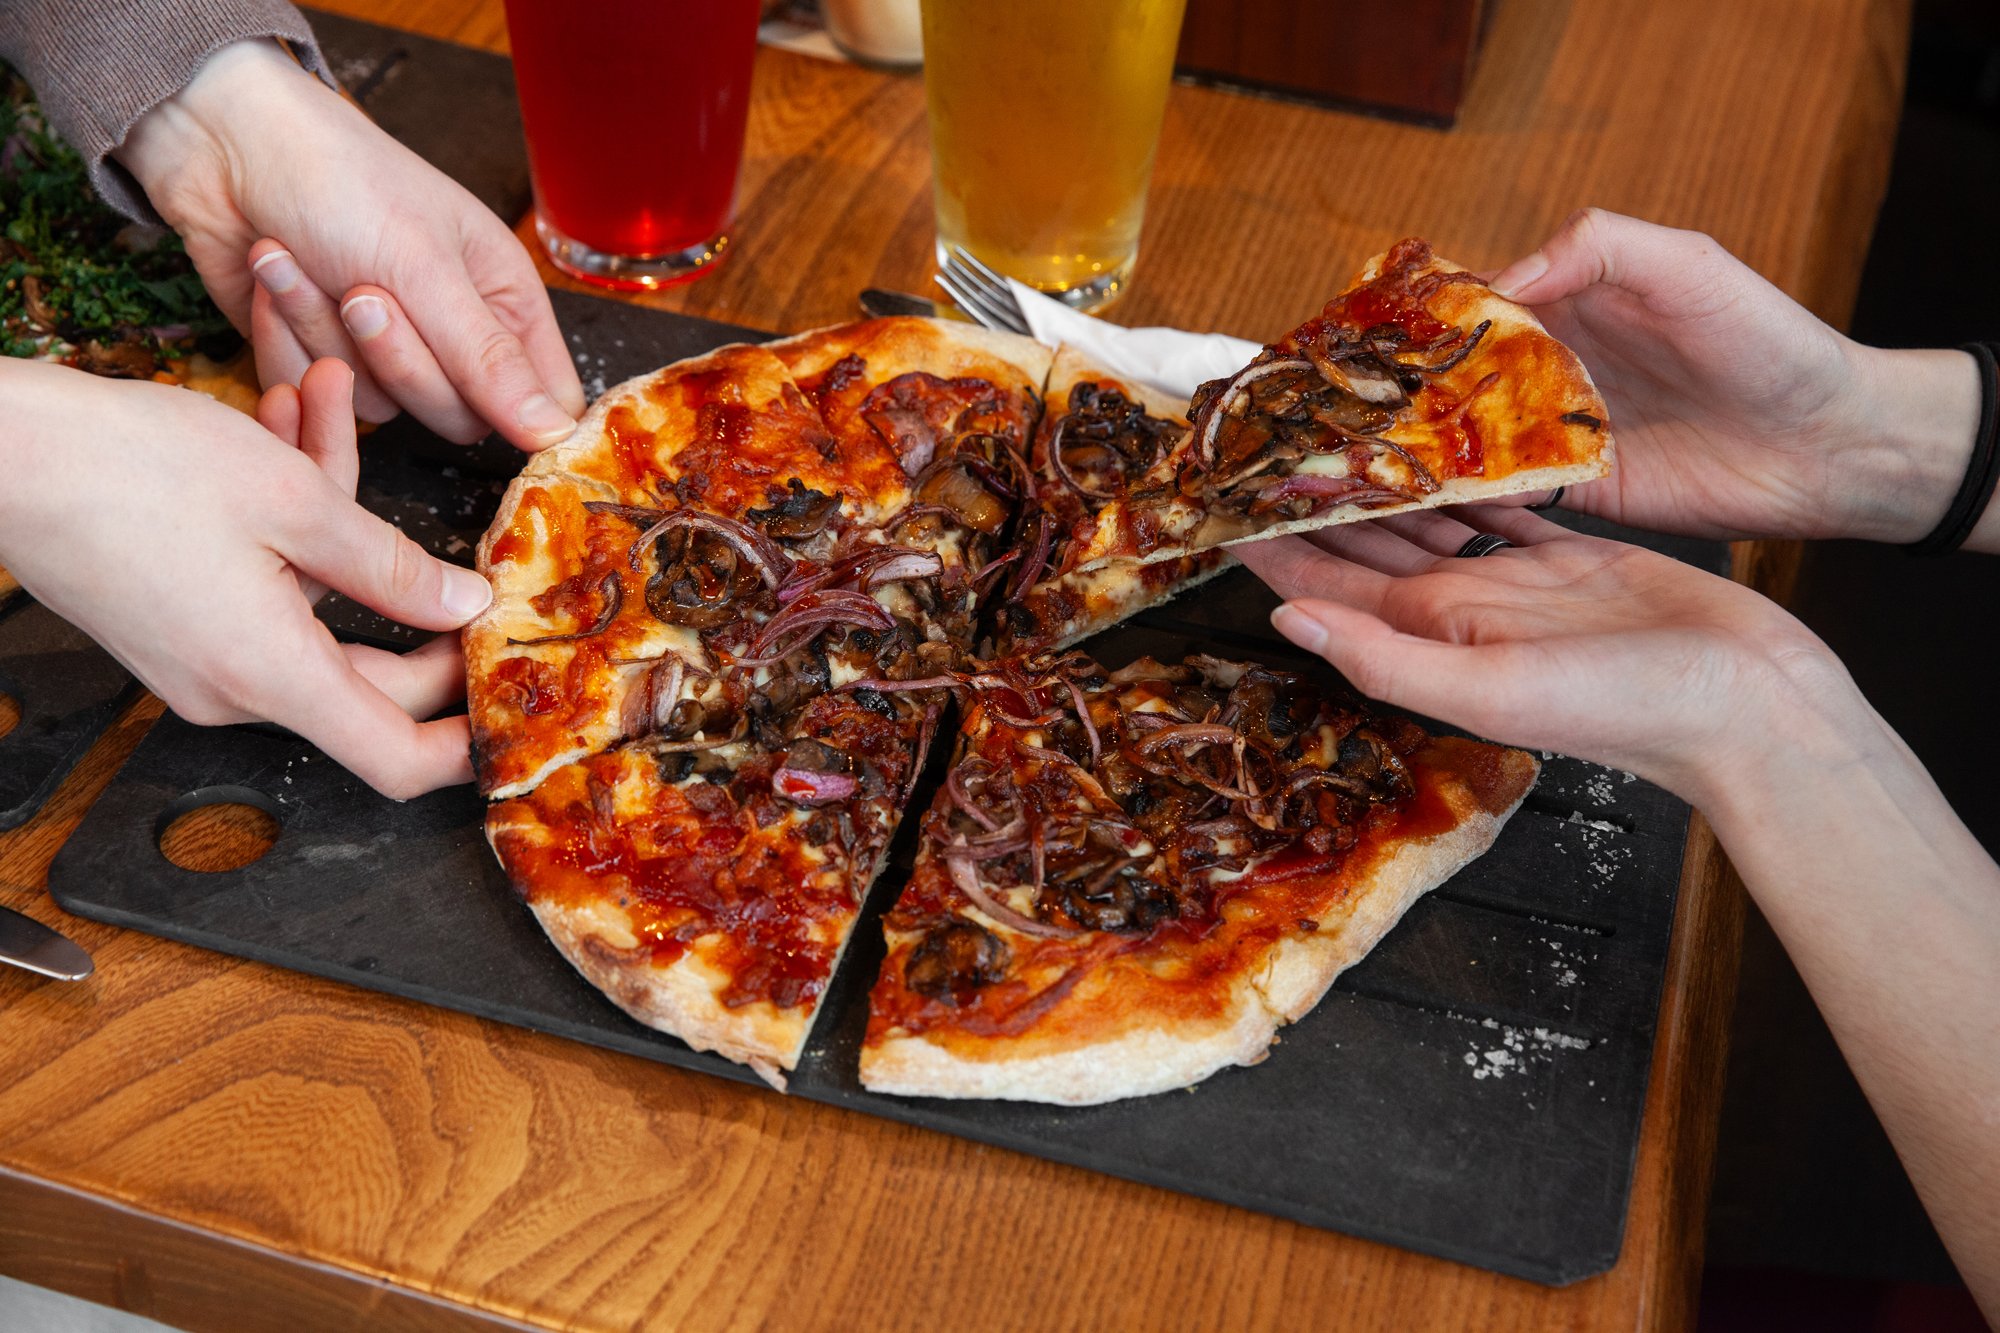
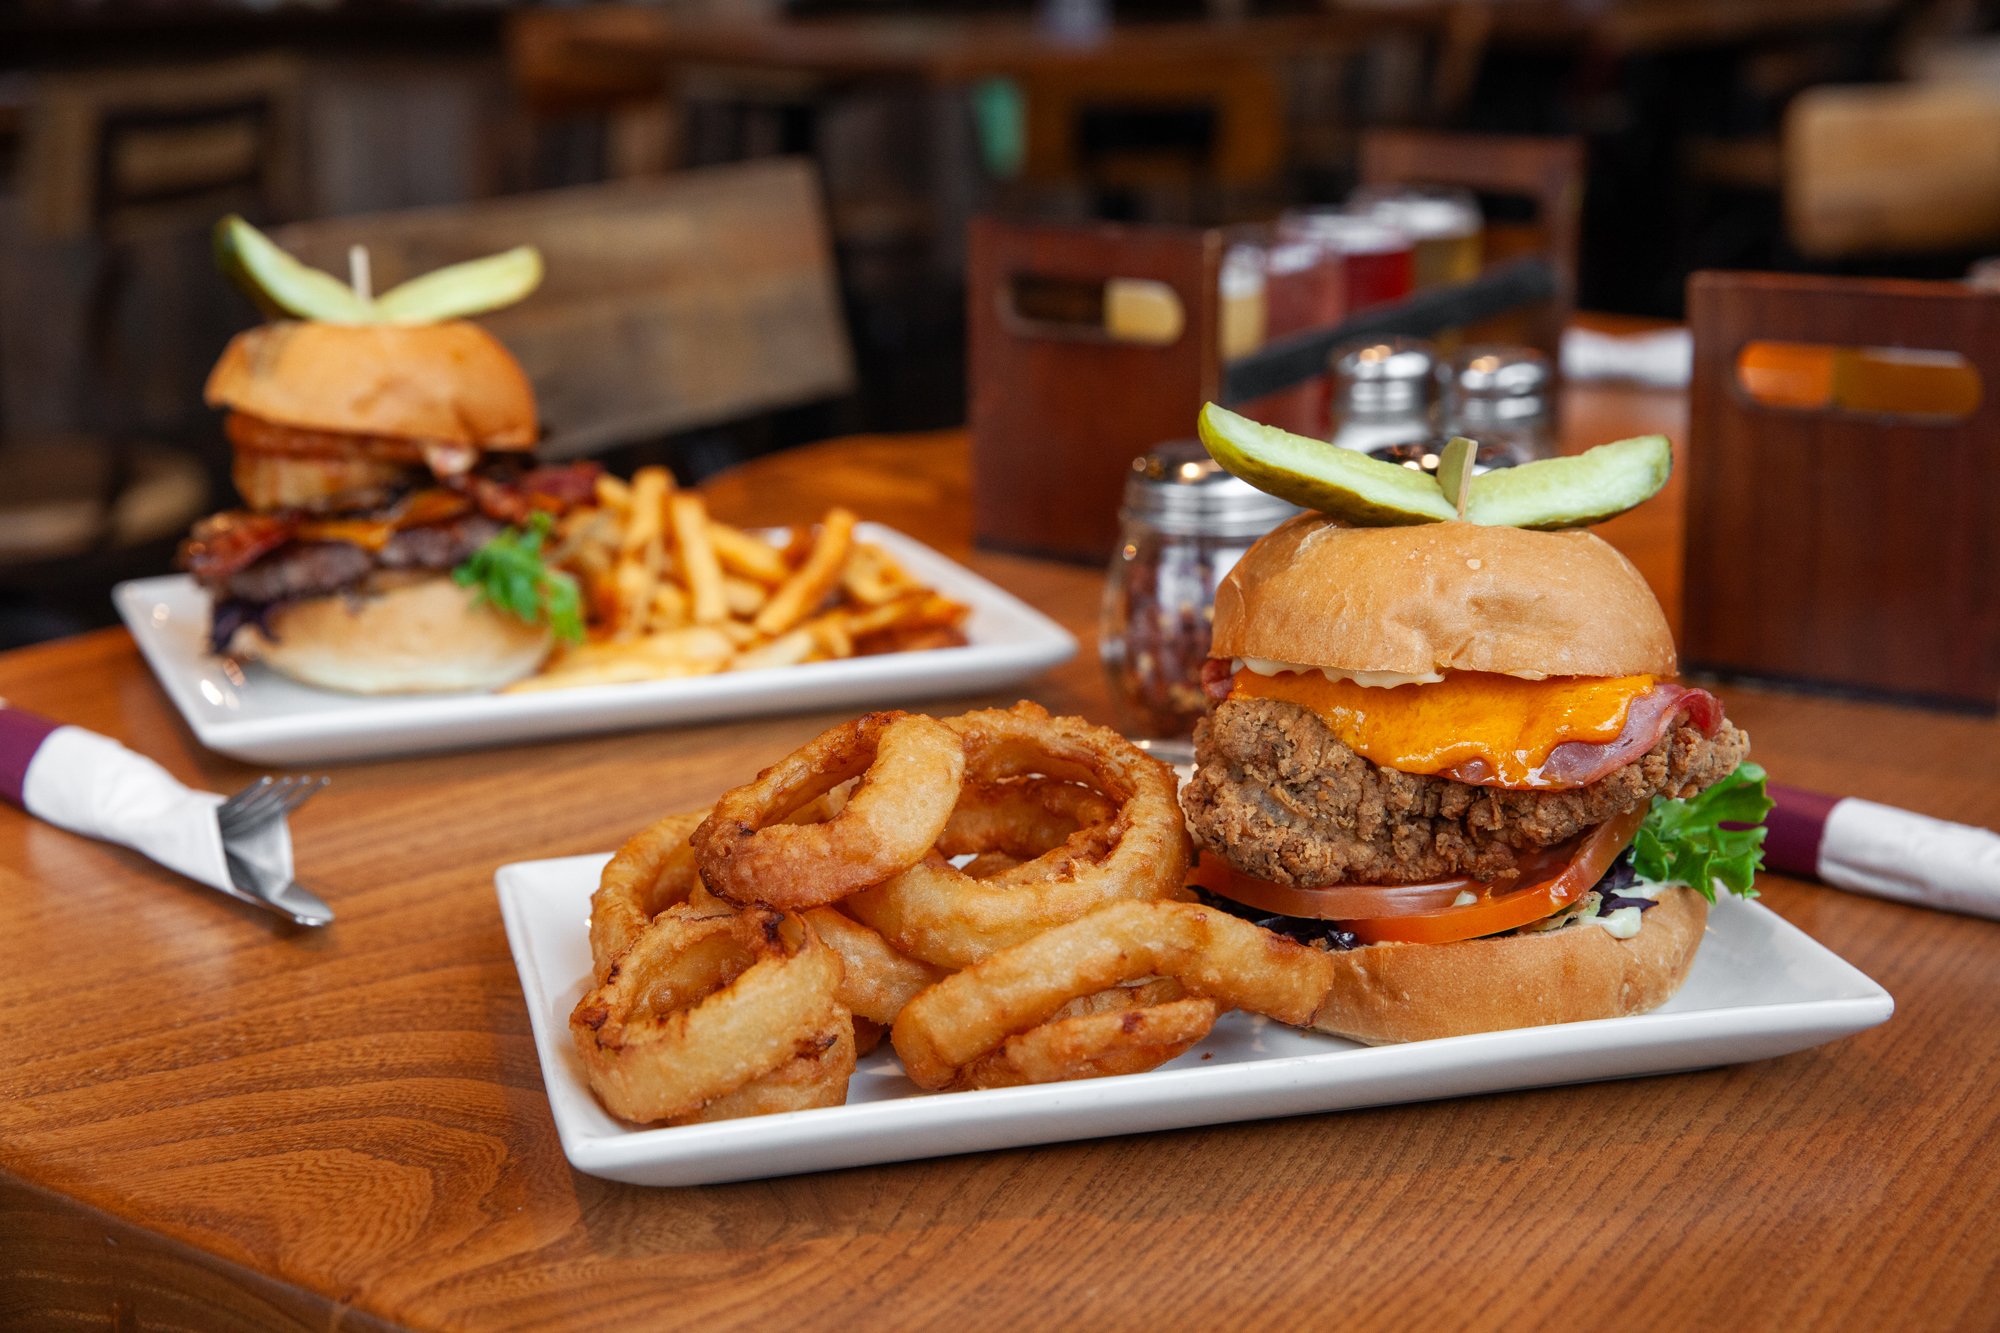
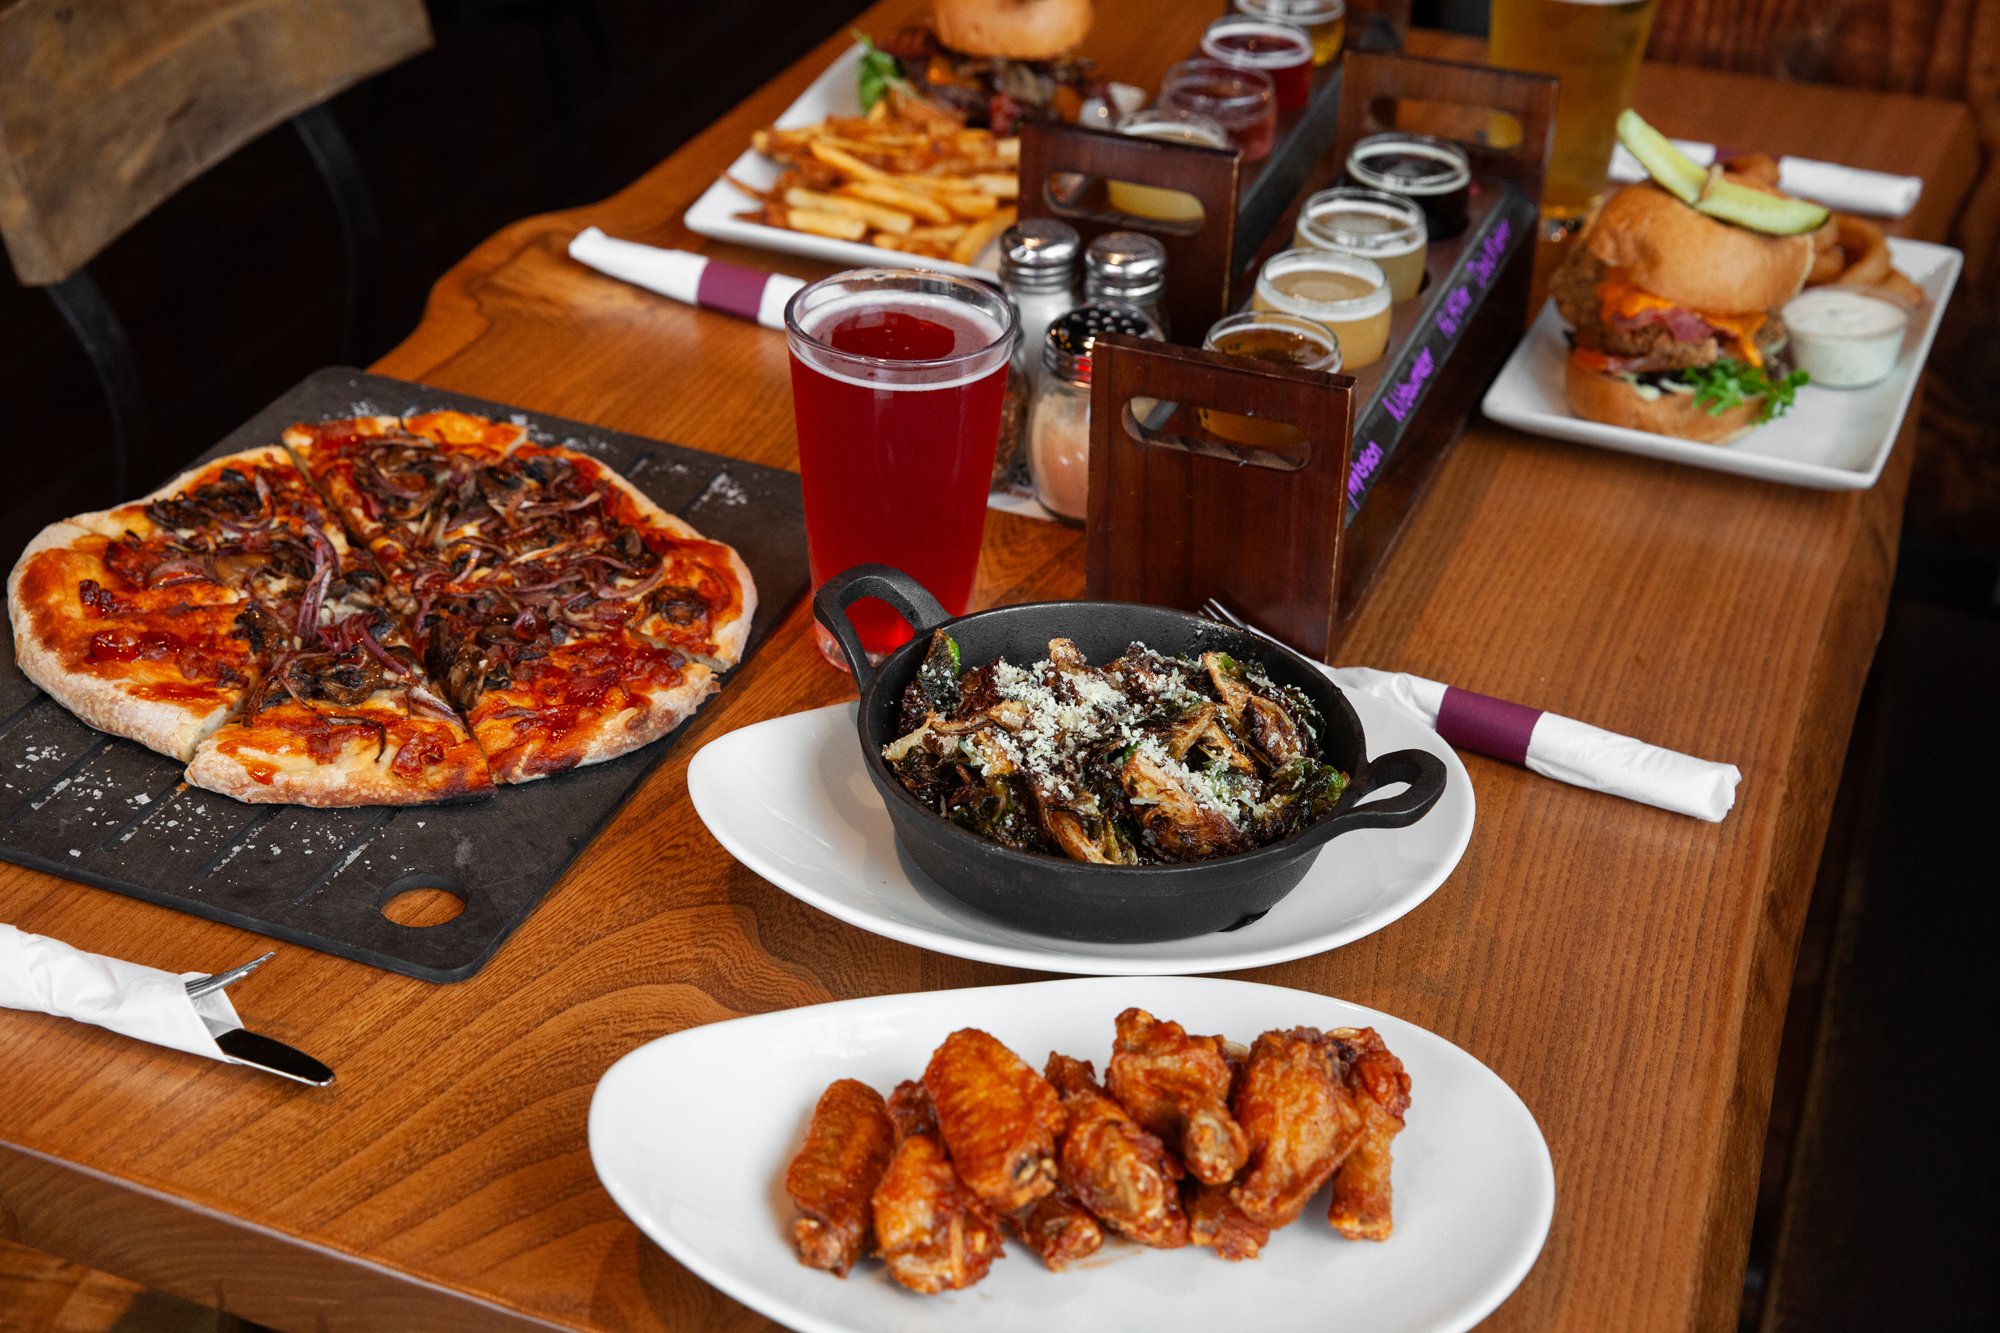
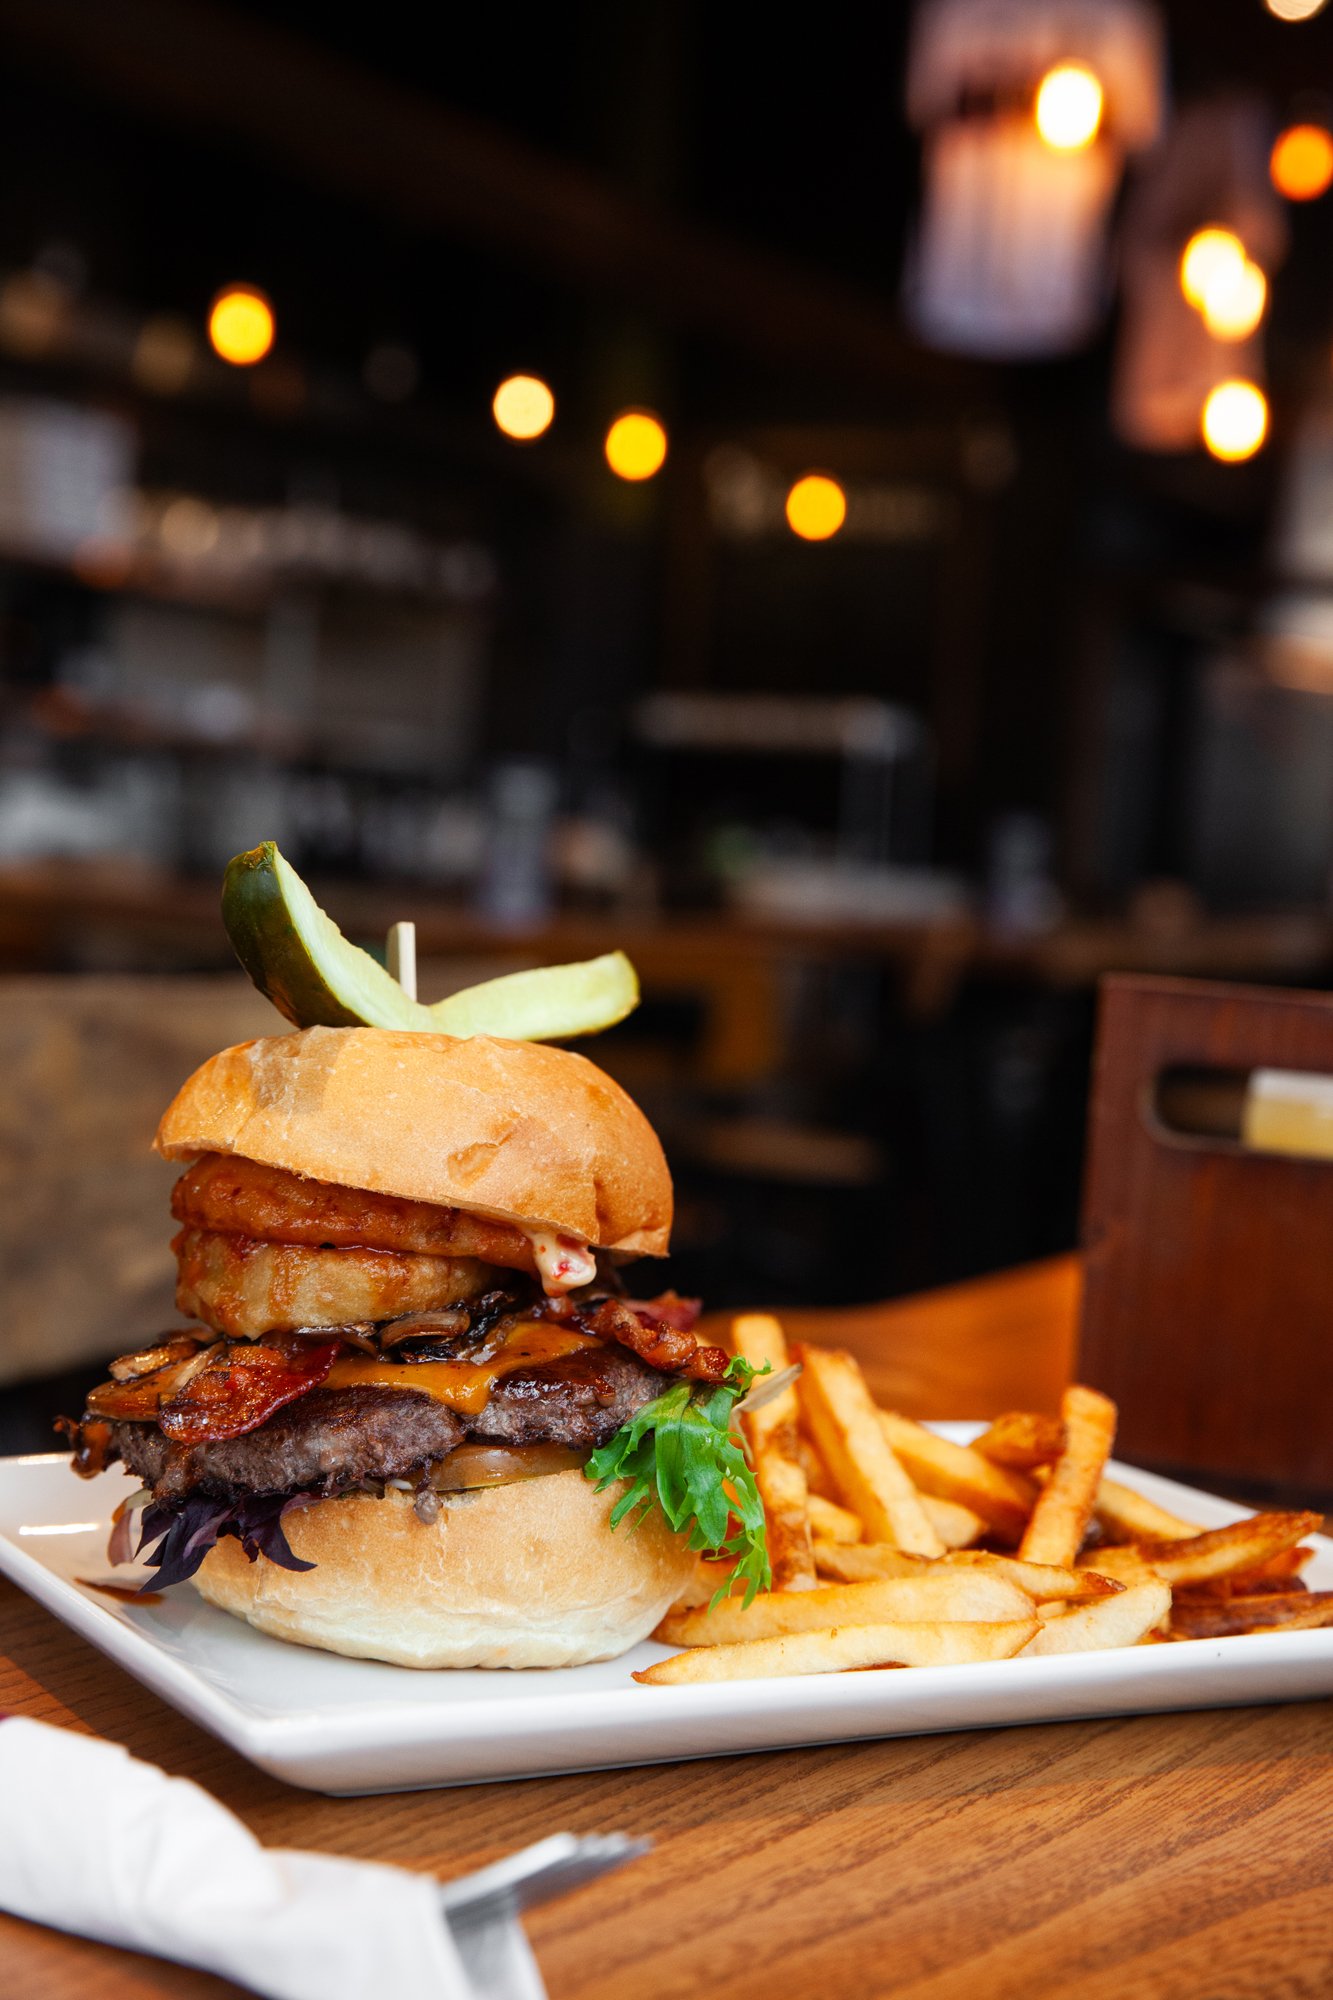
Food & Drink Photography
Angry Otter Tap & Forno
February 21, 2024
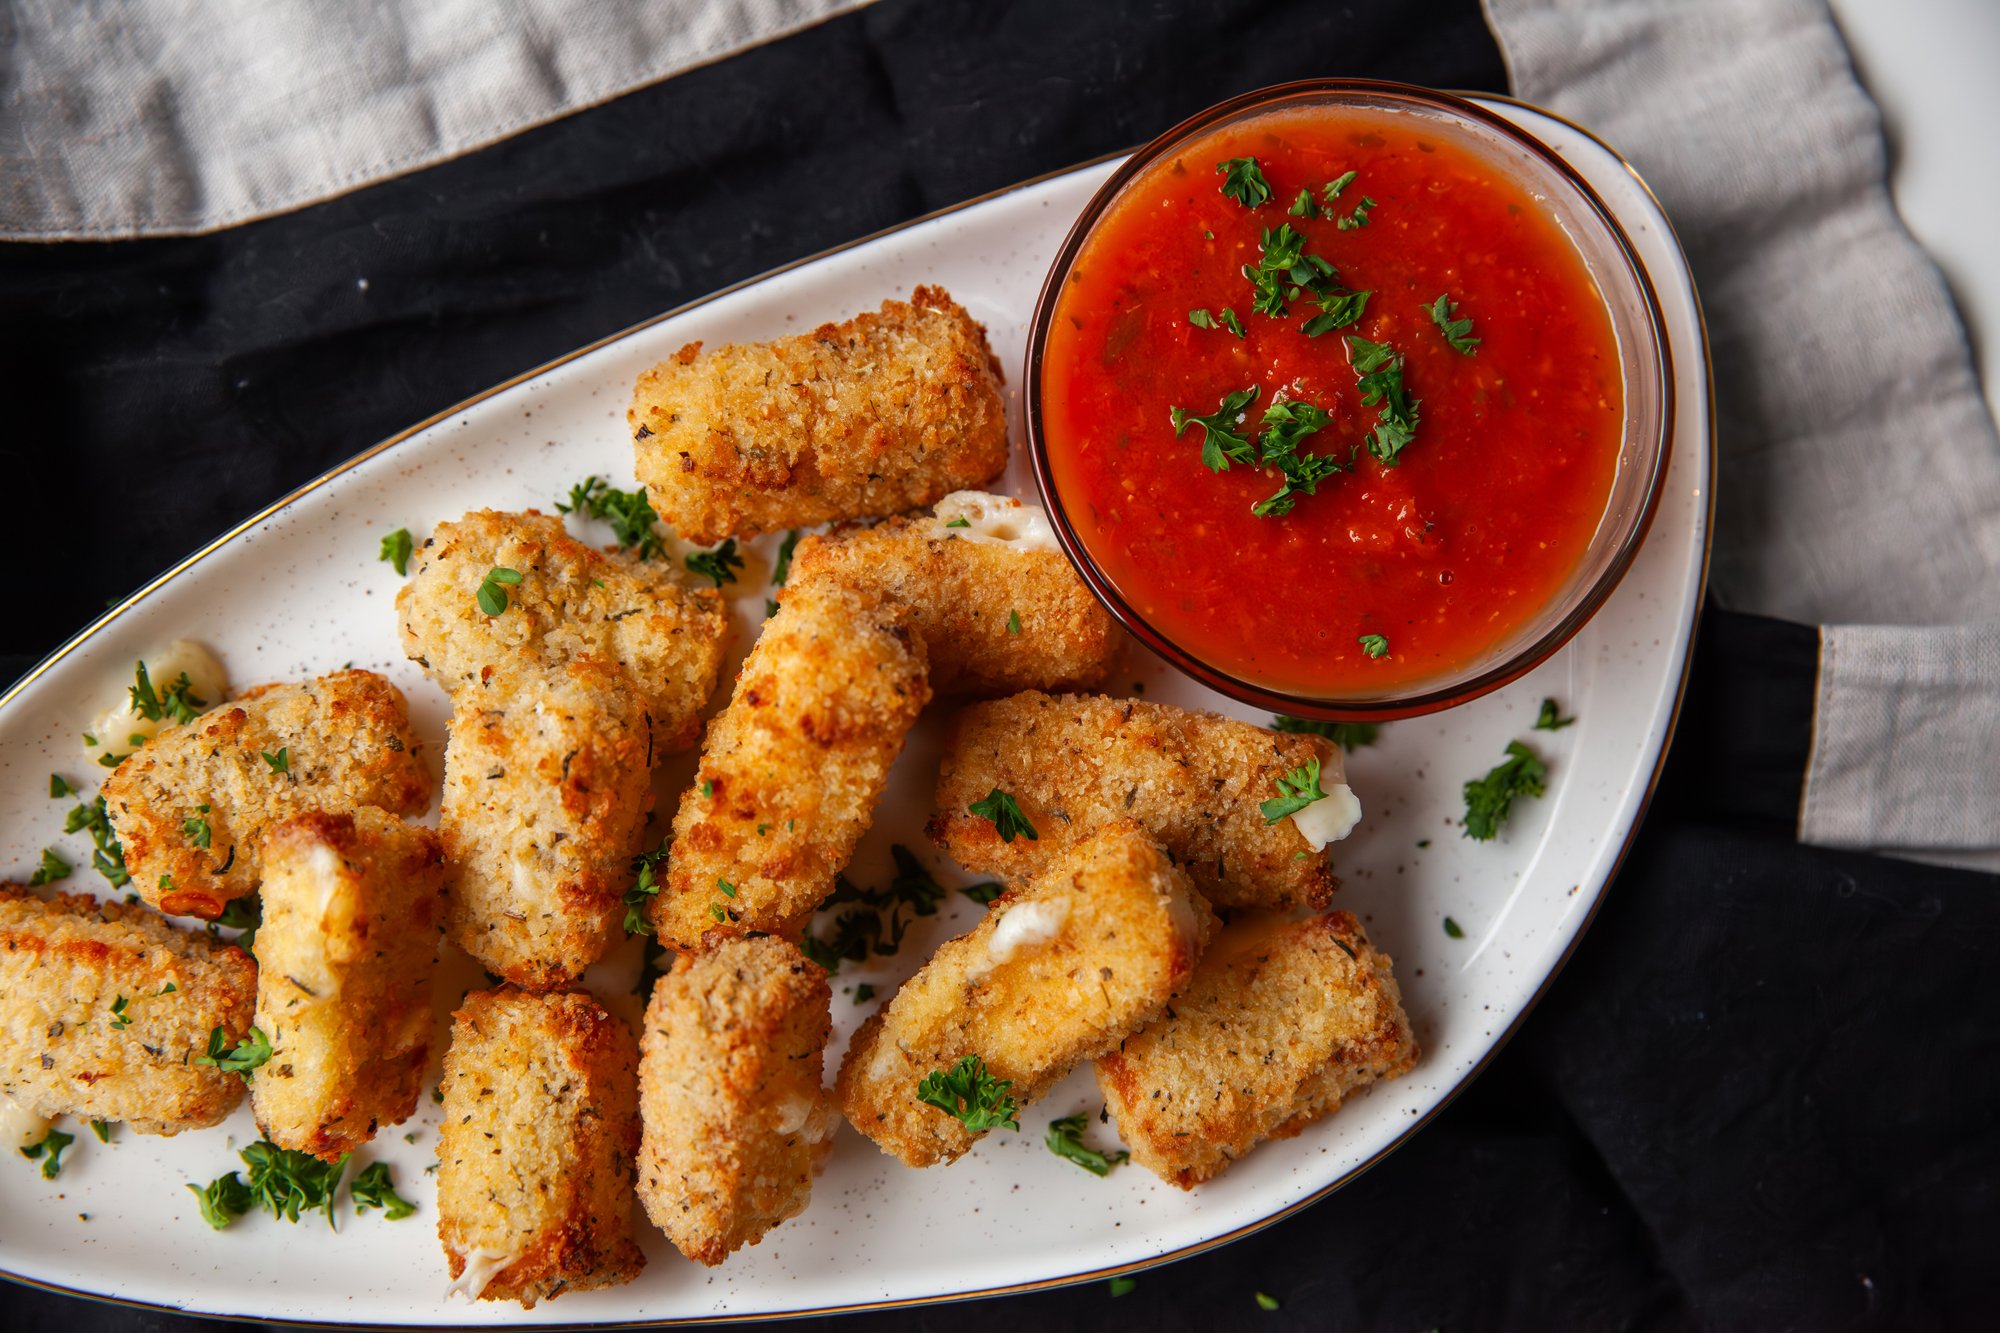
Mozzarella Sticks
”From Scratch” for BC Living
February 2024
Forget flavourless frozen snacks from the grocery store, these homemade mozzarella sticks are sure to level up your game day snack platter.
You can deep-fry, bake, or air-fry these (my choice), and they pair perfectly with a homemade marinara sauce and some fresh parsley.
INGREDIENTS:
- low-moisture mozzarella cheese (if you want, you can use string cheese, cut in half)
- 2 eggs
- ½ cup bread crumbs (regular)
- ½ cup panko bread crumbs
- ¼ cup all-purpose flour
- ½ tsp garlic powder
- ½ tsp onion powder
- ½ tsp dried oregano
- ½ tsp dried thyme
- ½ tsp salt
- ½ tsp pepper
- vegetable oil for coating
- marinara sauce for dipping
- parsley for garnish
INSTRUCTIONS:
Line a baking sheet or tray (that will fit in your freezer) with parchment paper and set to the side.
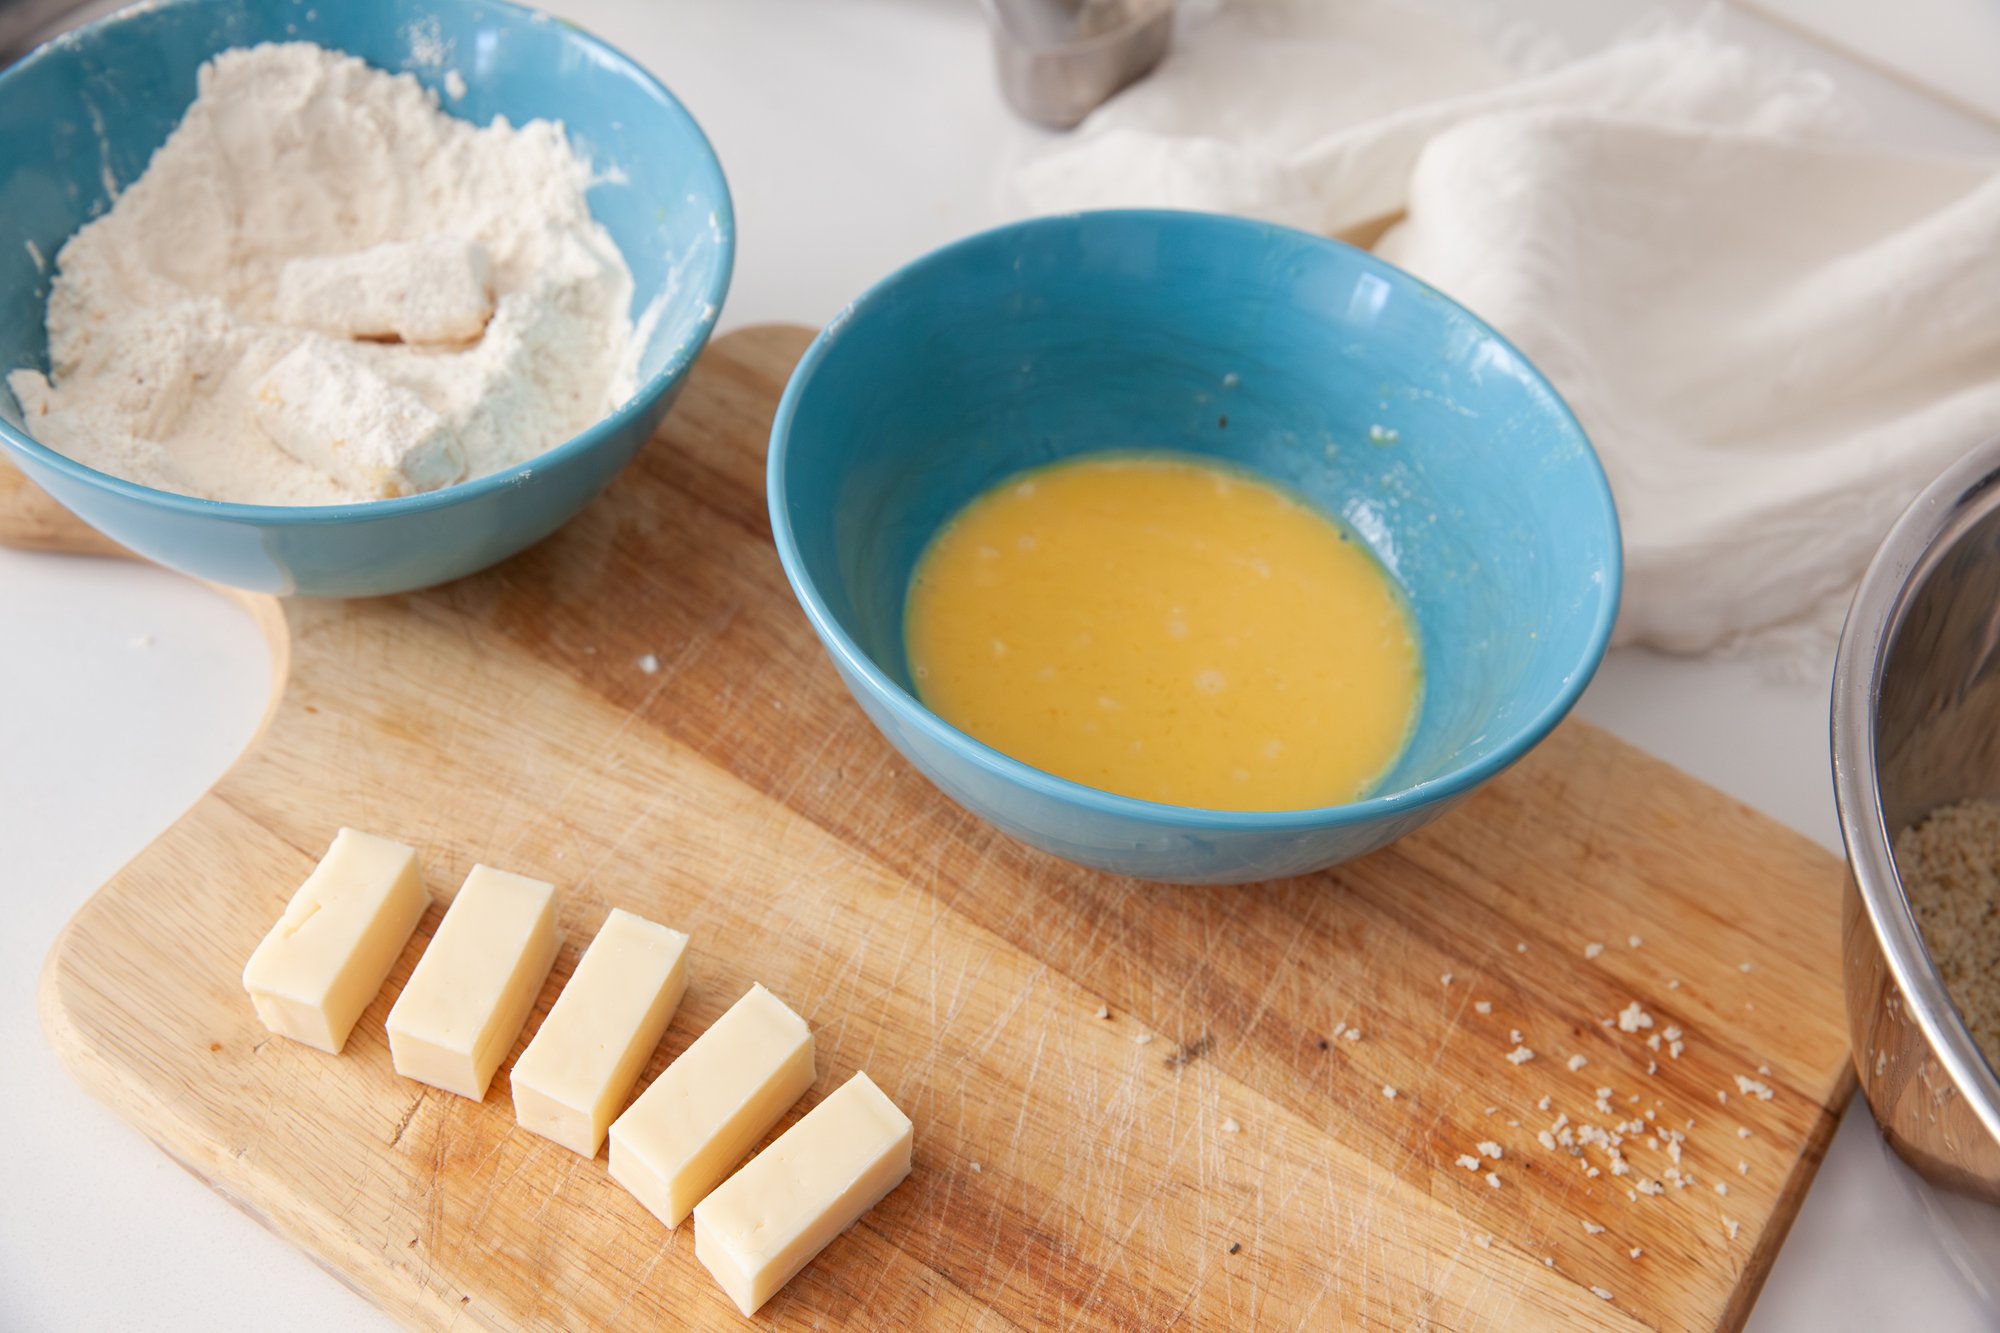
Gather three medium-sized bowls. In one bowl, crack the eggs and add 2 tsp of water, and whisk together.
In the second bowl add the regular and panko breadcrumbs and mix until combined.
Finally in the third bowl, add the flour together with the garlic and onion powder, oregano, thyme, and salt and pepper – mixing.
I like to put my mozzarella in the freezer for about 10-15 minutes before cutting it, as it makes it a lot easier. You’ll want to slice them in about 3-inch-long sticks, that are also about ½ an inch to ¾ inch wide.
You’re going to follow the pattern of dipping the cheese in the egg, then the flour, into the egg for a second time, and finally the breadcrumbs.
Be sure to press down into the breadcrumbs to help them stick as much as possible.
When coated, place on the prepared baking sheet with parchment paper, and repeat with the mozzarella, until you’ve made your desired amount, or run out of breadcrumbs.
Place the sticks in the freezer for at least one hour. Freezing the cheese means that the coating will cook evenly with the cheese melting.
At this stage with the sticks frozen, you can also place them in an airtight container to store until ready to make.
If using an air fryer to cook, preheat to 390F.
Spray the sticks with cooking spray or use a brush to place oil on them.
Test on stick by cooking for 4-5 minutes, rotating and watching closely to see how long it takes to brown, before making as many batches as you’d like.
Place on serving dish, sprinkle with parsley, and serve with a marinara sauce on the side.
[Note: If you’re frying in oil, bring vegetable oil to 350F, and cook sticks for approx. 2 minutes, and drain on paper towels. If baking heat to 450F and bake for approx. 8 minutes. You may want to make a test with either method first to be sure, as ovens can all be different.]
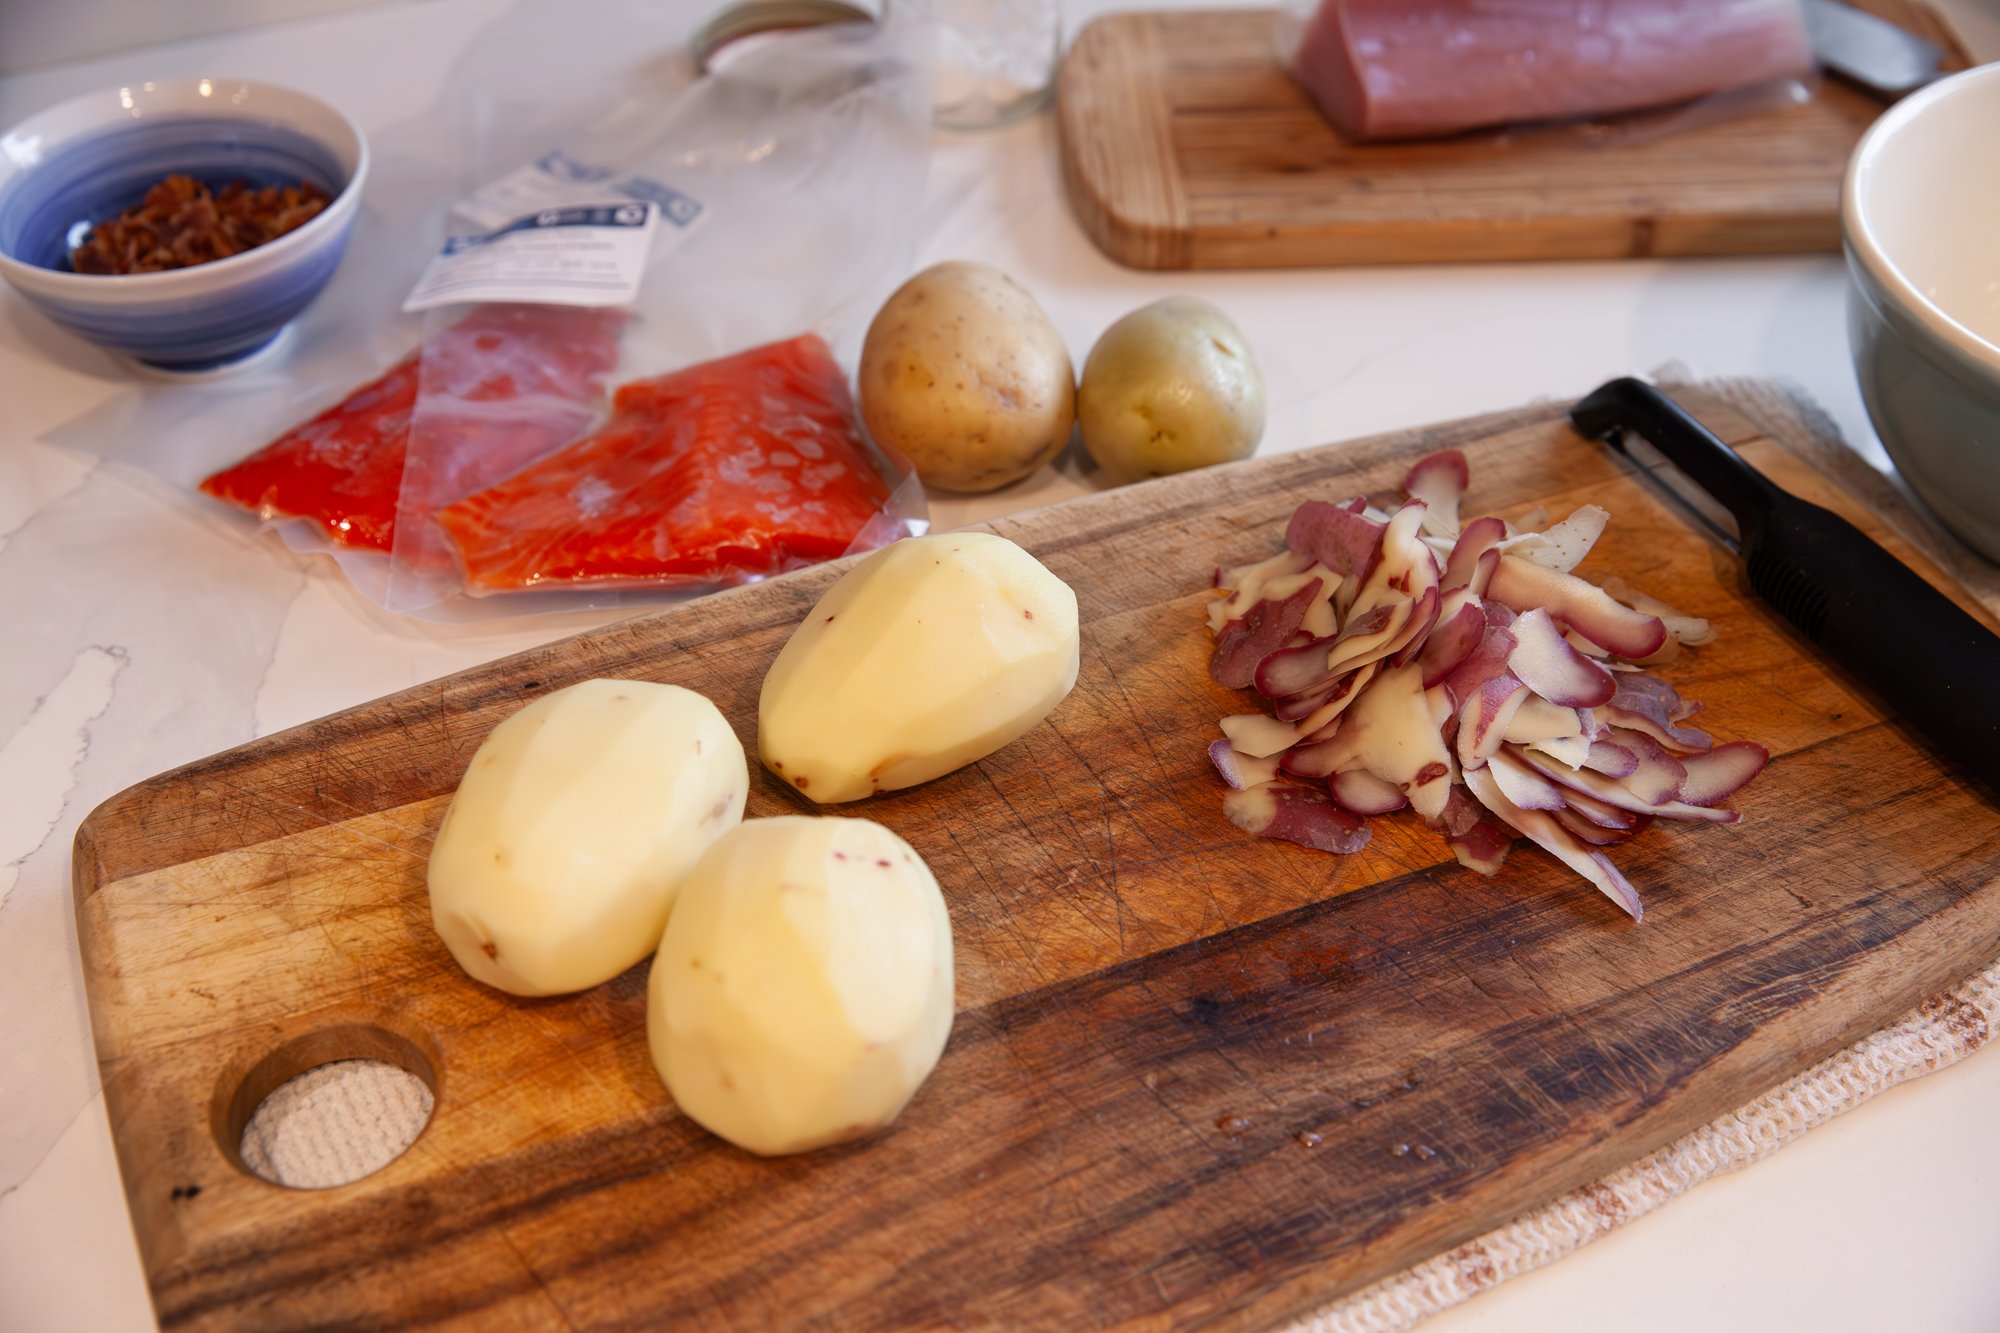
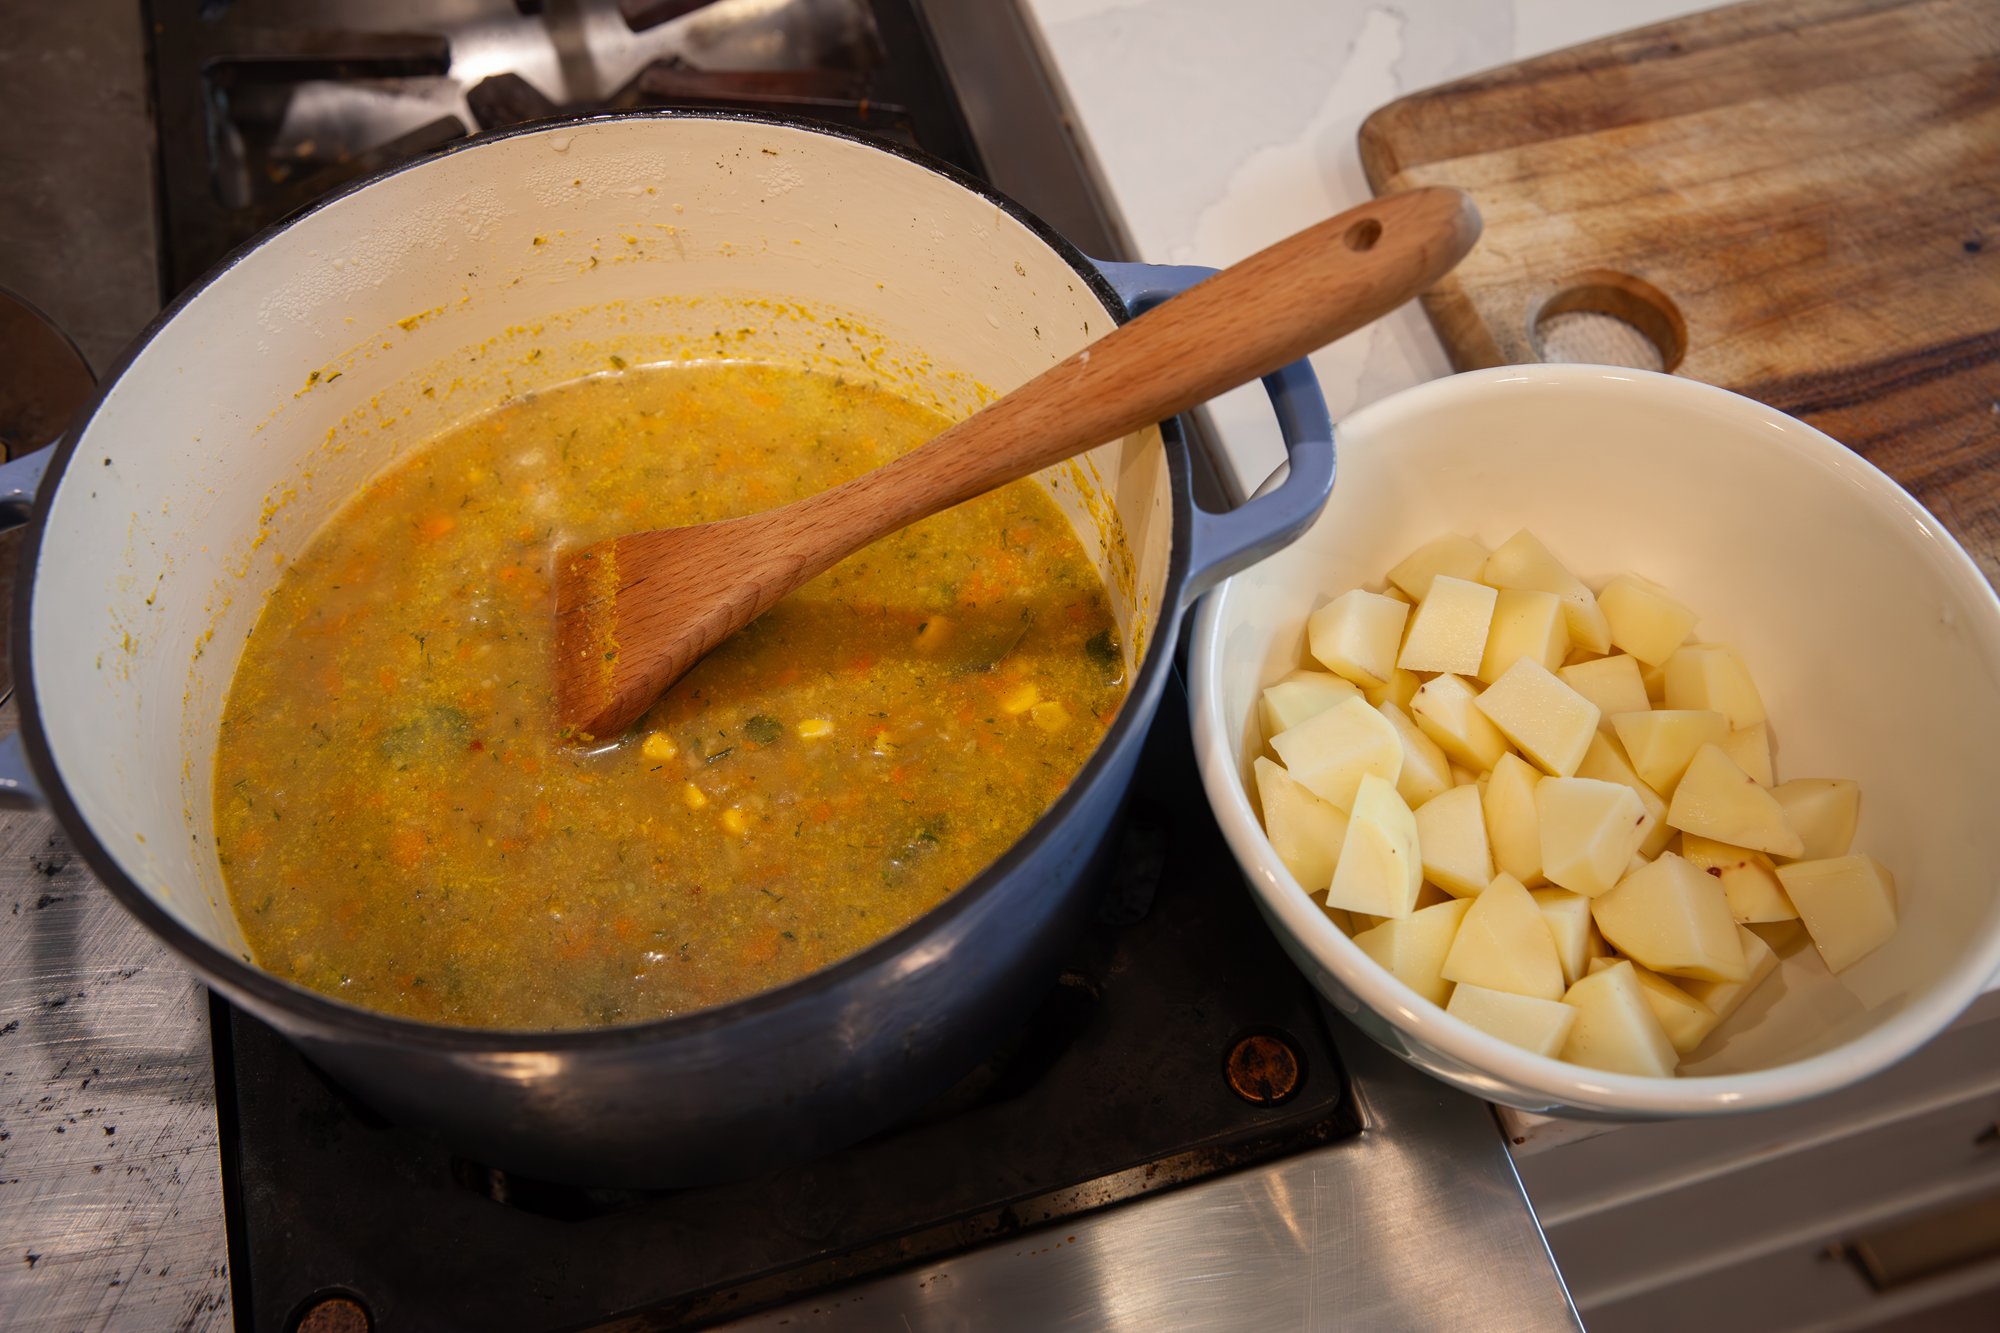
Salmon Chowder with Organic Ocean Seafood
This chowder is hearty, filled with flavor from a wide variety of spices, and balanced so it’s not fishy at all.
You can prep a lot of this soup the day before you want to serve it, and on the day of, add in the potatoes and salmon, so they don’t get overcooked or mushy.
Ingredients:
- (optional) 8 strips of bacon
- 2 celery stalks, finely chopped
- 2 carrots, finely chopped
- 1 large onion, finely chopped
- 4 (or more) garlic cloves, miced
- approx. 1 lb. of potatoes, chopped into cubes (I used mini-potatoes cut in half or quarters)
- 1 (200ml) can of corn, or frozen
- 2-4 tbsp butter
- (optional) red pepper flakes
- ¼ cup dry white wine
- ¼ cup flour
- ½ tsp dried basil
- ½ tsp dried oregano
- ½ tsp dried thyme
- ½ to 1 tsp dried dill
- ½ tsp fresh ground pepper
- 2 or 3 bay leaves
- salt (to taste)
- 4 cups of chicken broth (or sub in some seafood stock)
- 2 cups cream or half and half
- ½ tsp corn starch
- 2 medium sized Organic Ocean salmon filets (1 to 1.5 lbs.)
- fresh dill for garnish (or thyme)
- optional garnish includes green onions, chives, jalapenos, crumbled bacon or oyster crackers
Instructions:
If including the bacon, cook in your preferred method until it is brown and extra crispy. Drain on paper towels, keep grease to cook vegetables in.
In a heavy bottom pot, or a Dutch oven, heat 2 tbsp of butter and the grease (if using, if not, add 2 more tablespoons of butter).
Add in the onion and cook for one minute, then add the celery, carrots and garlic, as well as the red pepper flakes if desired.
Cook for 5 to 6 minutes, or until the vegetables are softened, add the ¼ cup of flour and cook for an additional minute, and then deglaze with the white wine.
Add the stock, the corn, half of the bacon, the dried basil, oregano, thyme, dill, pepper and bay leaves.
If you are making the soup ahead of time, stop here until you are ready to continue.
Add in the potatoes, and bring the soup to a boil, and then turn down to a simmer, cooking the potatoes for about 15 minutes.
While this is happening, remove the skin from the salmon and cut it into 1-inch pieces/chunks.
In a small bowl, place the tsp of corn starch with some of the cream, and whisk until no lumps remain.
When the potatoes are cooked, add in the corn starch mixture as well as the rest of the cream and stir to combine, then add in the salmon.
Let the salmon cook for 5 minutes on simmer, and check to see if more time is needed.
Remove the bay leaves, and taste for seasoning, adding salt and pepper as needed, as well as any other spices.
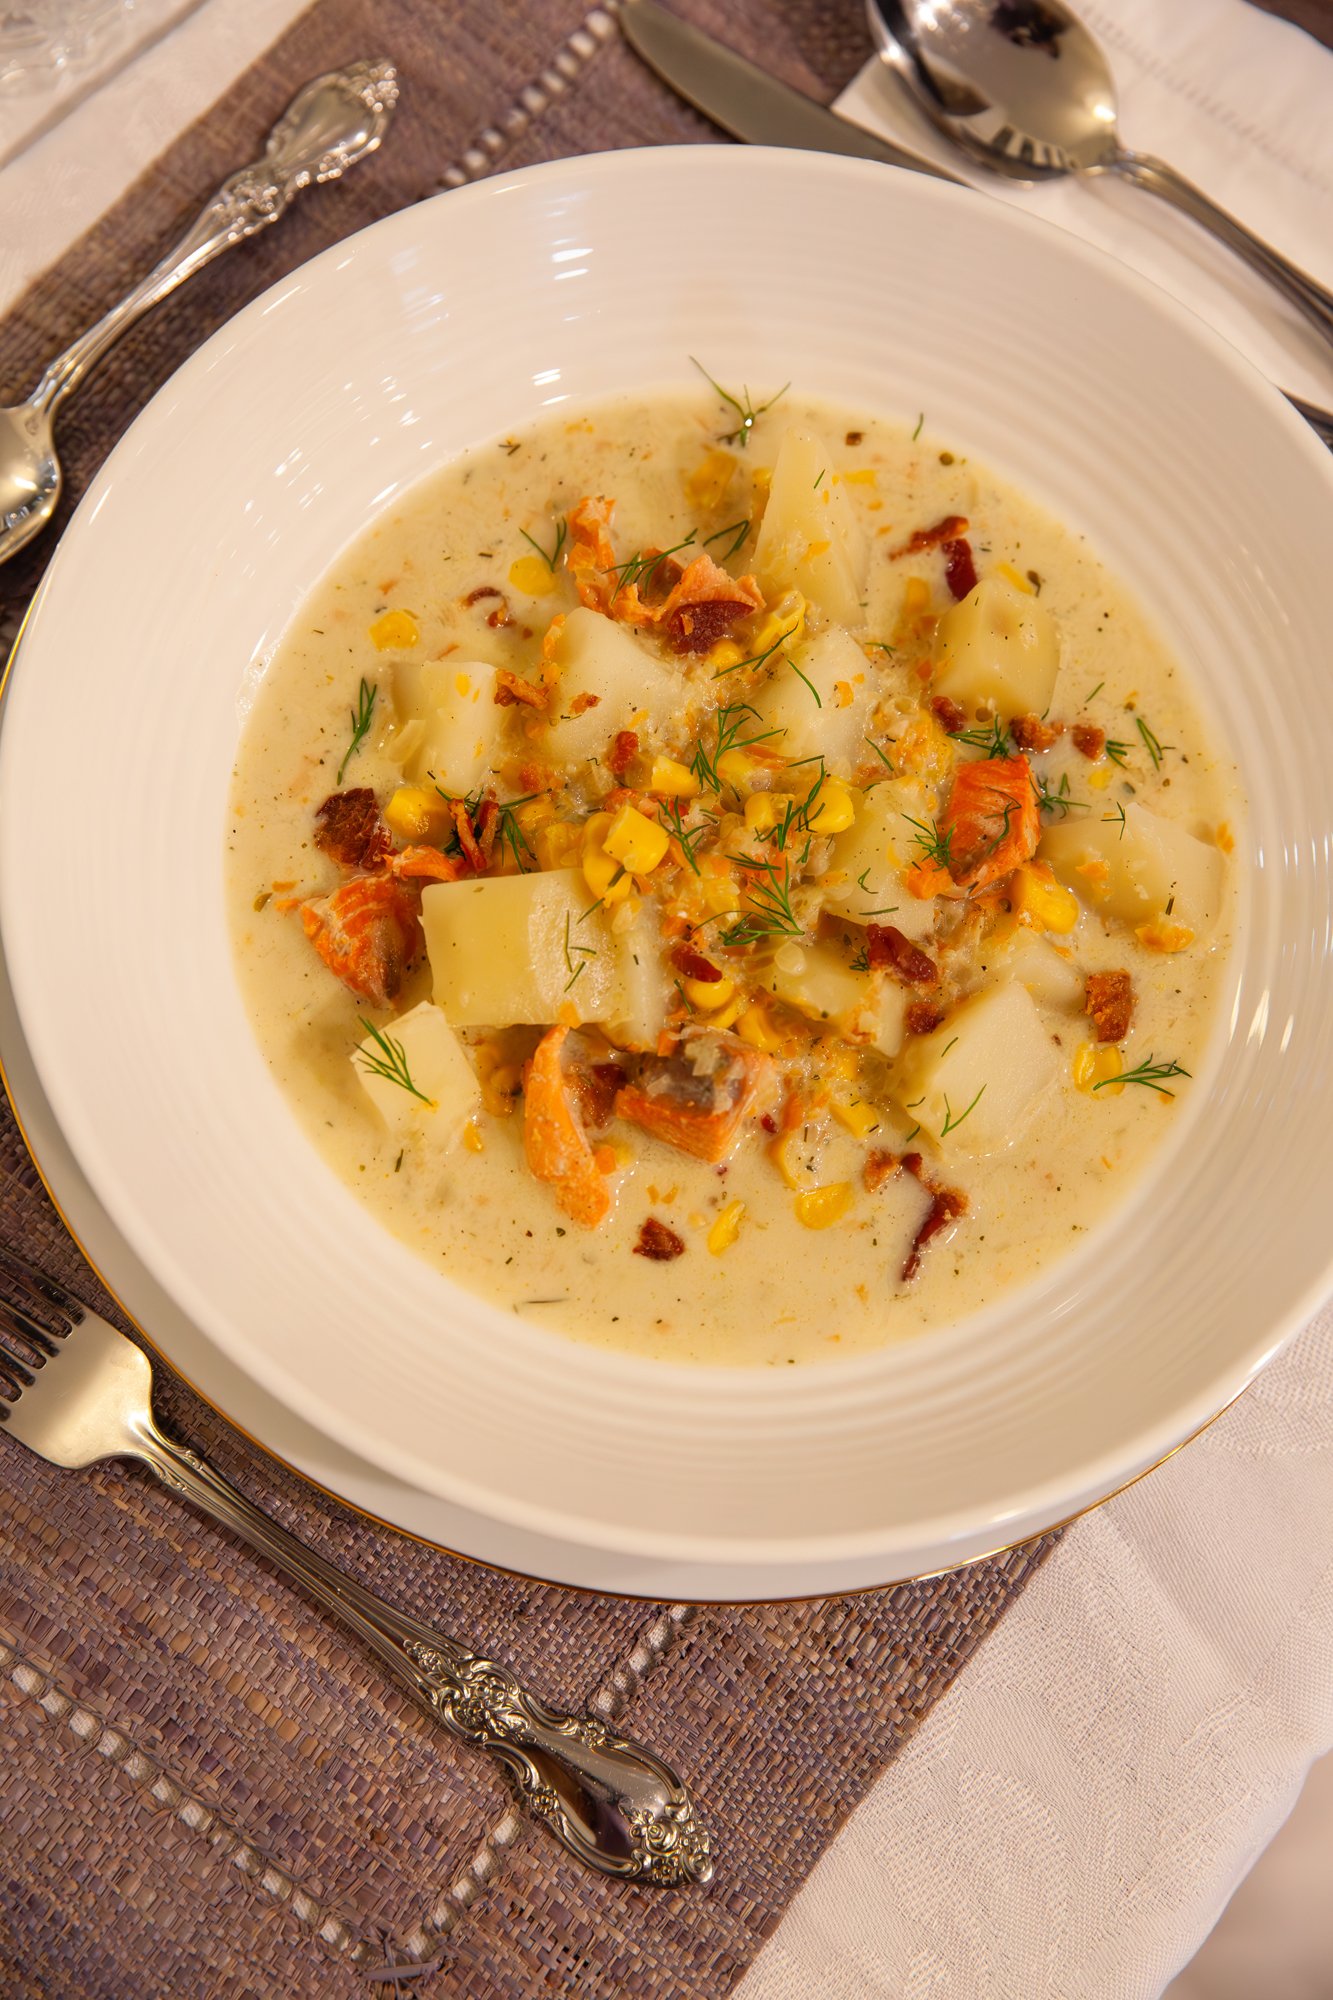
Plate in shallow soup bowls, and top with your desired topping of choice!
The soup should keep for a few days in the fridge, but it is best fresh. Make sure to reheat it on low and do not bring to a boil.
Cinnamon Rolls
Recipe for BC Living
February 2024
There’s nothing like warm cinnamon rolls on a weekend morning that you pull right from the oven and melt some delicious icing on. The benefit of this recipe is that you can do all the work the day before, so in the morning, the only thing you must do is wait patiently for the buns to rise!
Also, your kitchen is going to smell amazing.
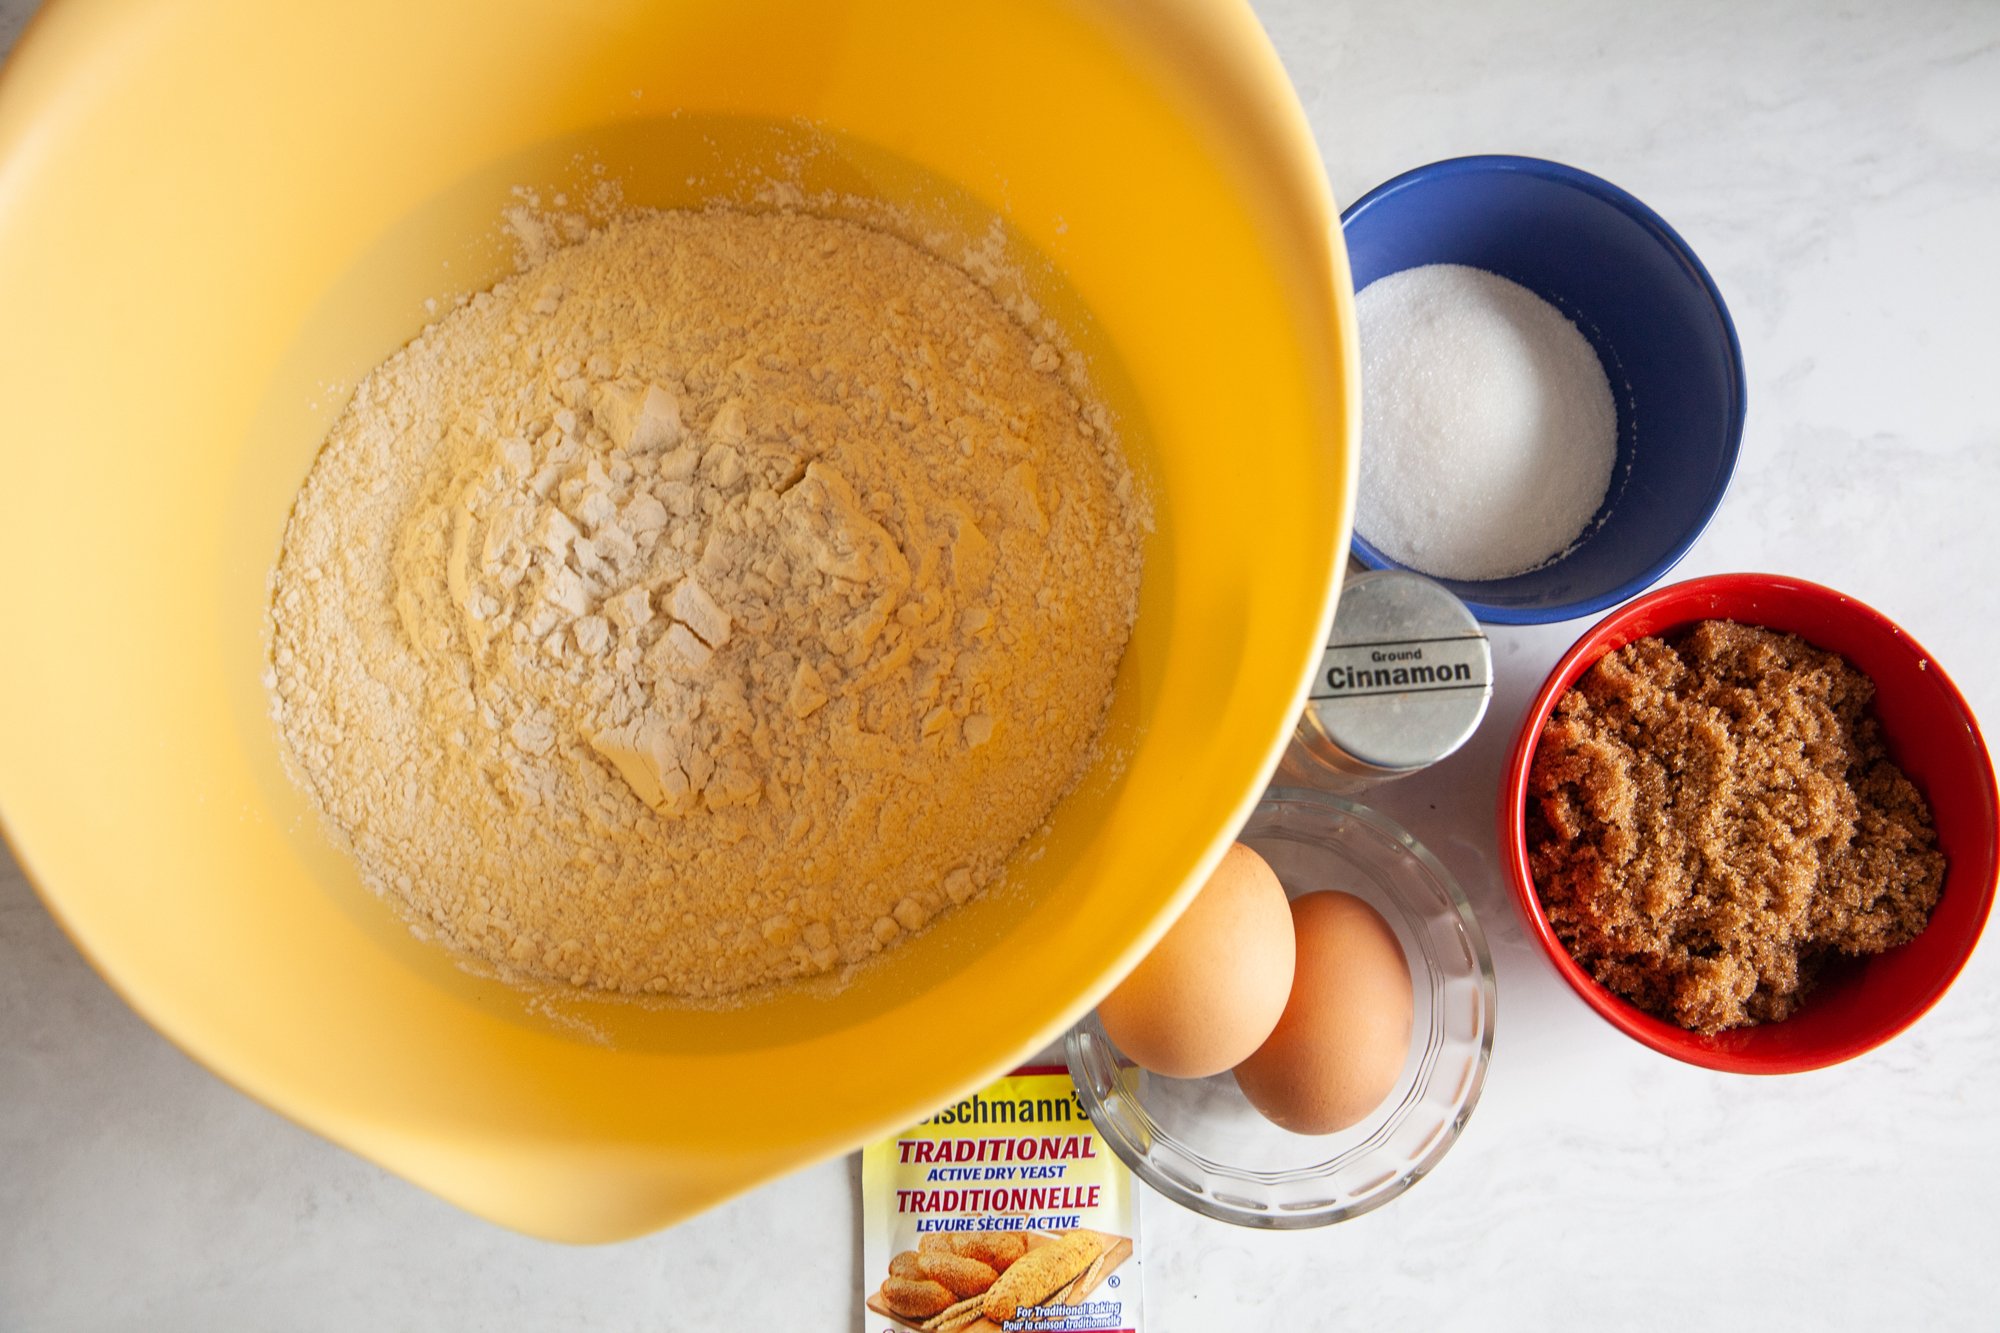
INGREDIENTS
Dough:
- ¾ cup of milk (2% or 3%)
- 1 package of dry active yeast (about 2 ¼ tsp)
- 3 cups flour (bread or unbleached all purpose)
- ¼ cup white granulated sugar
- 1 egg, 1 egg yolk (room temp)
- ¼ cup butter
- 1 tsp salt
Filling:
- 2/3 cup brown sugar
- 1.5 tablespoons cinnamon
- ¼ cup soft butter
Frosting:
- 2 cup powdered sugar
- 2 tablespoon butter (melted)
- 2 tsp vanilla
- 4 tbsp milk
*Note: You’ll also need a 9x9 inch baking pan
INSTRUCTIONS
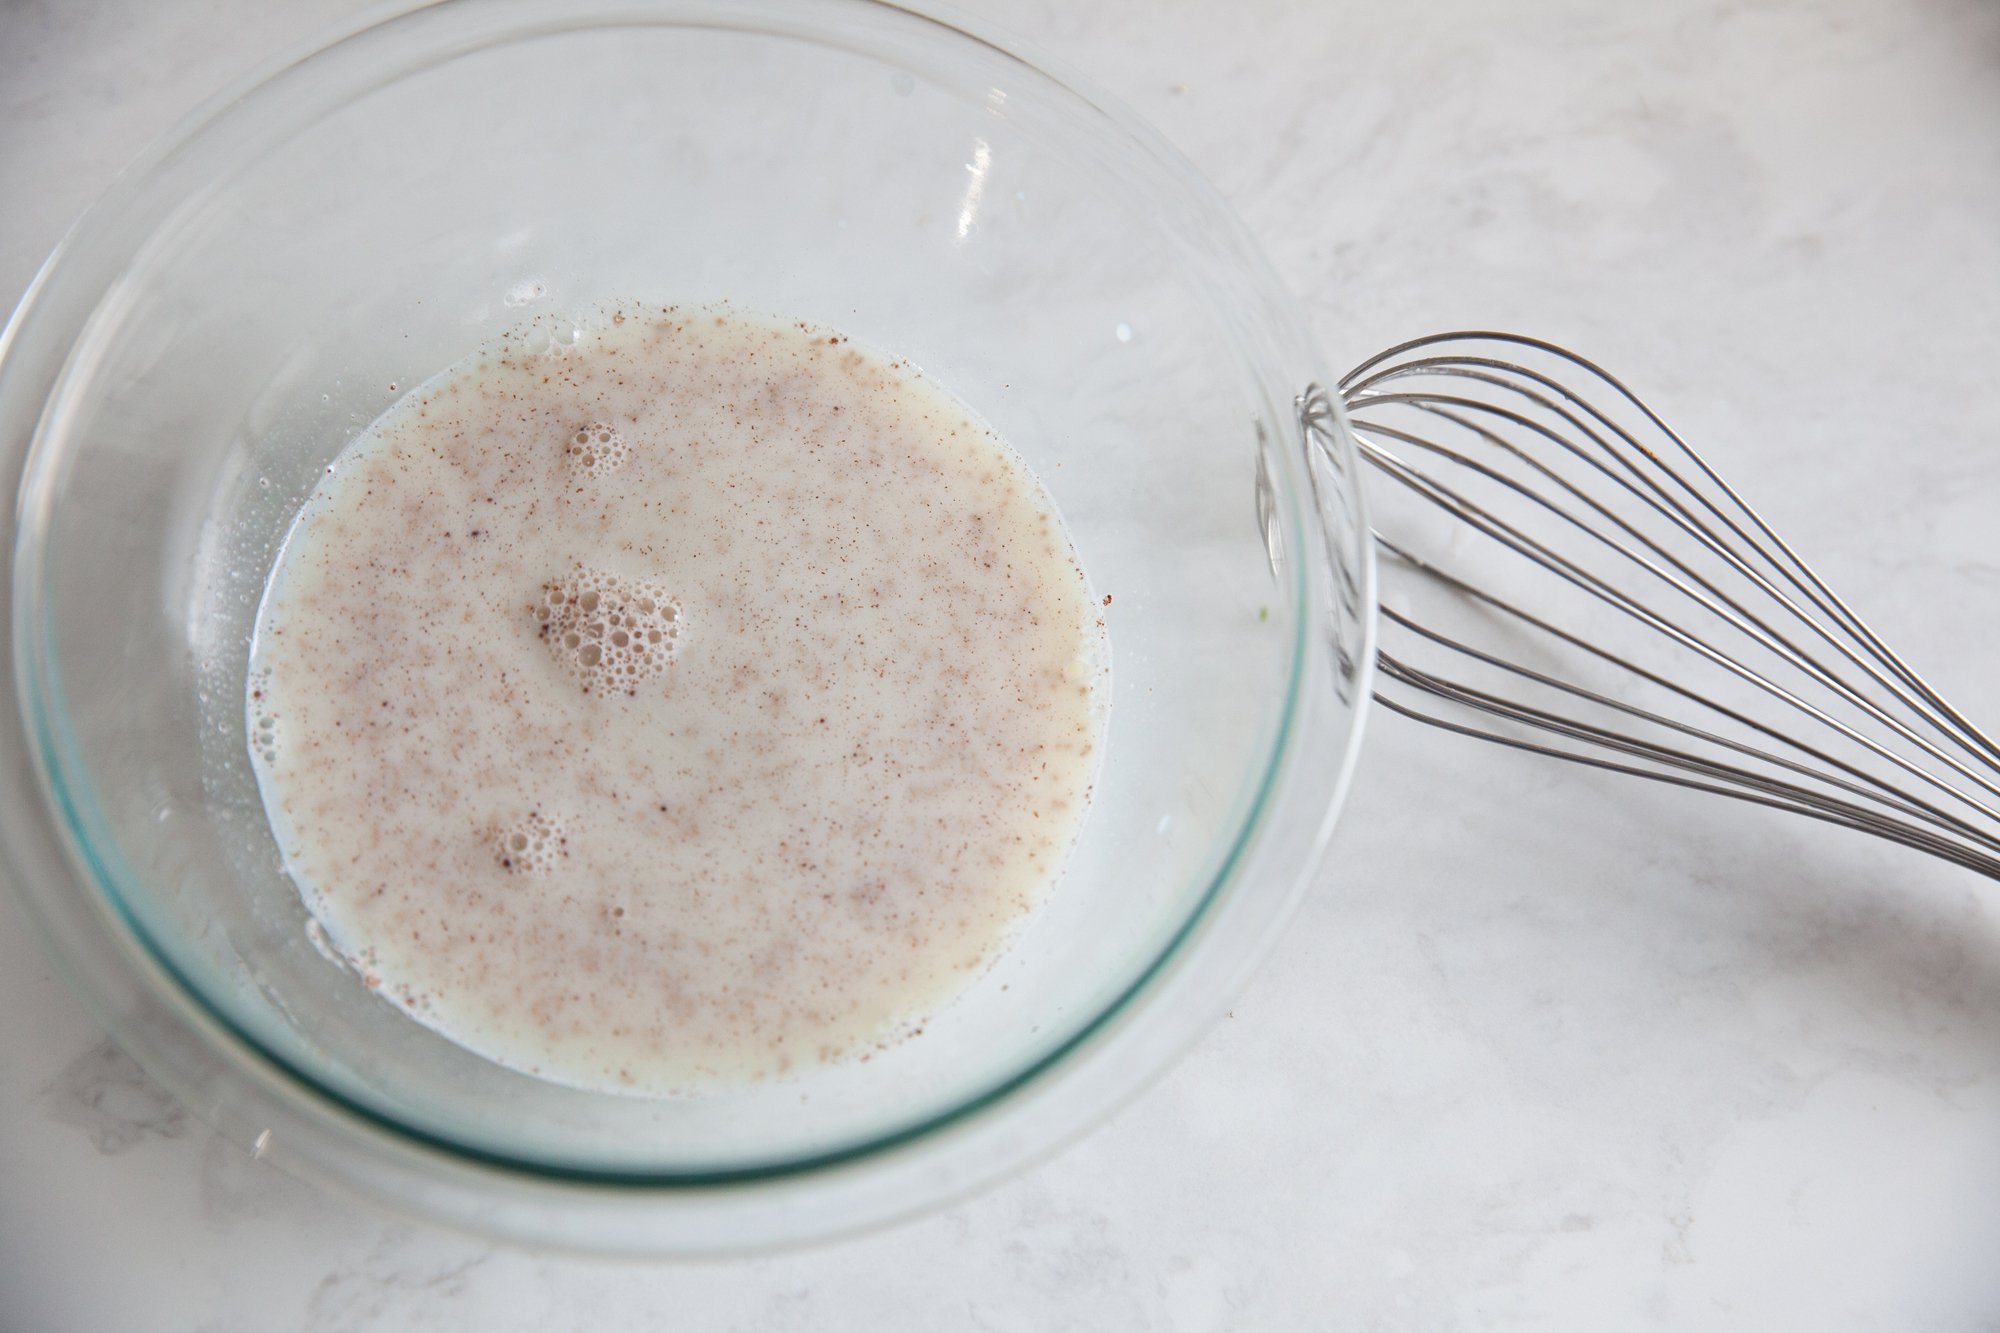
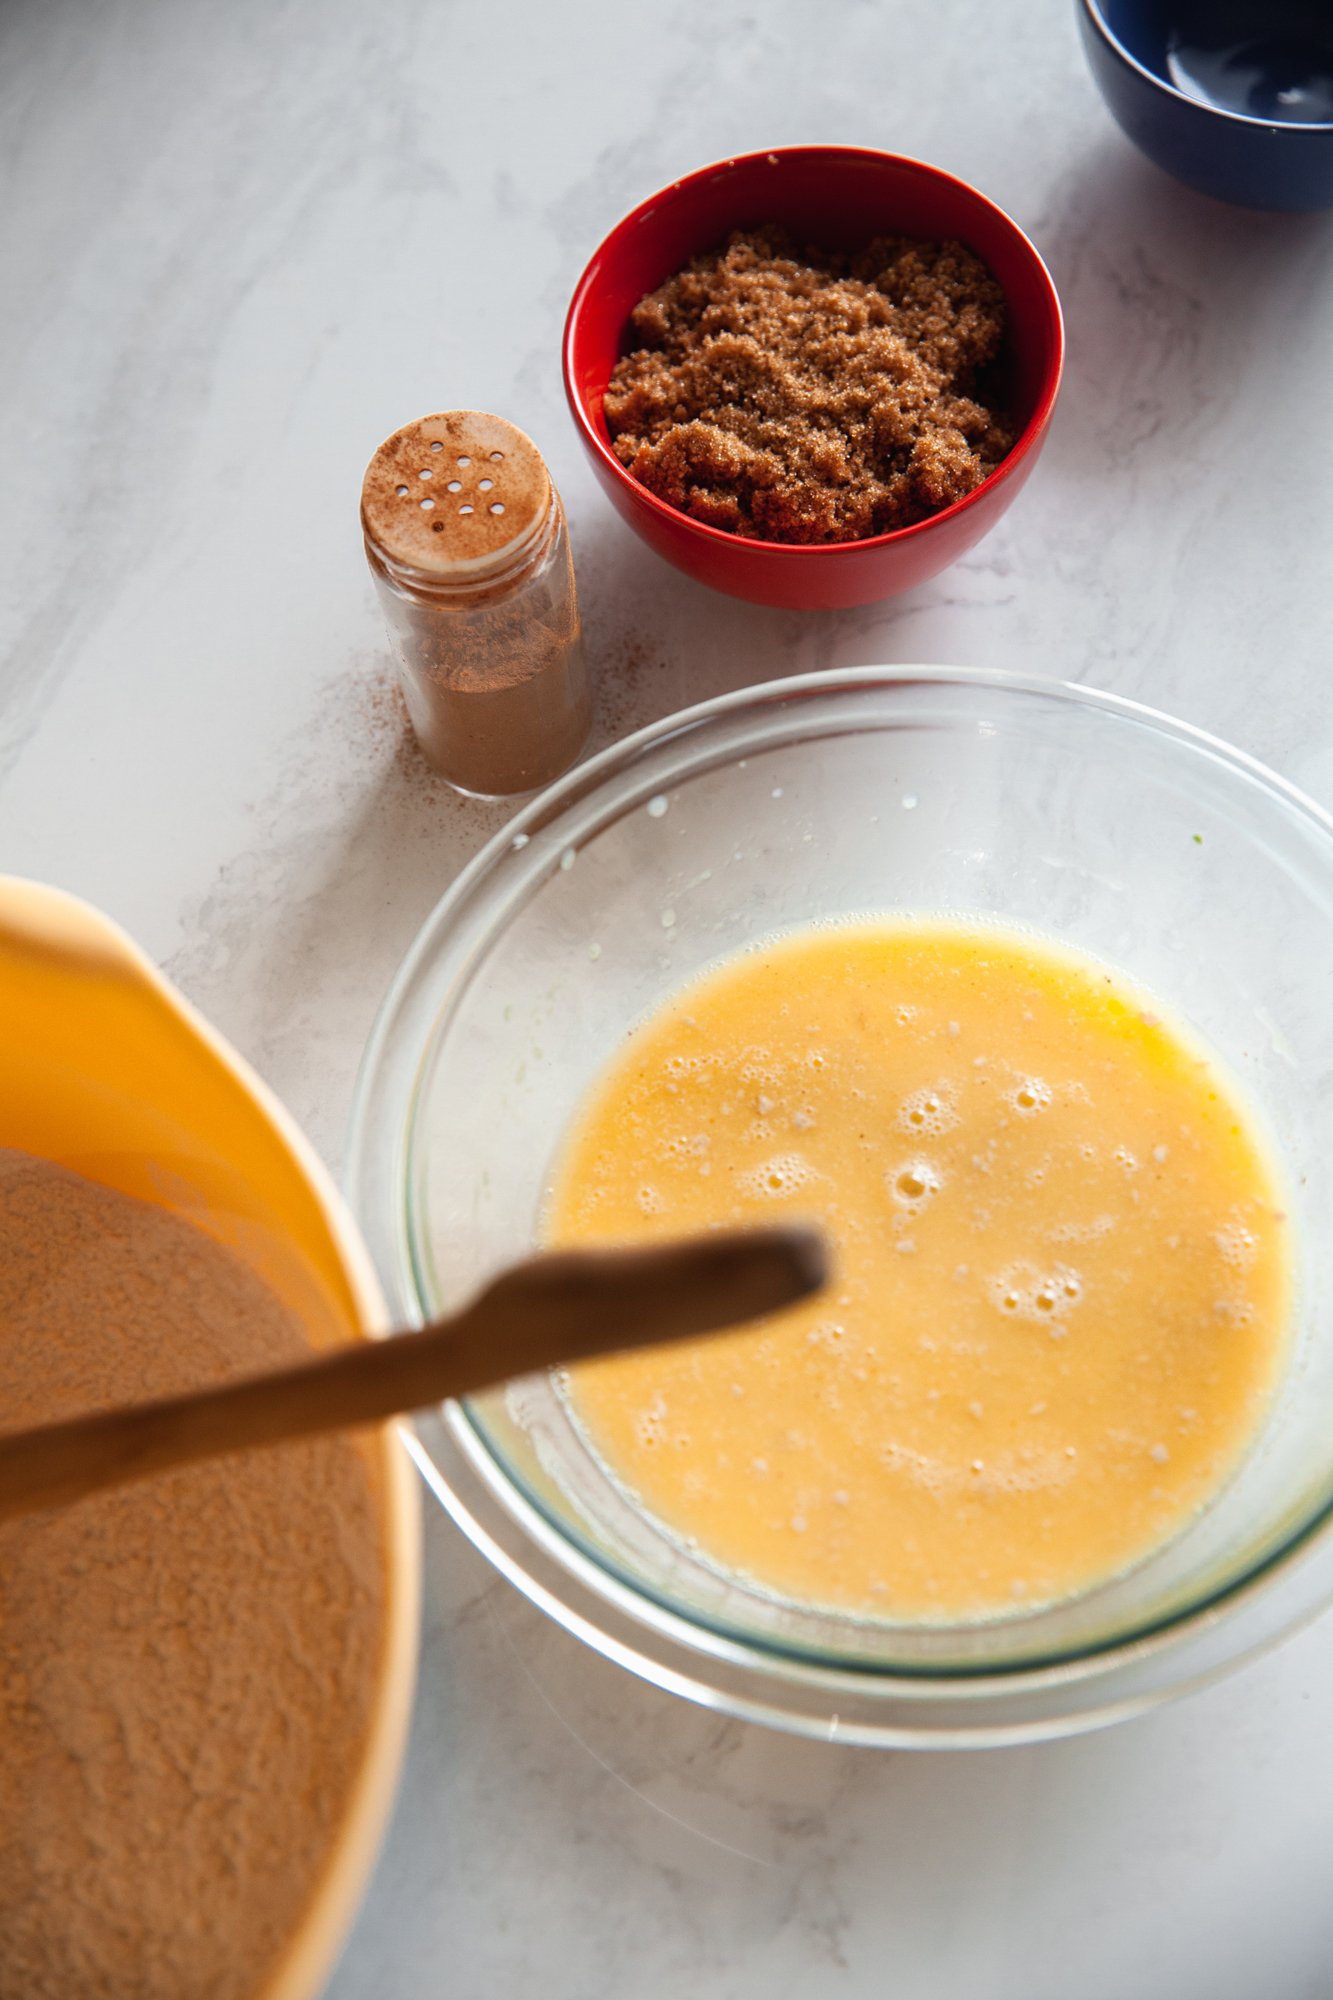
Heat the milk to about 110 degrees Fahrenheit – this will be about lukewarm.
Once heated, add it to a large bowl, and mix in the yeast, and sugar. Let stand for 15 minutes until bubbly. Now add in the room temperature eggs and melted butter (make sure the butter isn’t hot or it might cook the eggs!).
Now add the flour and salt and stir with a wooden spoon until the dough begins to come together.
If you have a stand mixture, transfer in the dough with the dough hook attachment, and run at med speed for 5 minutes, then scrape down the sides, and run for an additional 3-4 minutes until a ball forms. If it’s too sticky, you can add a bit more bread flour.
If you don’t have a stand mixer, you can knead the dough by hand for 8-10 minutes on a clean and floured surface.
Oil a bowl and place the dough ball inside, and then cover the bowl with plastic wrap, and a tea towel over top. Let this stand for 1 to 1.5 hours, just until it has doubled in size.
While the dough is rising, you can make the filling mixture, by mixing the brown sugar and cinnamon together. If you prefer to add more cinnamon or other spices, like nutmeg, here is your chance.
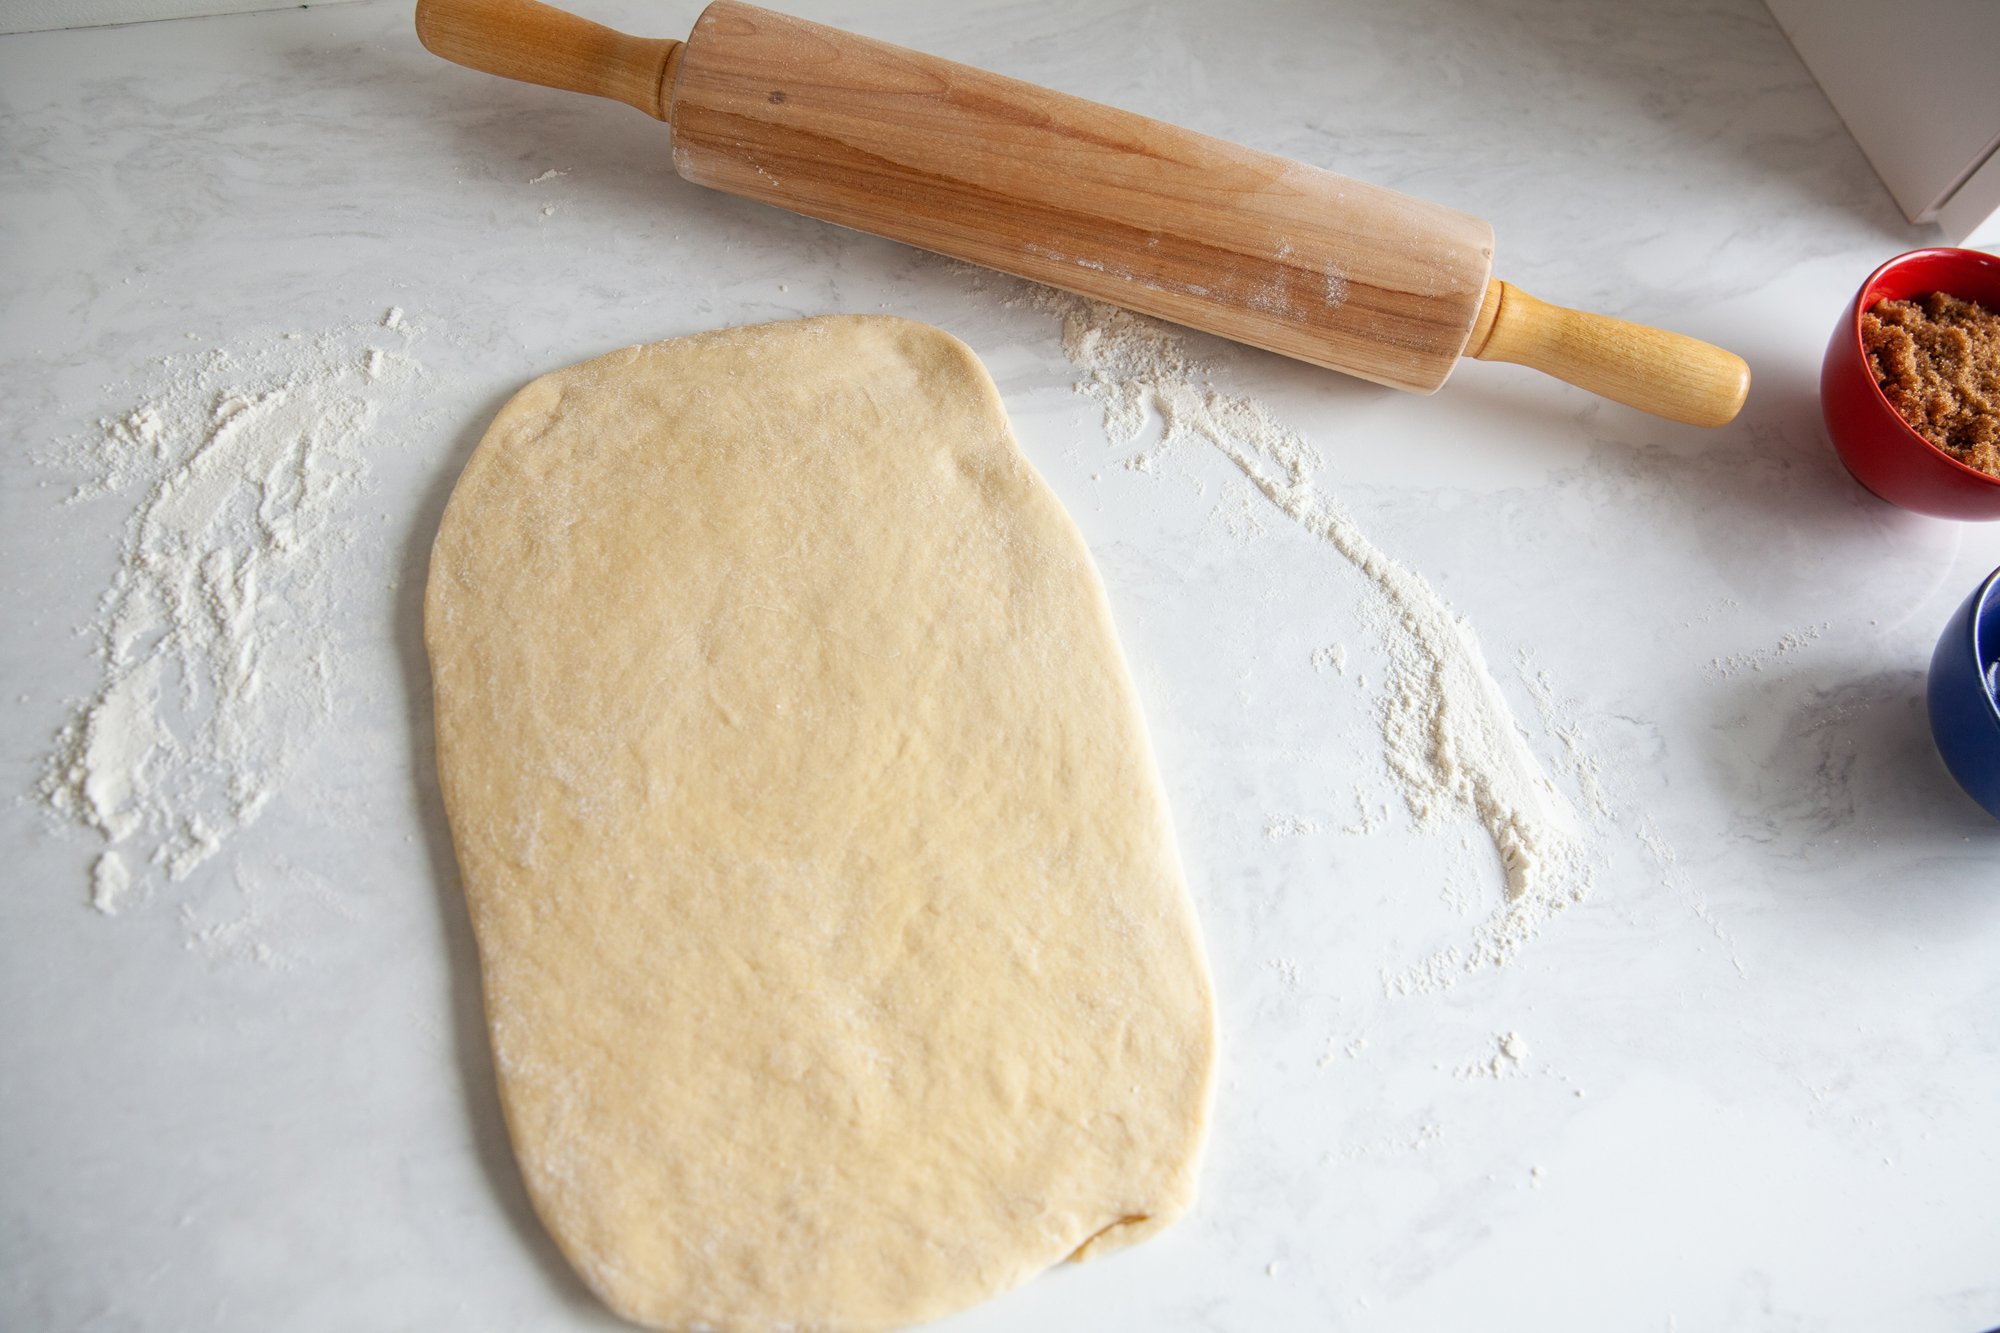
When the dough has risen, place it on a well-floured surface and gently roll it out until it is approximately 9x14 inches.
Now spread the softened butter on top of the dough, leaving one small edge on the shorter side un-buttered.
Sprinkle the cinnamon-sugar mixture evenly across the buttered dough, lightly patting it into place.
Roll the dough, starting on the 9-inch side, tightly across, and finish by pinching the un-buttered seam into place, and finish with the seam side down.
If there is excess on the ends that do not have filling, you can cut these off with a sharp knife.
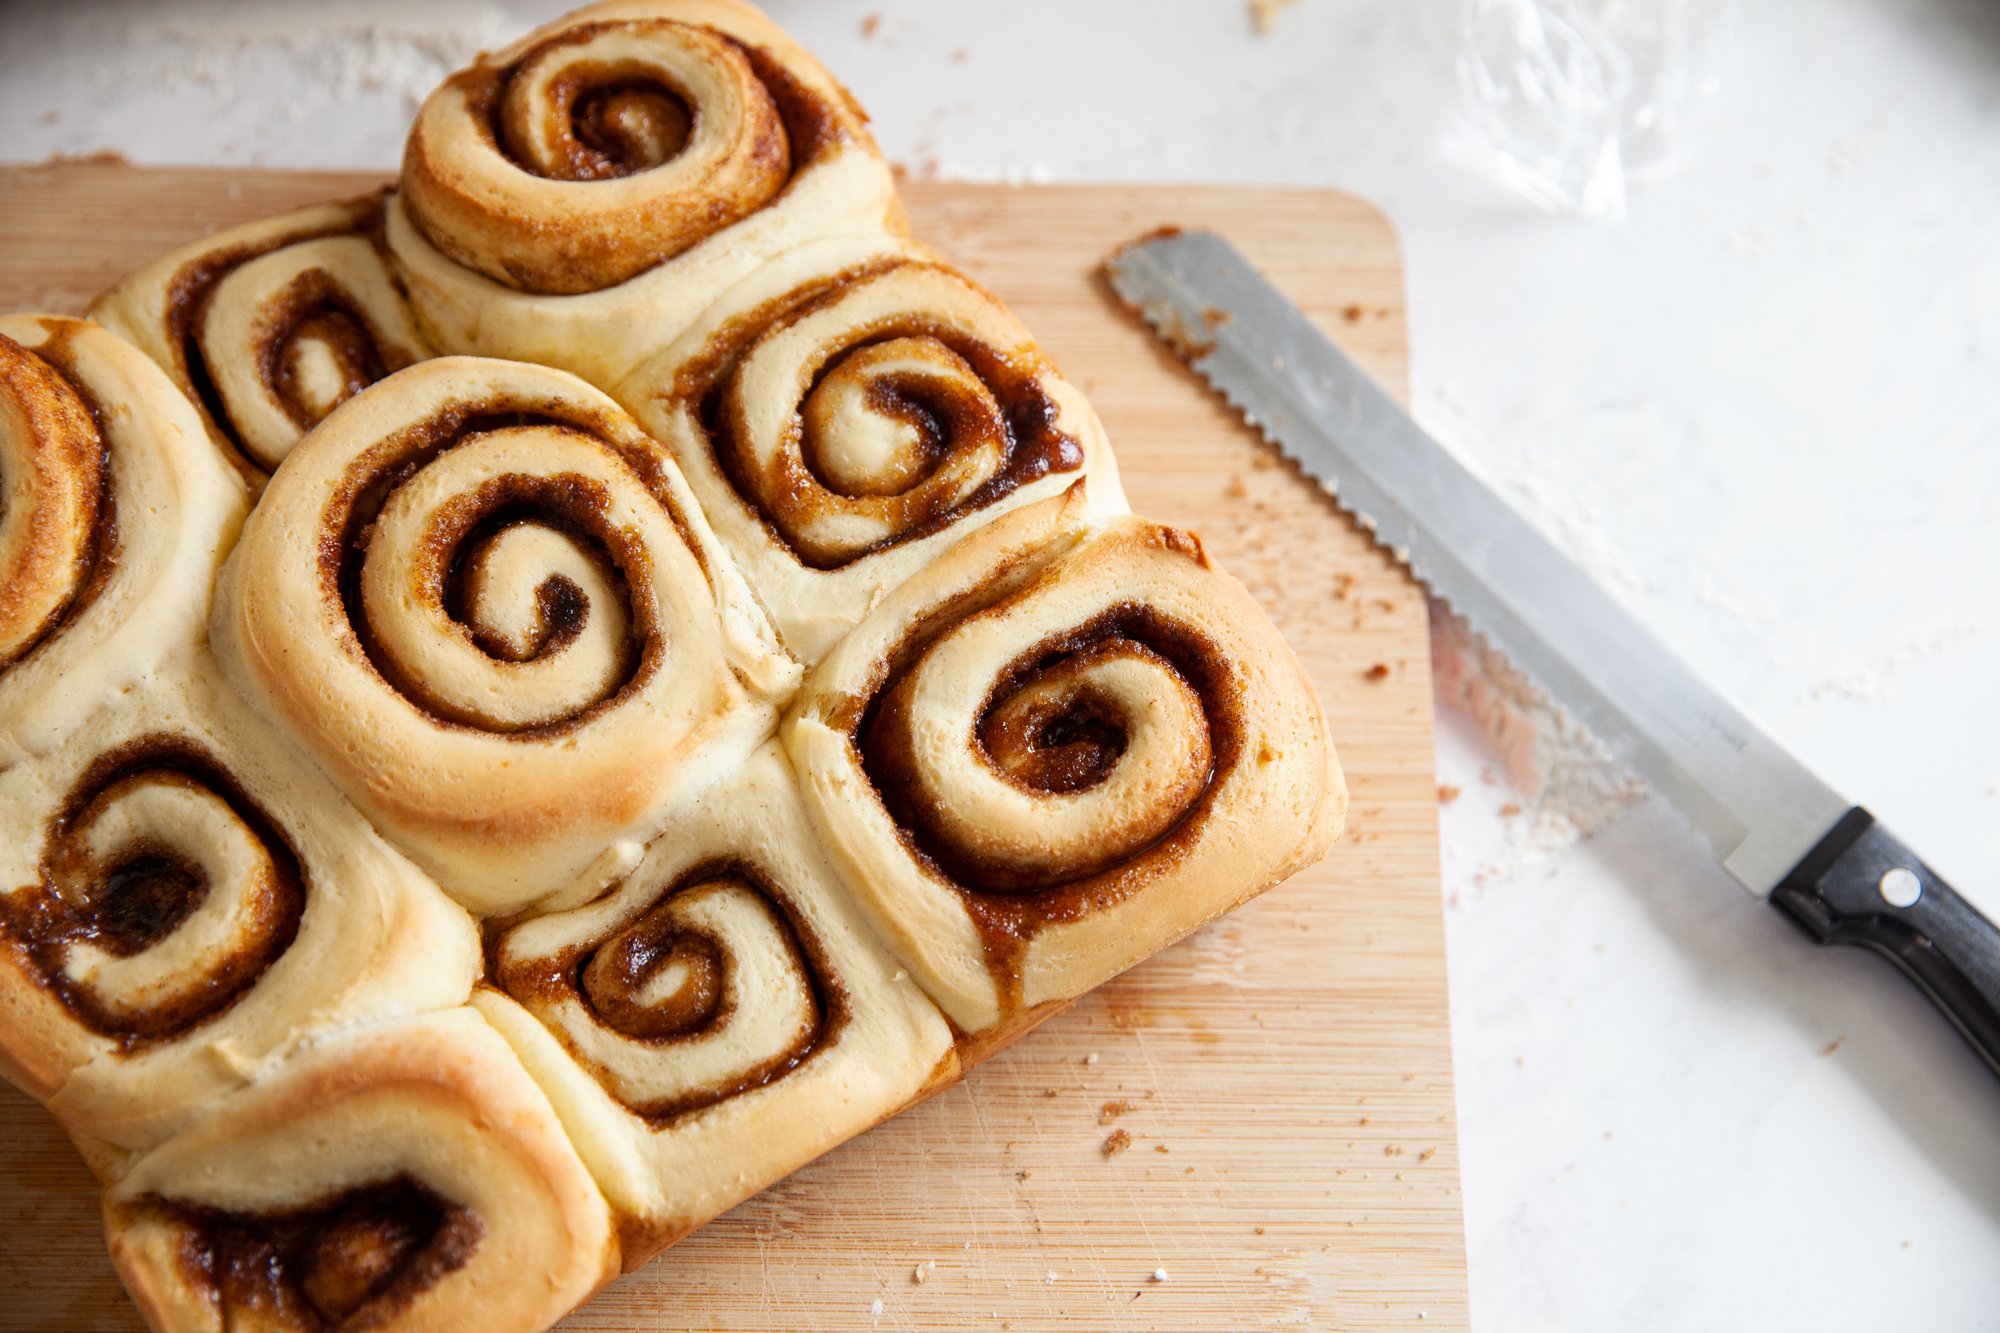
Now, either using the knife, or using un-flavored wax floss, cut 9 sections out of the log (about 1 inch each).
Grease the 9x9 baking pan and place the rolls evenly into it.
Now is the time, if you want to make the rolls the next morning, to cover the pan with plastic wrap and place them in the fridge overnight.
If you're making them the same day, cover the pan with plastic wrap and a tea towel and let rise again for about 30 to 40 minutes.
While the rolls are rising, preheat the oven to 350 degrees F, and when they’re ready, place the rolls in the oven and bake for 20 minutes. (I like to rotate halfway through.) Check after 20 minutes, and see if they’re beginning to turn golden brown, if not bake for a few more minutes, watching them carefully.
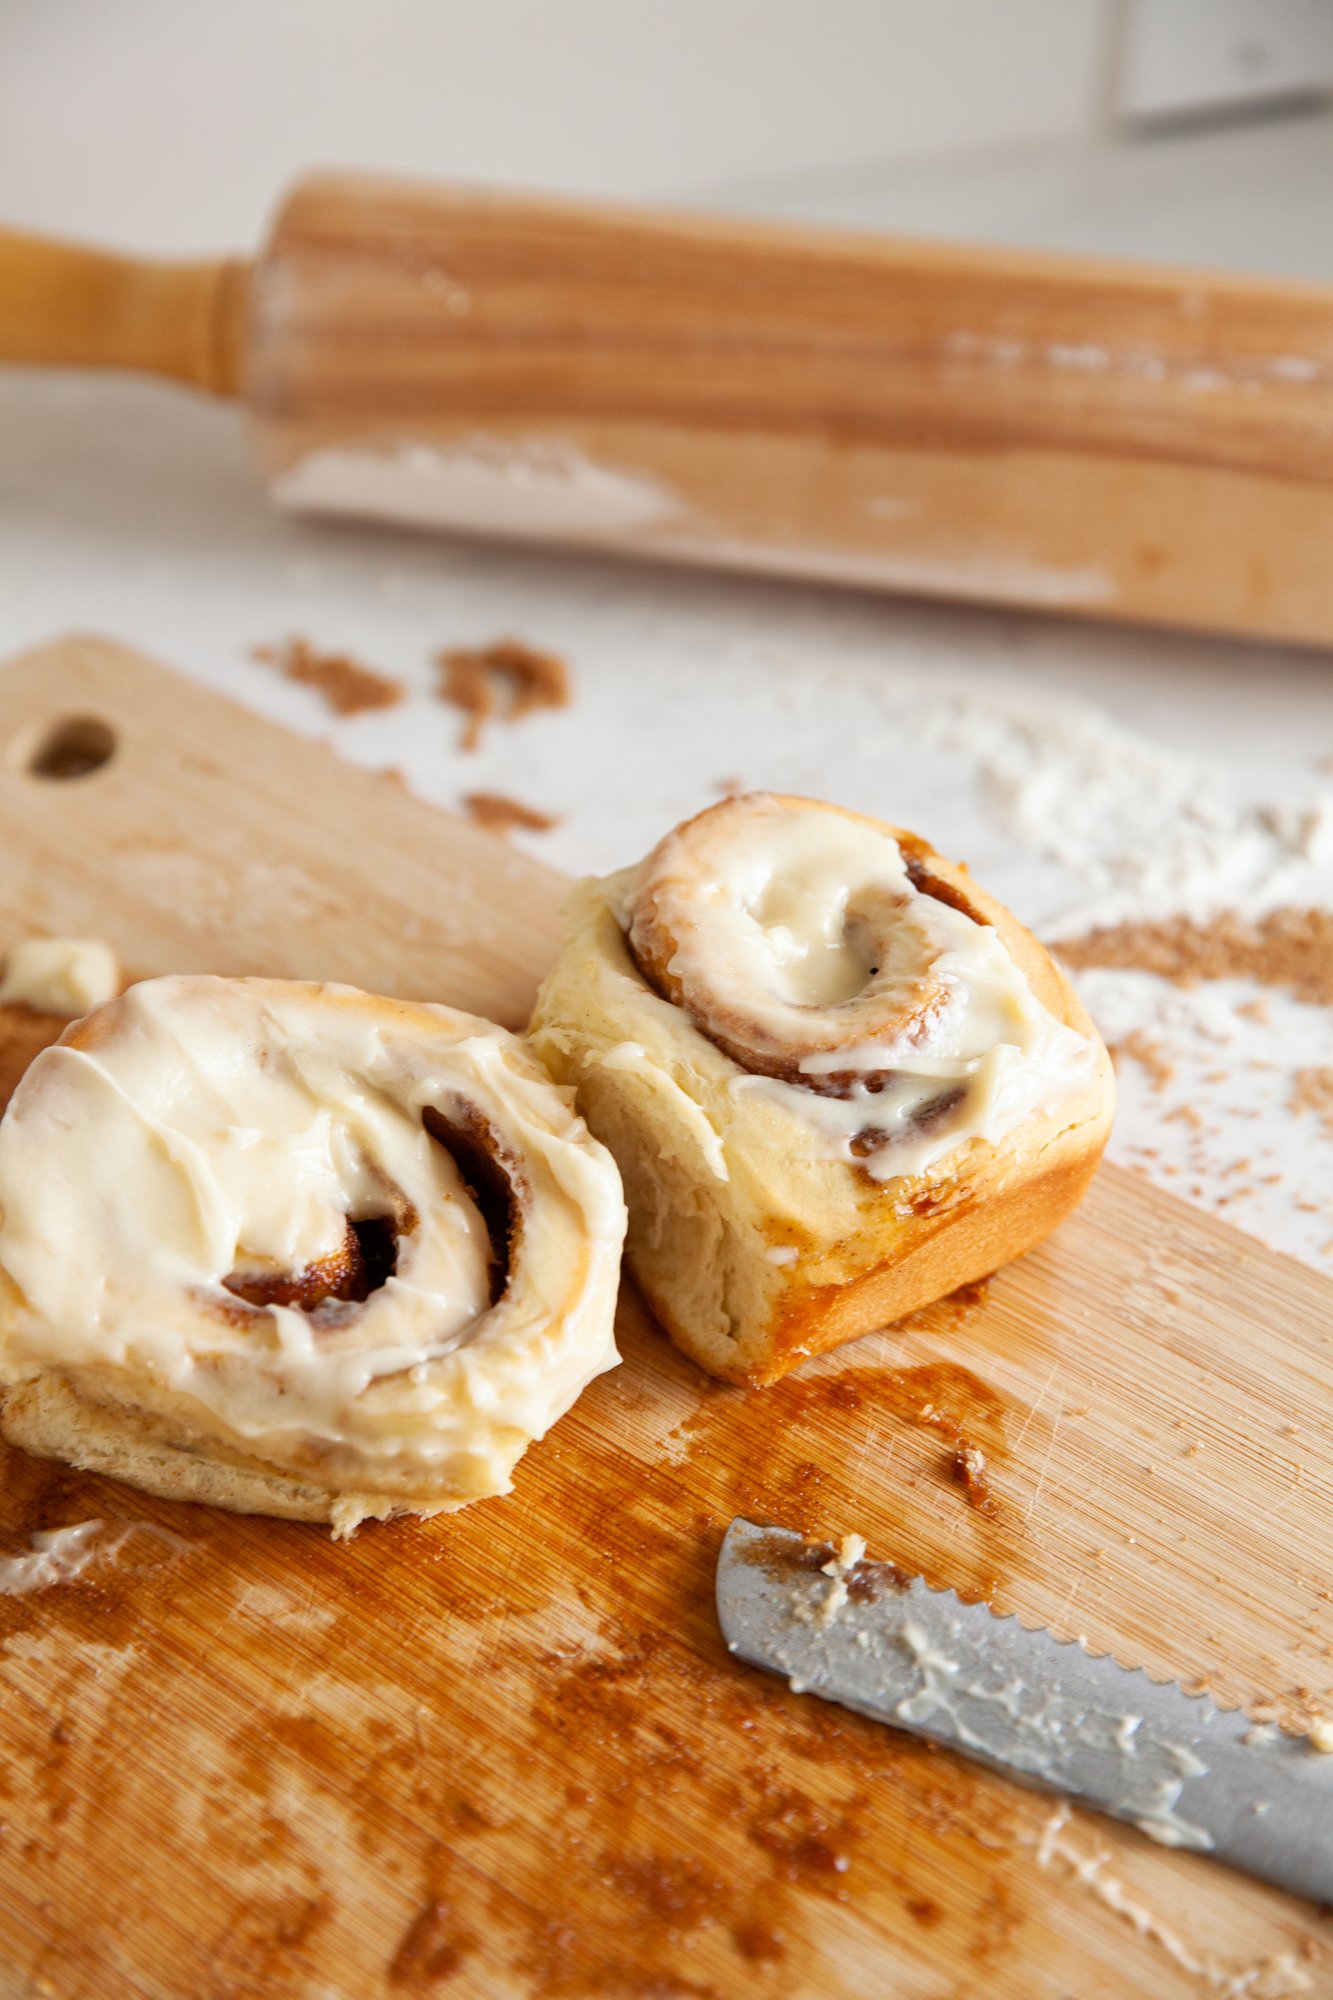
In the meantime, while the rolls are baking, you can make the frosting by placing the icing sugar, butter, vanilla and milk in a bowl, and whisking until smooth. You’ll want it thicker, as it will melt when placed on the warm cinnamon rolls.
Let the rolls cool for 5 minutes before removing them from the pan and placing them on a plate and spreading the icing across.
ENJOY!
*Note: If baking from the fridge after resting overnight, let the rolls come to room temperature for 30 minutes to an hour before baking.
The Greek by Anatoli
West Broadway Restaurant Photography
December 2023
Follow me on Social Media