
Hummus - 3 Ways
for BC Living “From Scratch”
June 2026
With grocery prices rising all the time, there are some staples that I’ve been really into making from scratch – and hummus is one of them!
Rather than reaching for the sub-par, pre-made hummus in the deli section, making your own at home means you can pack it with all kinds of extras. For this recipe I even soaked the chickpeas which will increase the flavor and means it is even less expensive to make.
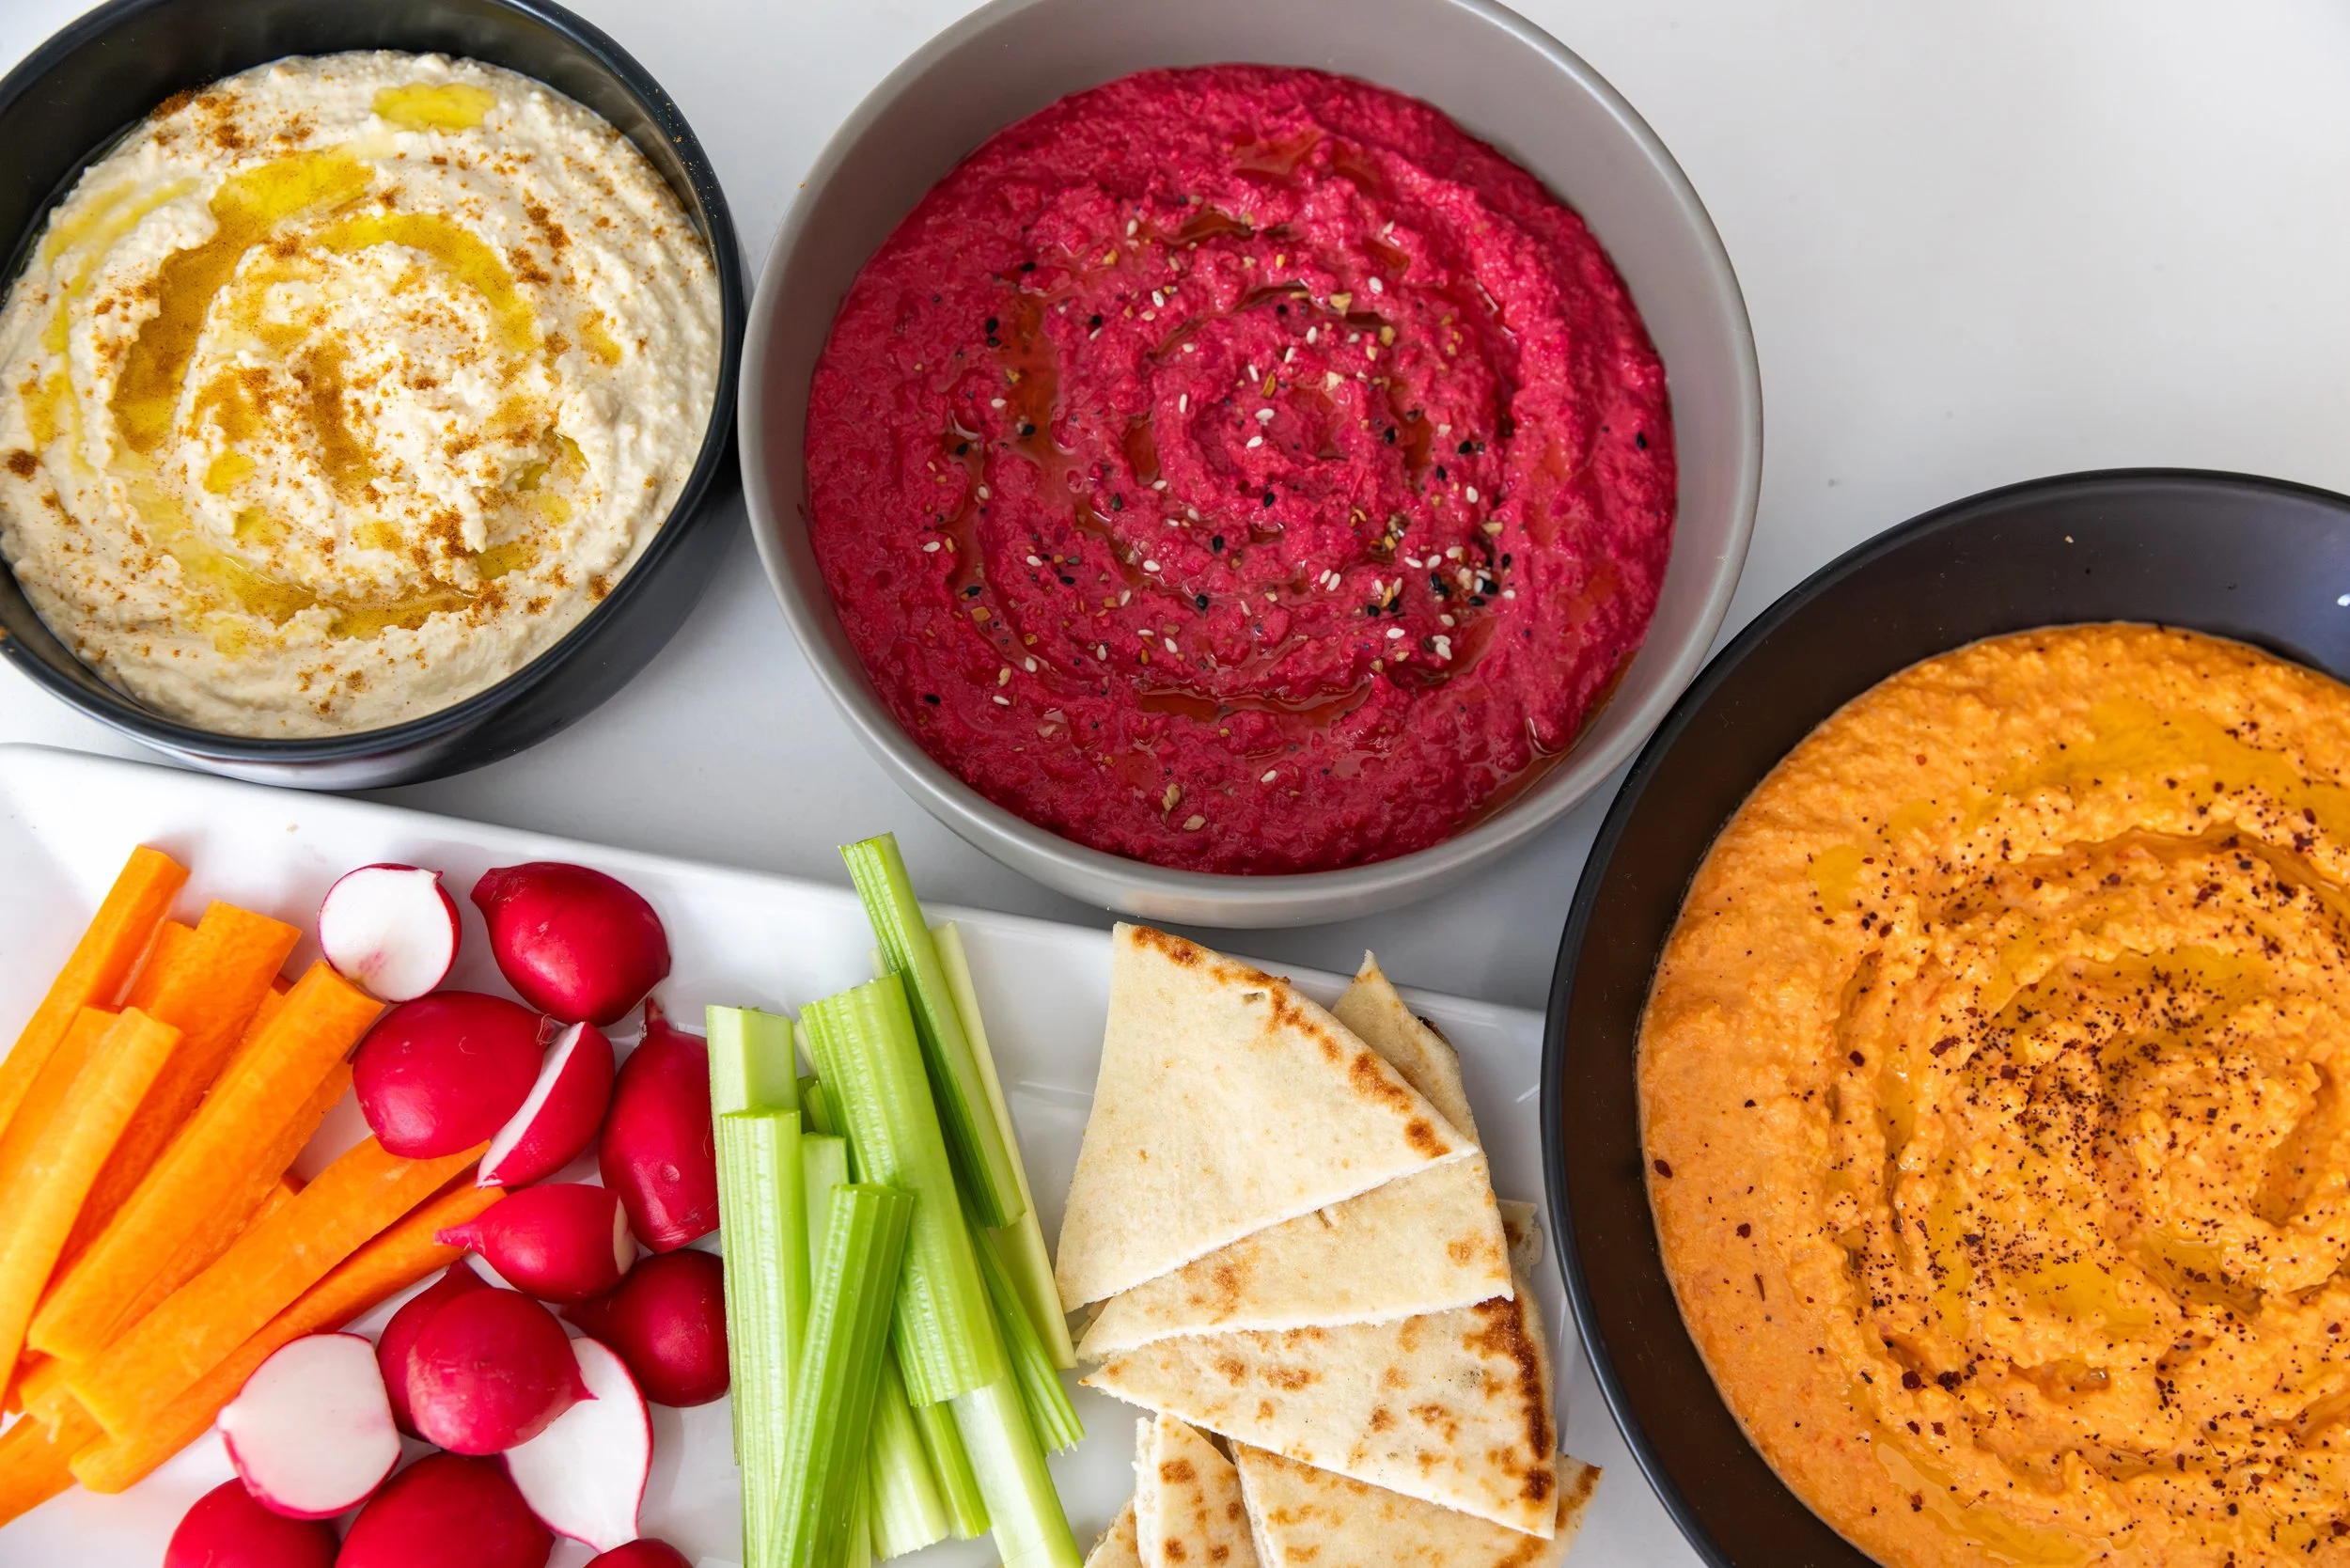
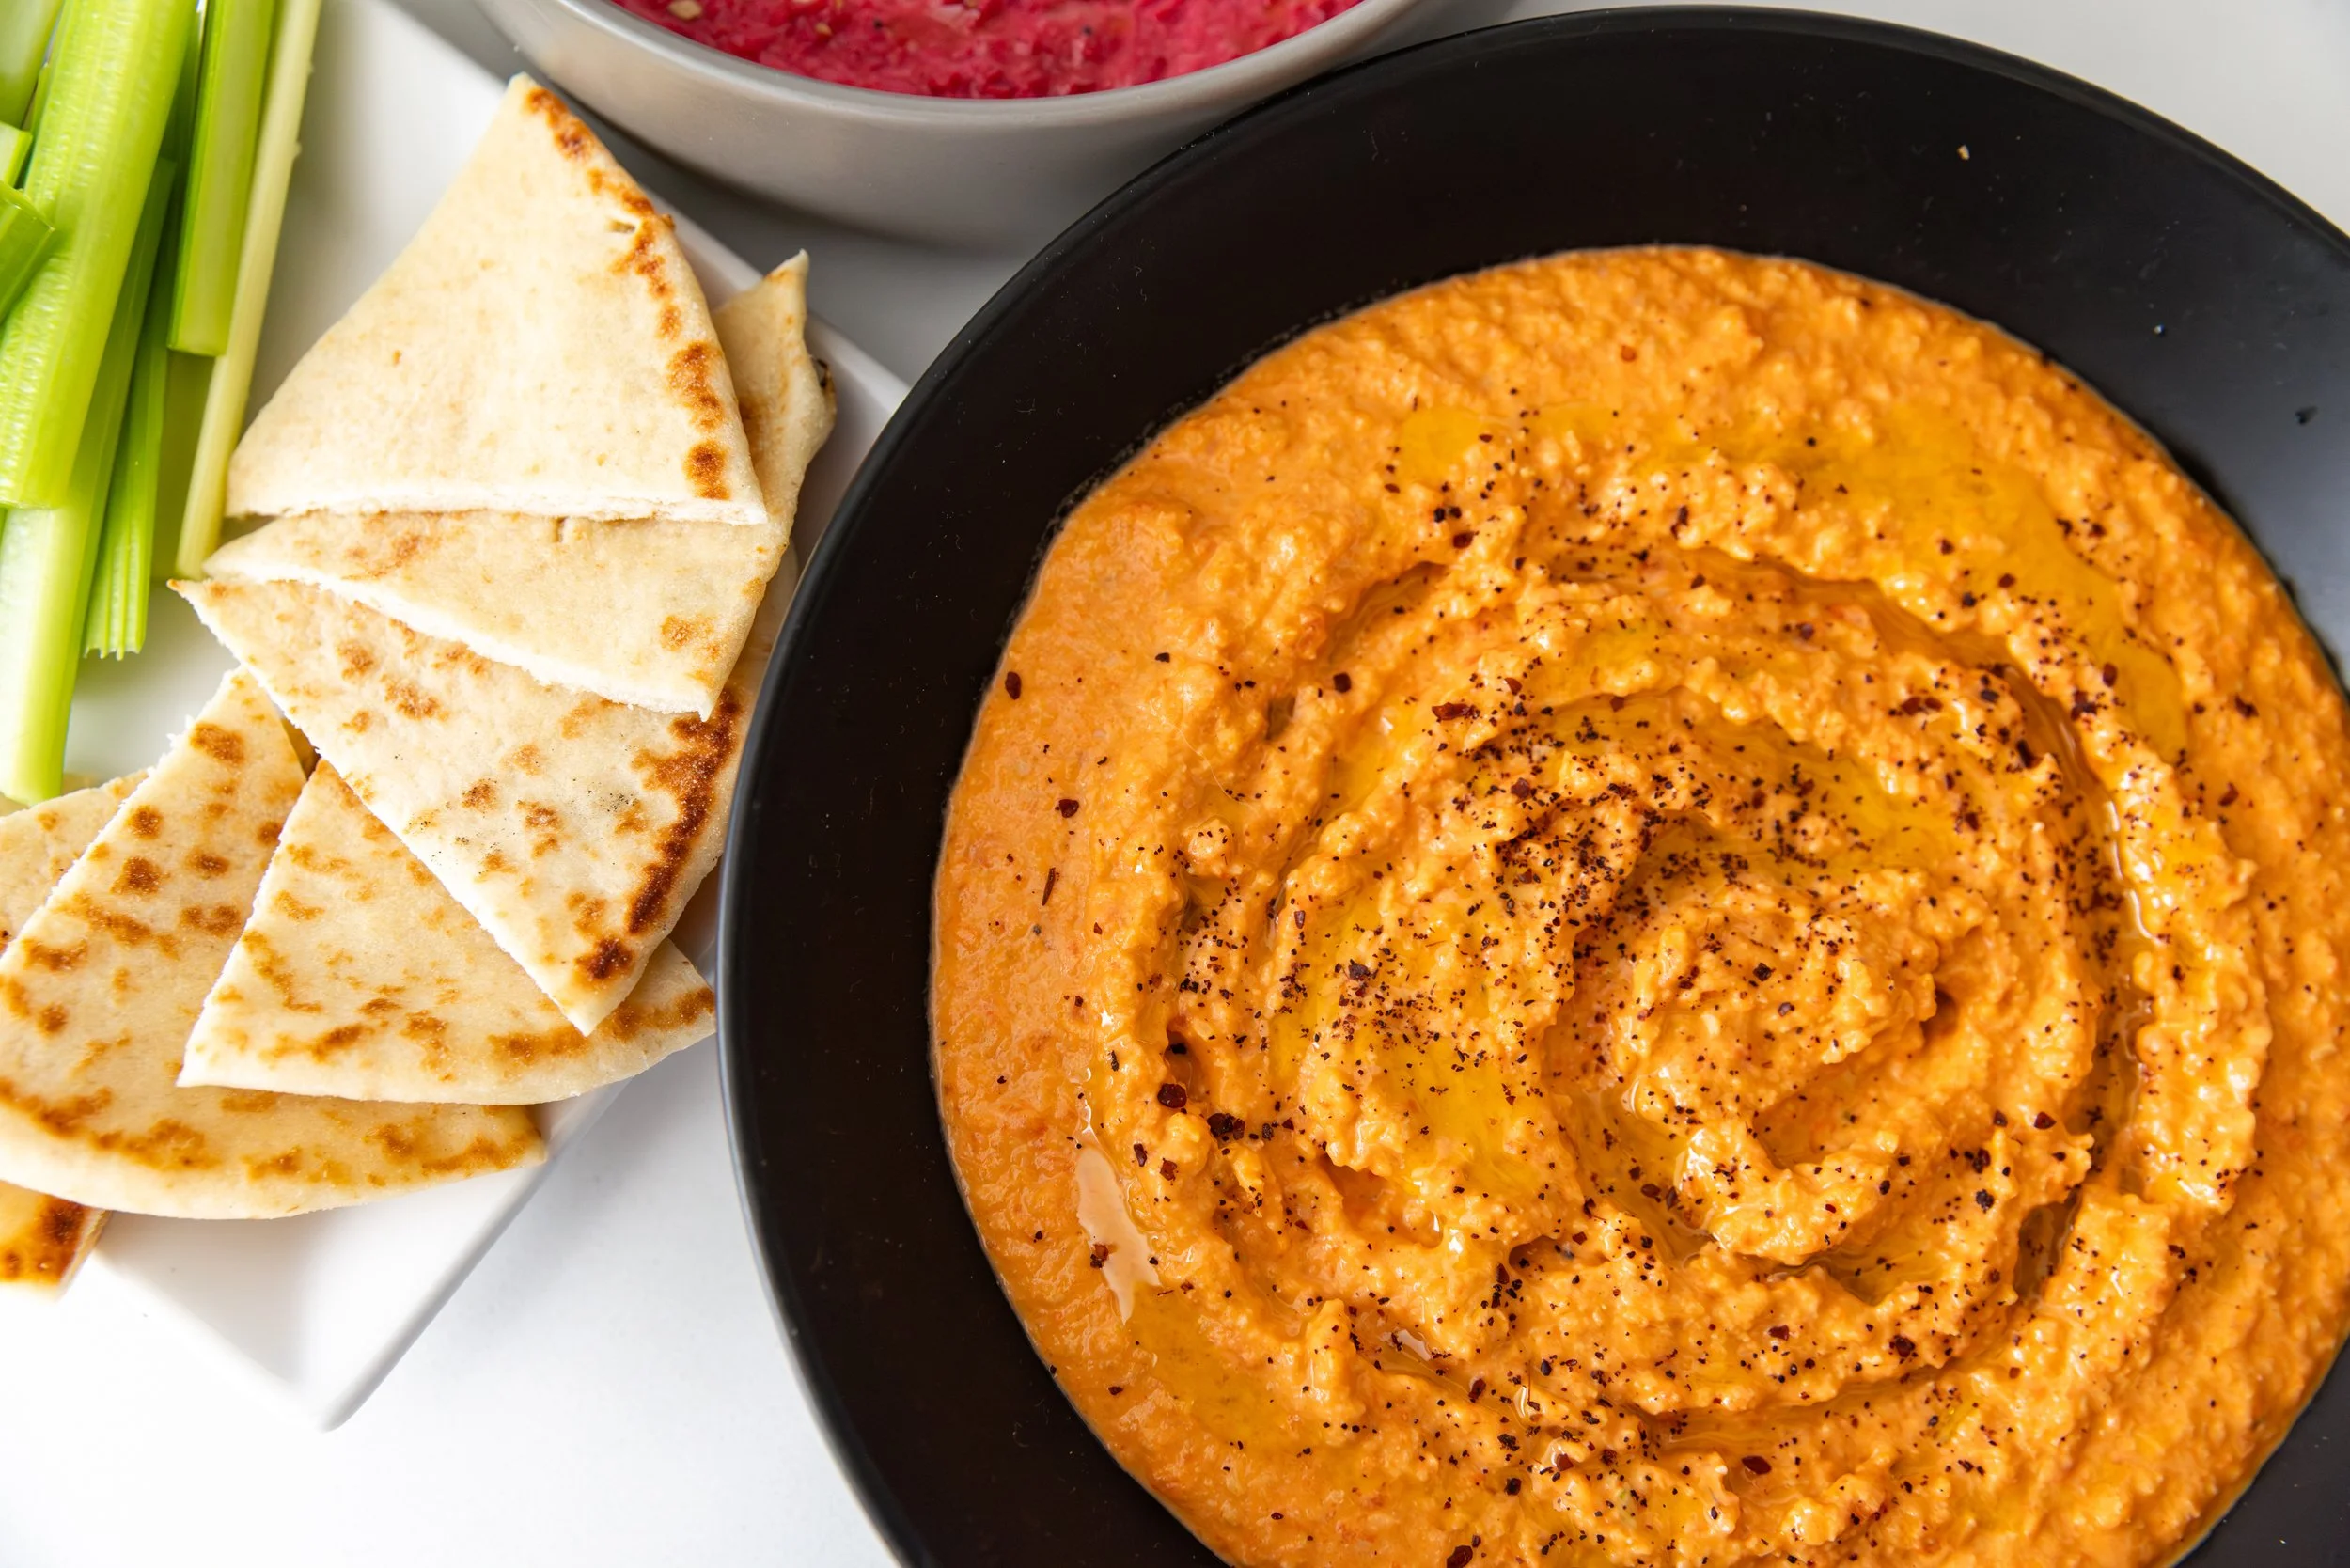
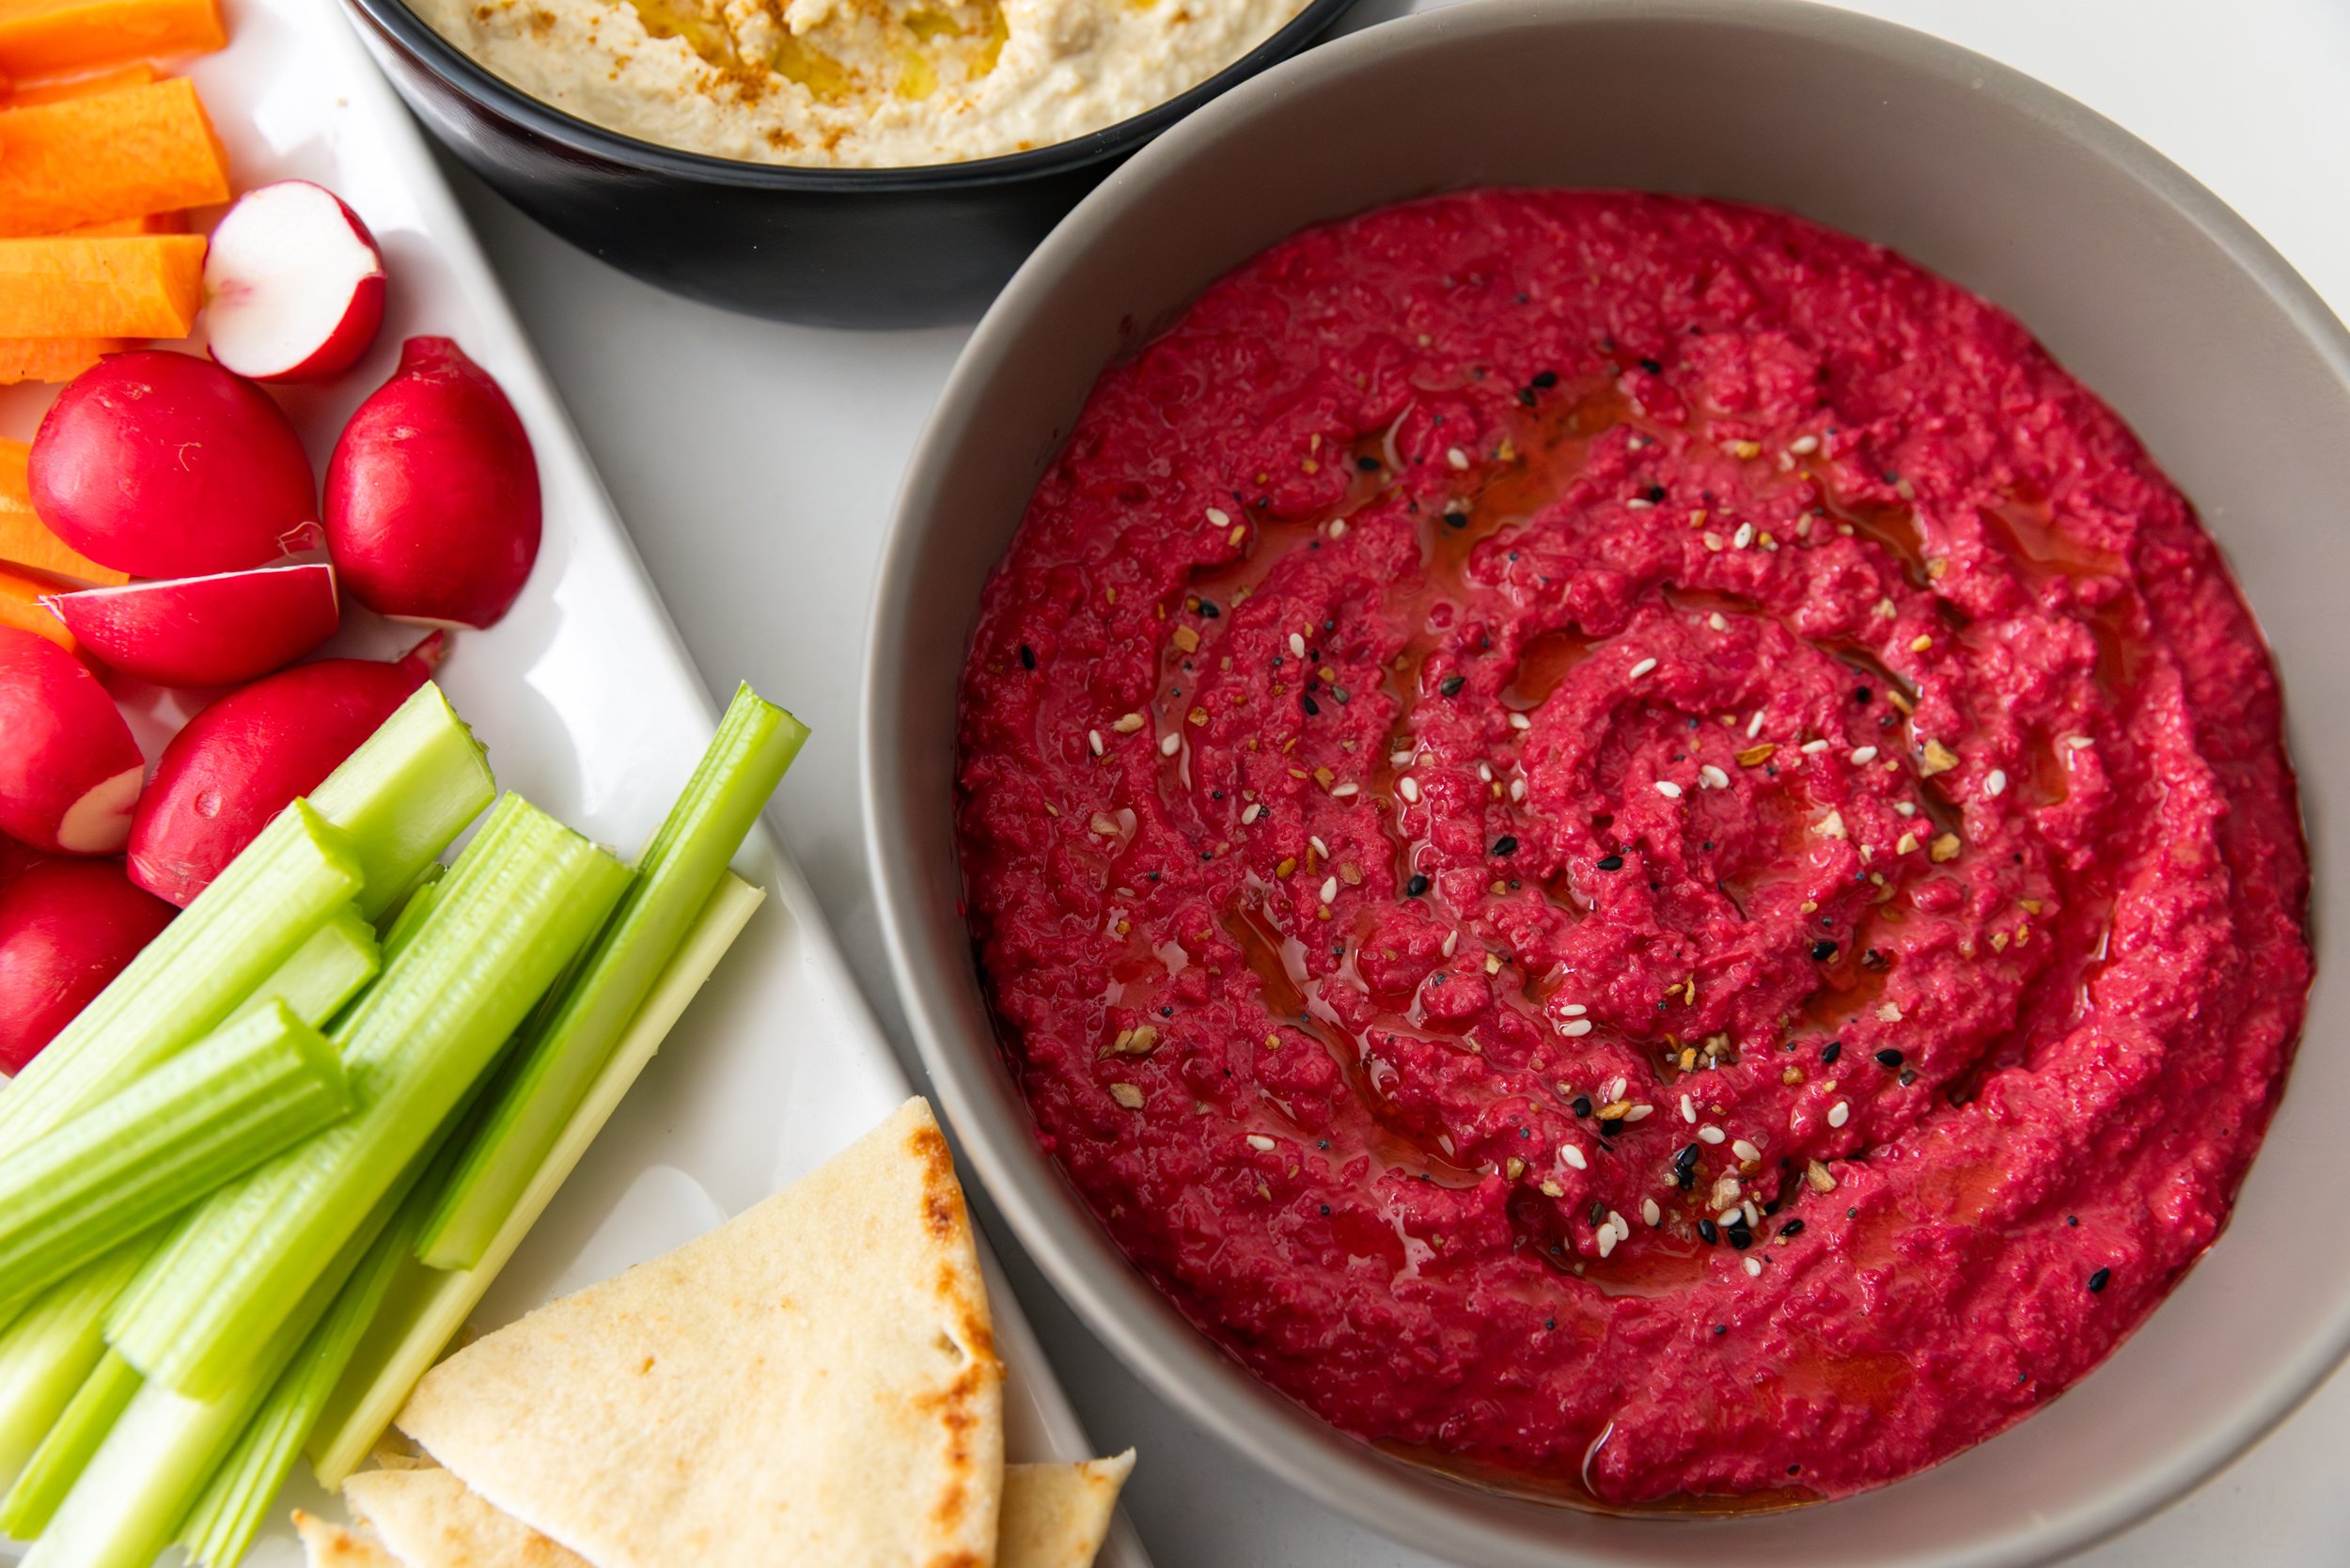
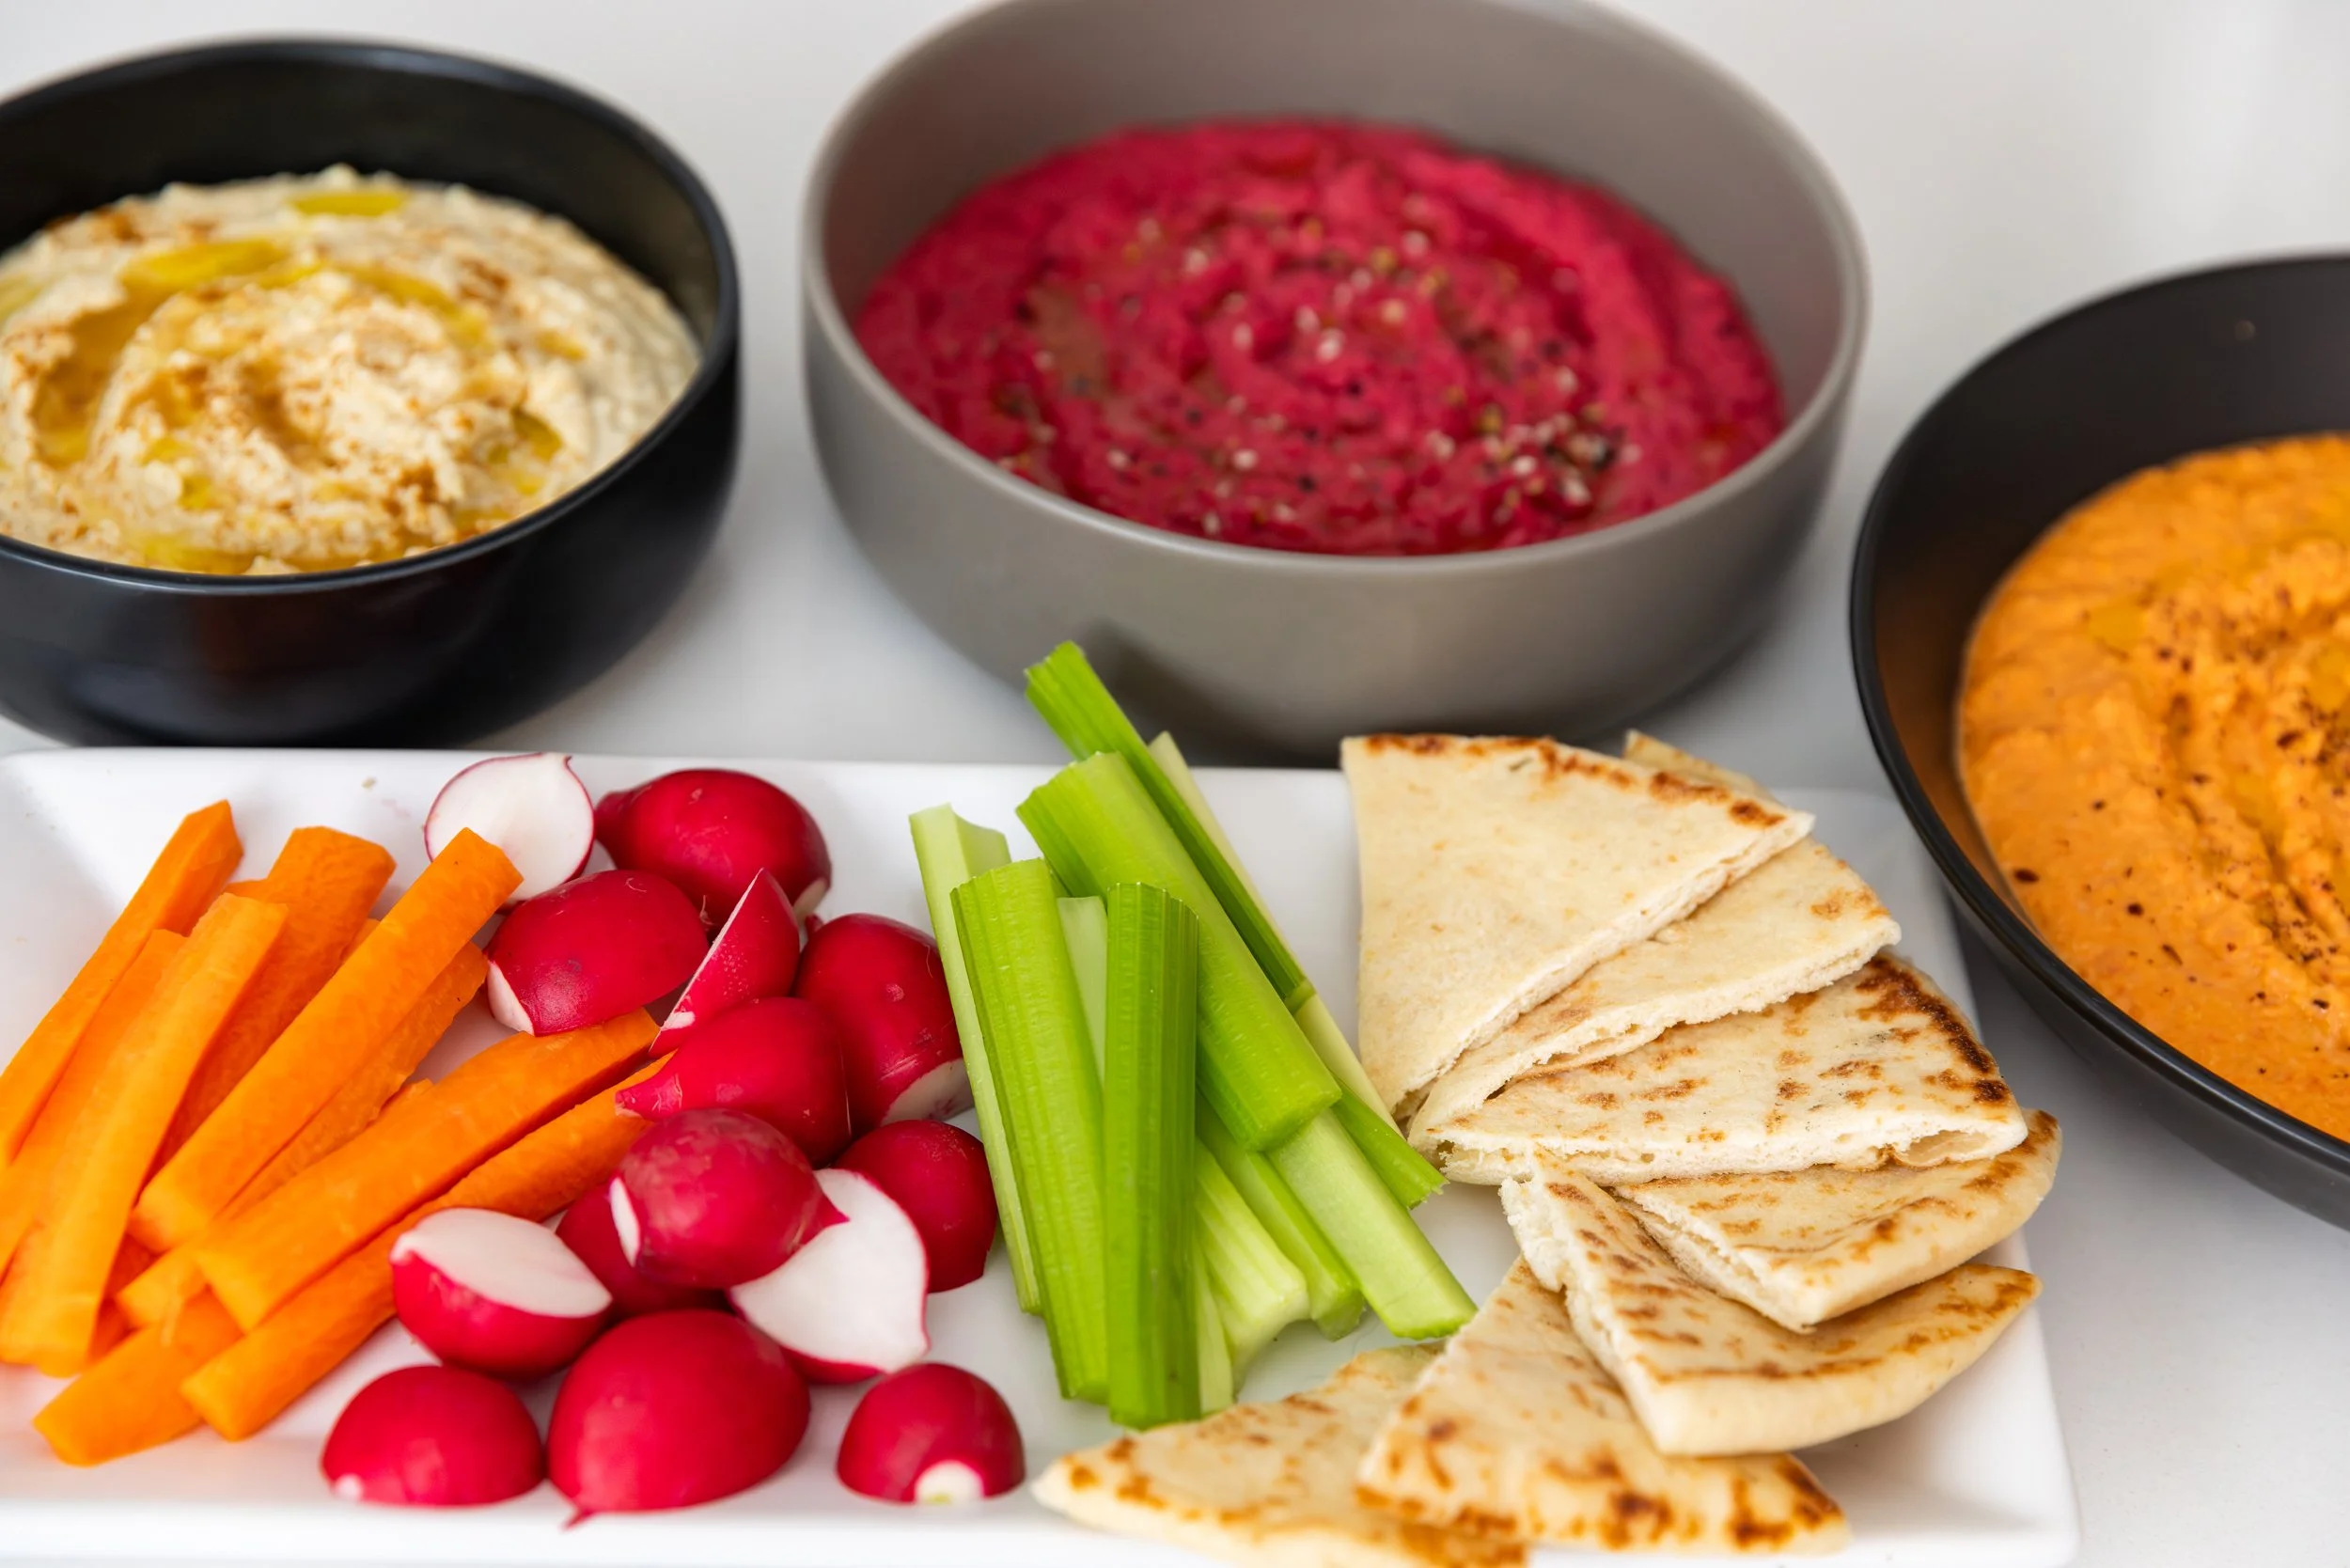
Once you get the ratios for your basic garlic hummus down, you can start expanding by adding things like roasted red pepper or beets like I did. Each has its own unique pop of flavor, and the colors are to die for on a veggie plate!
INGREDIENTS:
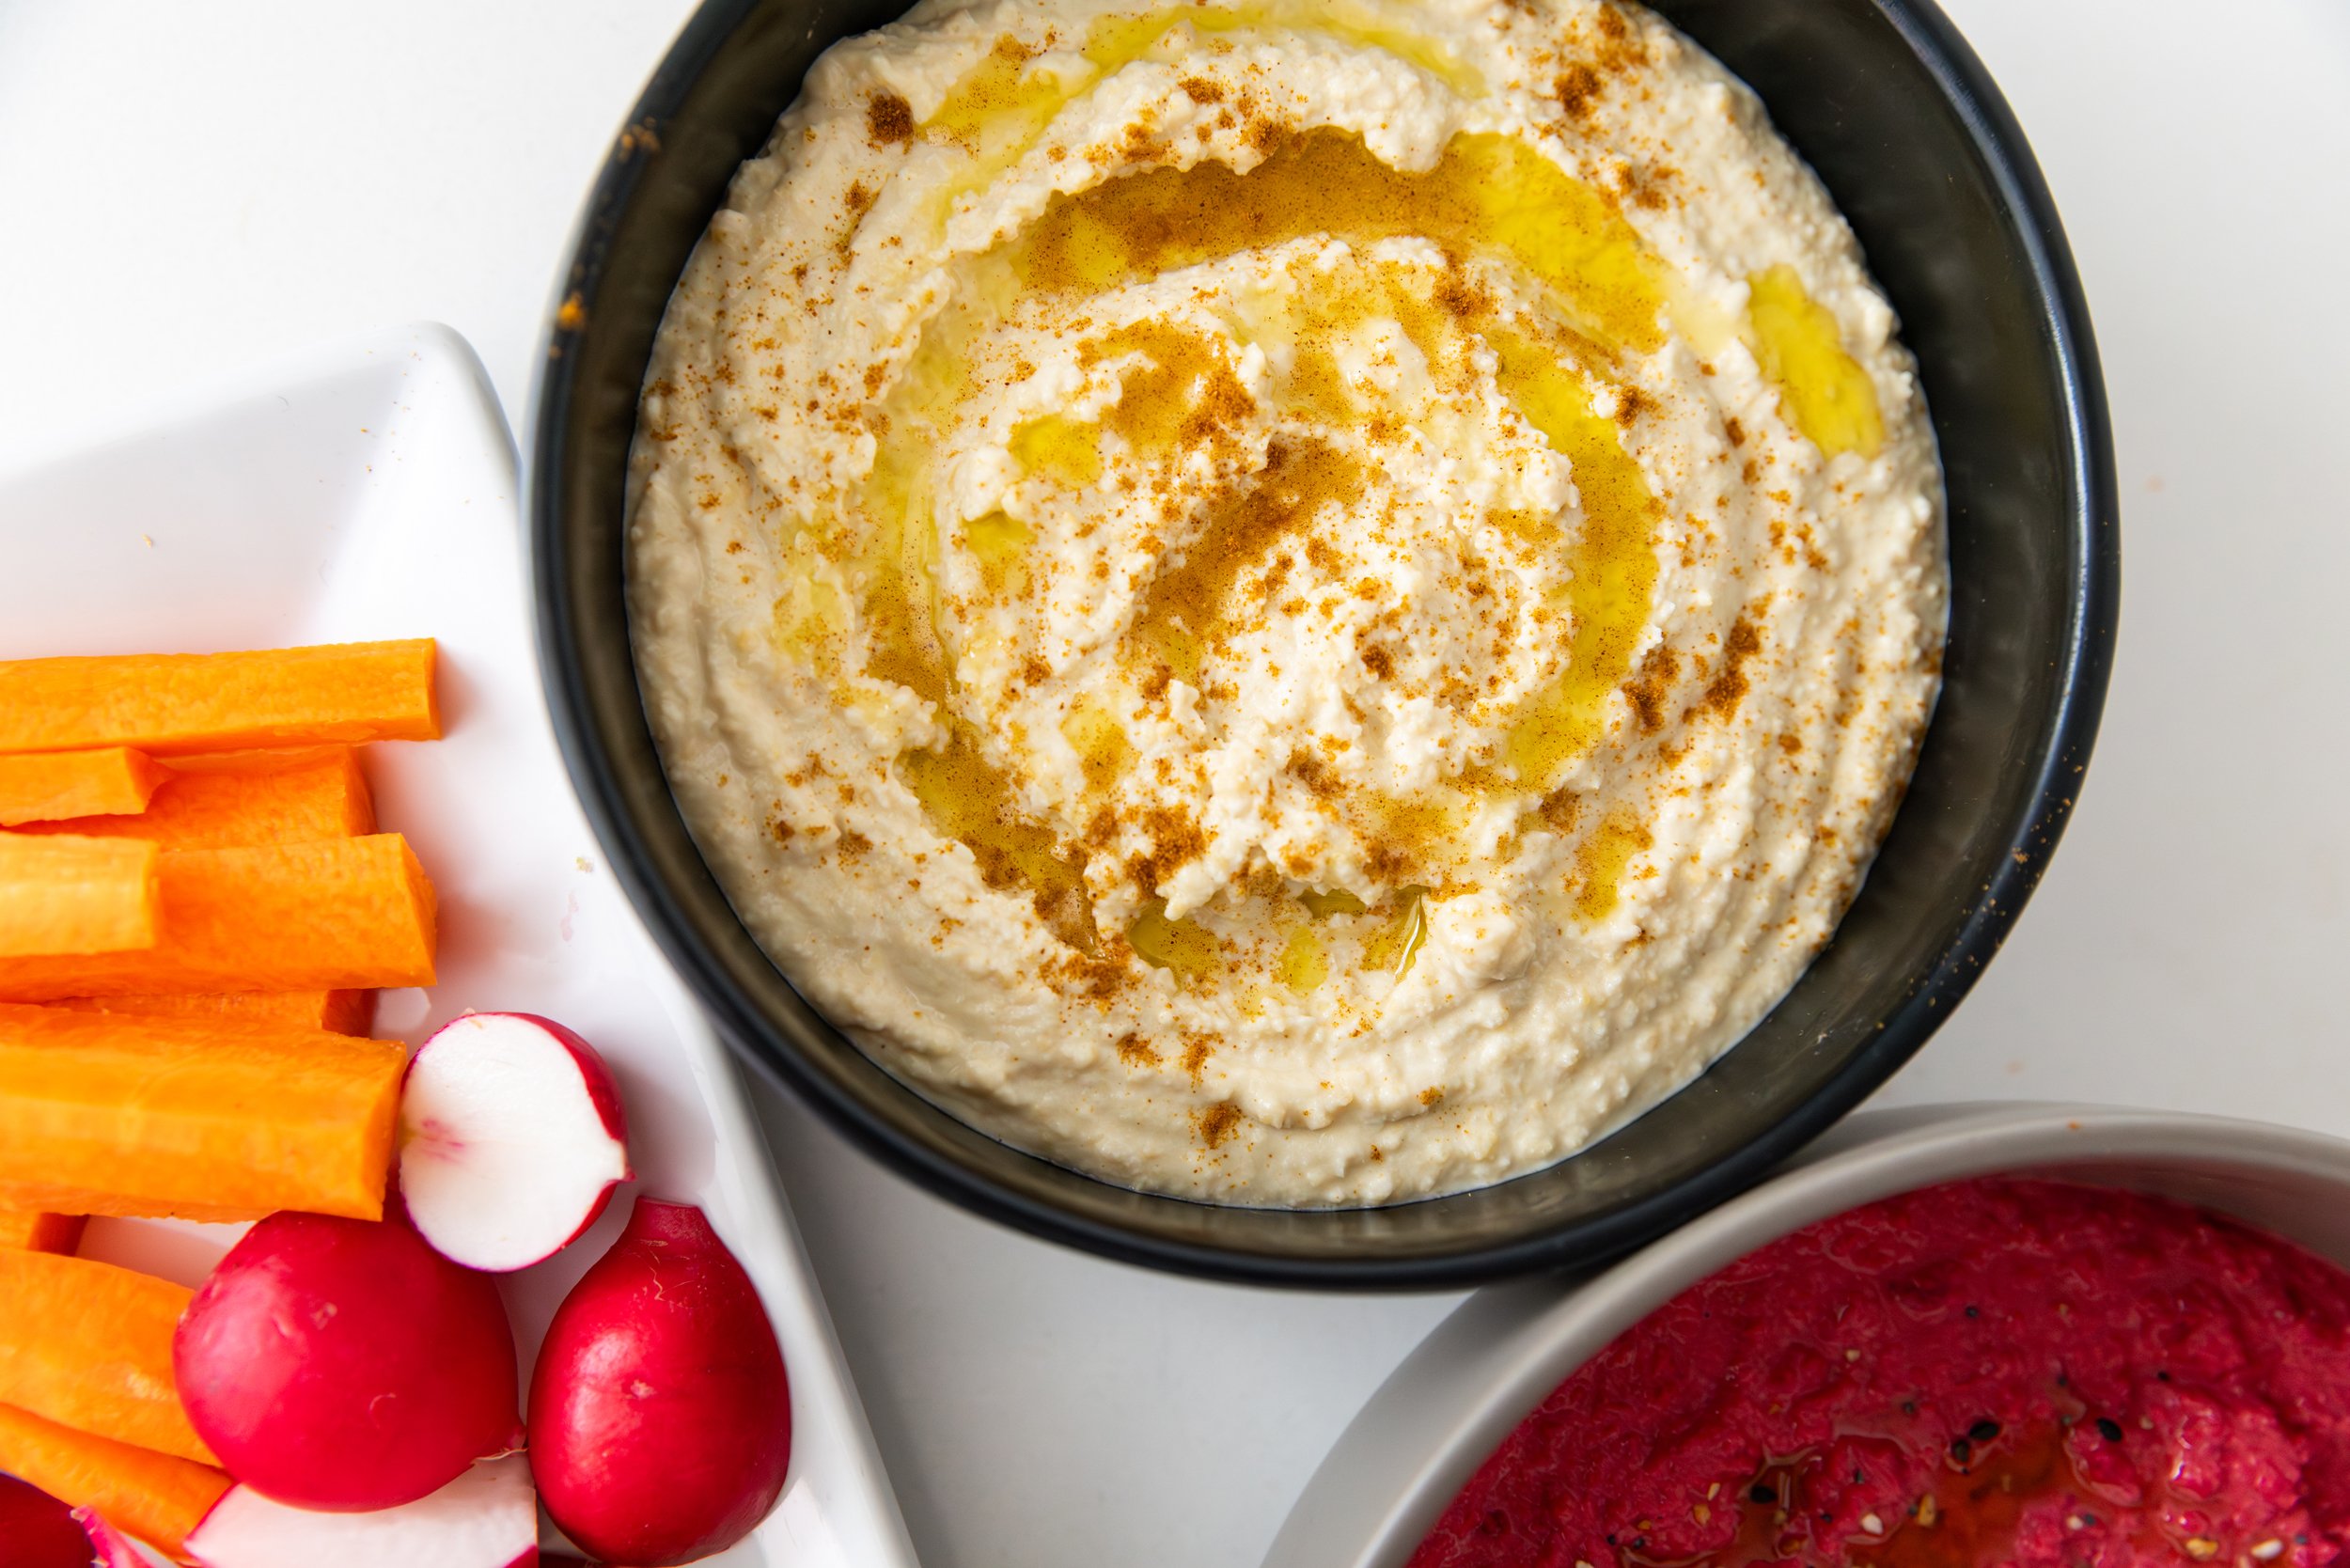
Garlic Hummus
- 1½ cups cooked chickpeas* (see instructions for canned vs. soaked chickpeas)
- 1 tsp baking soda
- 1/3 cup tahini
- 2 tbsp extra-virgin olive oil
- 1 lemon – approx. 2-3 tbsp juice, or more to taste
- 1-3 garlic cloves (start with one and add more to taste)
- ½ tsp salt
- water – 1/3 cup, or more to thin
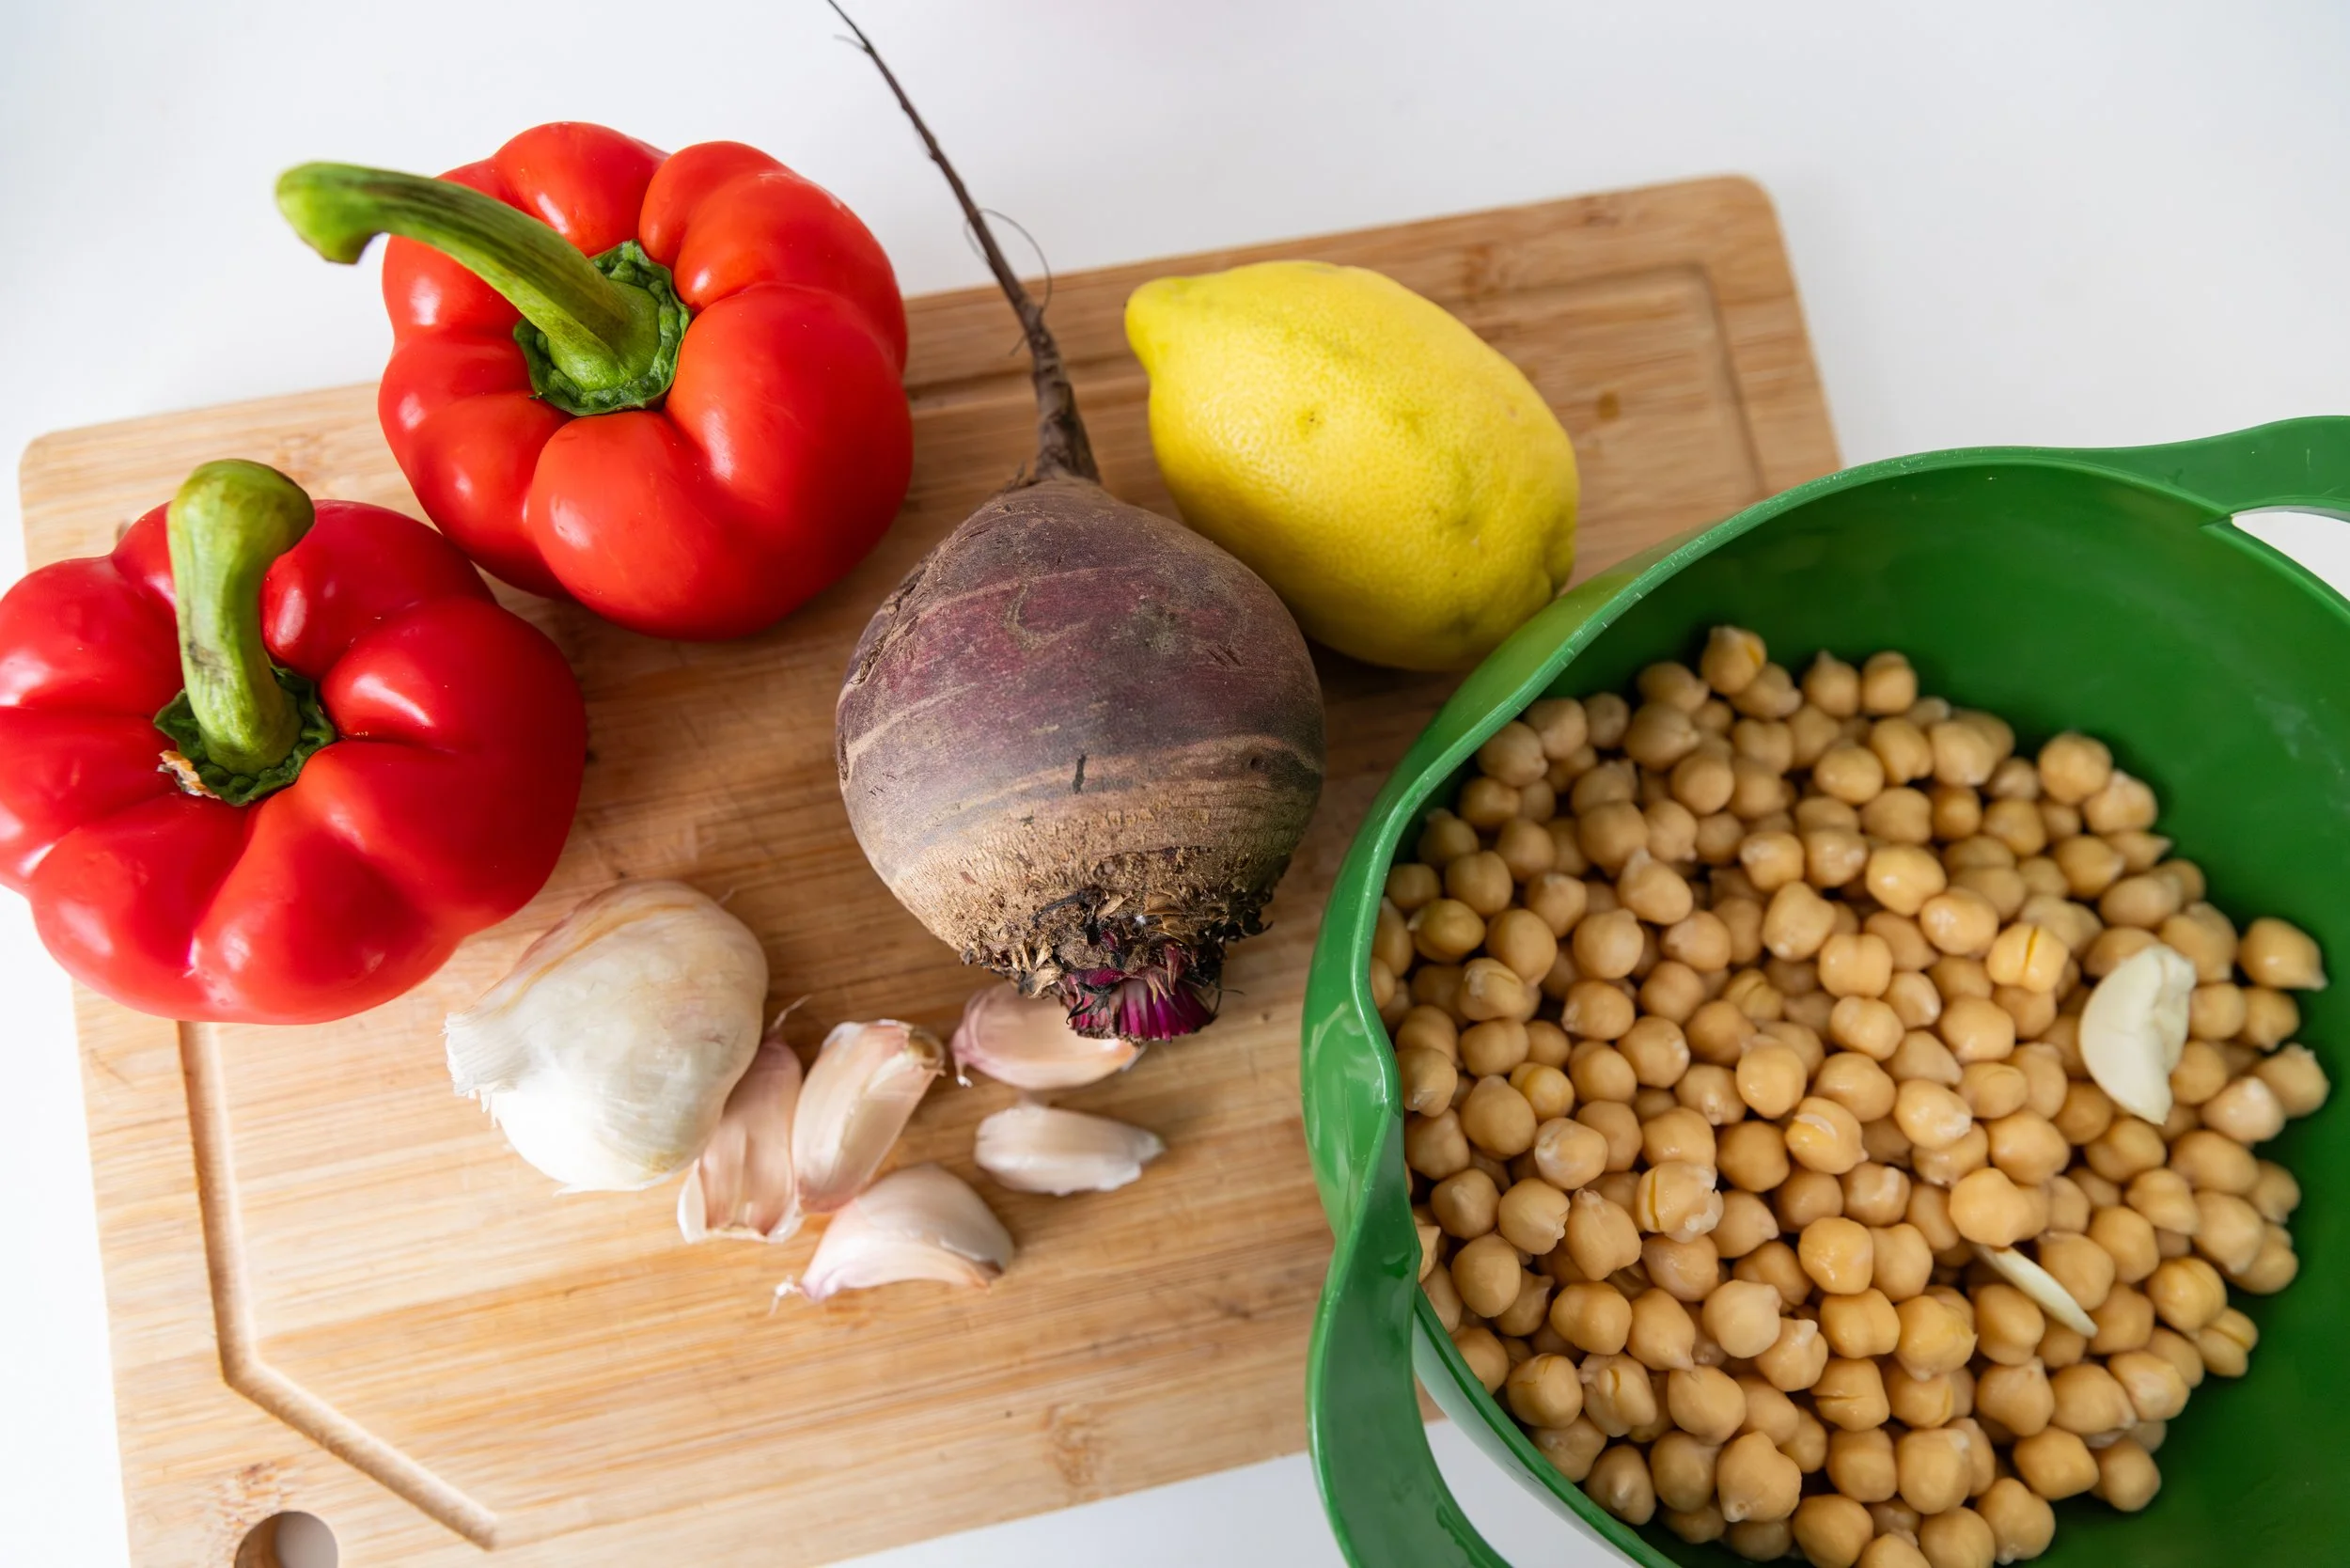
Roasted Red Pepper Hummus
- Garlic Hummus ingredients plus:
- 1 small beet
- optional spices like cumin
Beet Hummus
- Garlic Hummus ingredients plus:
- 3 red peppers
- optional spices like cayenne and paprika
Garnish Options:
paprika or sumac, red pepper flakes, chopped parsley, lemon zest, drizzle of olive oil, sesame seeds, or anything else you might desire!
Serve With:
vegetables like carrots, celery, cucumbers, peppers, or warm pita
EQUIPMENT:
- high speed blender
INSTRUCTIONS:
I used the soaked chickpea method but if using canned you can skip to below*.
One cup of dried chickpeas will yield about 3 cups of cooked.
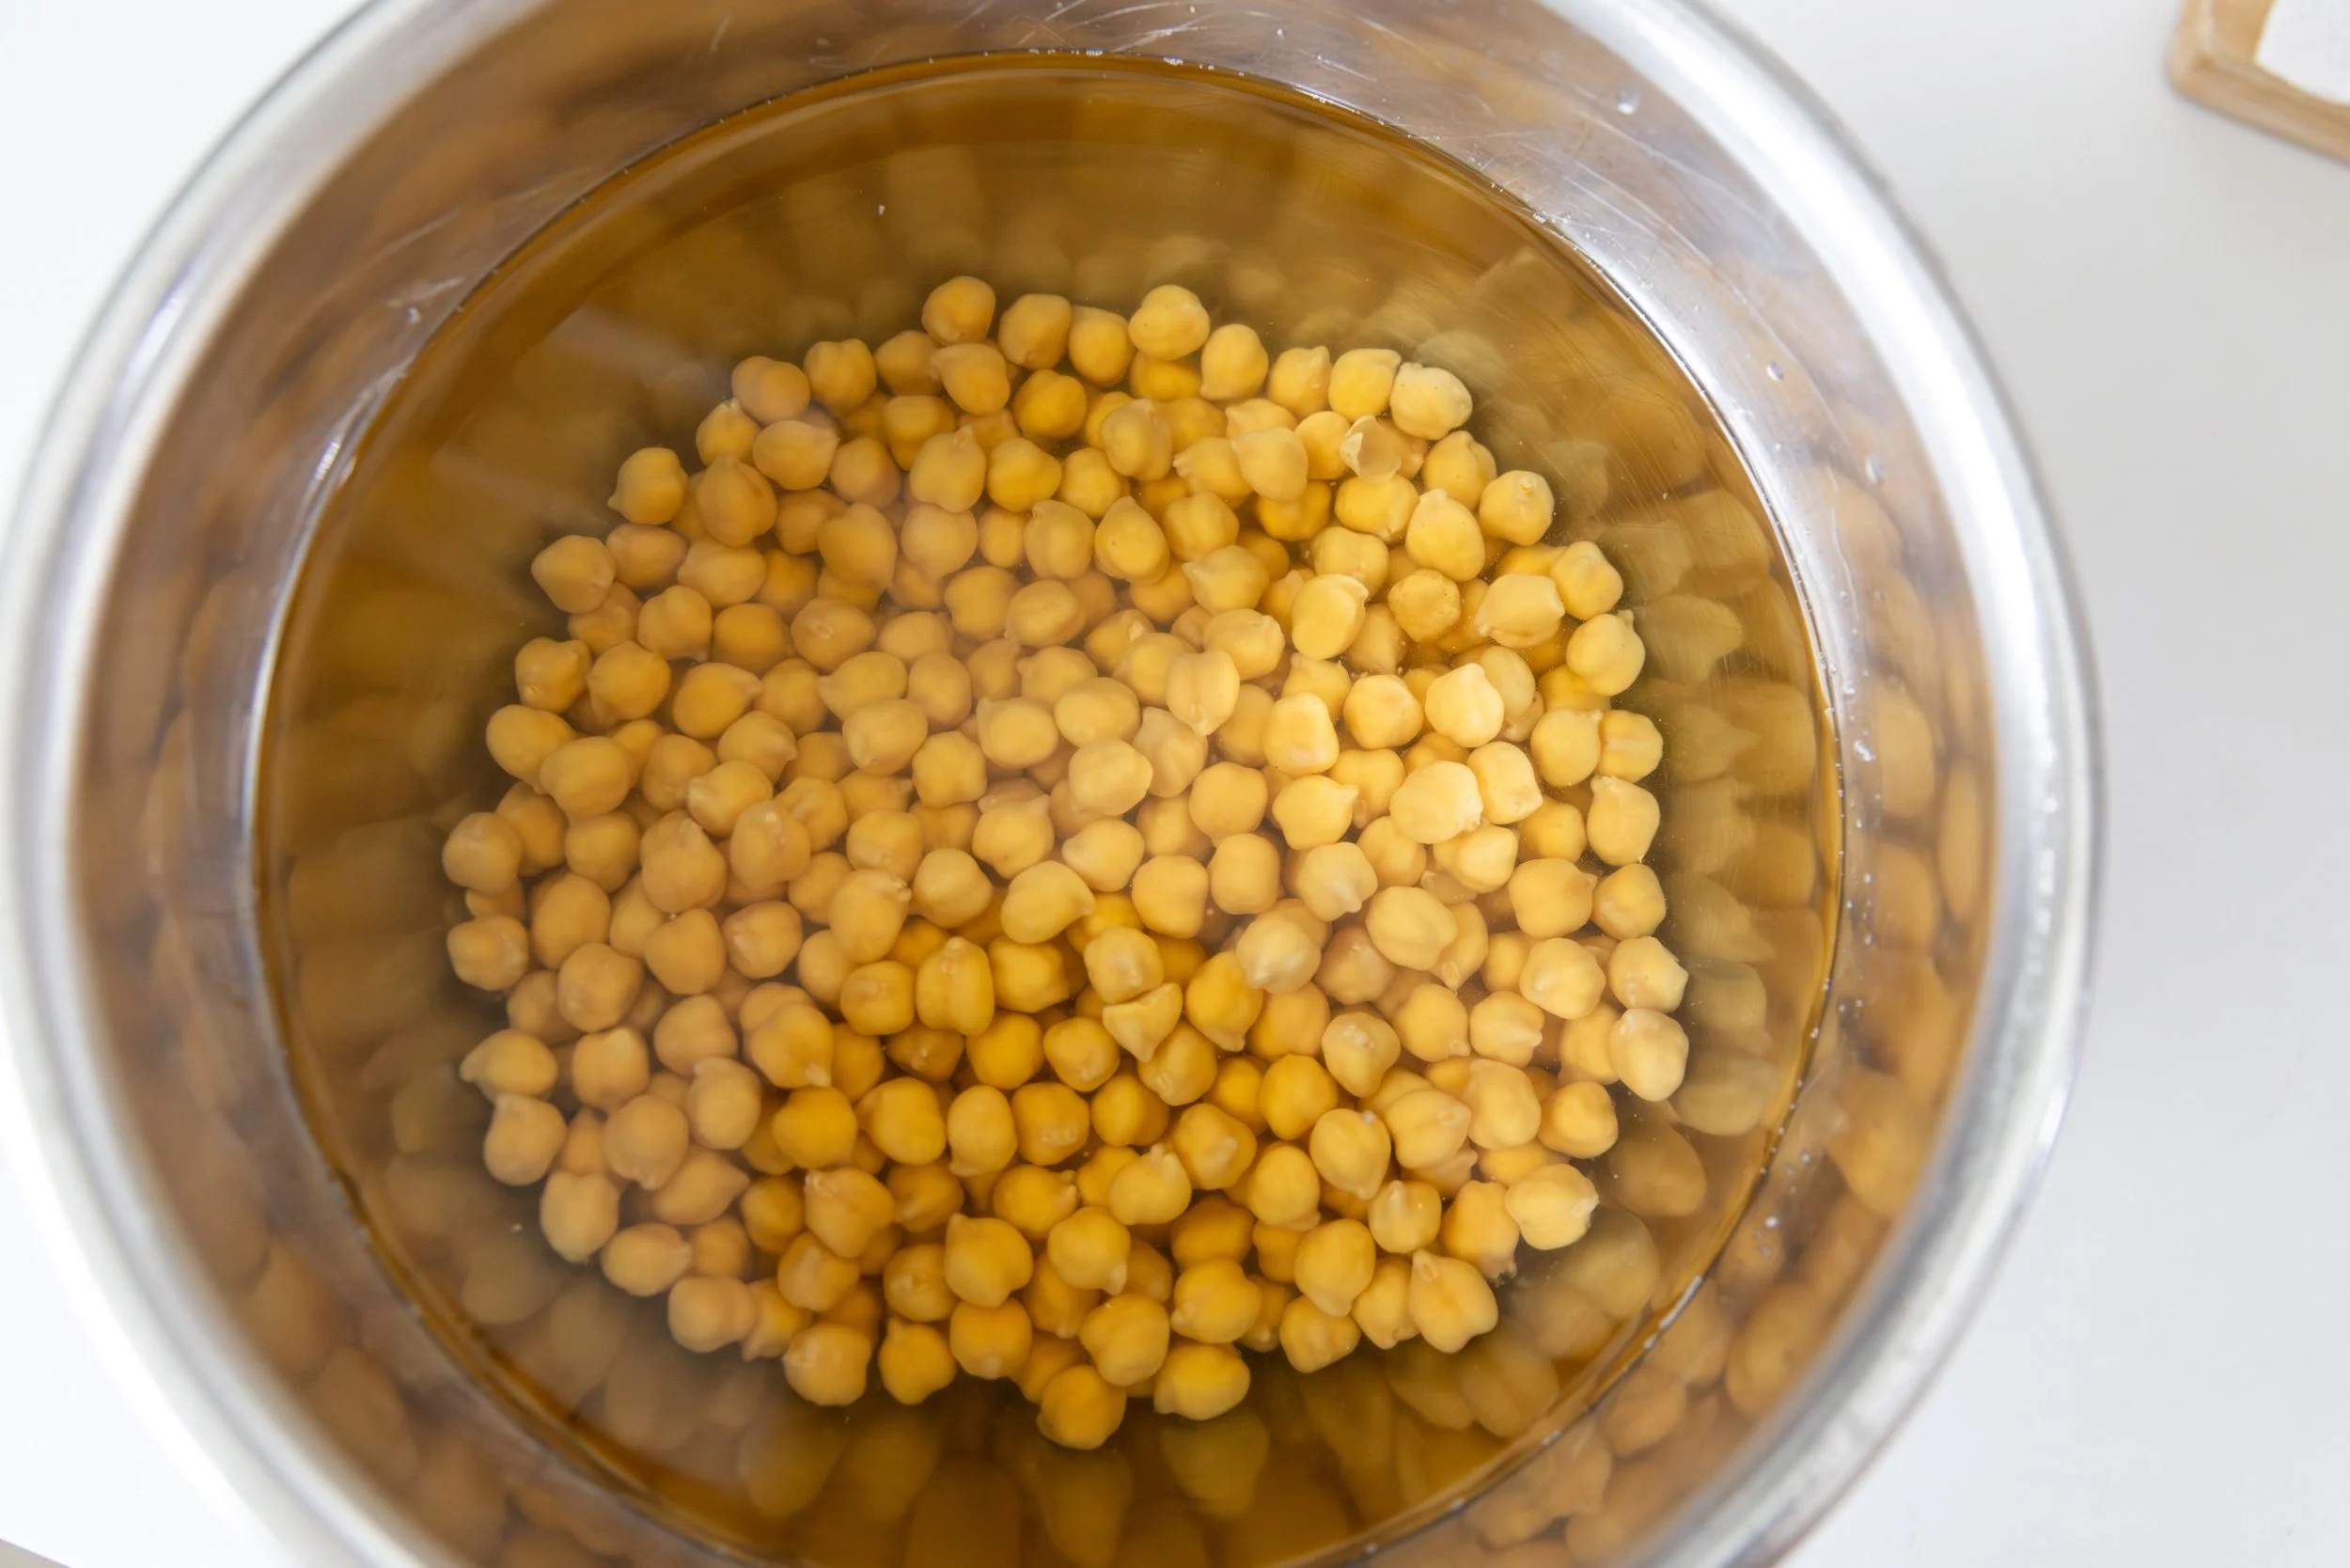
Rinse the chickpeas to remove any debris and place in a pot or large bowl and cover with at least 4 cups of cold water.
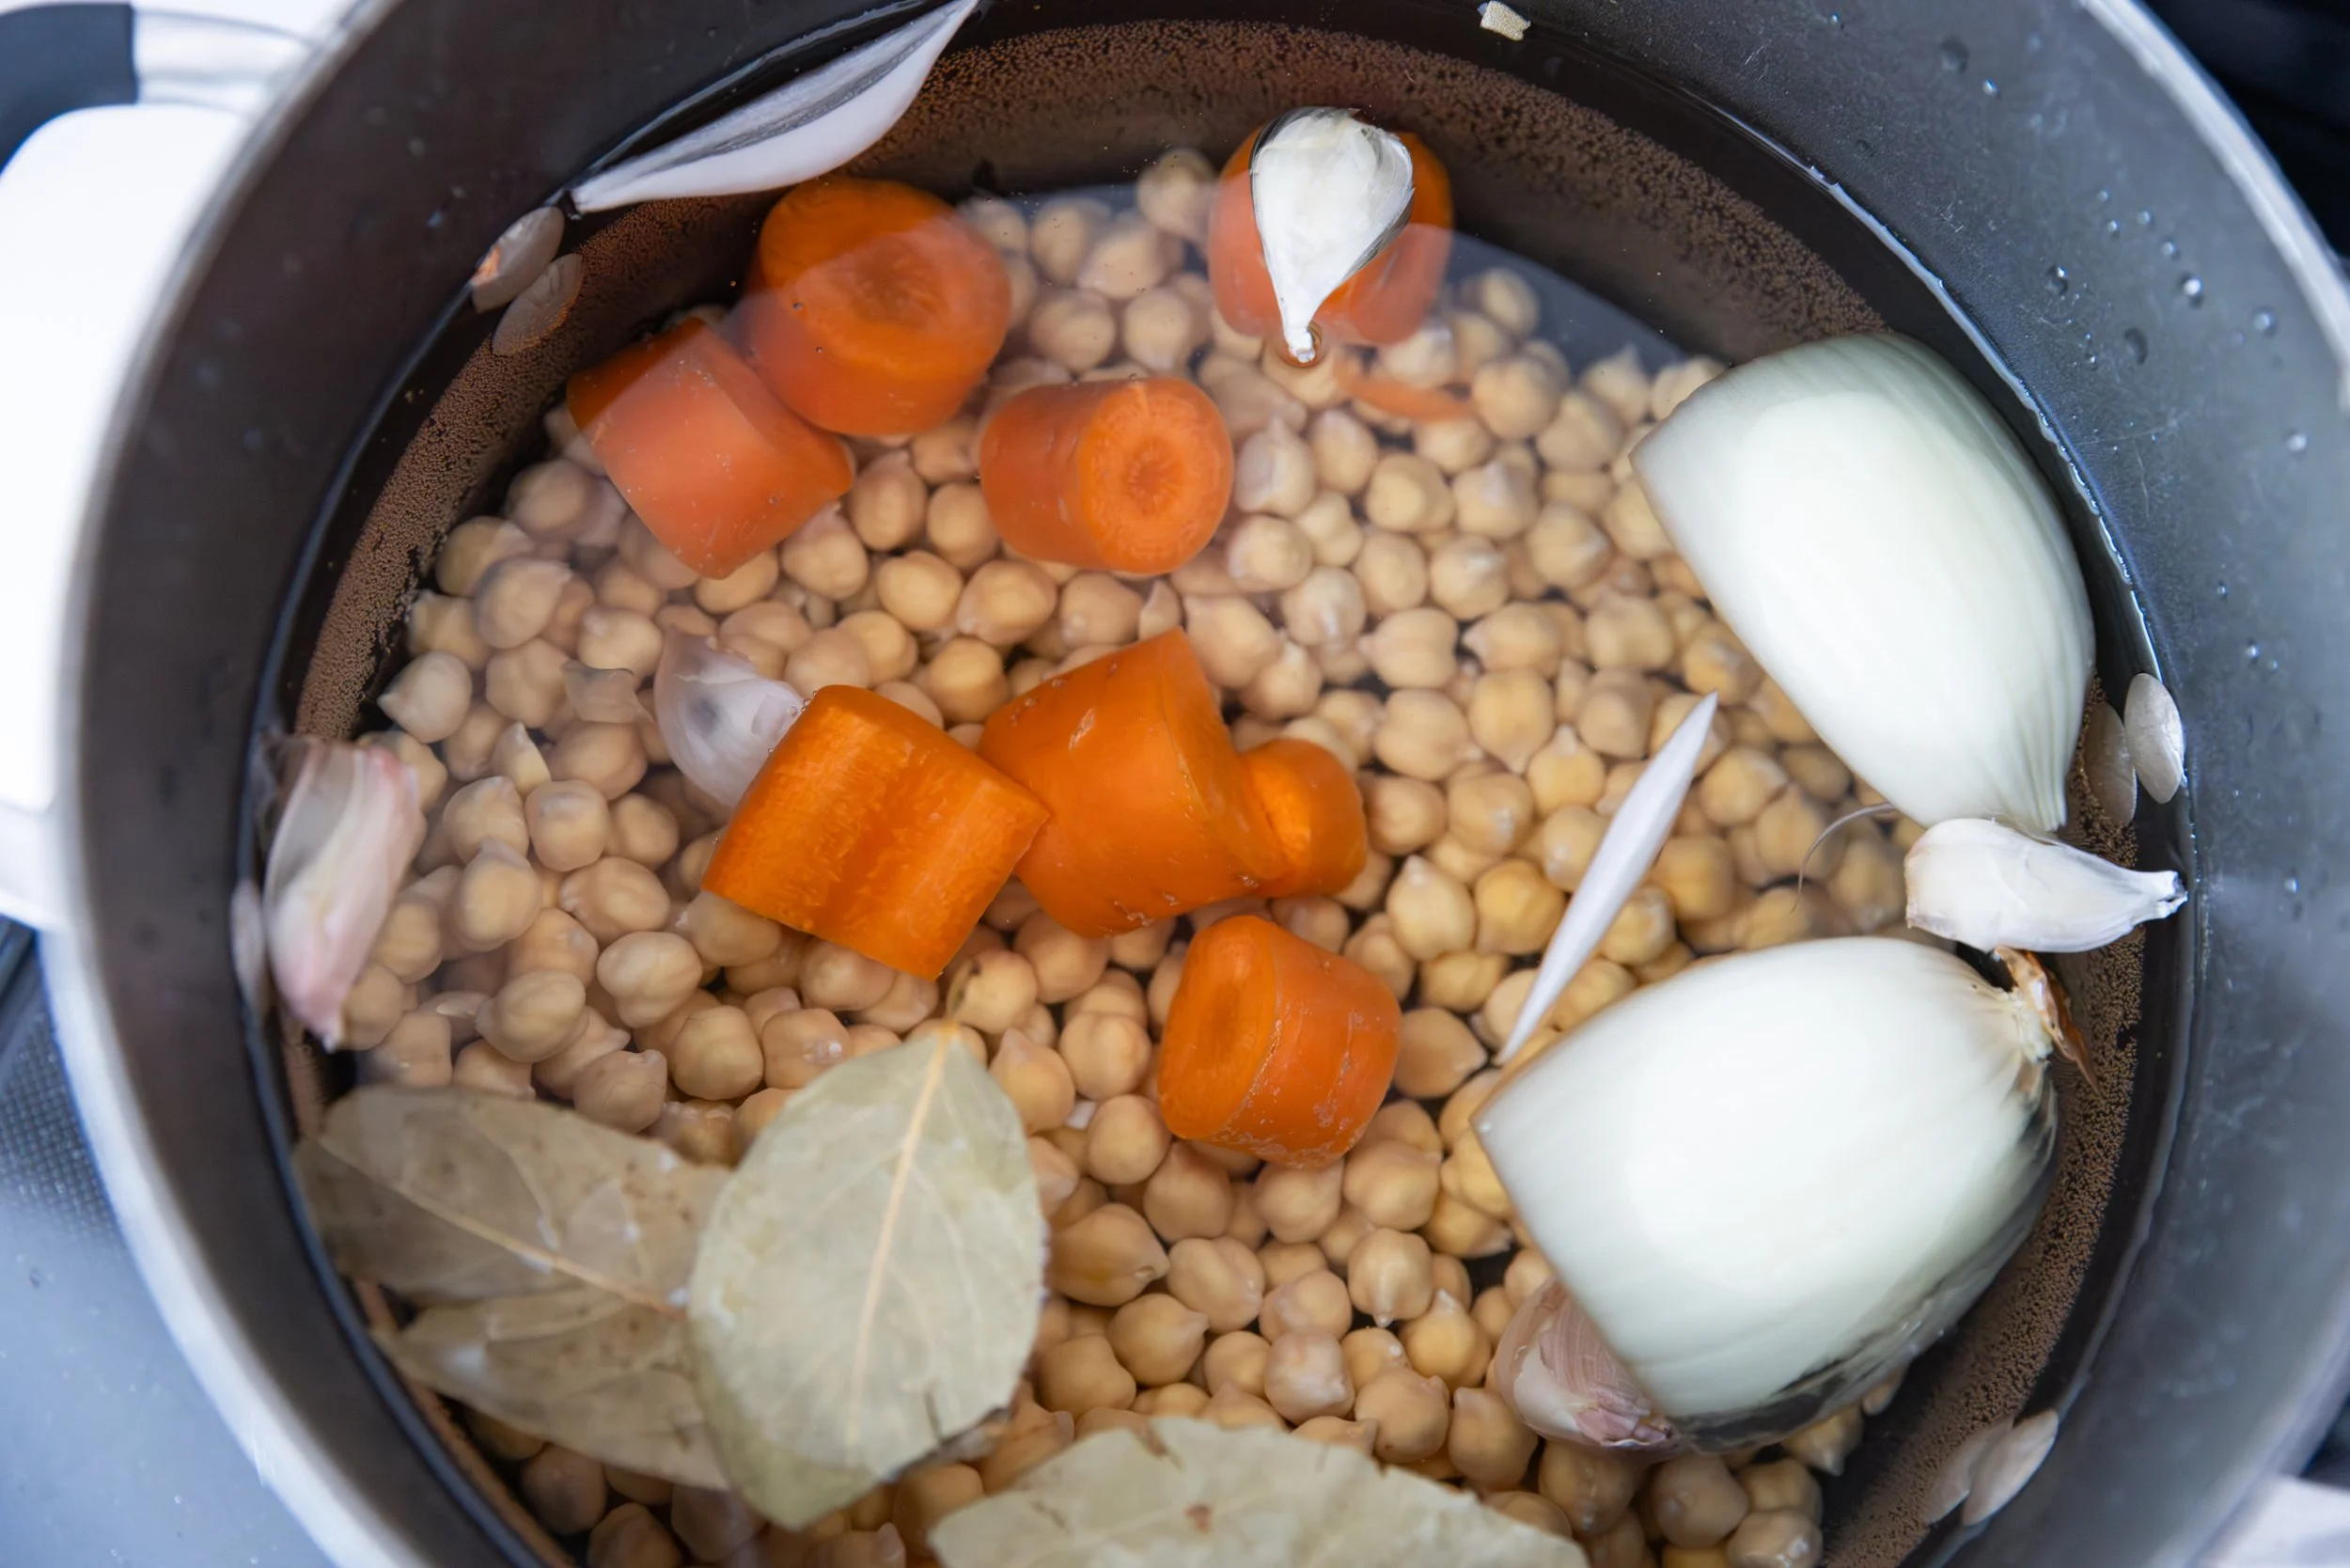
Soak overnight or for approximately 8 hours, then drain and rinse the chickpeas and place in a large pot. Cover with fresh water (with 2 or 3 inches extra) and add a pinch of salt, and the baking soda, and if desired you can add bay leaves and garlic, onion and carrot. This will amp up the flavor, especially if you’re making plain hummus.
Bring to a boil and then reduce to a simmer, cooking the chickpeas for about an hour to an hour and a half. You know they are done when they are able to be squished – you want them very soft for a creamy hummus.
And, for an extra smooth hummus, you can remove their skins – an easy way is to roll them in a clean and dry tea towel. It can be tedious, but it can also be worth the effort!
*If you’re using canned, be sure to drain and rinse the chickpeas well (or save the liquid for some egg-free aquafaba recipes!)
Now you’re ready to make hummus.
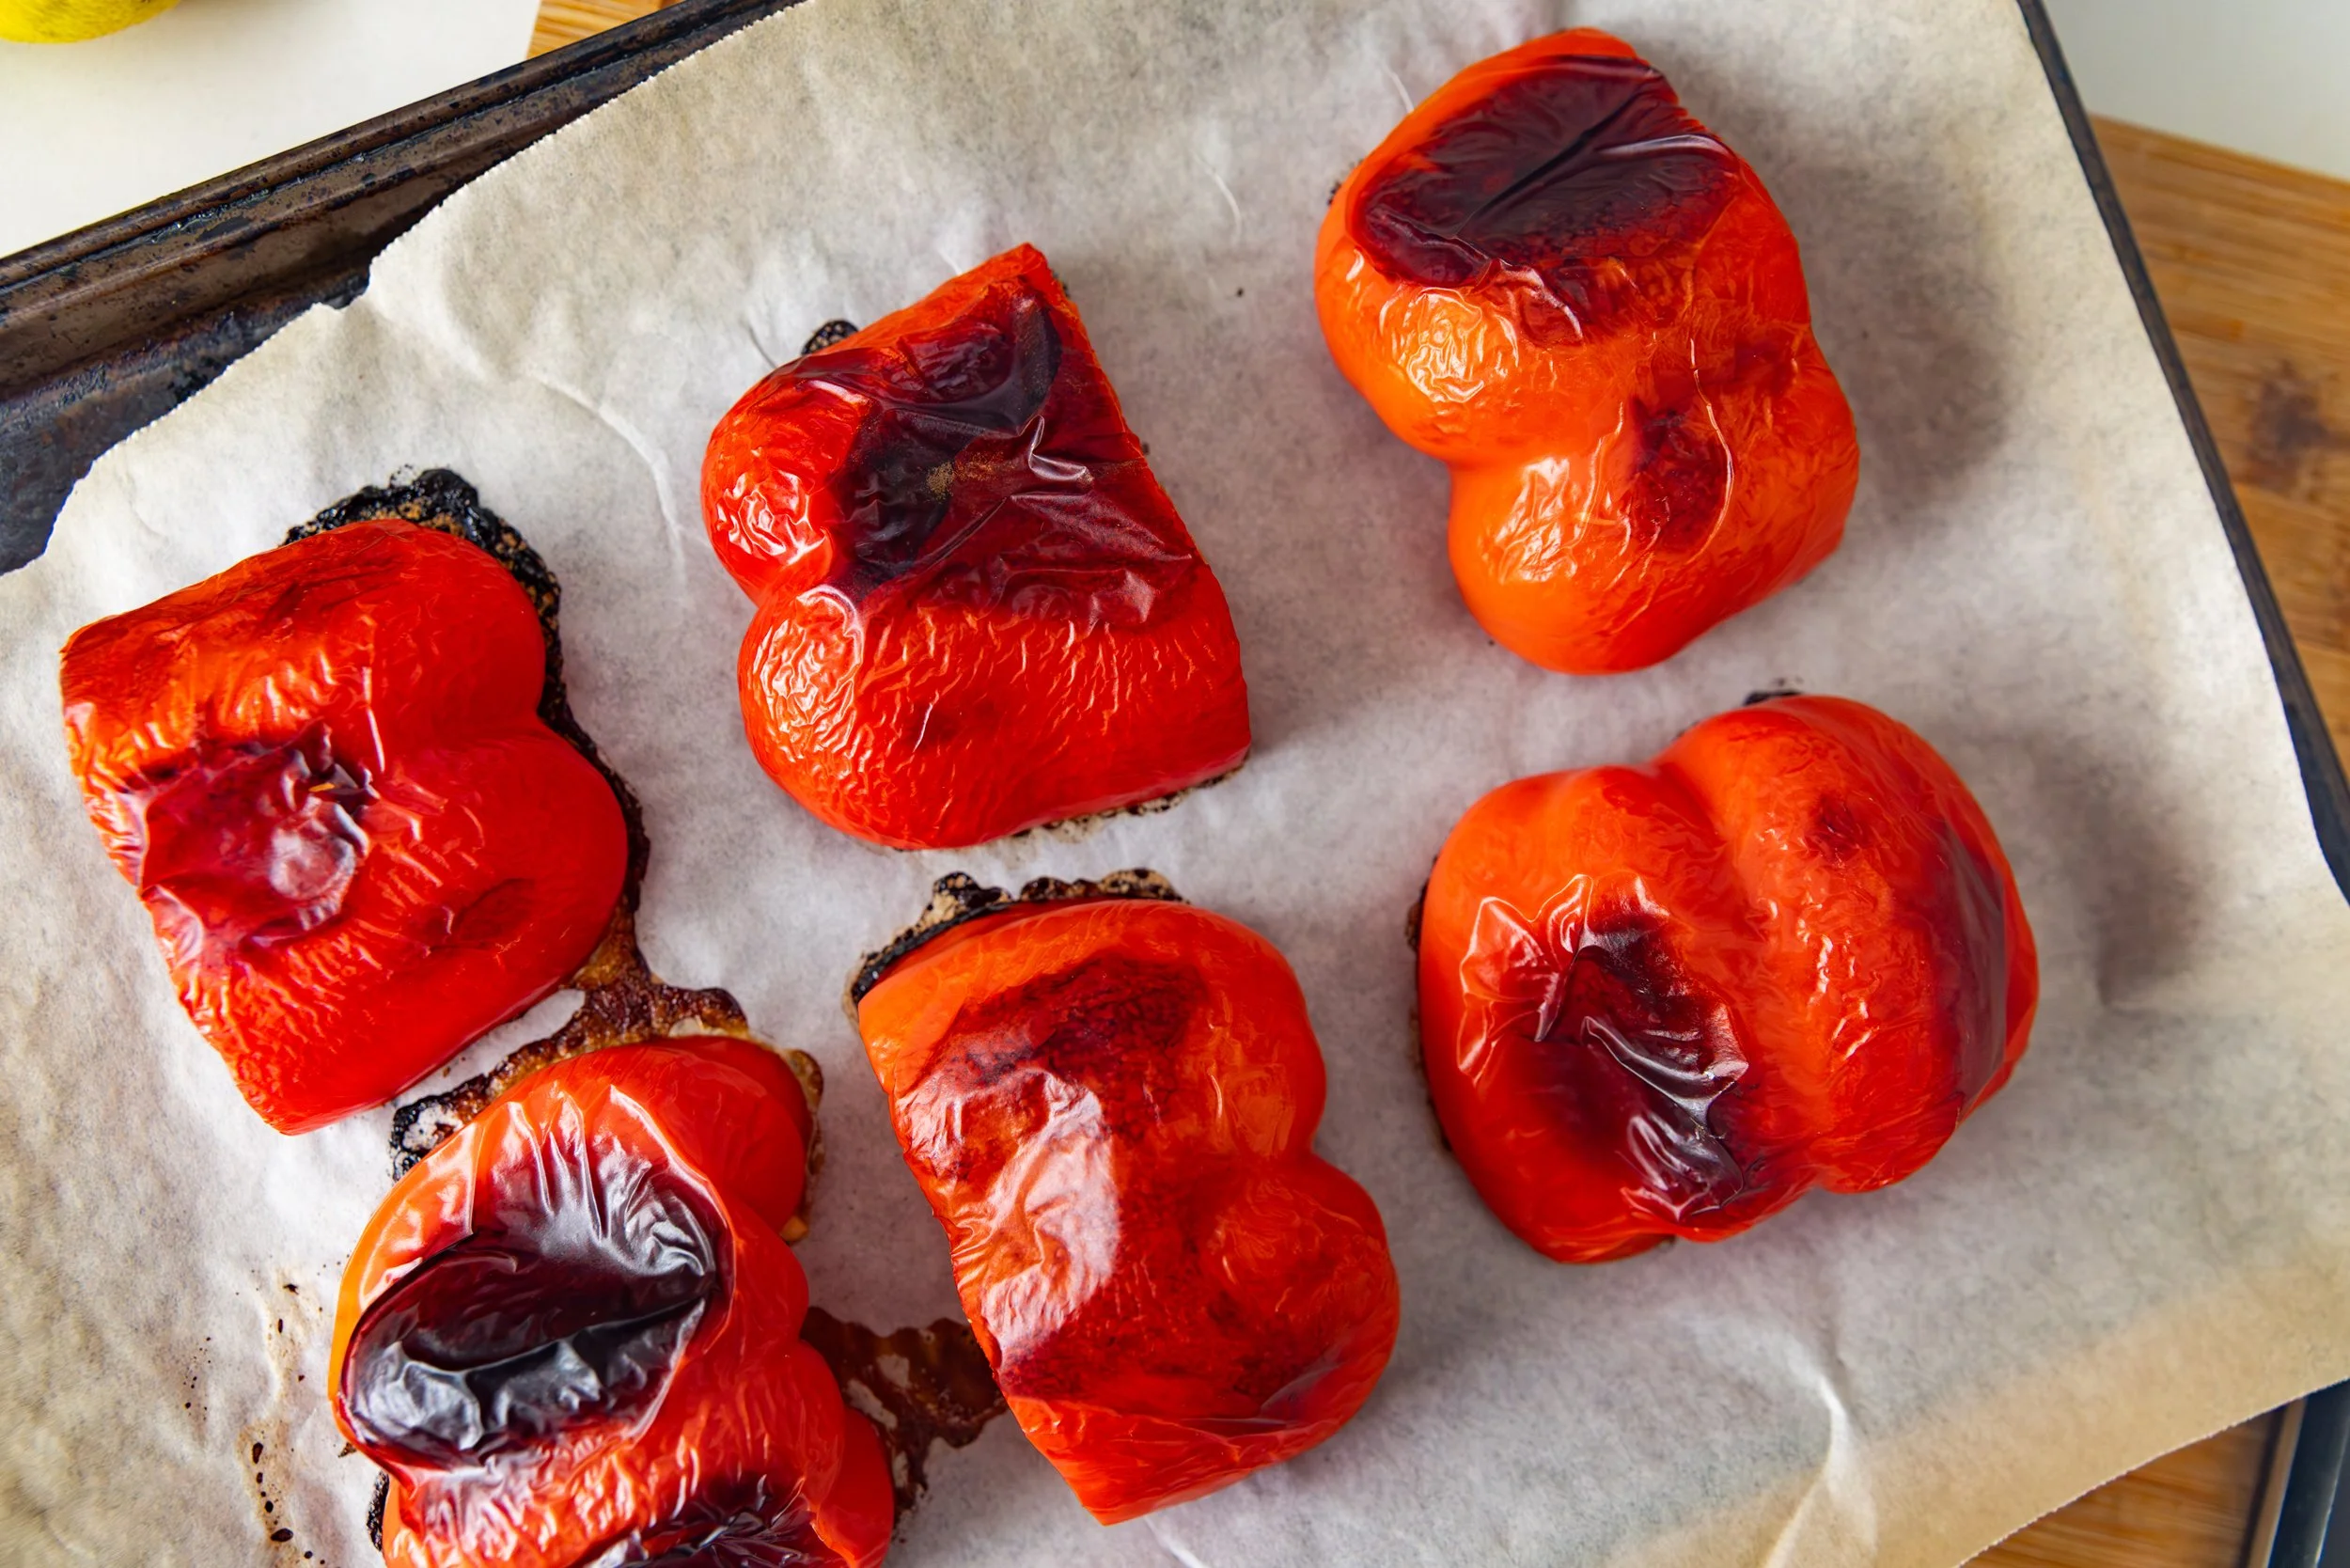
If you’re making one of the variants from above be sure to roast your beets and/or red peppers (a quick google search will let you know how to do so) and give them time to cool down.
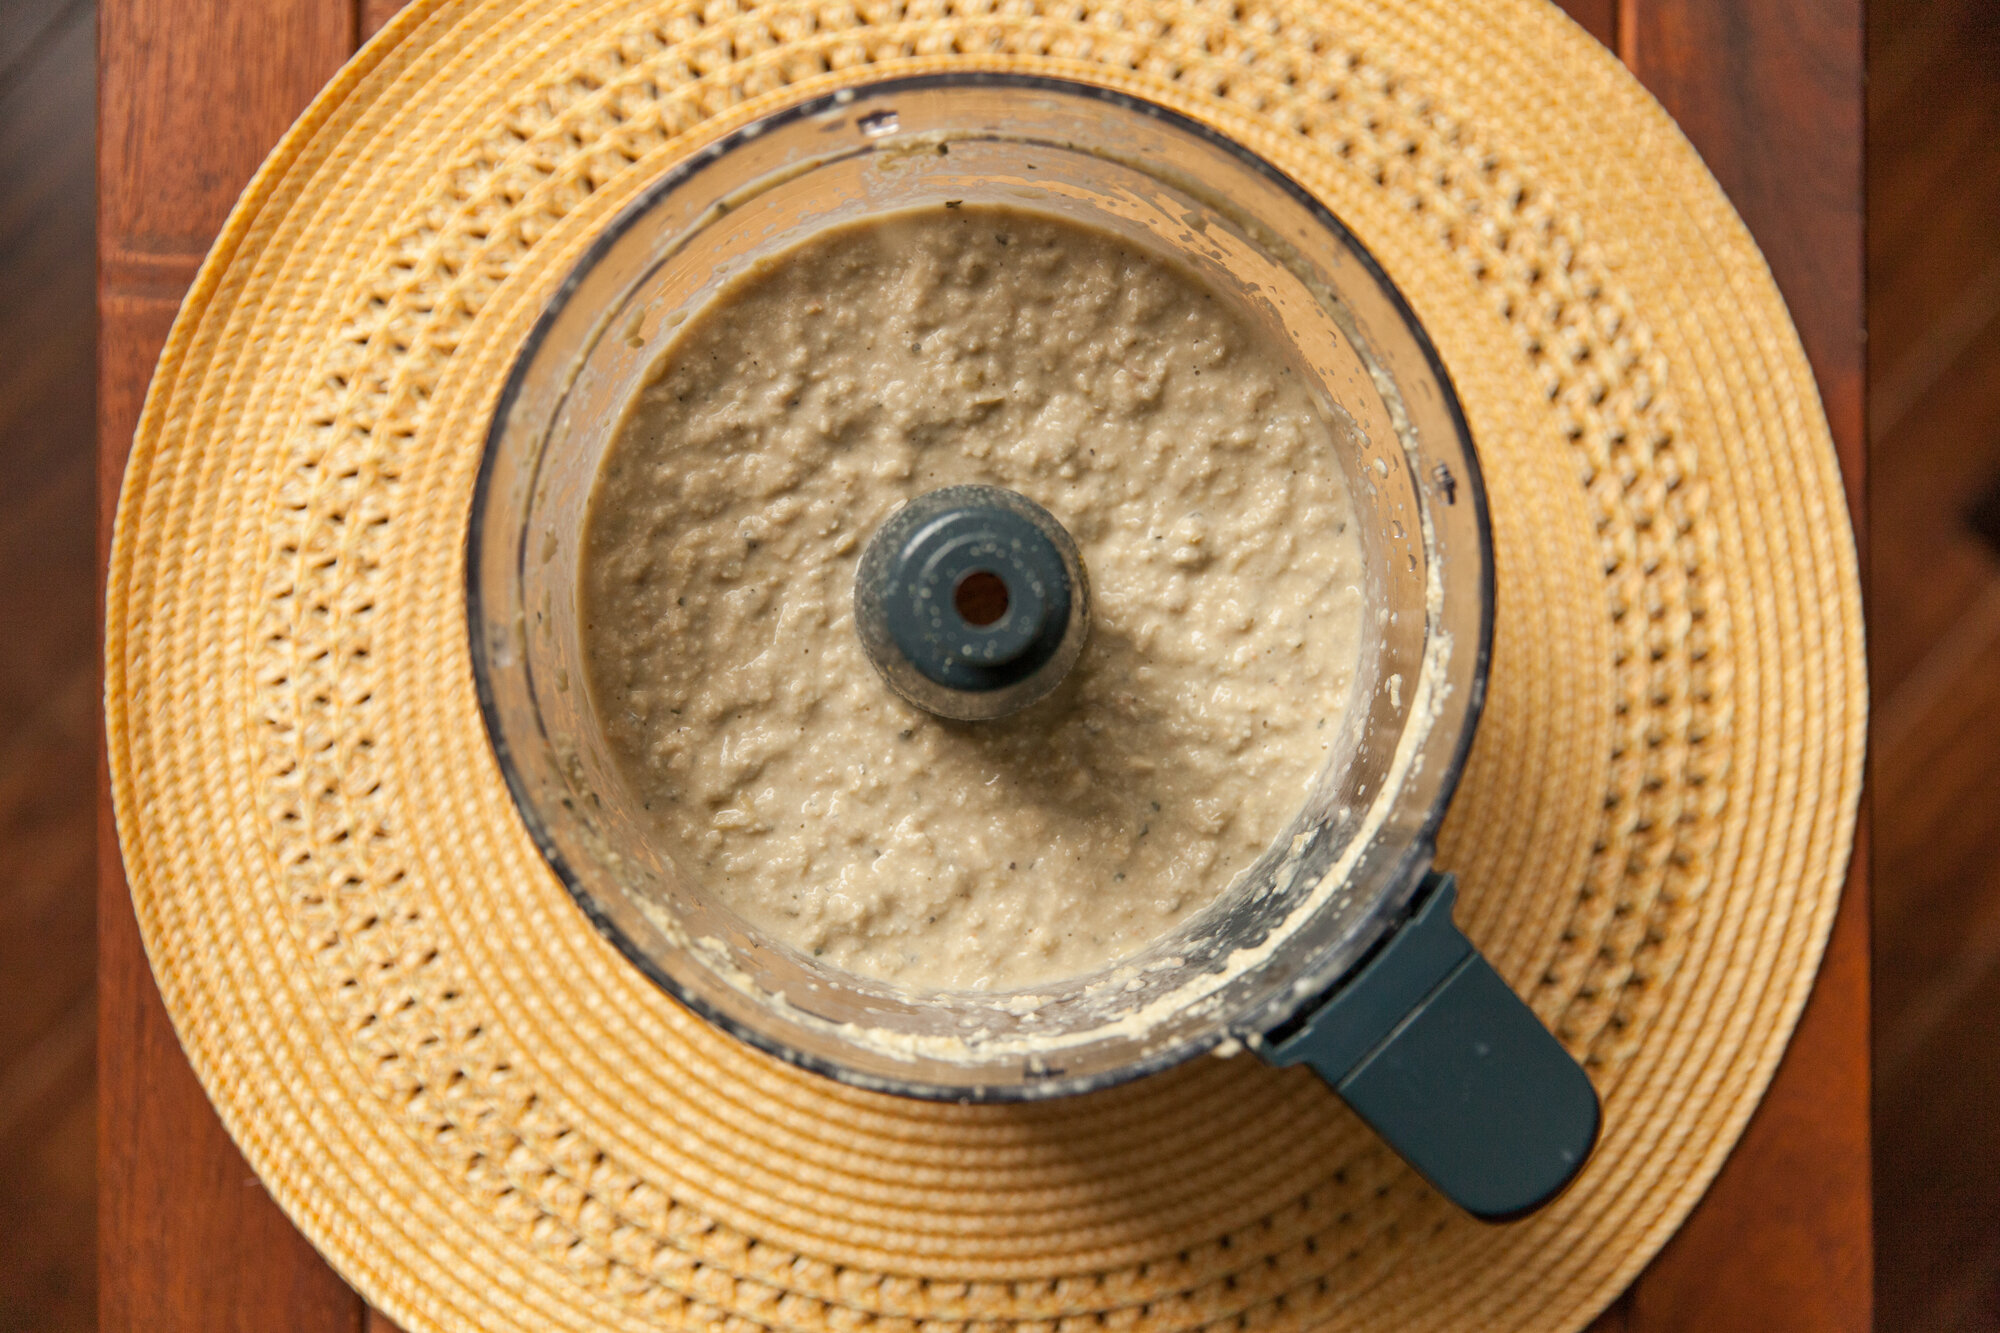
Place the chickpeas in your blender of choice and add in the tahini, lemon juice, garlic, and a pinch of salt. (This is also when you would add the ingredients for one of the other types of hummus.)
Blend on high and add a tablespoon of water at a time until you reach the desired consistency. Now is also when you want to check for taste. If you want more garlic, or lemon (can use instead of water to thin), or spices.
Plating is such a fun part as well! A shallow and wide bowl is your best bet and then add any of the garnish you’d like – play around with it.
Serve with veggies, pita, or use it as a spread.
ENJOY!