
Ravioli
for BC Living “From Scratch”
May 2026
Do you consider ravioli a dumpling? It’s one of those amazing and versatile stuffed pastas that you can take in any direction for its filling. For simplicity in this recipe, I went with a classic ricotta with fresh basil and lemon so that I could play around with sauces as I saw fit.
This might take you a few tries to get the amount of filling or pasta width correct, but always err on the side of less filling, so you don’t have explosions in your pasta water.
I already taught you how to make pasta from scratch – so follow that recipe first by clicking here.
INGREDIENTS:
For Pasta
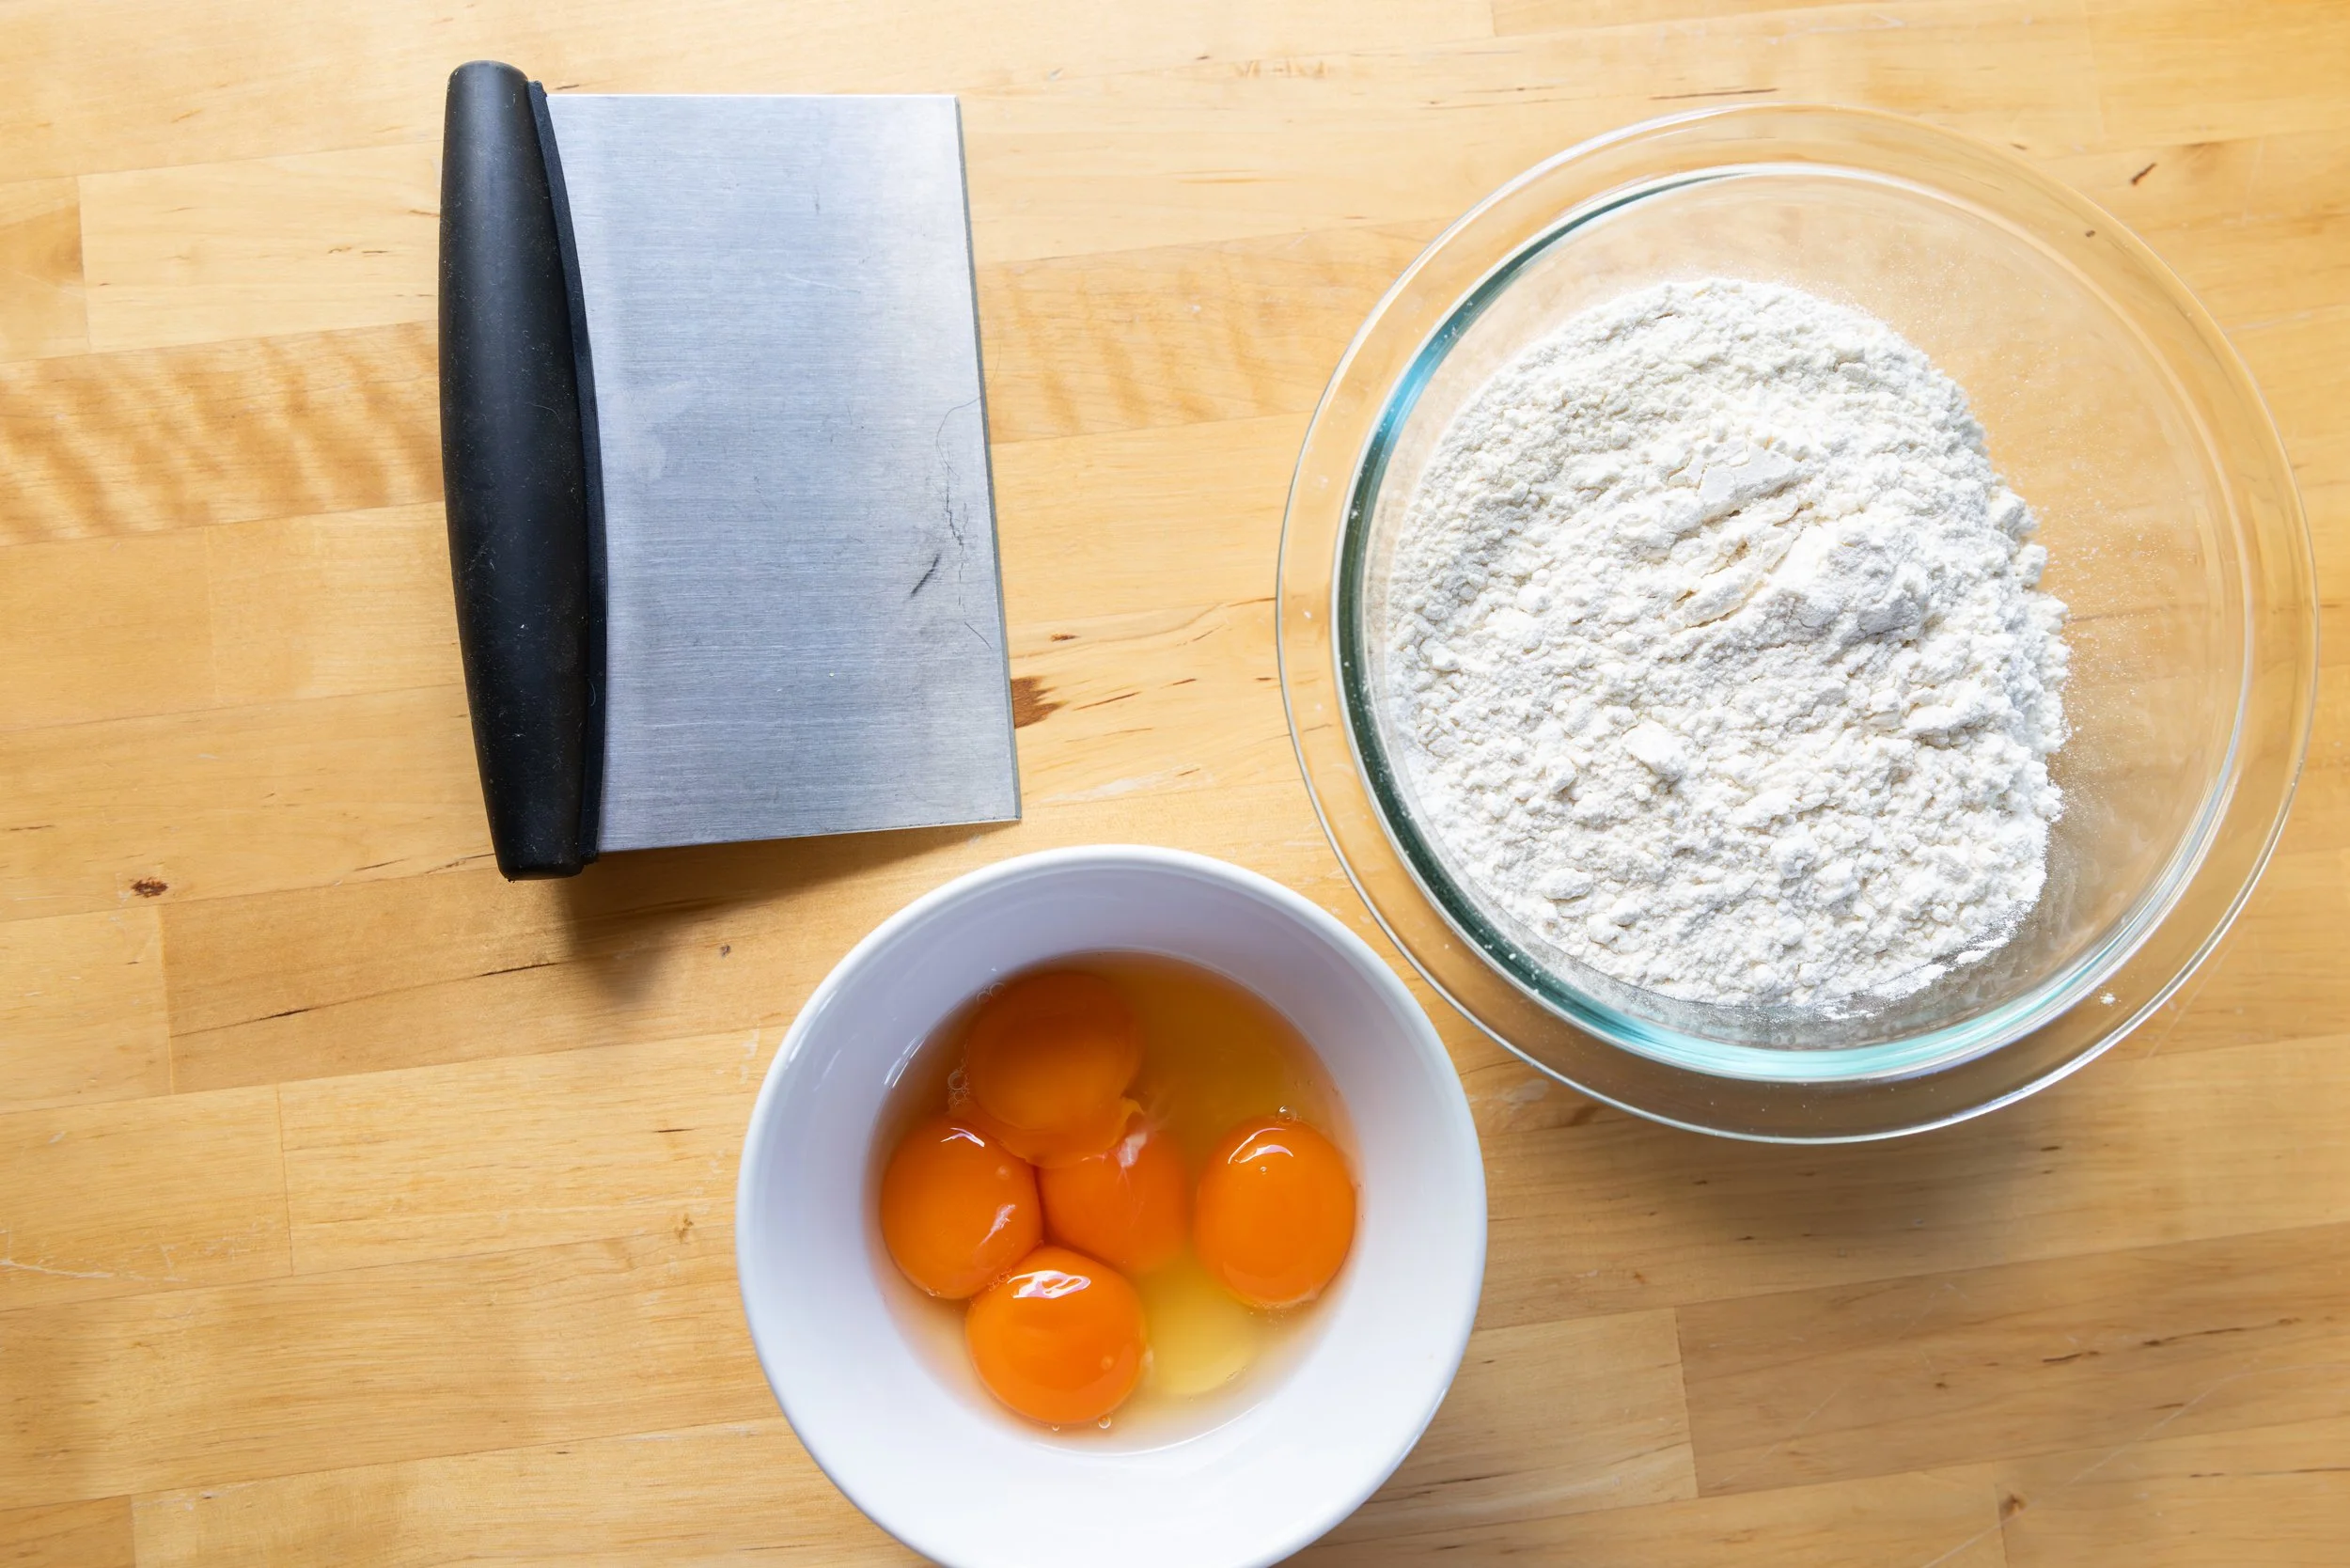
2 cups 00 (or AP) flour
4 eggs
For Filling
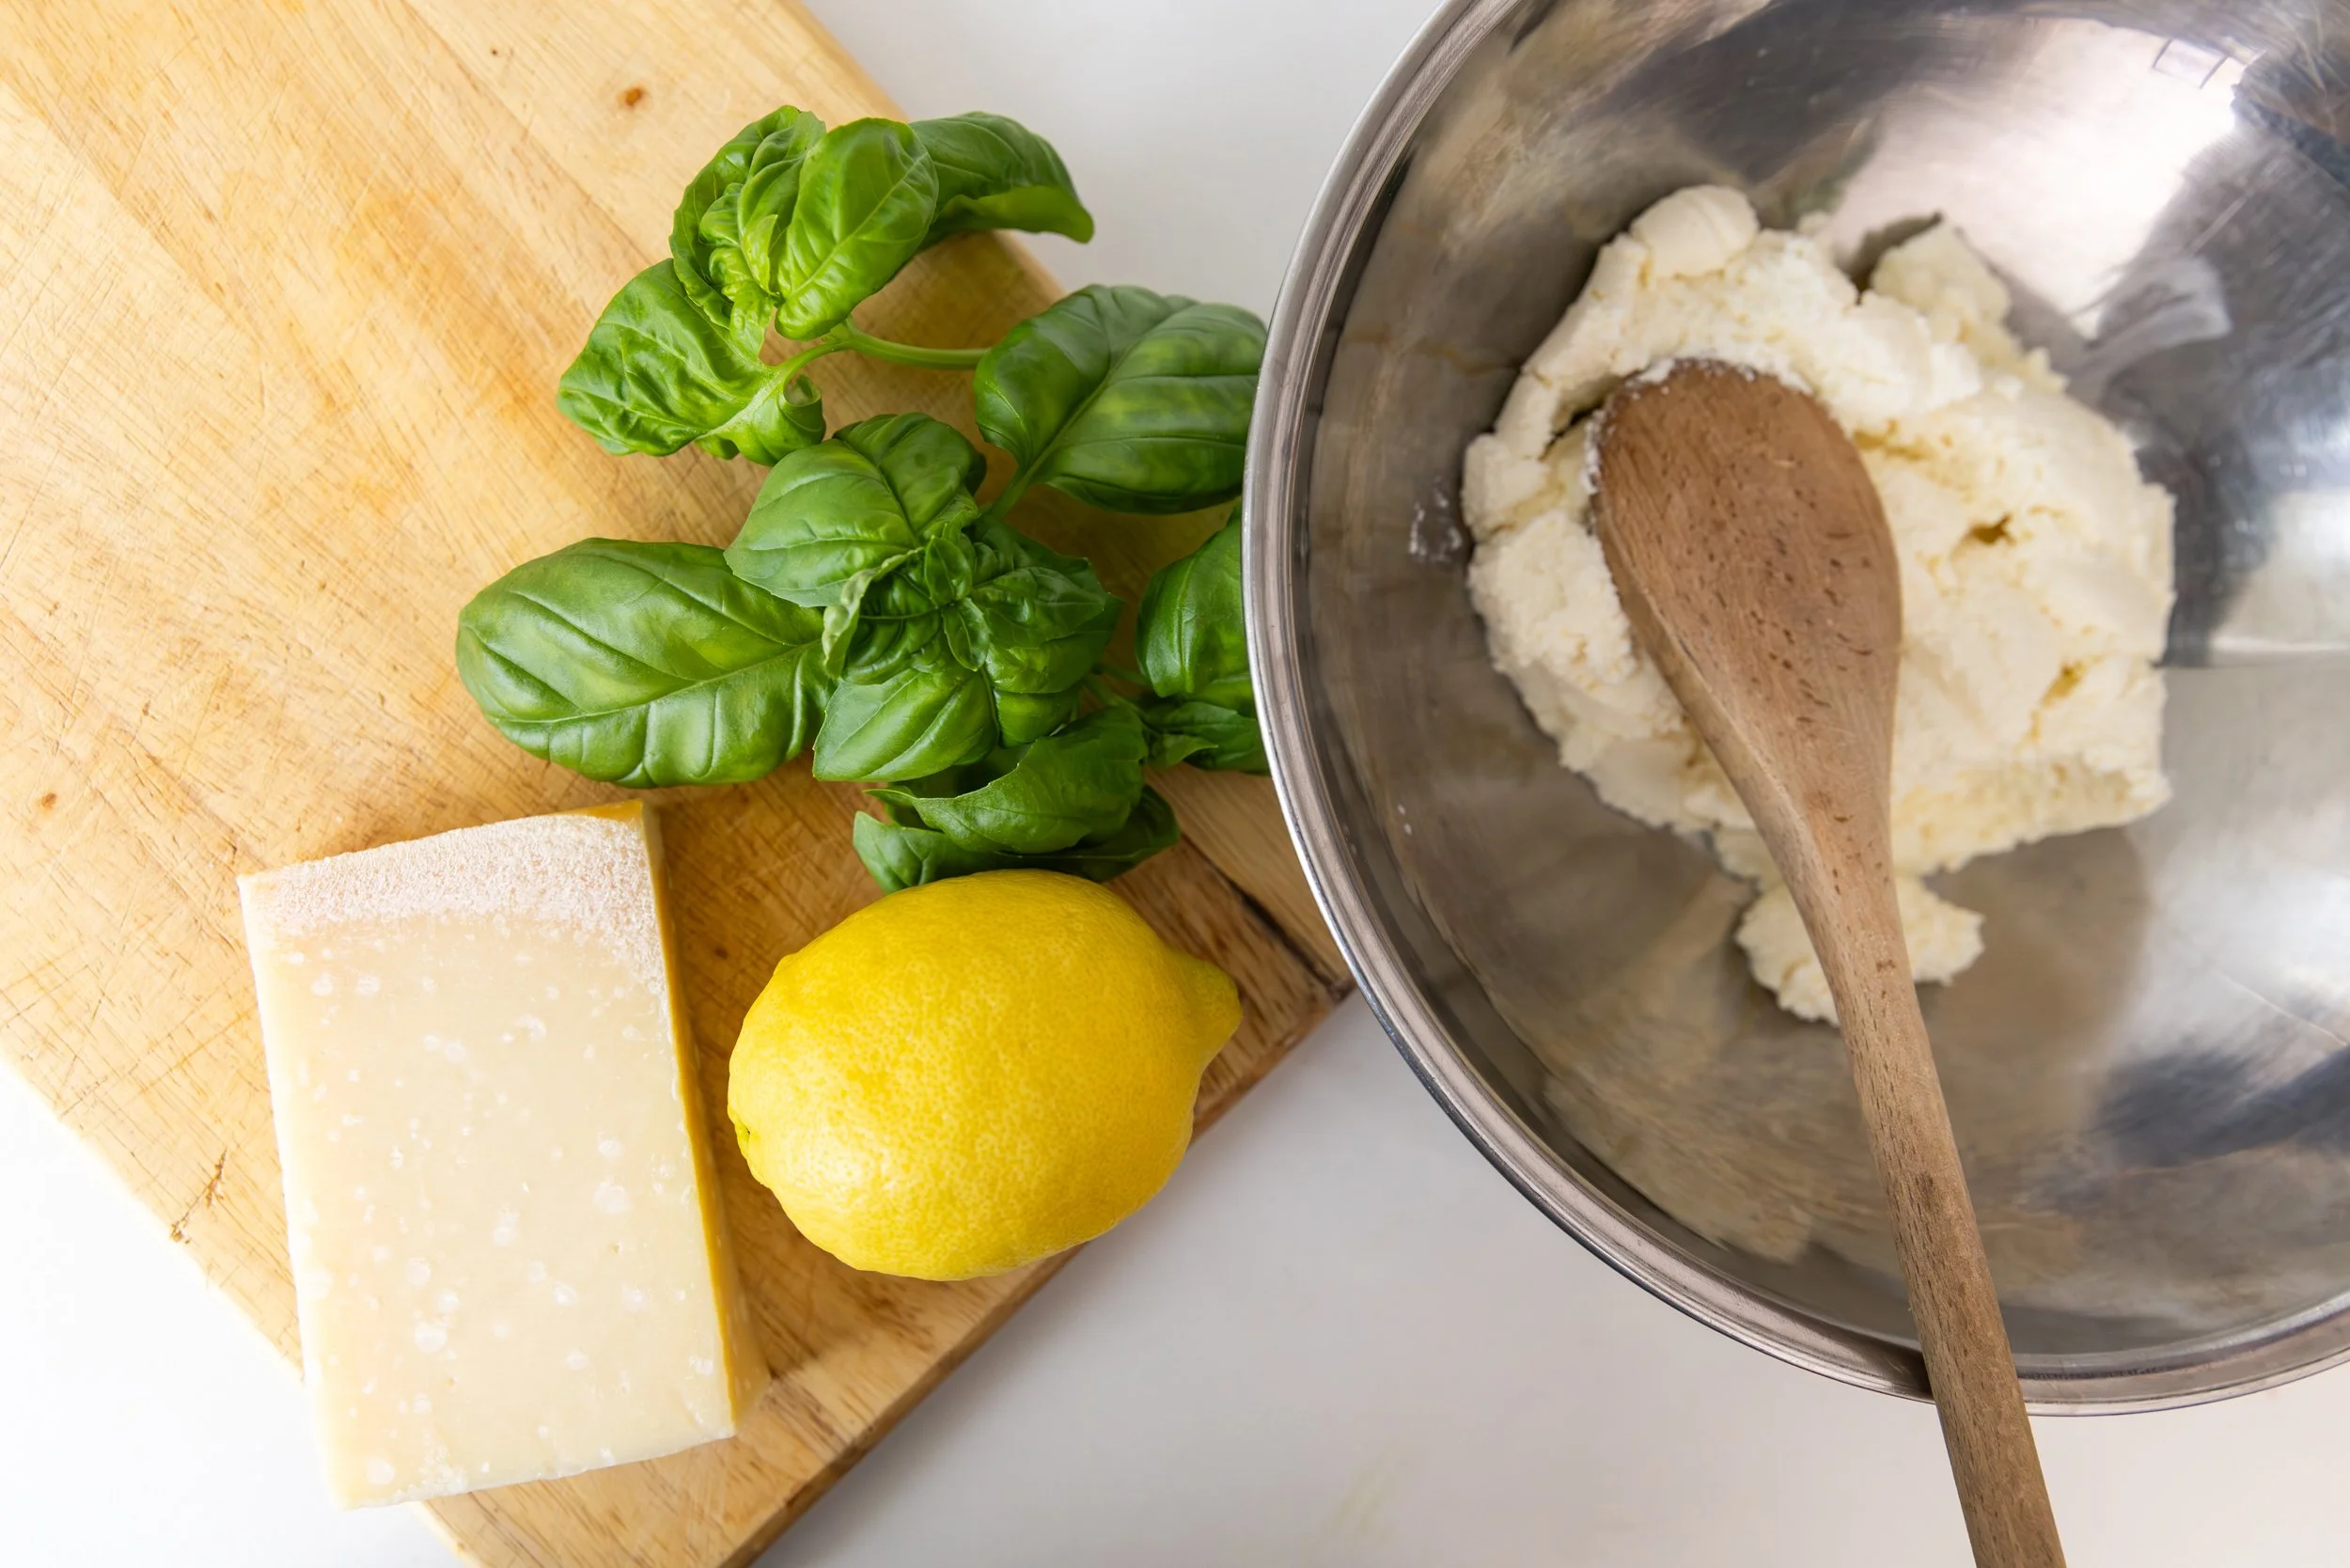
250g of fresh ricotta
fresh basil (5-6 leaves), cut into thin strips
Zest of one lemon, approx. 1 tbsp
½ tsp each of salt and pepper
Optional Tools (if unavailable, use a rolling pin and sharp knife):
Pasta maker
Ravioli crimper
INSTRUCTIONS:
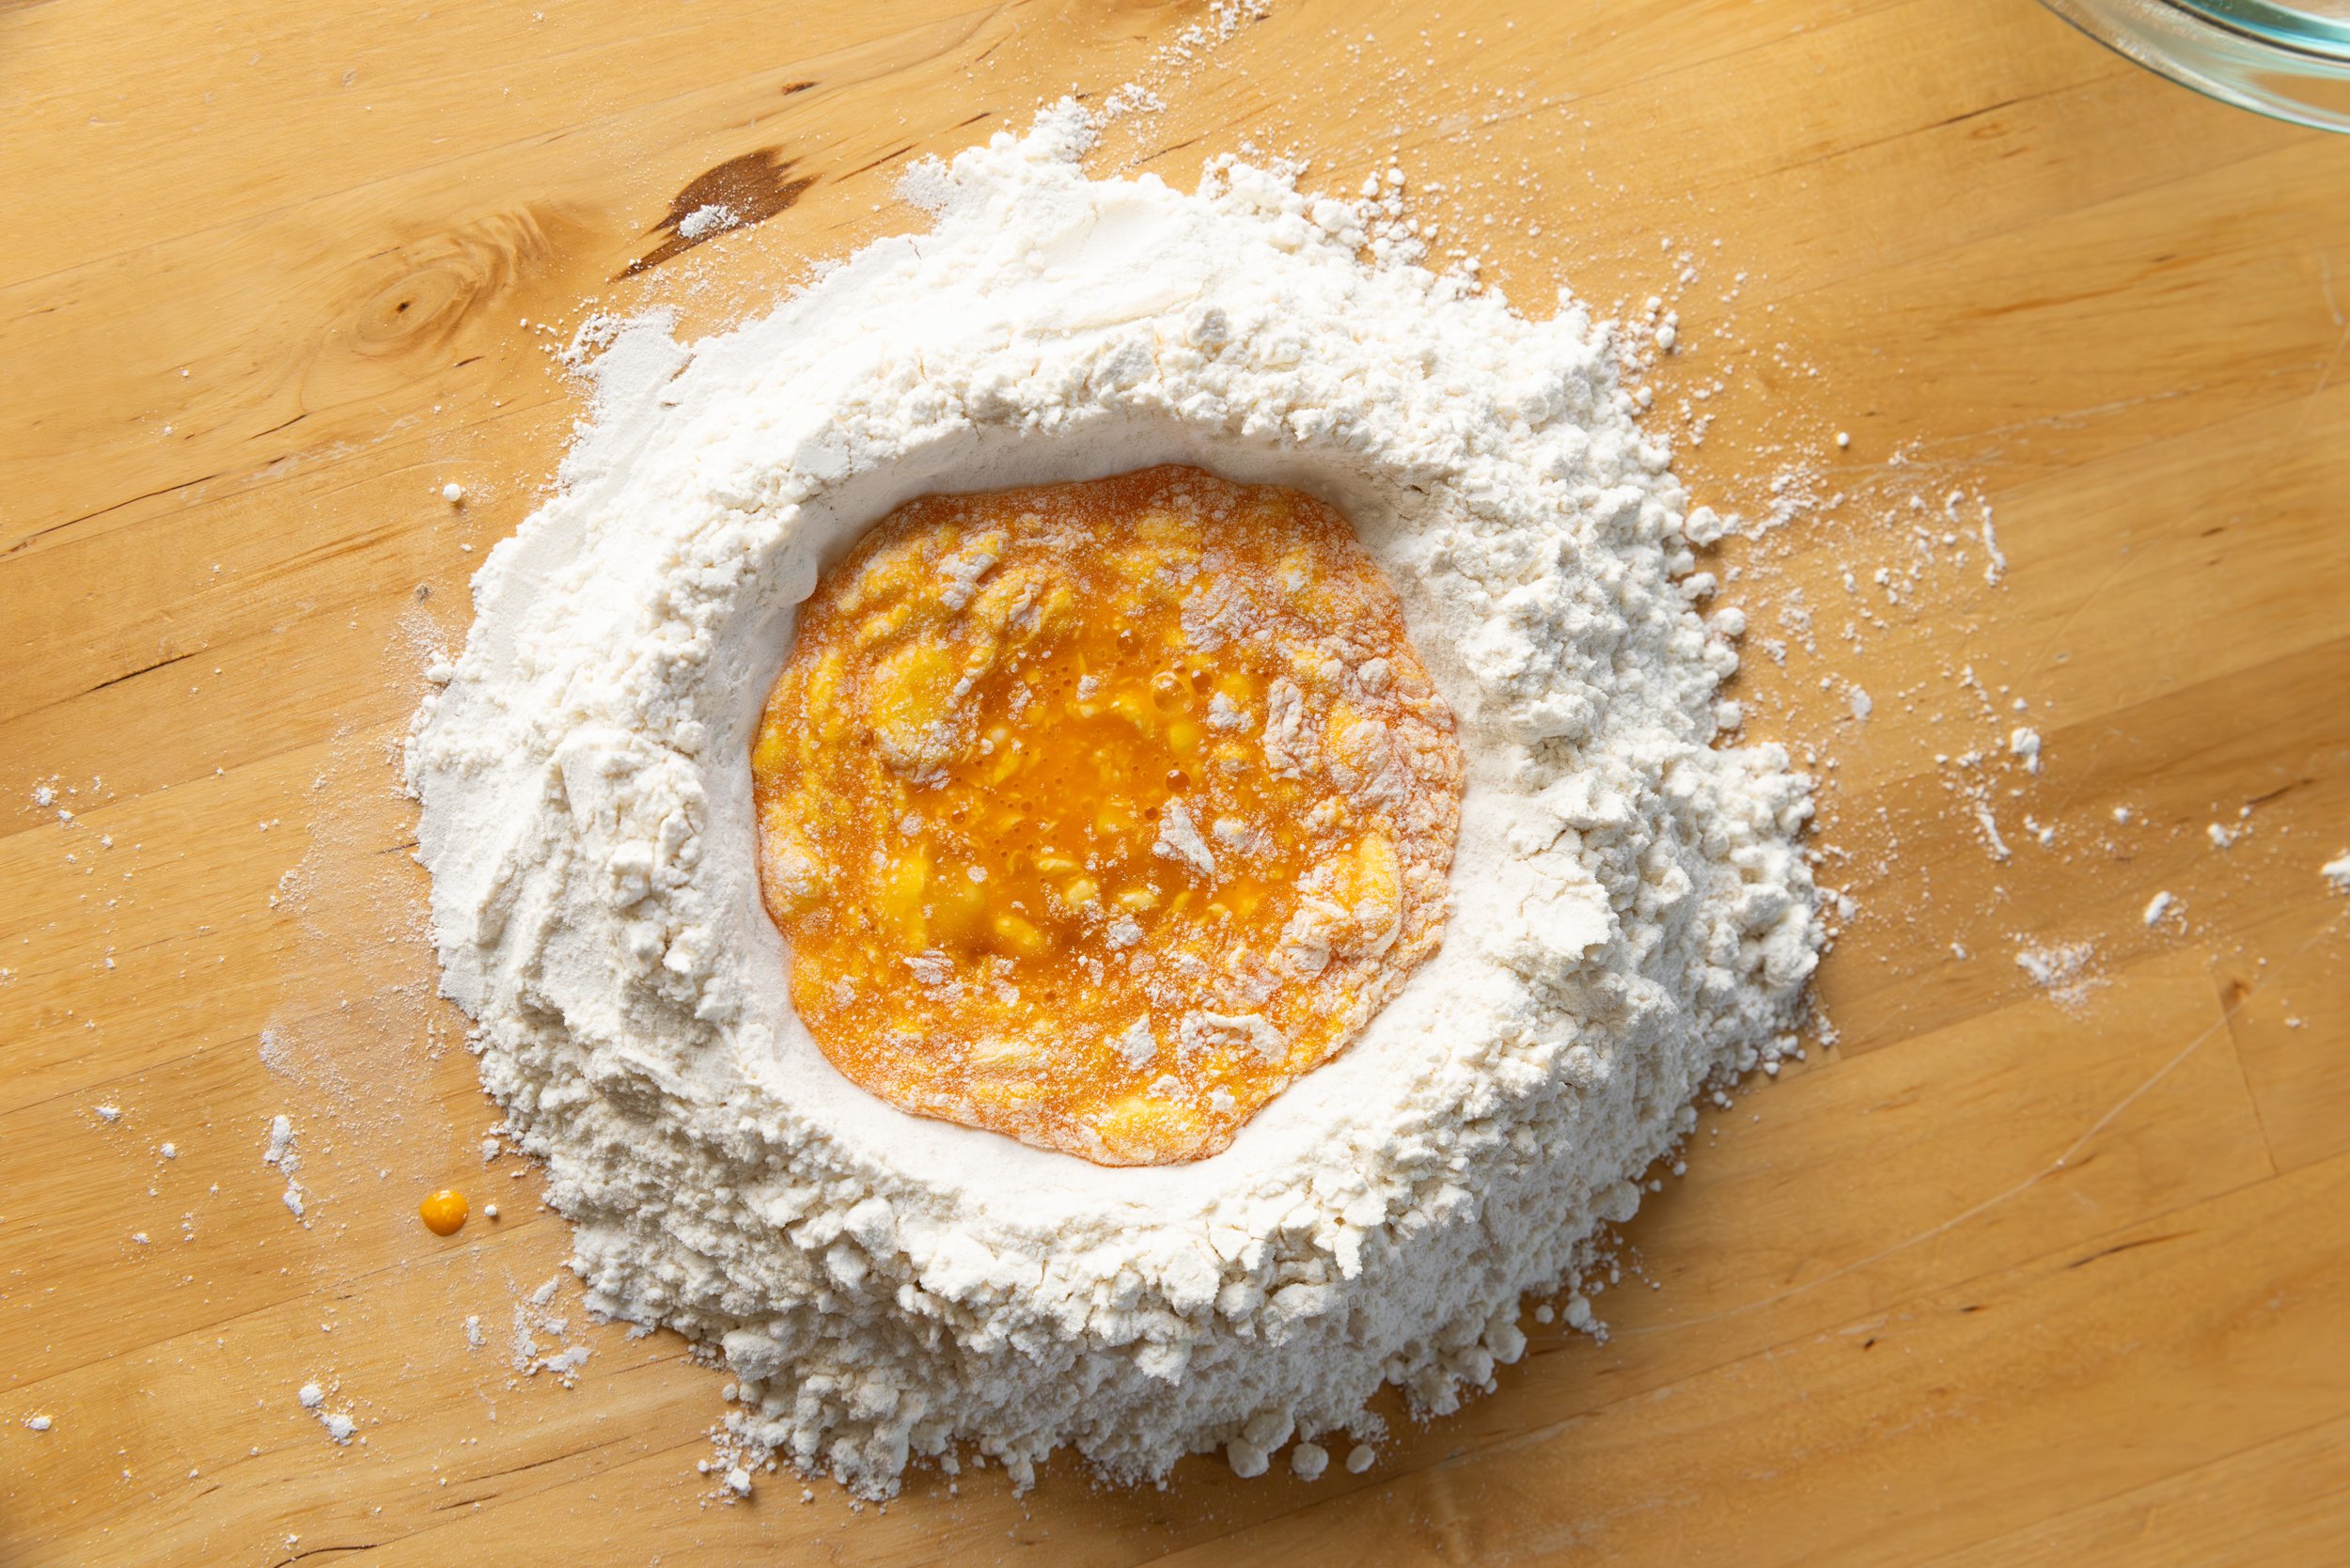
In a large bowl, mix the flour and salt together, and then create a well in the center.
Crack the four eggs into the well, and then with a fork or your fingers, beat them together slightly. Once broken up, start adding the flour from the sides to the mixture, until a loose dough has formed.
On a floured surface, dump the dough out and begin kneading it for five to seven minutes, adding flour as needed if it is too wet. The dough is ready when it is smooth, and if you poke it, it slowly springs back.
Cover with plastic wrap and let sit at room temperature for 30 minutes.
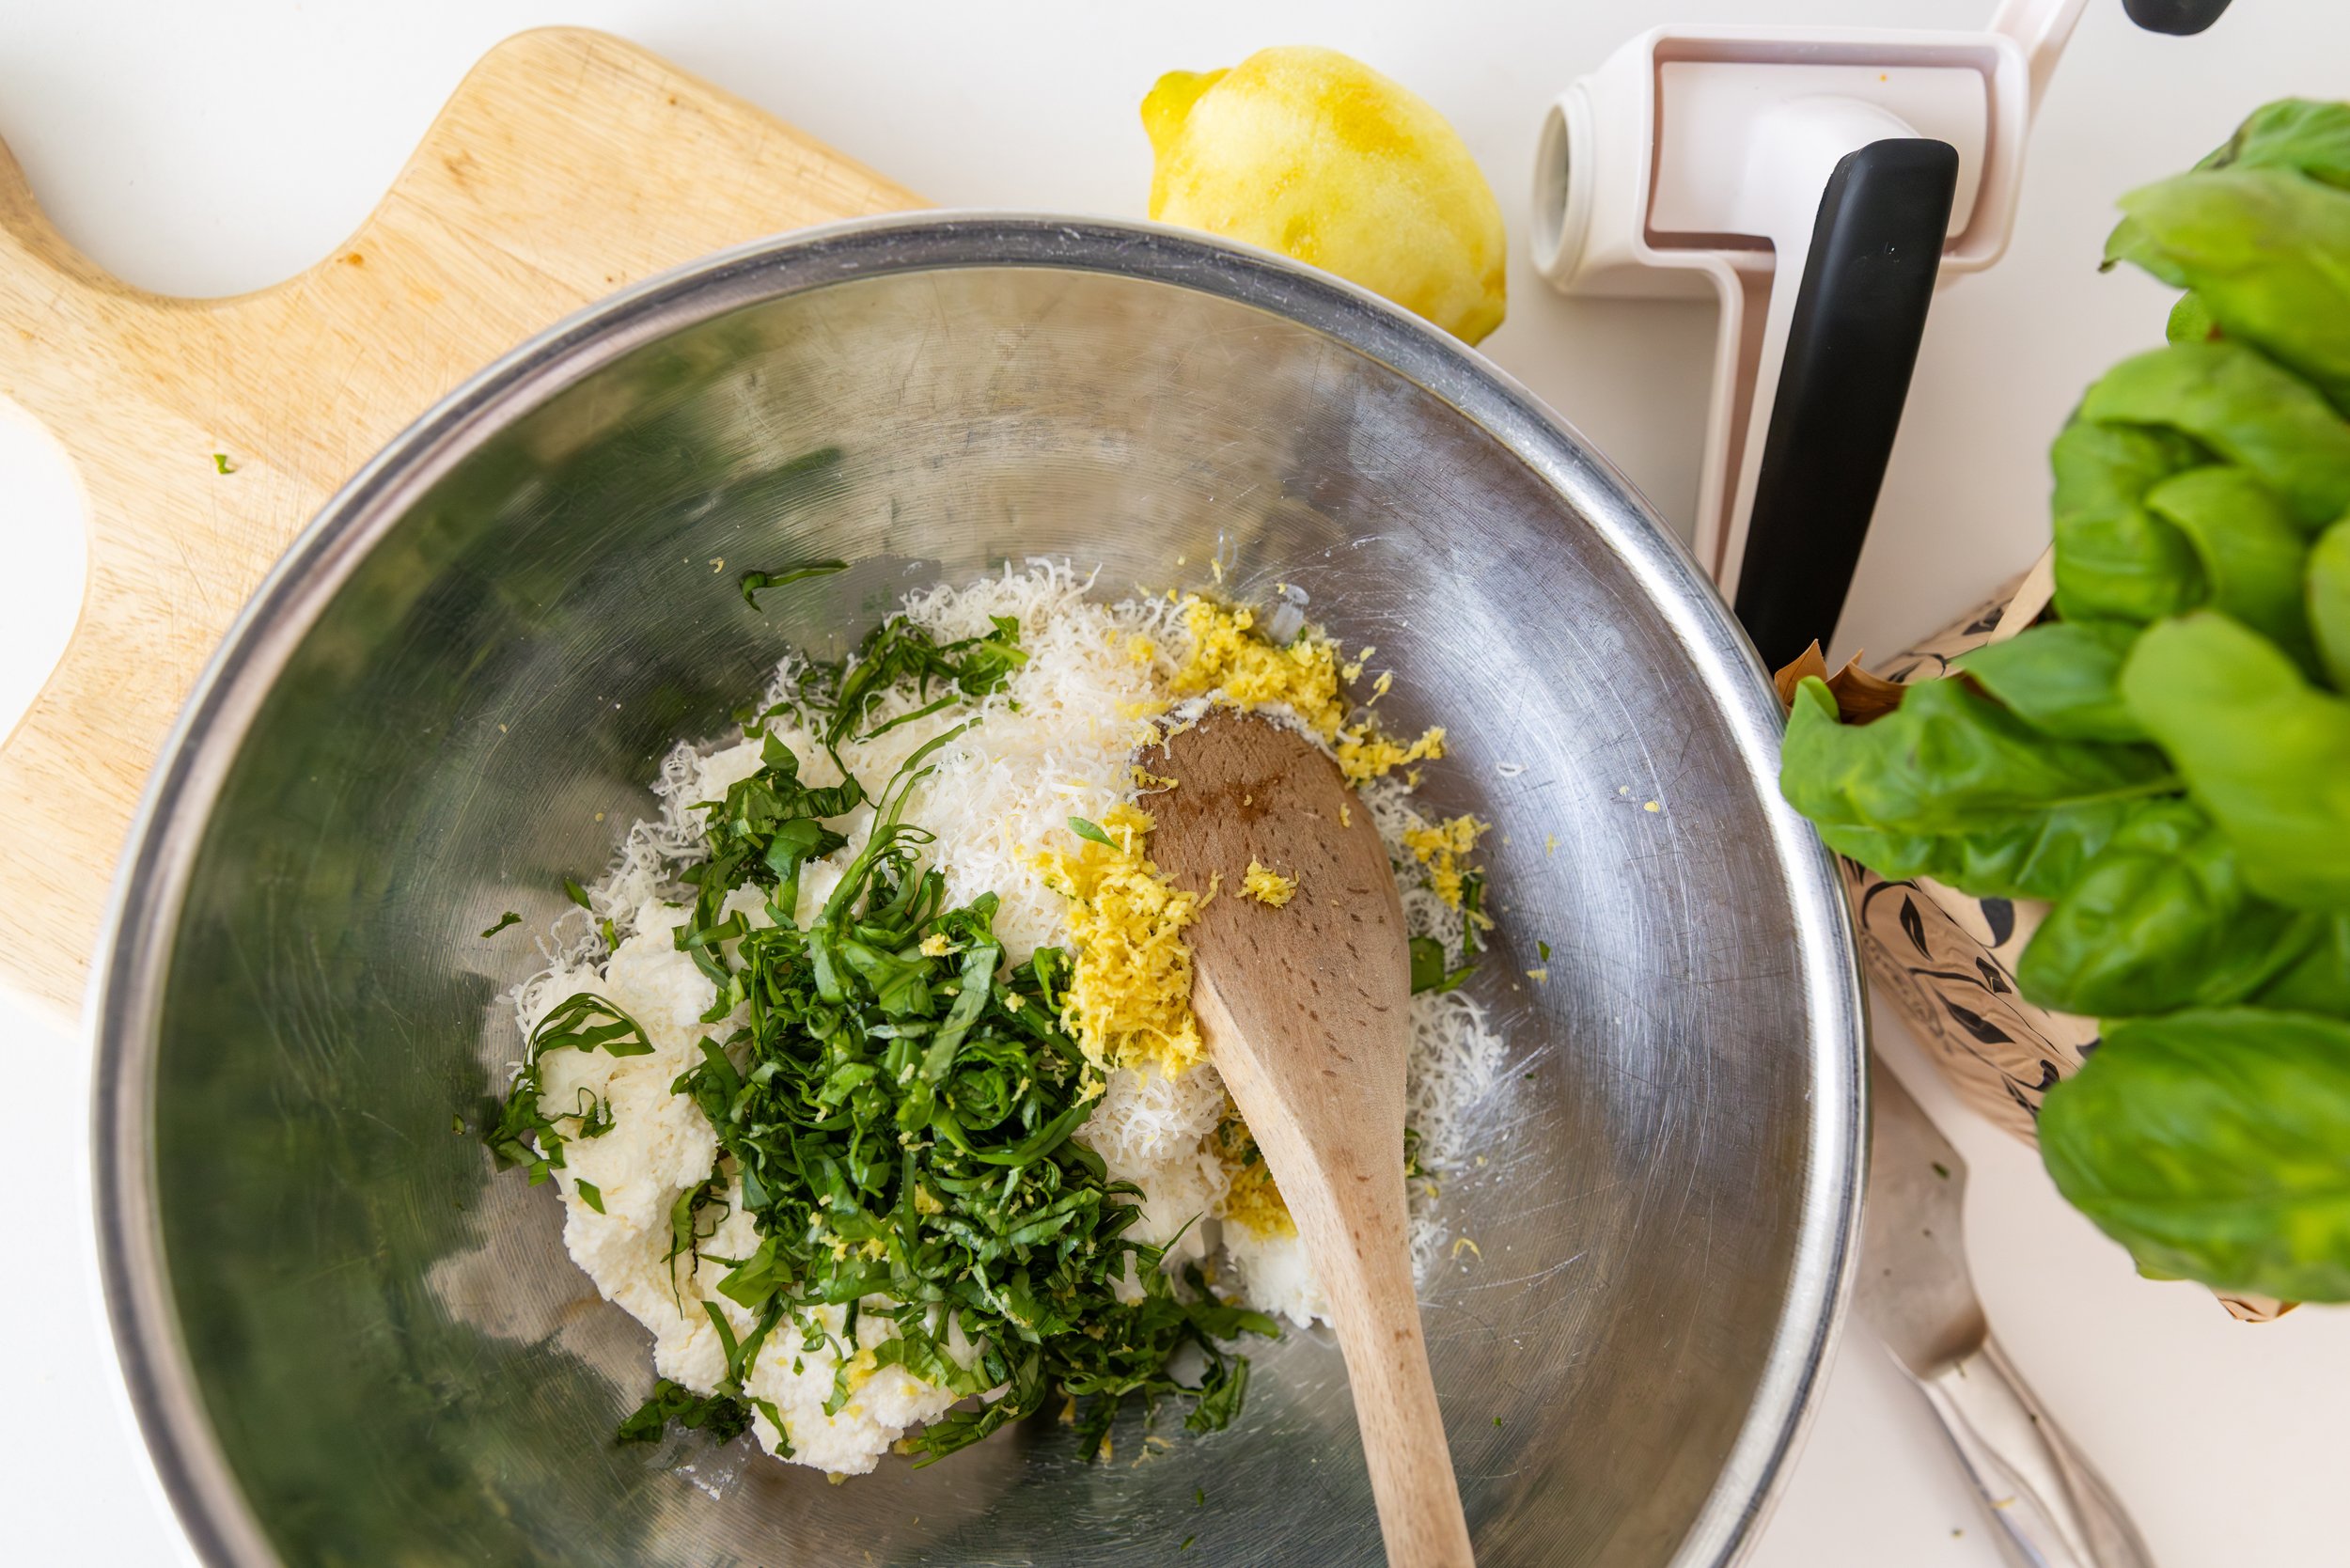
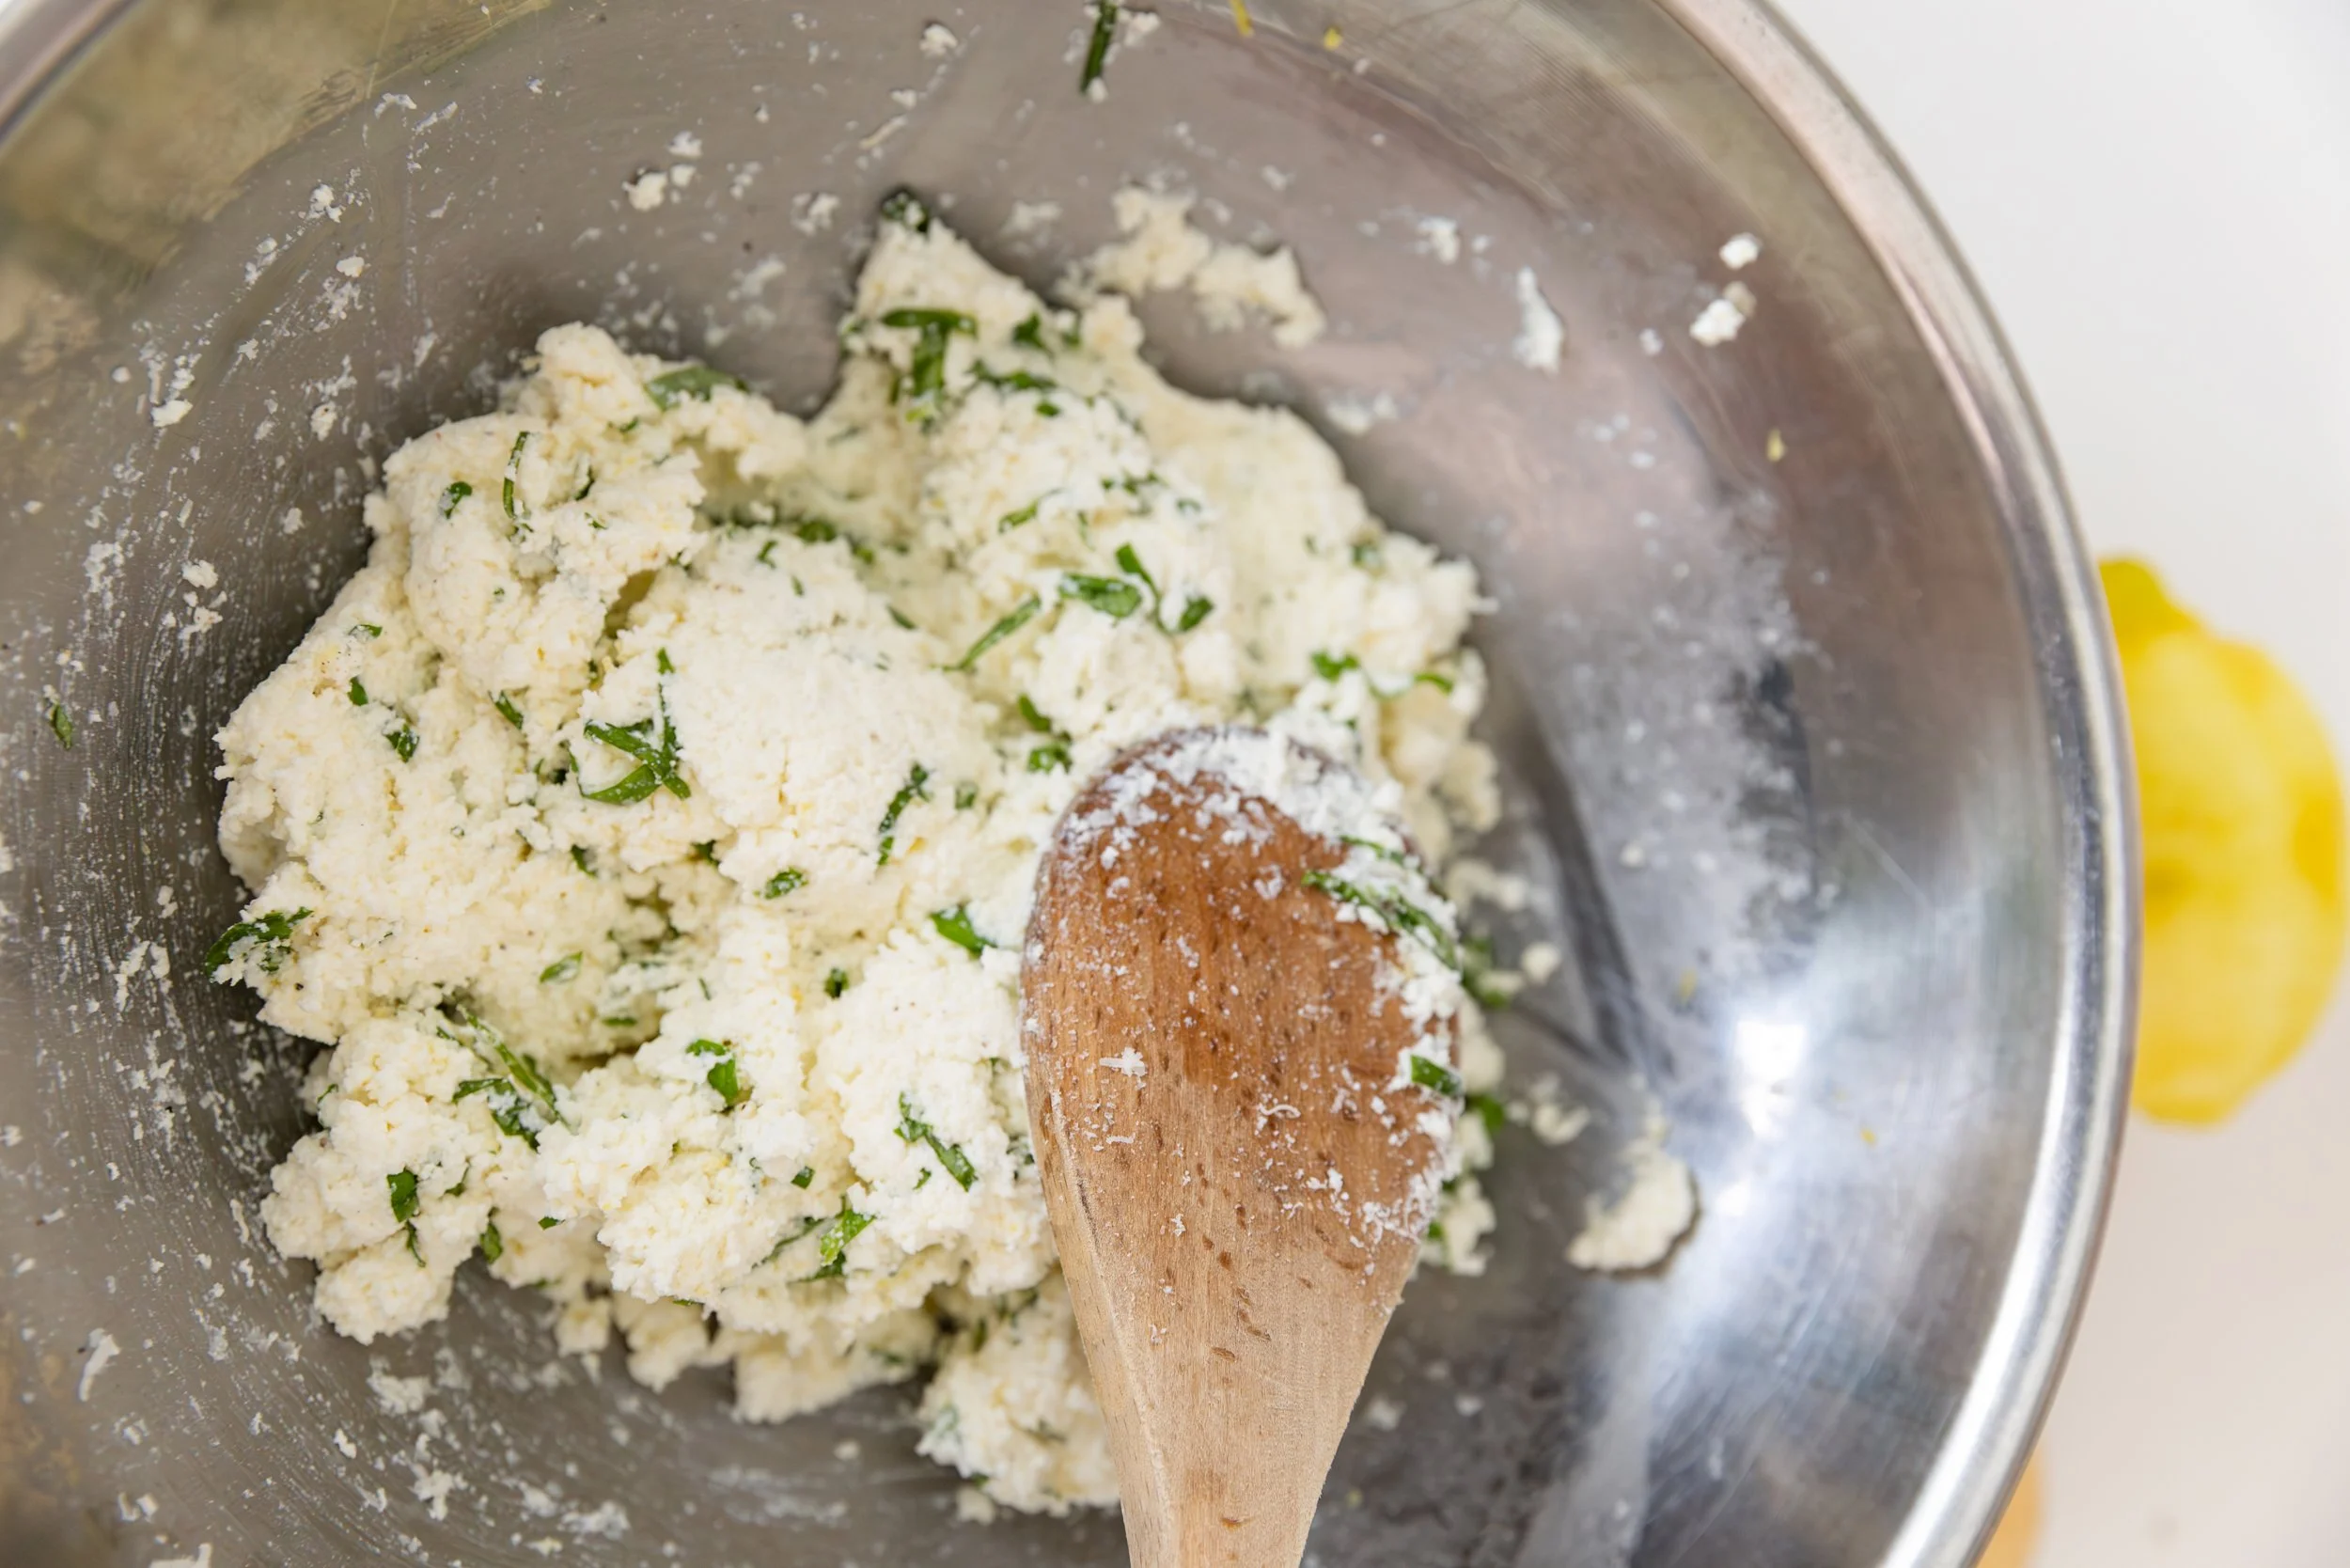
While the dough rests, make the filling by combining ingredients into a bowl and mix well. Taste for additional salt and pepper or basil, cover and place into the fridge.
Cut the dough in half and return the second half to the plastic wrap to keep from drying out.
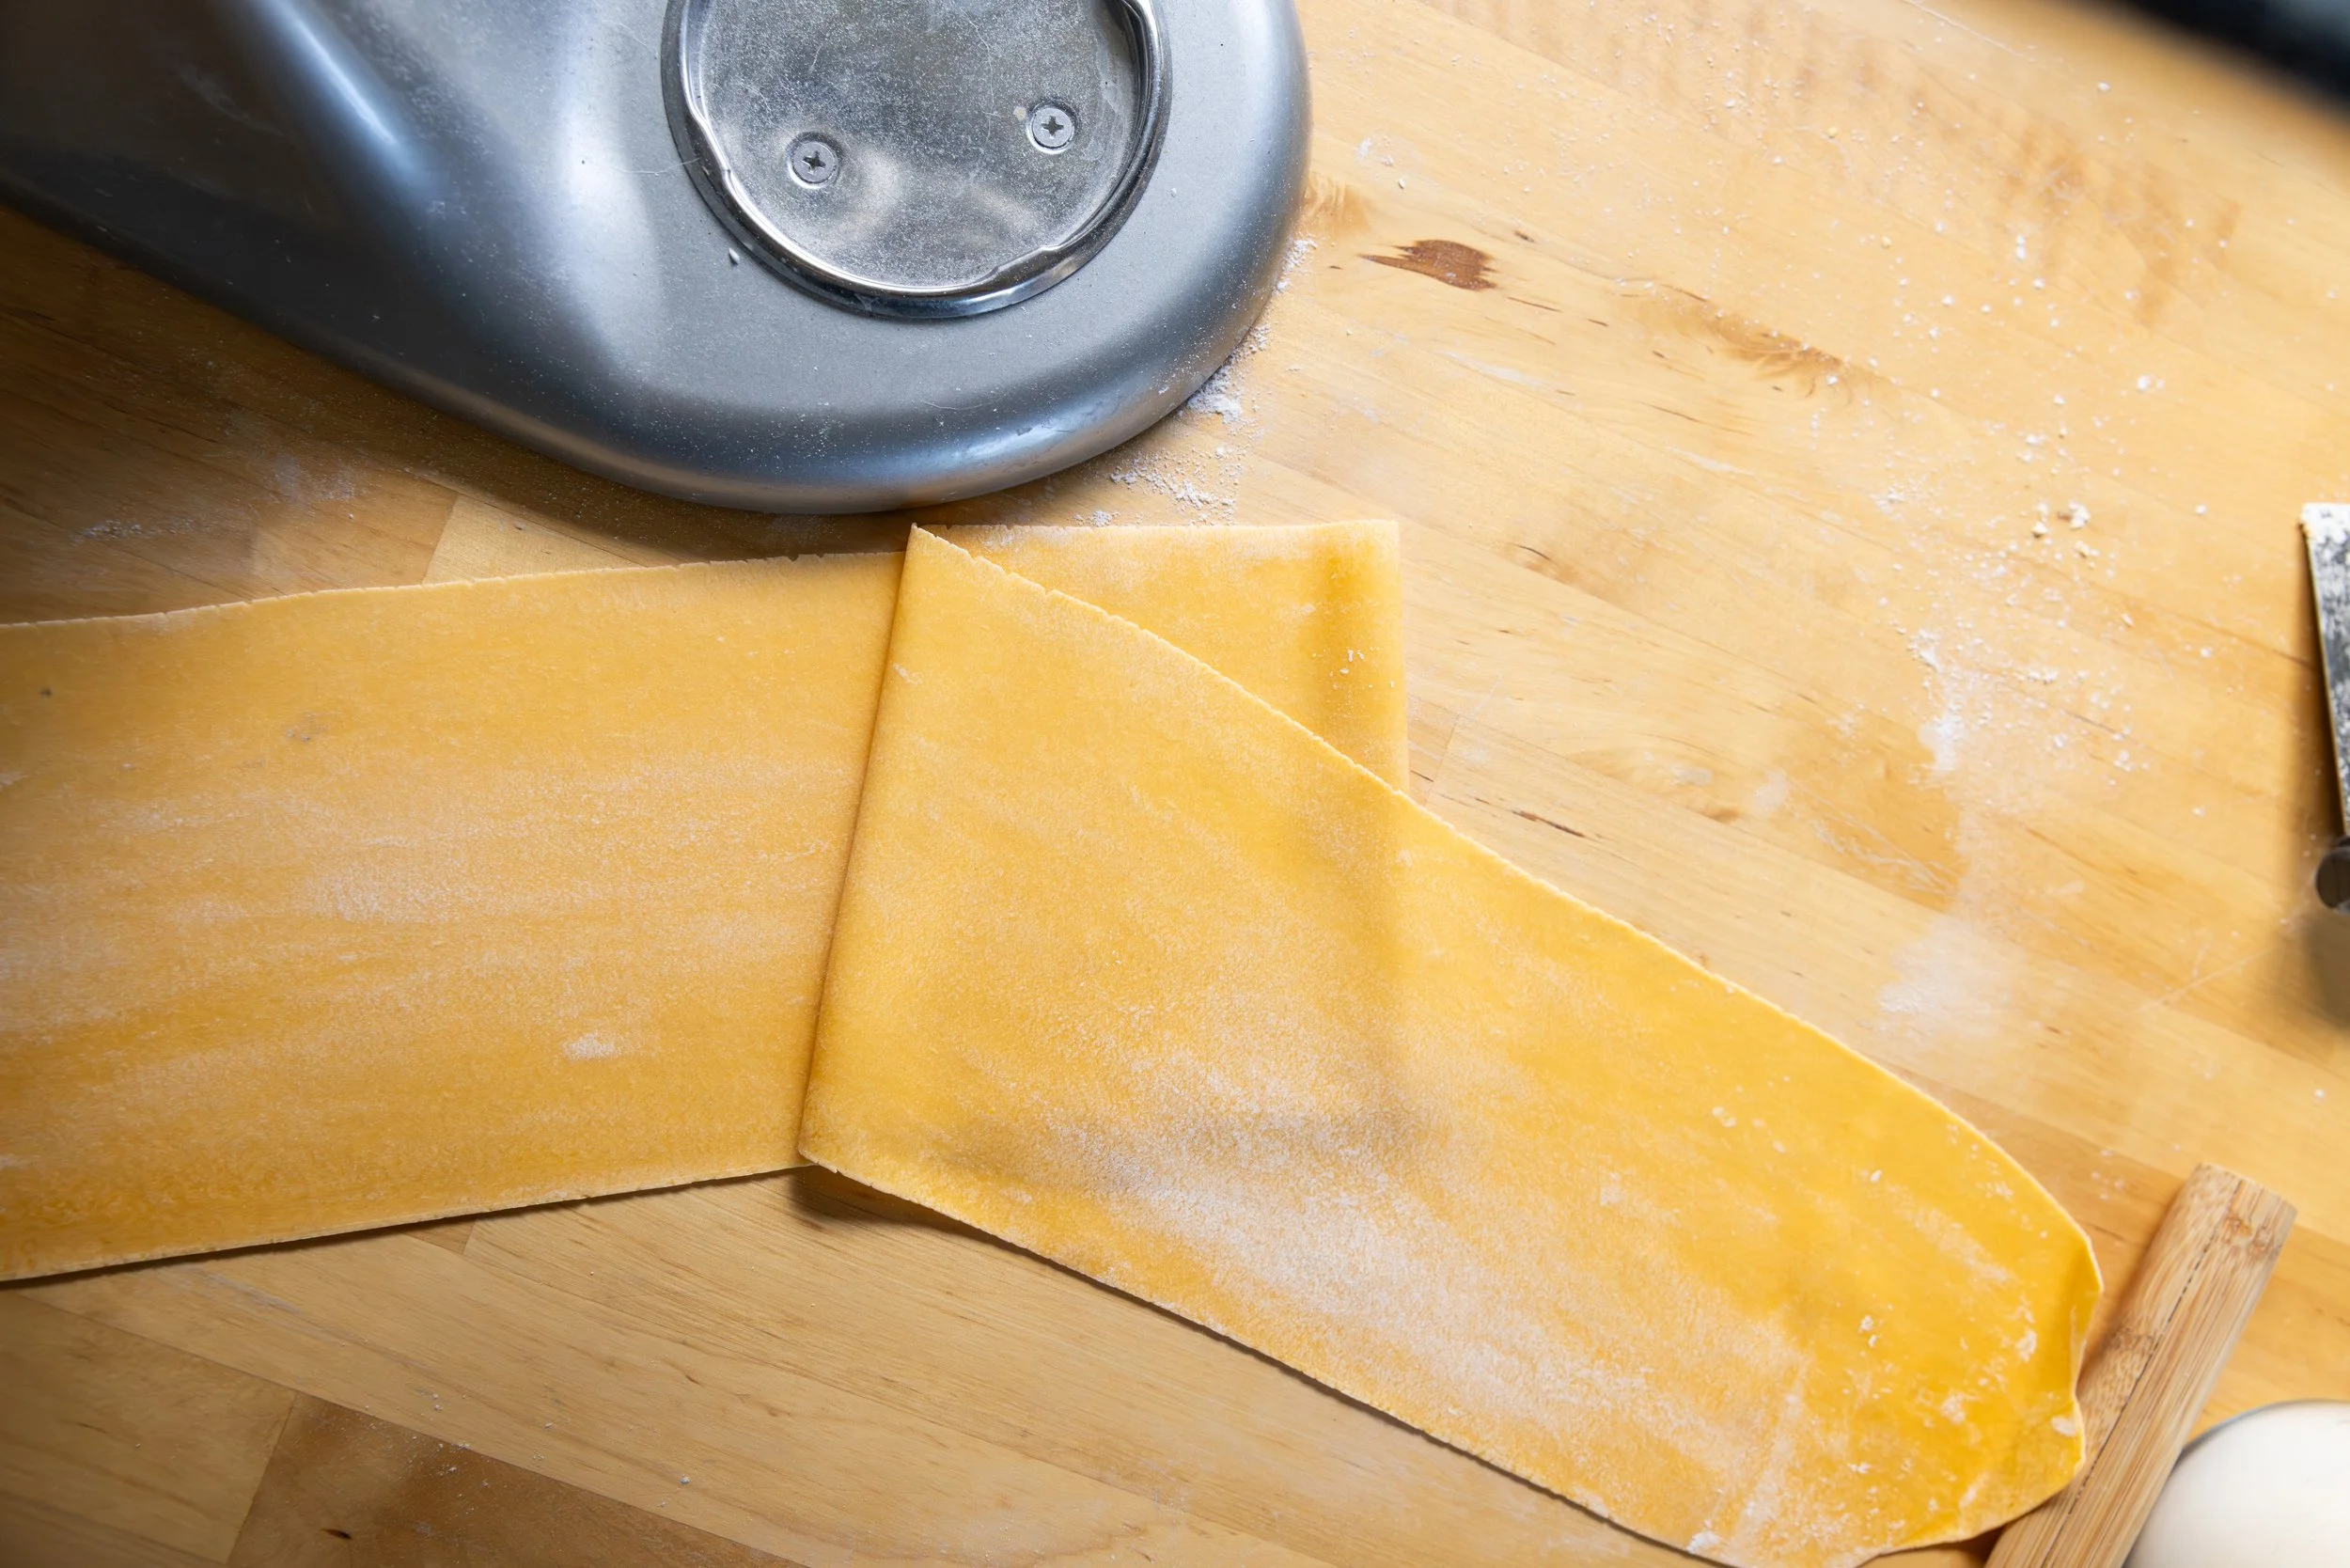
On the floured surface begin to roll the dough into a rectangle, then fold together like an envelope (if you are using a machine you can begin to pass it though). After laminating it a few times, start to roll it (either physically, or on smaller and smaller settings on your pasta maker) until about the second last setting. Continue to thoroughly dust it with flour as needed.
This amount of dough should make enough for two sheets – you may need to cut it in half as you’re rolling depending on the size of your workspace.
You'll want two evenly sized and shaped rectangles of dough – set one to the side and flatten the other out. You’re now ready for filling.
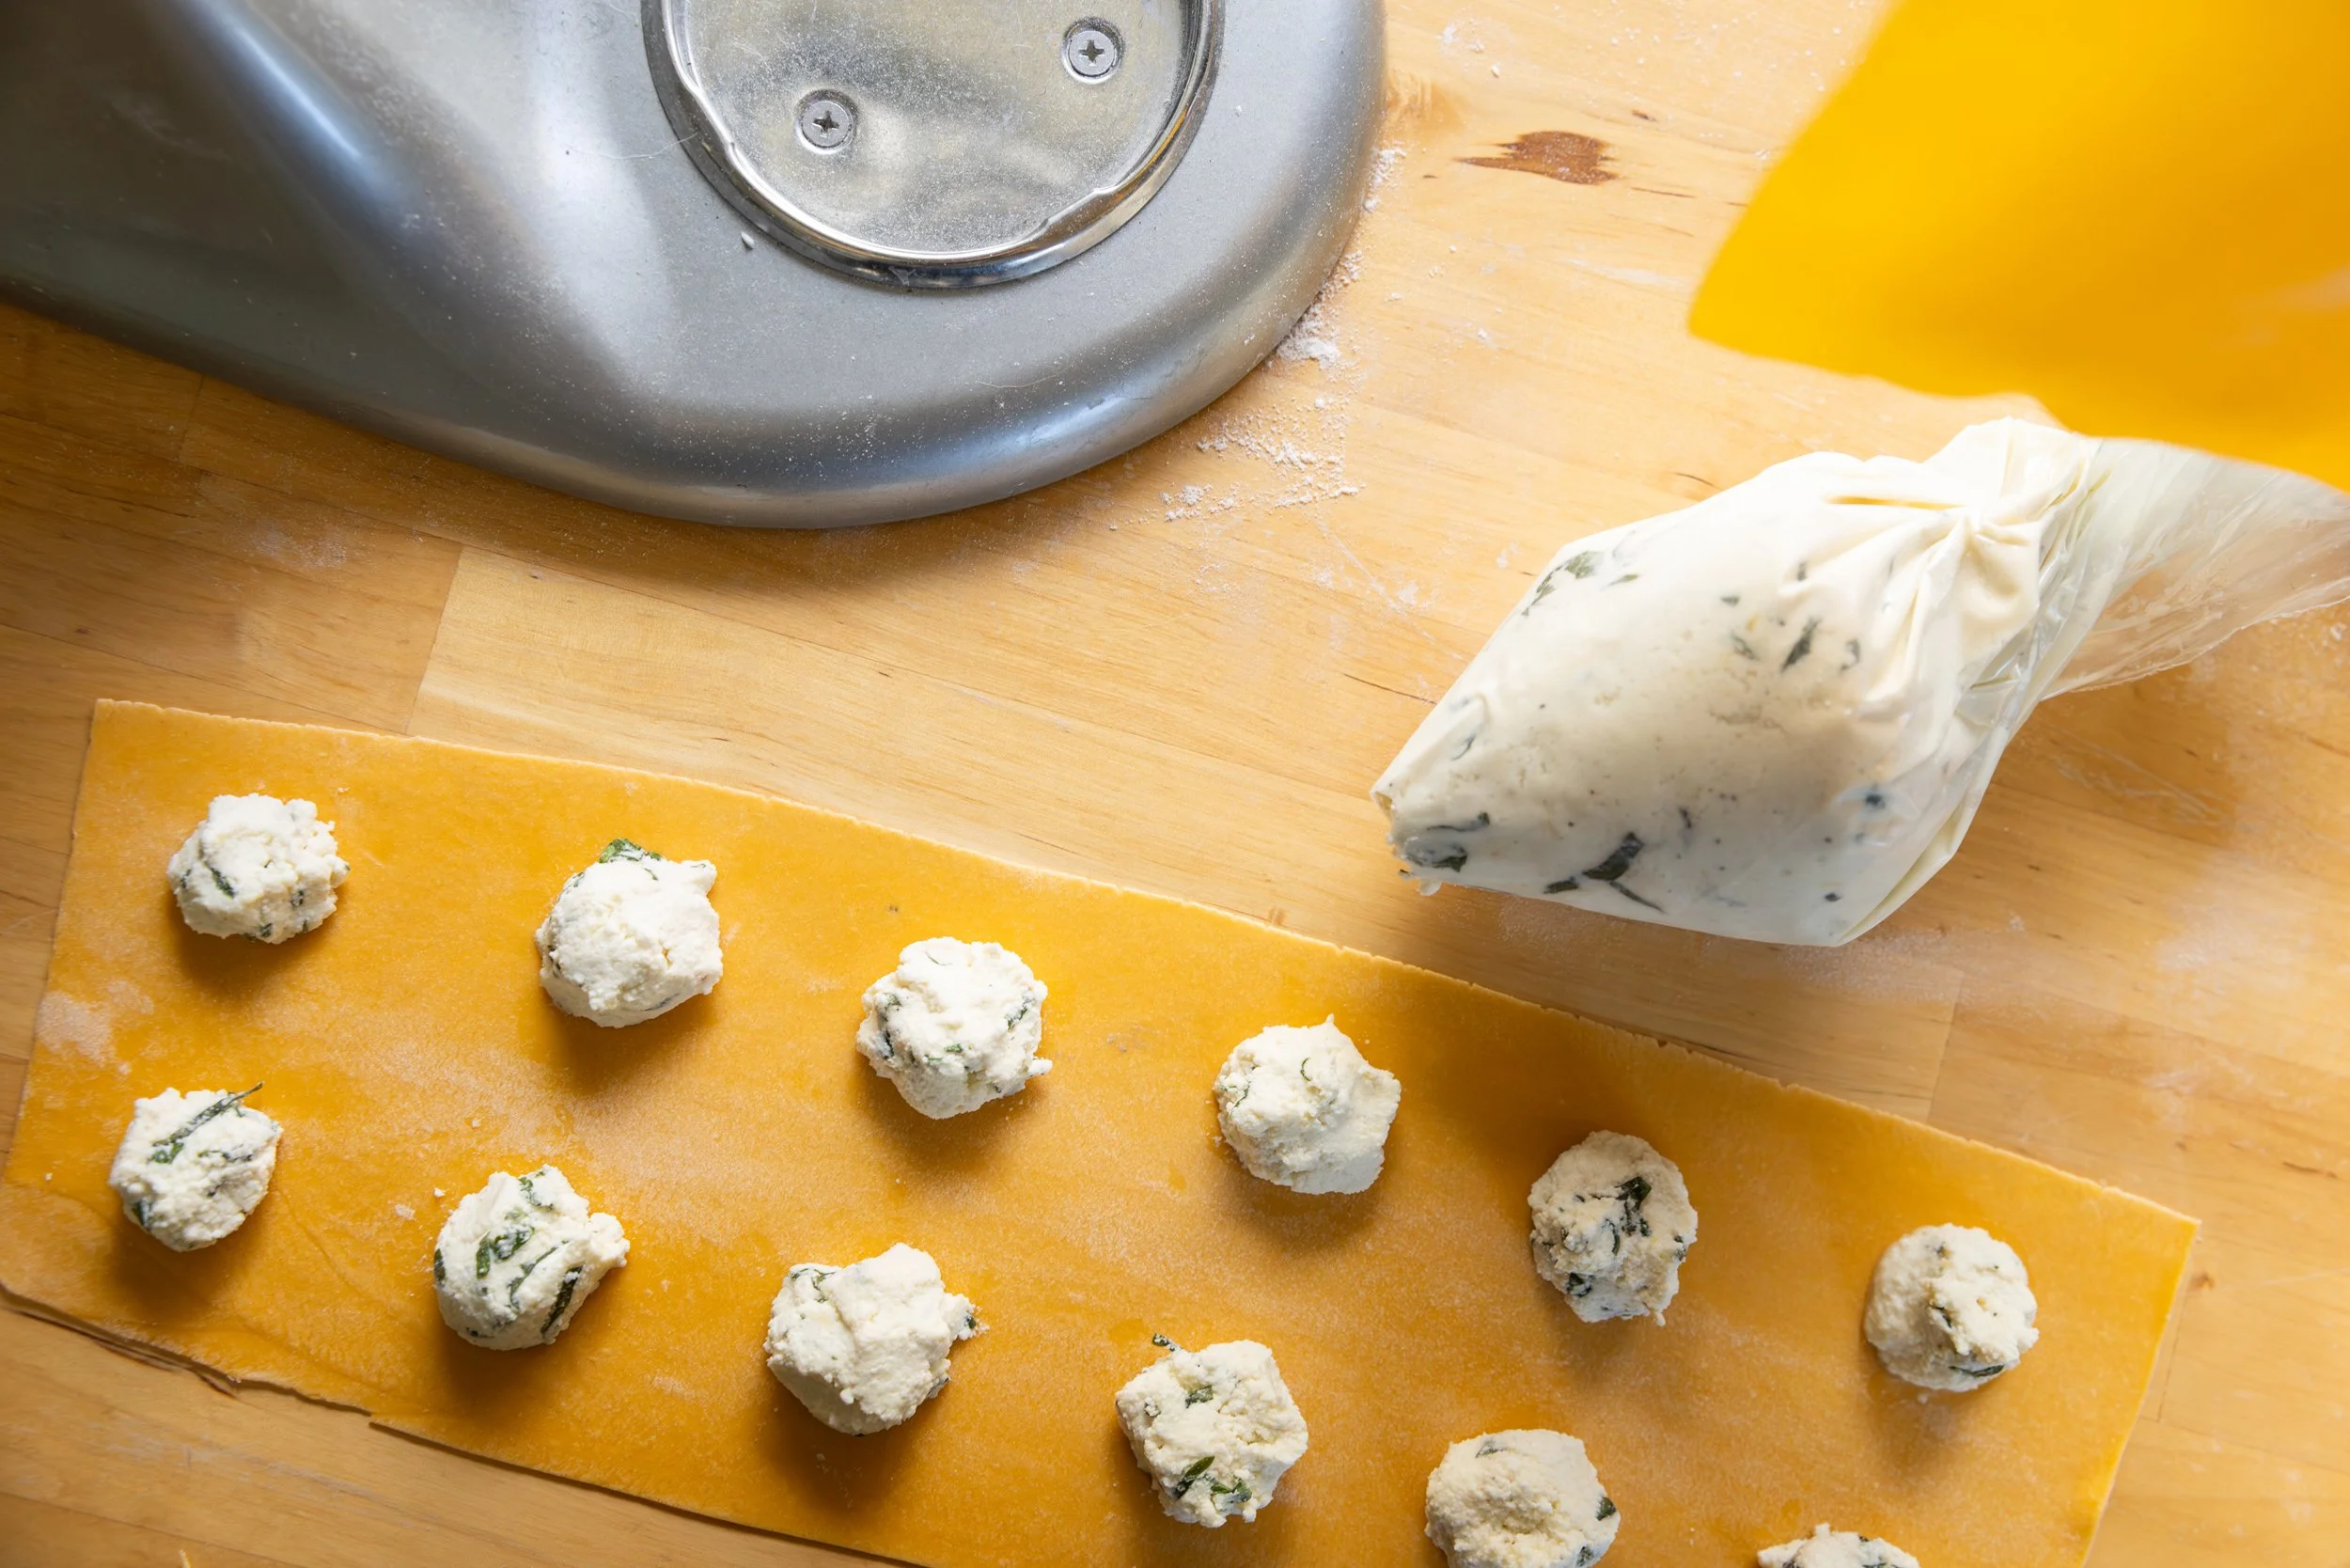
Place your filling in a piping bag (I used a Ziplock that I cut the corner of) or use a tablespoon and evenly place the filling across the pasta sheet, leaving enough space around it for cutting.
Grab a small bowl and add some water to it – this is going to help you seal the sheets together. Either with your finger, or with a pastry brush, lightly water around each dollop of filling.
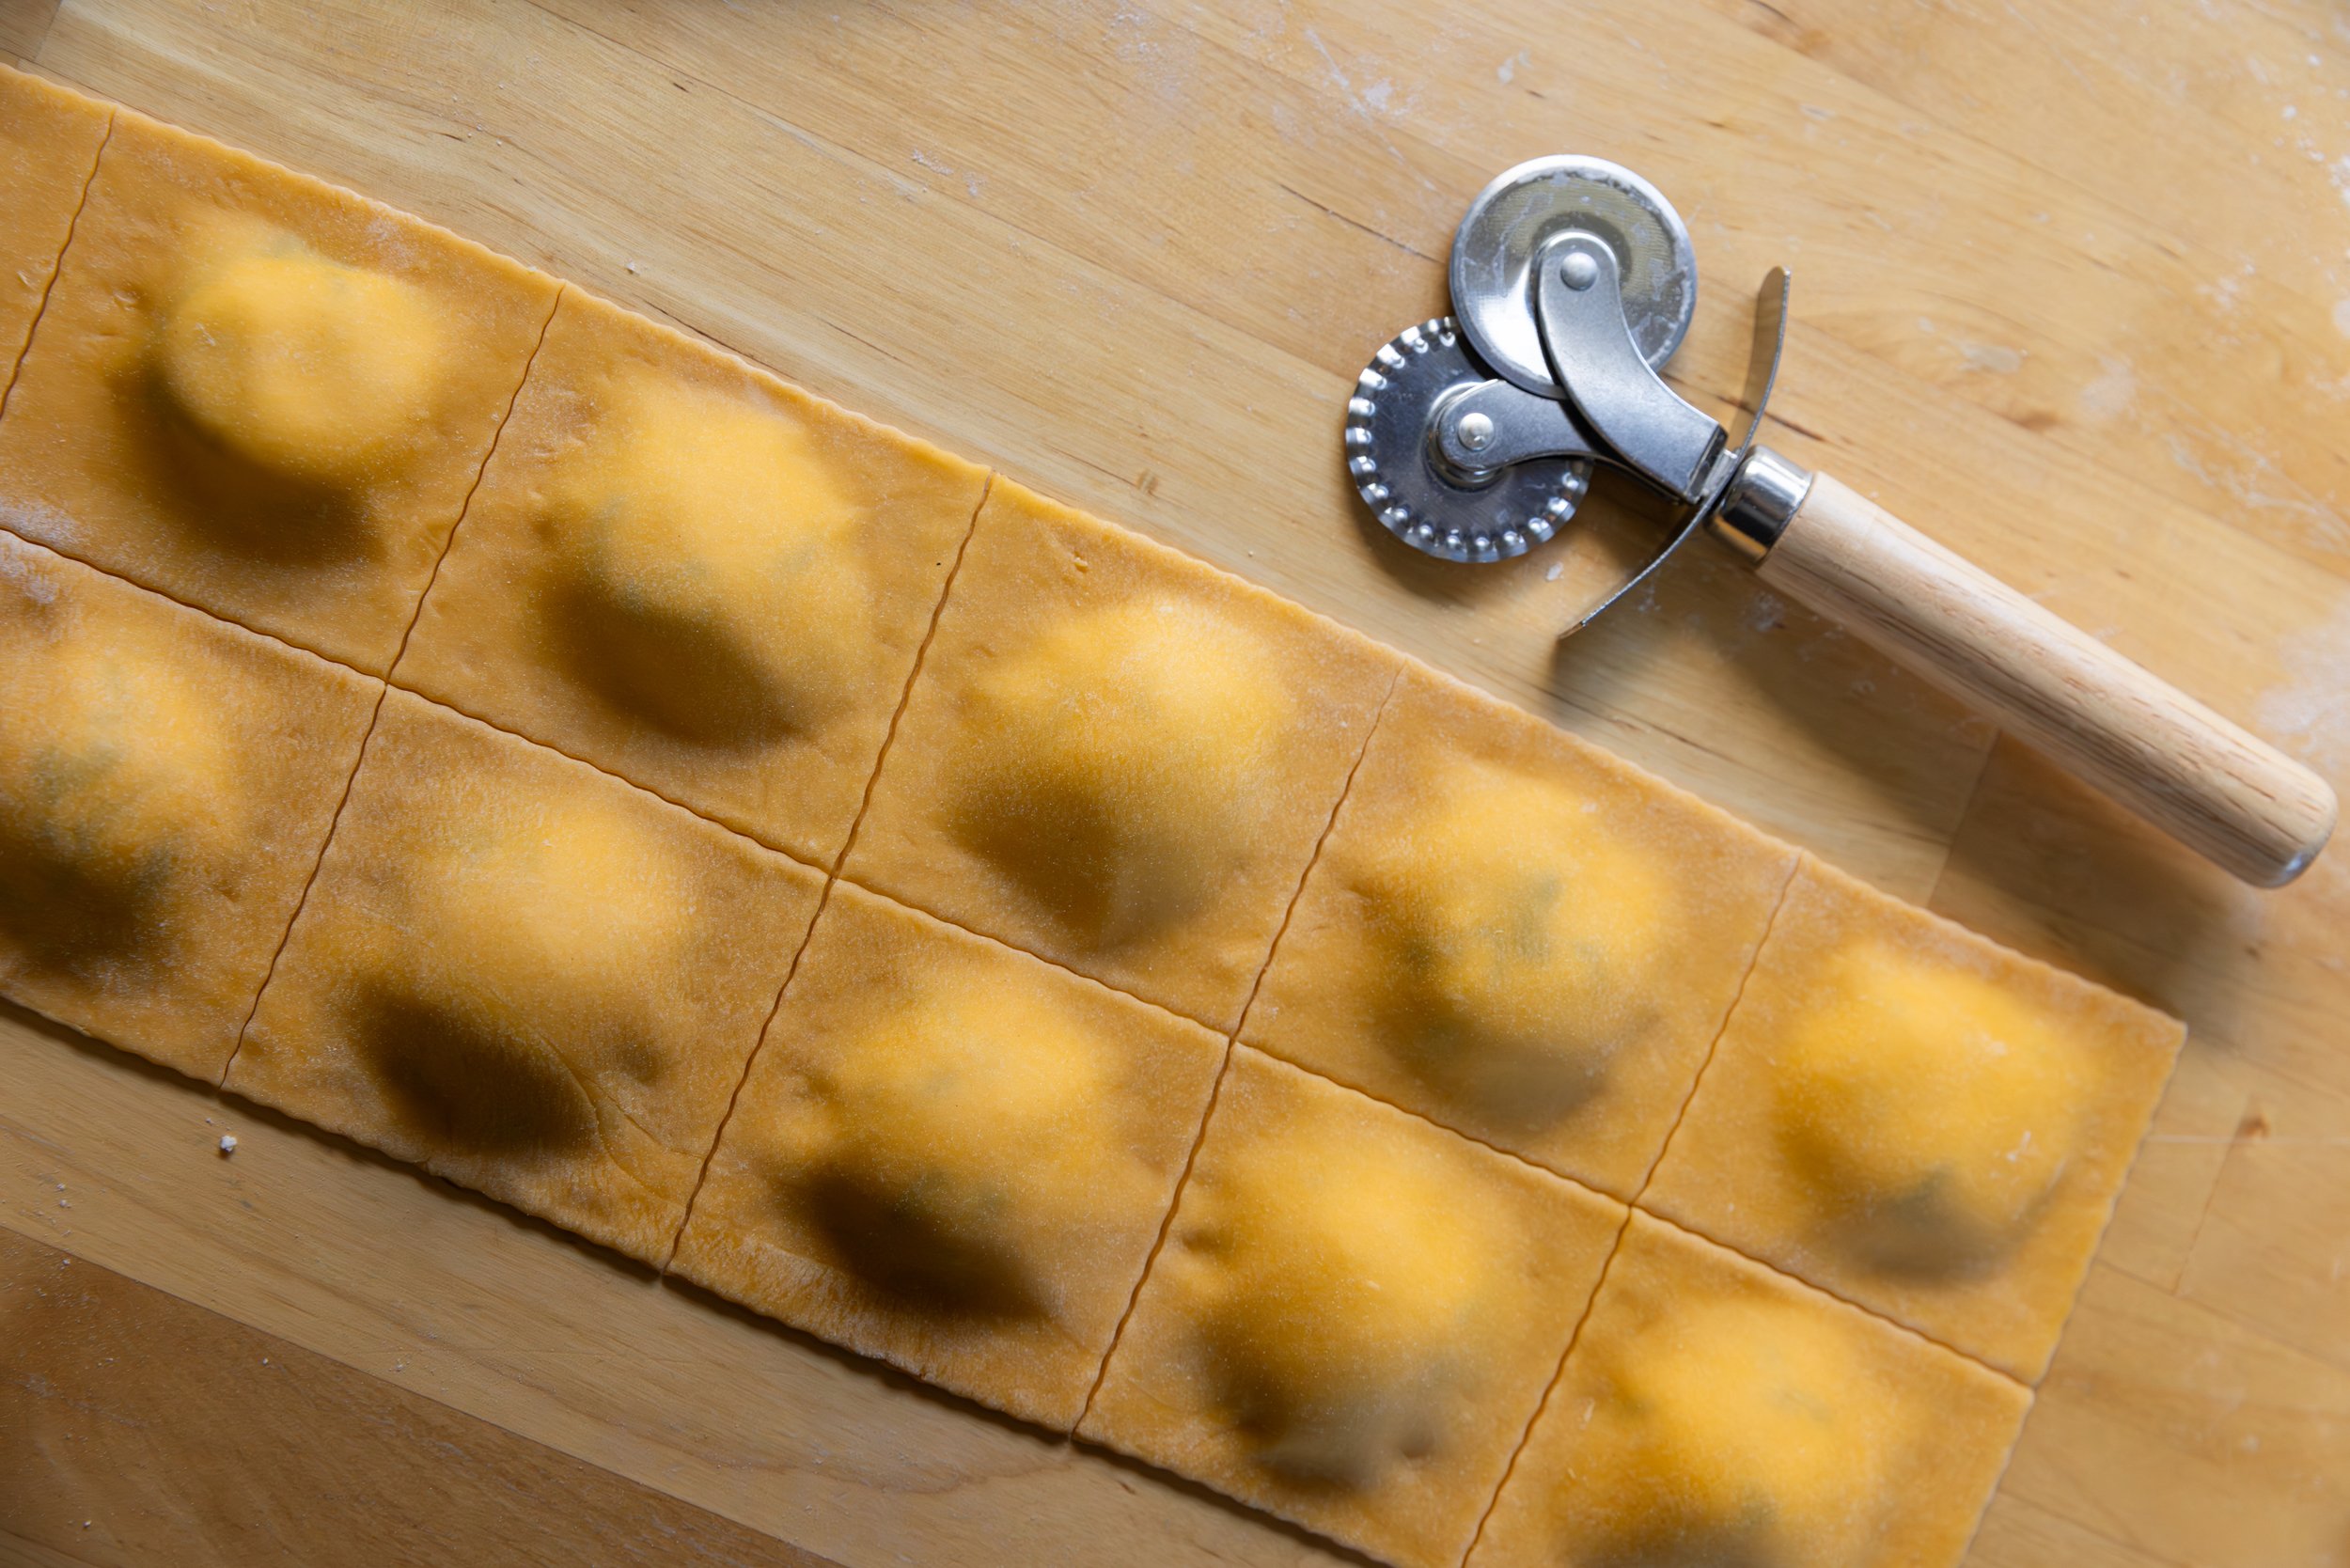
Once it is wet, you can gently place the second sheet over top of the first. Use your fingers to work the dough over the filling and seal the two sheets together as you go, doing your best to avoid air bubbles.
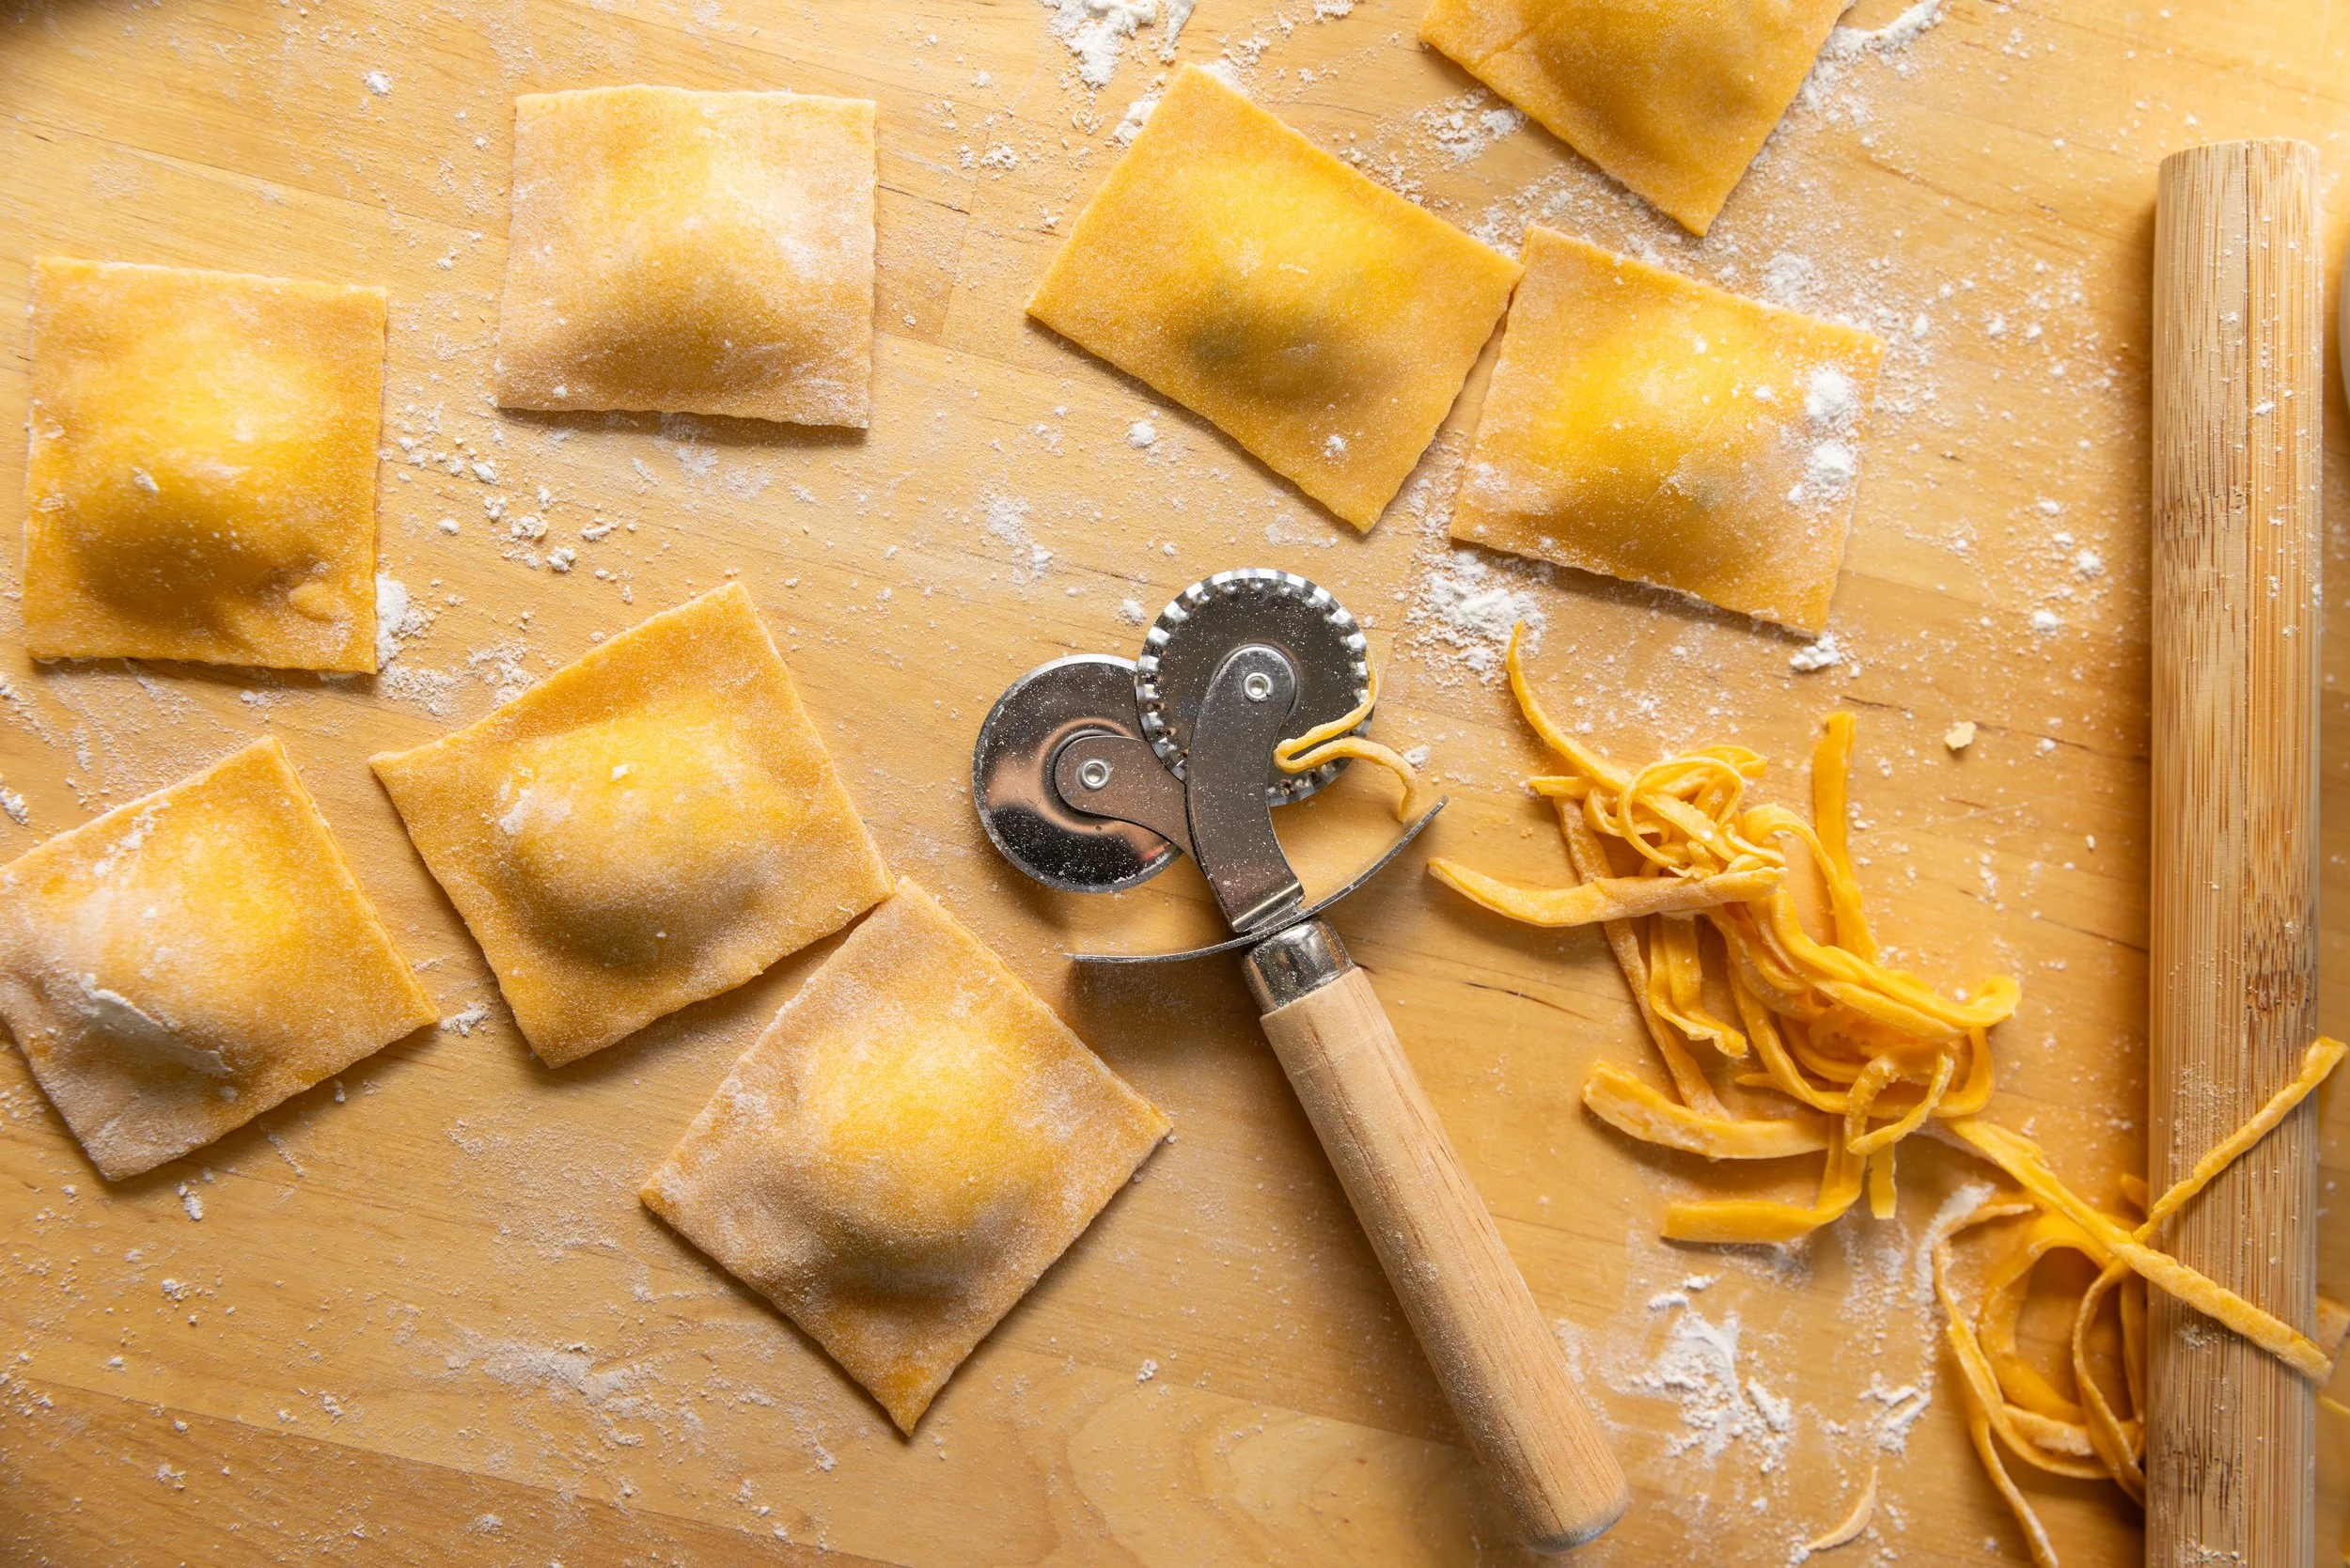
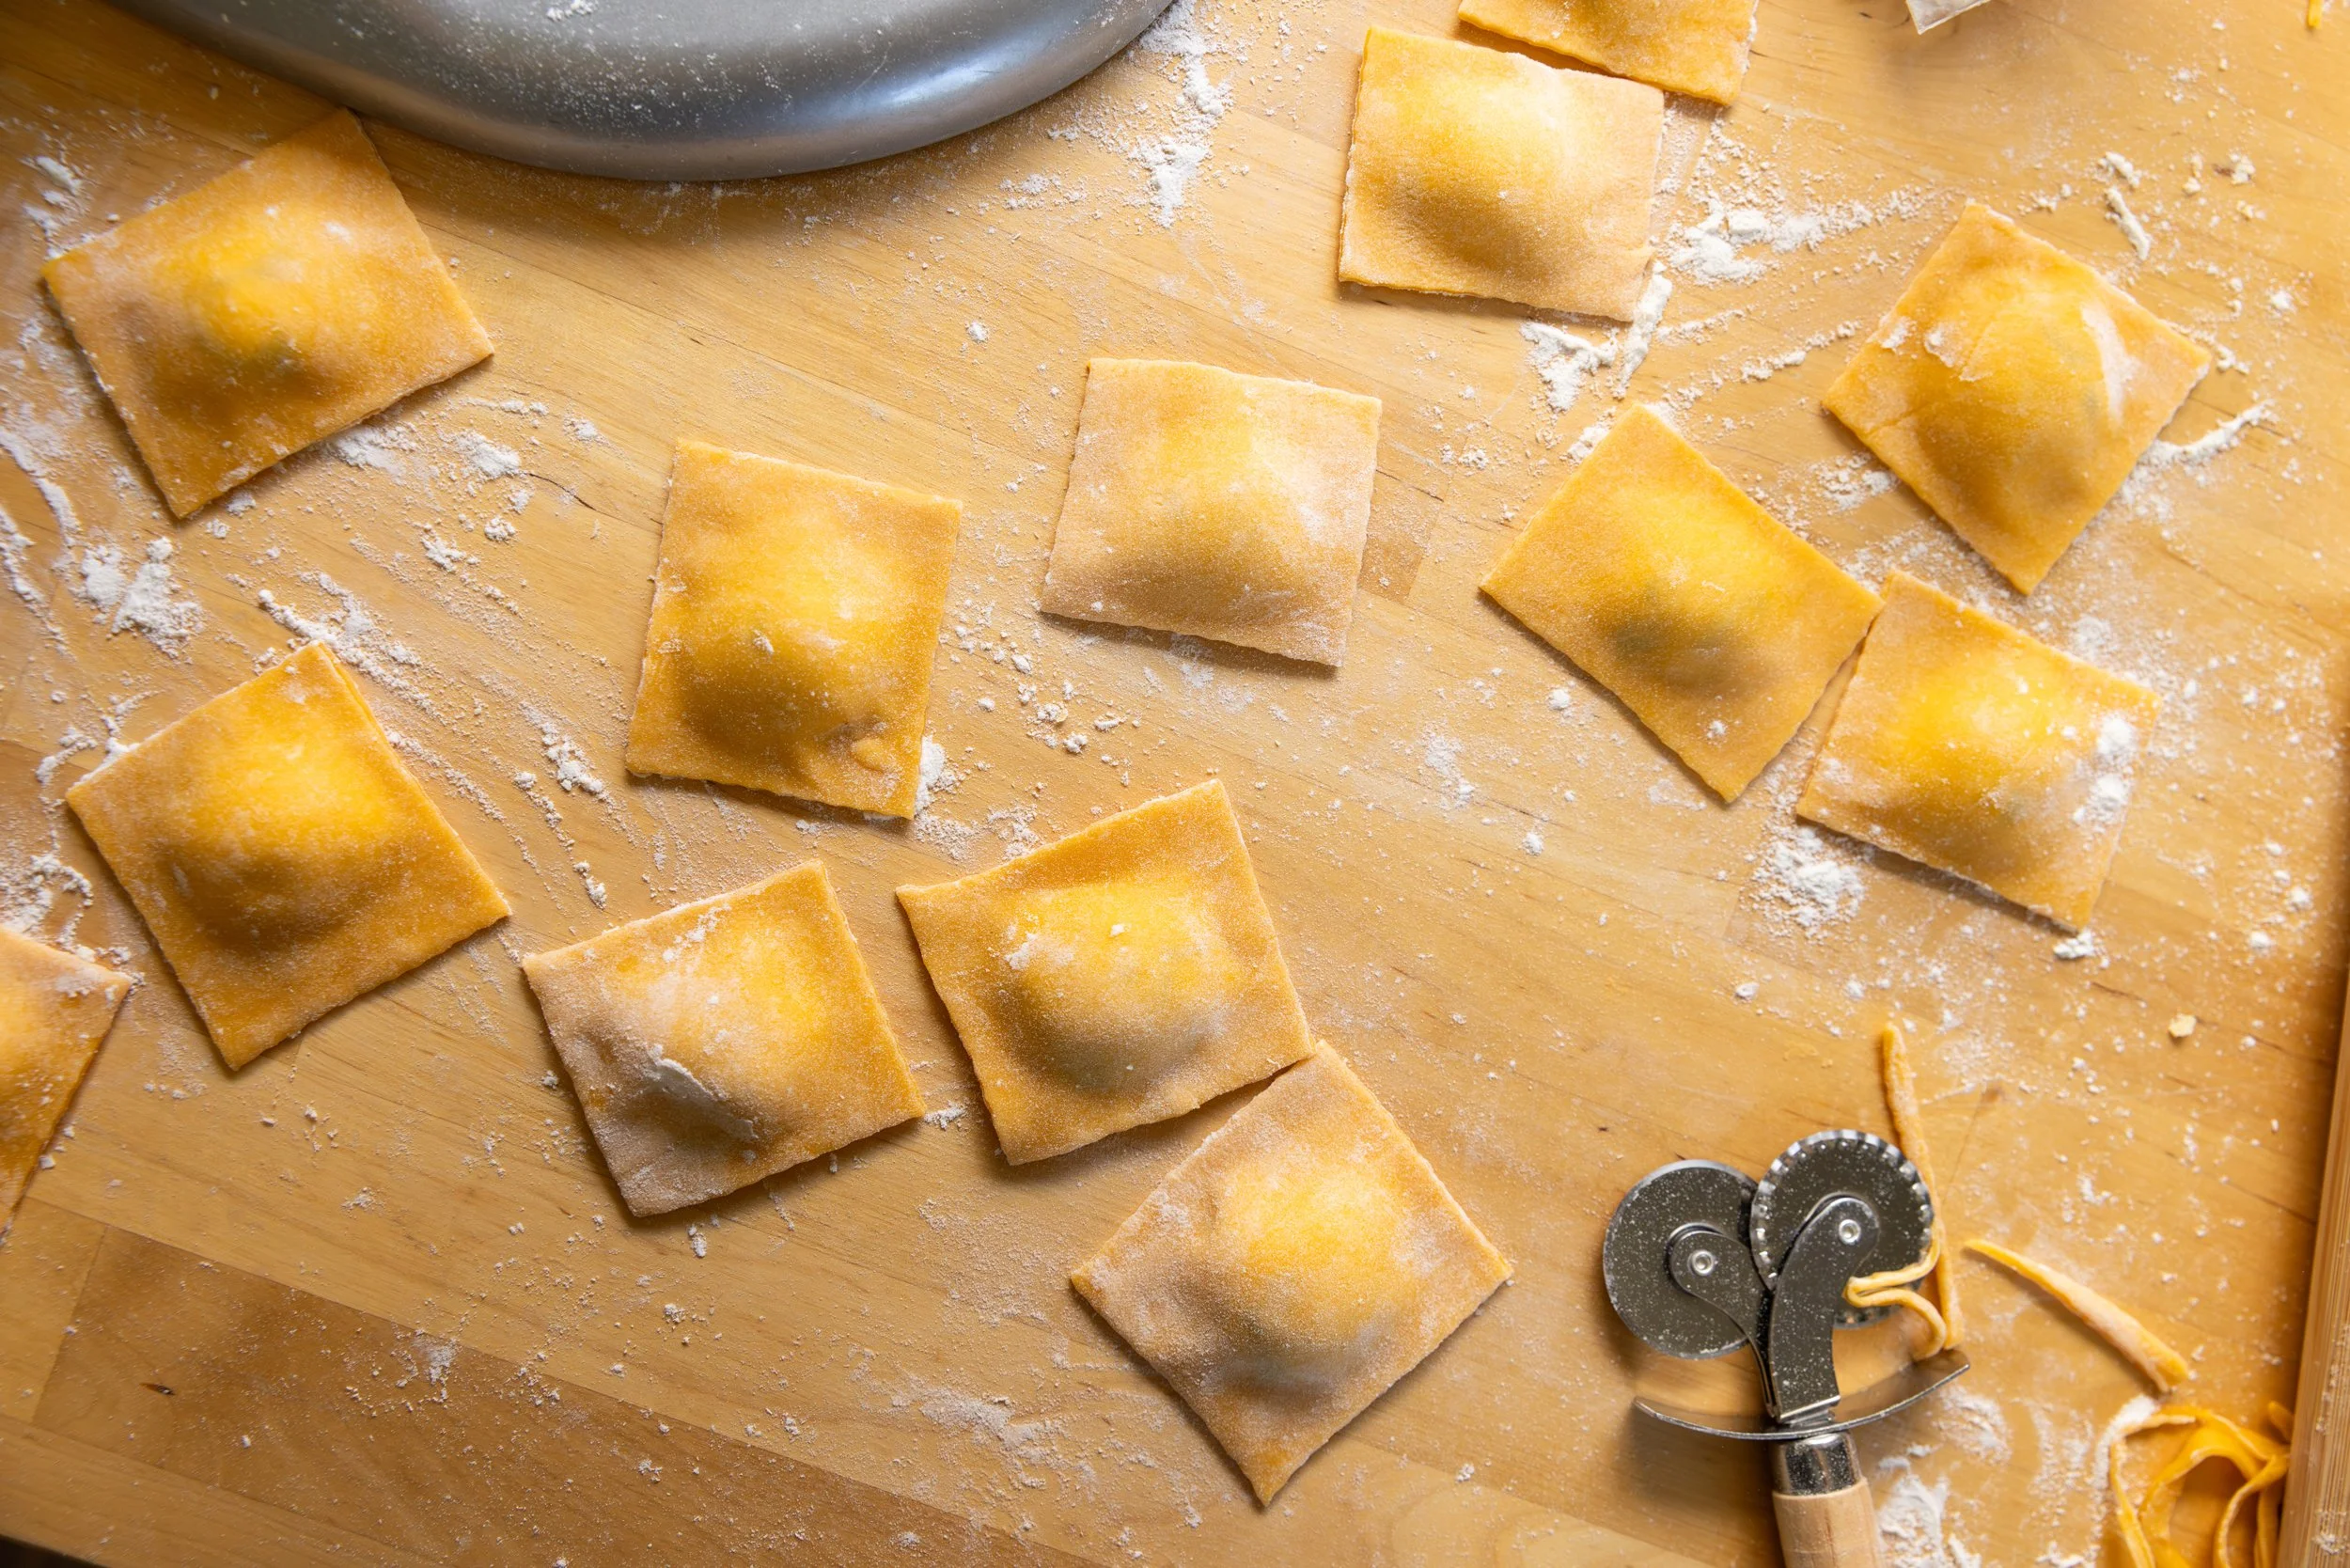
Sprinkle with a bit more flour and then using your ravioli crimper (or a sharp knife) trim off any excess pieces you need to. After that you can cut the pasta into evenly sized raviolis!
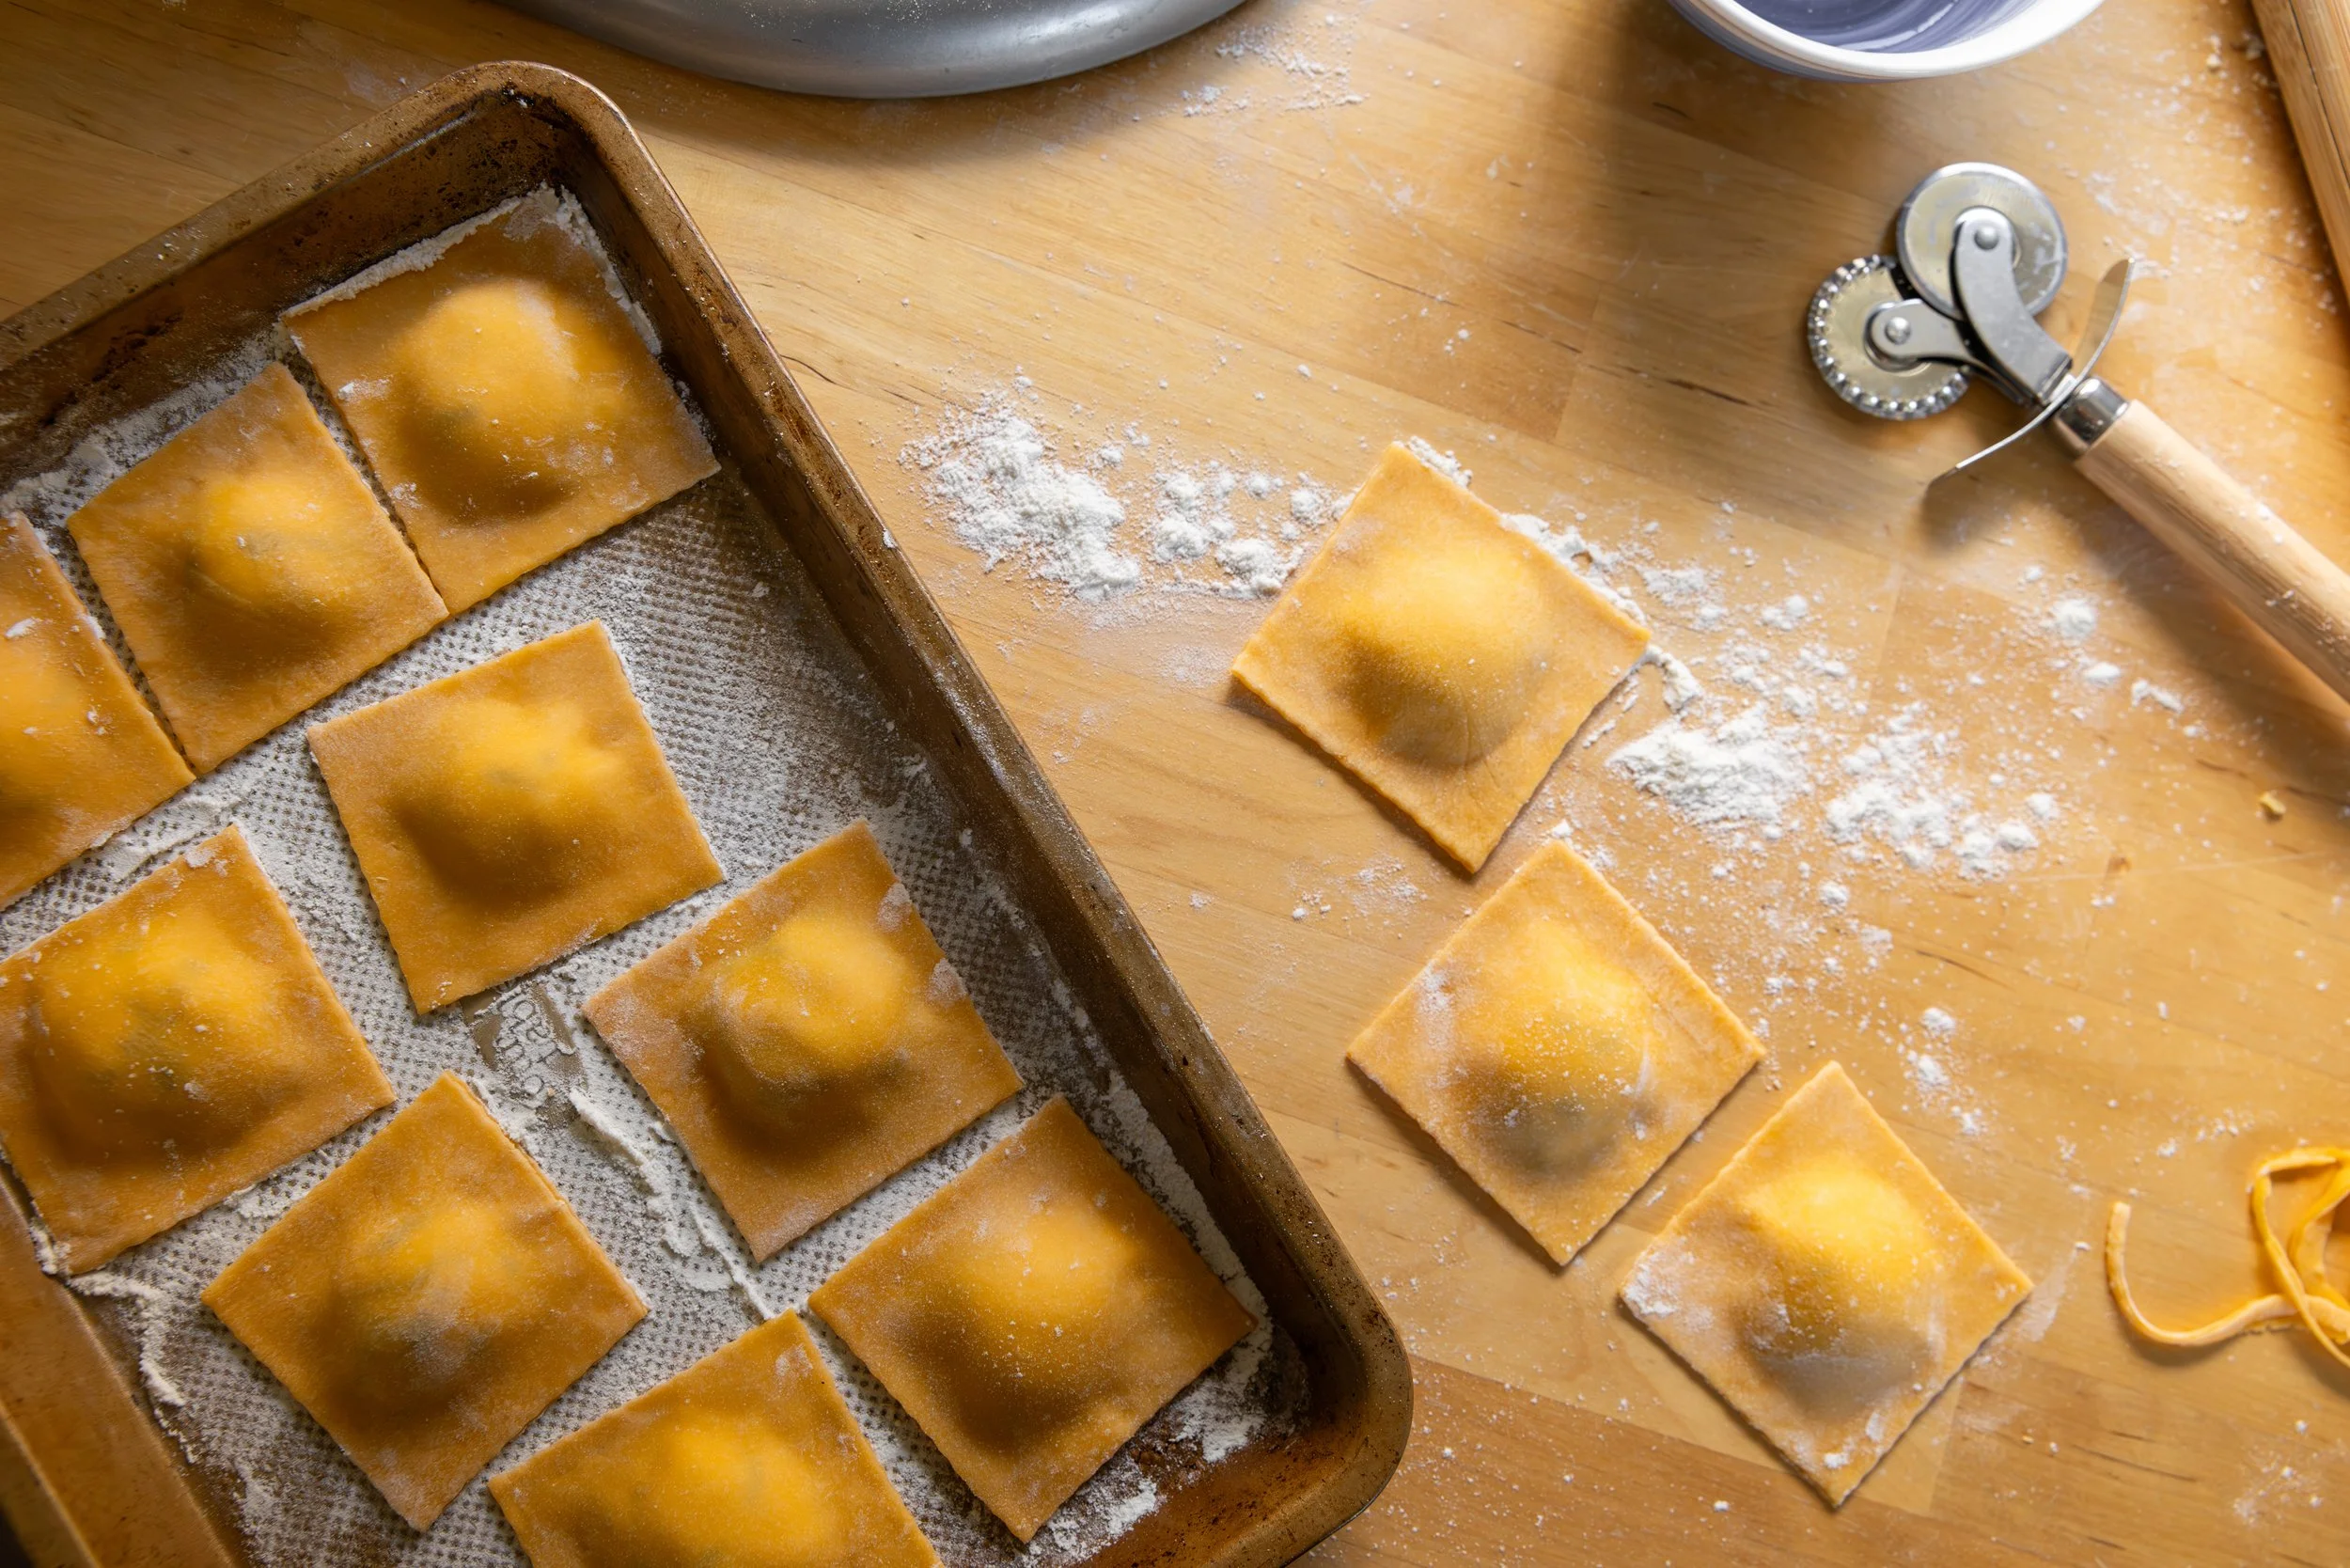
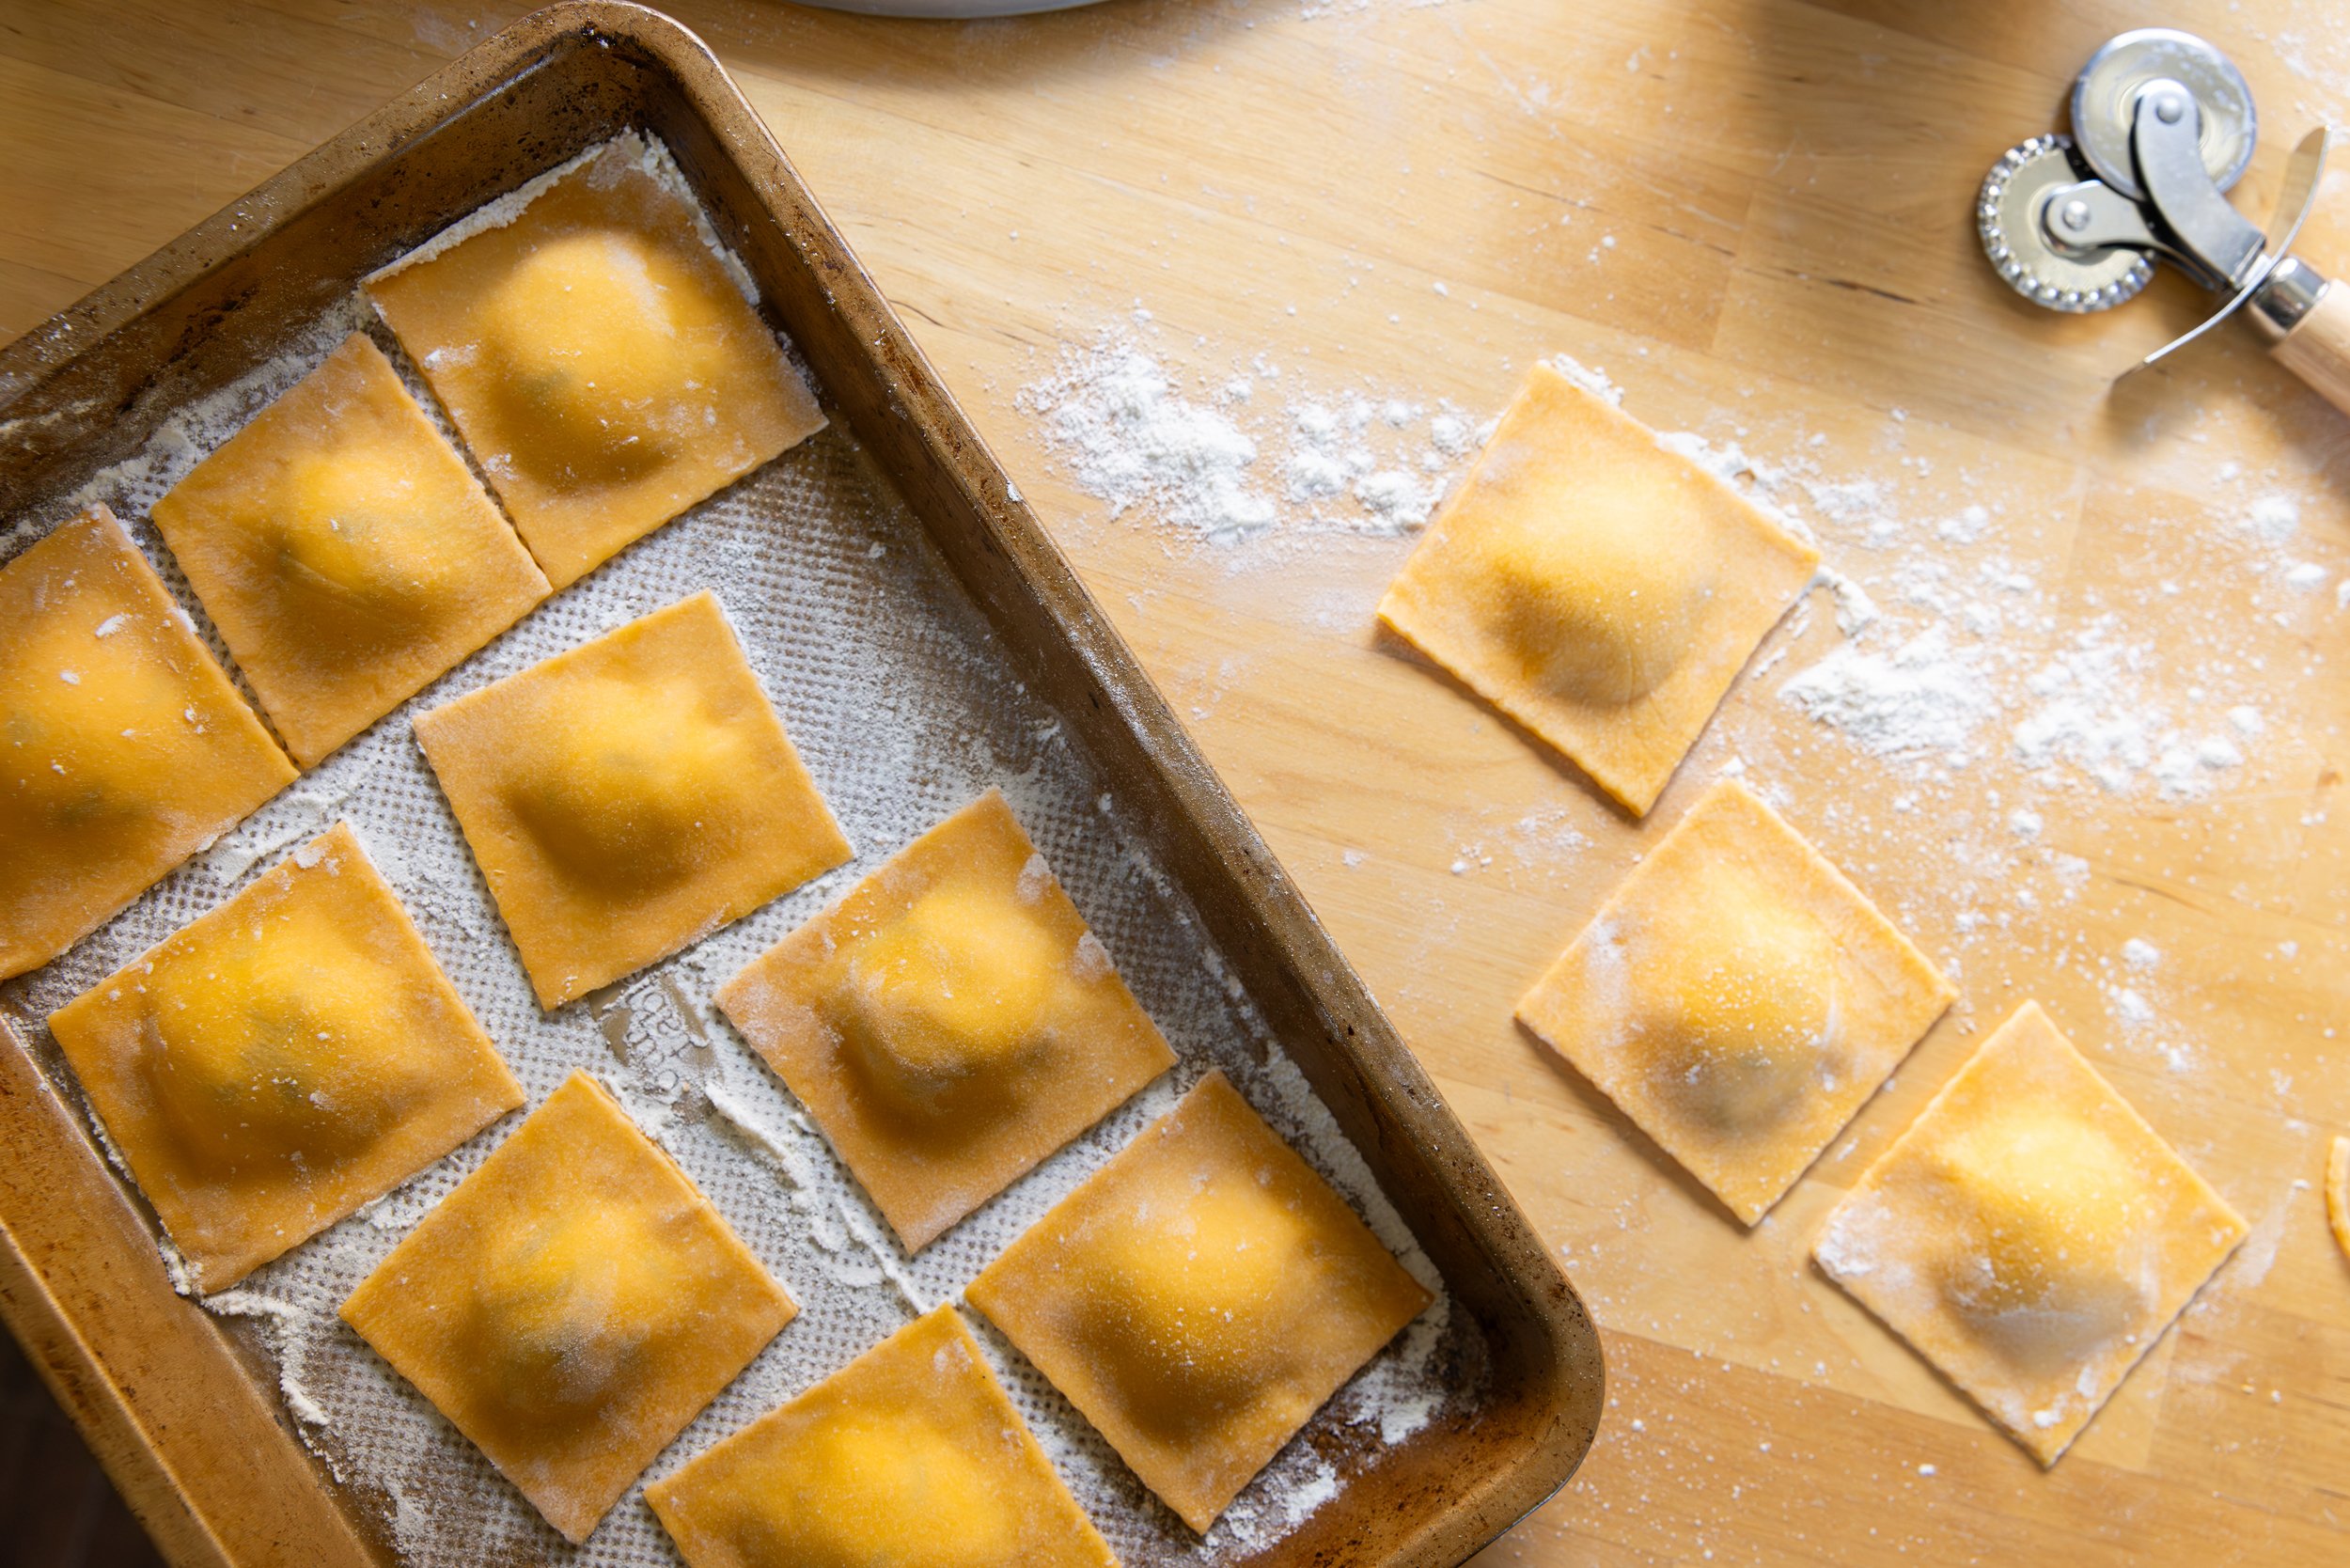
If you’re not using immediately, place the ravioli on a floured baking sheet, cover and place in the fridge. You can also put them (uncovered) in the freezer, if you want to make a large batch. Wait until the ravioli is frozen through and then add them to a seal freezer bag to keep for a month or two.
Repeat the process with the remaining dough and filling.
To cook, place in a well salted pot of boiling water – fresh pasta will only need a few minutes to cook – it might be a good idea to test with a single ravioli so you know how long yours should take. Frozen will take an extra minute or two.
As for sauce, that’s up to you. I like browned butter sauce, or white wine and garlic sauce so that the ravioli can shine on its own. Whatever you feel like making, make sure that the sauce is ready to go before you put the ravioli into the pot.
Enjoy the process and don’t be afraid if your first batch isn’t pretty – it will take good either way!