BCLiving

october162020_miso_soup_christine_mcavoy-0006.jpg

I find that in many sushi restaurants, the miso soup is about 95 percent broth with a few teeny-tiny bits of tofu, and maybe some seaweed if you’re lucky. Well, at home, you get to control how many extras go in when you make it from scratch, and it’s actually super easy.

The issue for me with most of the instant versions of miso soup is that they are full of MSG (monosodium glutamate), to which I'm allergic, so making it myself helps me control exactly what is going into the soup.

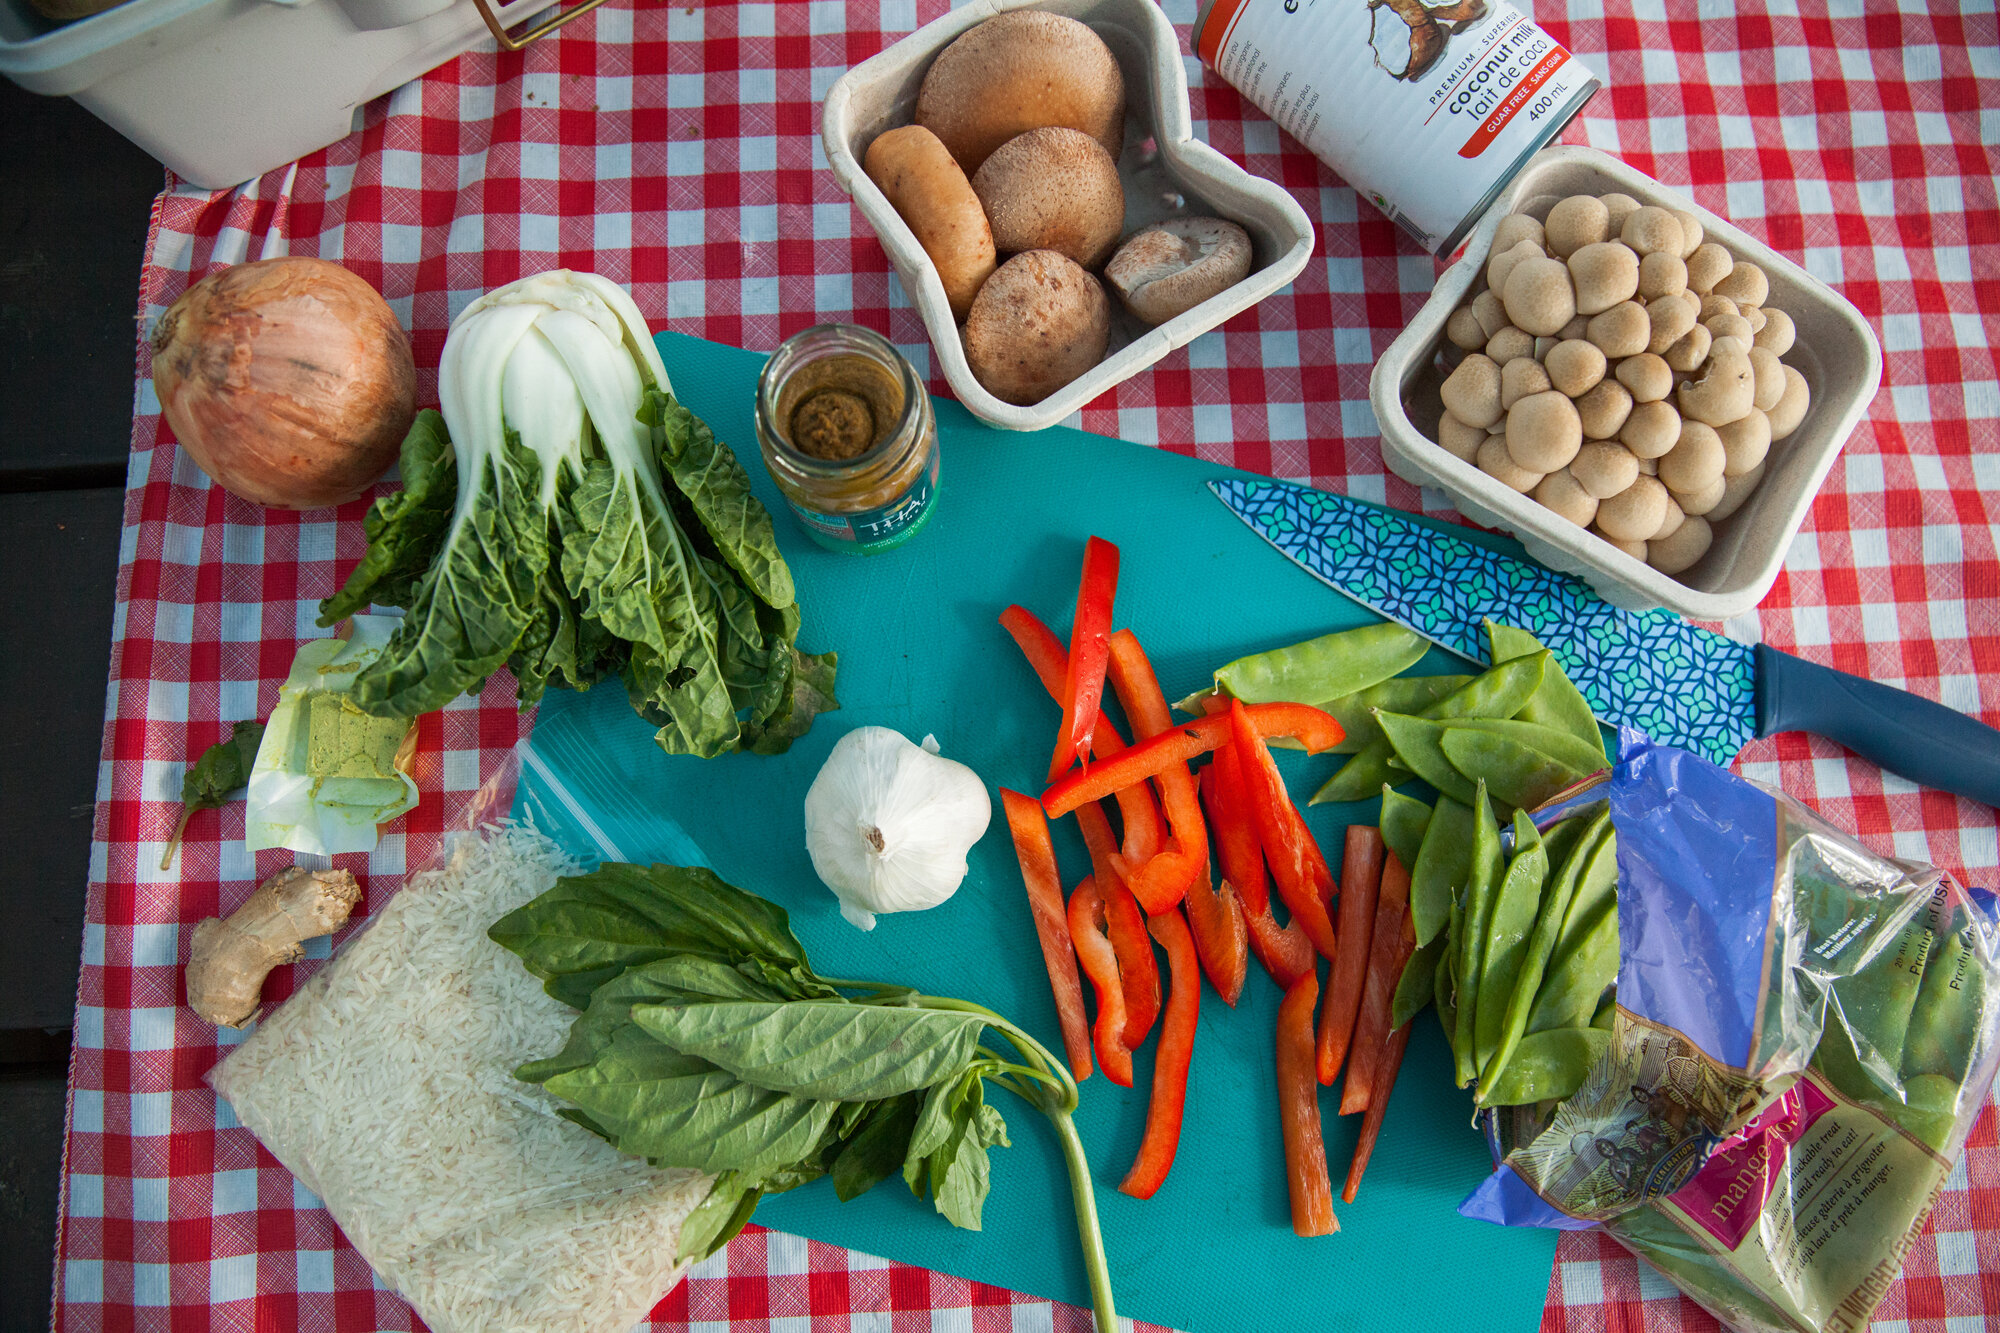
If you're not a purist (seaweed, tofu, green onions), you can load up your miso soup with other veggies. My next batch I might add mushrooms, but you can toss in lettuce, onions, clams, bean sprouts, carrots, eggplant, anything! Just make sure that you add anything that needs to cooked/softened before you boil the dashi (instructions below).

INGREDIENTS

  • 4 cups dashi (for vegan stock, follow this recipe)

  • 3 tbsp brown miso

  • 2 green onions, thinly sliced

  • Silken or medium tofu, cubed, at least 1 cup, more if you'd like

  • Wakame seaweed

INSTRUCTIONS 

  1. Make the dashi ahead of time (I made the vegetarian version with just the kelp, soaked in water overnight).

  2. Add 4 cups of dashi to a pot and bring to a boil, then simmer.

  3. Two options here: place miso in a small bowl and add a bit of the hot dashi, stirring to dissolve or add miso to the pot and whisk until dissolved. Make sure soup does not come to a boil.

  4. Add the tofu after the miso is broken down and heat through.

  5. In a pot or bowl, rehydrate the wakame seaweed (some packages have instructions) in lukewarm water for about 15 minutes. Then, drain and cut up into smaller pieces. Start with a small amount—you’ll be surprised at how much it grows.

  6. Place some of the seaweed in a serving bowl, and add approximately 1 cup of the miso soup with tofu. Top with green onions and you're ready to eat!

NOTE: The homemade dashi should last about a week in the fridge. If you double the dashi, you can freeze it for a quicker soup another day!

Makes 4 cups

Pasta Fazool
from 3 Recipes for Soup Season - for BC Living
November 10, 2020


This soup is also called pasta e fagioli, but saying pasta fazool is so much more fun. It is hearty, full of veggies and beans, and tiny, tiny pasta pieces. If you need a solid dinner after a hard day at work or a workout, then this is for you. It's super easy, especially if you can chop your veggies in a food processor, and I had almost all the ingredients in my house already.

There are a ton of different variations on this recipe. Add in some sausage for protein, toss in some leafy greens, or maybe change up the beans if you have something different on hand (chickpeas, for example). If you're vegan, skip the sausage or find some vegan sausage to toss in and sprinkle some nutritional yeast on top or vegan Parmesan, instead of regular Parmesan, which is the usual topping. 
 

INGREDIENTS

  • 1 large can of crushed tomatoes, organic if available

  • 1 can of white kidney beans

  • 5-6 cups of veggie stock, homemade from the freezer is perfect for this

  • 3 cloves of garlic, minced

  • 1 onion, finely chopped

  • 2 stalks of celery, finely chopped

  • 2 carrots, peeled and finely chopped

  • 2 mild Italian sausages, optional (vegan, if required)

  • Handful of kale or other leafy green, roughly chopped, optional

  • 1 tbsp of olive oil

  • 1 tsp of Italian seasoning

  • Salt and pepper

  • 1 cup of ditalini (short macaroni) pasta (macaroni is a good substitute if you can't find ditalini and brown rice or gluten-free are also good options)

  • 1 tbsp of Parmesan, optional (vegan, if required)

  • Fresh basil, chopped for topping, optional

INSTRUCTIONS 

  1. Finely chop the garlic, onion, carrots, and celery (I did it in a food processor to save time).

  2. Heat olive oil in large pot, then add chopped onion, garlic, celery, carrots and seasoning and stir.

  3. Cook for 15 to 25 minutes until softened and reduced in volume by at least half (the water will evaporate).

  4. If using sausage, remove from casing and add to the pot, breaking it up with a spoon and cooking until it is no longer pink. You may need to use a splash of stock after this to deglaze the pan.

  5. Add crushed tomato and 5 cups of stock and bring up to a boil, then simmer for 15 to 20 minutes (with a lid on) until it reduces slightly. If you want a thicker soup, you can cook it down some more. If it needs to be thinned out some more, add more stock.

  6. In a separate pot, boil some salted water, and then cook the pasta until just al dente. Drain and cool with cold water, then drain again.

  7. In the main pot, add kidney beans, salt and pepper, and stir, cooking for a few minutes until the beans are heated through.

  8. Two options here: you can stir the pasta directly into the pot if you’re going to be consuming it all within the next few days. If you are going to freeze some of the soup, do not add the pasta as when you reheat it, the pasta will expand and become soggy. Instead, cook fresh pasta the day you’re reheating it.

  9. Serve in bowls with additional pepper on top, optional Parmesan, nutritional yeast (or cashew Parmesan) and fresh basil.

NOTE: If using kale or other leafy greens, add them when you add the tomato and stock.

Serves 6

Butternut Squash Soup
from 3 Recipes for Soup Season - for BC Living
November 10, 2020


This one is going to make your house smell heavenly when the squash is roasting in the oven. There's not much more you can do to make this soup any better, except maybe do yourself a favour and make a double batch so you can freeze some for one of the grey winter days ahead. This recipe is dairy- and gluten-free—and vegan if you skip the Parmesan. 

INGREDIENTS 

  • Olive oil

  • Kosher salt

  • Dried rosemary

  • Sprinkle of cumin

  • 1 large or 2 small butternut squash, halved and seeded

  • 1 onion, diced

  • 4 cloves garlic, roughly chopped

  • 4 medium-sized carrots, chopped into rough cubes

  • Fresh ginger, peeled and chopped, about a thumb-sized amount

  • 1 to 2 cups vegetable stock (homemade is best, but low-sodium is good too)

  • 1 can coconut milk

  • 1 tbsp cumin

  • Salt and pepper to taste

  • Optional toppings: red pepper flakes, pumpkin seeds (pepitas), Parmesan

INSTRUCTIONS 

  1. Preheat oven to 350 F.

  2. Slice squash in half lengthwise and de-seed, then place on a lined baking sheet, face up, and drizzle with olive oil, sprinkle with kosher salt, dried rosemary and cumin.

  3. Place in oven for about an hour, until the squash is nice and soft, especially through the thicker areas, then remove and let cool fully so you can peel off the skin.

  4. While squash is cooling, heat about a tablespoon of olive oil in a large pot, then sauté onions and garlic for a few minutes until the onions become translucent.

  5. Add the chopped carrots, ginger and 1 cup of stock and simmer until carrots are soft, approximately 15 minutes. Add a bit of salt and the tablespoon of cumin, stir, cover and simmer on low.

  6. Peel the skin off the squash with a spoon or scoop and add it to the carrot and onion mixture.

  7. Transfer to a blender and purée until smooth, adding extra vegetable stock if it is too thick (you can also use an immersion blender in the pot to purée).

  8. Transfer the soup back to the pot, pour in the coconut milk, stir and simmer for a few minutes until it is heated through.

  9. Taste and add more salt and pepper if needed.

  10. Pour soup into bowls and top with optional red pepper flakes, pumpkin seeds, Parmesan and a sprinkle of fresh pepper.

Serves 6 

I wrote a few recipes for BC Living from when I went camping on the August long weekend (at Twenty Mile Bay) - Gourmet Camping Recipes for Your Next Camping Trip.

Some of them are long, so I figured I’d break each of them down into their own posts (means extra photos too!) - the first being Jackfruit Tacos (click for recipe), followed by breakfast with a Chickpea & Potato Breakfast Hash (recipe for that here), and finally we have Green Curry.

You can 100% make this at home (any of them really), but a lot of the tips are for how to prep before you leave, and minimize effort at the campsite.


Skip the roasted weenies and indulge in these easy-to-make camping recipes! These dishes might look fancy, but much of the prep work can be done at home (and then frozen), and all of them can be done on a camp stove if there's a fire ban. Oh, and they can also all be made vegan!

So make your grocery list, get shopping and start prepping these delicious and nutritious camping meals...”


Green Curry with Ginger Rice (paired with The Hatch 2019 B. Yanco)

While this may sound way too fancy for a camping meal, it’s essentially a one-pot production that you barely have to monitor. The second pot comes into play if you want to make your rice fresh at the site, but you could make it ahead of time at home and just mix it right into the curry.

Another good thing about this dish is that if there is leftover veg from breakfast (think onion, peppers, potatoes, etc.), you can toss them right in here. No waste and you can chop everything in the morning, meaning more time on the beach.
Once again, this can be made vegan by eliminating the chicken (which I diced and froze ahead of time so by night two it was ready to go and I didn’t have to handle raw chicken on site), or substituting in some tofu, as the rest of it is just veggies!

INGREDIENTS

  • 1 tbsp olive oil

  • 1 can coconut milk

  • ⅔ cup water (approx.)

  • 1 vegetable bouillon cube

  • 2 chicken breasts, diced

  • 1 small onion, diced

  • 2 cloves garlic, minced

  • 2 tbsp (possibly more to taste) green curry paste

  • About 200 g of mushrooms (your choice, but I went with shimeji and shiitake)

  • ½ red pepper, cut into strips

  • 1 or 2 baby bok choy, roughly chopped (spinach works too)

  • About 20 snap peas, ends trimmed

  • Thumb of ginger (optional), sliced

  • 1 cup jasmine rice

  • Basil, optional

INSTRUCTIONS

  1. Cook the rice in a pot to the specifications on the package (adding in some optional ginger for flavour, removing after rice is finished) and set aside.

  2. In a pan, heat the olive oil on medium and then add the onion, sautéing for a few minutes, before adding the garlic and the green curry paste.

  3. Add in the chicken if you are using it and cook until just no longer pink.

  4. Add the coconut milk into the pan and stir until the paste has been dissolved. Then add in the mushrooms and red pepper. You may need to thin the sauce out more here, depending how you like your curry. If so, dissolve the bouillon cube in the two-thirds cup of water, and then add it to the pan. (You can transfer to a large pot if your pan doesn’t fit this.)

  5. Bring to a boil and then turn to low and let it simmer. You can taste and see if you need more curry paste (if so it may be easiest to dissolve it in a small bowl with a bit of the curry broth, and then add it in).

  6. After the liquid has reduced a bit, and you have the spices where you like, add in the bok choy and the snap peas and cook for a few minutes until just tender (you want a bit of crunch to them still).

  7. Turn off the heat, plate the rice (with the ginger discarded) and then scoop the curry mix on to it. Tear the basil and add on top (optional) and enjoy the view.

  8. Drinks: There’s not much you can’t pair with a spicy curry, but a cold, dry, white wine is a sure bet. I tried The Hatch Winery’s B. Yanco a few months back from the Stable House Bistro takeout window, and fell in love. I’ve paired it with so many meals since, and on the beach as the sun went down sipped on between bites of this dish was another success.

I wrote a few recipes for BC Living from when I went camping on the August long weekend (at Twenty Mile Bay) - Gourmet Camping Recipes for Your Next Camping Trip.

Some of them are long, so I figured I’d break each of them down into their own posts (means extra photos too!) - the first being Jackfruit Tacos (click for recipe), and now I present Chickpea & Potato Breakfast Hash.
It’s vegan up until you add the optional egg(s), so you decide what you’d like!


Skip the roasted weenies and indulge in these easy-to-make camping recipes

These dishes might look fancy, but much of the prep work can be done at home (and then frozen), and all of them can be done on a camp stove if there's a fire ban. Oh, and they can also all be made vegan!

So make your grocery list, get shopping and start prepping these delicious and nutritious camping meals...”

Chickpea & Potato Breakfast Hash (paired with Creek & Gully Cider, Century Pét Nat)

Chickpeas are so versatile for camping because they obviously keep well, but they can also be used in so many dishes. We showed you this recipe for Curry Chickpea Sandwiches that made for an easy lunch, but now we’re incorporating chickpeas into breakfast. The best thing about this dish is you can change things up with what's in season when you head to the campground. Zucchini everywhere? Toss it in. Rolling through Chilliwack? Grab some corn. But whatever is in the vegetable crisper will do!

INGREDIENTS

  • 1 can chickpeas, drained and rinsed

  • ½ small red onion, thinly sliced

  • ½ small red pepper, diced

  • 1 tsp cumin

  • ½ tsp paprika

  • 12 small or fingerling potatoes, sliced in half

  • Handful of baby spinach

  • 1 or 2 twigs of fresh rosemary (stems removed)

  • 2 tbsp olive oil

  • 2 eggs (eliminate these to make it vegan, can sub in diced avocado)

  • Salt and pepper

(NOTE: Again, you can add other vegetables like zucchini, mushrooms, sweet potatoes, Brussels sprouts, broccoli, etc., just keep in mind cooking times of each, and if you might have to steam things before tossing them in.)

INSTRUCTIONS

  1. In a small pot, boil some salted water. Boil the potatoes for approximately 5 minutes until just softened (you don’t want them to get mushy). Drain and set aside.

  2. In a large cast-iron pan (don’t be afraid to lug this camping if you have a car, as it’s so versatile) or frying pan, heat a tablespoon of oil and then add the onion, cooking for a few minutes before adding in the red pepper and softening for a few more minutes.

  3. Add in the chickpeas, sprinkle the cumin and paprika on, and stir to combine everything, then add in the spinach and cook until wilted. Bring everything to one side of the pan and add half a tablespoon of oil to the other side and place the potatoes, cut side down, into the pan.

  4. Chop the rosemary finely and sprinkle on top of the potatoes with a bit of salt and pepper. How much rosemary depends on your taste, as it’s pretty powerful. Rotate the potatoes after they brown for a minute on the one side. (Give the chickpea mix a turn here too, as you don’t want it to burn or stick).

  5. If you’re using the eggs, clear a space for them in the pan, and drizzle the last of the olive oil into that area, then crack both eggs, sprinkle with salt and pepper and let them cook. If you have a lid for you pan, now is a good time to put it on so the eggs cook on the top faster, or you could place some tin foil (a camper’s best friend) over the top.(Another idea would be to scramble the eggs in a bowl, and pour them over the chickpeas, and then cook to mix—great if you don’t like your eggs runny.)

  6. Once cooked, evenly distribute on to two plates and sprinkle with any additional salt and pepper needed.

  7. To complement your coffee or tea, you could go the traditional route with a breakfast/brunch drink and have a mimosa, or you can skip the sugary OJ and pair this dish with Creek & Gully Cider. I sampled a few of them on this trip, but the pairing of the Century Pét Nat, was definitely a great call for this meal.

Serves 2”