






Published

RECIPE: 3 Camping Cocktails Worth Packing - for BC Living

Camping Cocktails
for BC Living
July 2026
 
When it comes to camping, most people will likely reach for a ready-made cocktail in a can, but sometimes it’s fun to get a little fancy. 
 
Here are three cocktails worth making from scratch at the campsite. 
(Each recipe makes one serving.) 
 
Maple Syrup Whisky Sour 
 
You’re already among the trees, so why not put some maple flavor in your glass while you’re at it. I used Sortilège, a whisky from Quebec that incorporates maple syrup into the distilling process, and instead of just plain simple syrup, I used a “Plum & Smoke” flavored one from Odd Society here in Vancouver. 
 
- 2 ounces Sortilège (Canadian Whisky and Maple Syrup liqueur)  
- 3/4 ounce freshly squeezed lemon juice 
- 1/2 ounce simple syrup  
- 1/2 ounce egg white * 
- Ice 
- Angostura bitters, for garnish 

Add the whisky, lemon juice, simple syrup, and egg white to a cocktail shaker, and dry-shake for 30 seconds. Then add ice and shake for another 20 seconds until the shaker is chilled. 
 
Strain into a glass, add a few drops of bitters and drag a toothpick (or skewer of some kind) through the drops for garnish. 
 
*Note: Consuming raw or lightly cooked eggs poses a risk, and you can totally skip it if you prefer. 
 
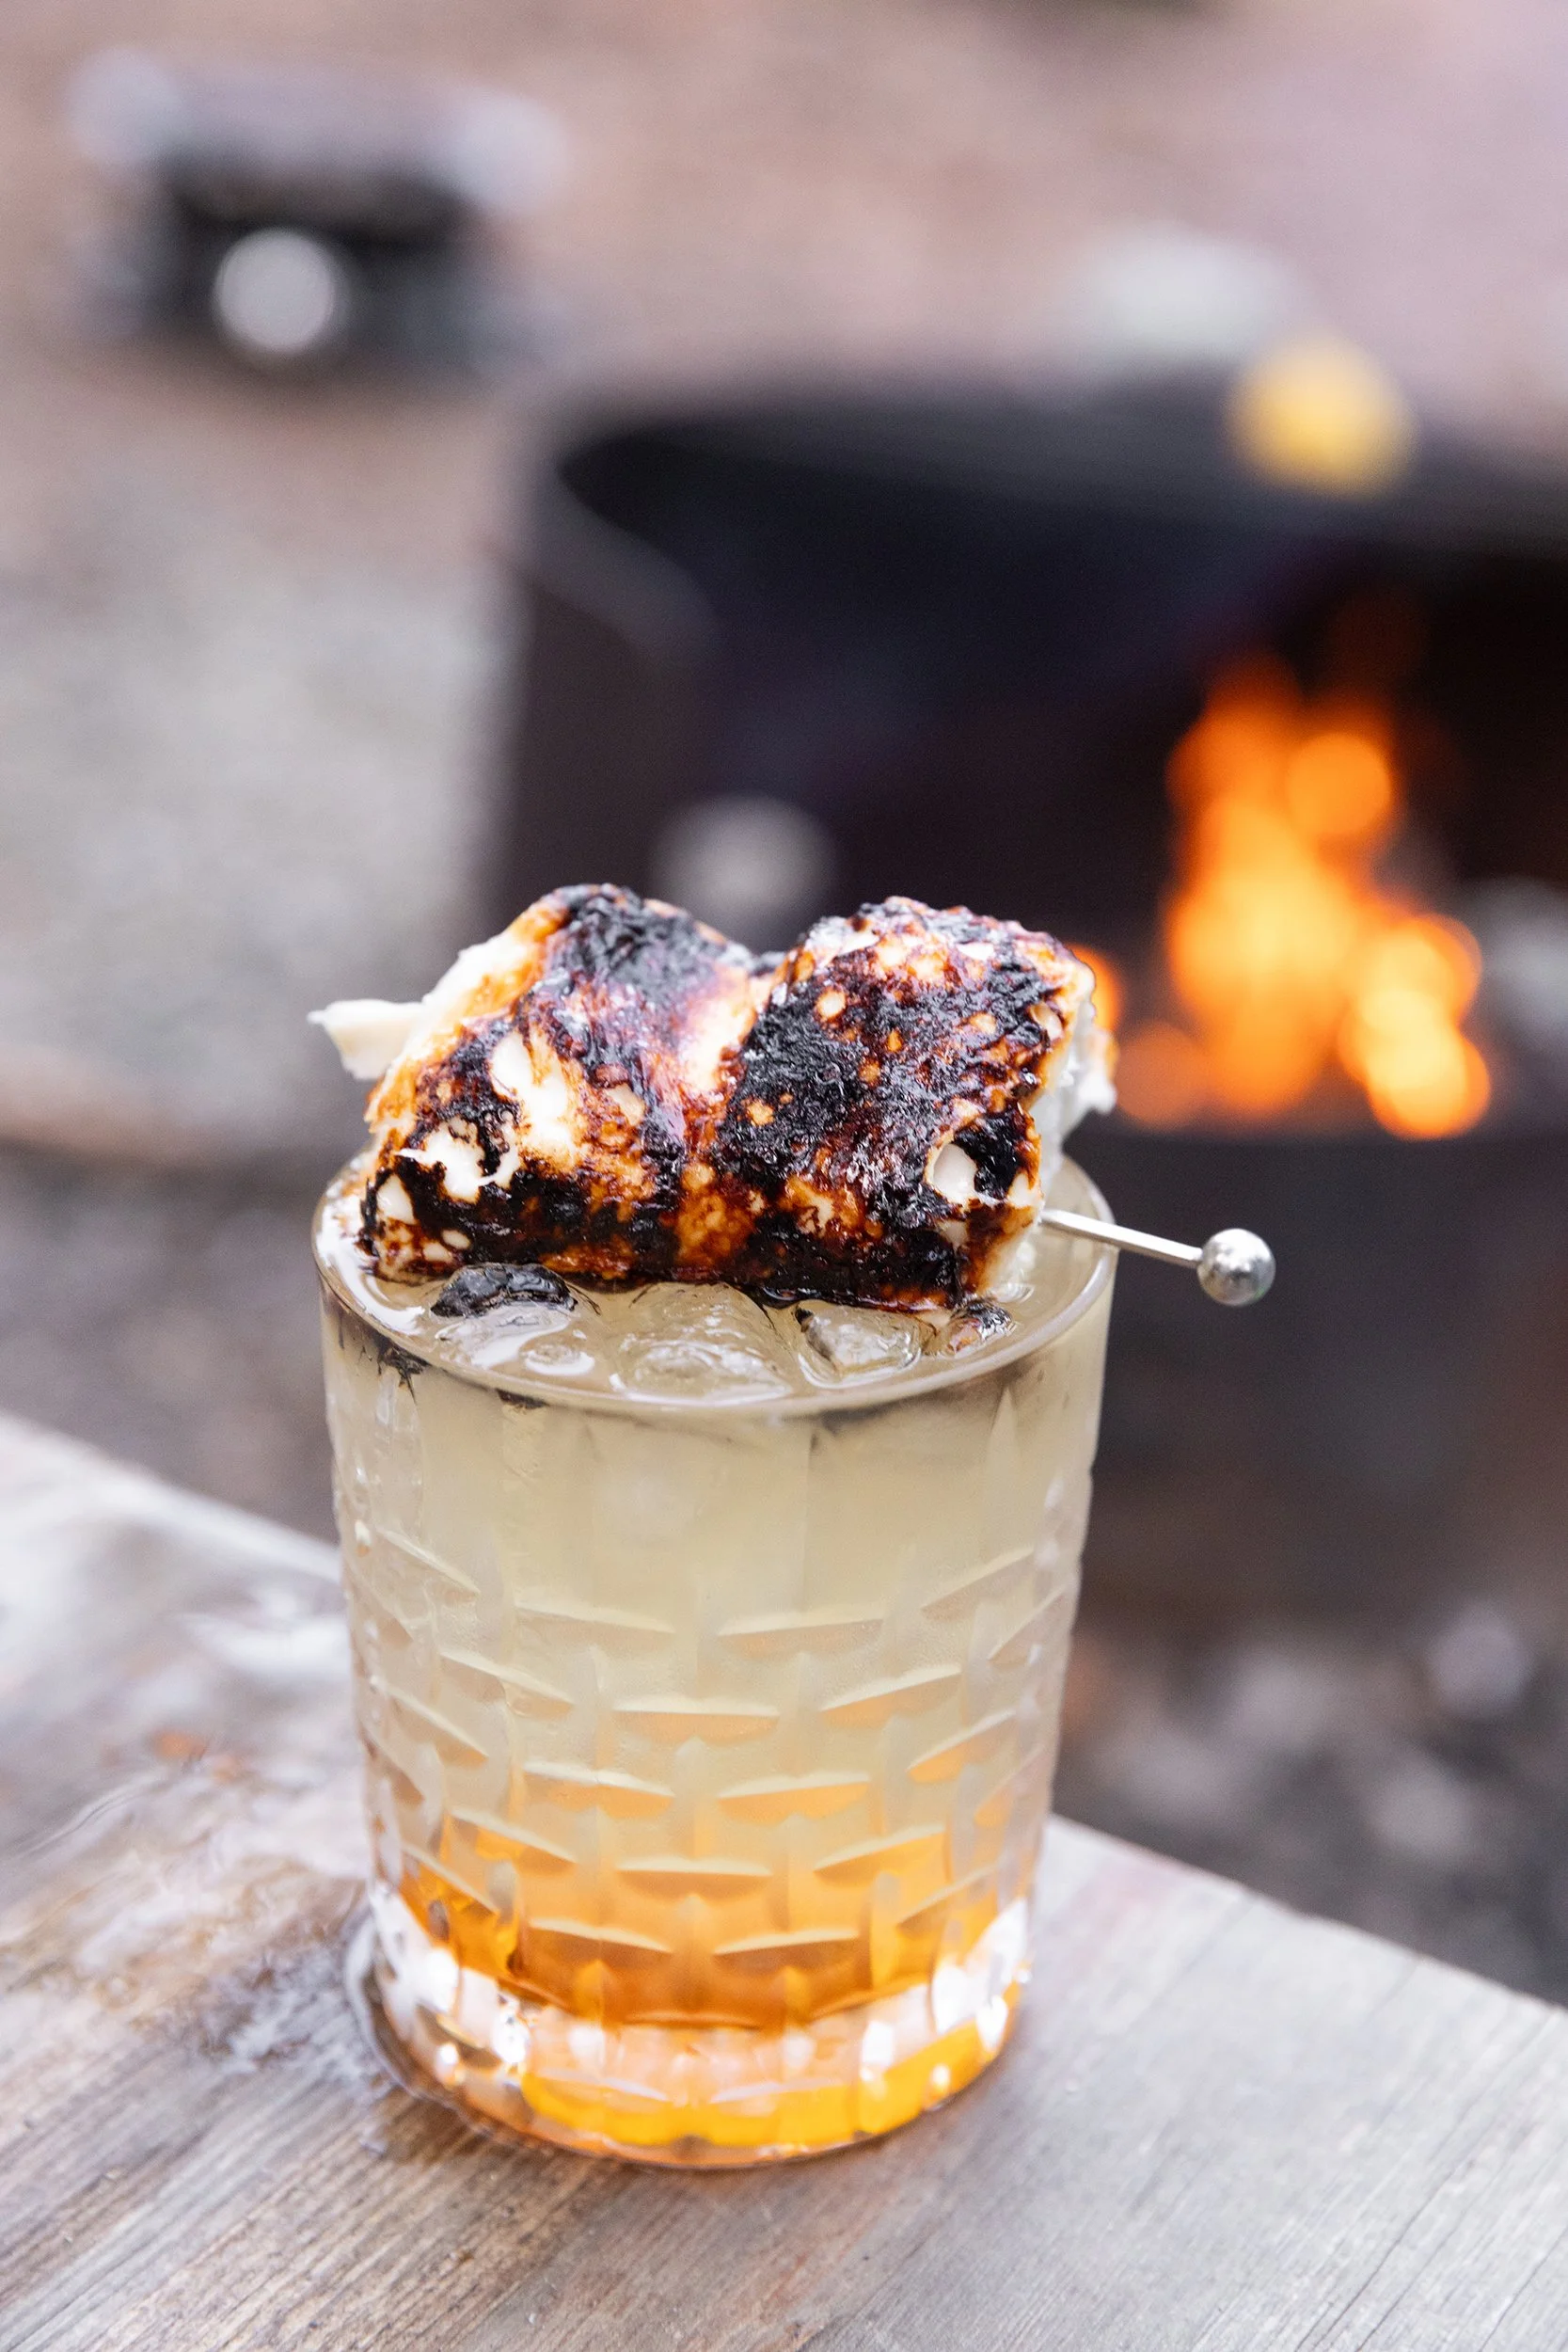
Marshmallow Mule 

The kids won't be the only ones enjoying toasted marshmallows on your next trip as this take on a whisky mule is sure to warm you up.  
Best enjoyed on a spring or fall camping trip or at the end of the day on the lake, you can even toast the marshmallows without a campfire if you bring a kitchen torch with you. 
 
I managed to get a bottle of the limited-edition Burns Bog Peat Smoked Malt Whisky from Odd Society and its smoky character pairs beautifully with the toasted (homemade) marshmallows! 

- ice 
- 1.5 ounces smoked whisky 
- ½ ounce fresh lemon juice 
- ¼ ounce maple syrup 
- ginger beer 
- toasted marshmallows for garnish 
 
Place ice in a rocks glass (or whatever you have at the campsite) and add in the whisky, lemon juice, maple syrup. Give the glass a stir to combine and then top the rest of the glass with ginger beer, giving it one more gentle stir. 
 
Garnish with toasted marshmallows.

 
Cedar Cardinale 

One of my favorite kinds of gin is Tofino Distillery’s Old Growth Cedar Gin and they just so happen to have a negroni recipe on their website. I brought Esquimalt Dry Vermouth with me so instead of a negroni, I ended up making a “Cardinale”, which lets the gin's botanicals shine even more. And if you take out the Campari and add a splash of olive brine, you’ve got a camping martini in your hands. 
 
- ice 
- 1 ounce gin  
- 1 ounce Campari  
- 1 ounce dry vermouth 

 
Mix the gin, Campari, and vermouth in a cocktail shaker or mixing glass with some ice, stirring for 10-15 seconds until chilled. 
Strain into a glass with a single large ice cube, or whatever you have at the campsite! 
RECIPE: Fajitas for BC Living "From Scratch"

Fajitas 
for BC Living “From Scratch” Column
July 2026

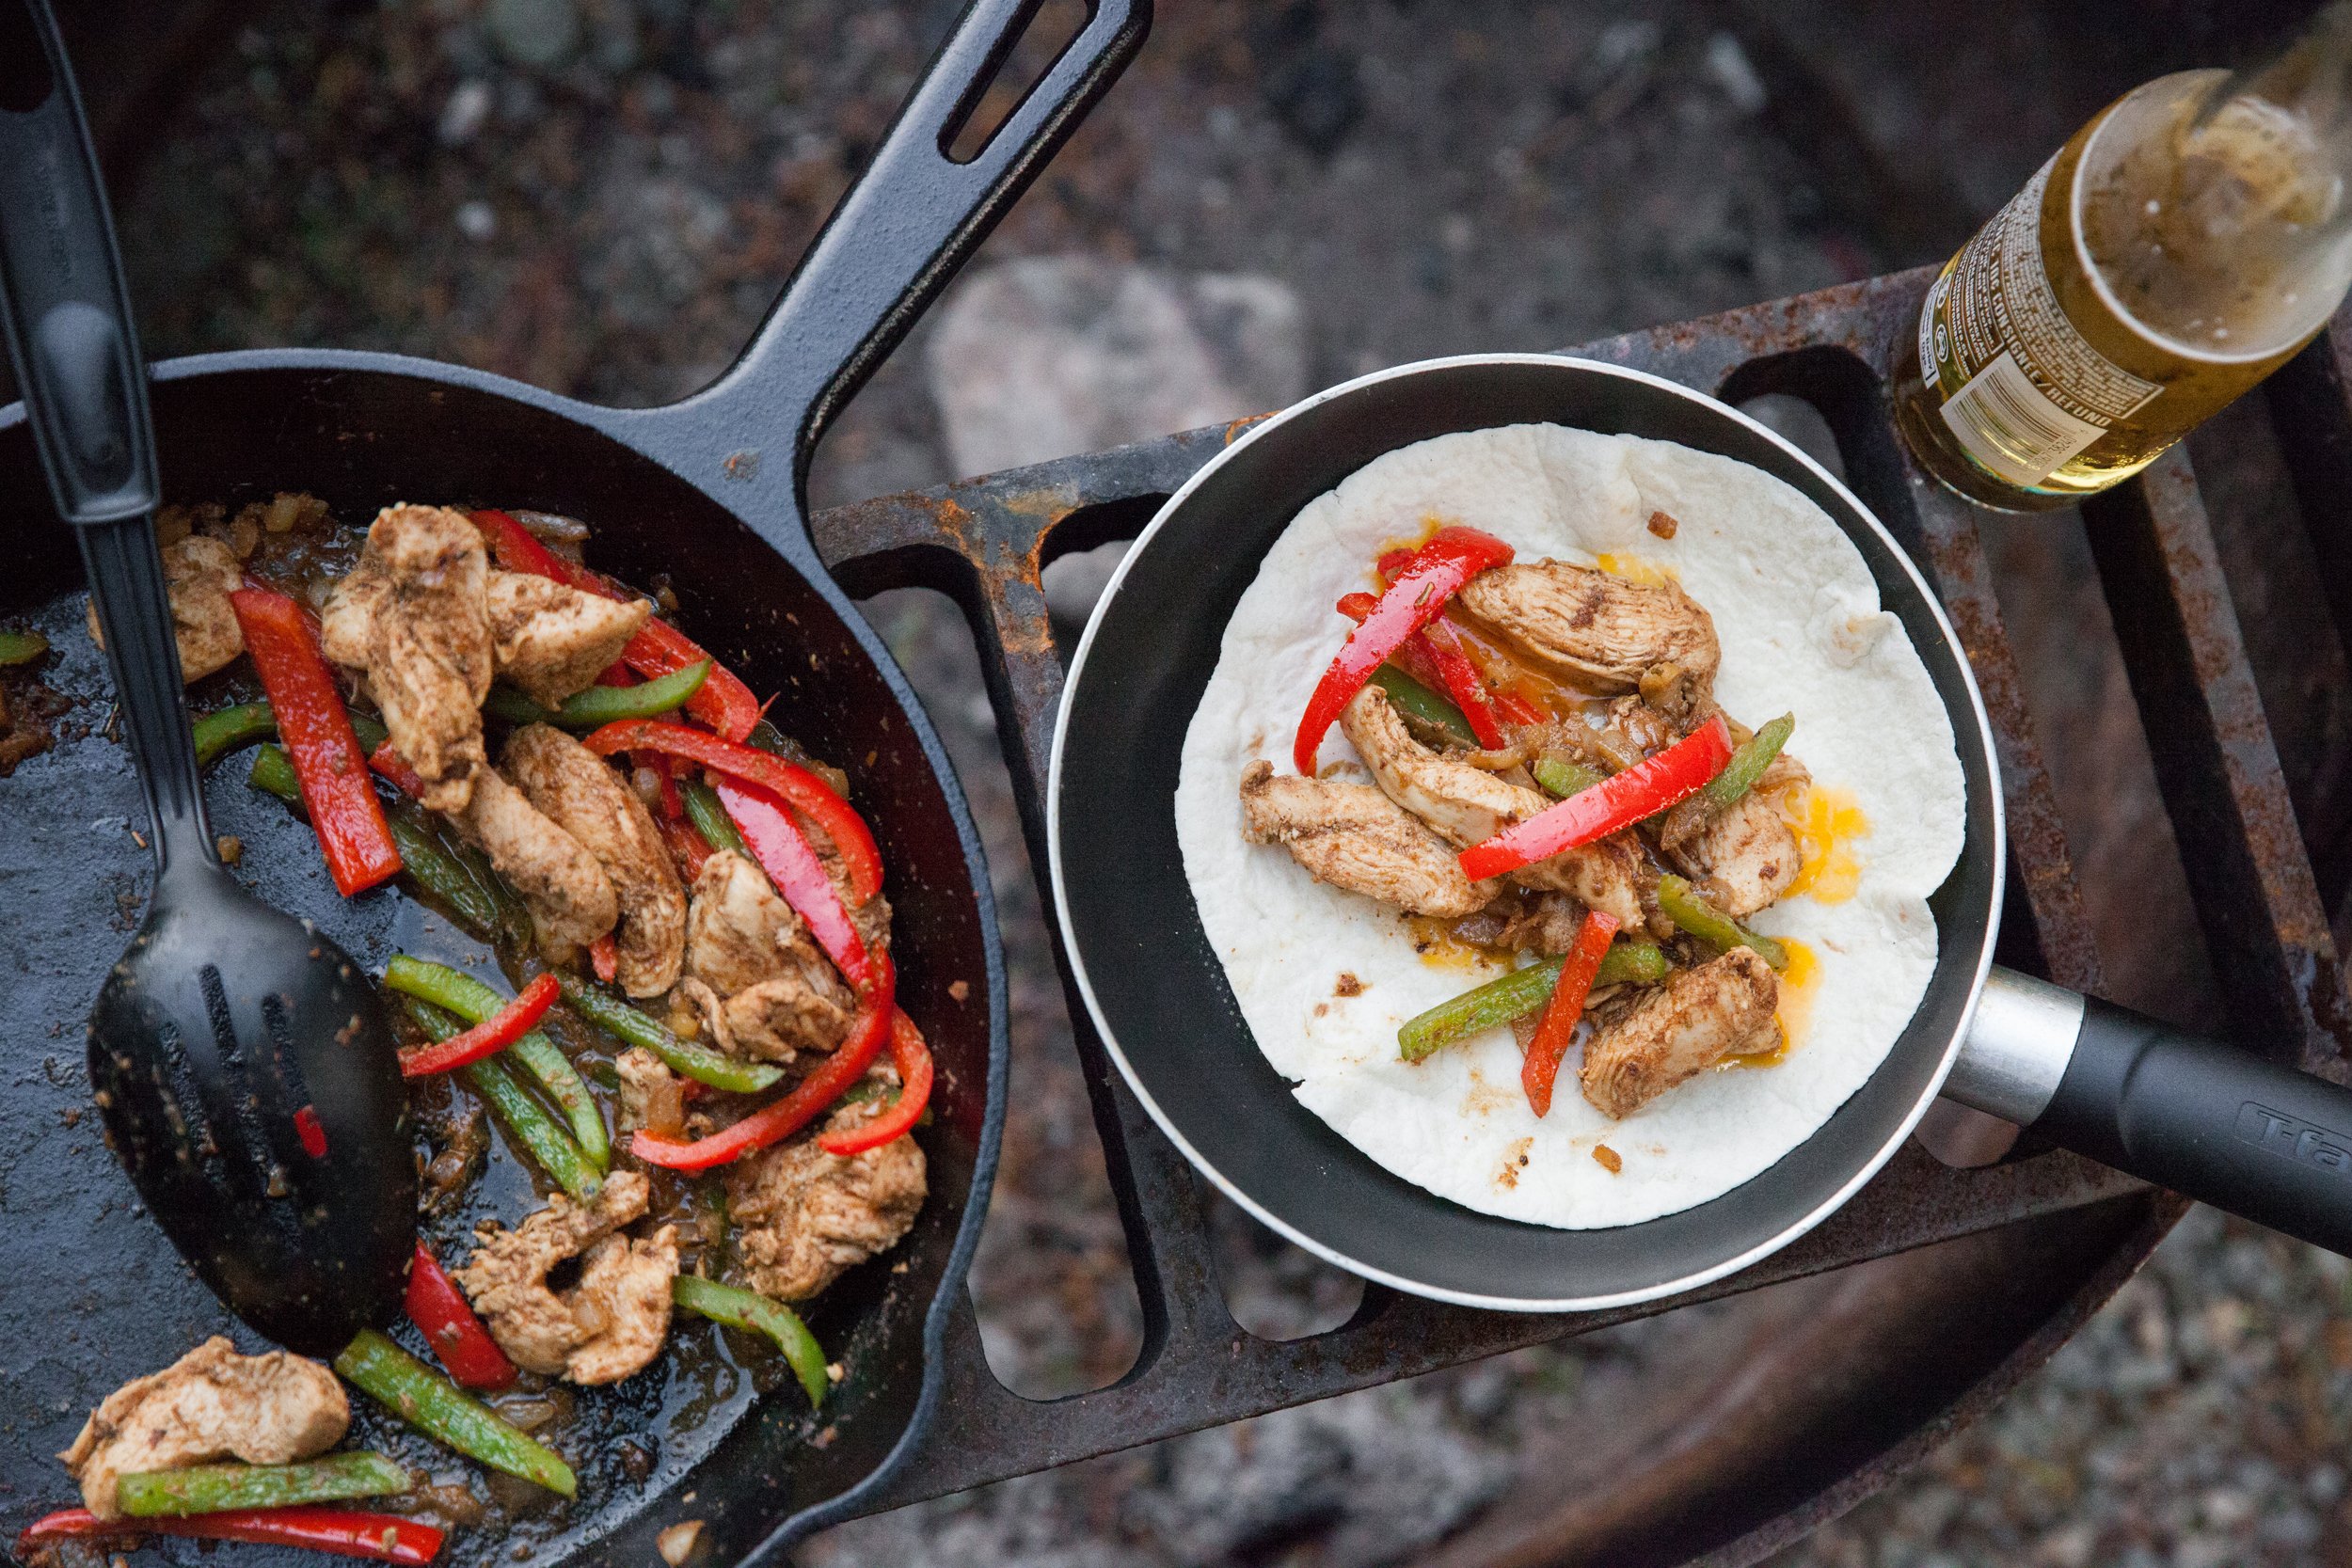
Fajitas are definitely one of my go-to camping recipes!  
They’re easily customizable for everyone - from making them vegetarian, to super spicy, and are excellent for leftovers. Depending on how many days into the trip you want to make them, all the prep could be done at home, and you can freeze your chosen protein to help it keep longer (bonus – it keeps the cooler cold too). 
 
You will also want to pre-mix the seasoning before you head out, that way you don’t have to bring a whole bunch of spice jars with you. 
 
I usually make extras, especially of the veggies, because you can heat them up with some scrambled eggs the next day (using the same pan!) and make breakfast burritos. 
 

INGREDIENTS:  

-  2 boneless skinless chicken breasts (or your protein of choice) 
- 1 medium sweet red pepper 
- 1 medium green pepper 
- ½ a medium-sized yellow onion 
- 3-4 green onions 
- 4 tablespoons olive oil 
- juice of half a lemon  
 
- 8-inch tortillas (I prefer flour) 
 
For the seasoning: 
- 1.5 teaspoons salt  
- 1.5 teaspoons dried oregano  
- 1.5 teaspoons ground cumin  
- 1 teaspoon garlic powder 
- 1/2 teaspoon chili powder  
- 1/2 teaspoon paprika  
- 1/2 teaspoon crushed red pepper flakes 
 
Optional Toppings: 
- sour cream 
- cheddar cheese 
- salsa 
- guacamole 

INSTRUCTIONS:  
 
Cut the chicken into thin strips, and store in an airtight container – freeze if desired. 
 
NOTE: If your chicken (or chosen protein) is frozen, make sure it’s defrosted in the cooler by the day you want to make it. 
 
Marinate the chicken by combining two tablespoons of oil, the juice of half the lemon and the prepared seasoning and mix well. Cover and store in the coldest part of your cooler until you're ready to cook. 
 
Seed and cut the peppers into thin strips and slice the onion into thin half-moons.  
Thinly slice the green onions and keep them in a bowl of their own. 
 
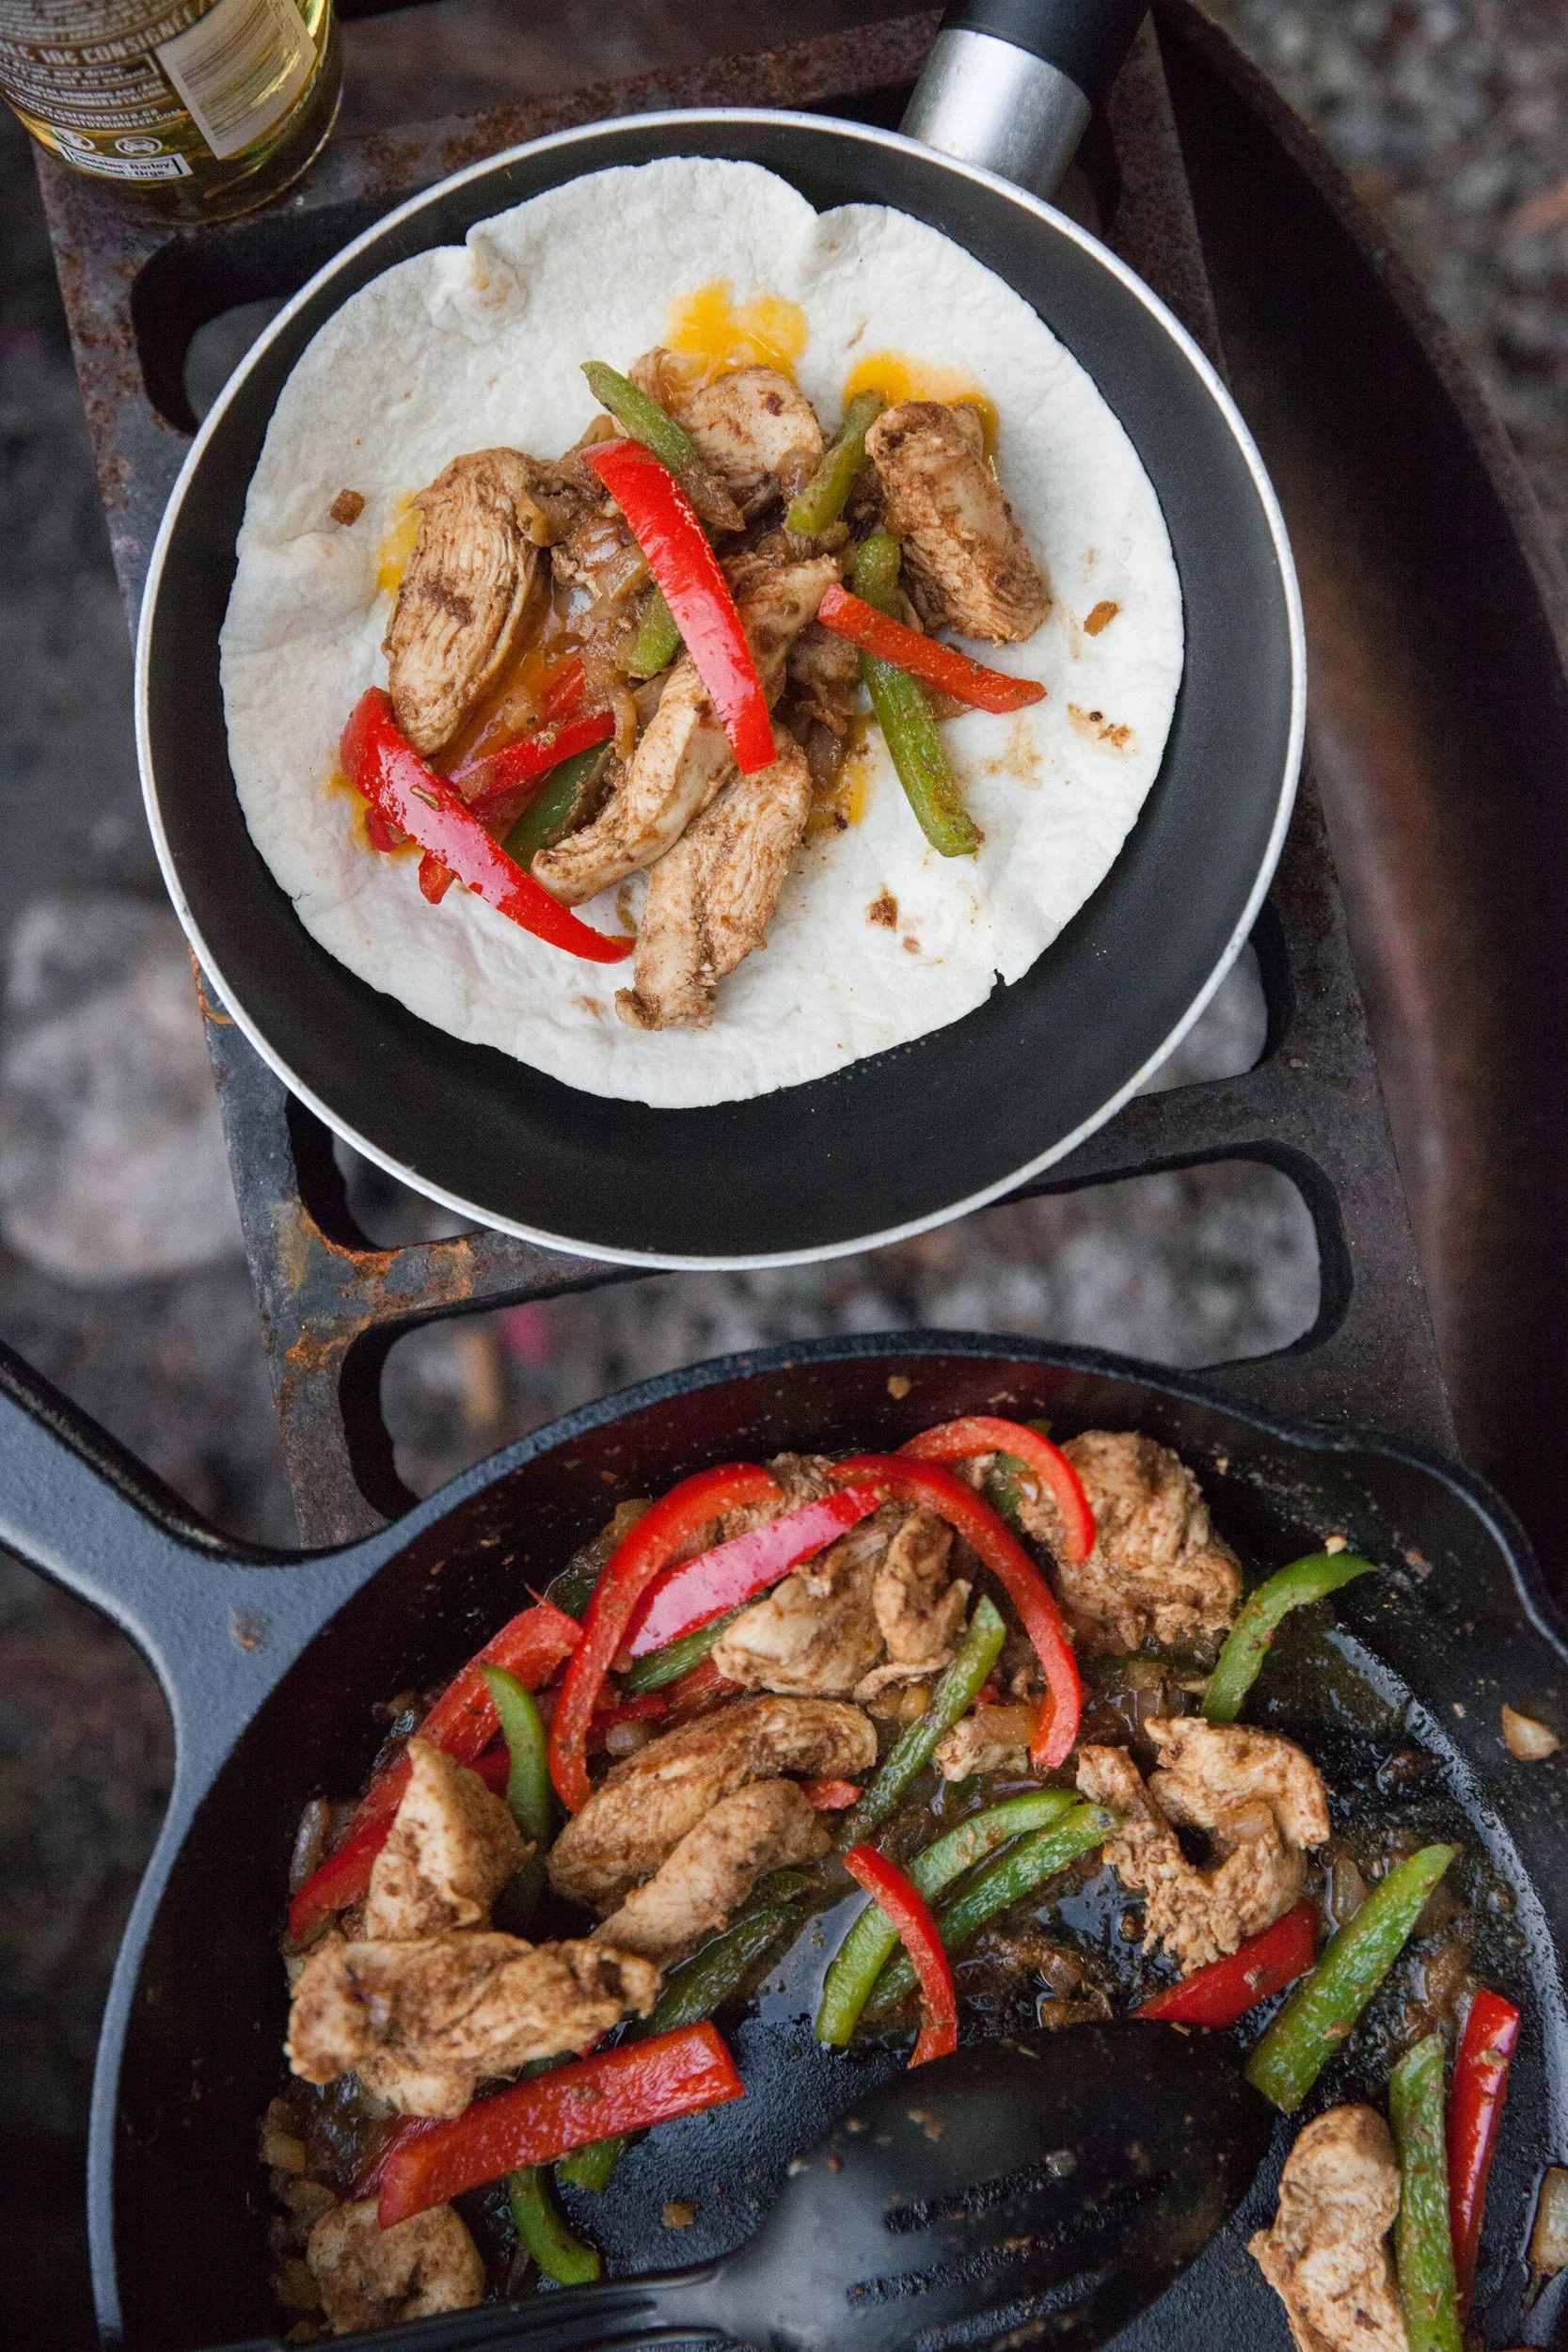
If you’d like your tortillas to be warmed, heat them in a second (clean and dry) pan and then cover with a clean tea towel to keep warm. It’s best to do this while the veggies are cooking so your fajitas will be nice and hot! 
 
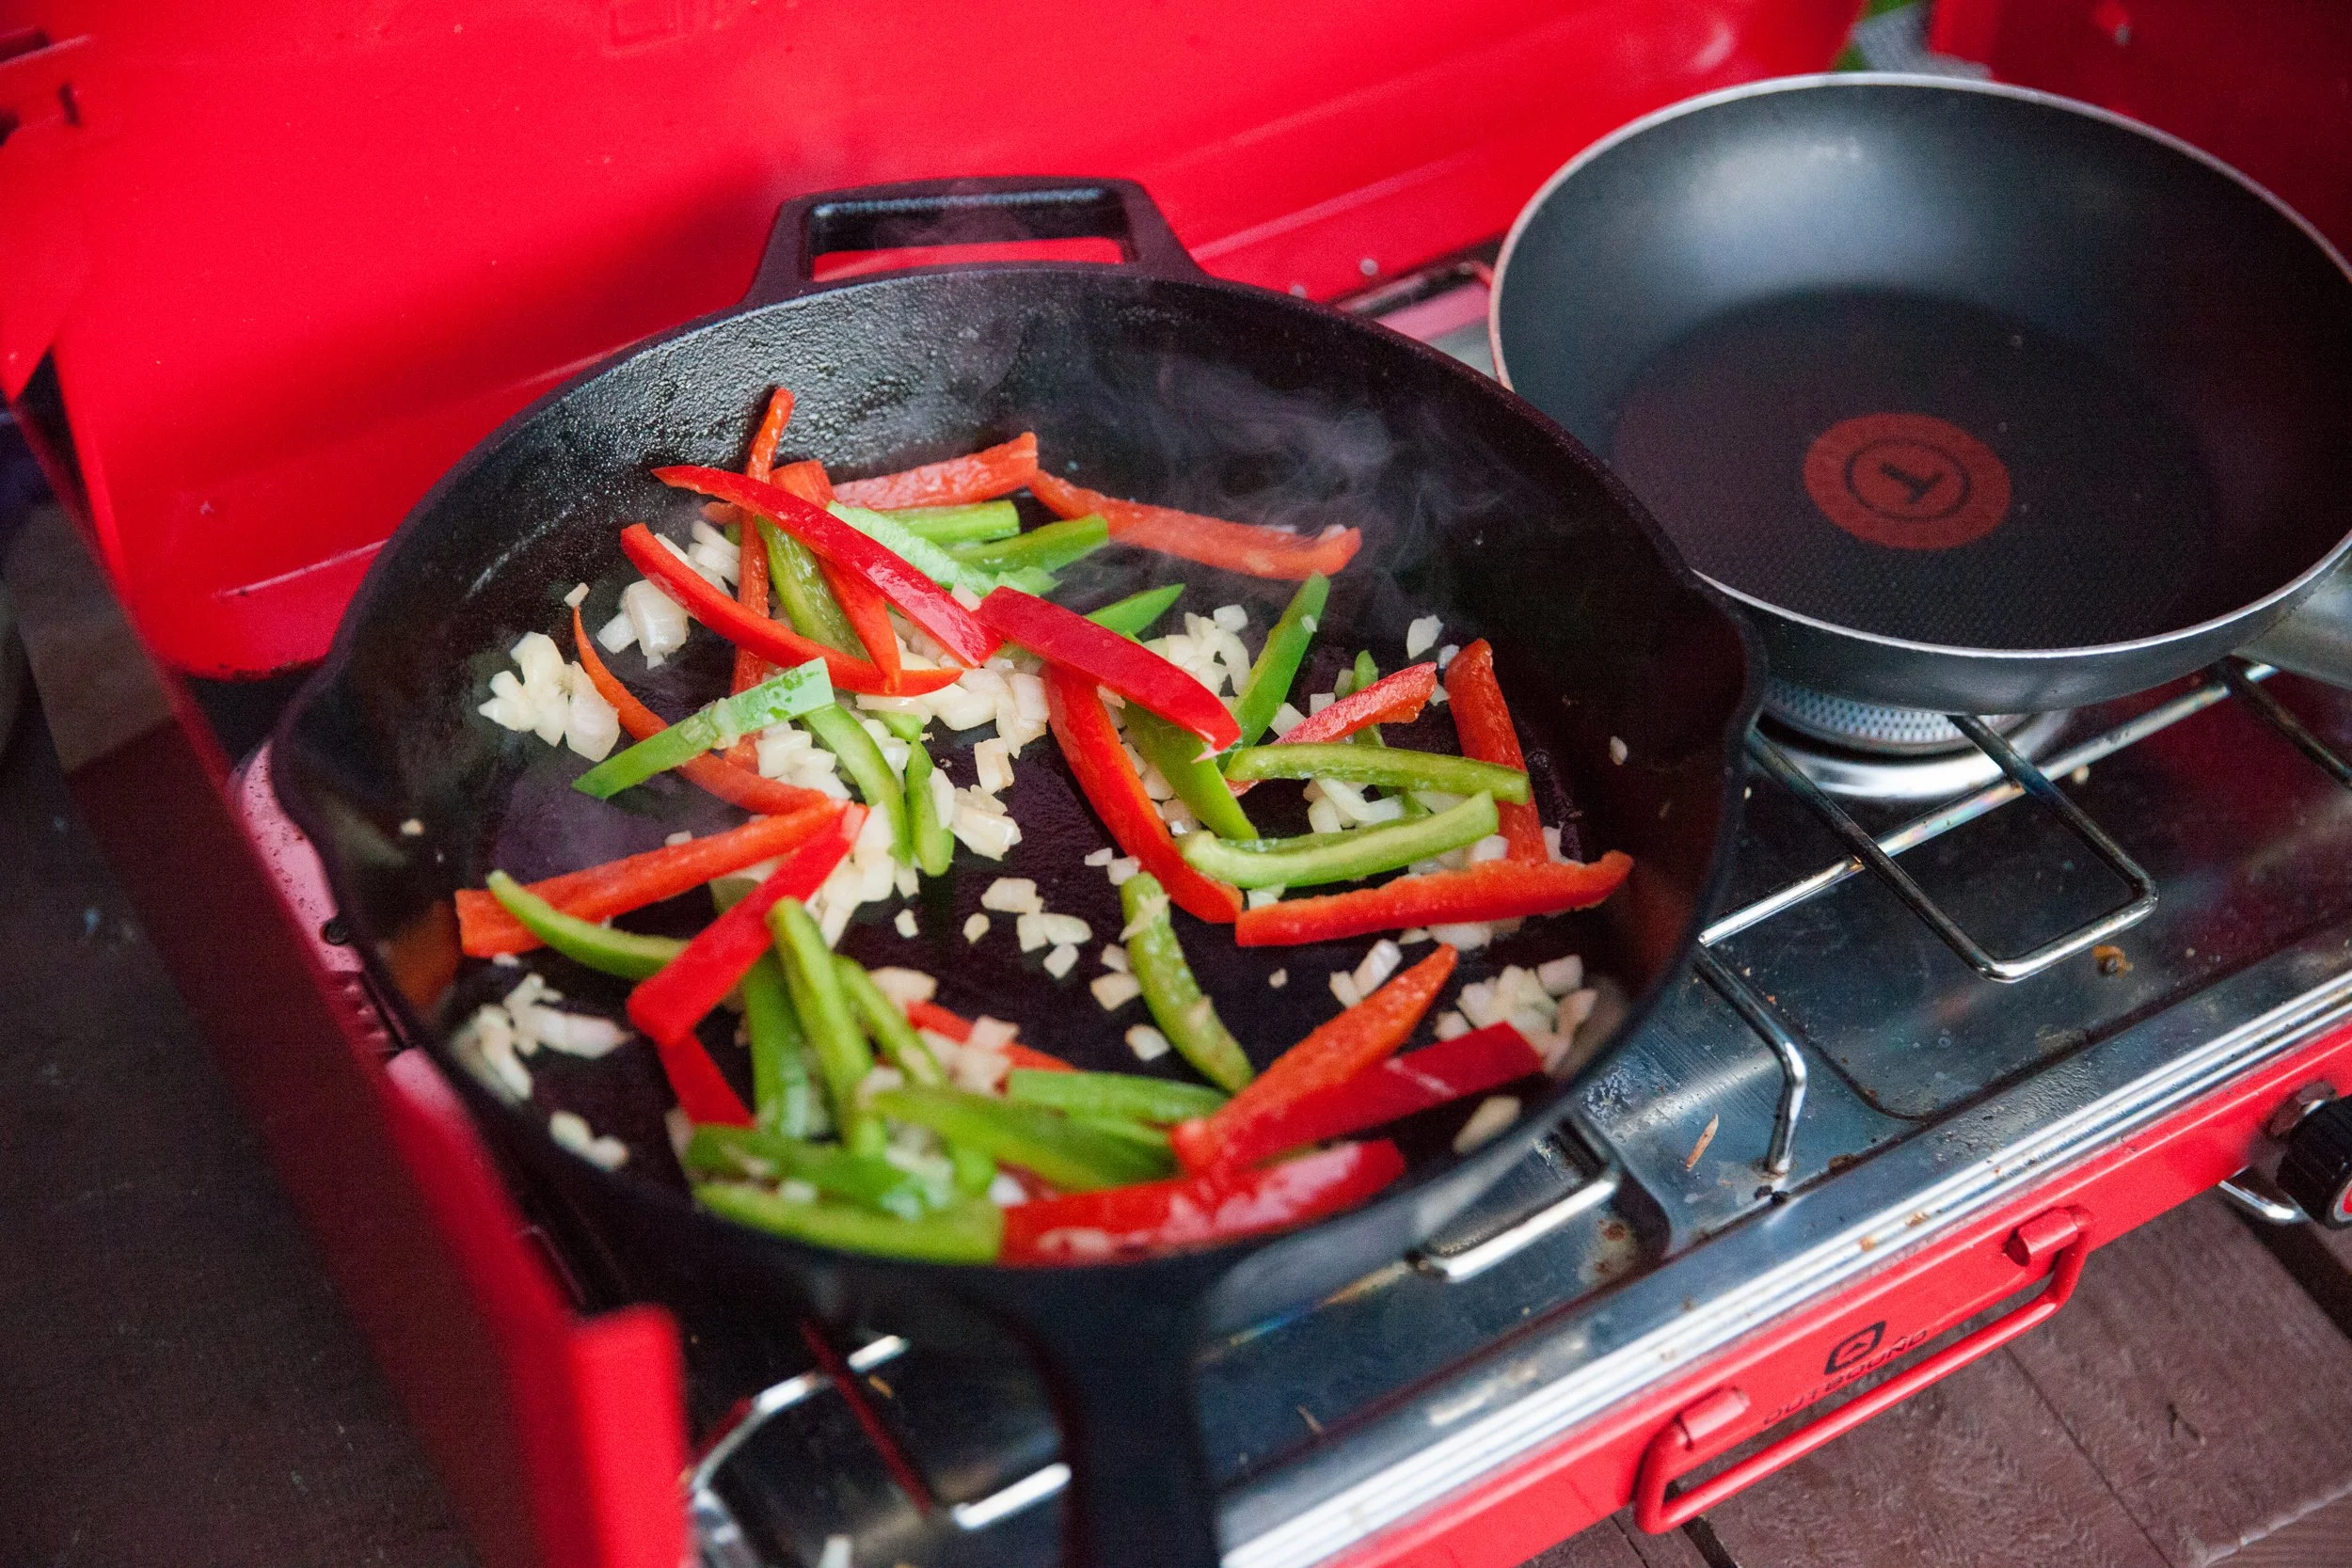
In a cast iron pan over medium heat, add the remaining two tablespoons of oil and sauté the peppers and onions until tender-crisp. Transfer to a plate and keep warm. 
 
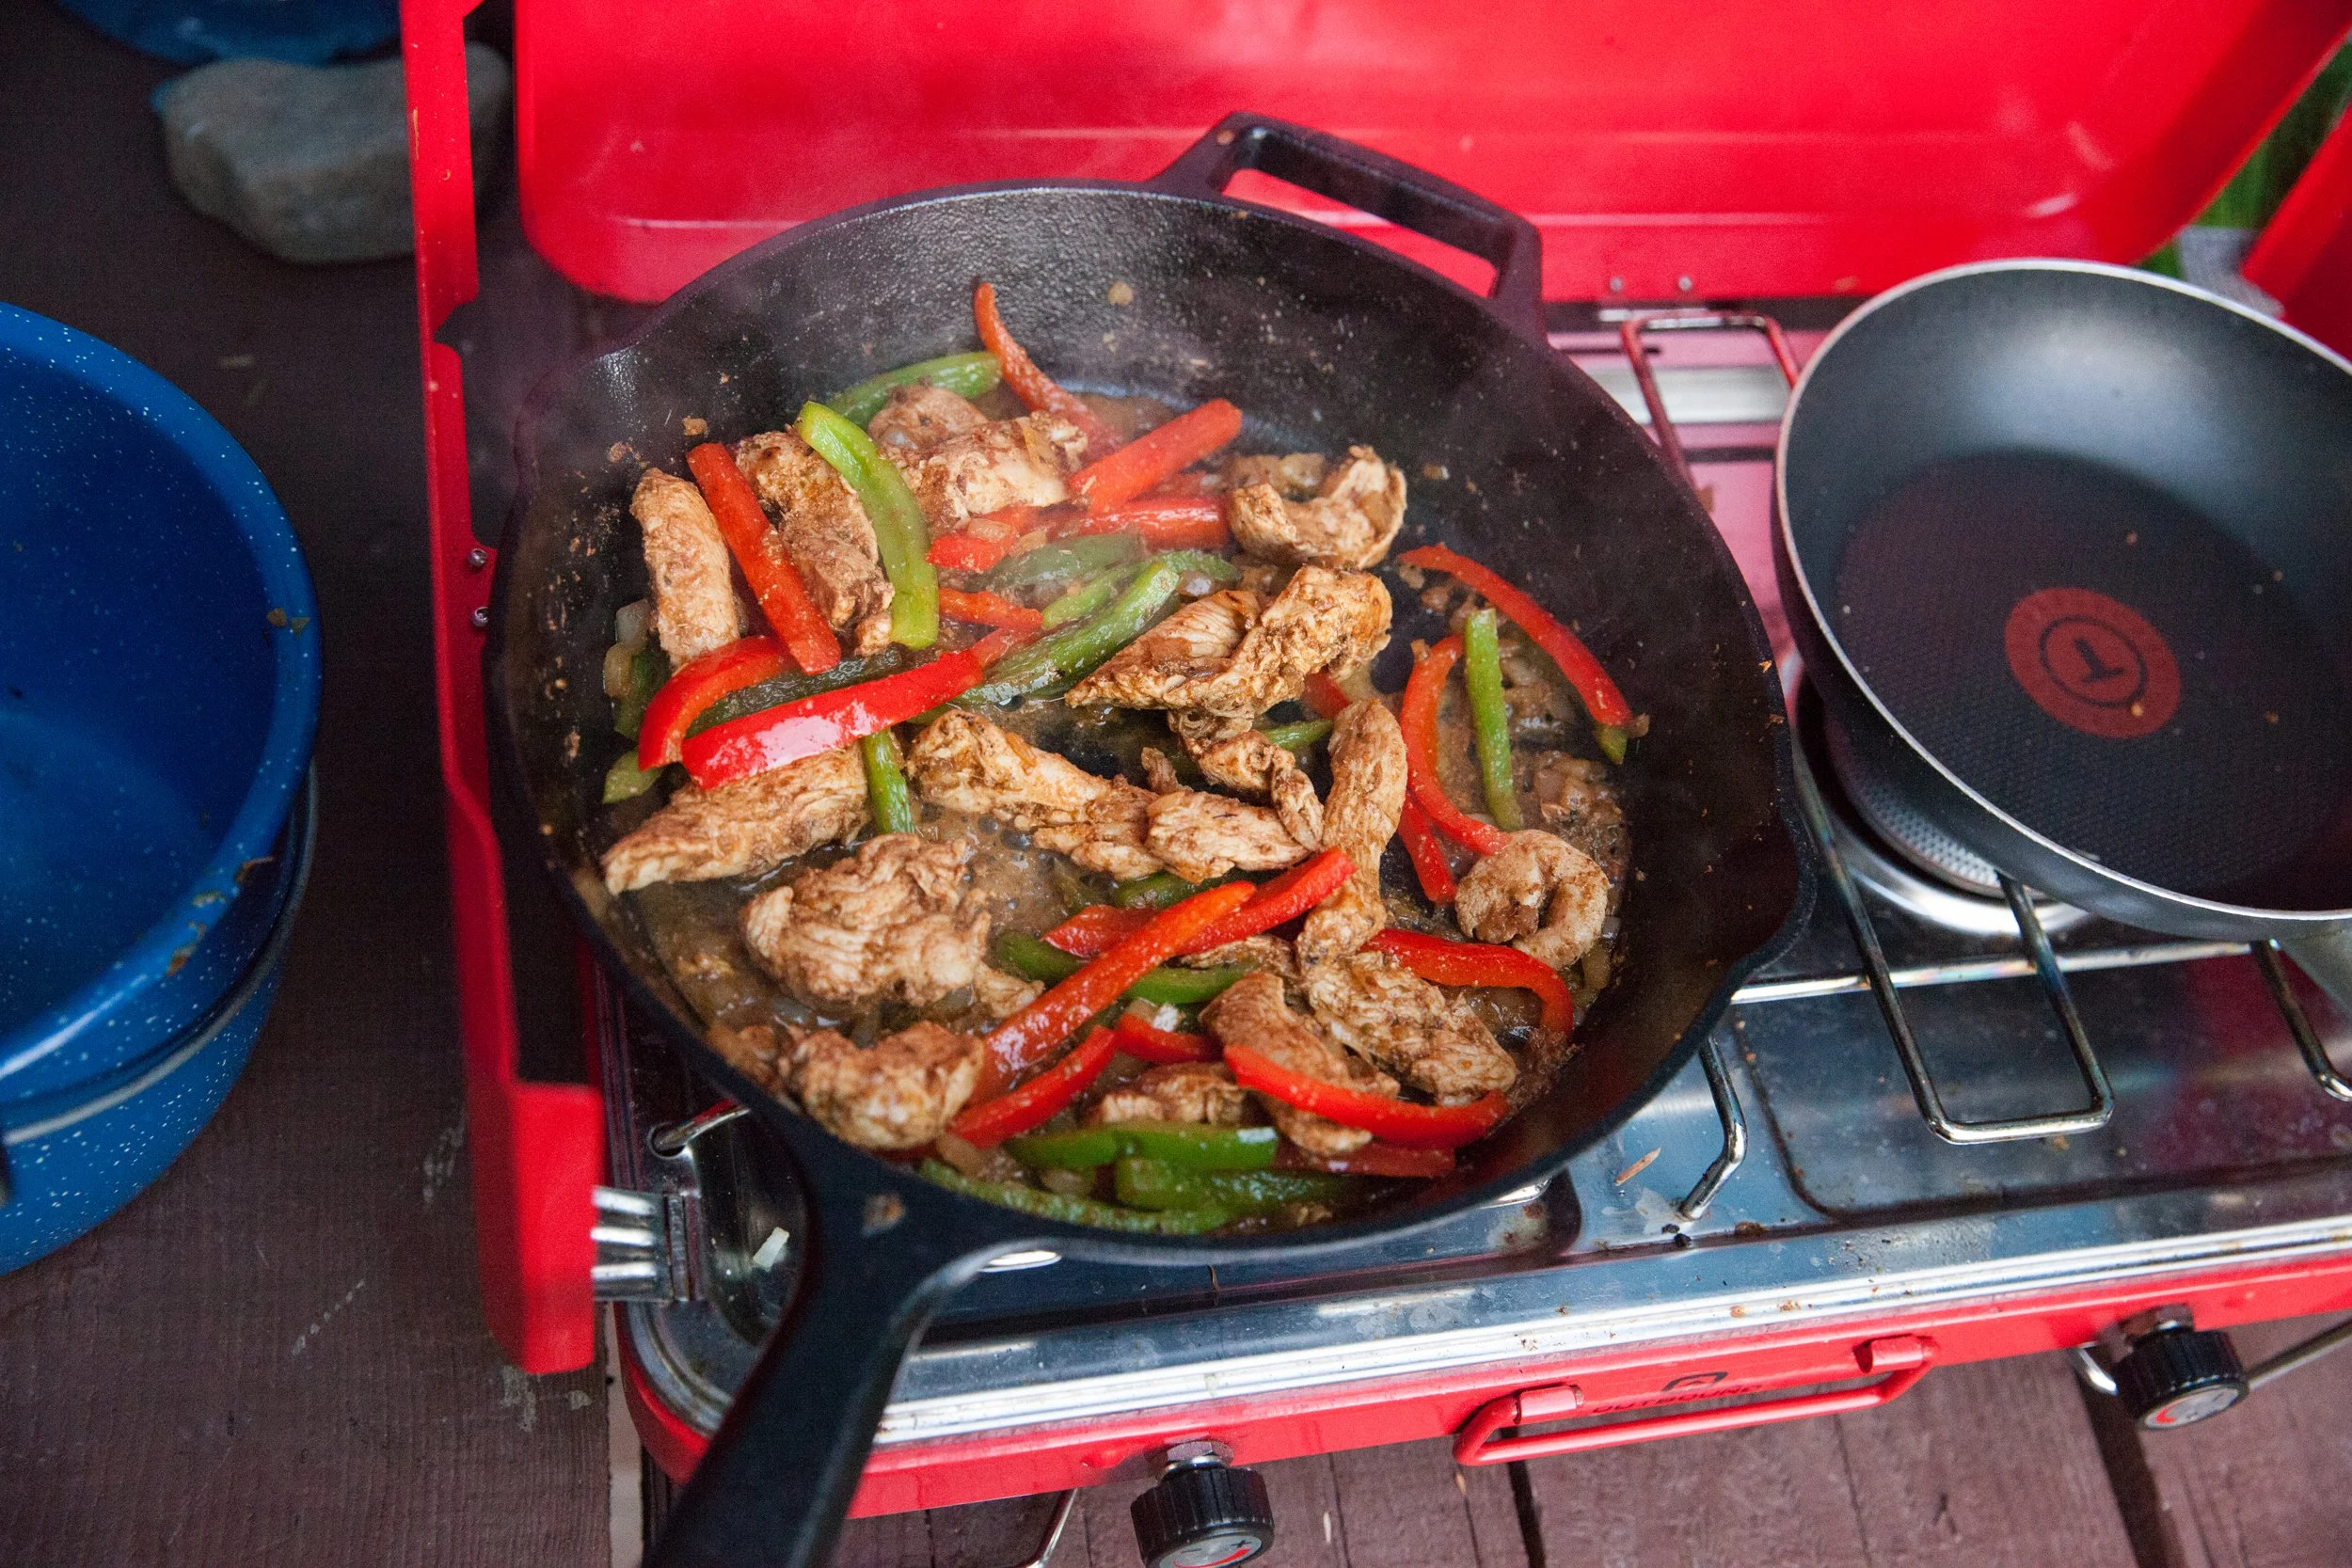
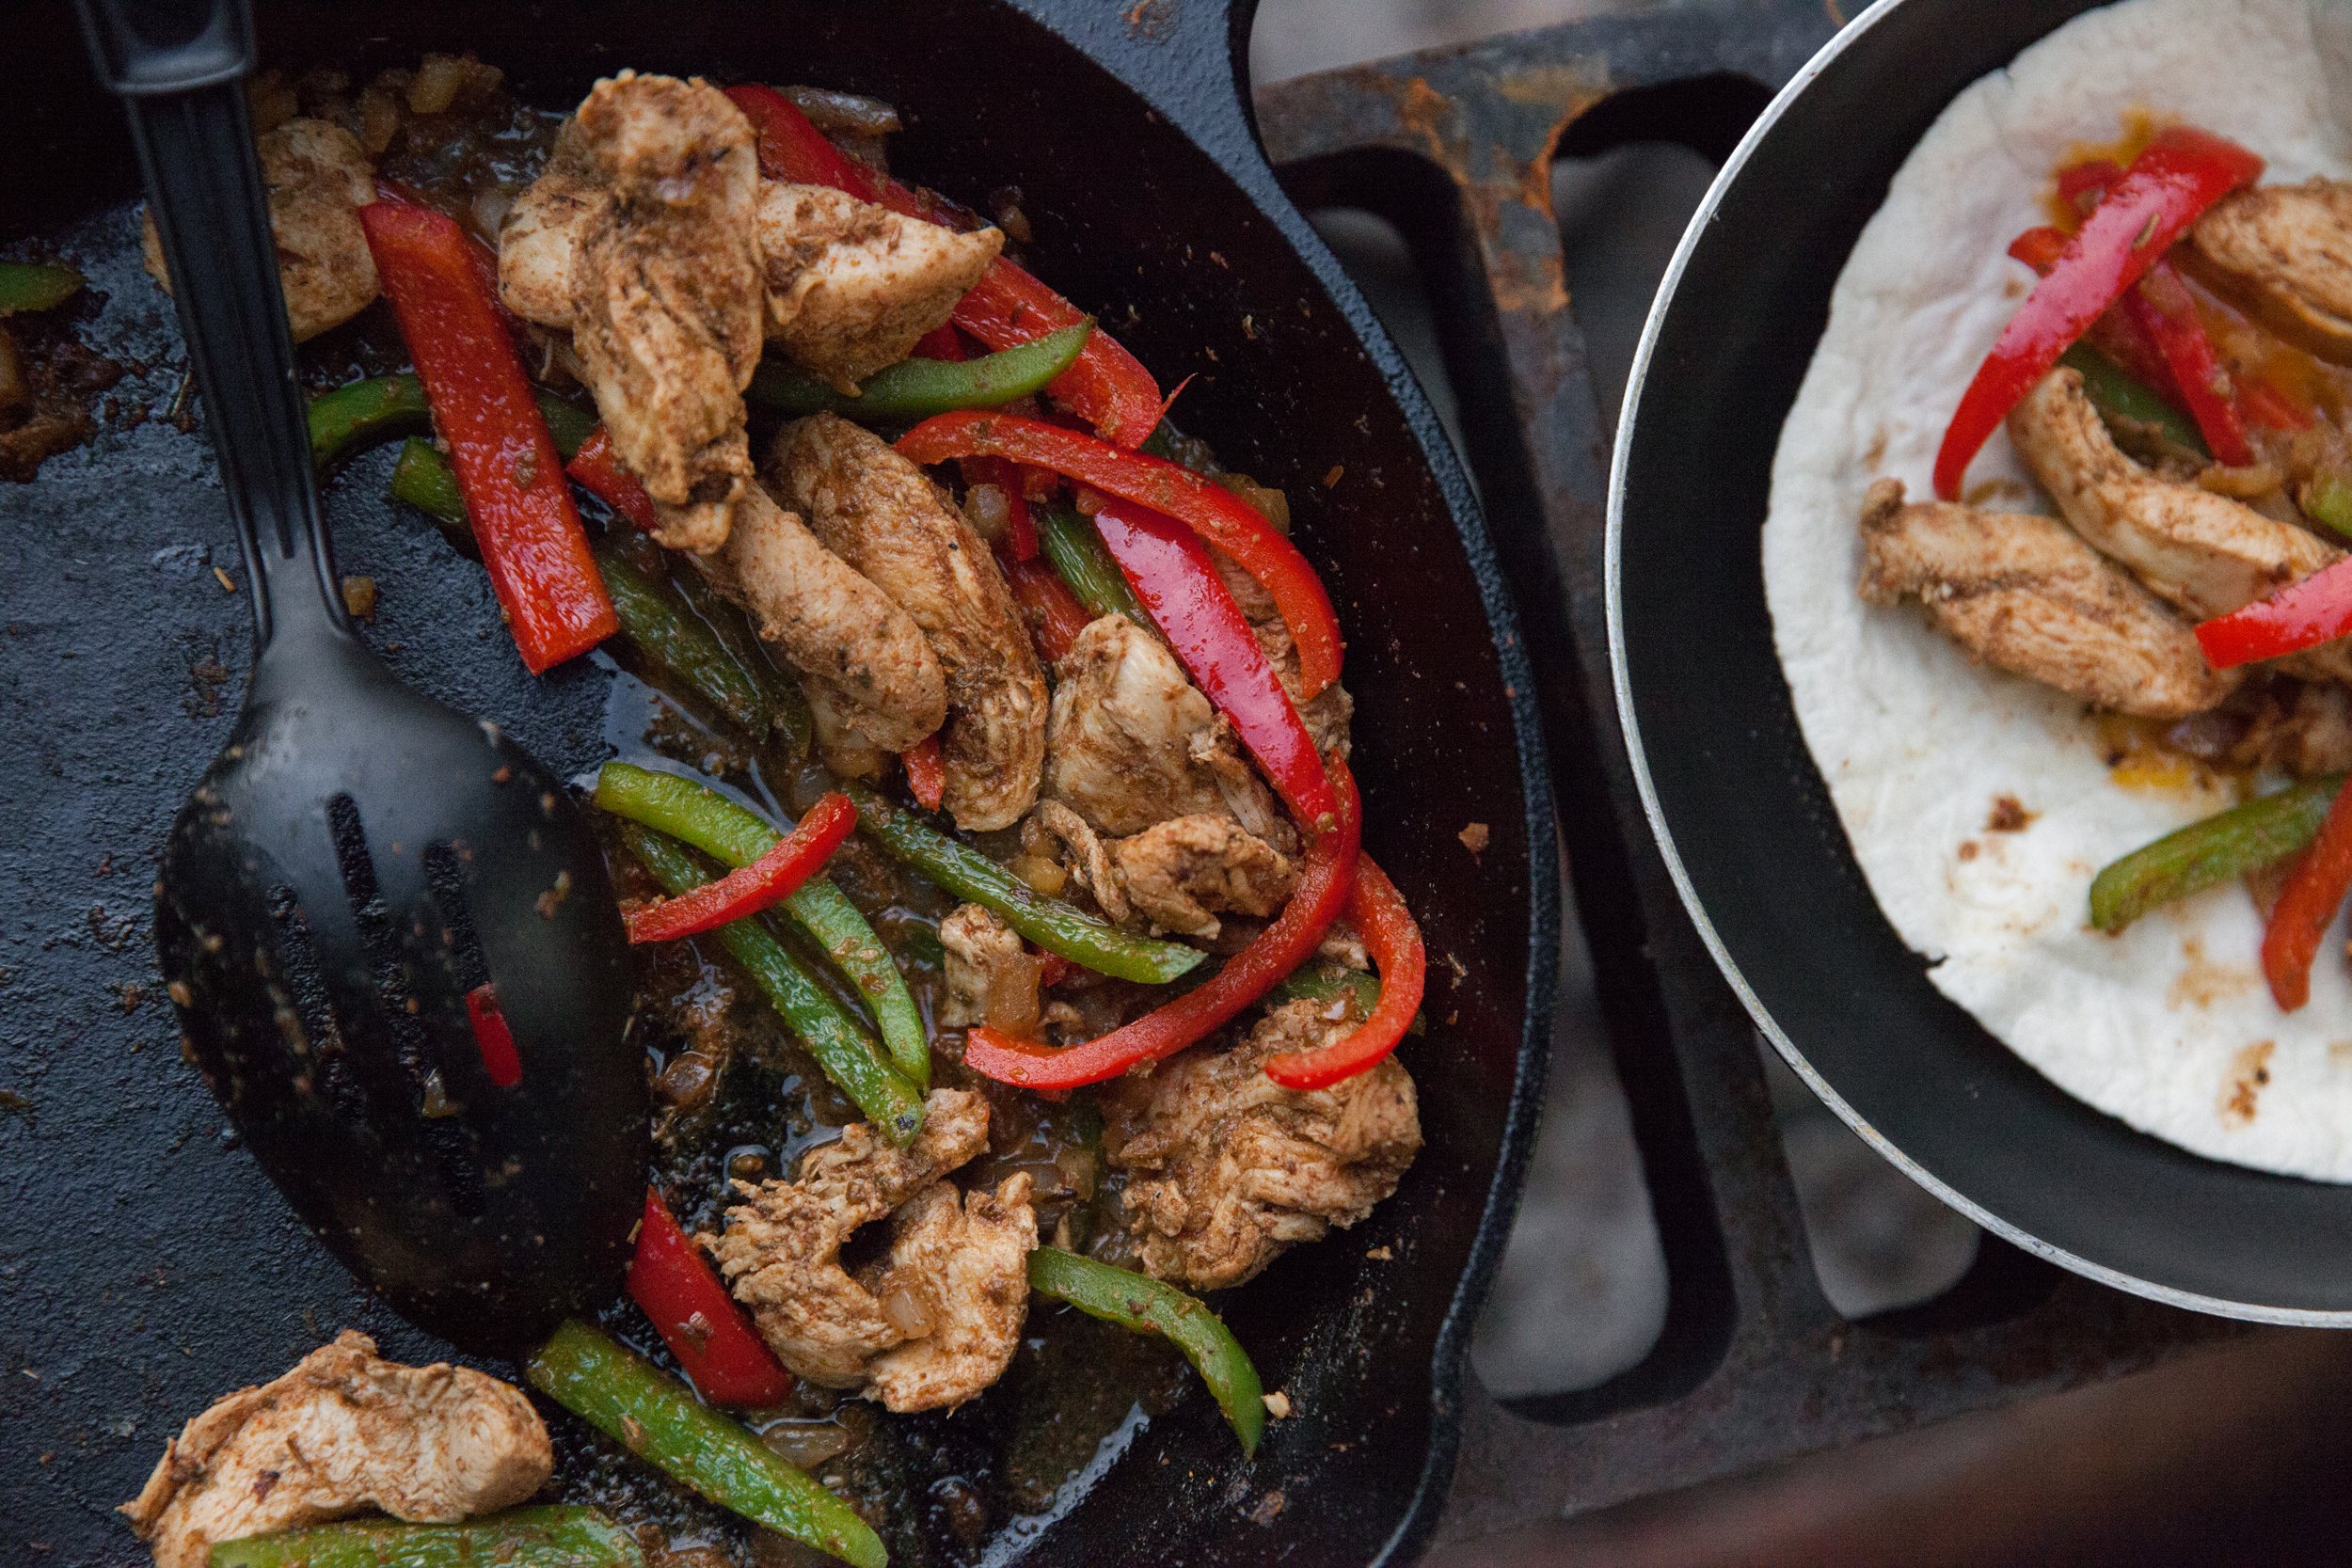
Add the chicken mixture into the pan and cook over medium-high for 5-8 minutes or until no longer pink, then return the peppers and onions to the pan mixing everything together and heat through.  

To serve, spoon the filling down the center of each tortilla, sprinkle with the green onions, and add your favorite toppings! 
 
Kick your feet up and enjoy! 

RECIPE: Hummus for BC Living "From Scratch"

Hummus - 3 Ways
for BC Living “From Scratch”
June 2026

With grocery prices rising all the time, there are some staples that I’ve been really into making from scratch – and hummus is one of them! 
 
Rather than reaching for the sub-par, pre-made hummus in the deli section, making your own at home means you can pack it with all kinds of extras. For this recipe I even soaked the chickpeas which will increase the flavor and means it is even less expensive to make. 
 
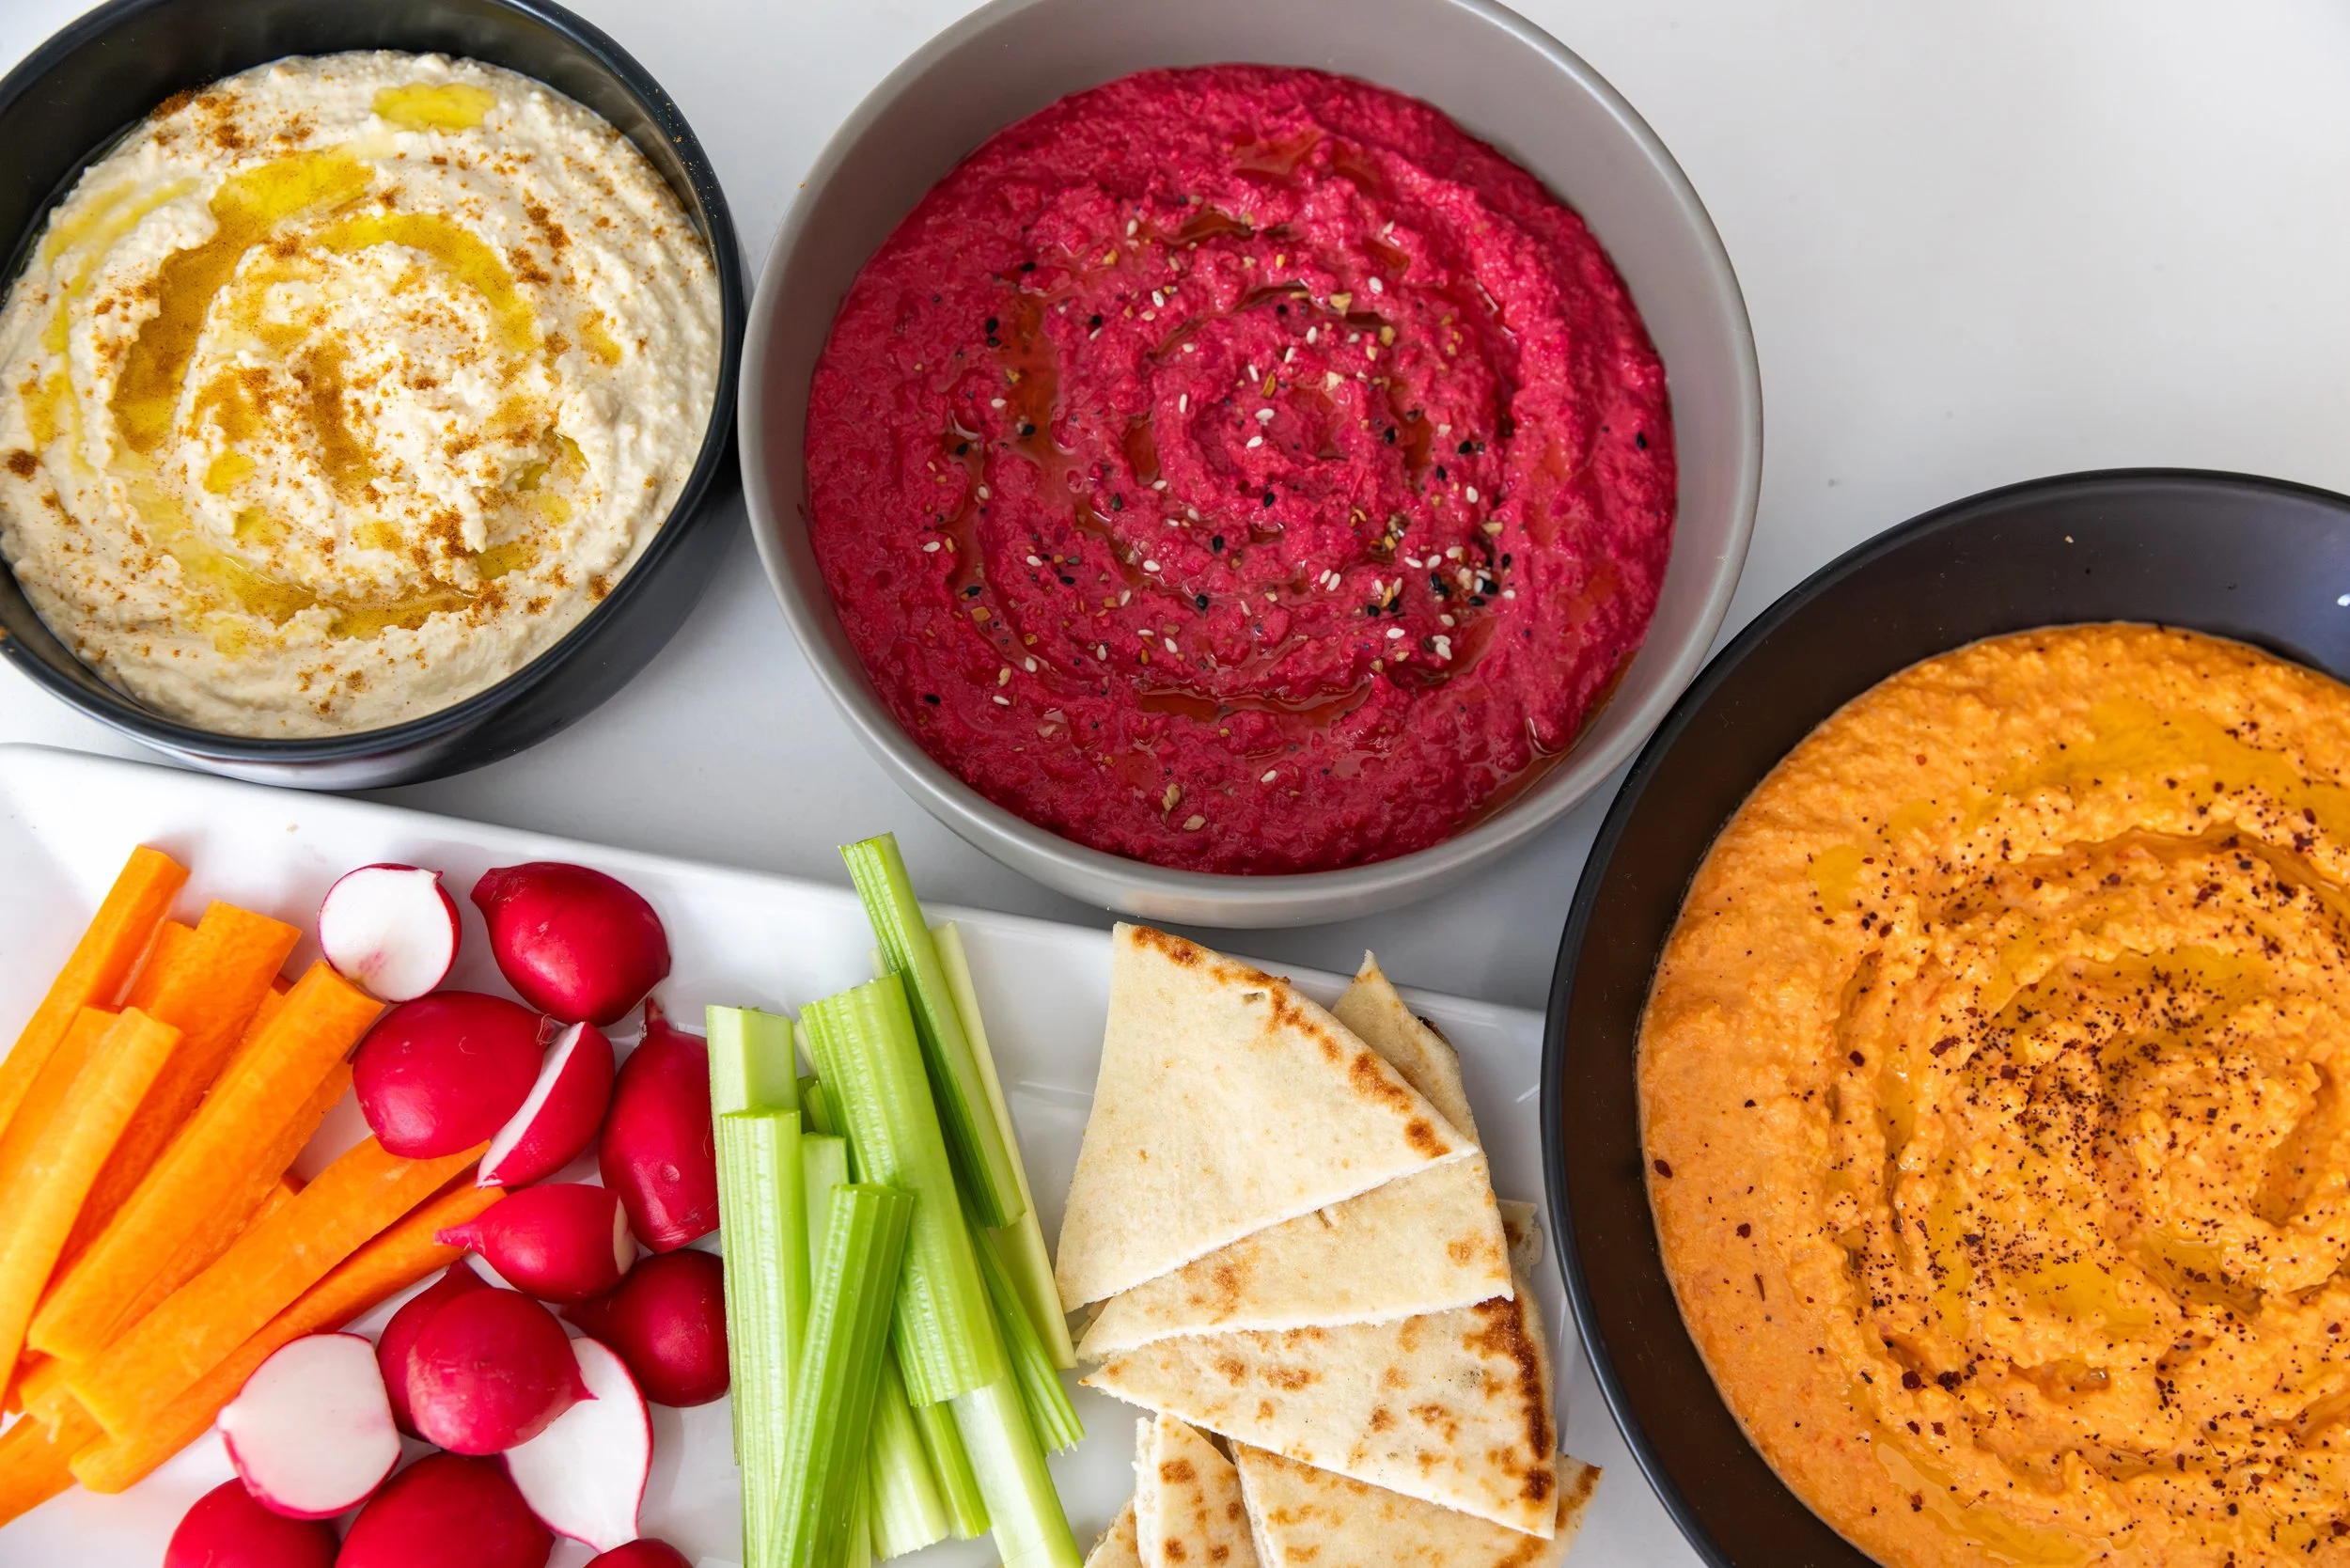
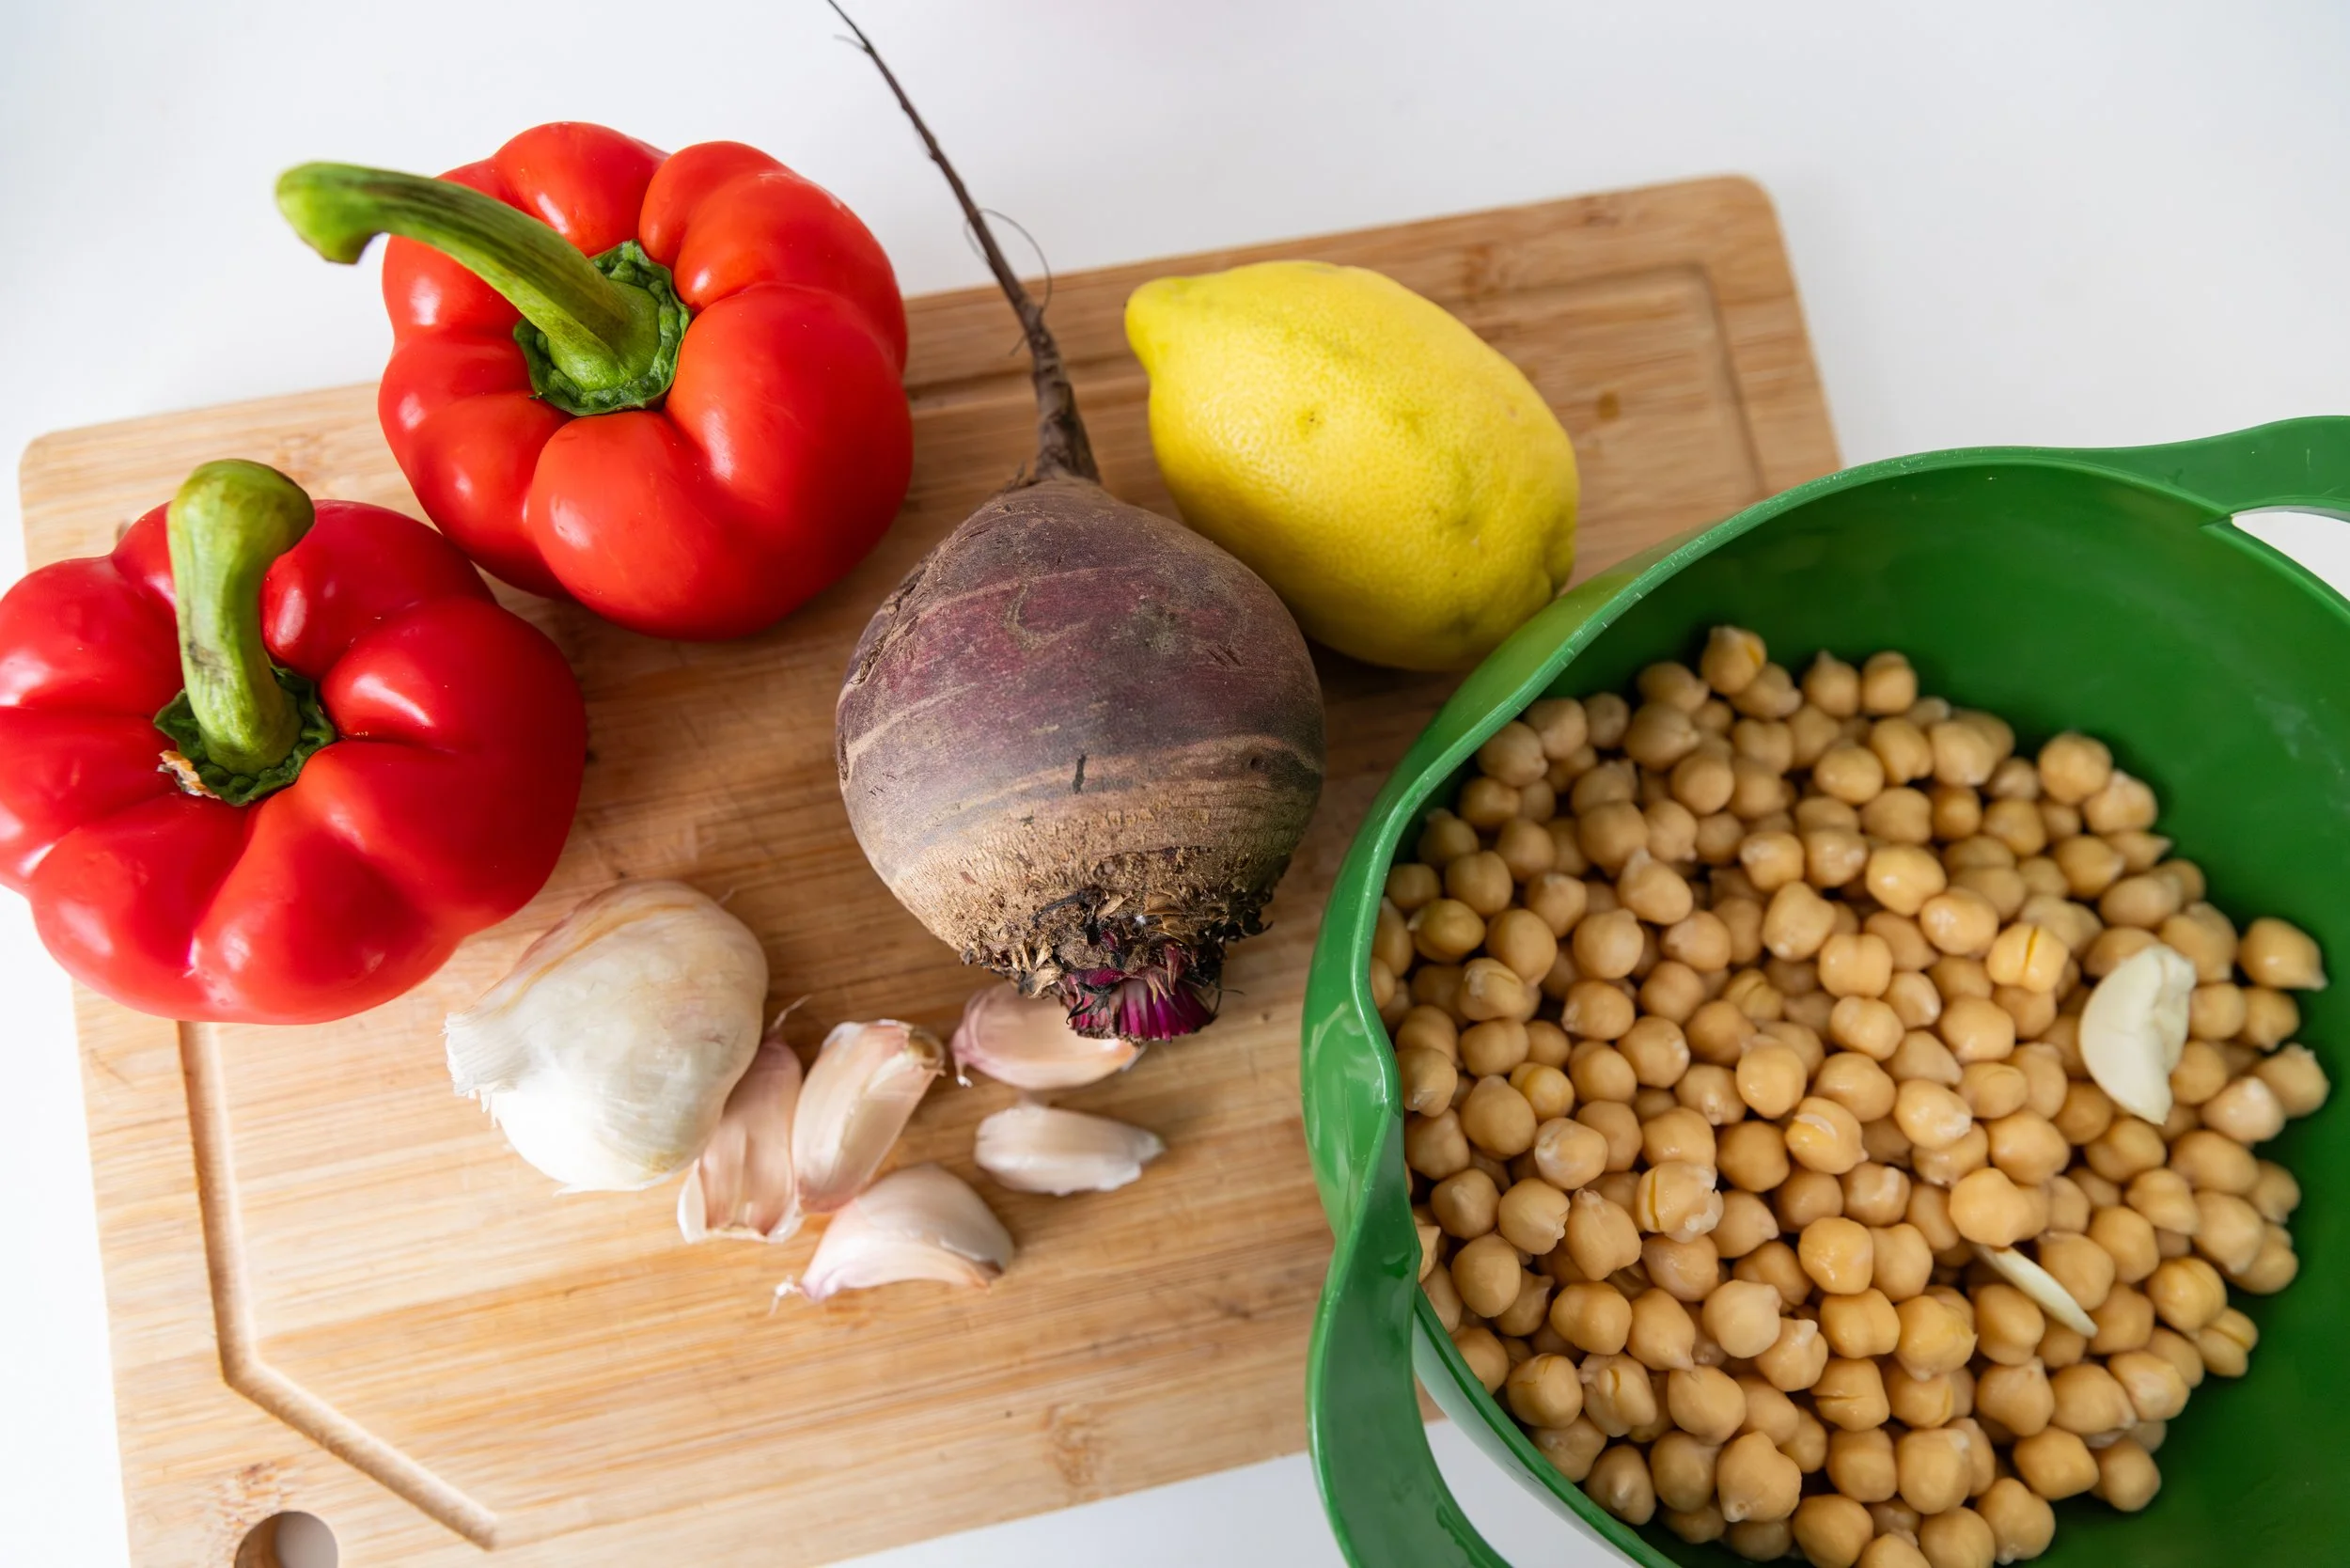
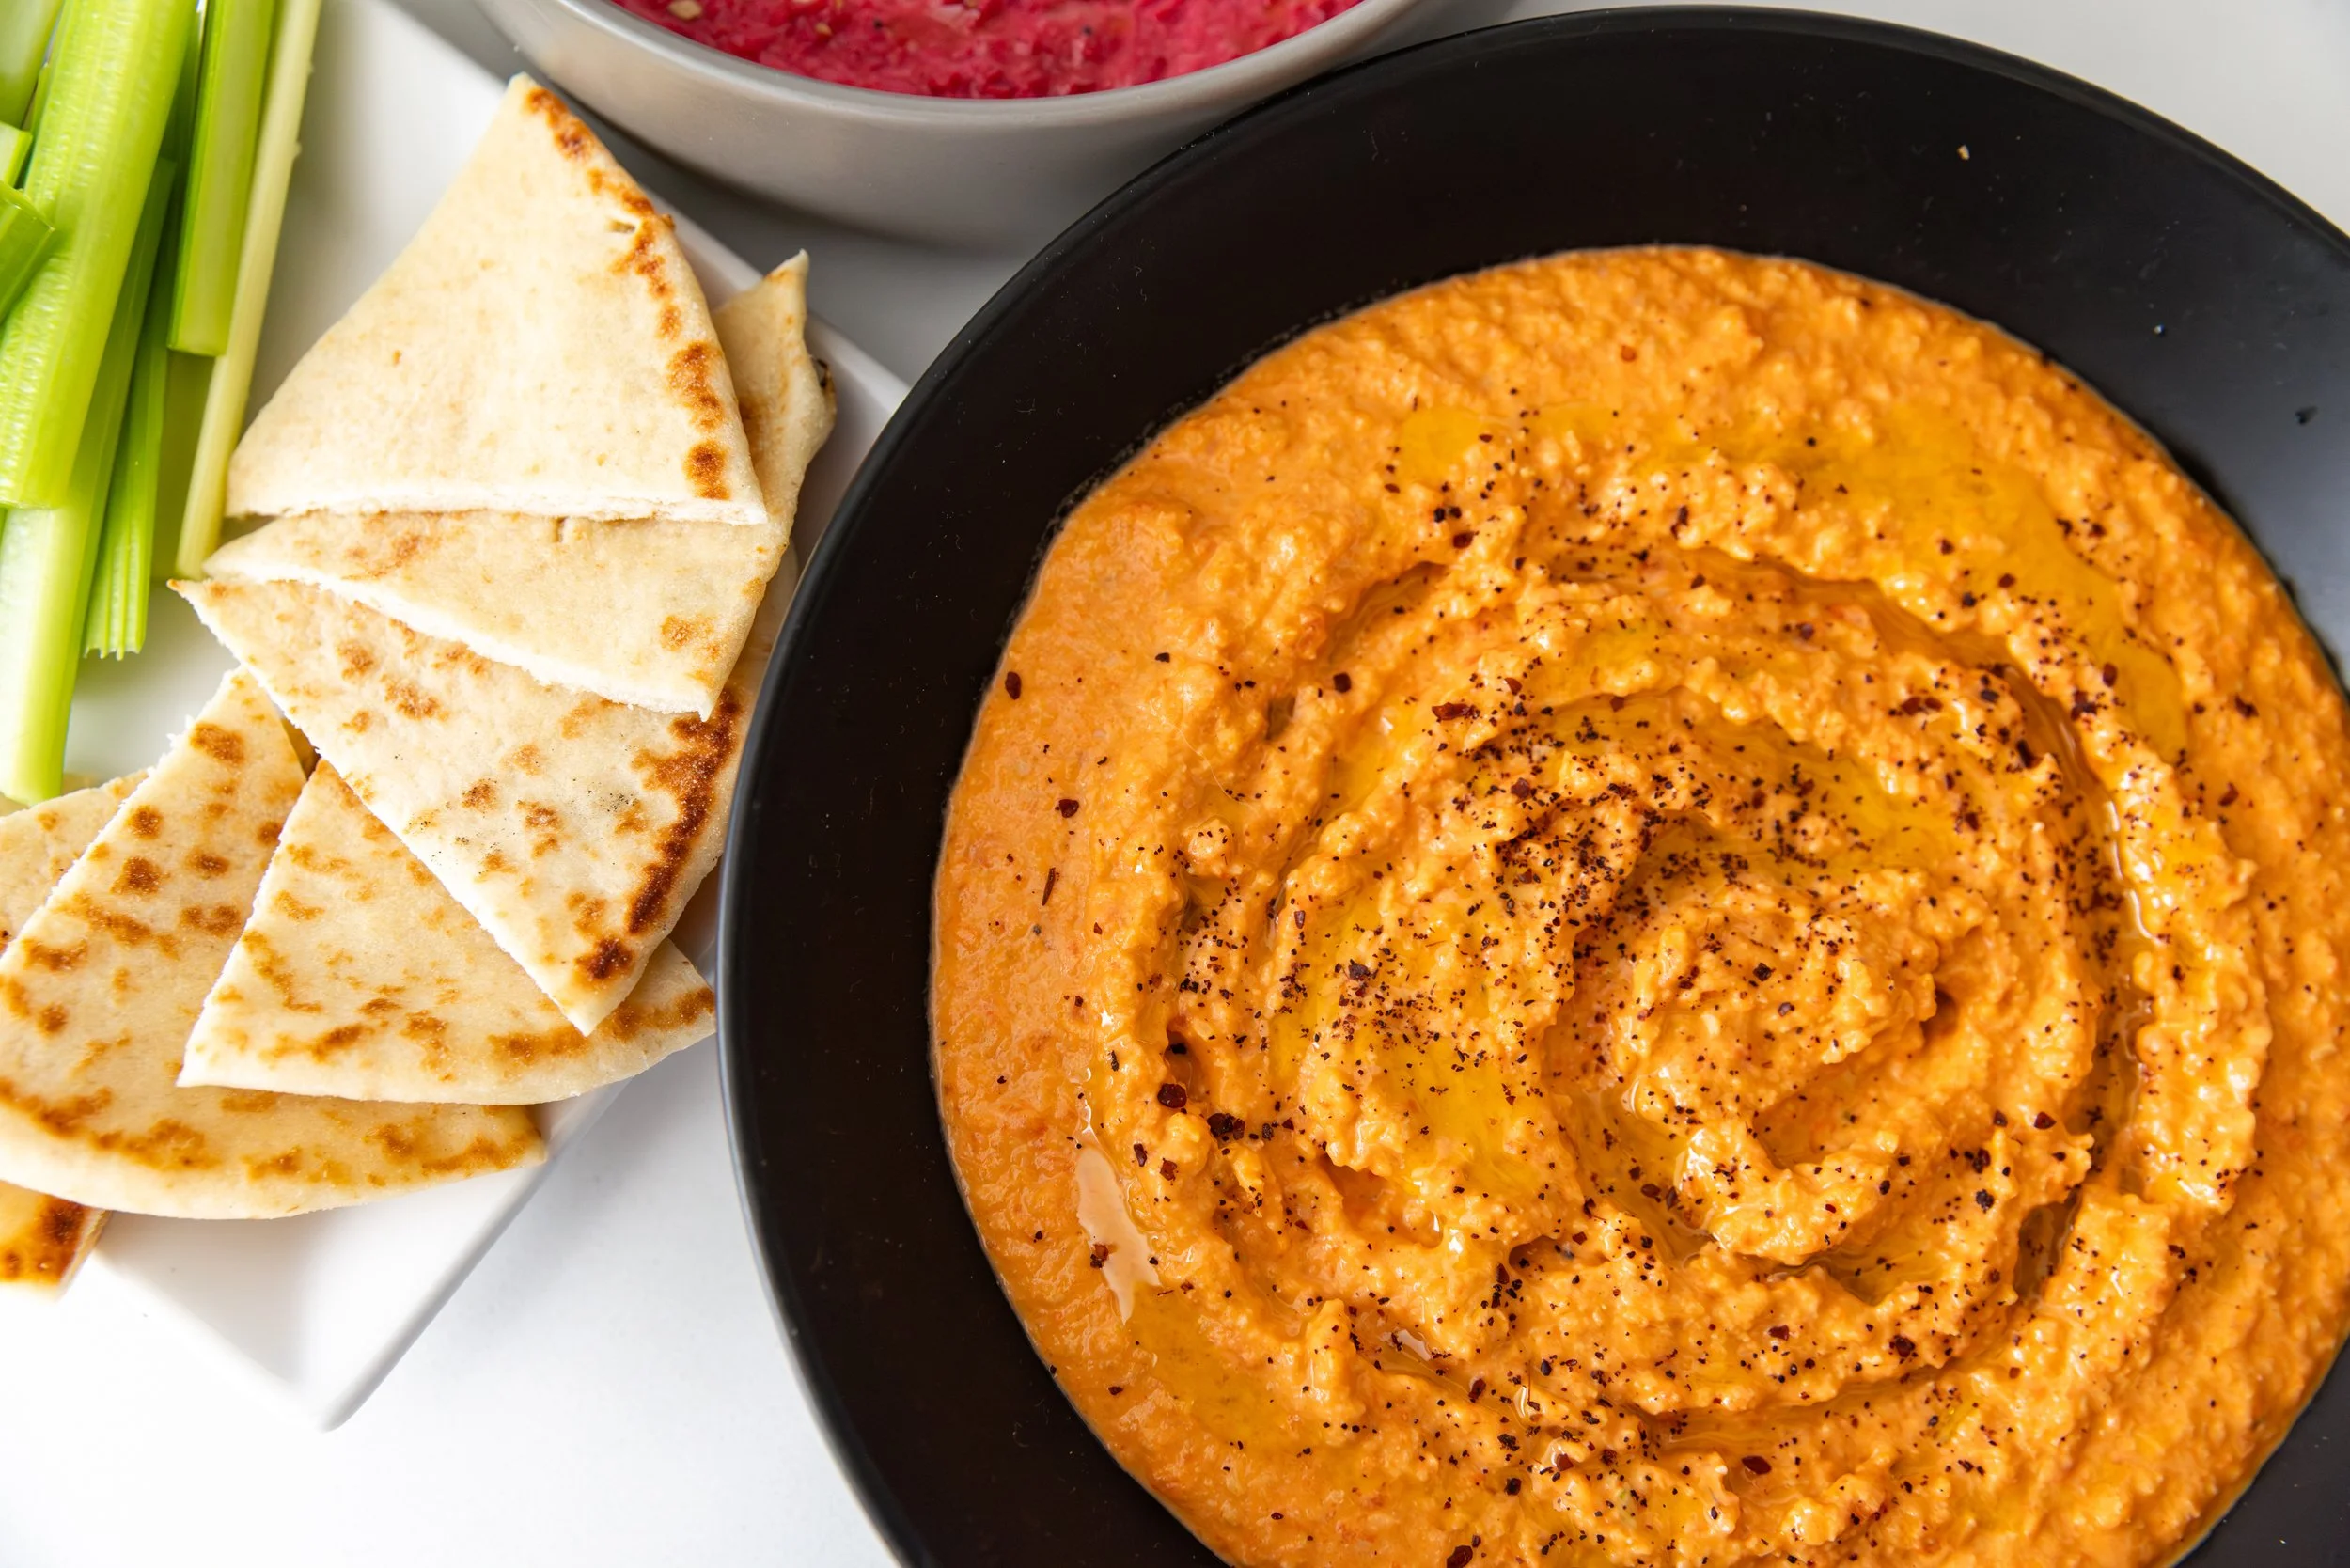
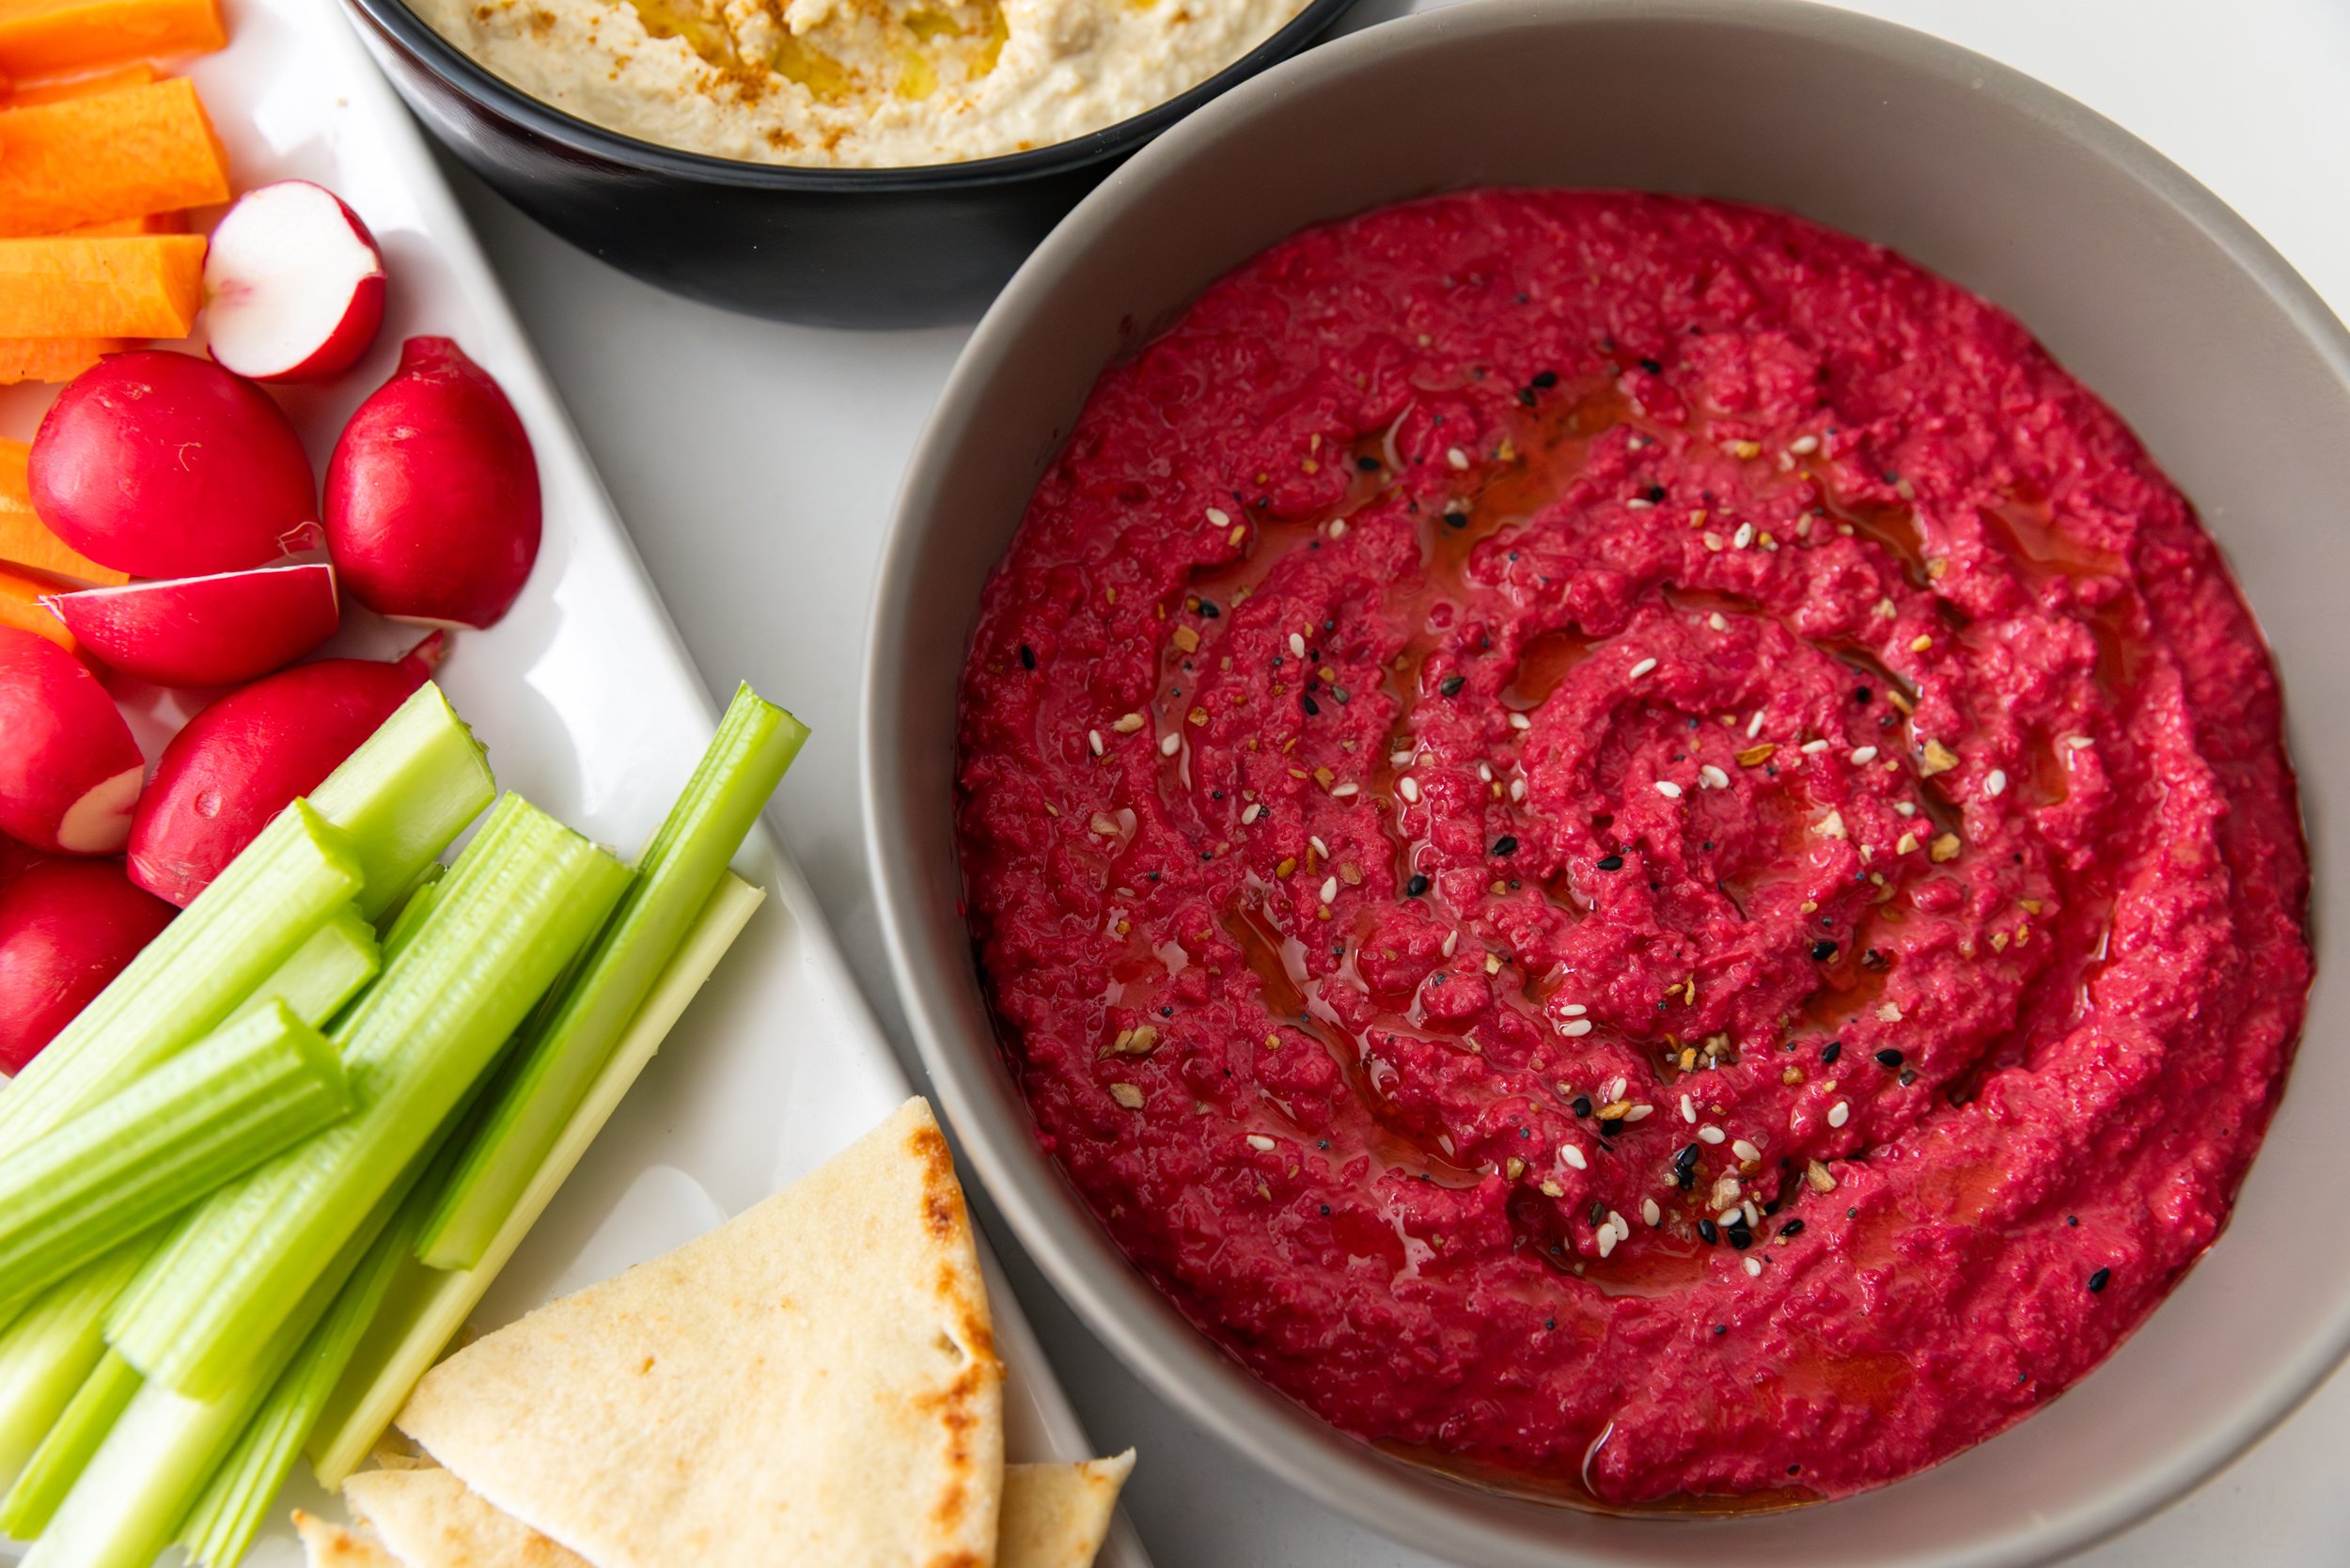
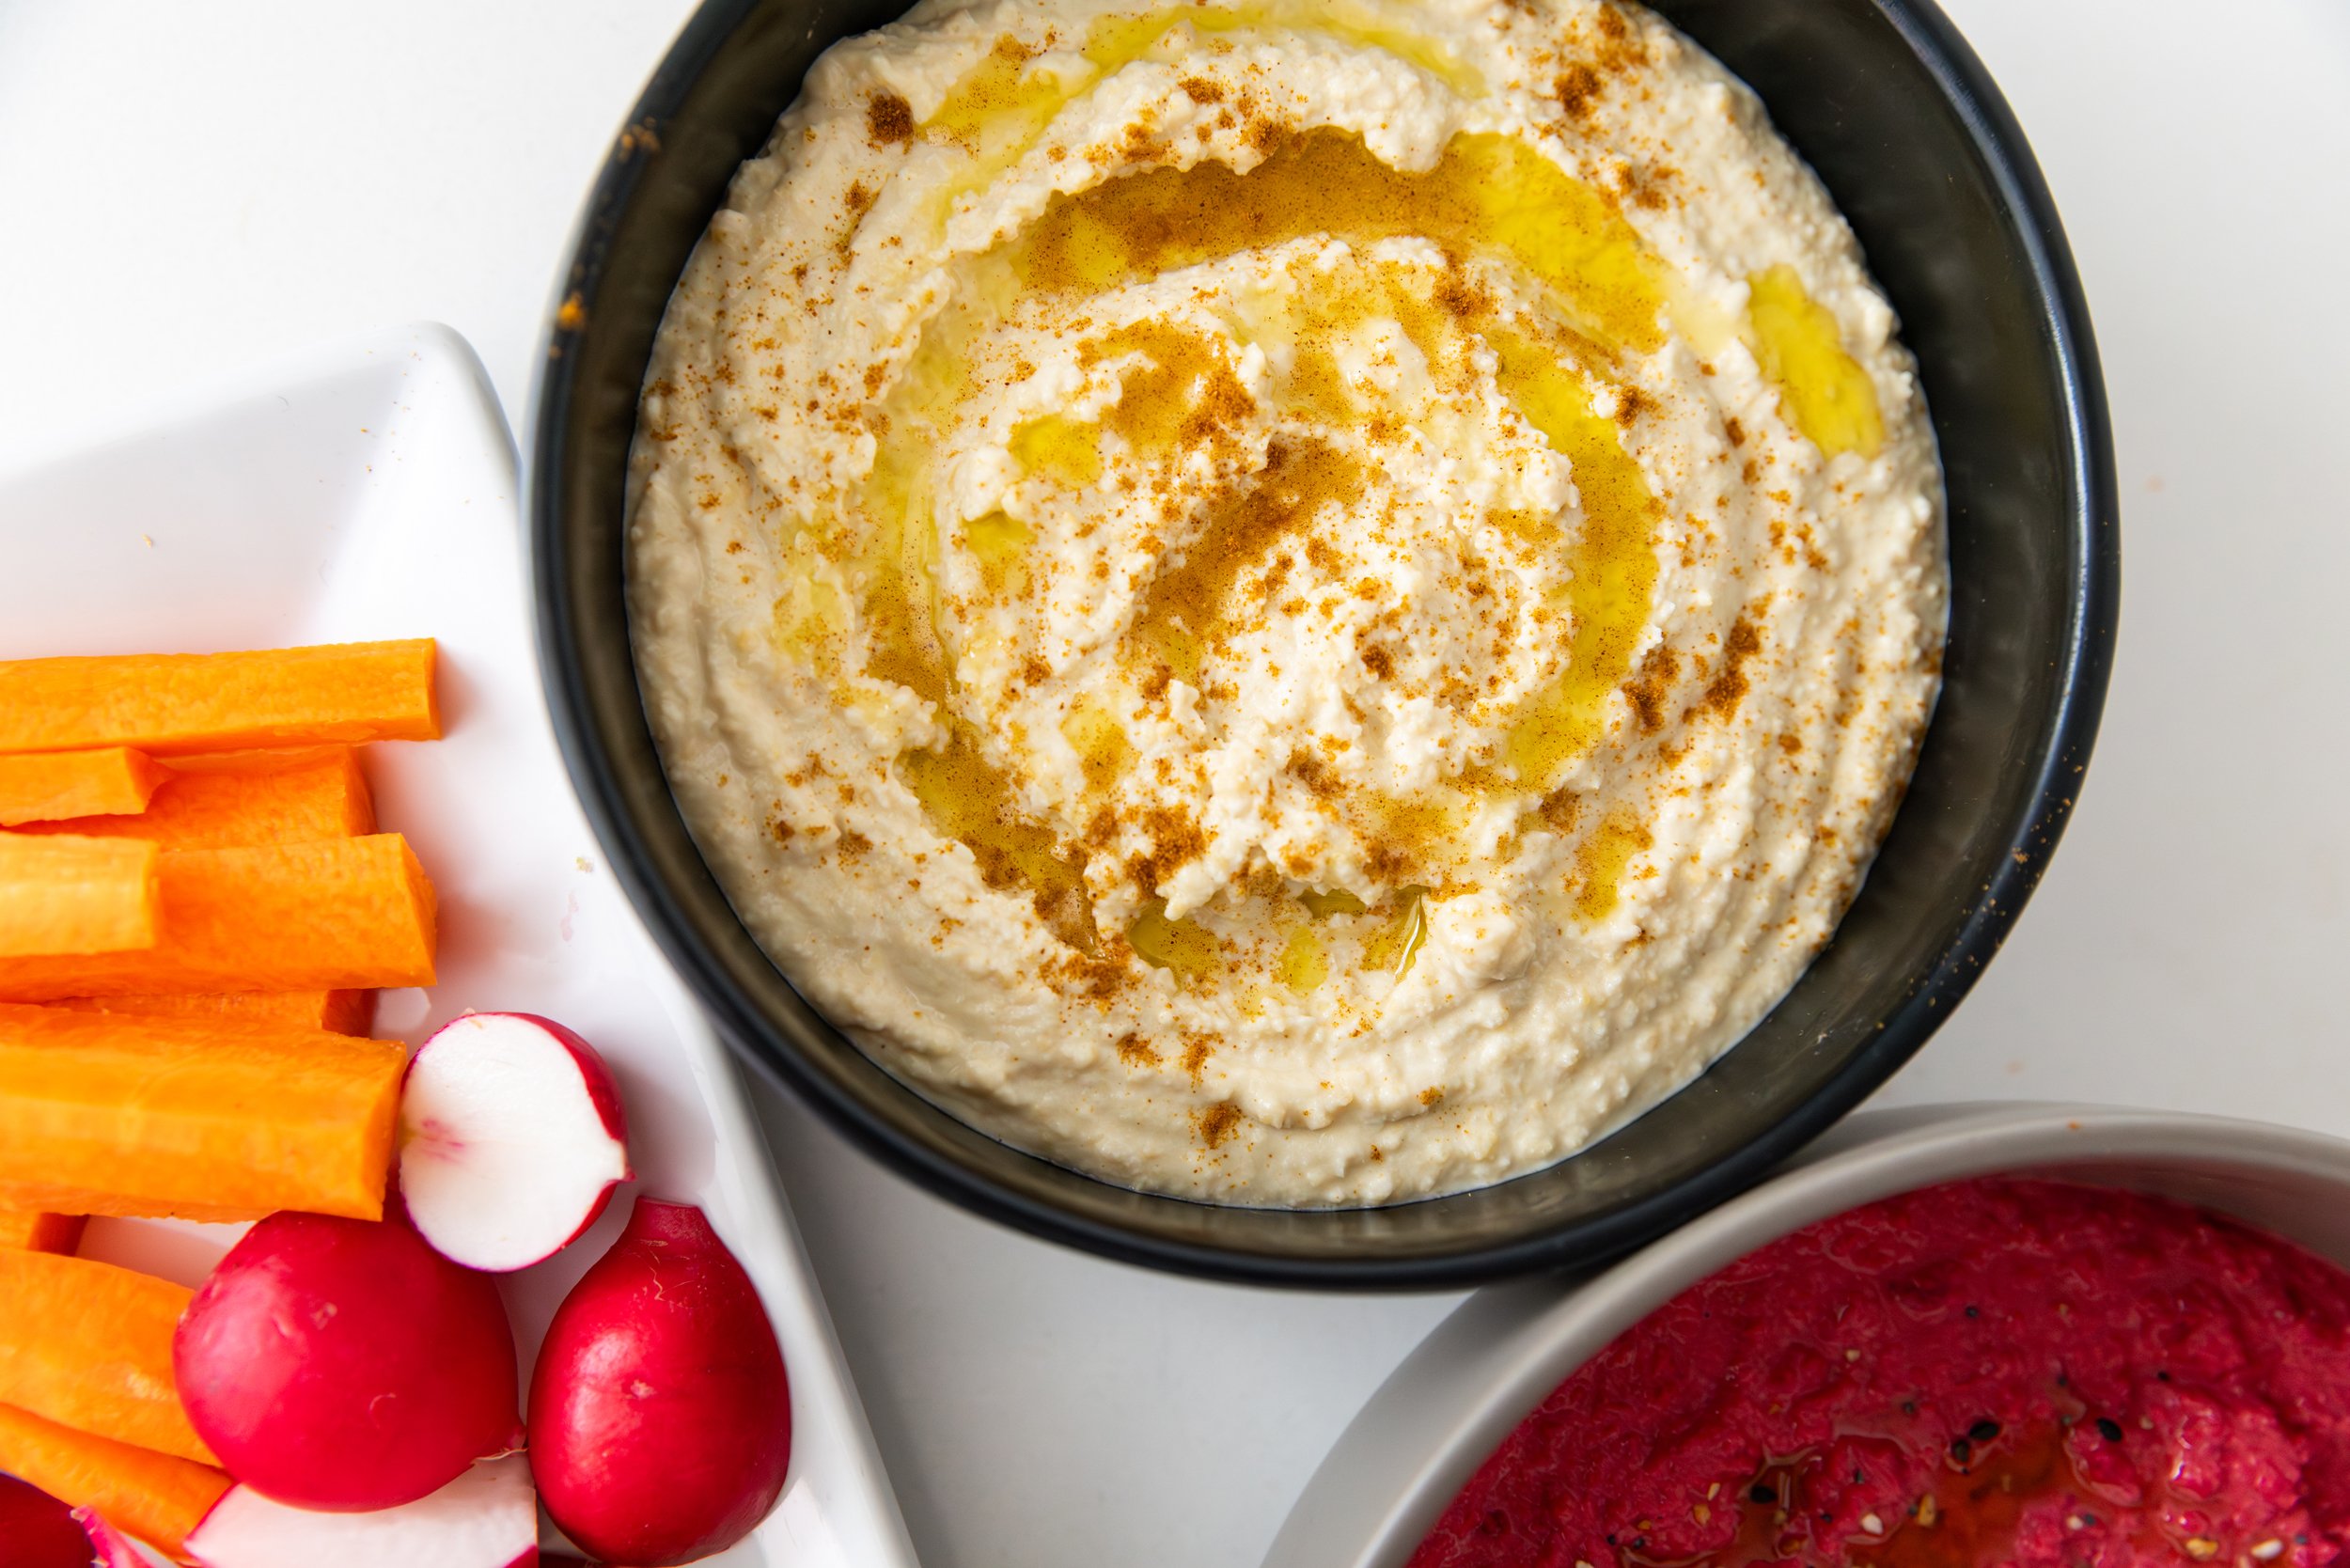
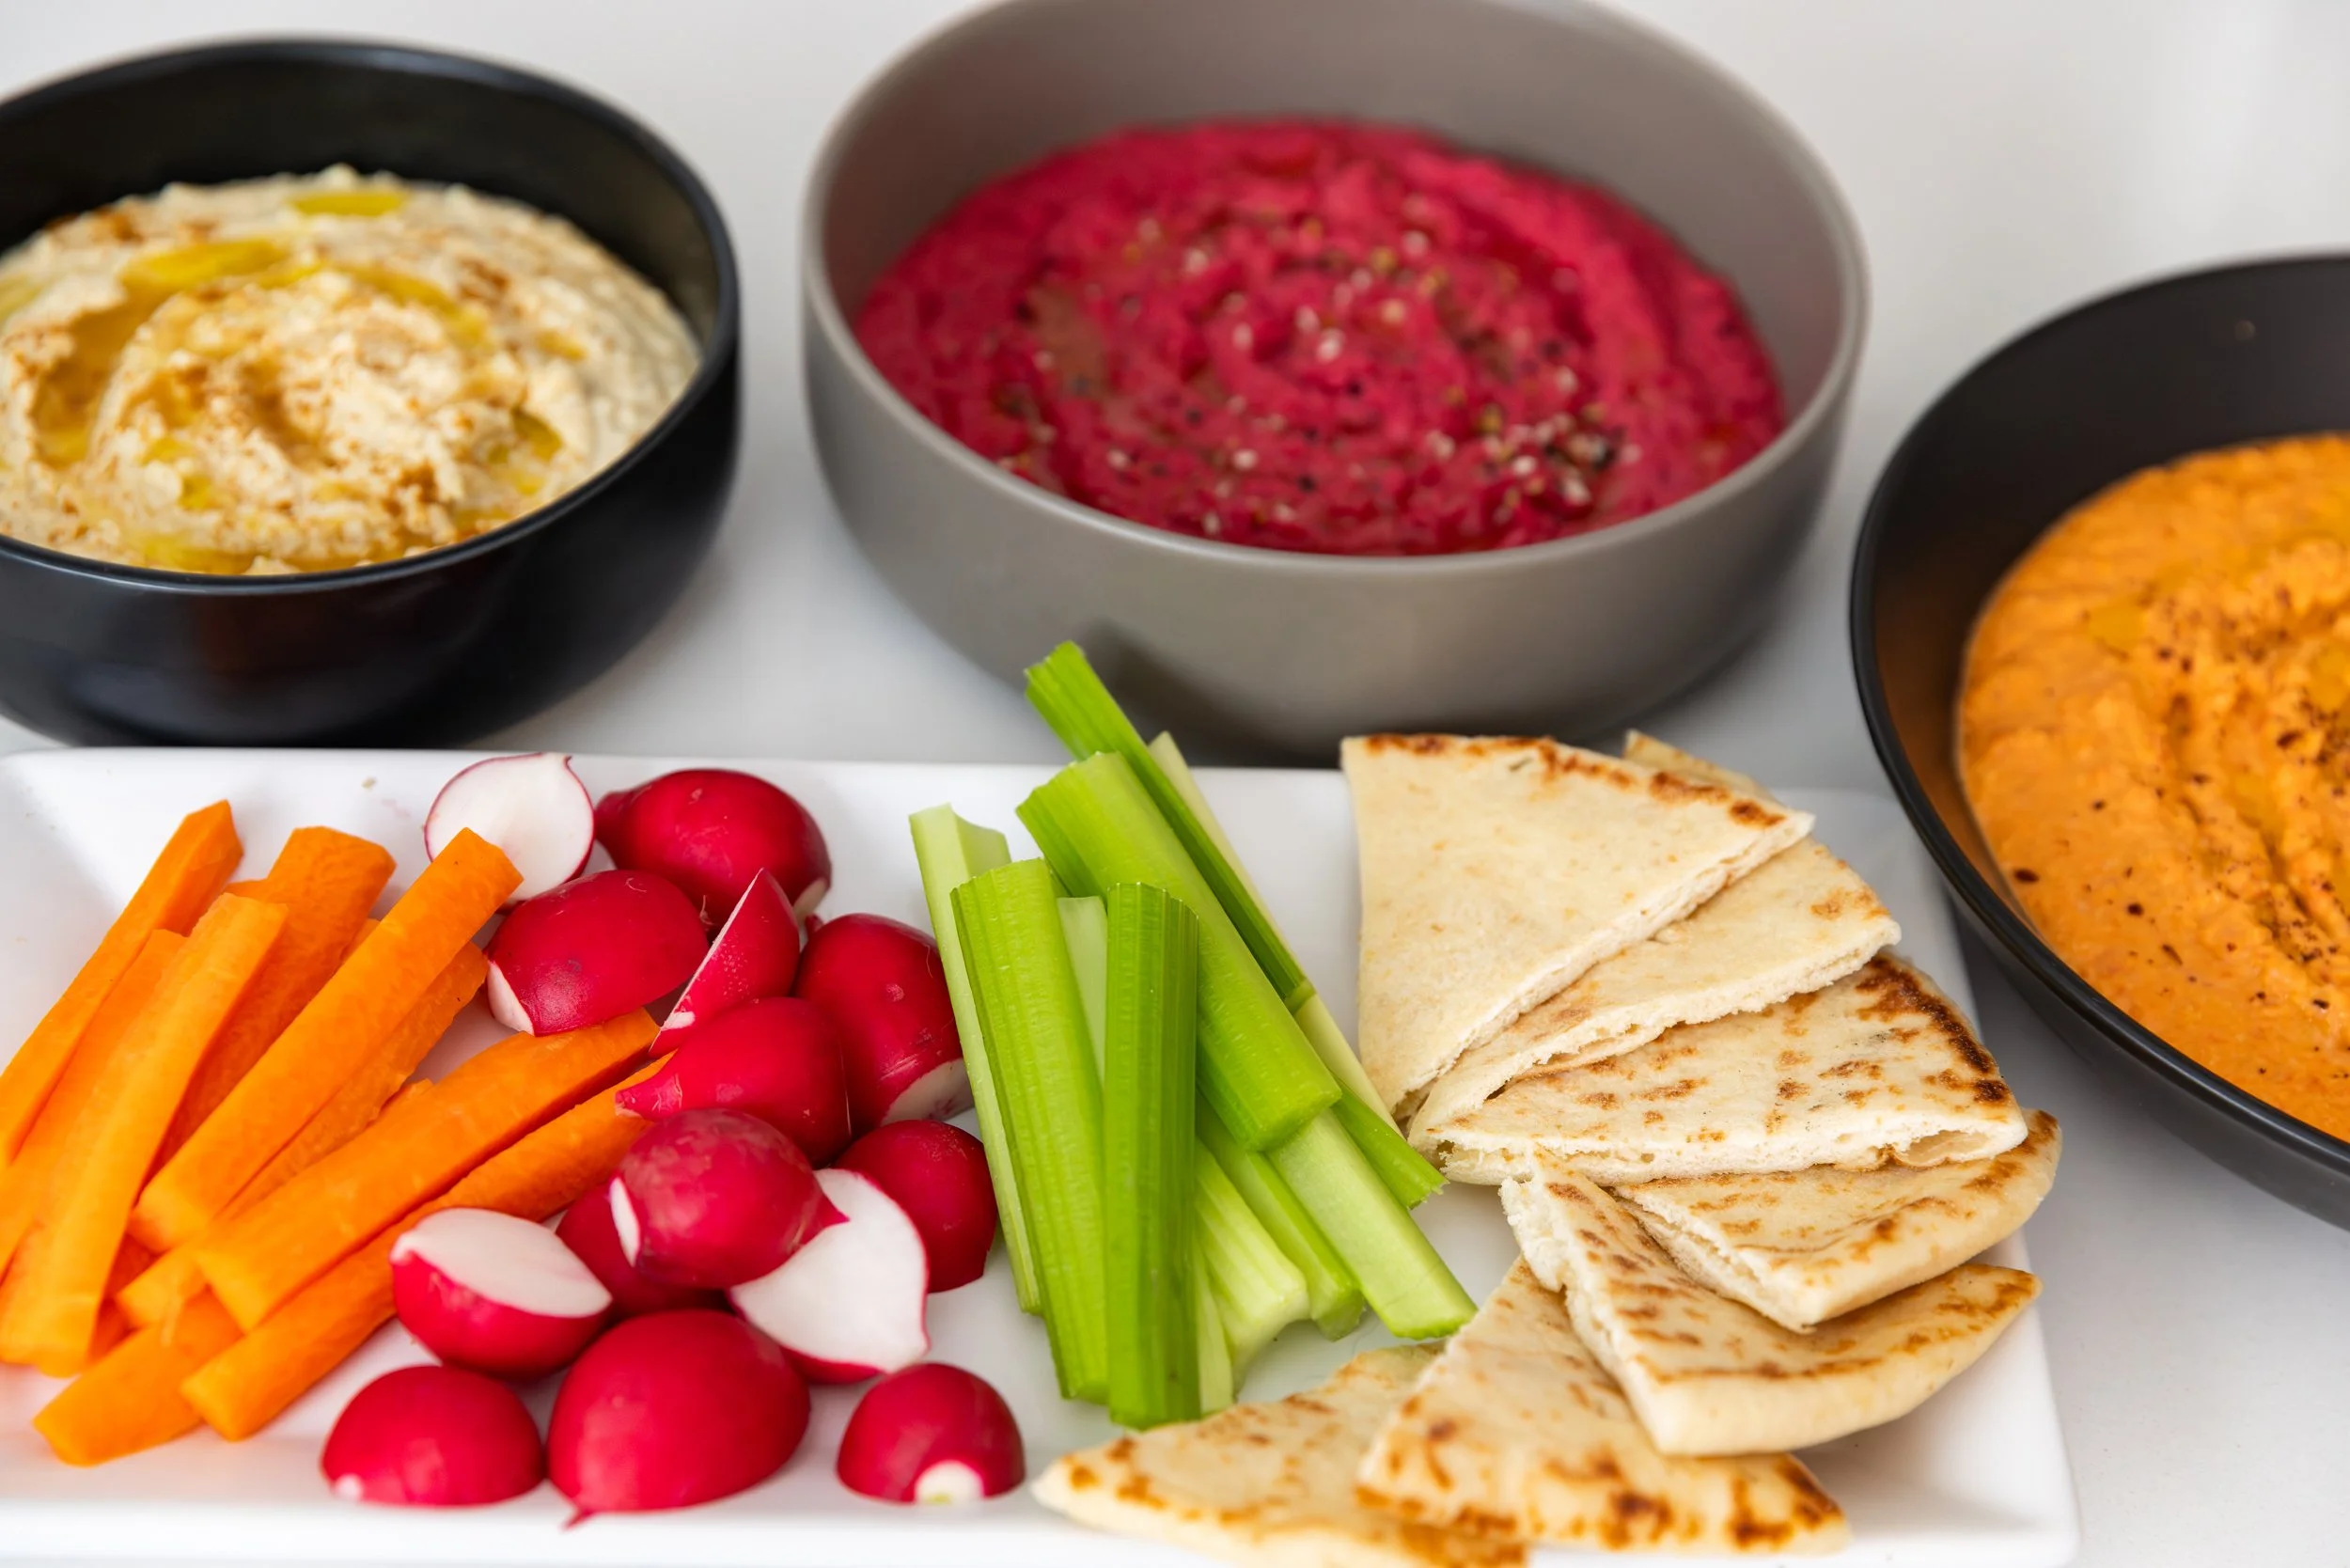
Once you get the ratios for your basic garlic hummus down, you can start expanding by adding things like roasted red pepper or beets like I did. Each has its own unique pop of flavor, and the colors are to die for on a veggie plate! 
INGREDIENTS:  

Garlic Hummus 
 - 1½ cups cooked chickpeas* (see instructions for canned vs. soaked chickpeas) 
- 1 tsp baking soda 
- 1/3 cup tahini  
- 2 tbsp extra-virgin olive oil  
- 1 lemon – approx. 2-3 tbsp juice, or more to taste 
- 1-3 garlic cloves (start with one and add more to taste) 
- ½ tsp salt  
- water – 1/3 cup, or more to thin 
 
Roasted Red Pepper Hummus 
- Garlic Hummus ingredients plus: 
- 1 small beet 
- optional spices like cumin 

Beet Hummus 
- Garlic Hummus ingredients plus: 
- 3 red peppers 
- optional spices like cayenne and paprika 
 
Garnish Options:  
paprika or sumac, red pepper flakes, chopped parsley, lemon zest, drizzle of olive oil, sesame seeds, or anything else you might desire! 
 
Serve With:  
vegetables like carrots, celery, cucumbers, peppers, or warm pita 
 

EQUIPMENT: 
- high speed blender 
 

INSTRUCTIONS:  
 
I used the soaked chickpea method but if using canned you can skip to below*. 
 
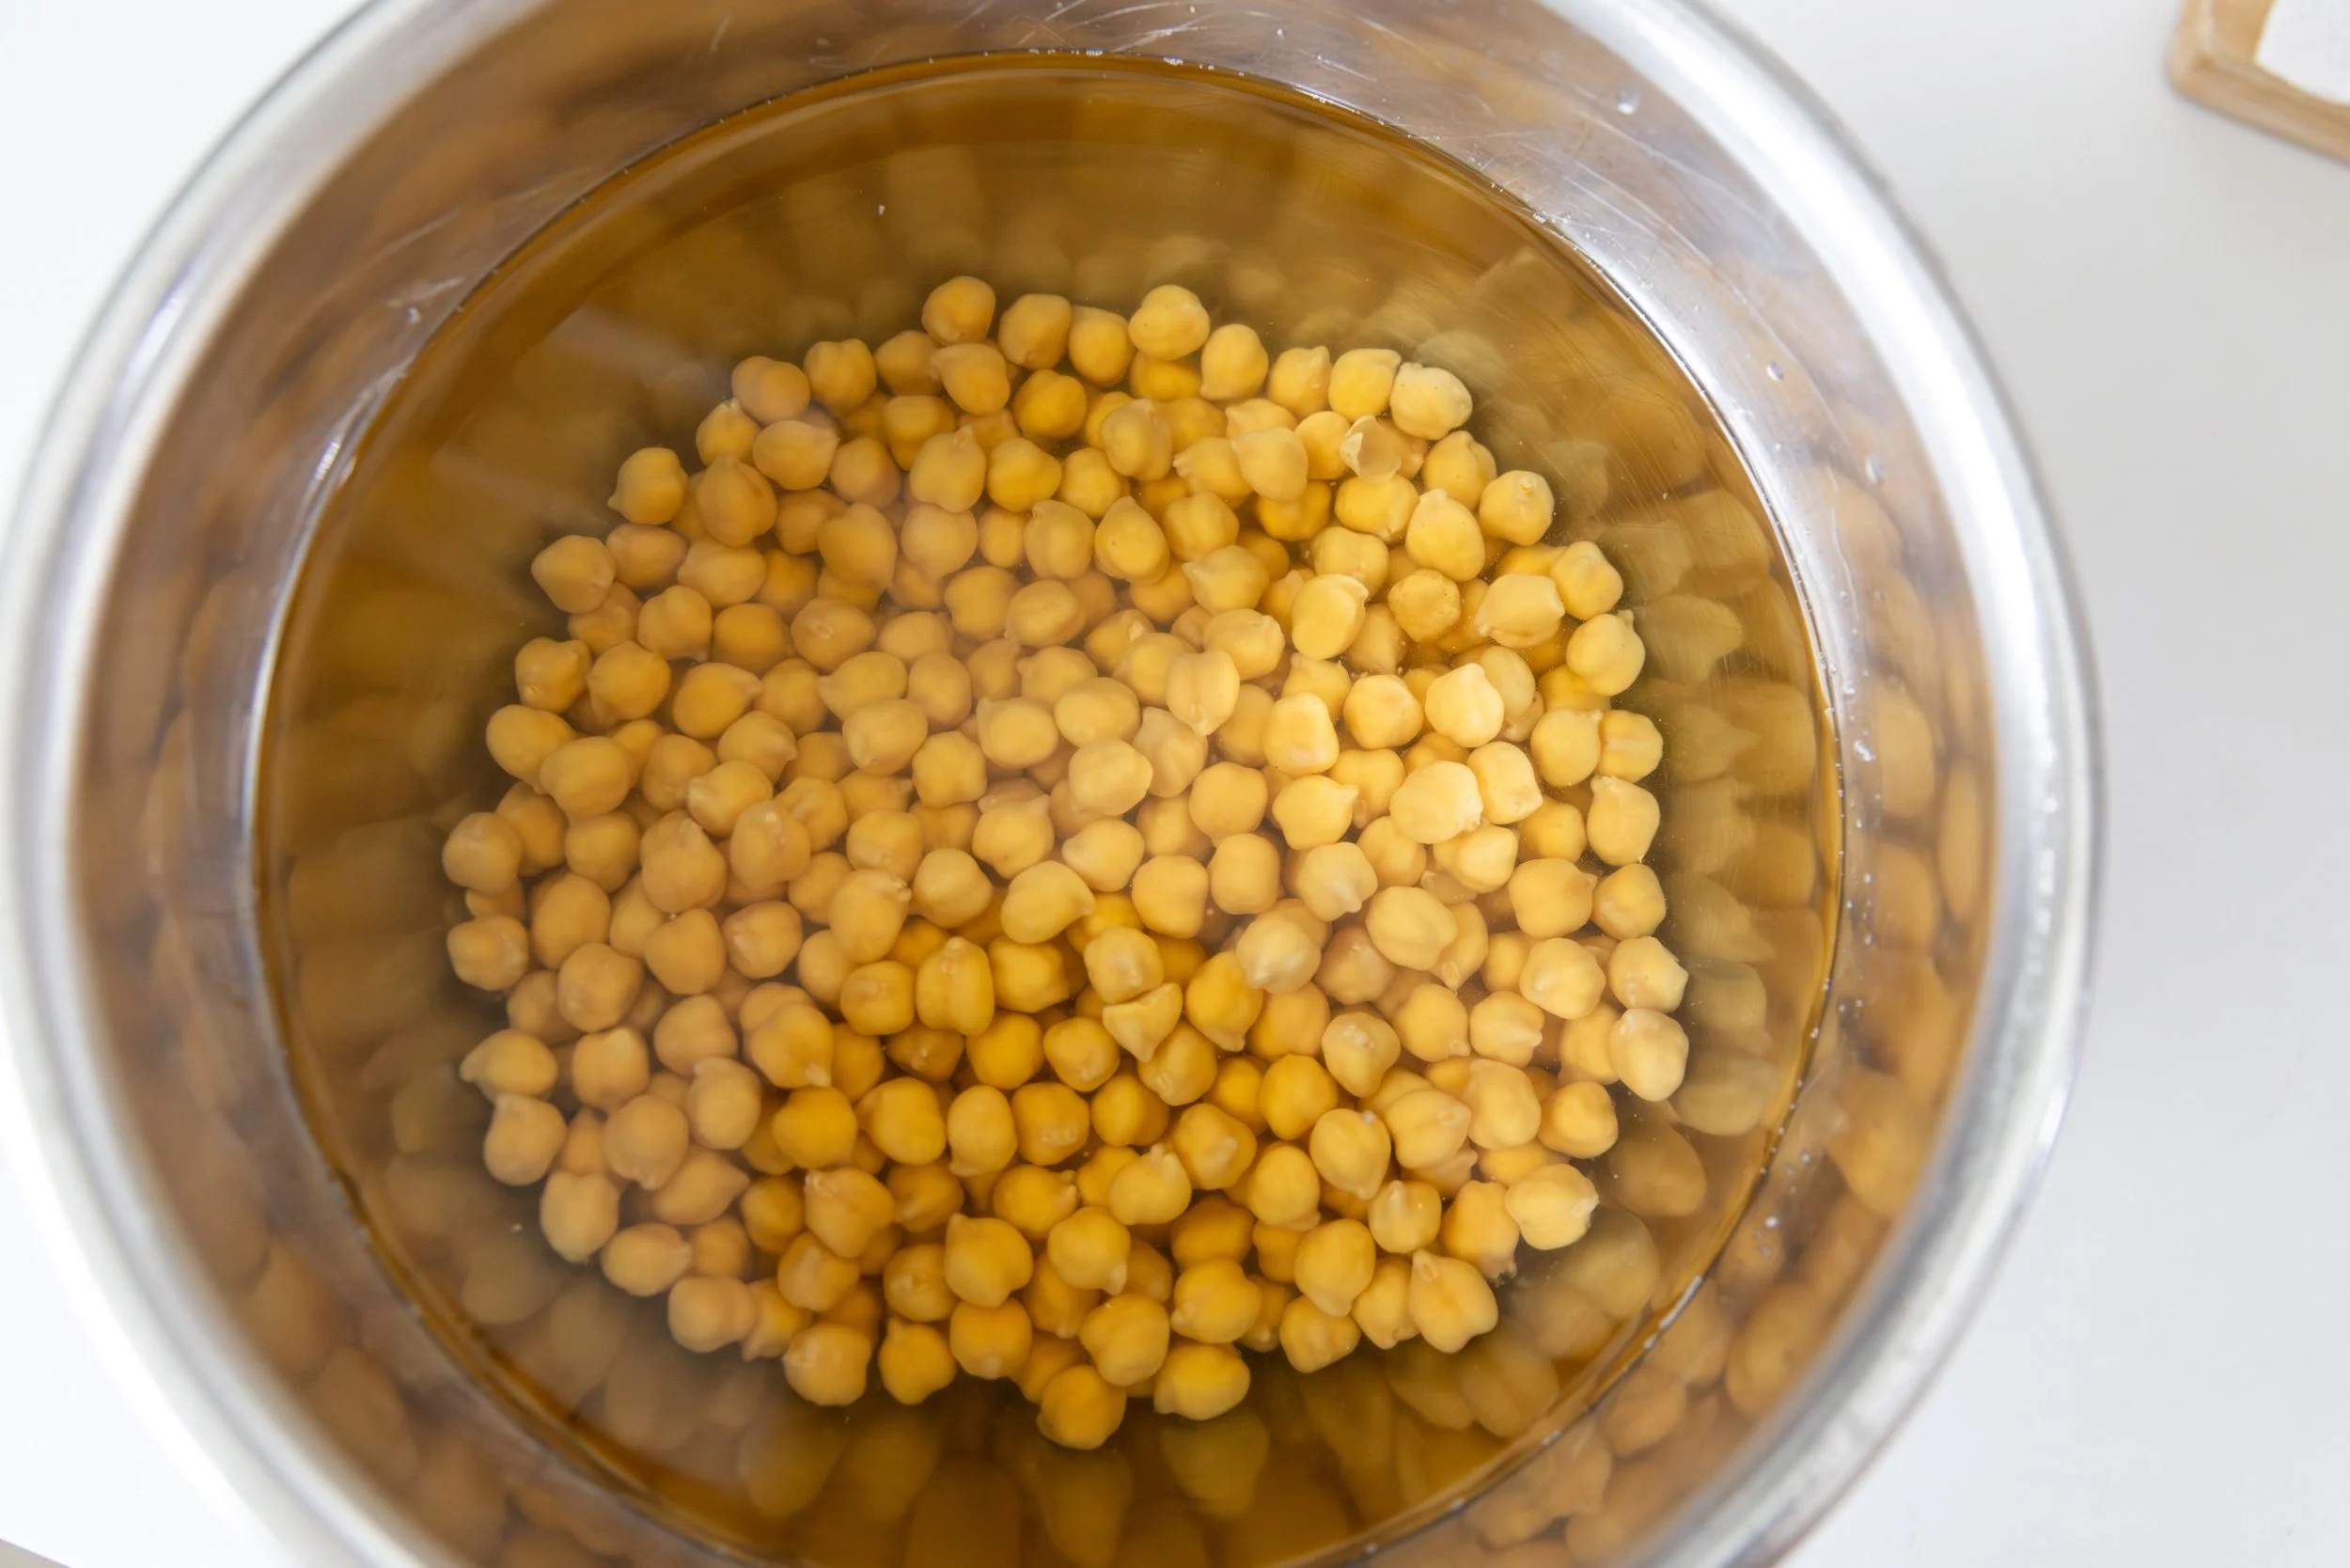
One cup of dried chickpeas will yield about 3 cups of cooked. 
Rinse the chickpeas to remove any debris and place in a pot or large bowl and cover with at least 4 cups of cold water. 
 
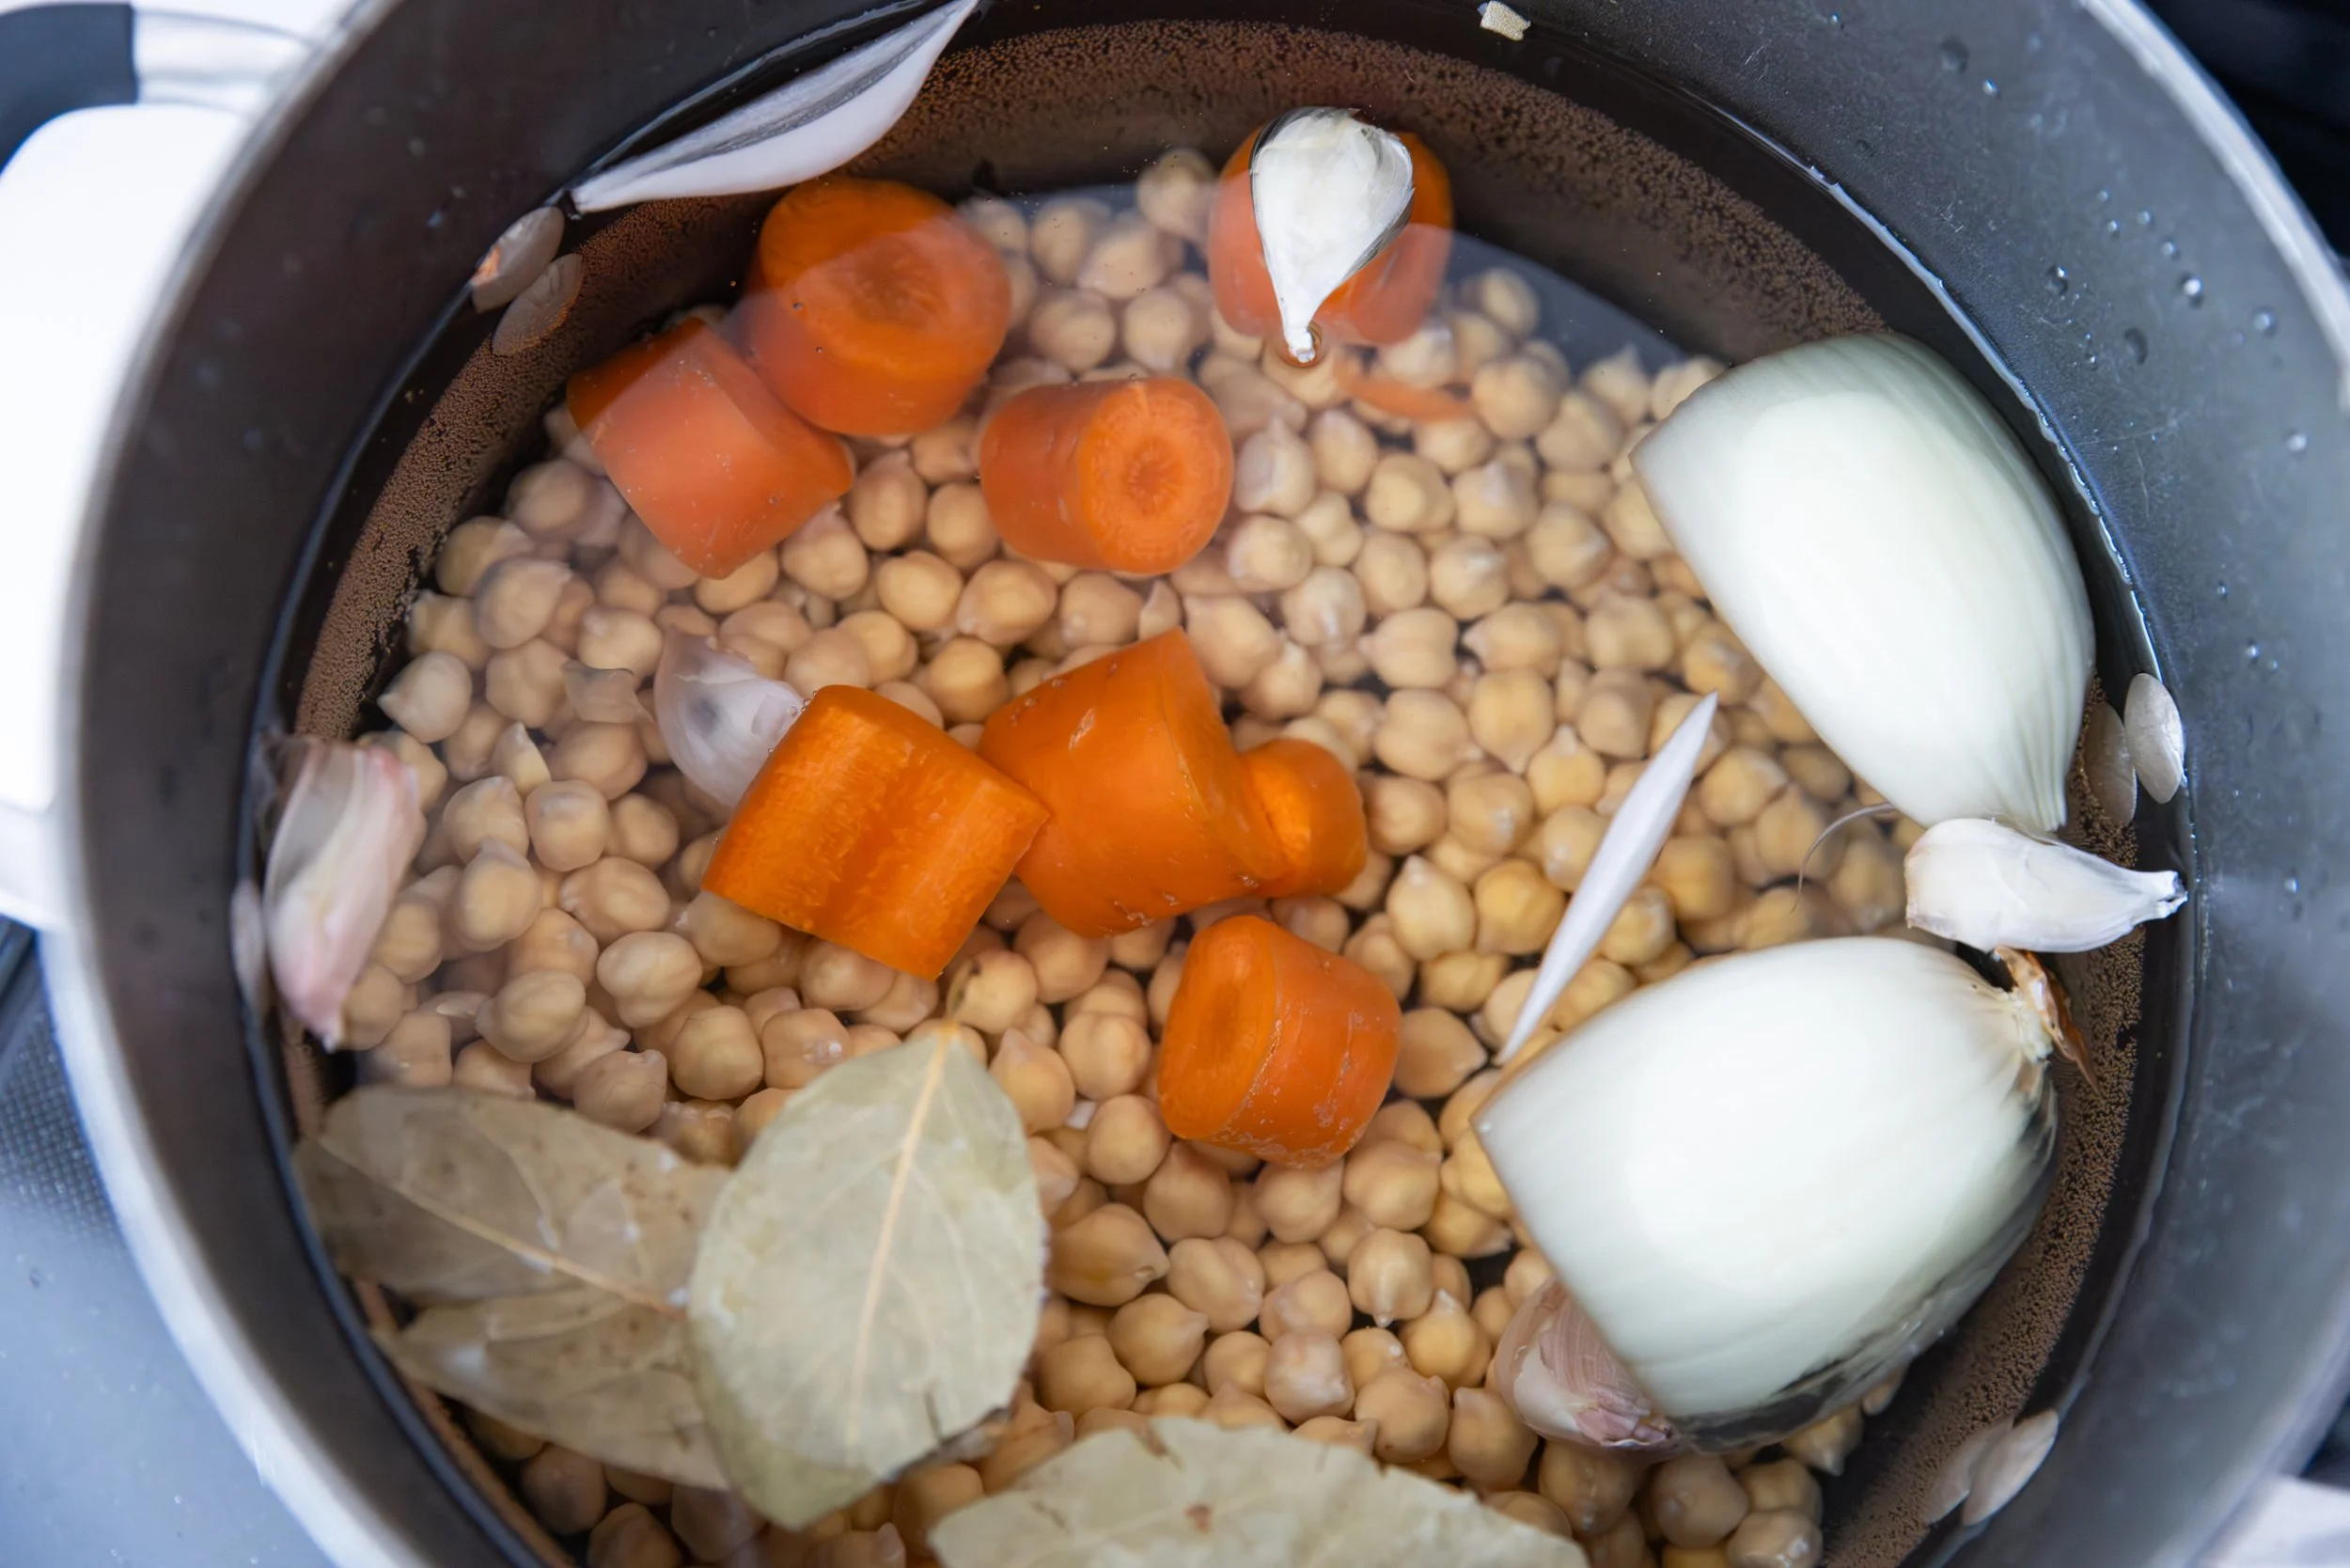
Soak overnight or for approximately 8 hours, then drain and rinse the chickpeas and place in a large pot. Cover with fresh water (with 2 or 3 inches extra) and add a pinch of salt, and the baking soda, and if desired you can add bay leaves and garlic, onion and carrot. This will amp up the flavor, especially if you’re making plain hummus. 
 
Bring to a boil and then reduce to a simmer, cooking the chickpeas for about an hour to an hour and a half. You know they are done when they are able to be squished – you want them very soft for a creamy hummus. 

And, for an extra smooth hummus, you can remove their skins – an easy way is to roll them in a clean and dry tea towel. It can be tedious, but it can also be worth the effort! 
*If you’re using canned, be sure to drain and rinse the chickpeas well (or save the liquid for some egg-free aquafaba recipes!) 

Now you’re ready to make hummus. 
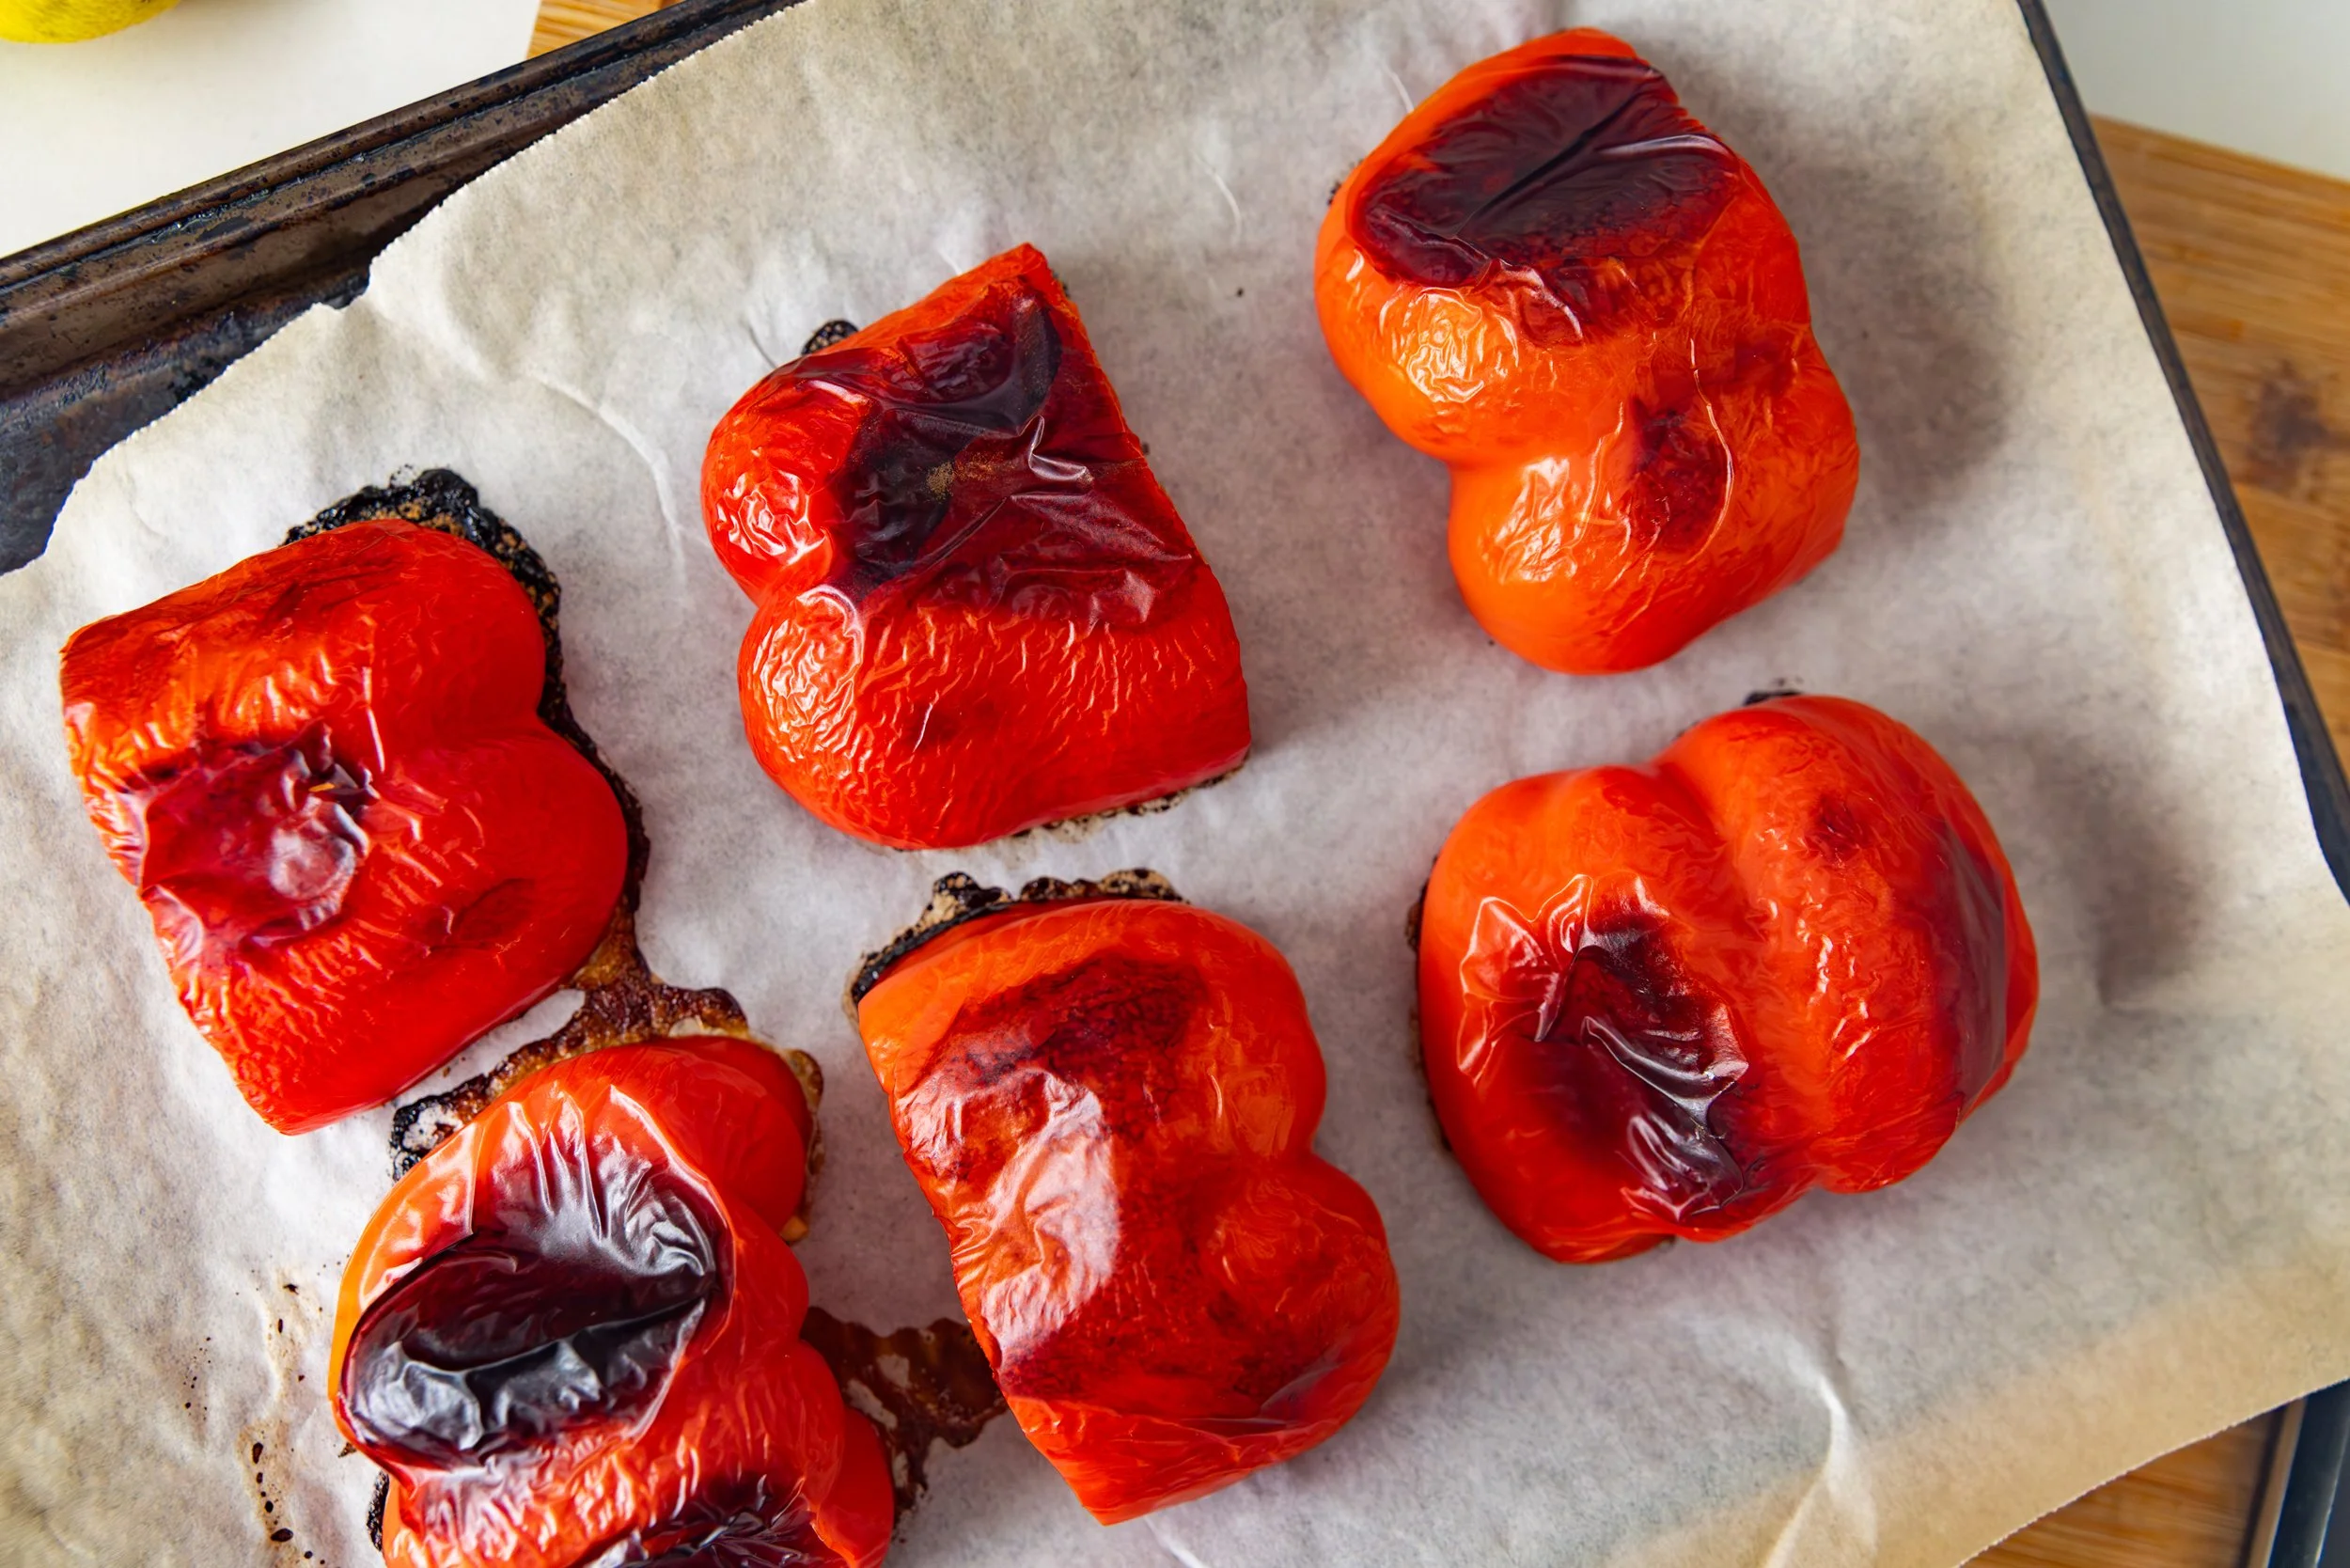
If you’re making one of the variants from above be sure to roast your beets and/or red peppers (a quick google search will let you know how to do so) and give them time to cool down. 

 
Place the chickpeas in your blender of choice and add in the tahini, lemon juice, garlic, and a pinch of salt. (This is also when you would add the ingredients for one of the other types of hummus.) 
 
Blend on high and add a tablespoon of water at a time until you reach the desired consistency. Now is also when you want to check for taste. If you want more garlic, or lemon (can use instead of water to thin), or spices. 
Plating is such a fun part as well! A shallow and wide bowl is your best bet and then add any of the garnish you’d like – play around with it. 
 
Serve with veggies, pita, or use it as a spread. 

ENJOY! 

RECIPE: Ravioli for BC Living "From Scratch"

Ravioli
for BC Living “From Scratch”
May 2026

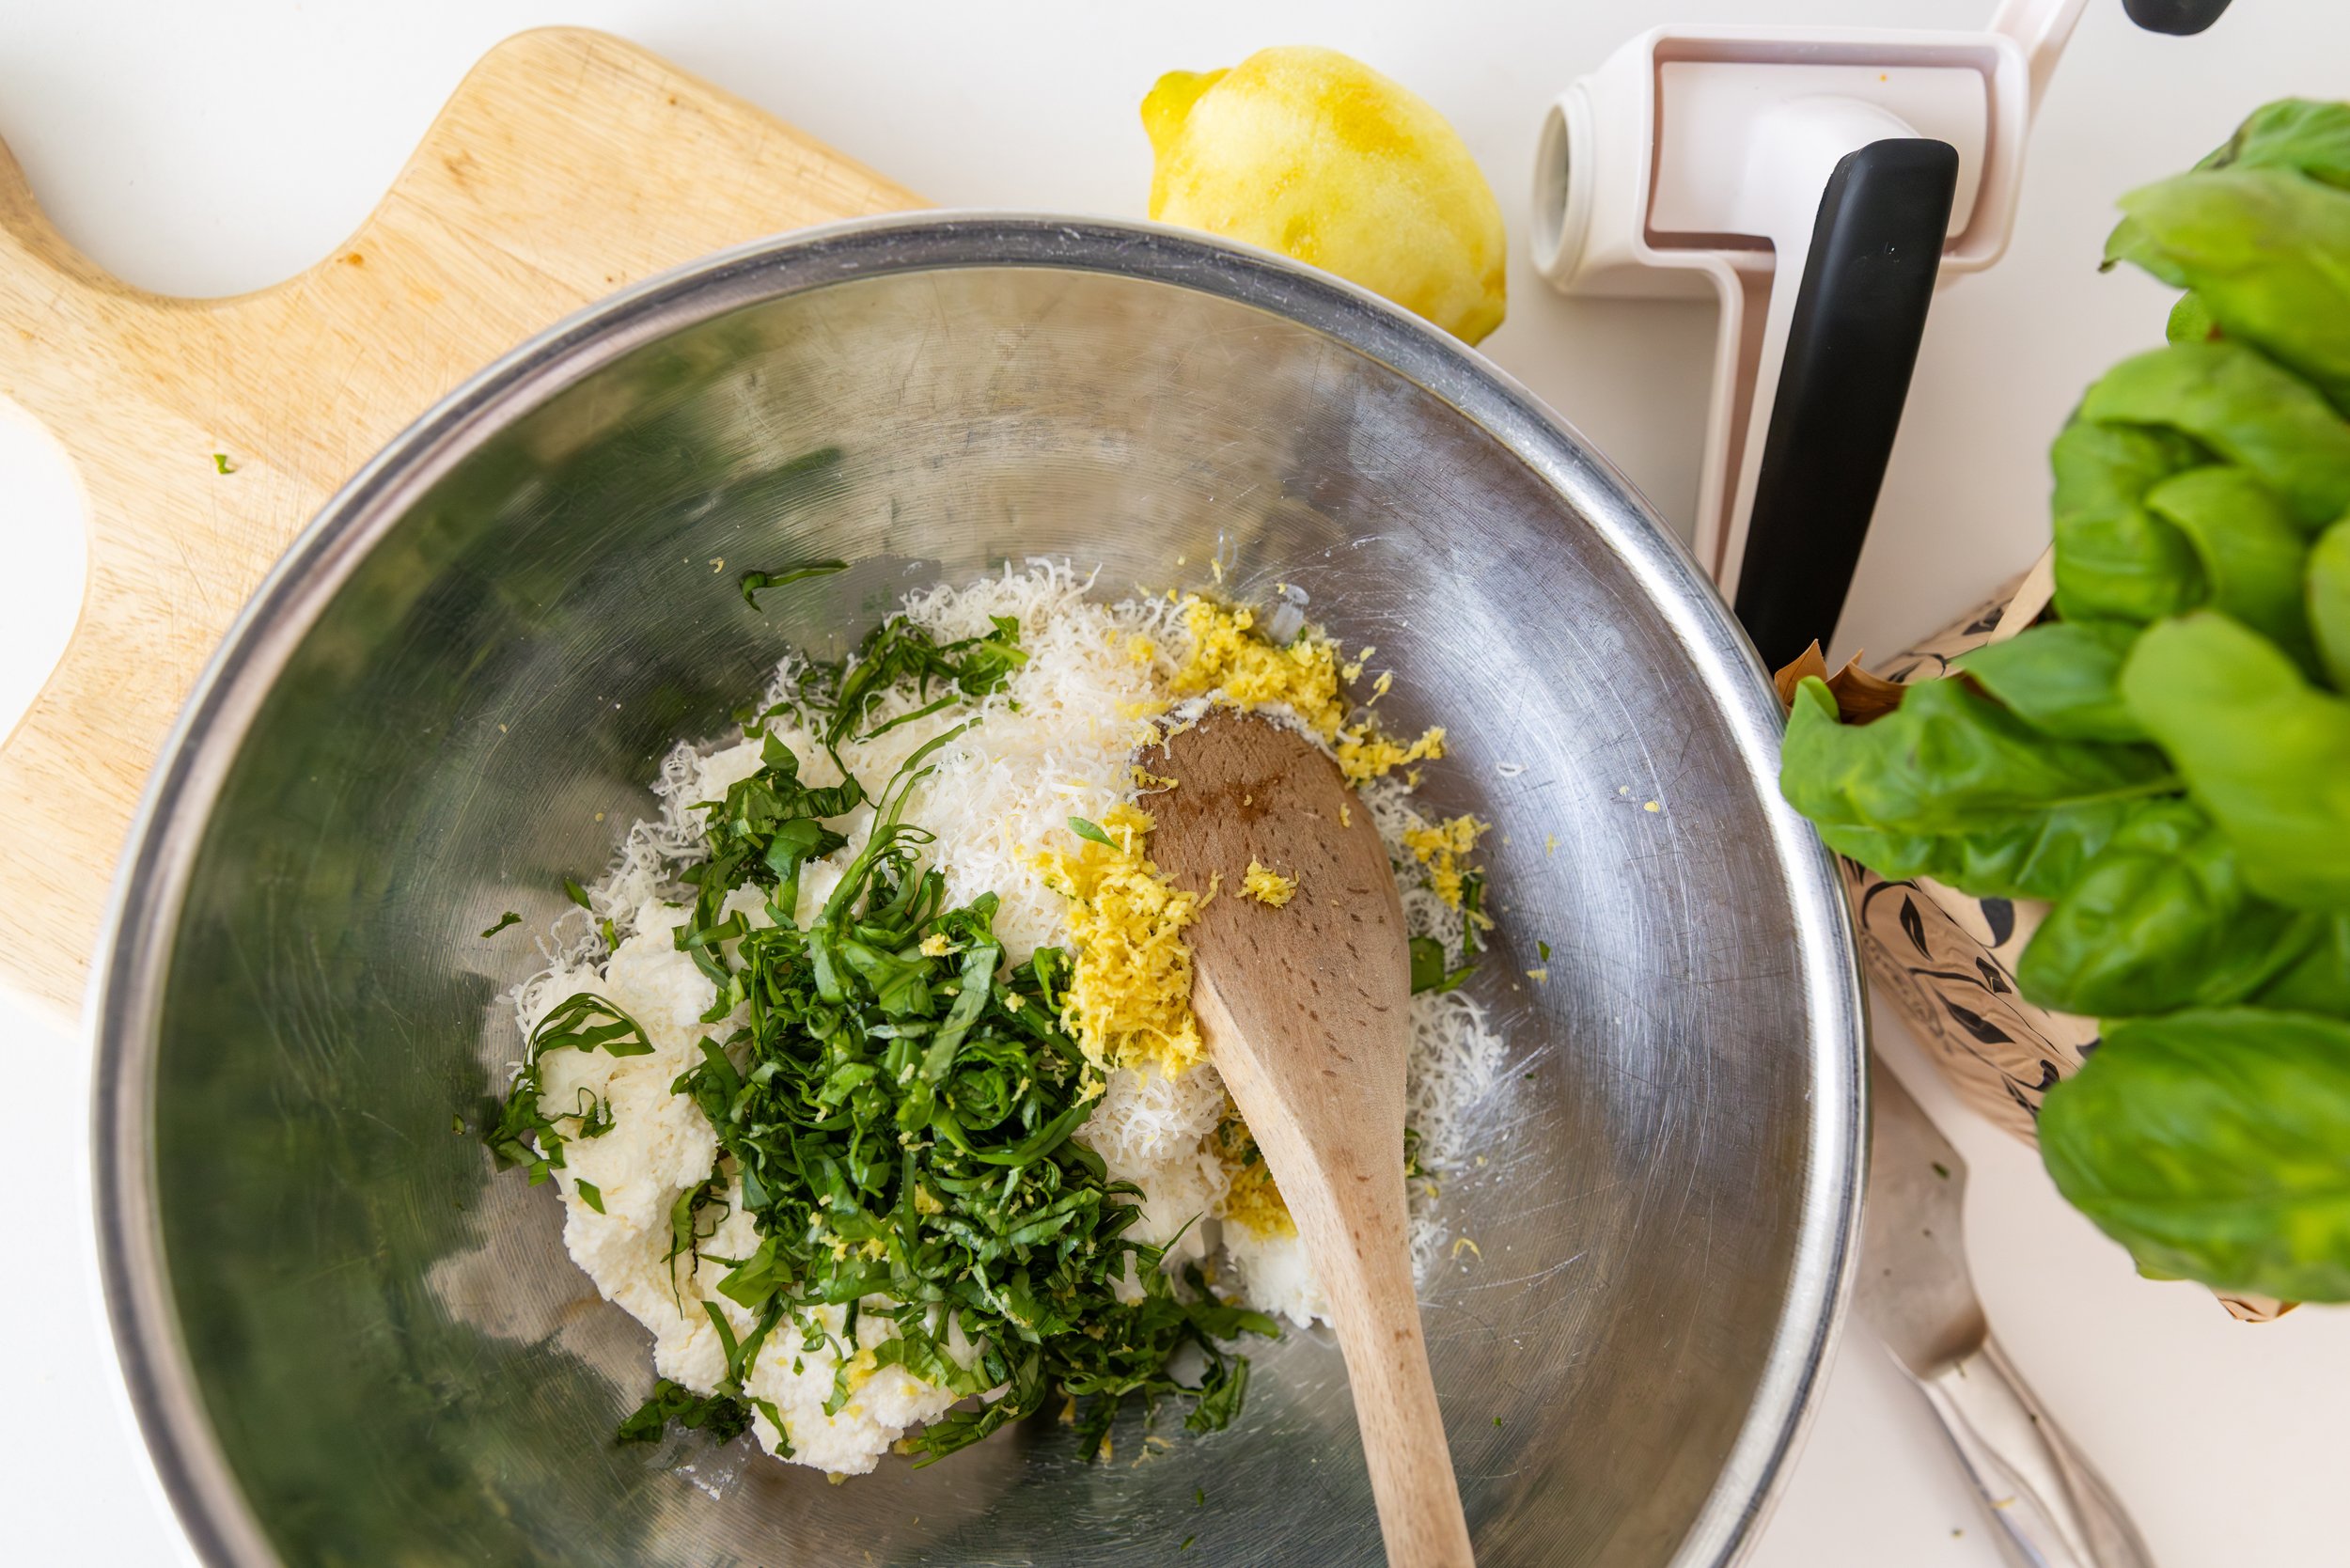
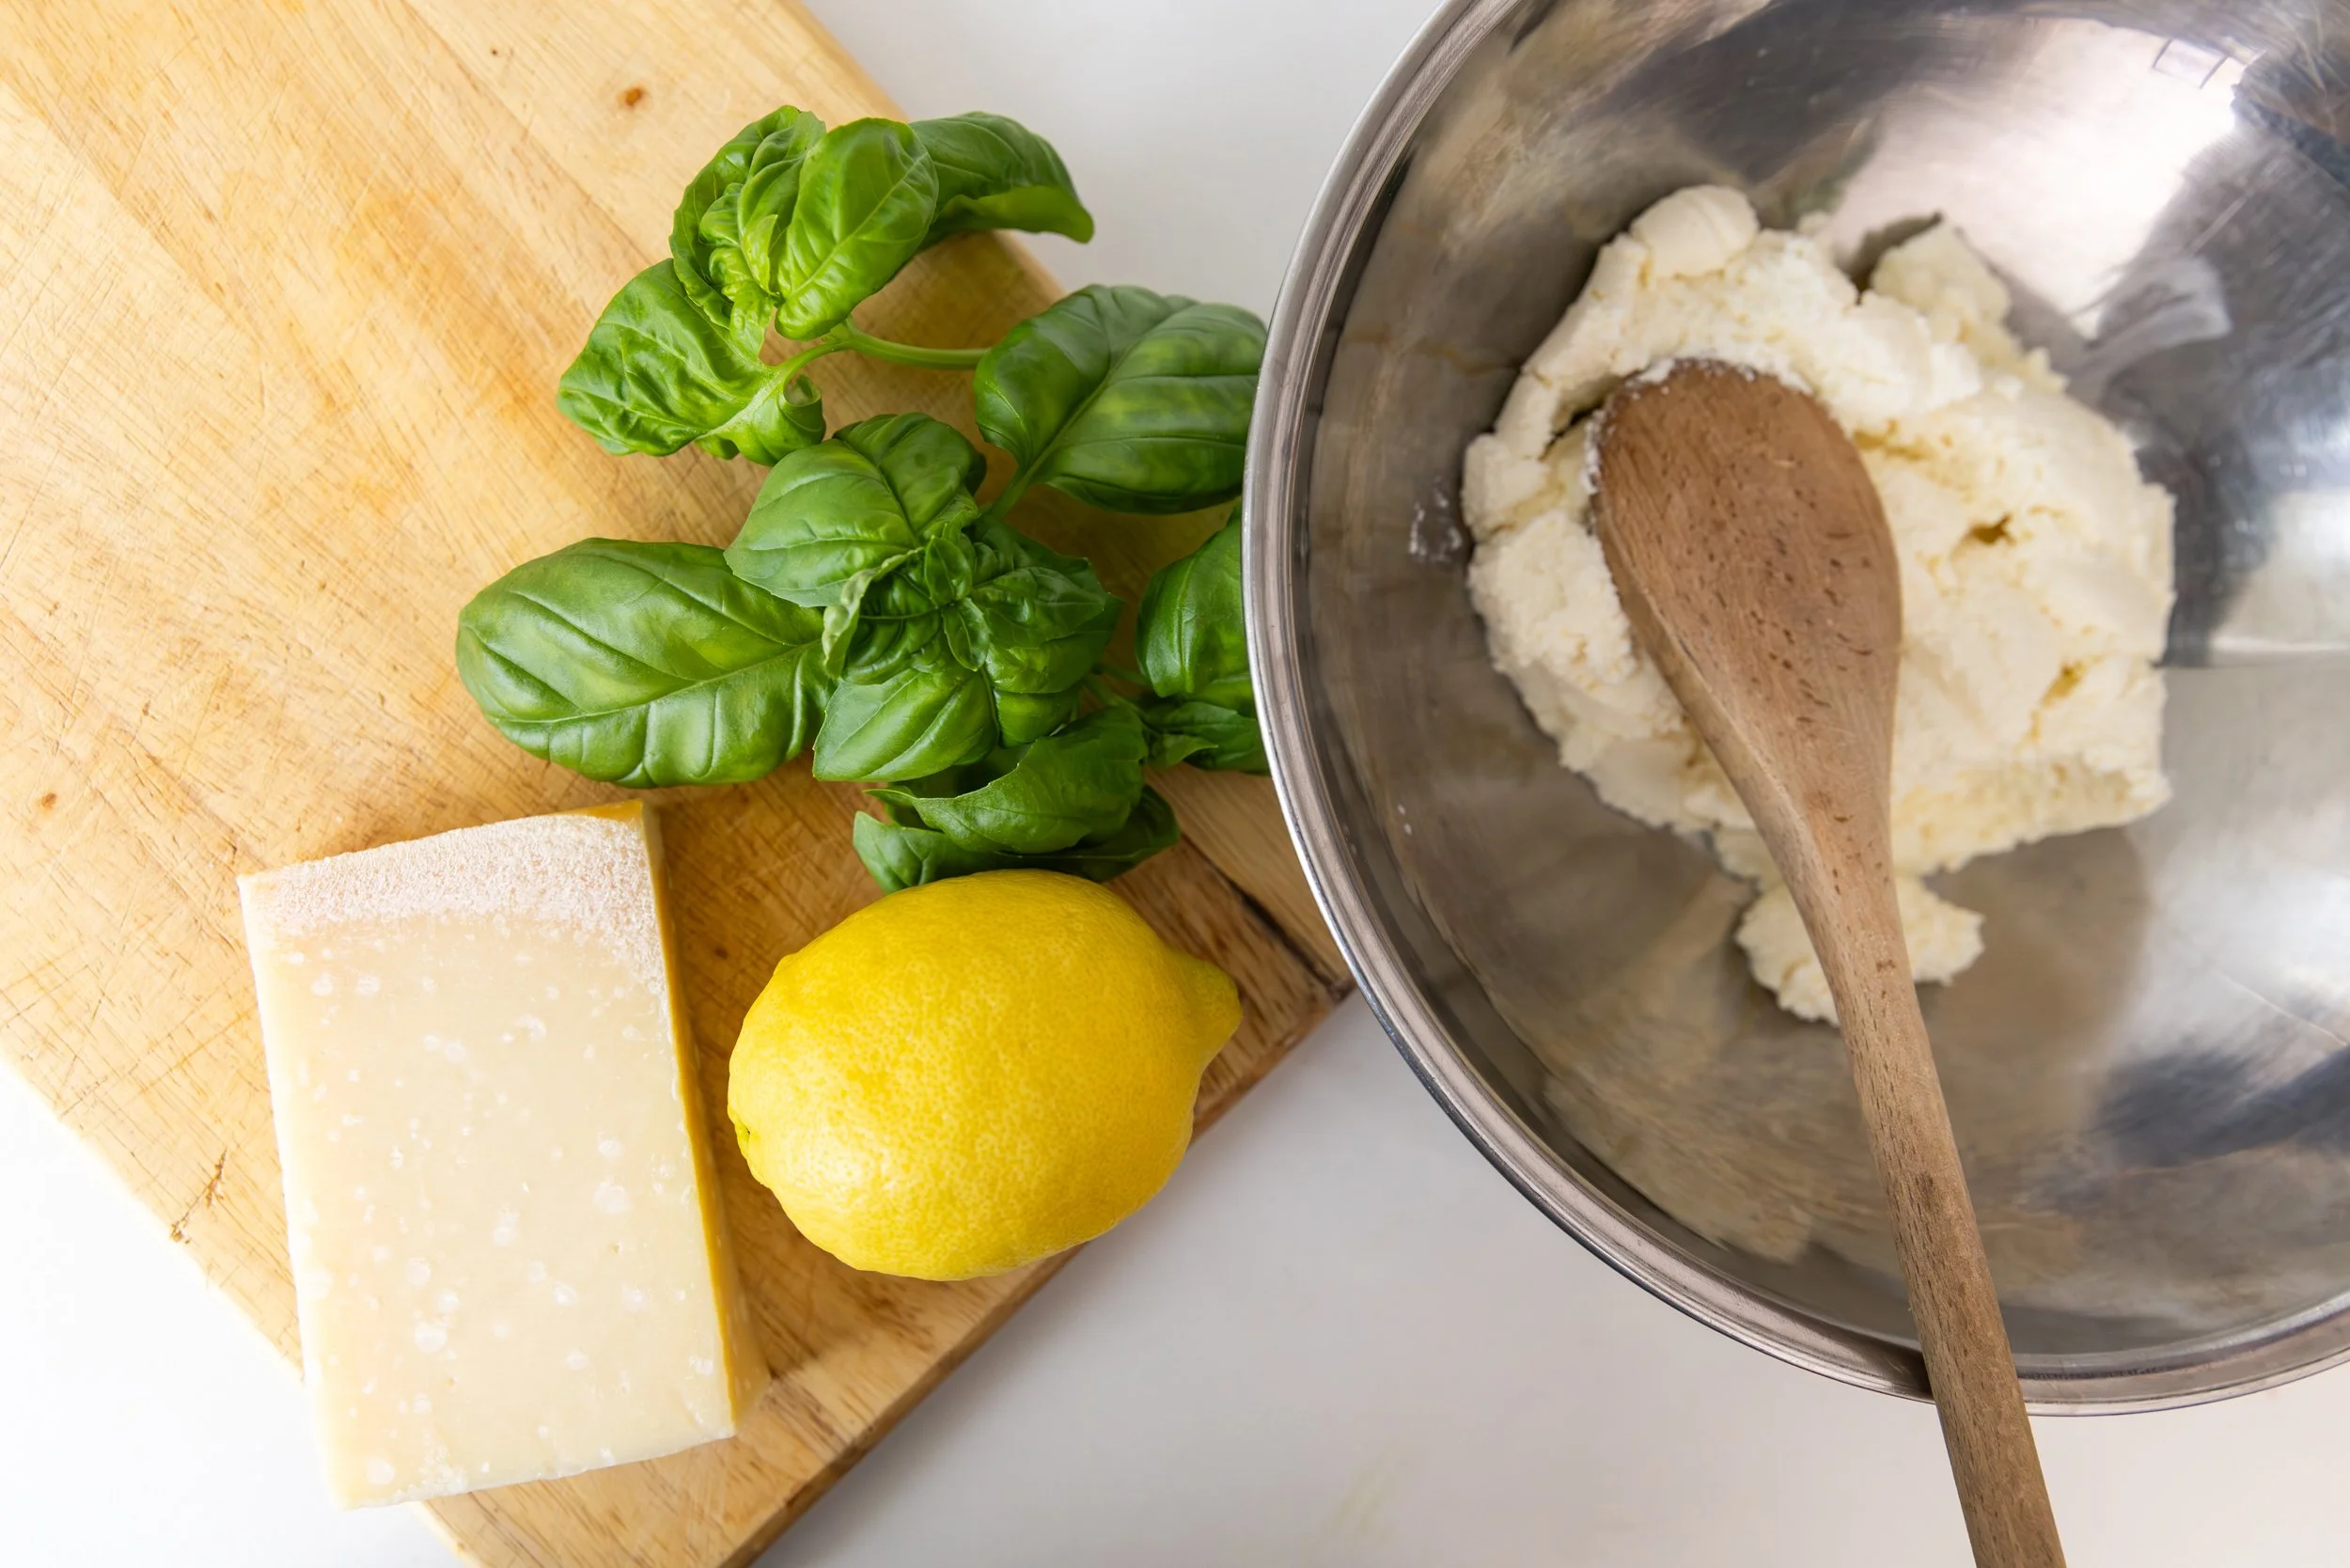
Do you consider ravioli a dumpling? It’s one of those amazing and versatile stuffed pastas that you can take in any direction for its filling. For simplicity in this recipe, I went with a classic ricotta with fresh basil and lemon so that I could play around with sauces as I saw fit.  
 
This might take you a few tries to get the amount of filling or pasta width correct, but always err on the side of less filling, so you don’t have explosions in your pasta water. 
 
I already taught you how to make pasta from scratch – so follow that recipe first by clicking here

INGREDIENTS:  

For Pasta 

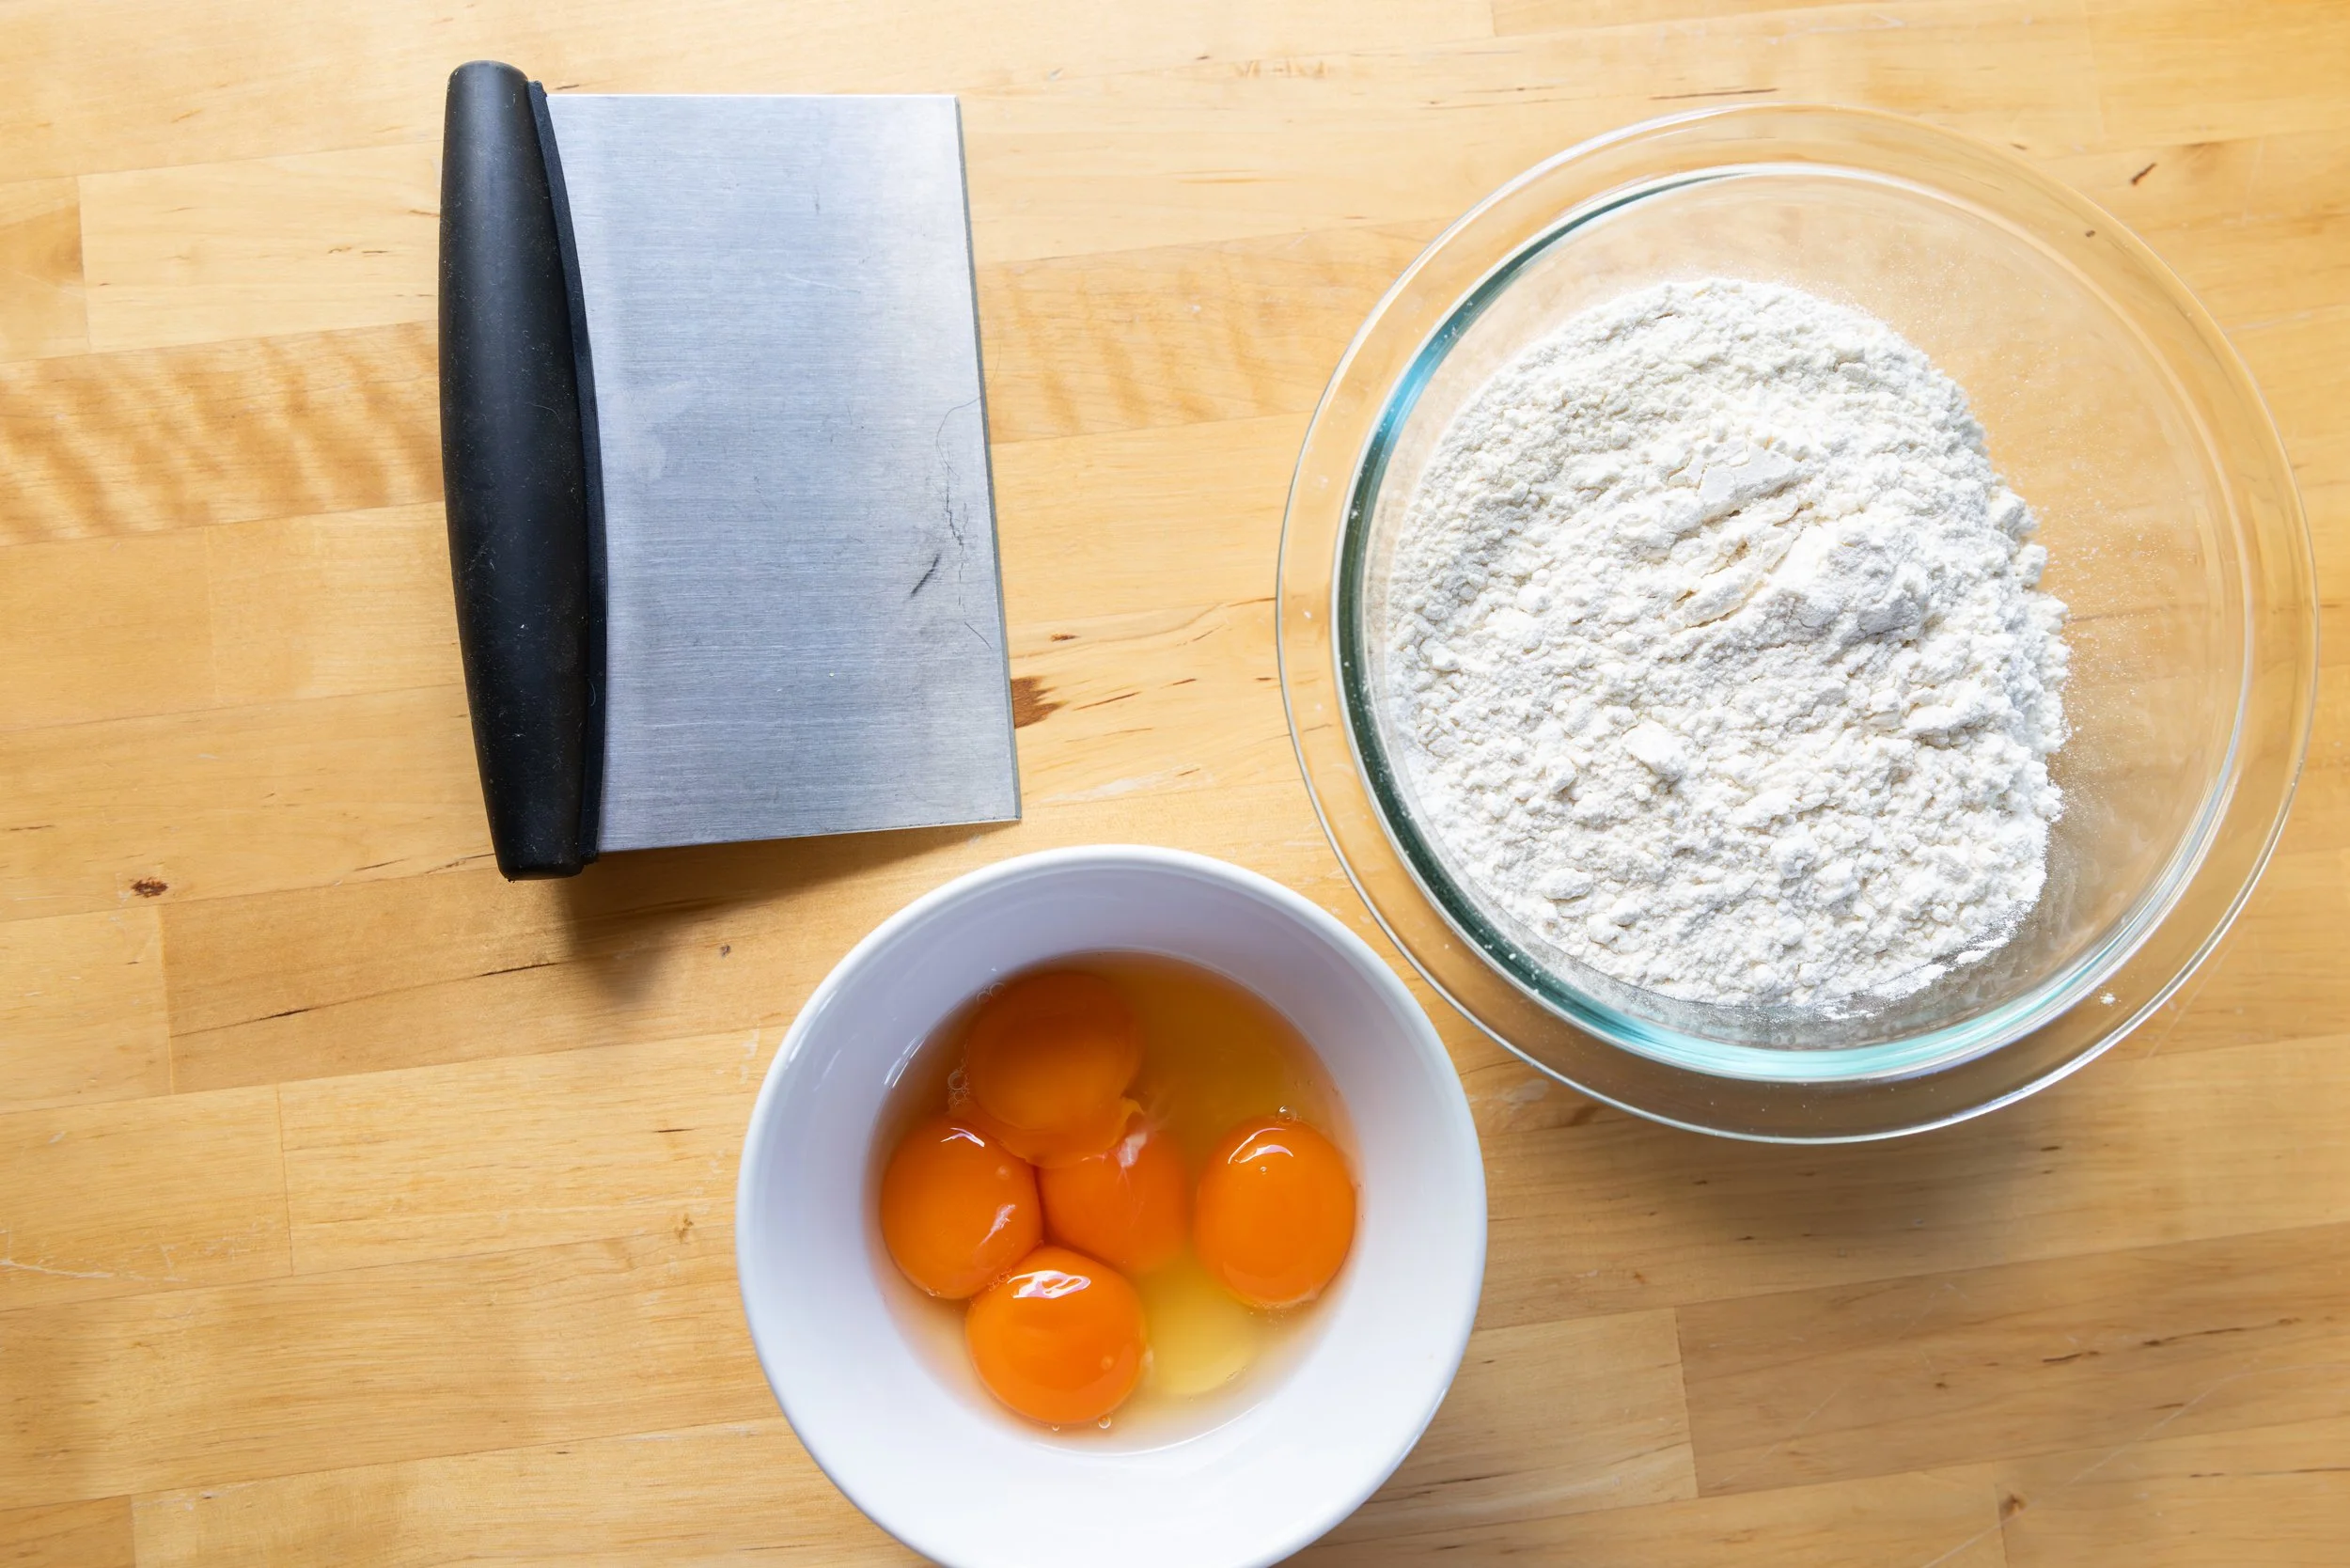
  • 2 cups 00 (or AP) flour 

  • 4 eggs 

For Filling 

  • 250g of fresh ricotta  

  • fresh basil (5-6 leaves), cut into thin strips 

  • Zest of one lemon, approx. 1 tbsp 

  • ½ tsp each of salt and pepper 

Optional Tools (if unavailable, use a rolling pin and sharp knife): 

  • Pasta maker 

  • Ravioli crimper 

INSTRUCTIONS:  
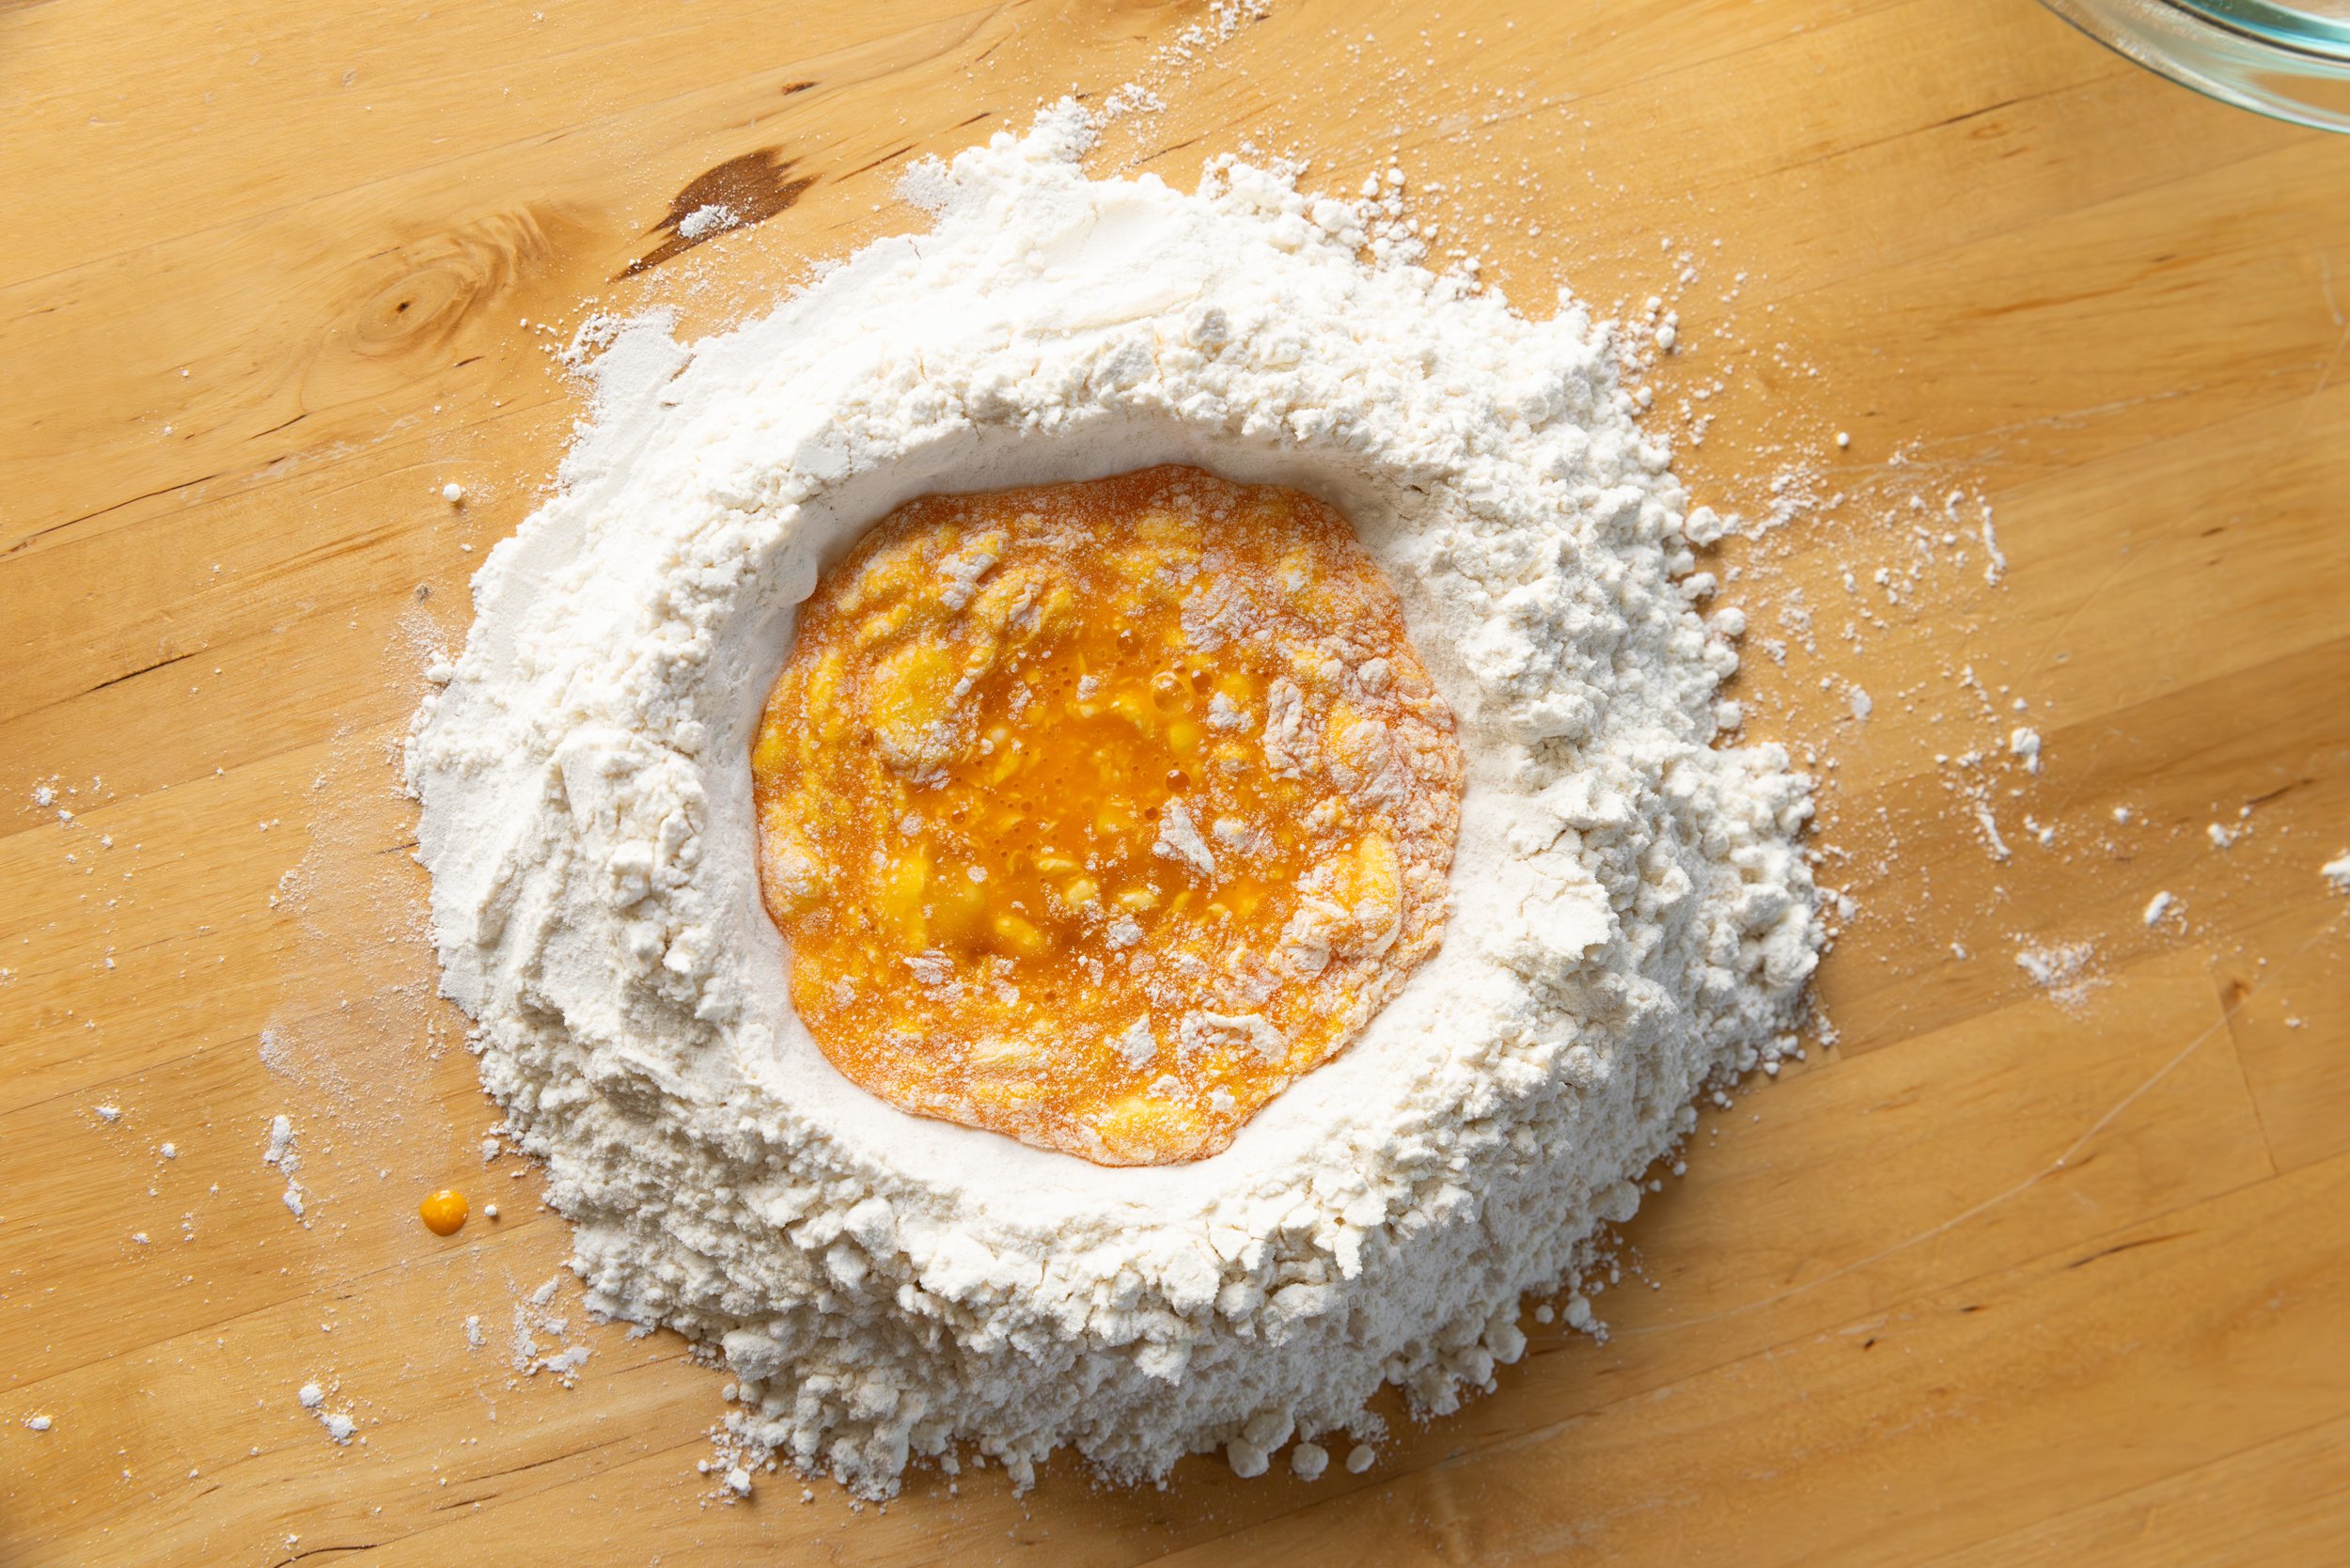
 In a large bowl, mix the flour and salt together, and then create a well in the center. 

Crack the four eggs into the well, and then with a fork or your fingers, beat them together slightly. Once broken up, start adding the flour from the sides to the mixture, until a loose dough has formed. 

On a floured surface, dump the dough out and begin kneading it for five to seven minutes, adding flour as needed if it is too wet. The dough is ready when it is smooth, and if you poke it, it slowly springs back. 

Cover with plastic wrap and let sit at room temperature for 30 minutes. 

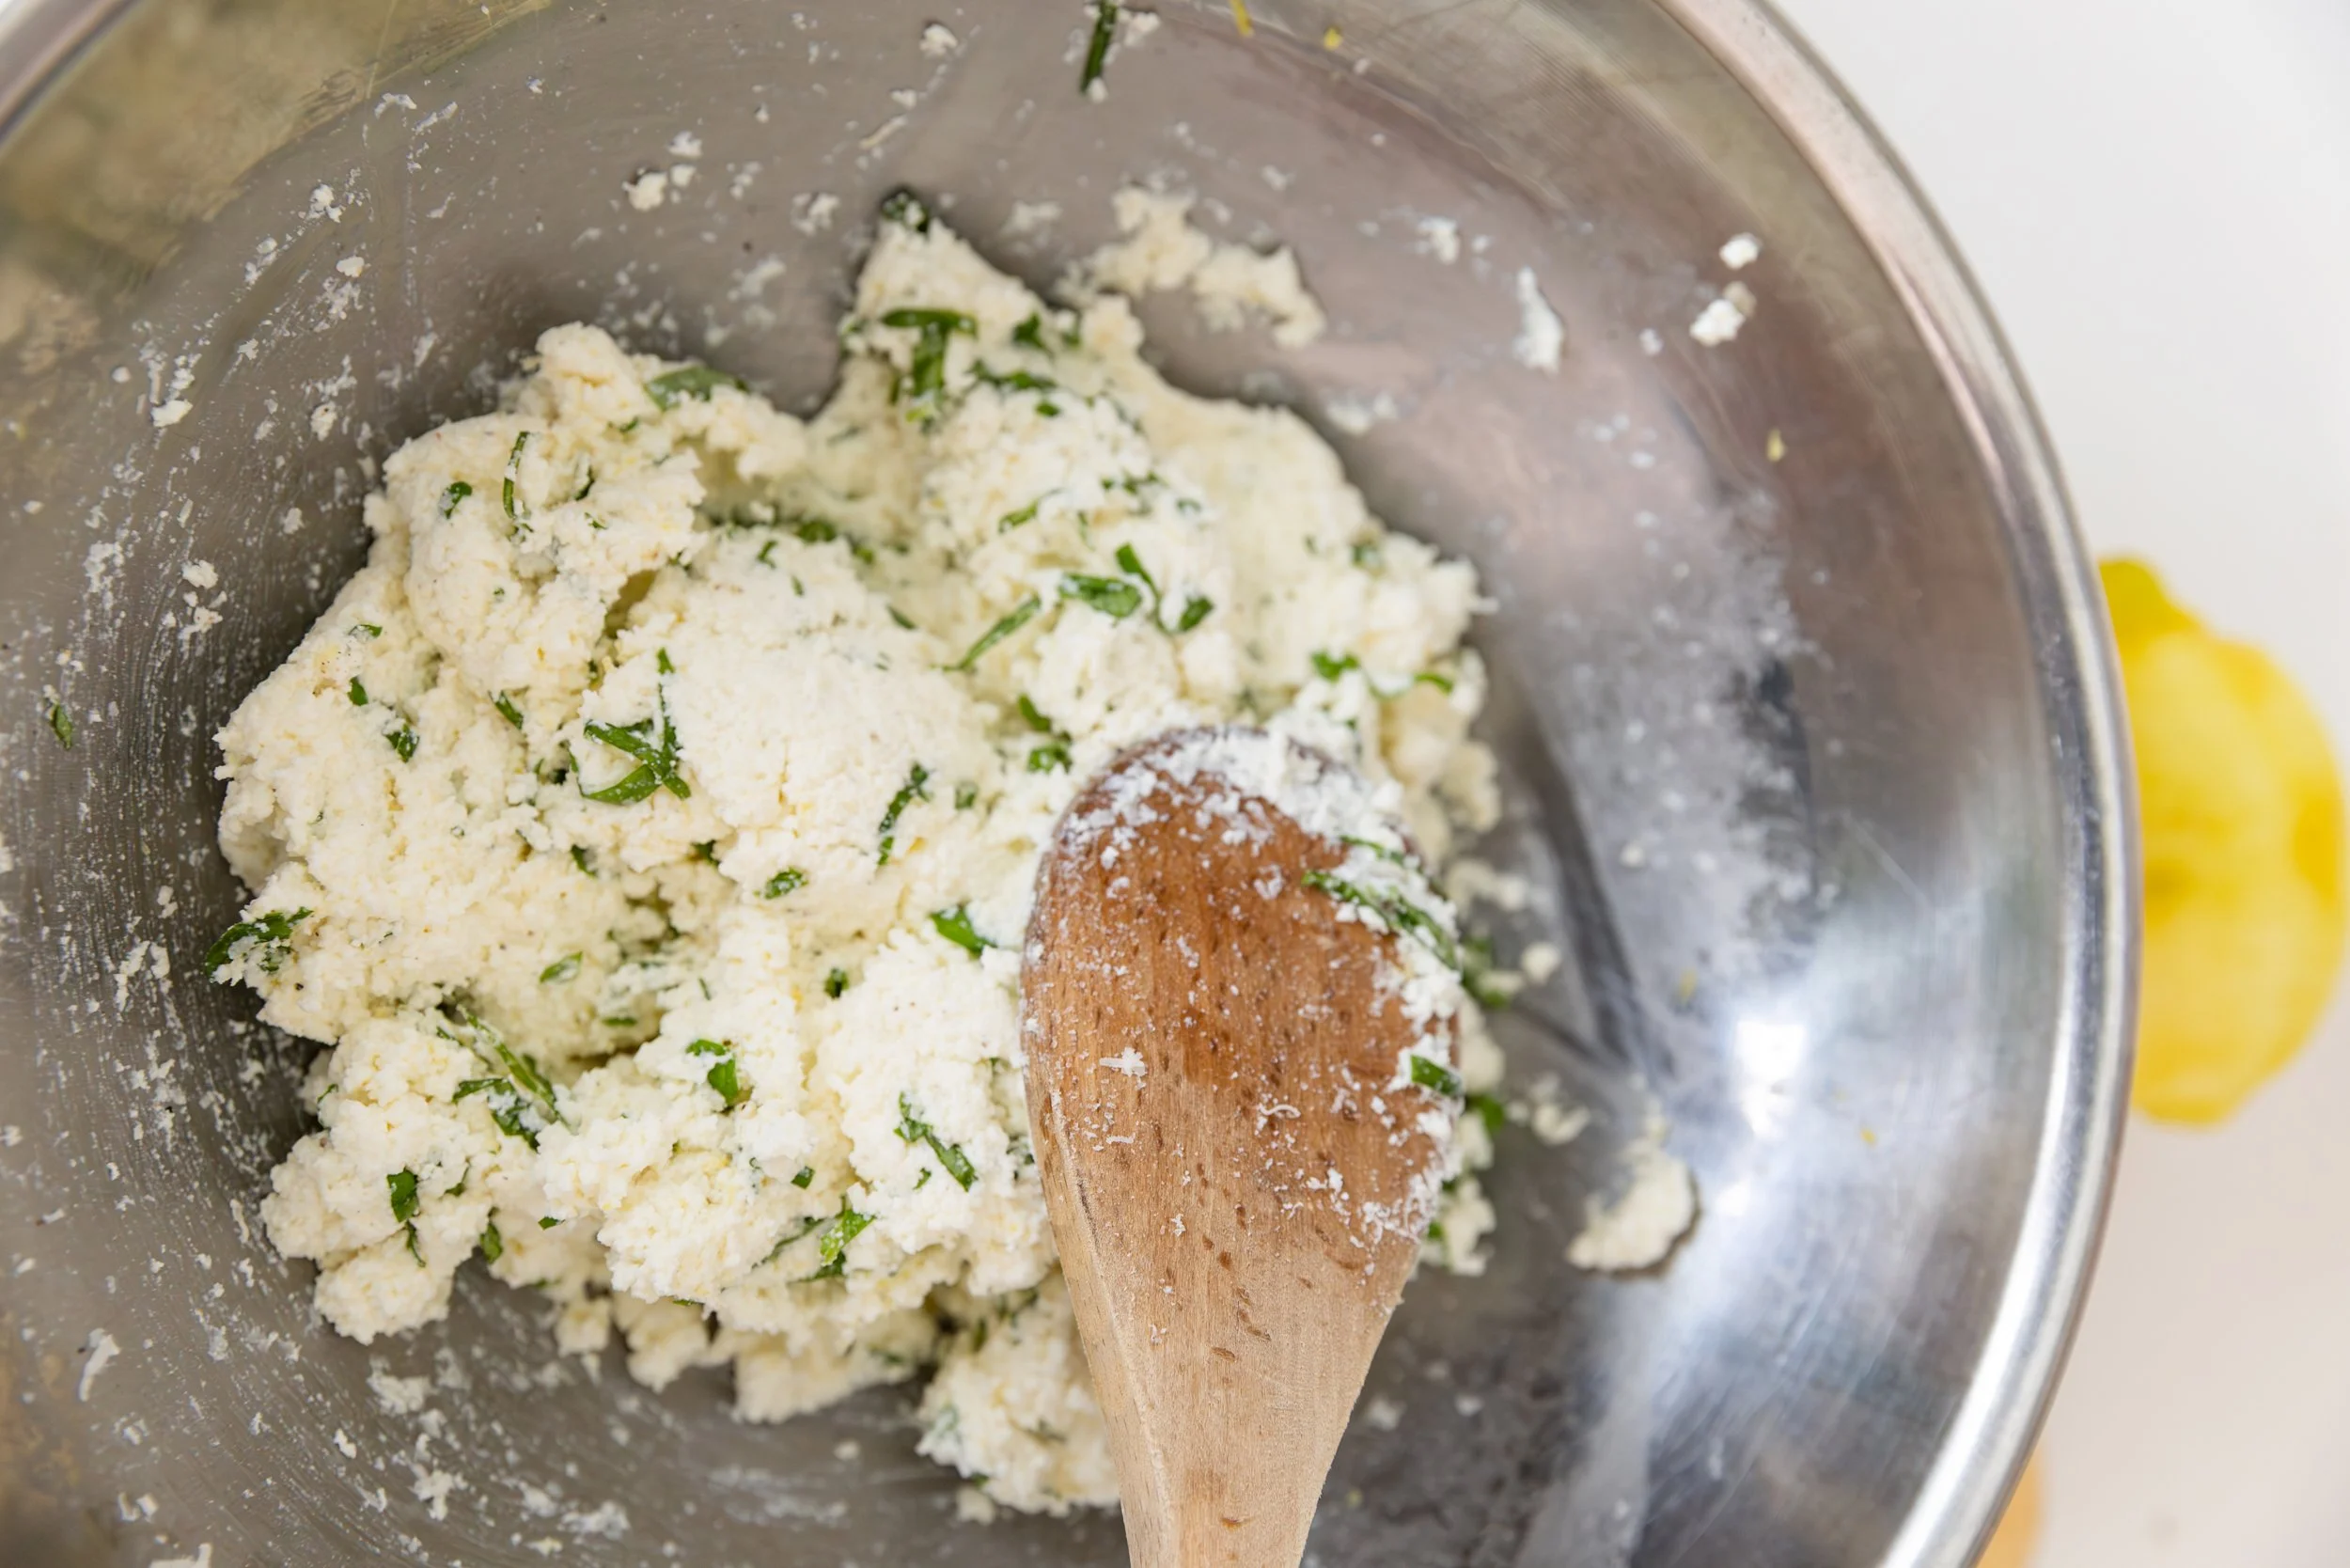
While the dough rests, make the filling by combining ingredients into a bowl and mix well. Taste for additional salt and pepper or basil, cover and place into the fridge. 

Cut the dough in half and return the second half to the plastic wrap to keep from drying out. 

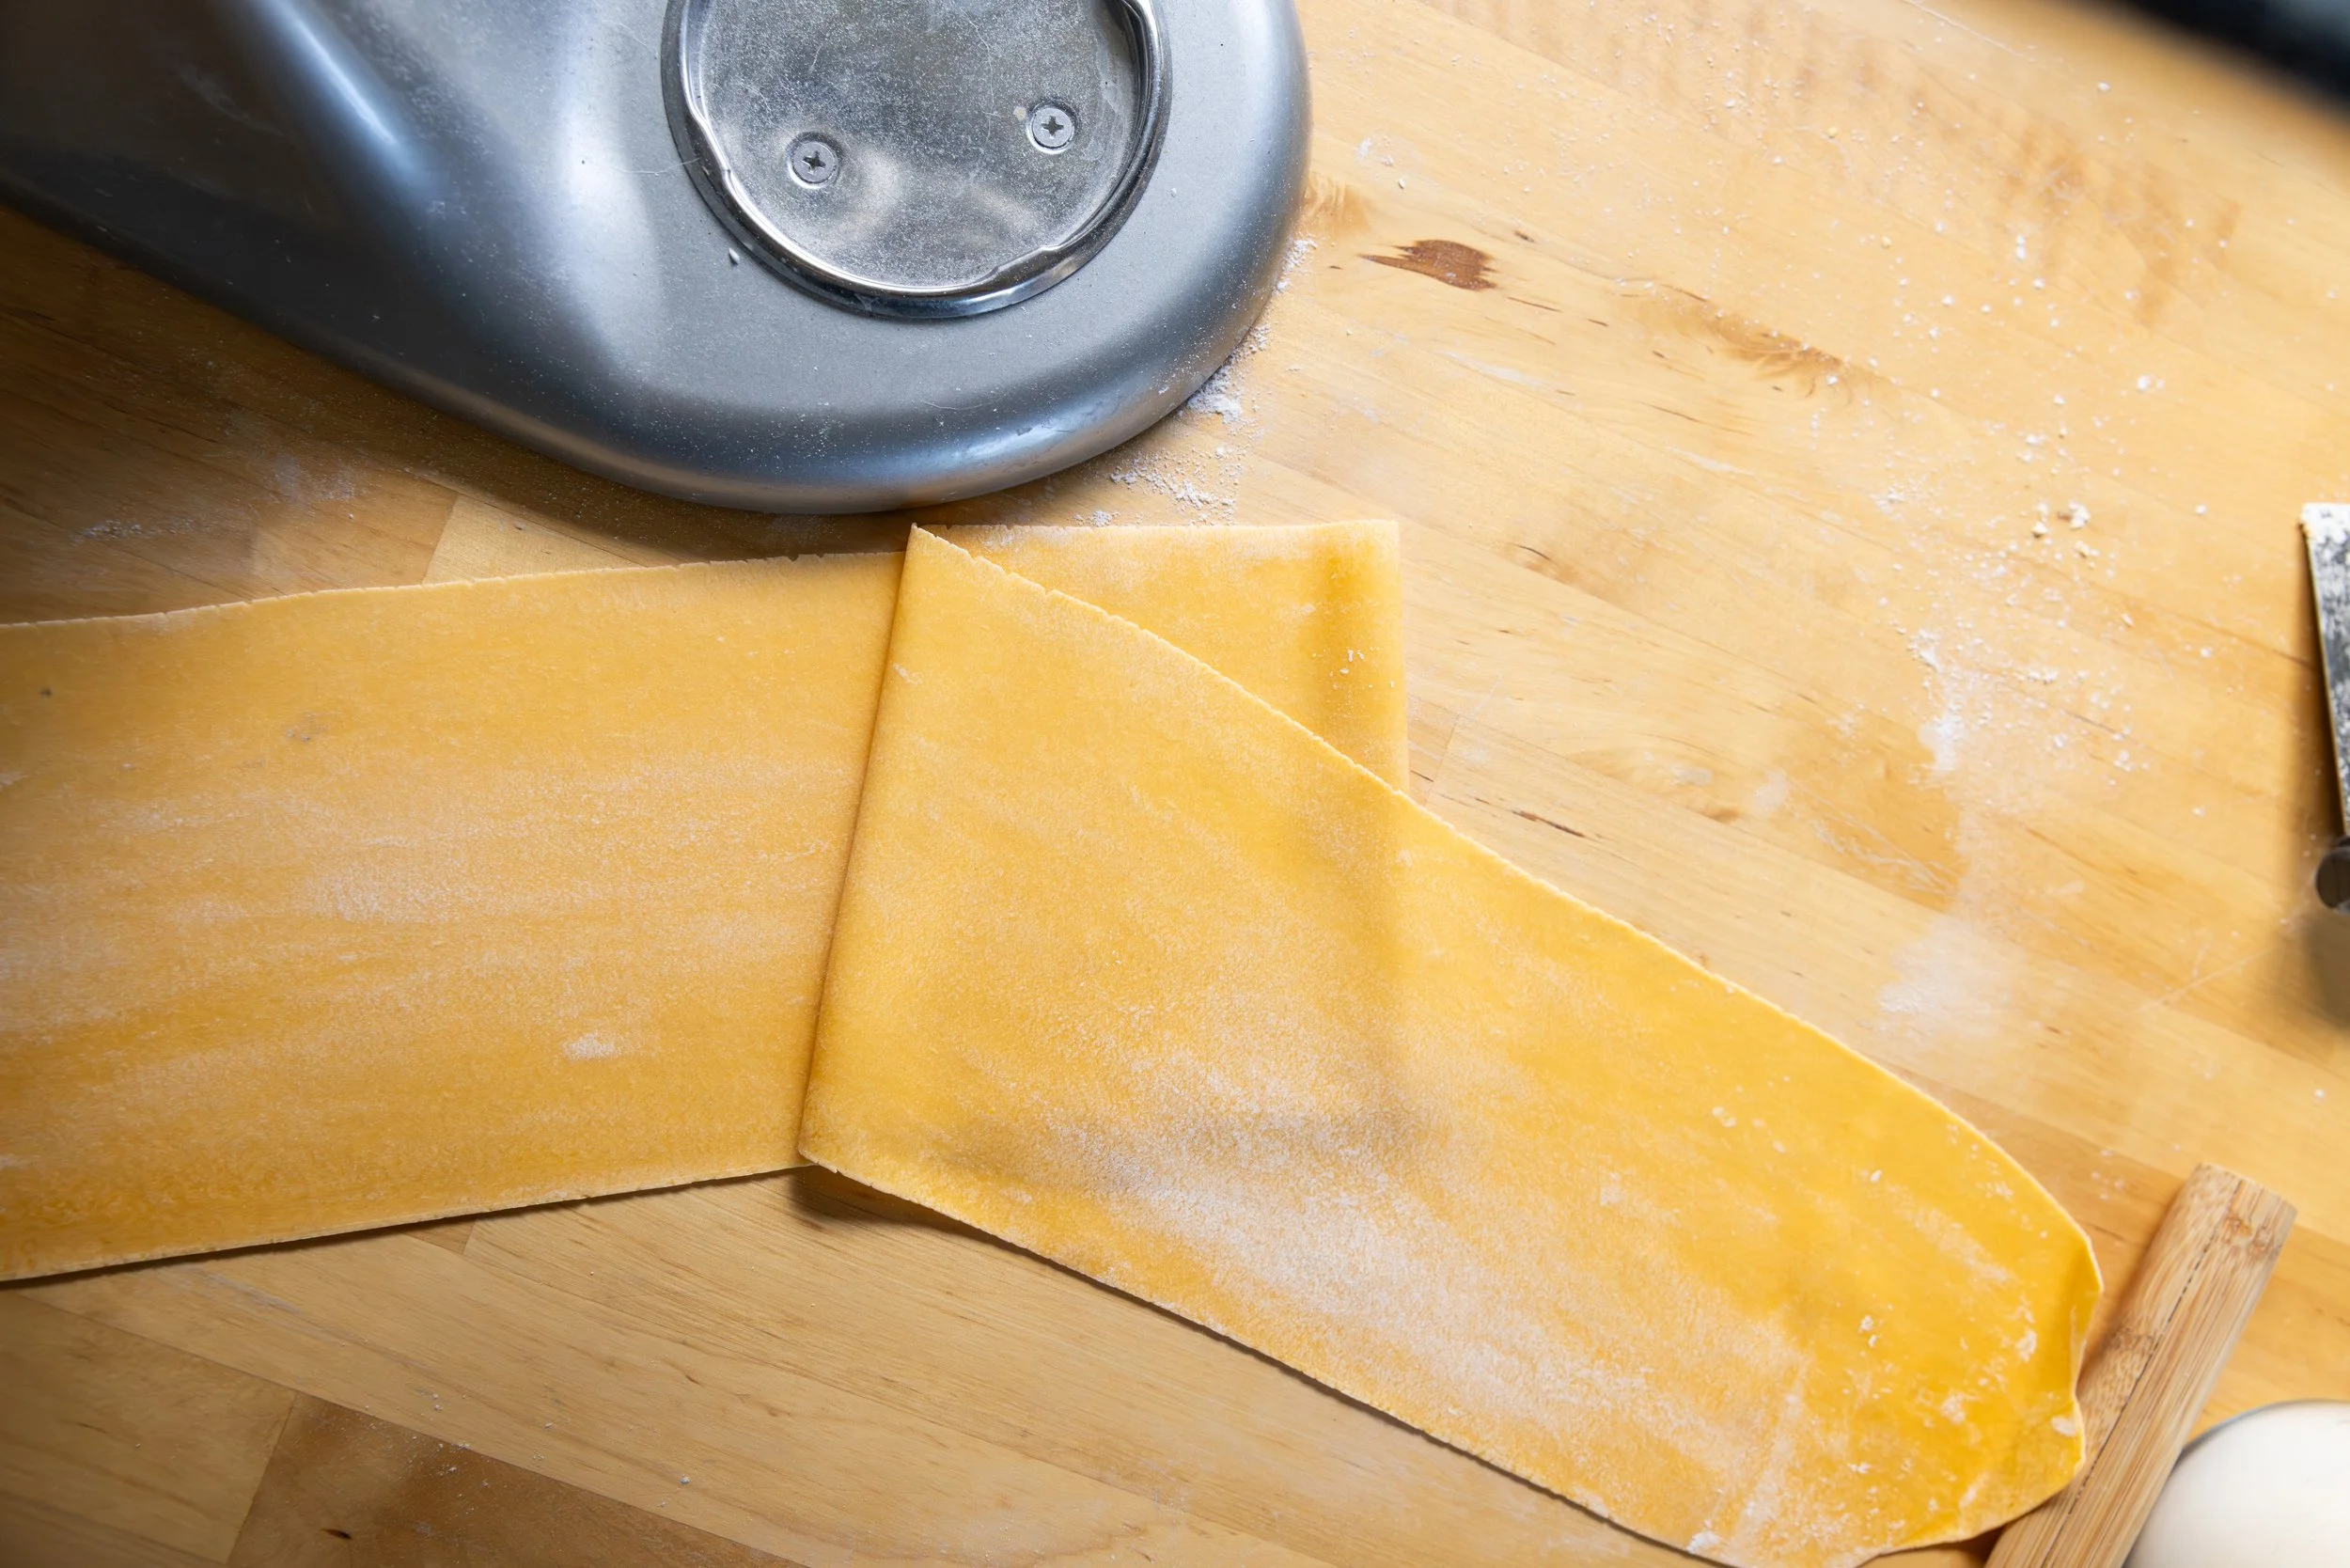
On the floured surface begin to roll the dough into a rectangle, then fold together like an envelope (if you are using a machine you can begin to pass it though). After laminating it a few times, start to roll it (either physically, or on smaller and smaller settings on your pasta maker) until about the second last setting. Continue to thoroughly dust it with flour as needed. 

This amount of dough should make enough for two sheets – you may need to cut it in half as you’re rolling depending on the size of your workspace. 

You'll want two evenly sized and shaped rectangles of dough – set one to the side and flatten the other out. You’re now ready for filling. 

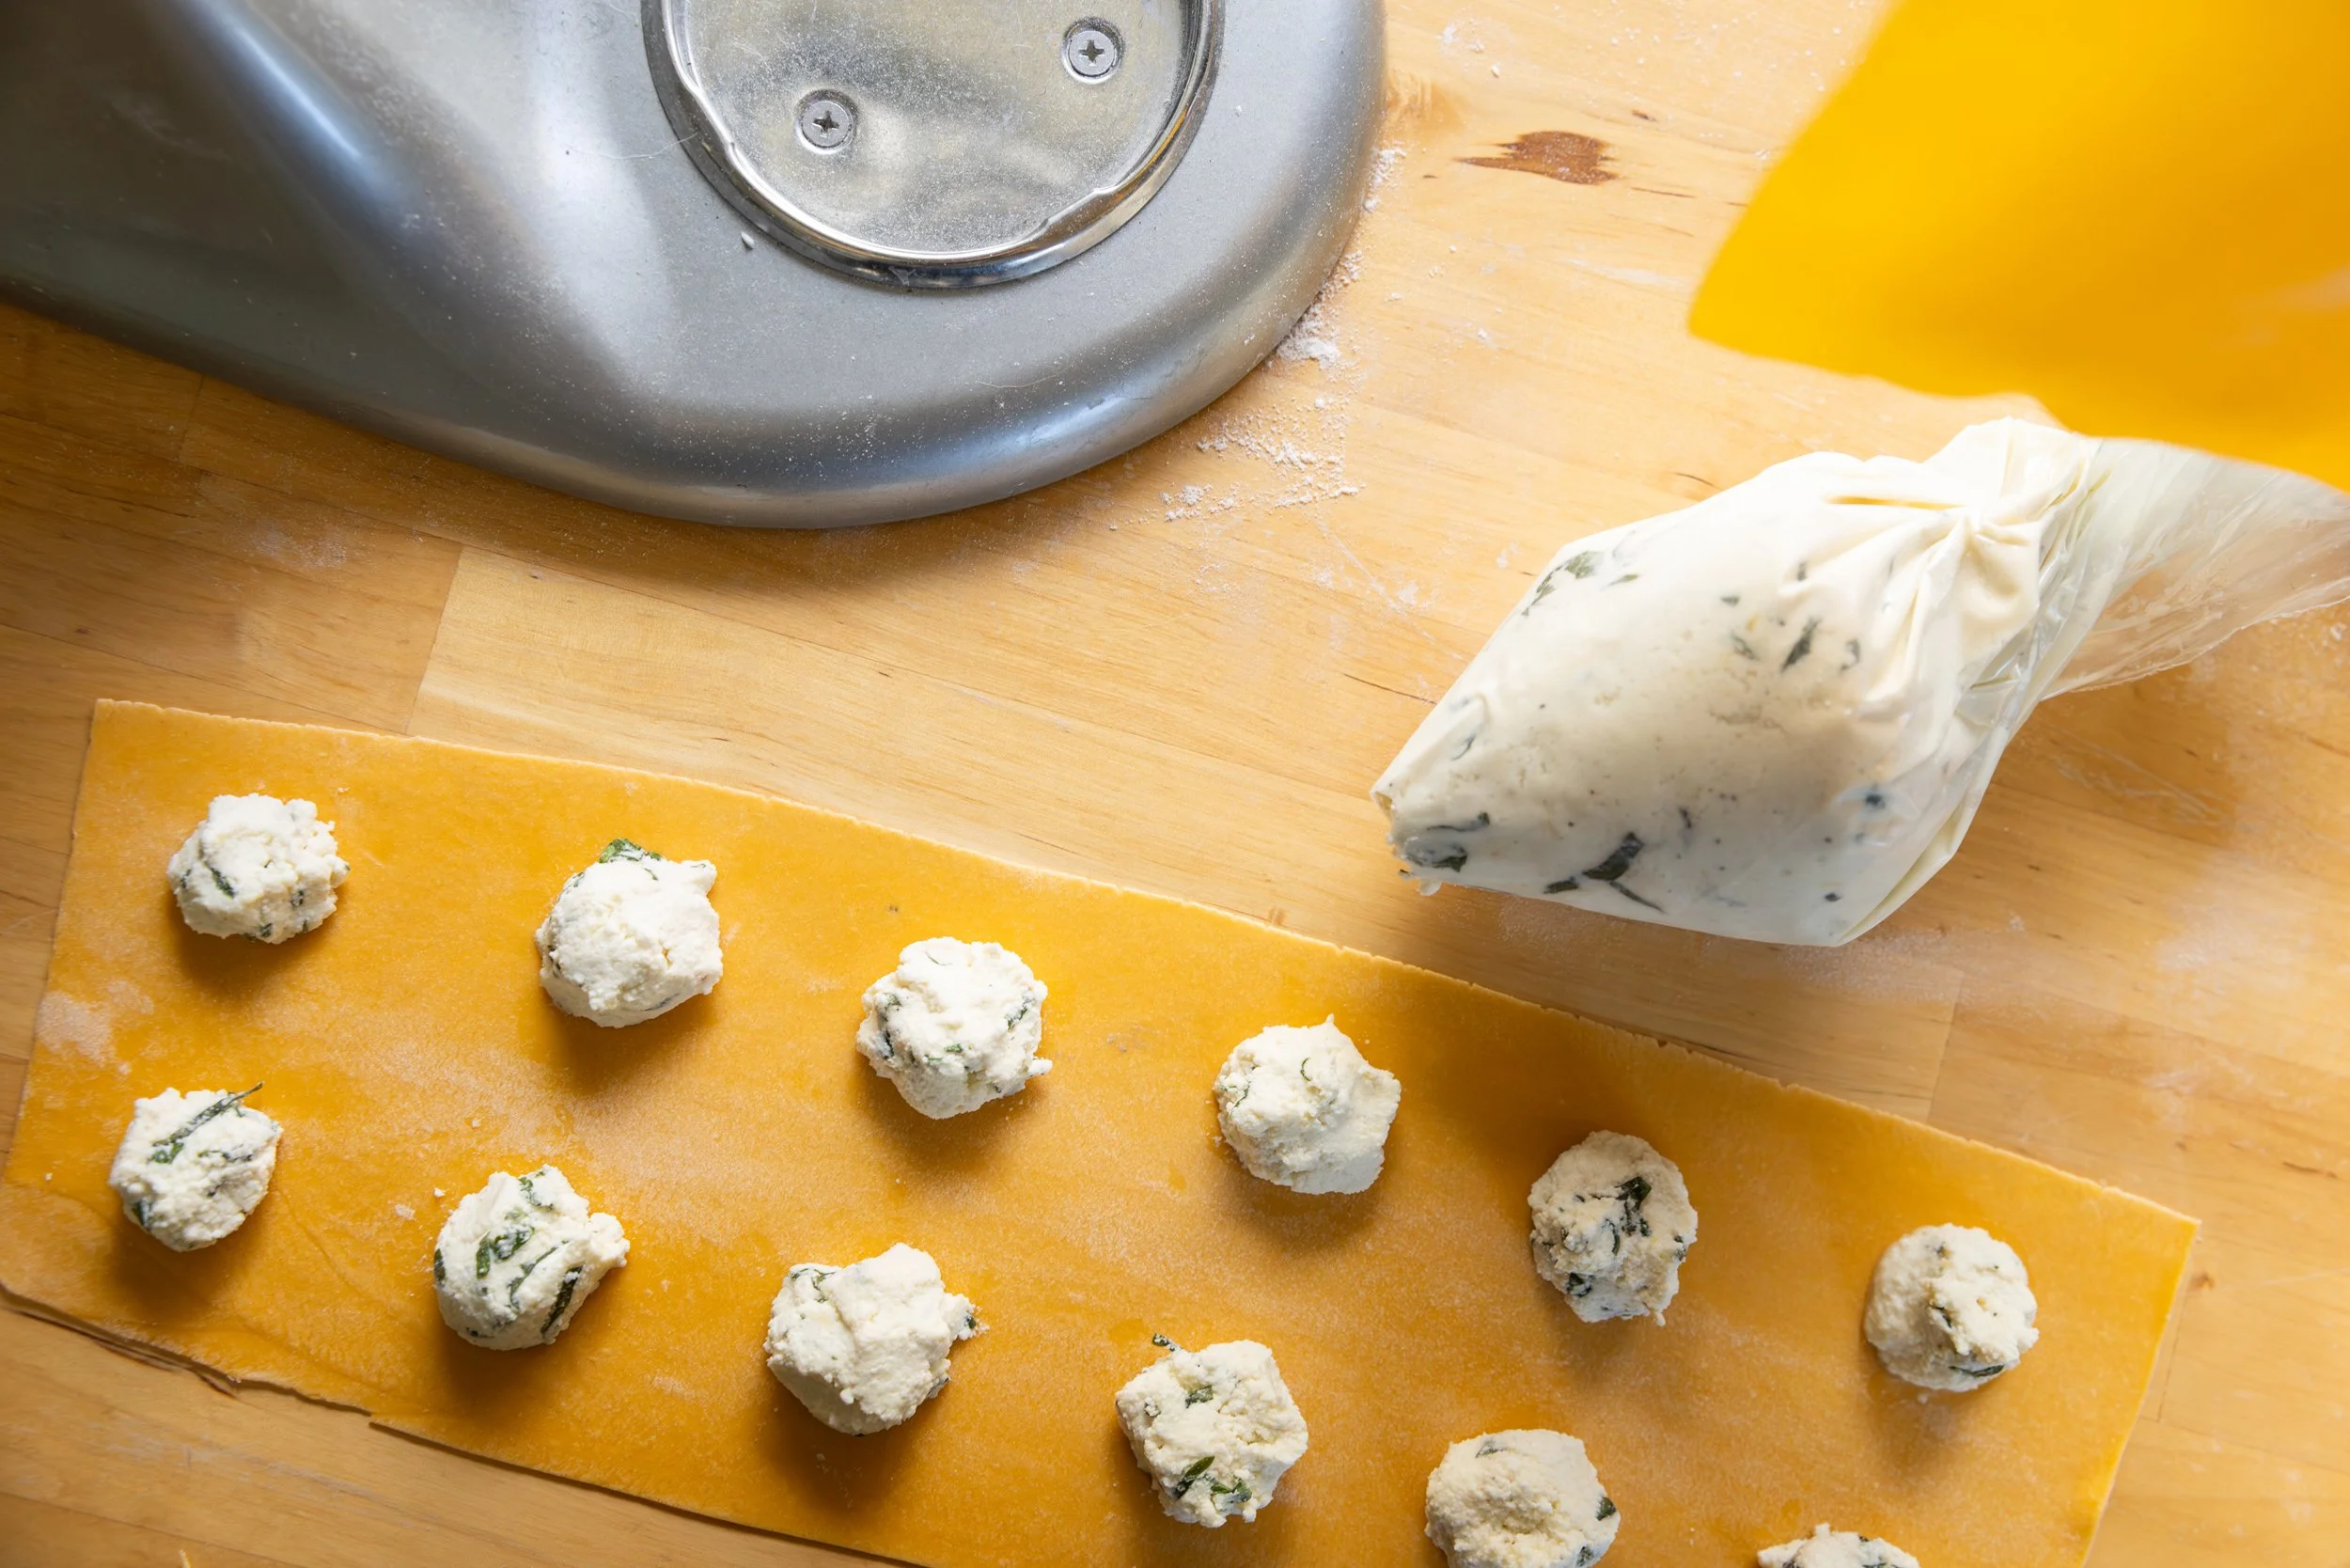
Place your filling in a piping bag (I used a Ziplock that I cut the corner of) or use a tablespoon and evenly place the filling across the pasta sheet, leaving enough space around it for cutting. 

Grab a small bowl and add some water to it – this is going to help you seal the sheets together. Either with your finger, or with a pastry brush, lightly water around each dollop of filling. 
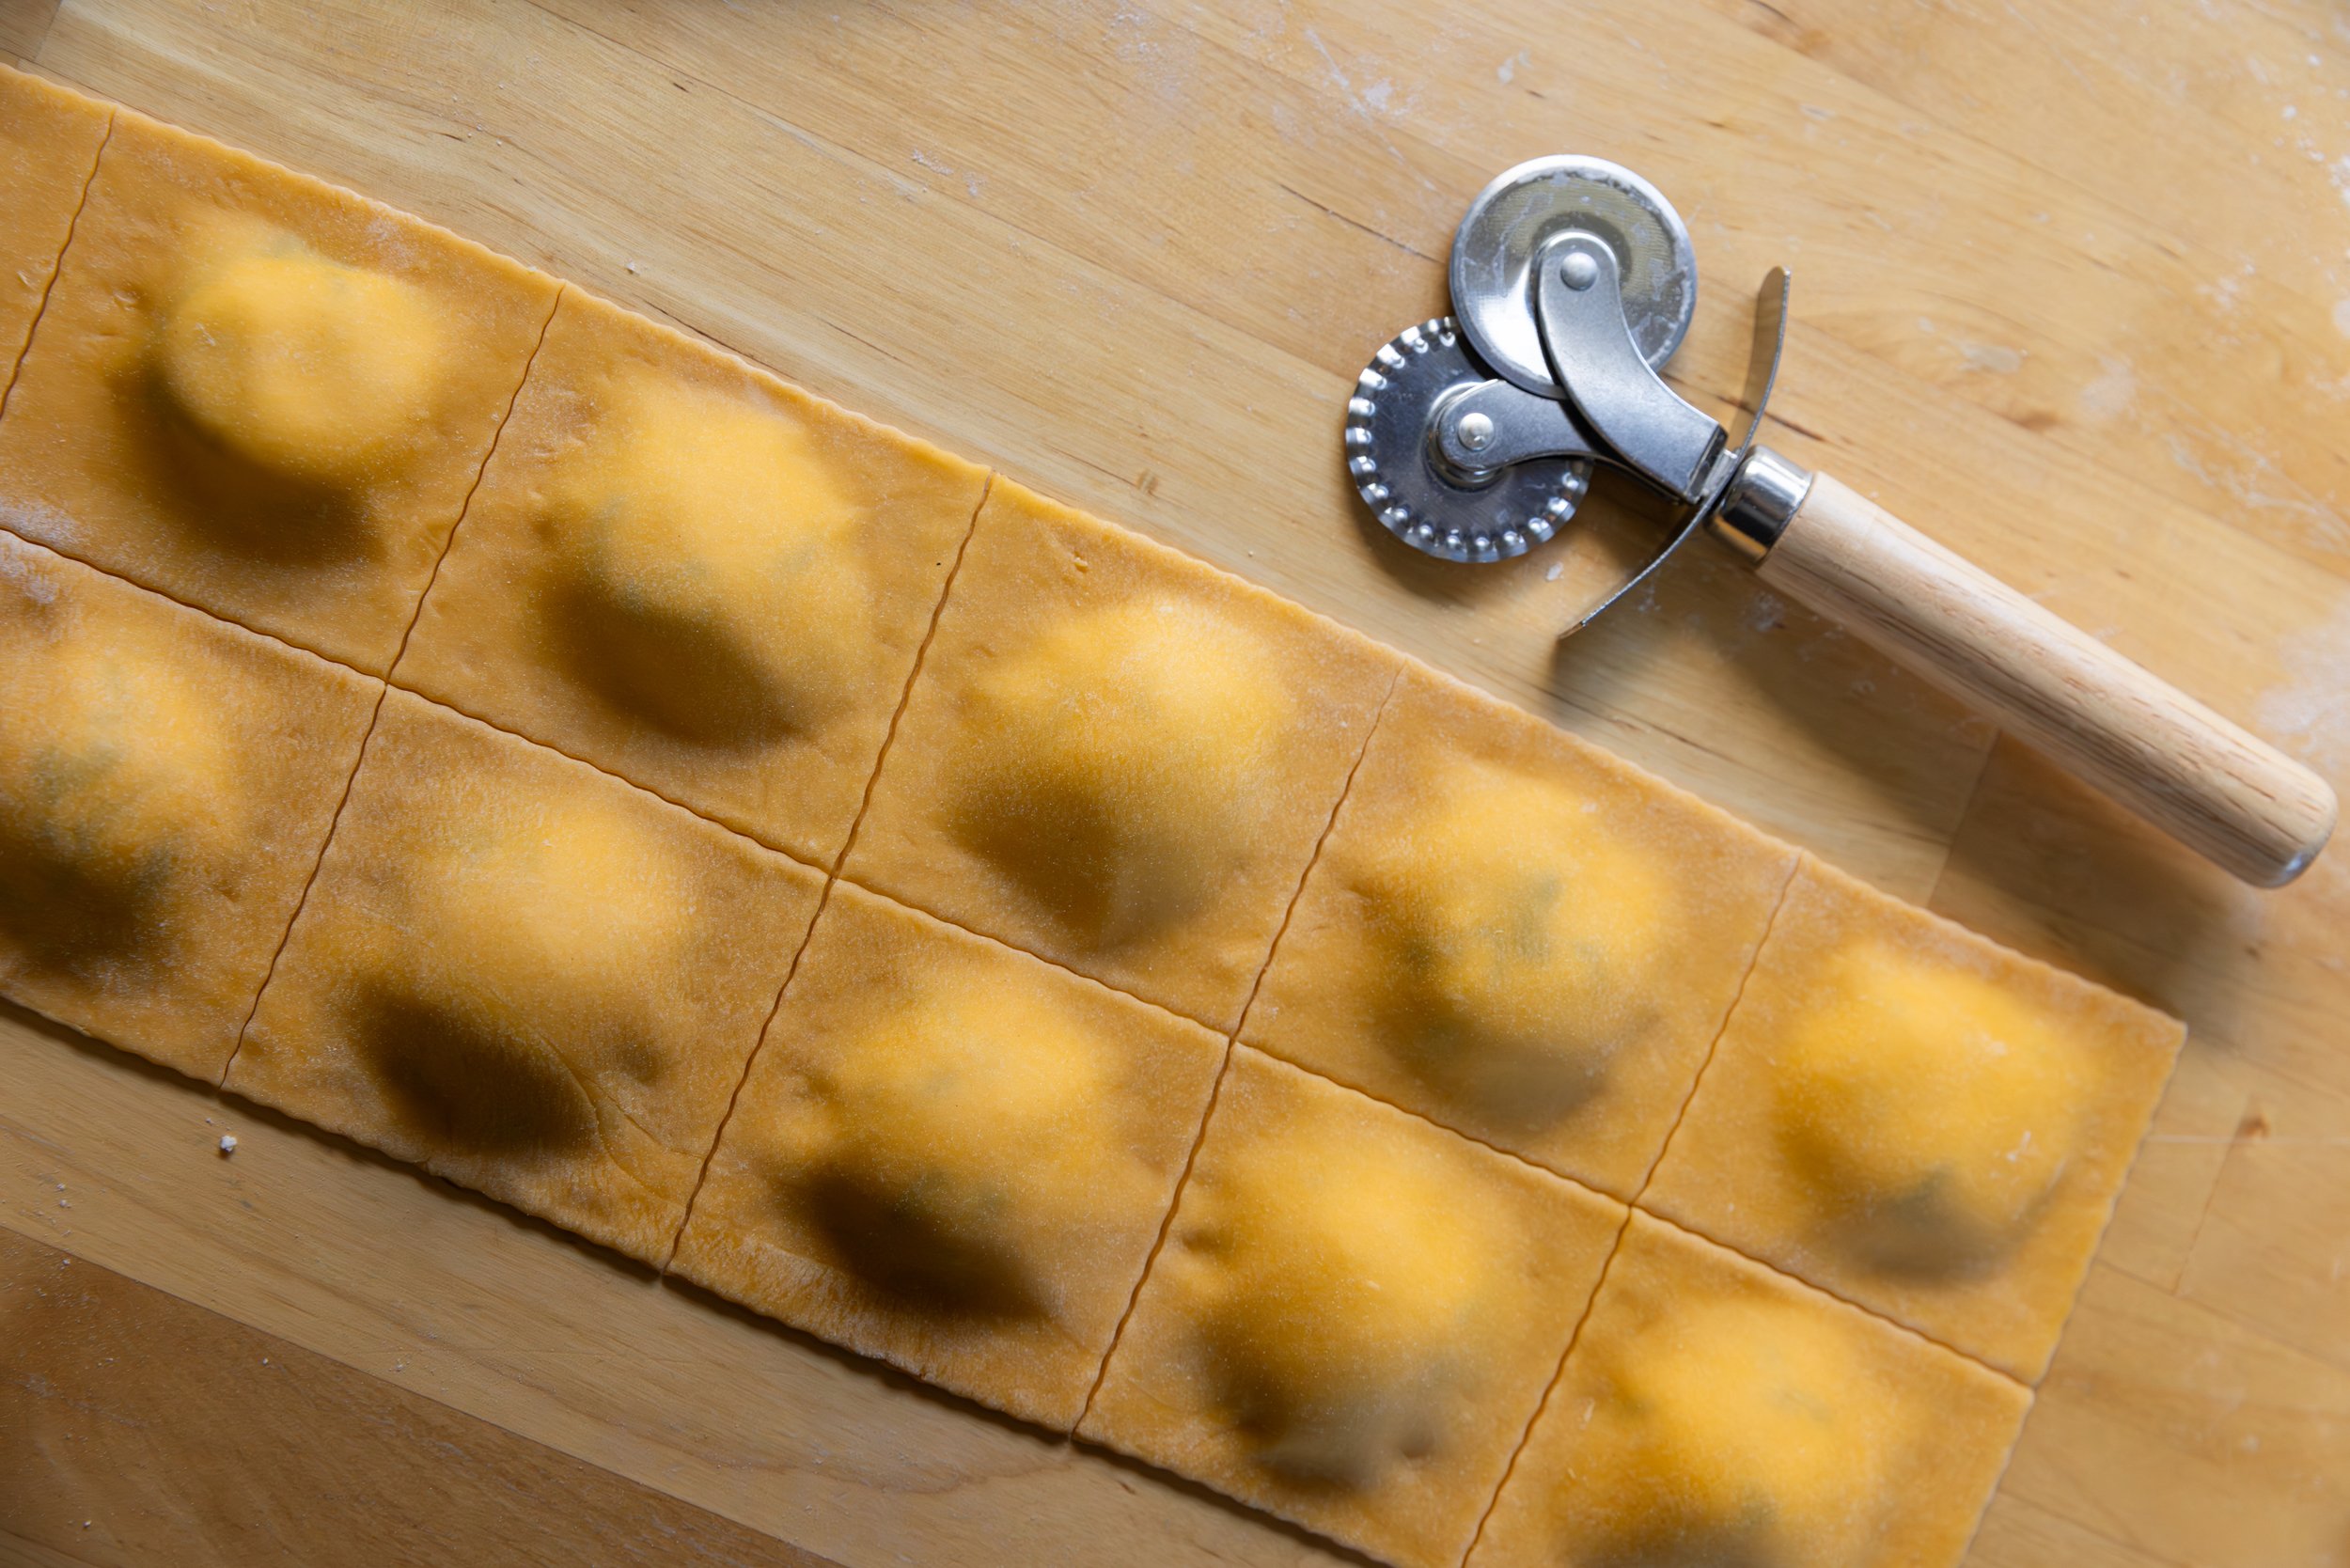
Once it is wet, you can gently place the second sheet over top of the first. Use your fingers to work the dough over the filling and seal the two sheets together as you go, doing your best to avoid air bubbles. 

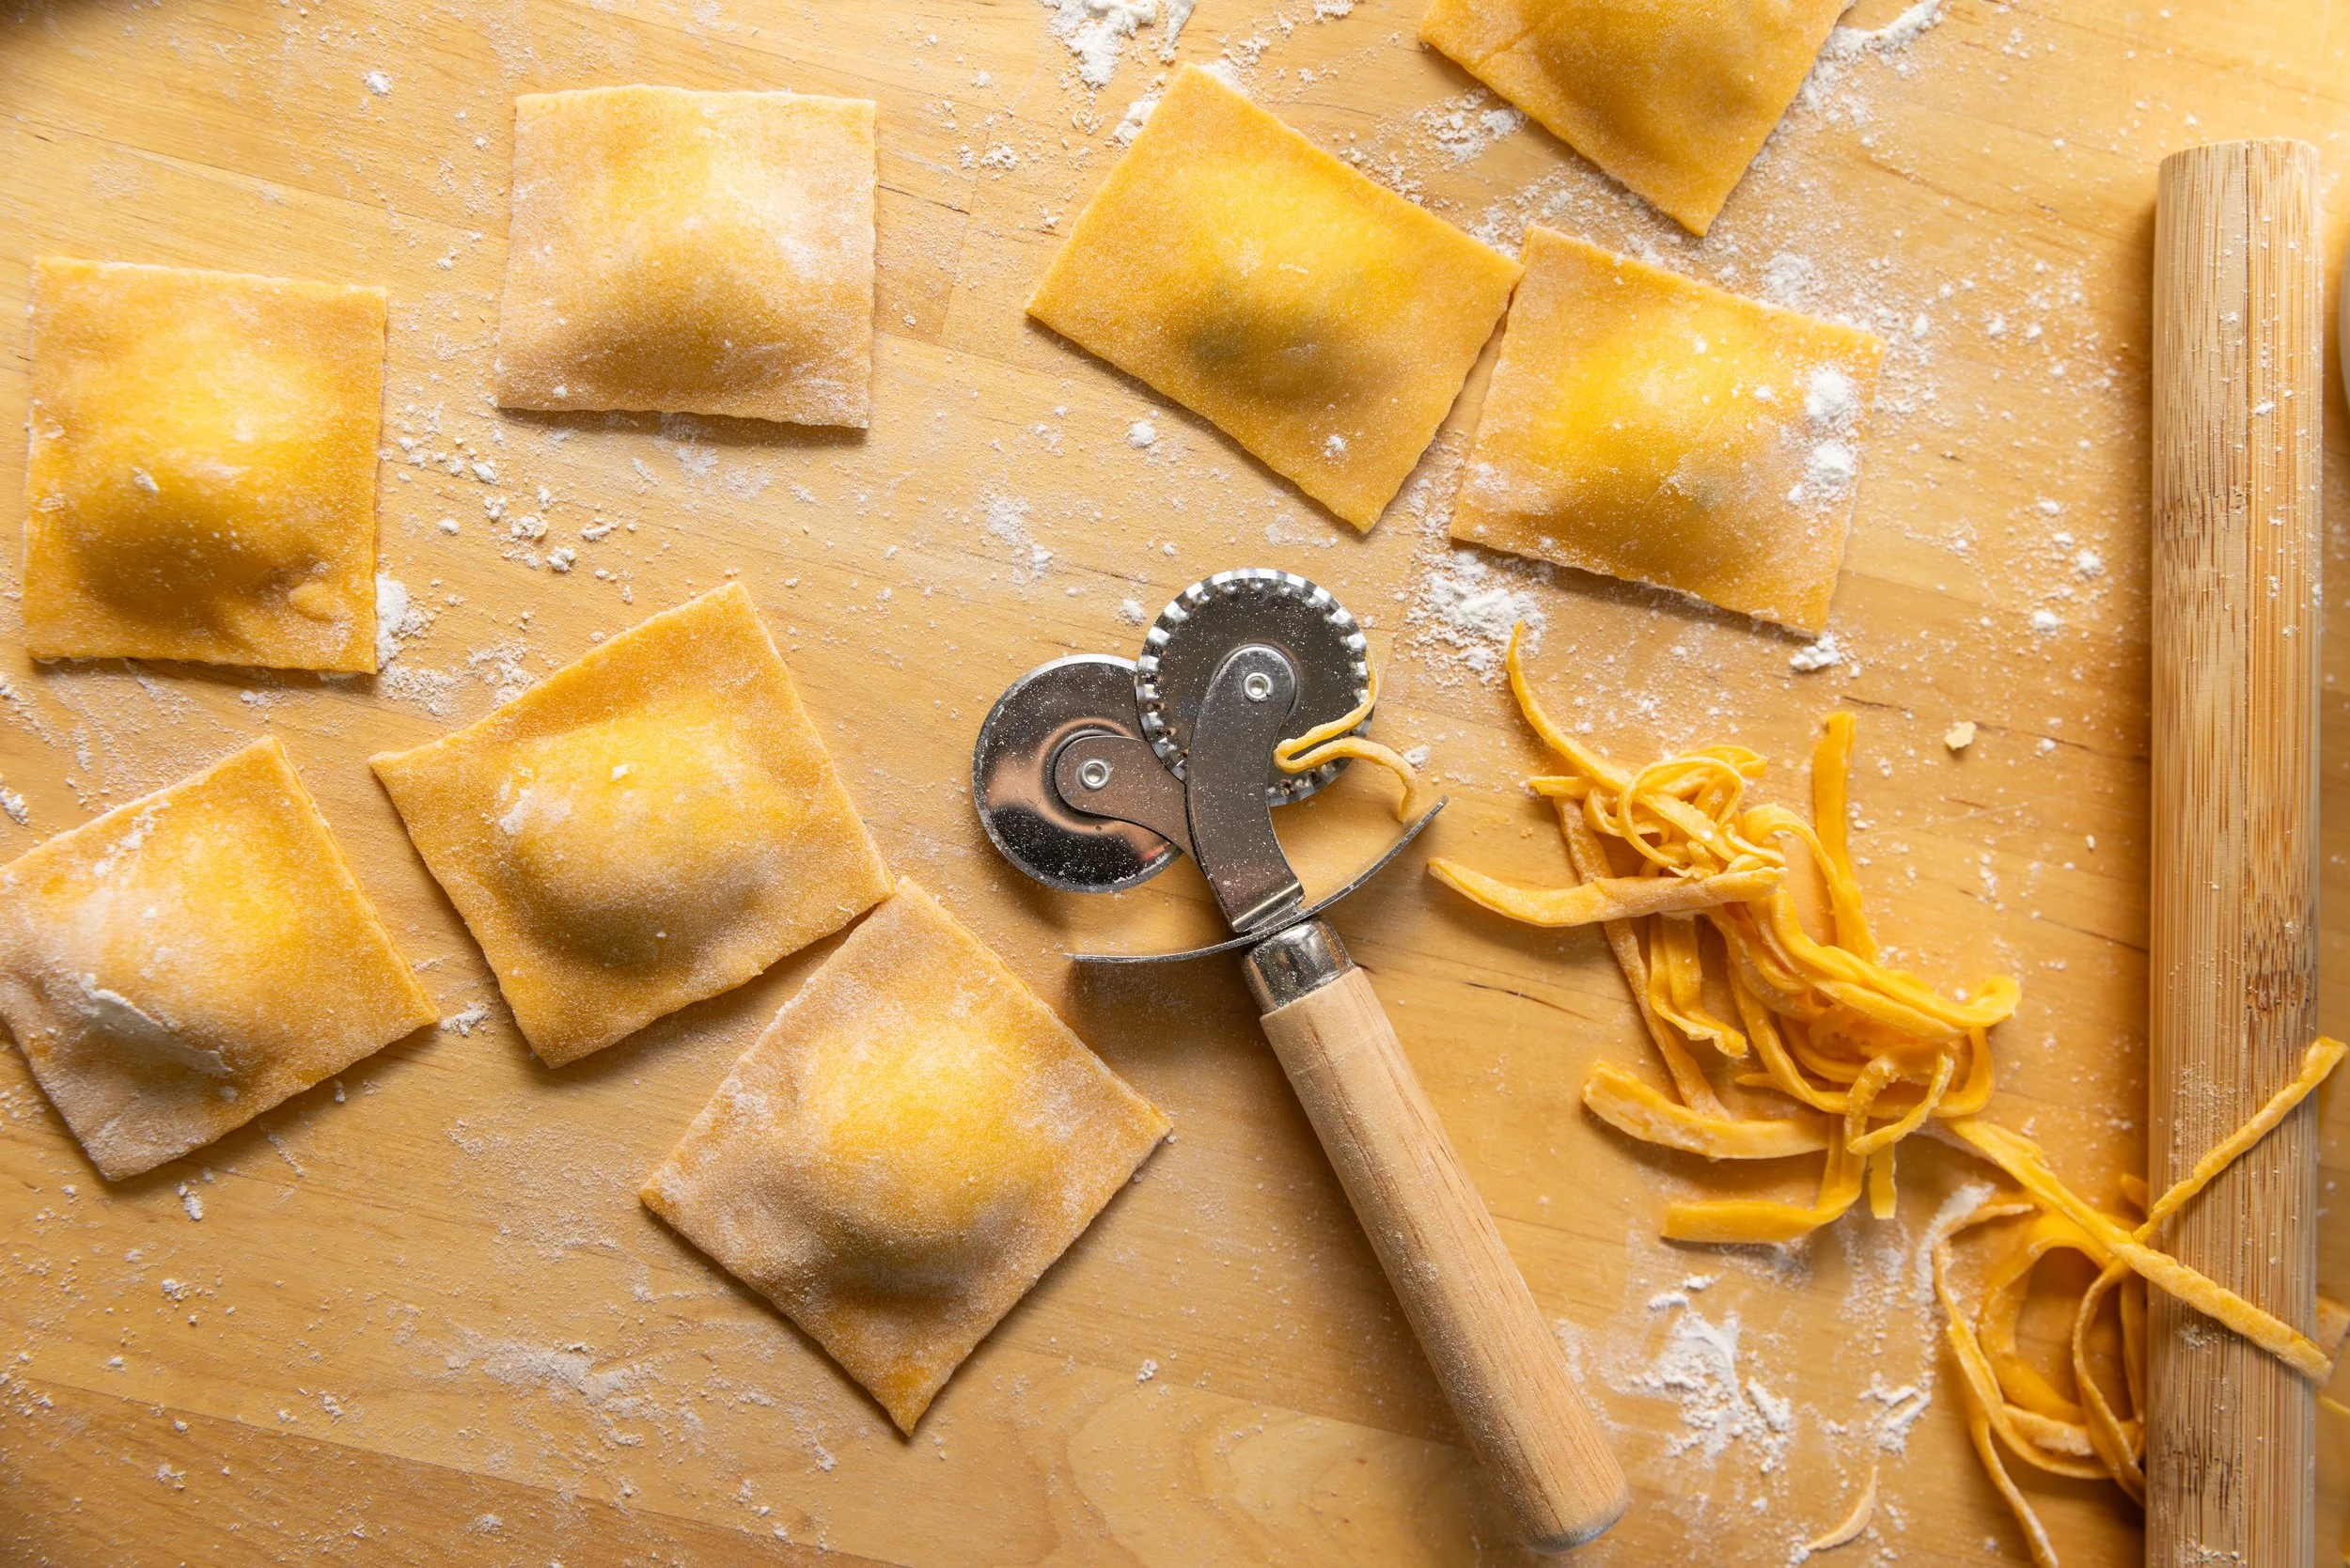
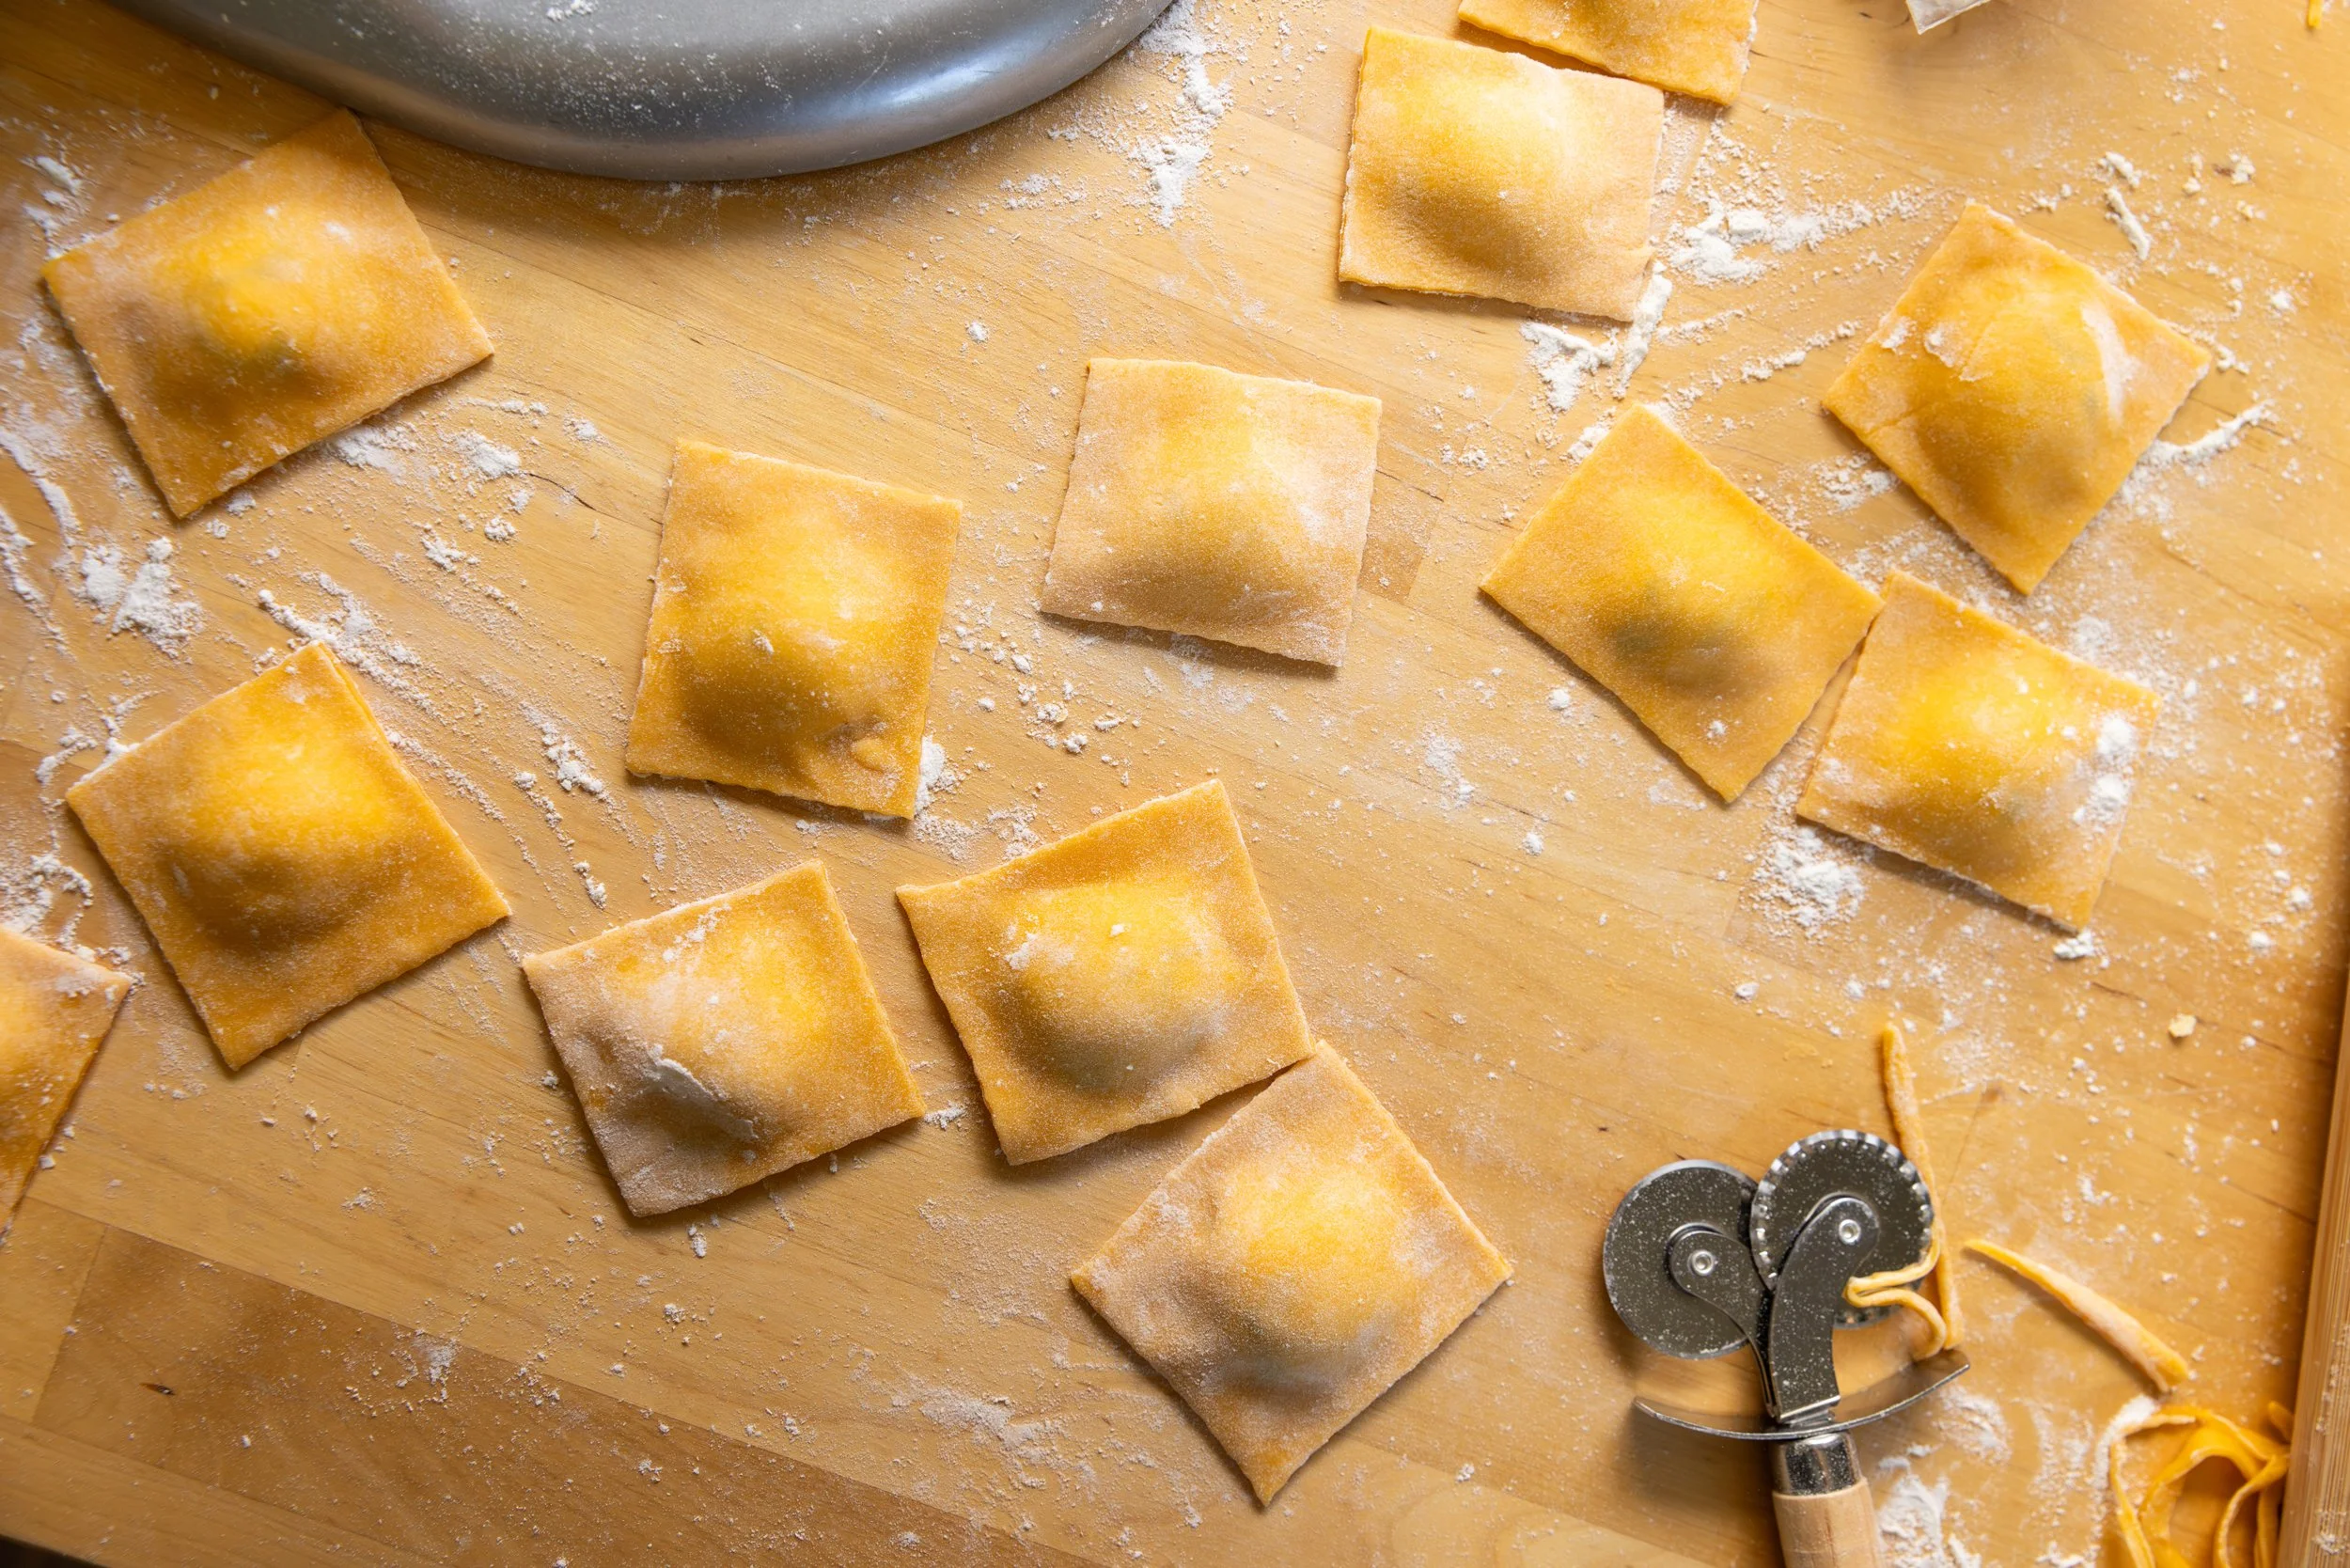
Sprinkle with a bit more flour and then using your ravioli crimper (or a sharp knife) trim off any excess pieces you need to. After that you can cut the pasta into evenly sized raviolis! 

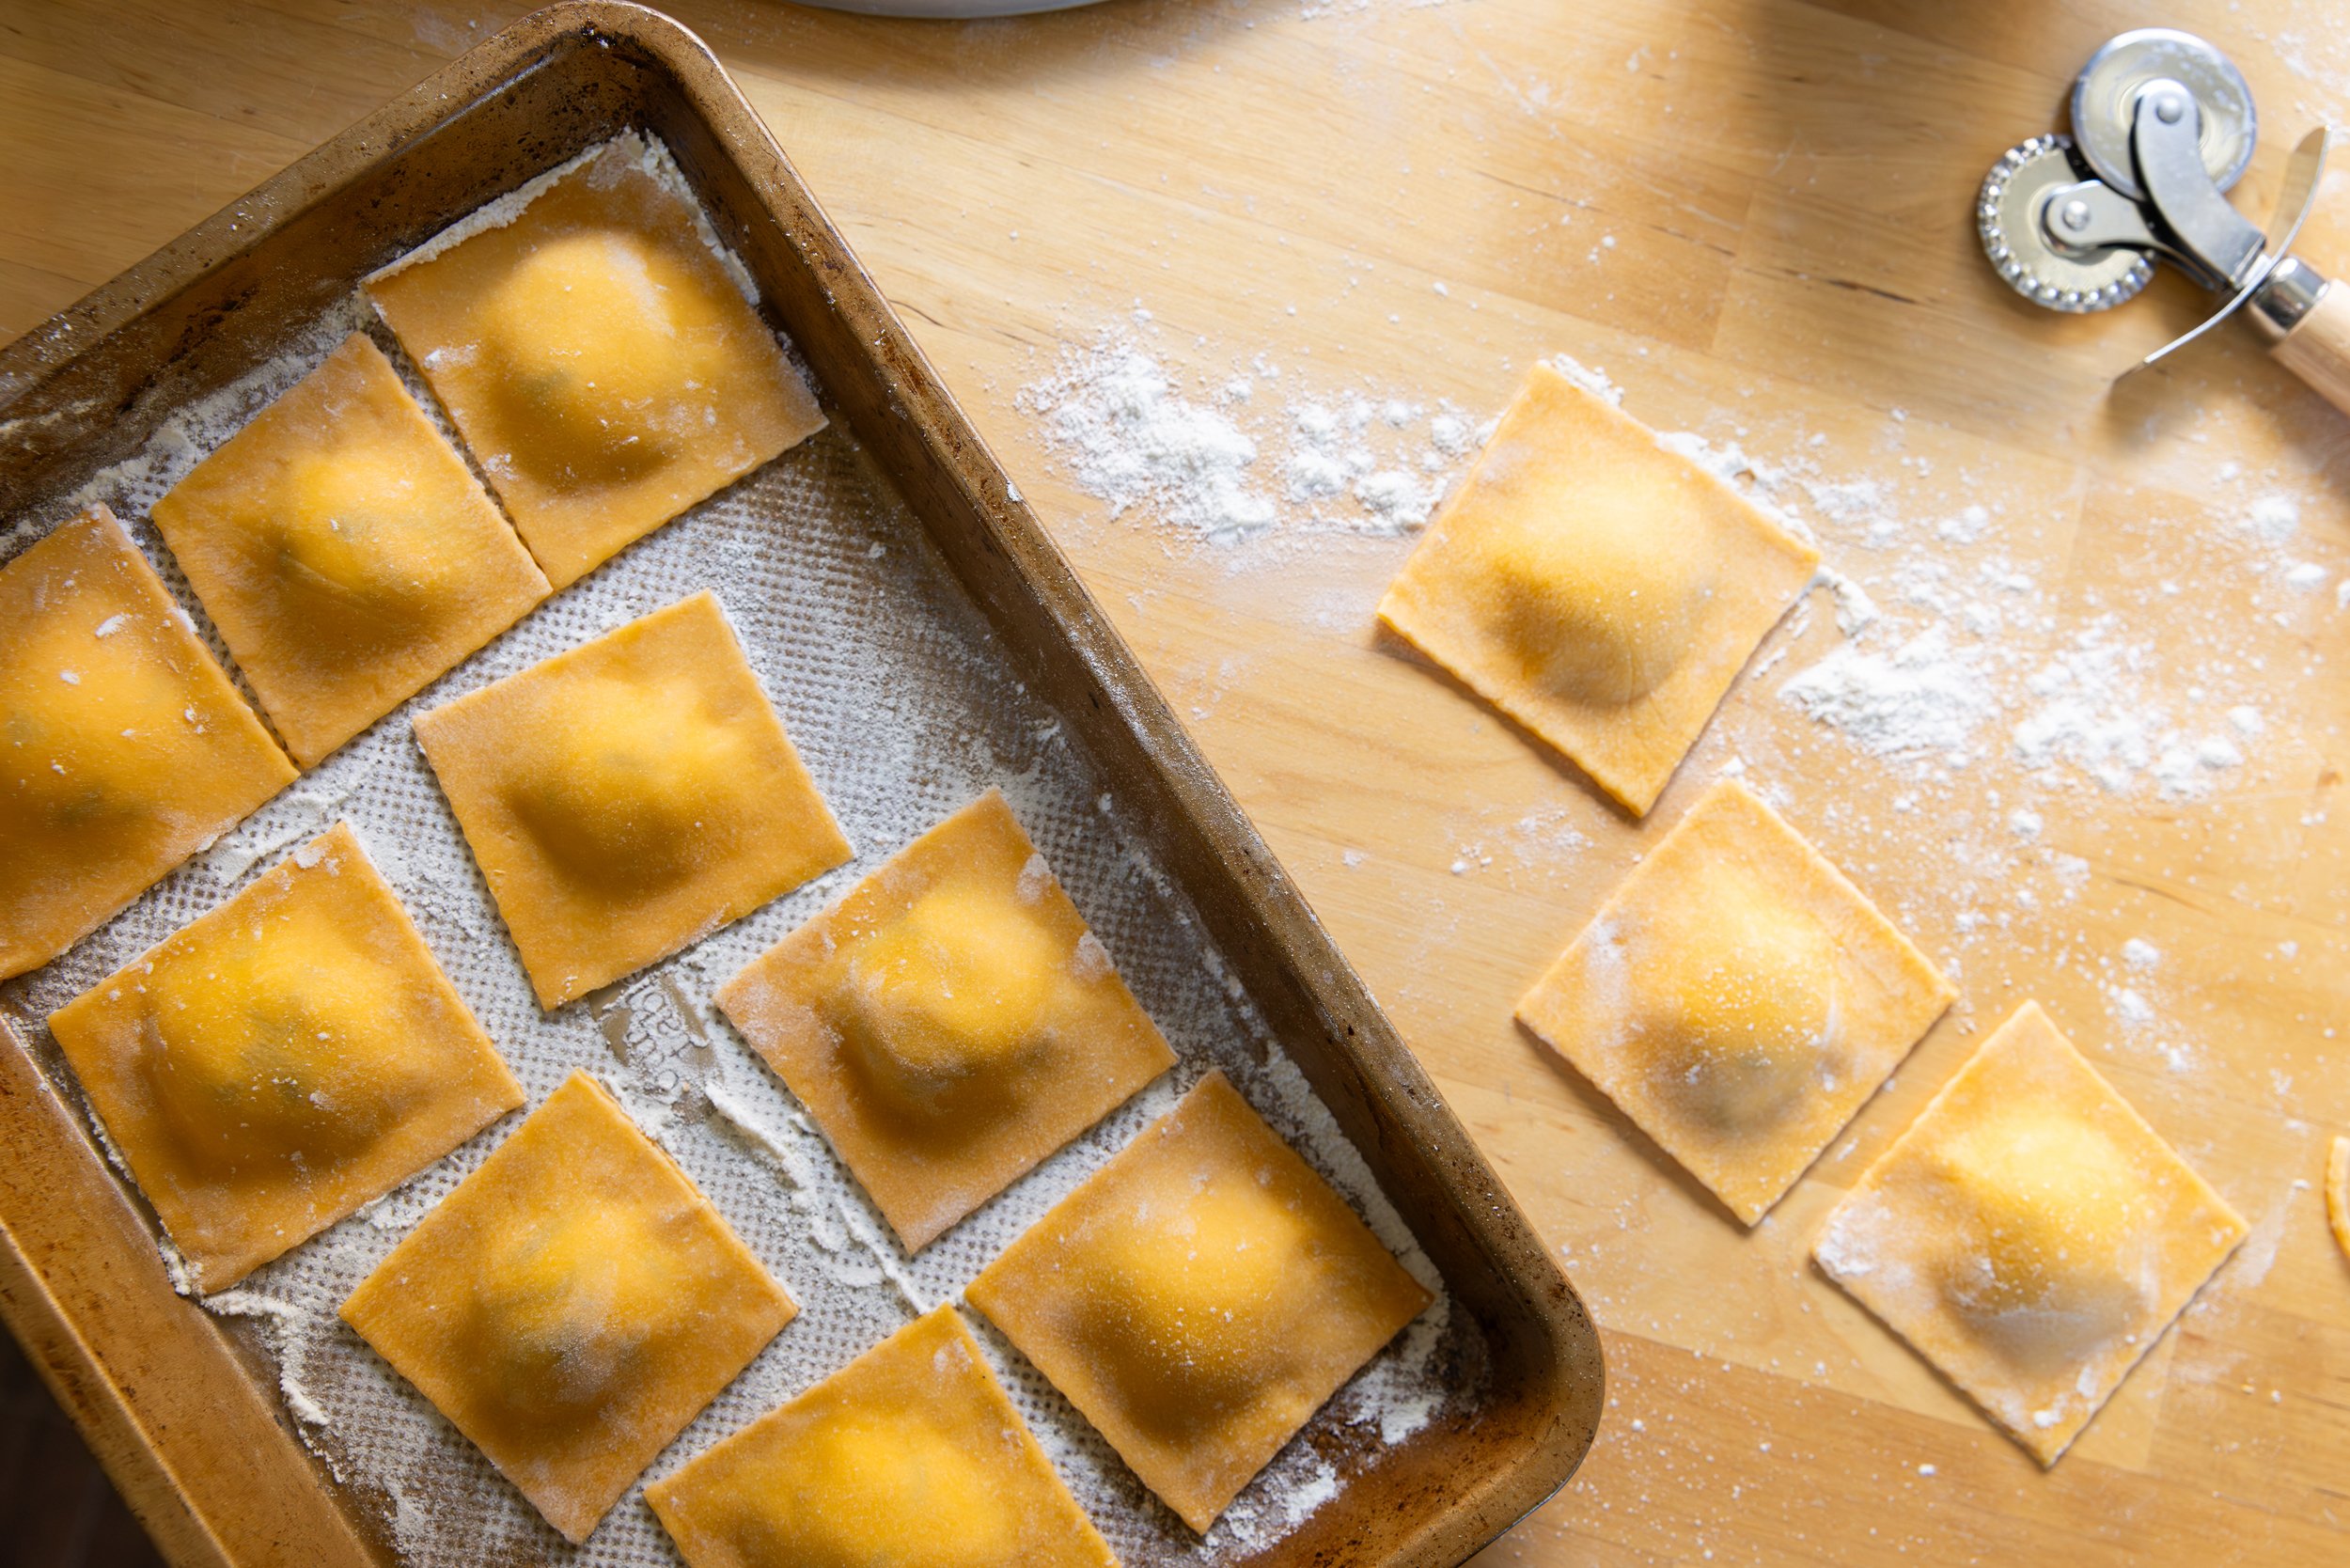
If you’re not using immediately, place the ravioli on a floured baking sheet, cover and place in the fridge. You can also put them (uncovered) in the freezer, if you want to make a large batch. Wait until the ravioli is frozen through and then add them to a seal freezer bag to keep for a month or two. 

Repeat the process with the remaining dough and filling. 

To cook, place in a well salted pot of boiling water – fresh pasta will only need a few minutes to cook – it might be a good idea to test with a single ravioli so you know how long yours should take. Frozen will take an extra minute or two. 

As for sauce, that’s up to you. I like browned butter sauce, or white wine and garlic sauce so that the ravioli can shine on its own. Whatever you feel like making, make sure that the sauce is ready to go before you put the ravioli into the pot. 

Enjoy the process and don’t be afraid if your first batch isn’t pretty – it will take good either way! 

RECIPE: Granola for BC Living "From Scratch"

Granola
for BC Living - “From Scratch”
January 2026

I’m really trying to focus on making sure I eat breakfast these days, even if it’s just a boring protein shake, but then I decided I needed some more flavor and some crunch in my daily routine. 

I always find when I get bags of granola from the grocery store, it goes stale before I get anywhere near finishing it, and trying to find one that has the exact add-ins that I like is also a challenge... 
...enter, making it from scratch! 

Making homemade granola is incredibly easy and takes very little time and effort. You probably have everything you need in your cupboards already, and the best part is it’s fully customizable!  
 
INGREDIENTS 
 
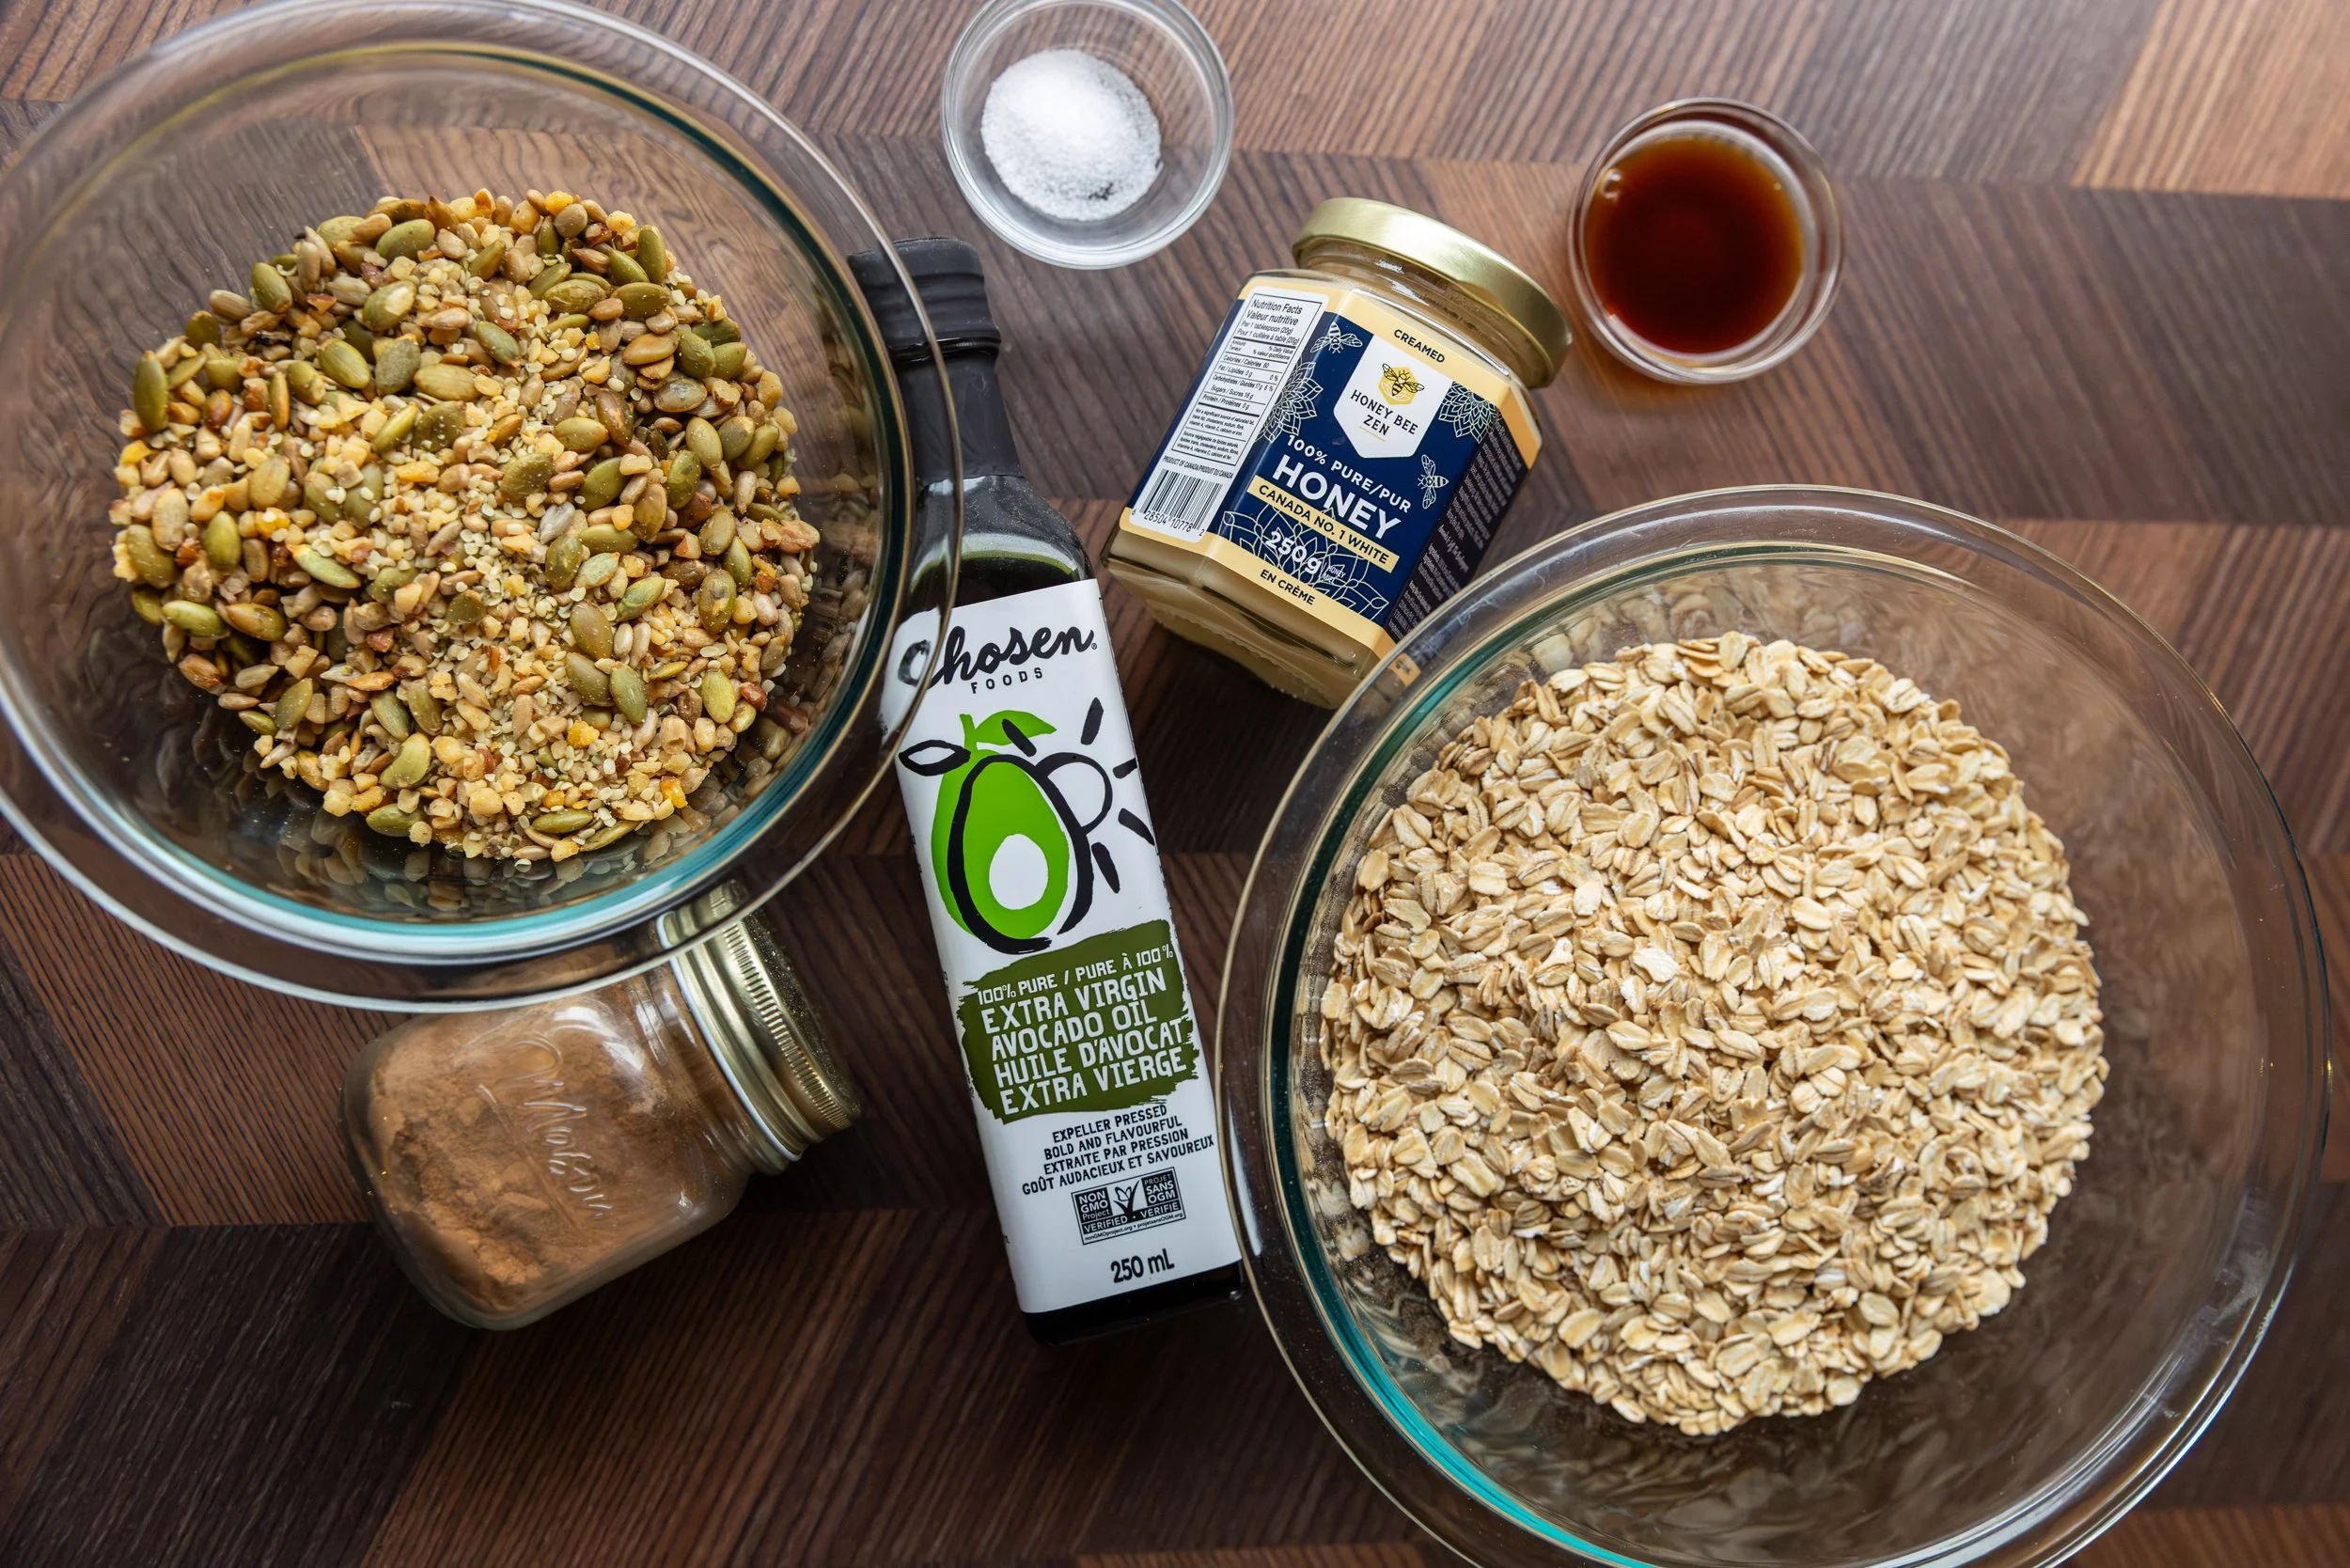
Dry Ingredients 
- 3 cups of rolled oats (do not use steel cut!) 
- ½ tsp salt  
- 1.5 cups of nuts and/or seeds of your choice (I used pepitas, sunflower seeds, and crushed walnuts) 
- ½ tsp of cinnamon (or a spice mix of your choosing) 
 
Wet Ingredients 
- ½ cup honey 
- 1.5 tsp vanilla extract 
- 1/3 cup avocado oil (can sub in coconut oil) 
 
Other 
- add-ins like dried fruits or chocolate chips 
 
INSTRUCTIONS 
 
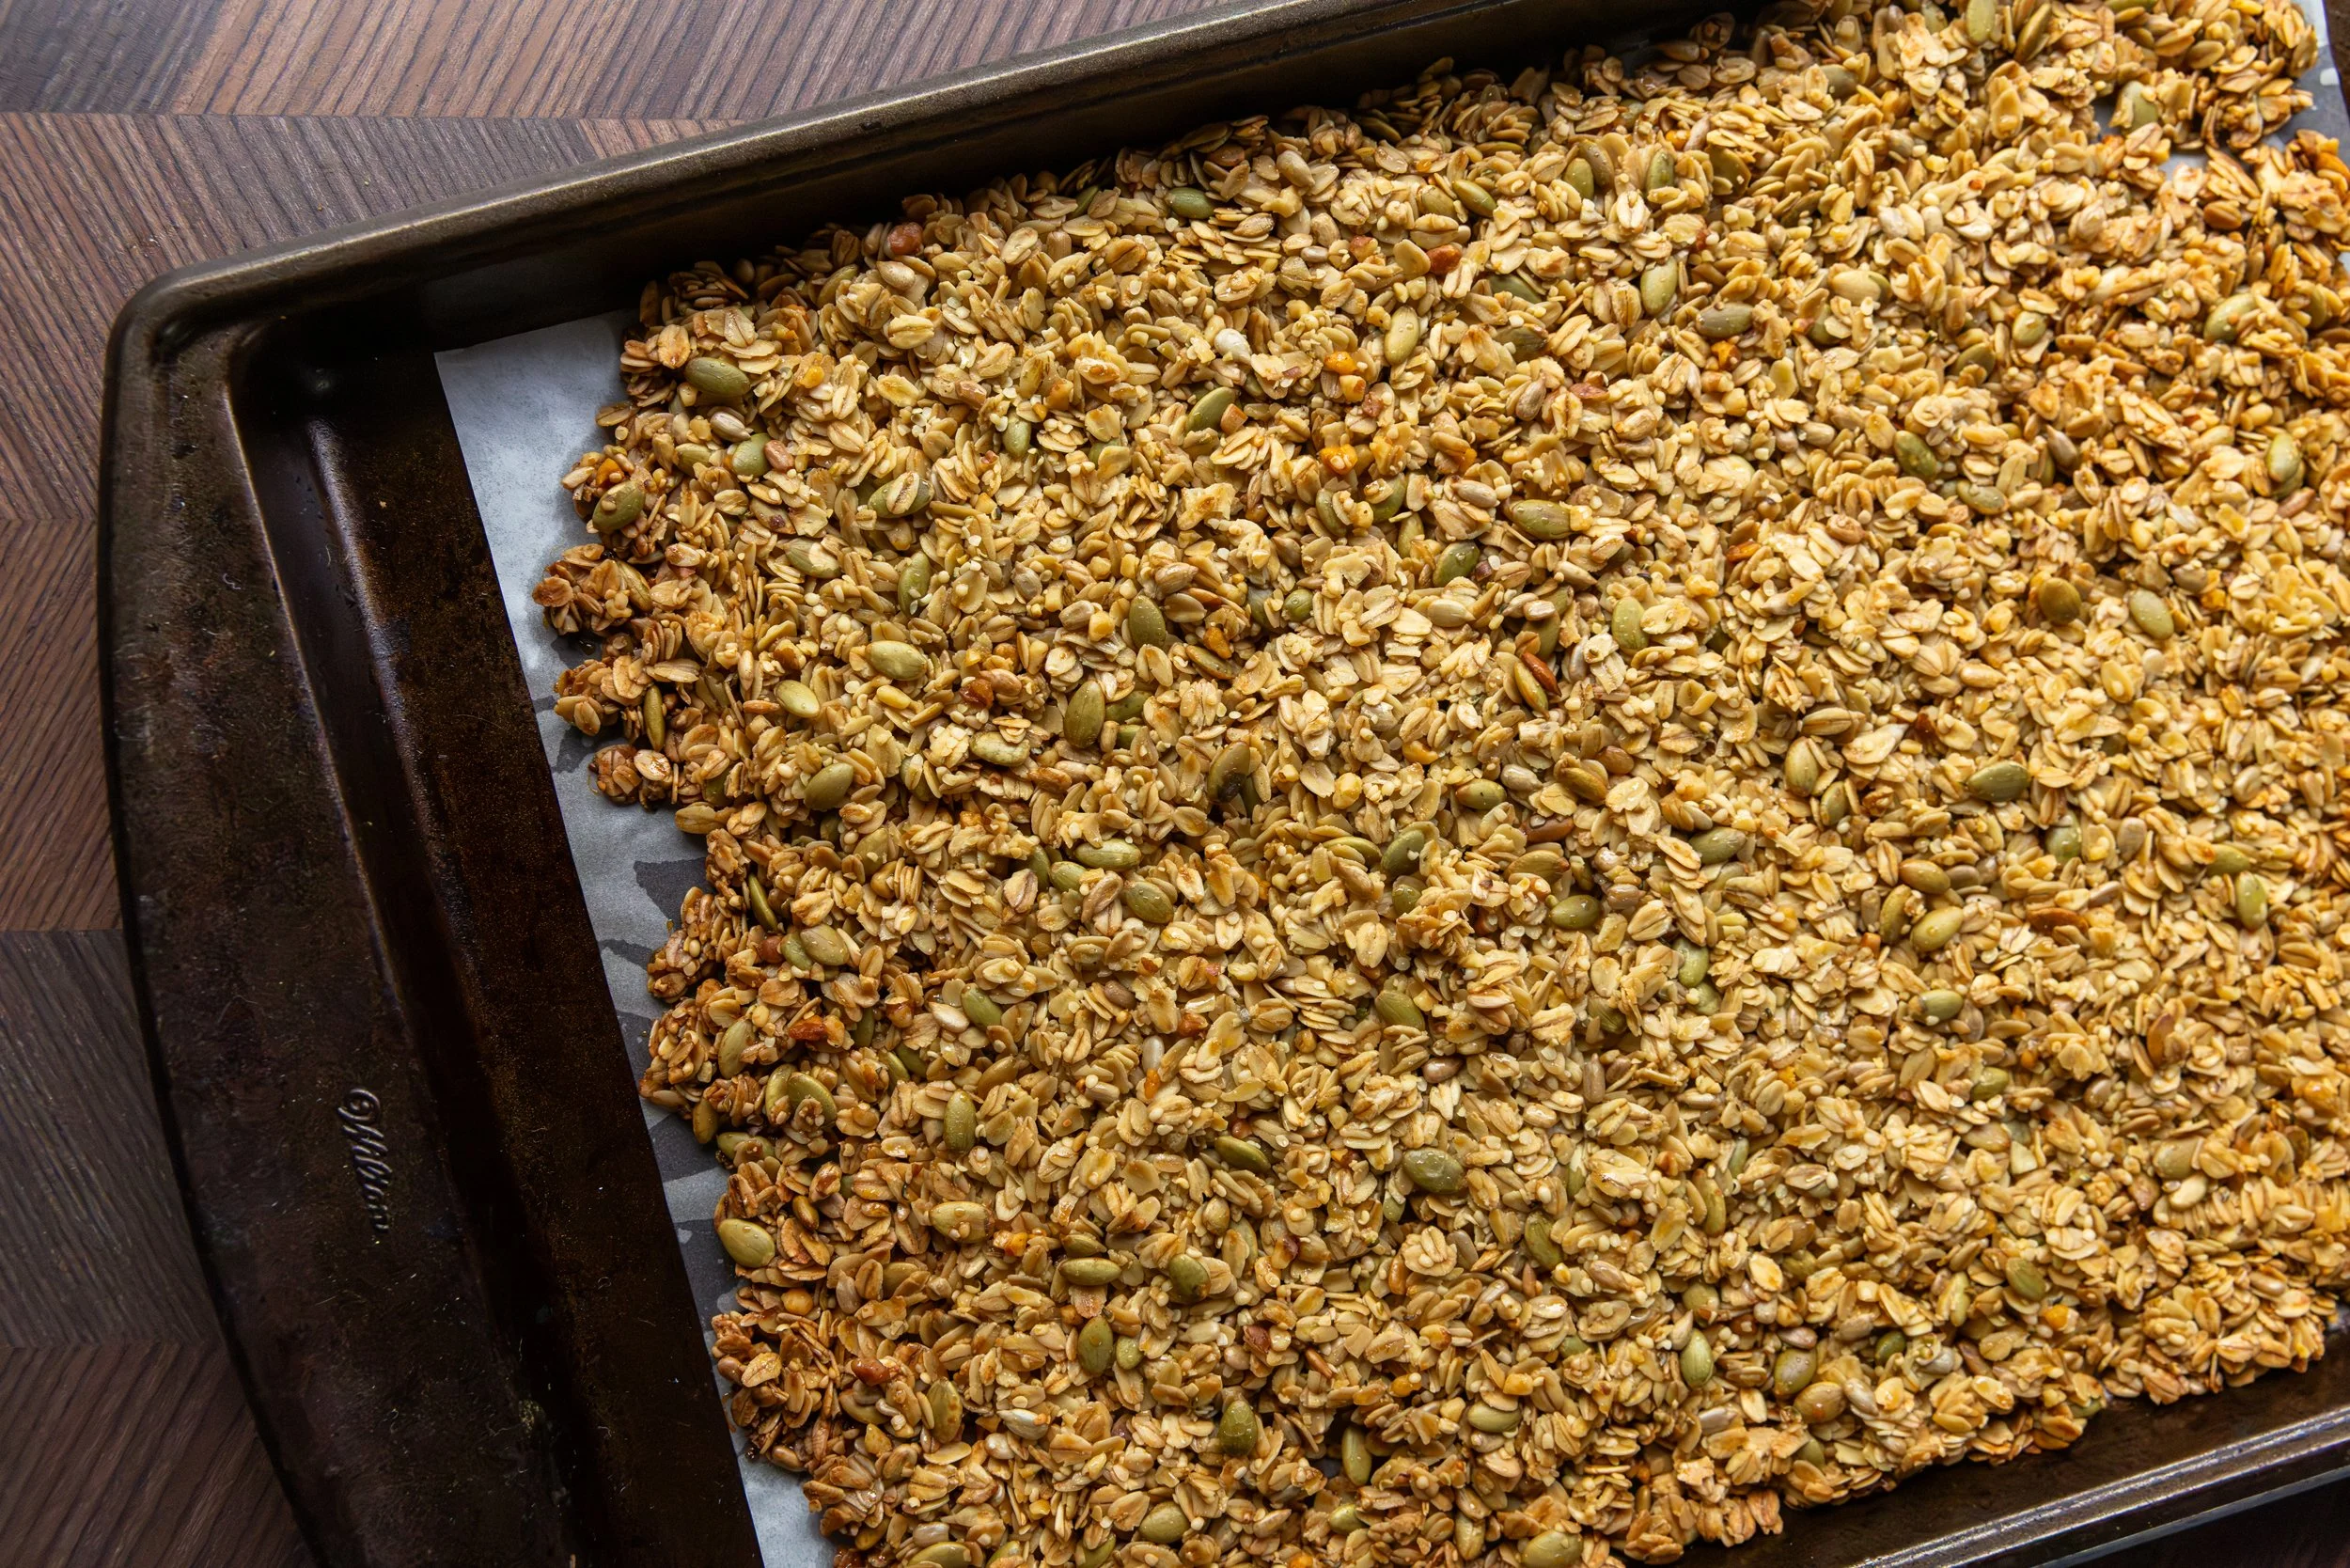
Preheat the oven to 350 degrees Fahrenheit and line a large baking sheet with parchment paper. This step is important, or the granola will bake on to the sheet! 
 
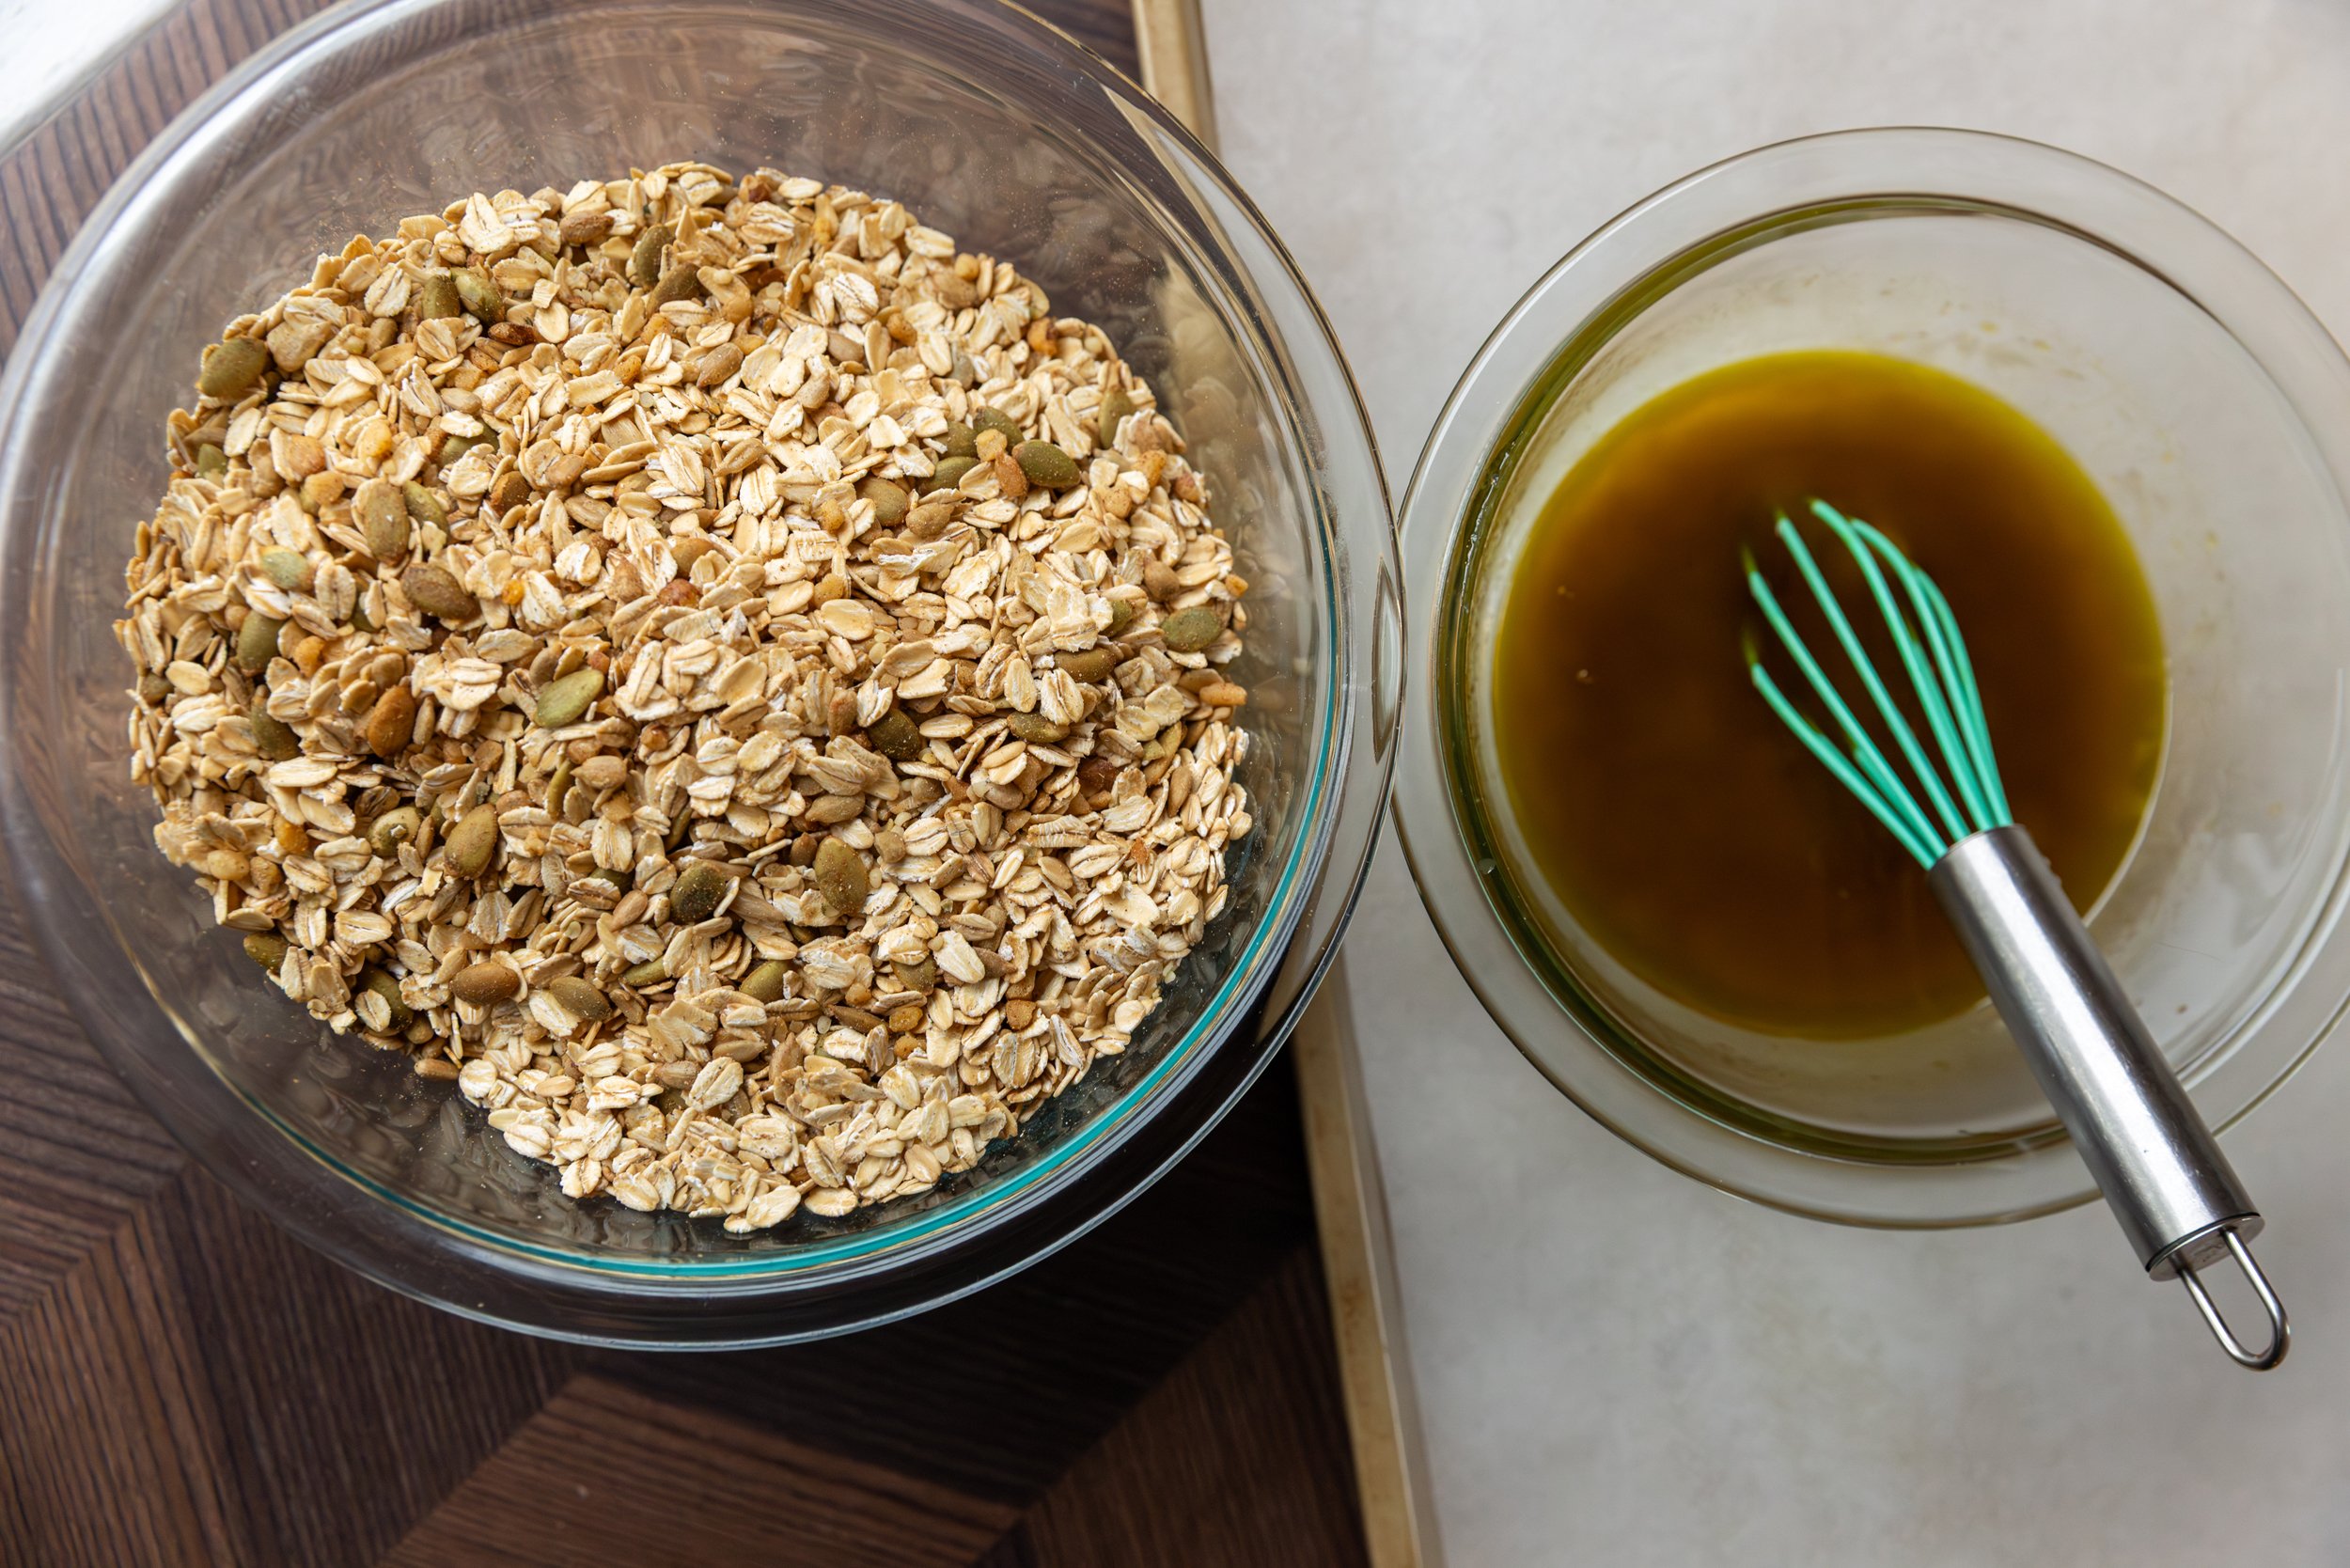
In a large bowl, mix the dry ingredients together and then in a separate bowl, mix the wet ingredients together until they are fully blended. 
Pour the wet ingredients into the dry and with a wooden spoon, mix until the granola is evenly coated. 
 
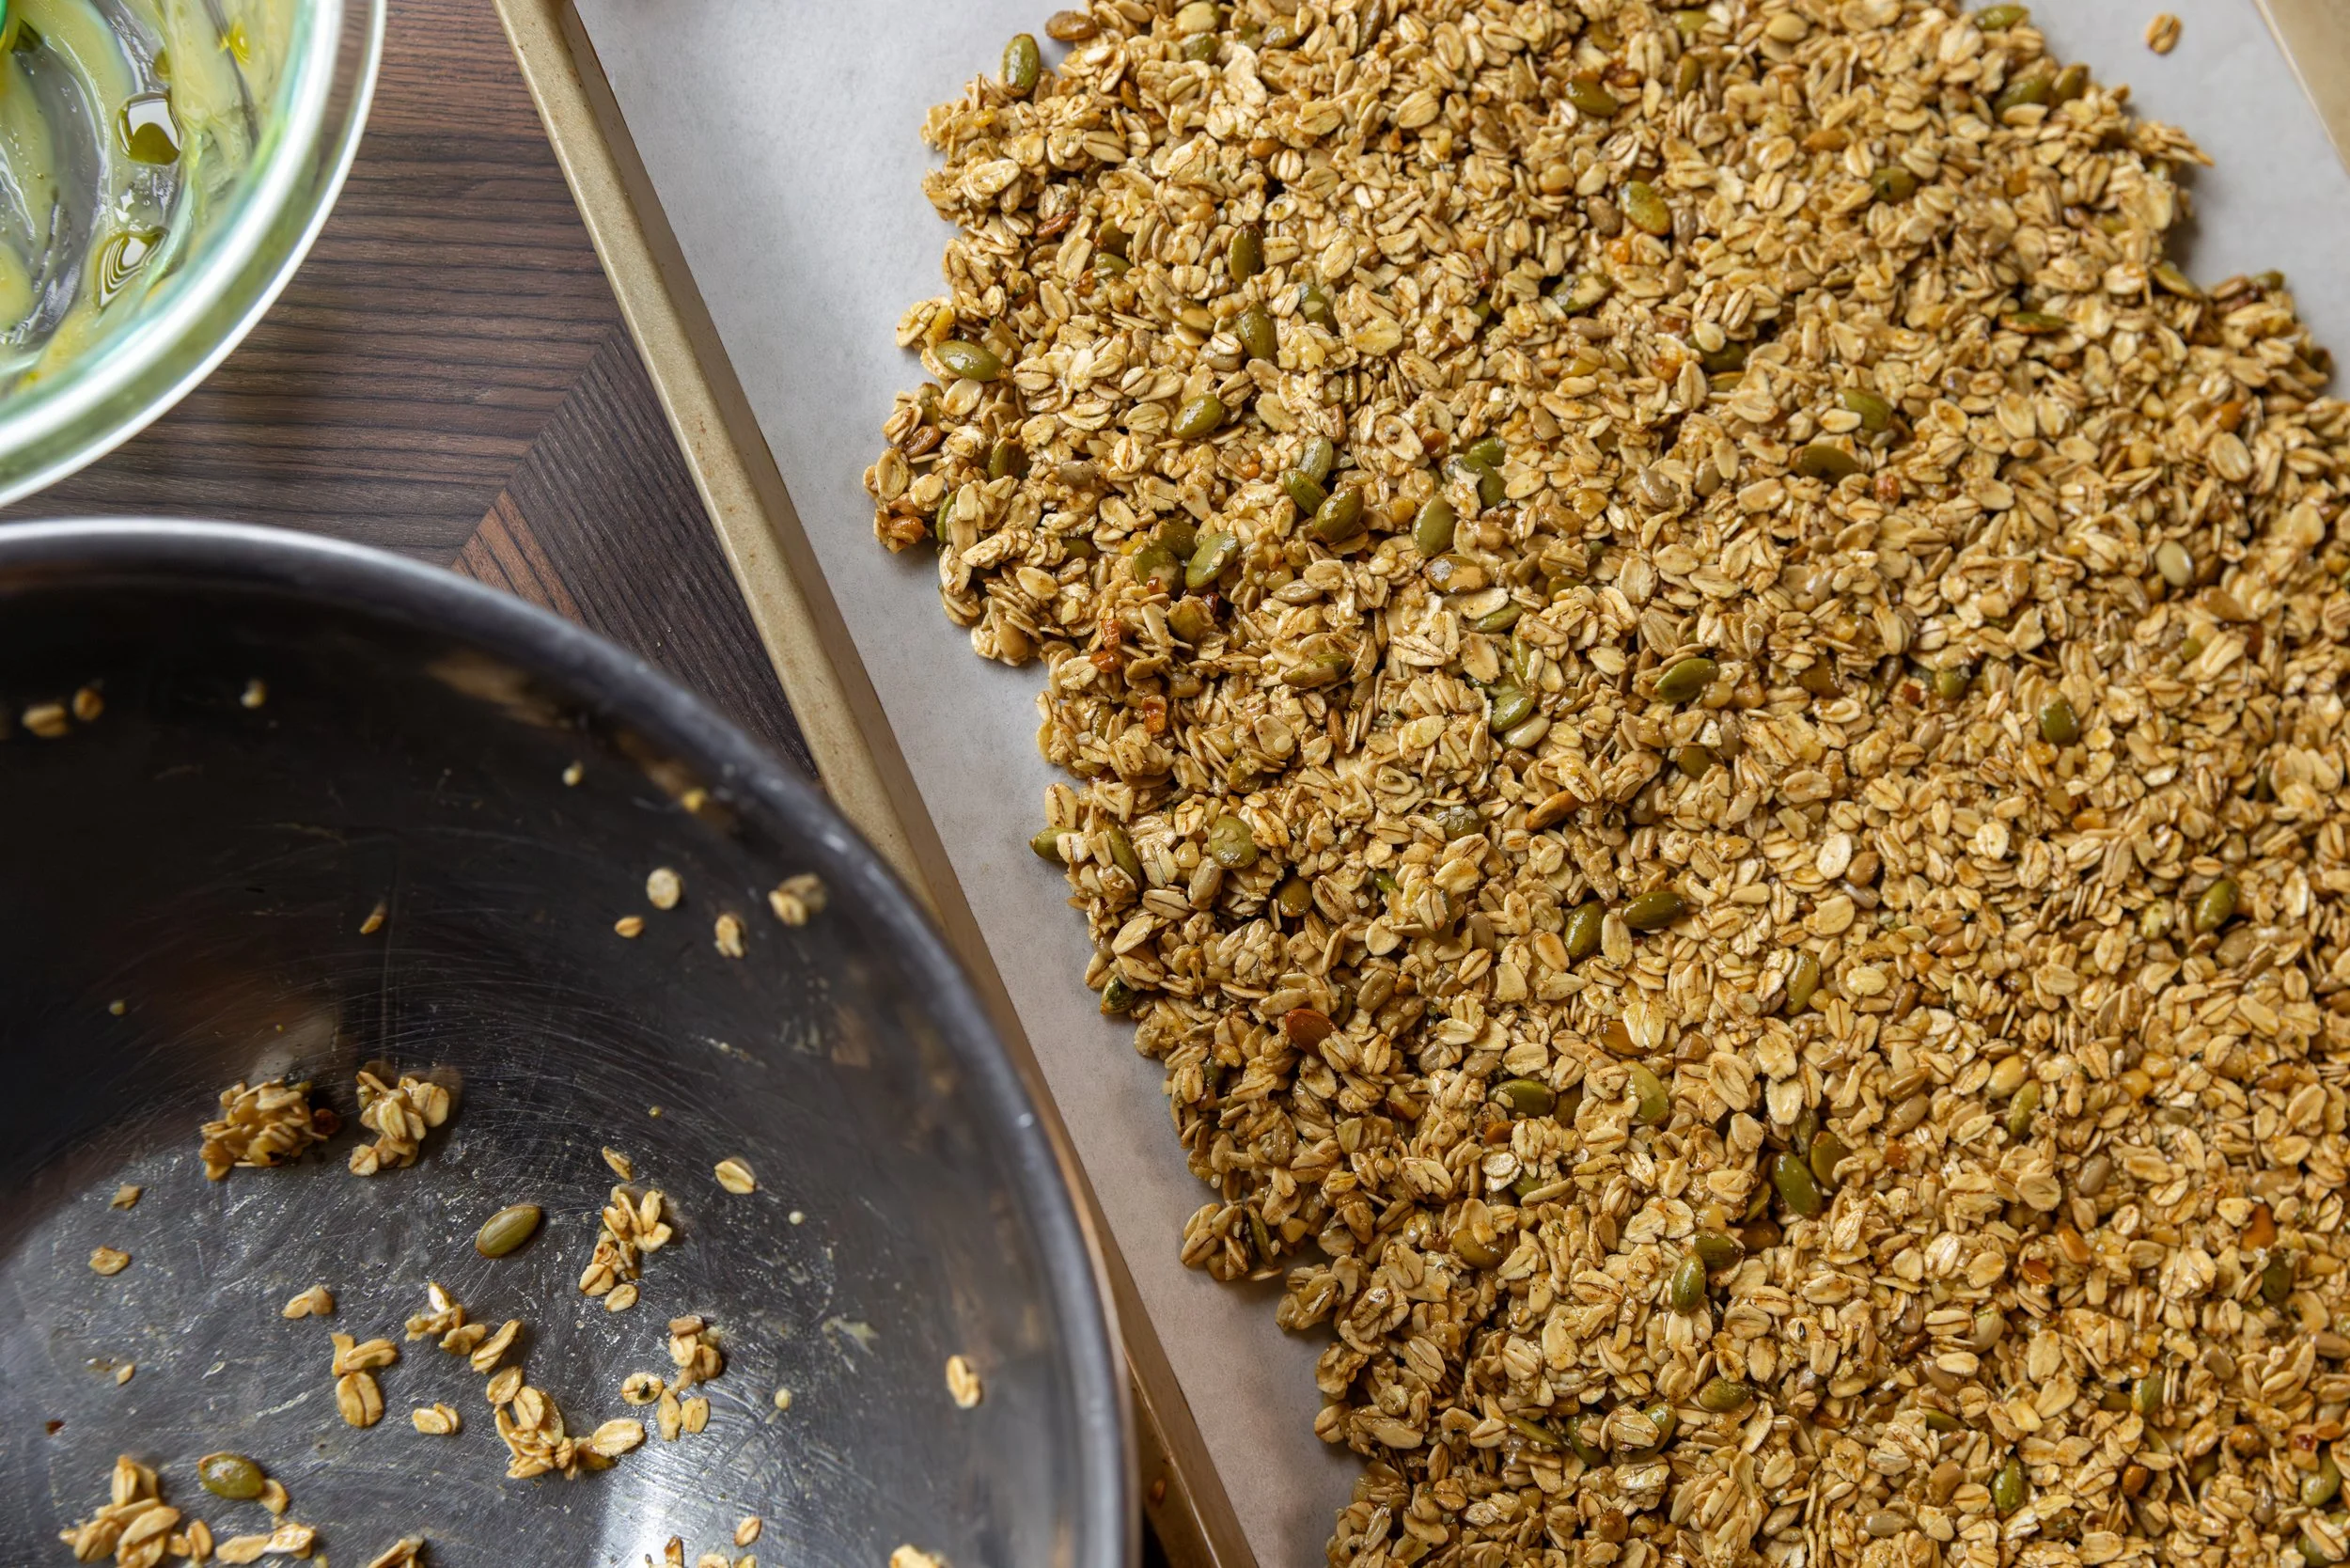
Spread the mixture onto the prepared baking sheet, press it down firmly with the spoon or your hand. 
 
Bake in the oven for 20-25 minutes, checking it after 20, and remove when it has reached the desired color of browning for you. 
 
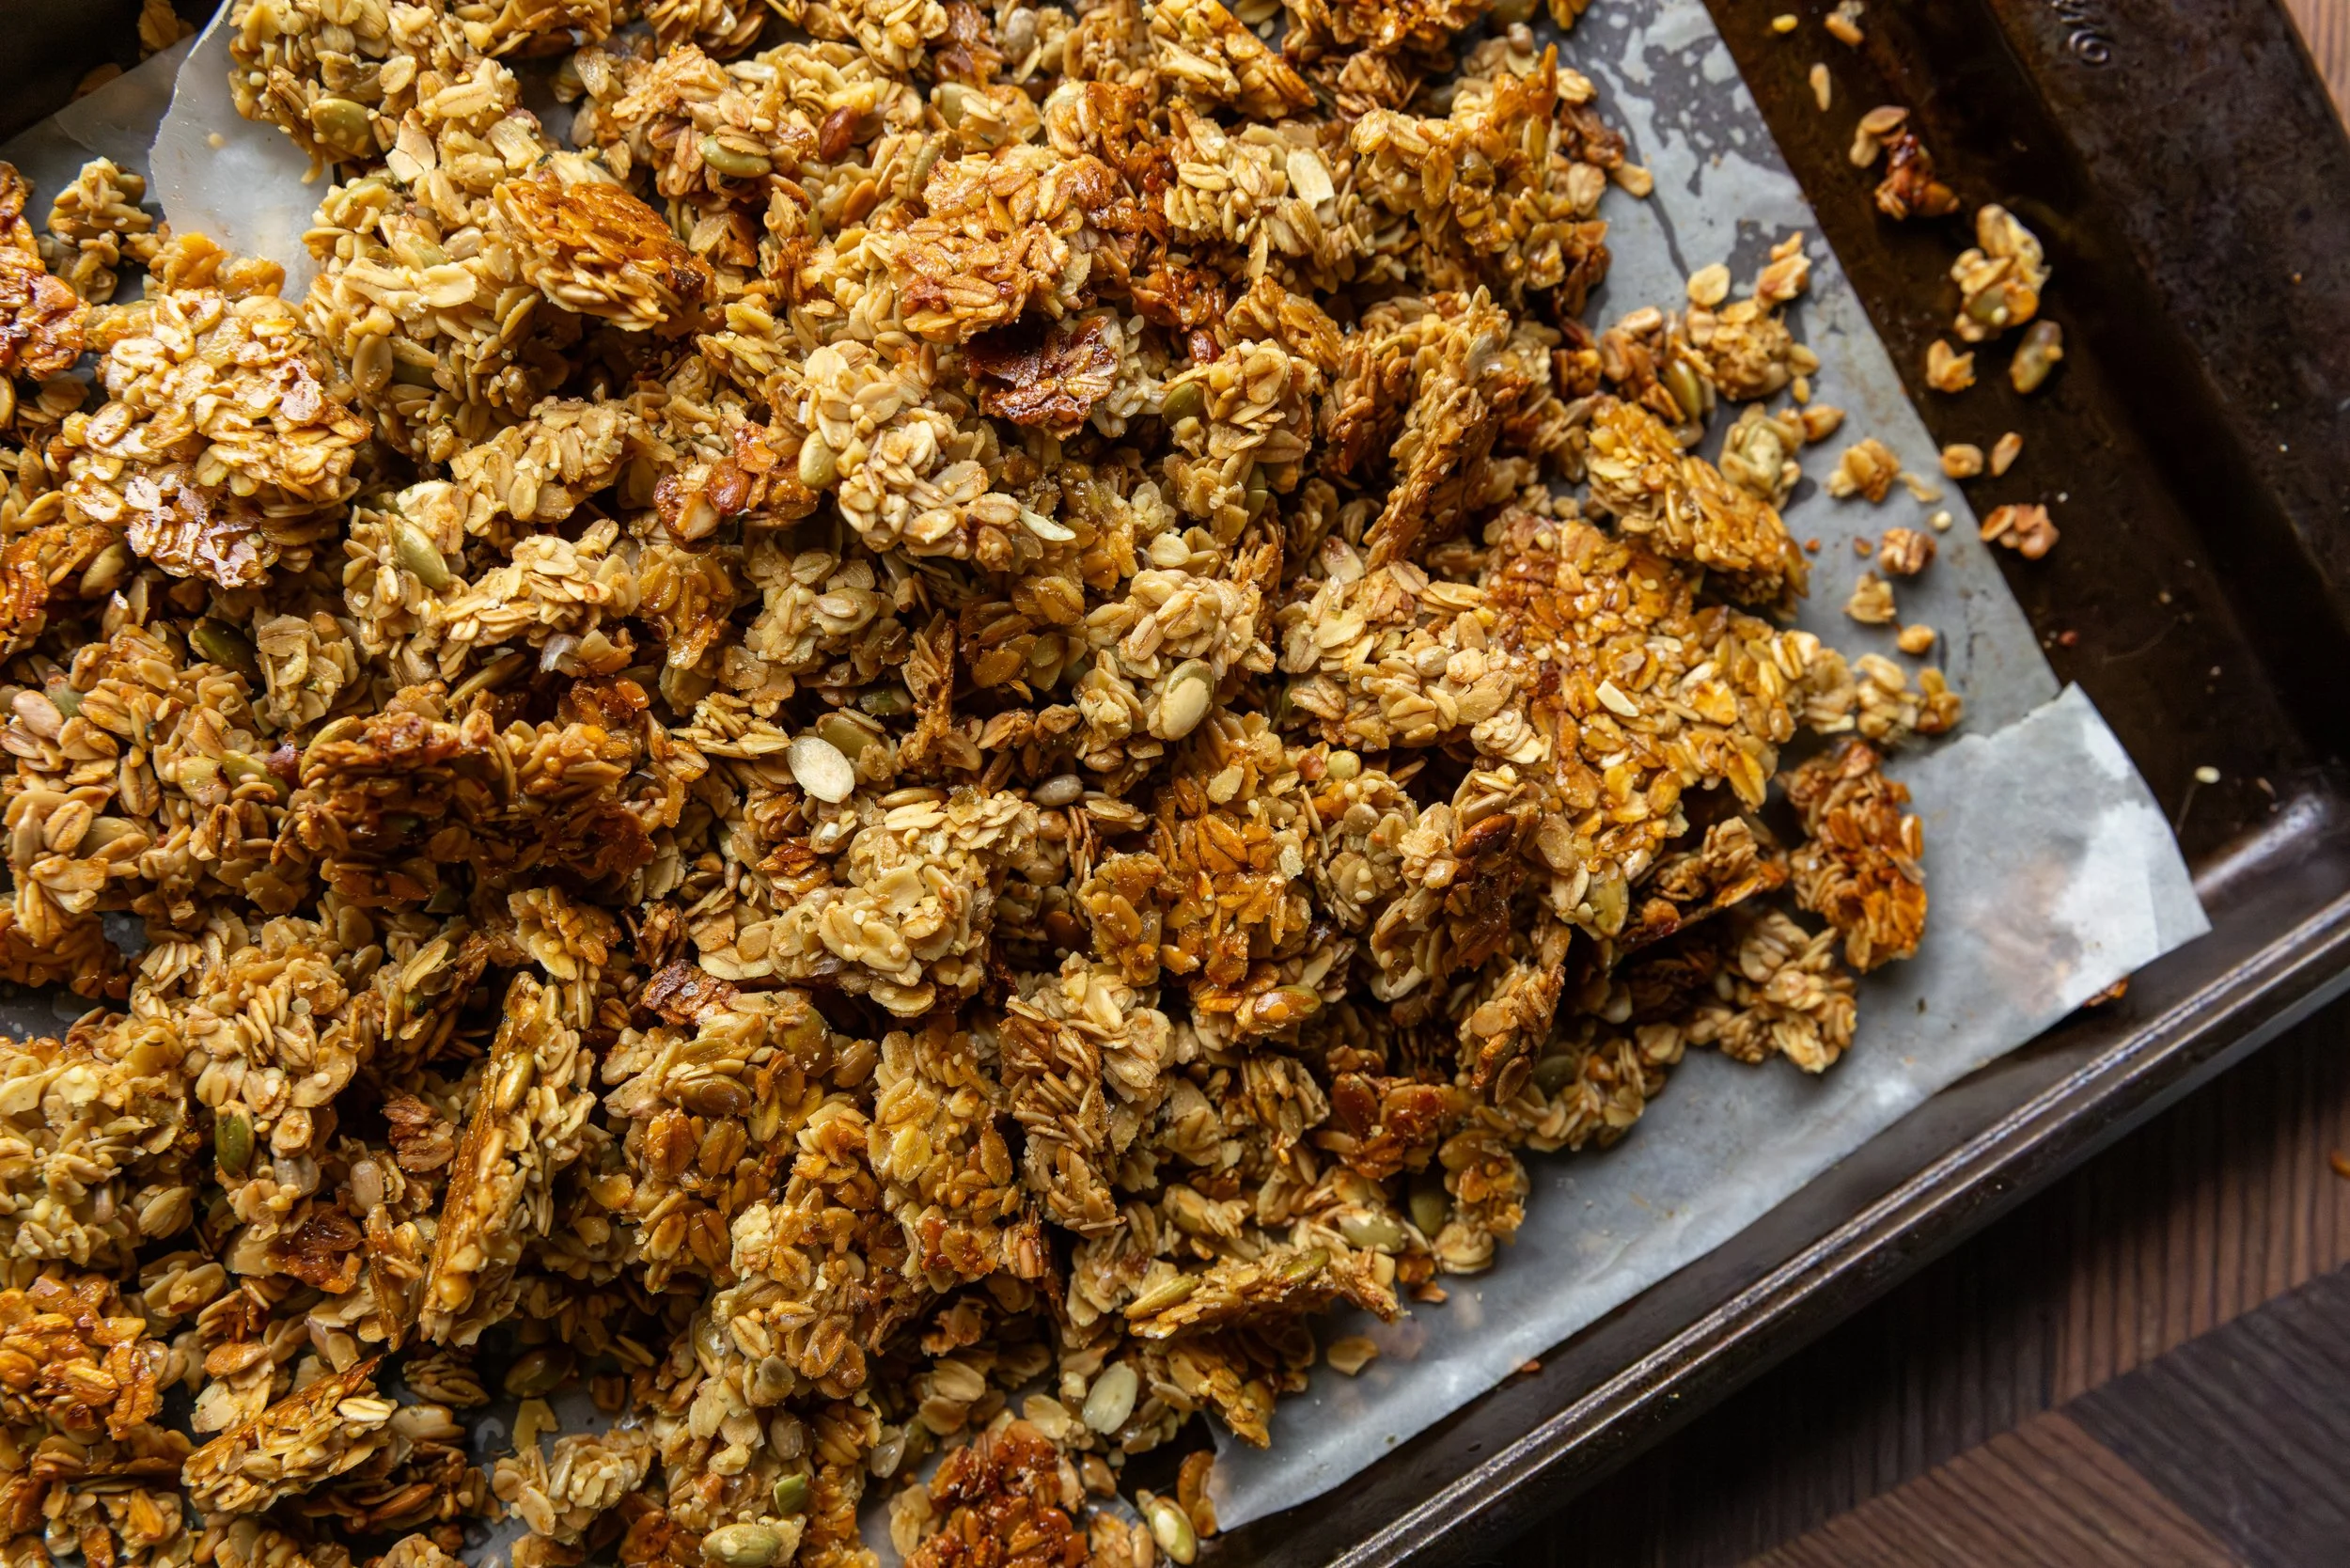
Let the granola cool on the baking sheet completely (do NOT mix it up) - this will take about an hour. 
Once cool, you can break it into chunks with your hands and mix in any add-ins like dried fruits or chocolate. 
 
Transfer the granola to an airtight container and use within one to two weeks (stored at room temperature) or you can freeze it for a few months - defrosting in the fridge before consumption. 
 
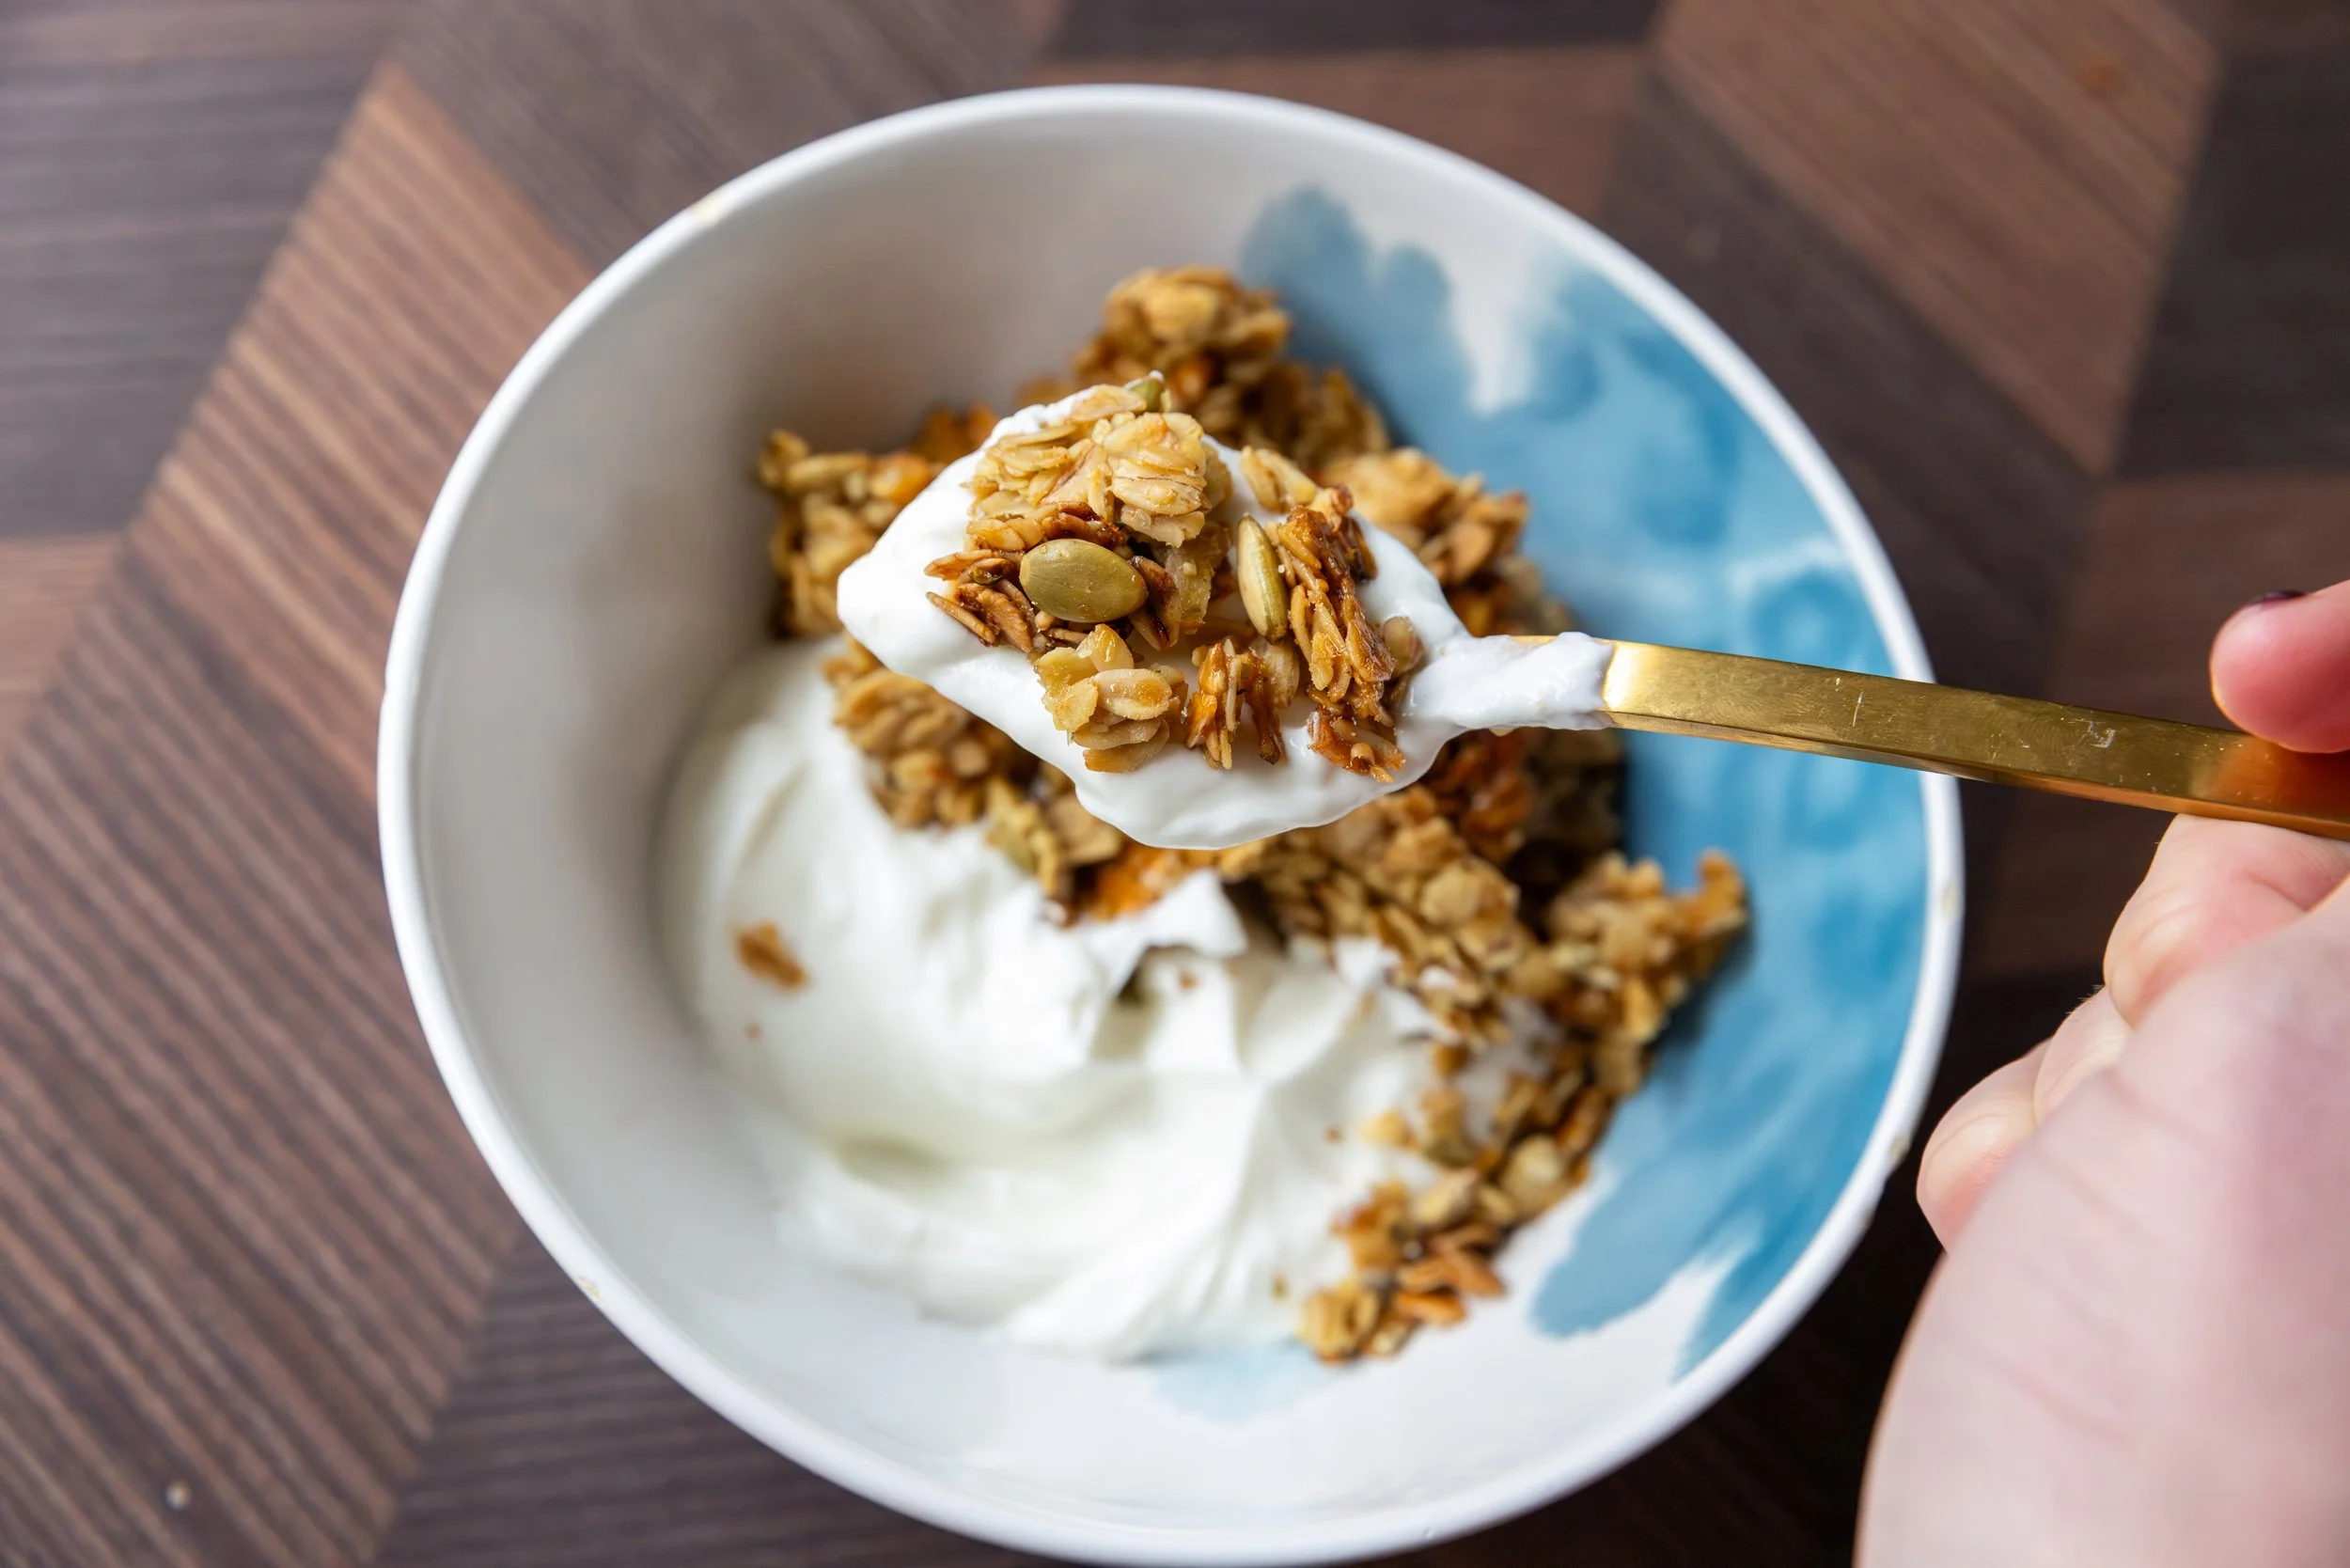
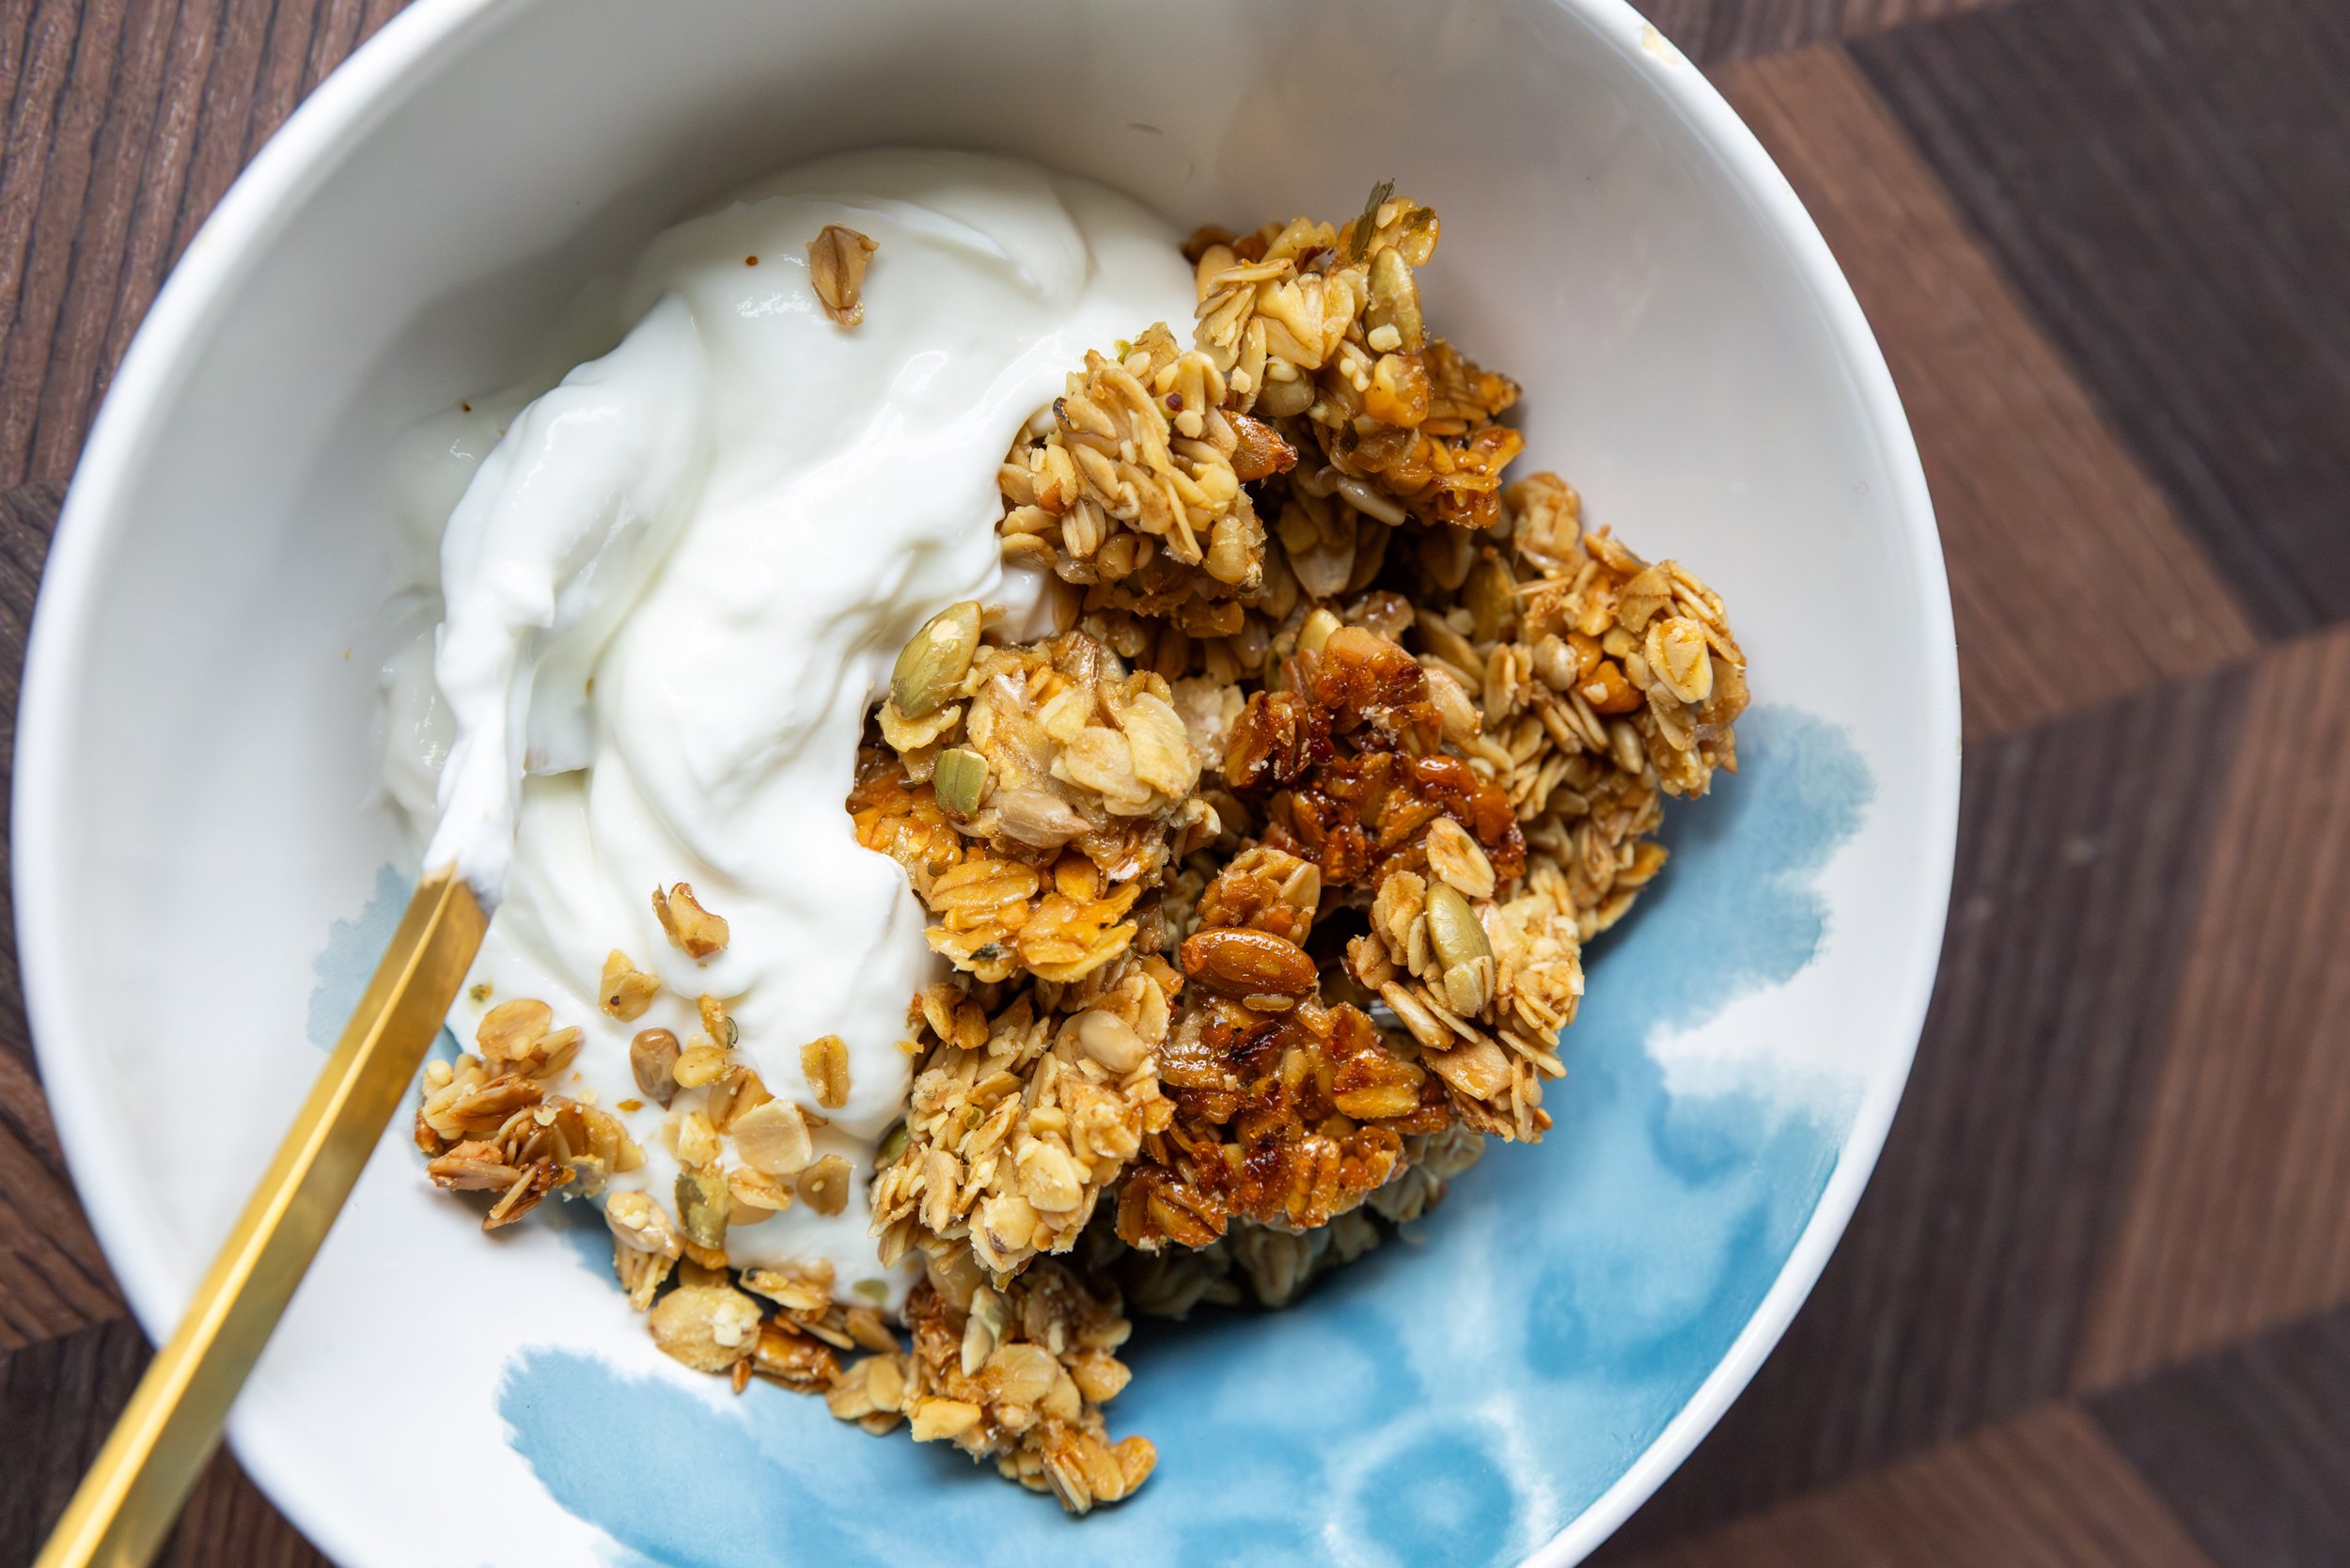
Serve with your favorite yogurt or milk, or just on its own as a quick and healthy snack! 
 
ENJOY! 

RECIPE: Meatballs for BC Living "From Scratch"

Meatballs - From Scratch
for BC Living
December 2025 

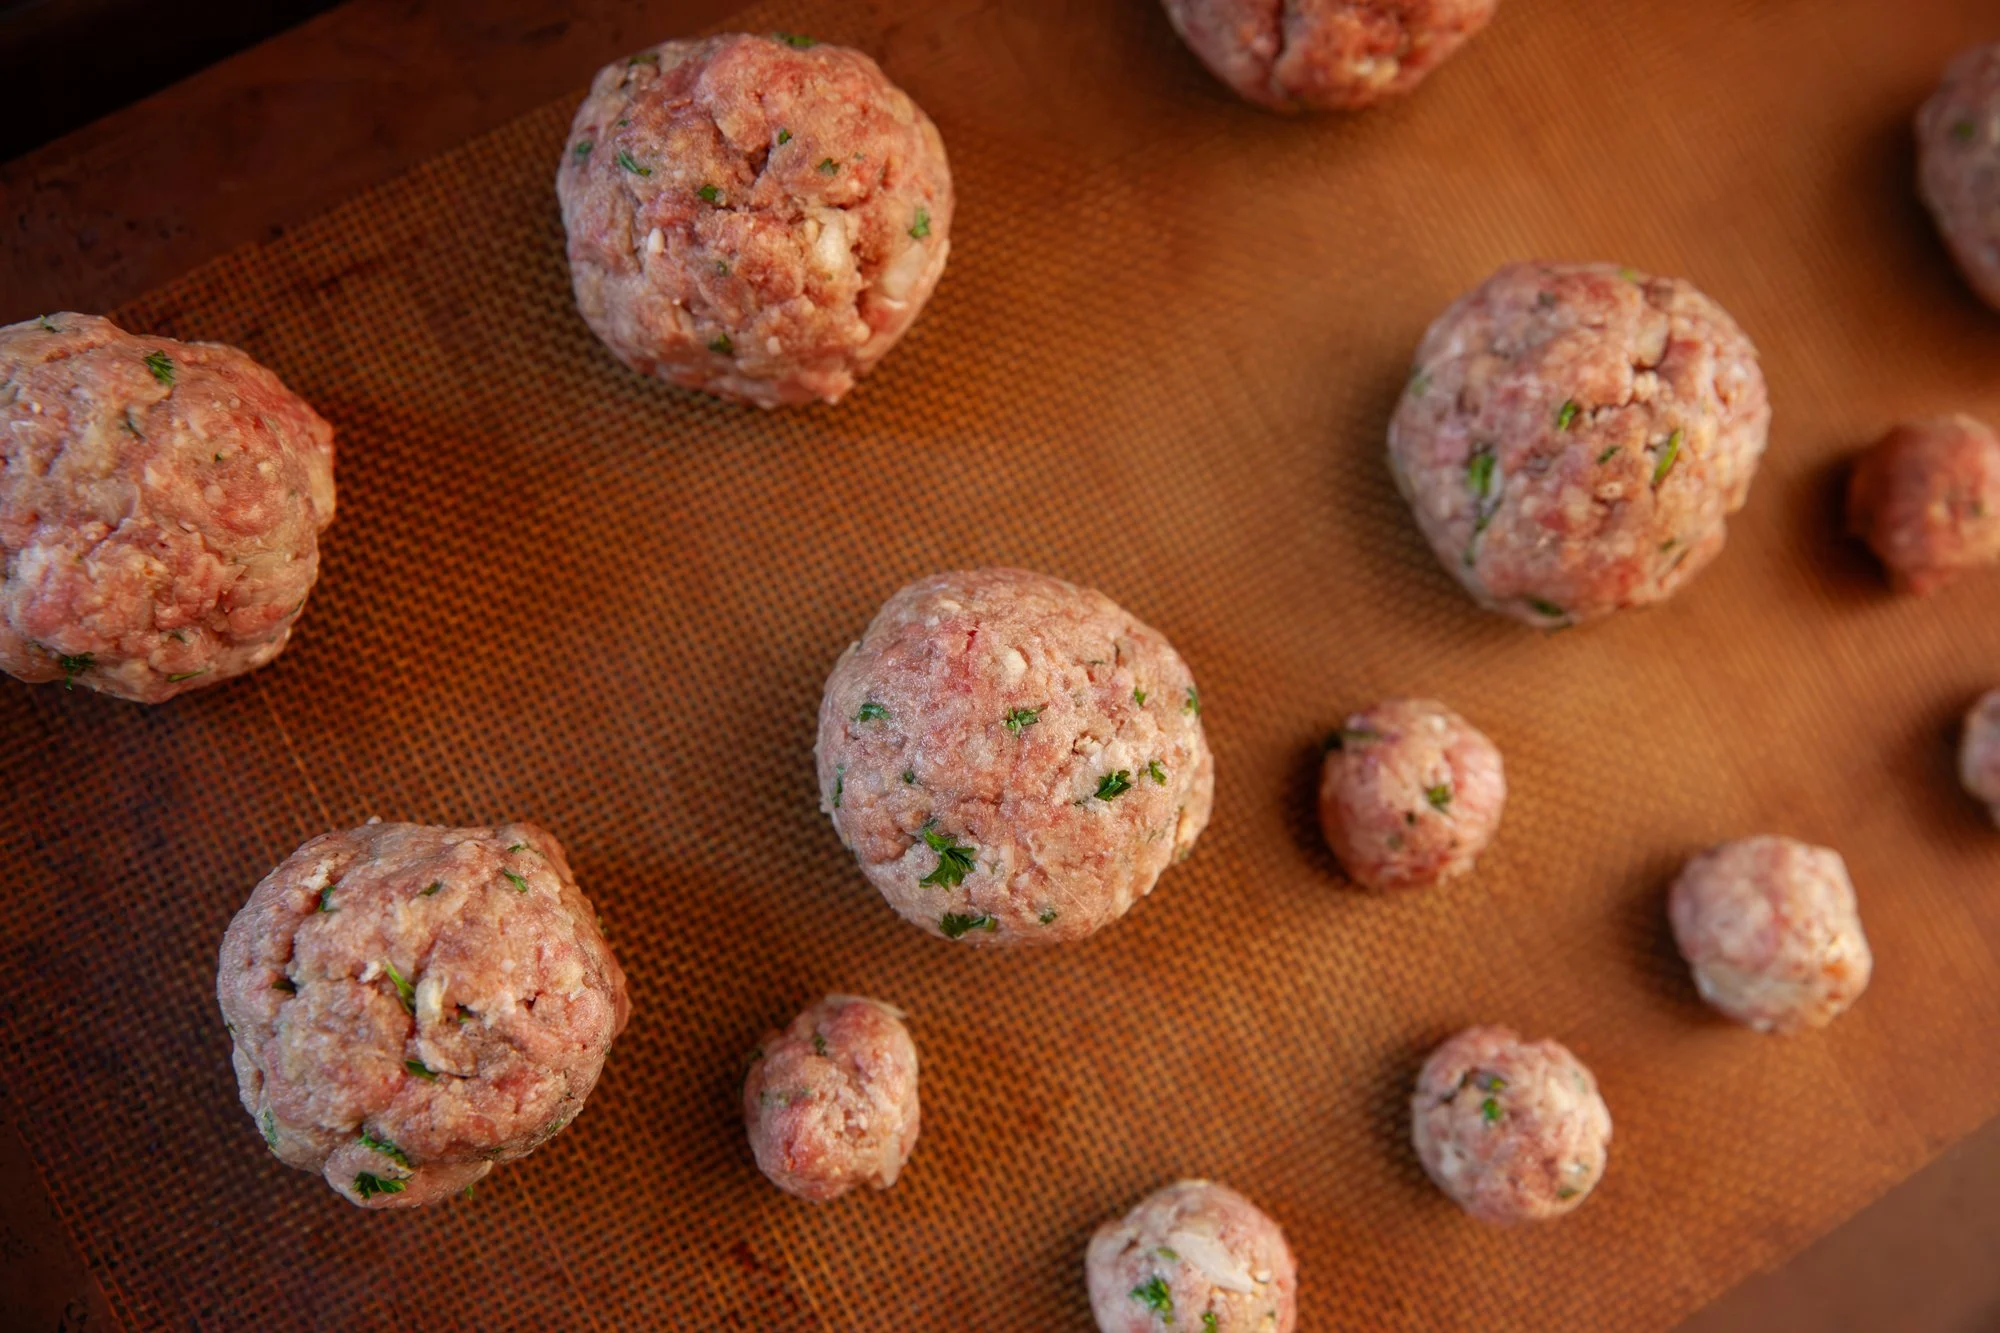
The thing I love about making things like meatballs from scratch is getting to tinker with a recipe to fit your taste. If you don’t like ground beef, switch it up with pork or turkey. Not a fan of parsley? Throw some basil in there. Really love garlic? Triple the amount! As long as the structure is there with the egg and the breadcrumbs, you’re good to go. 
 
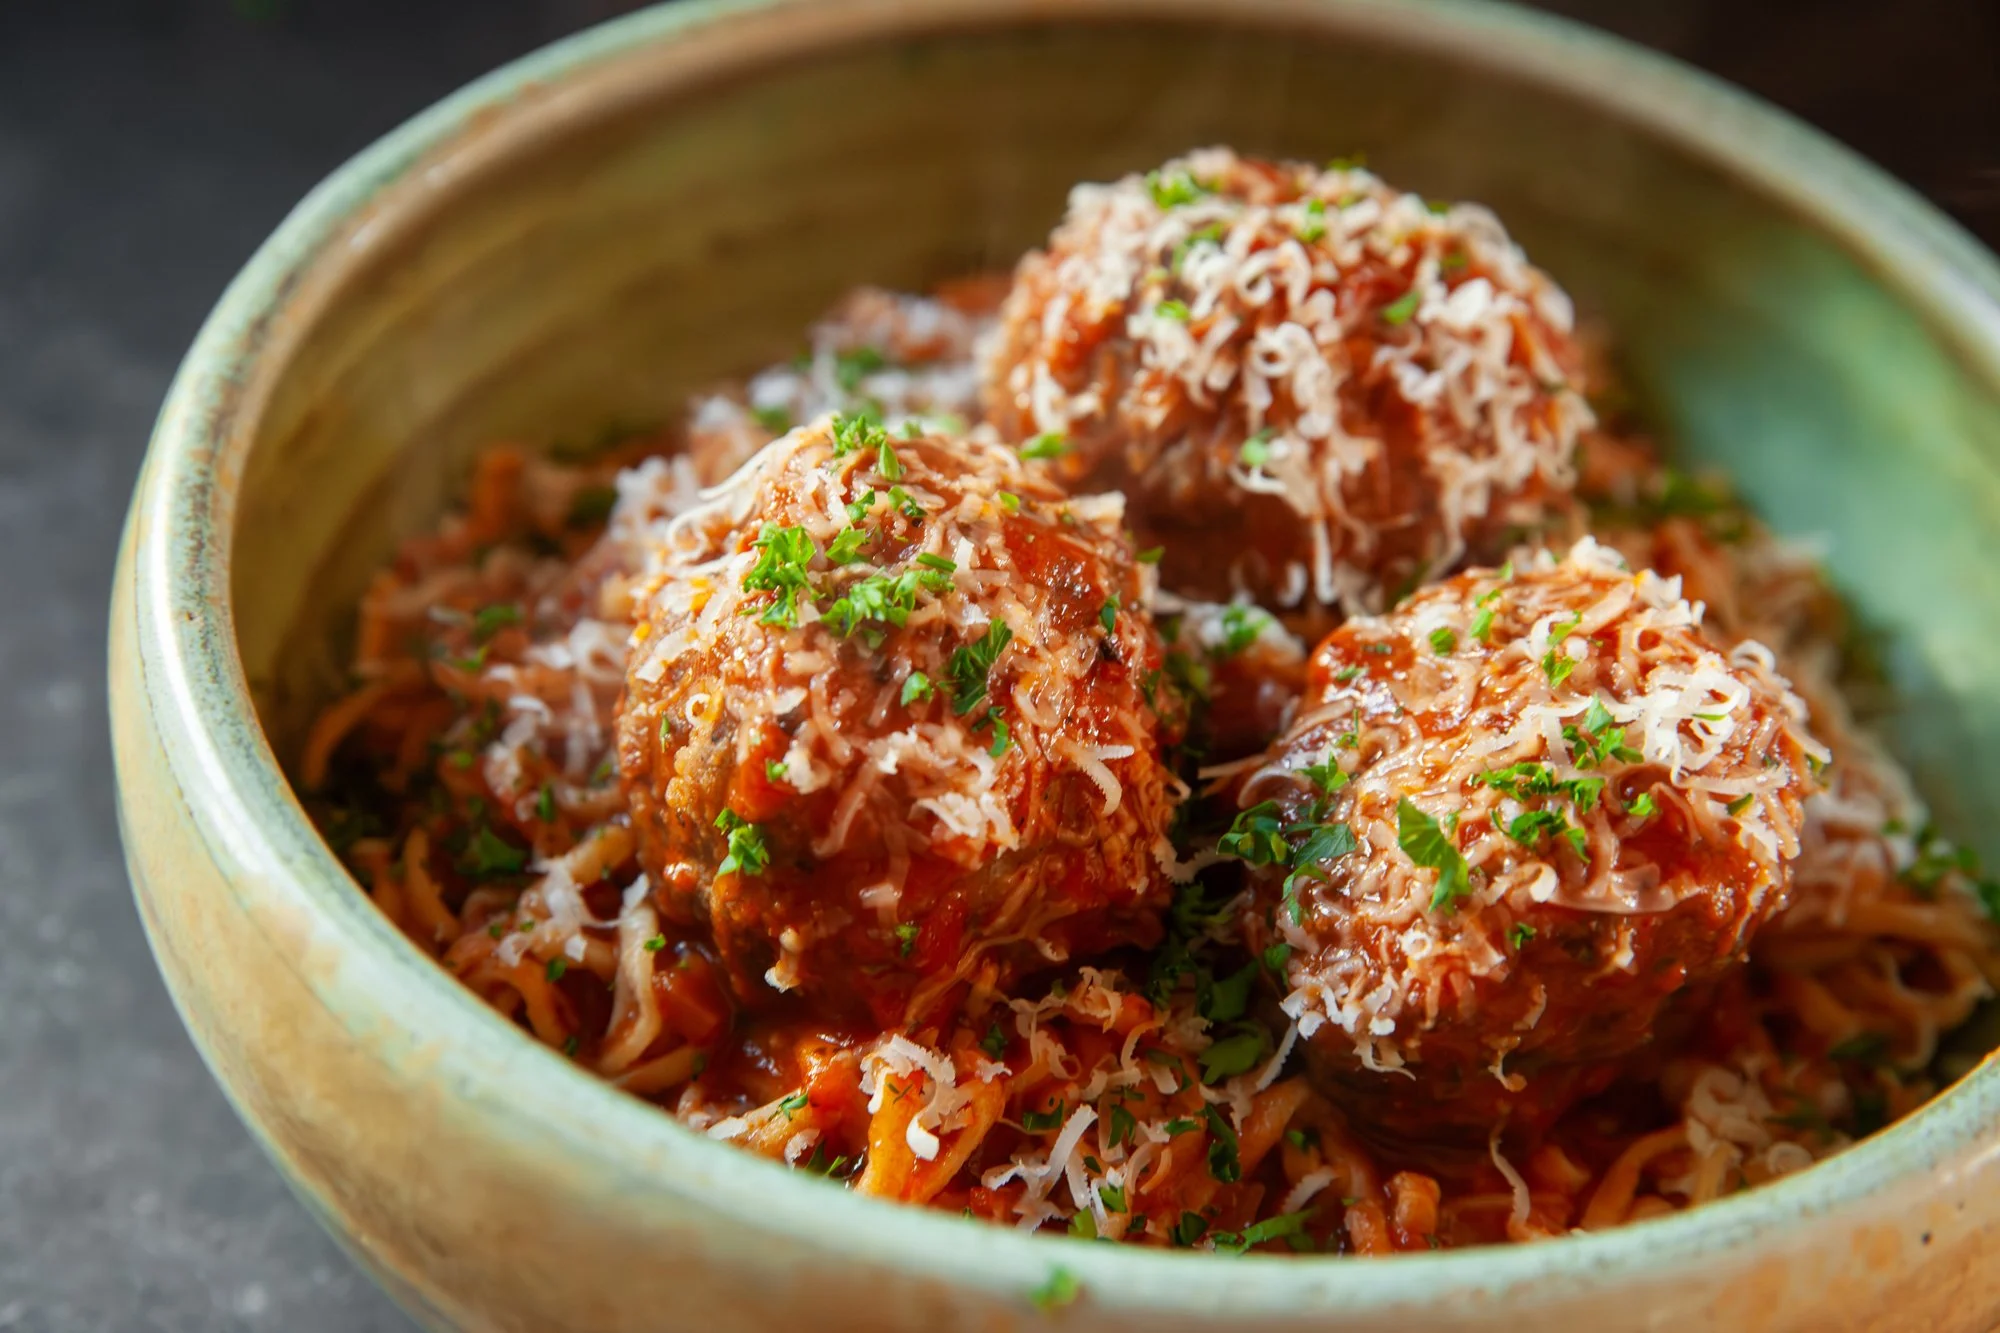
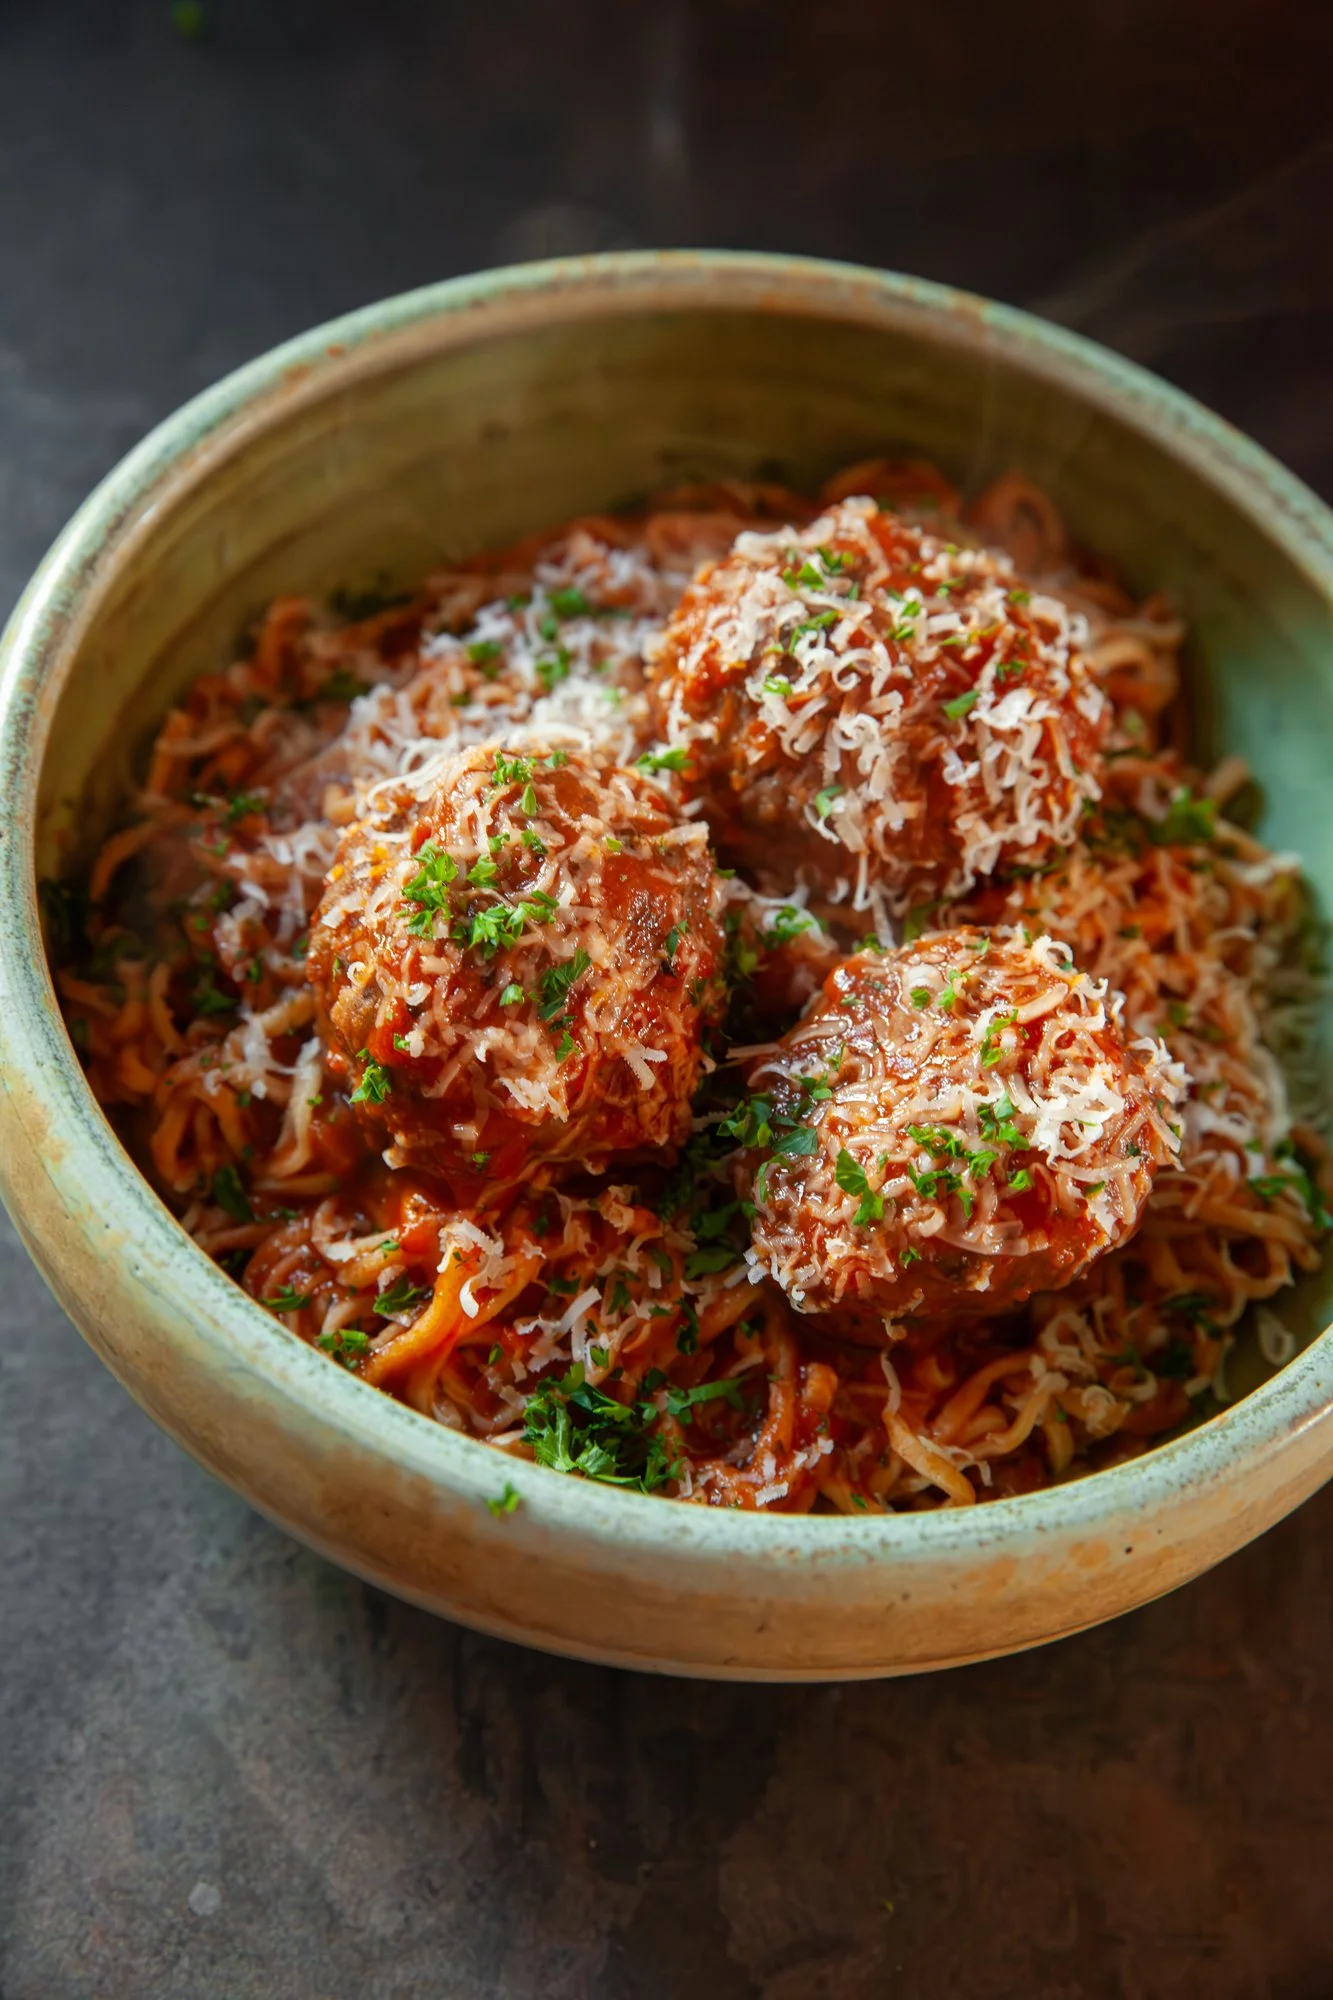
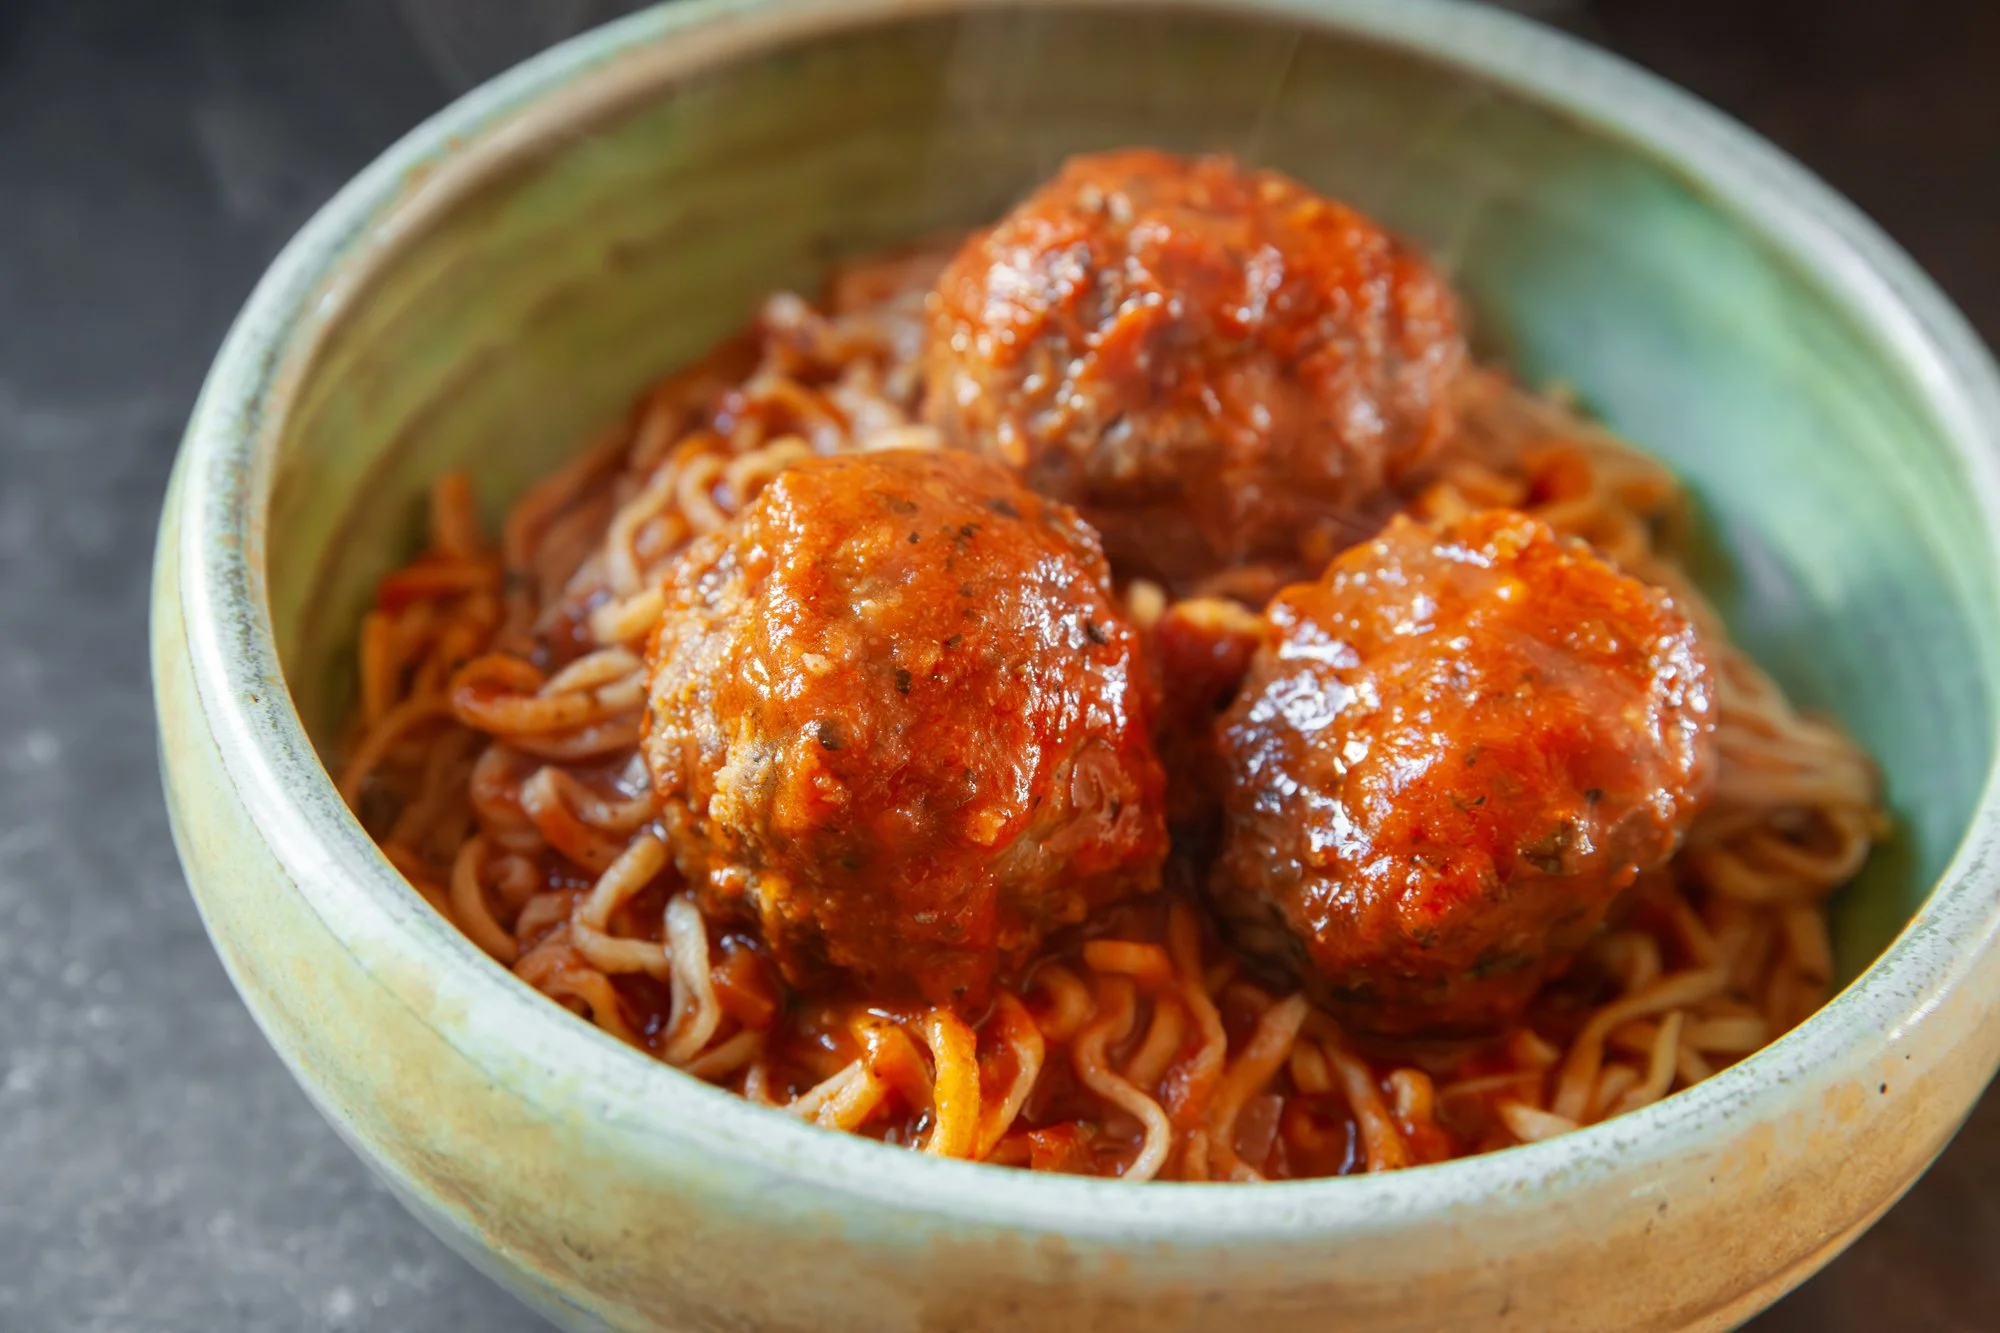
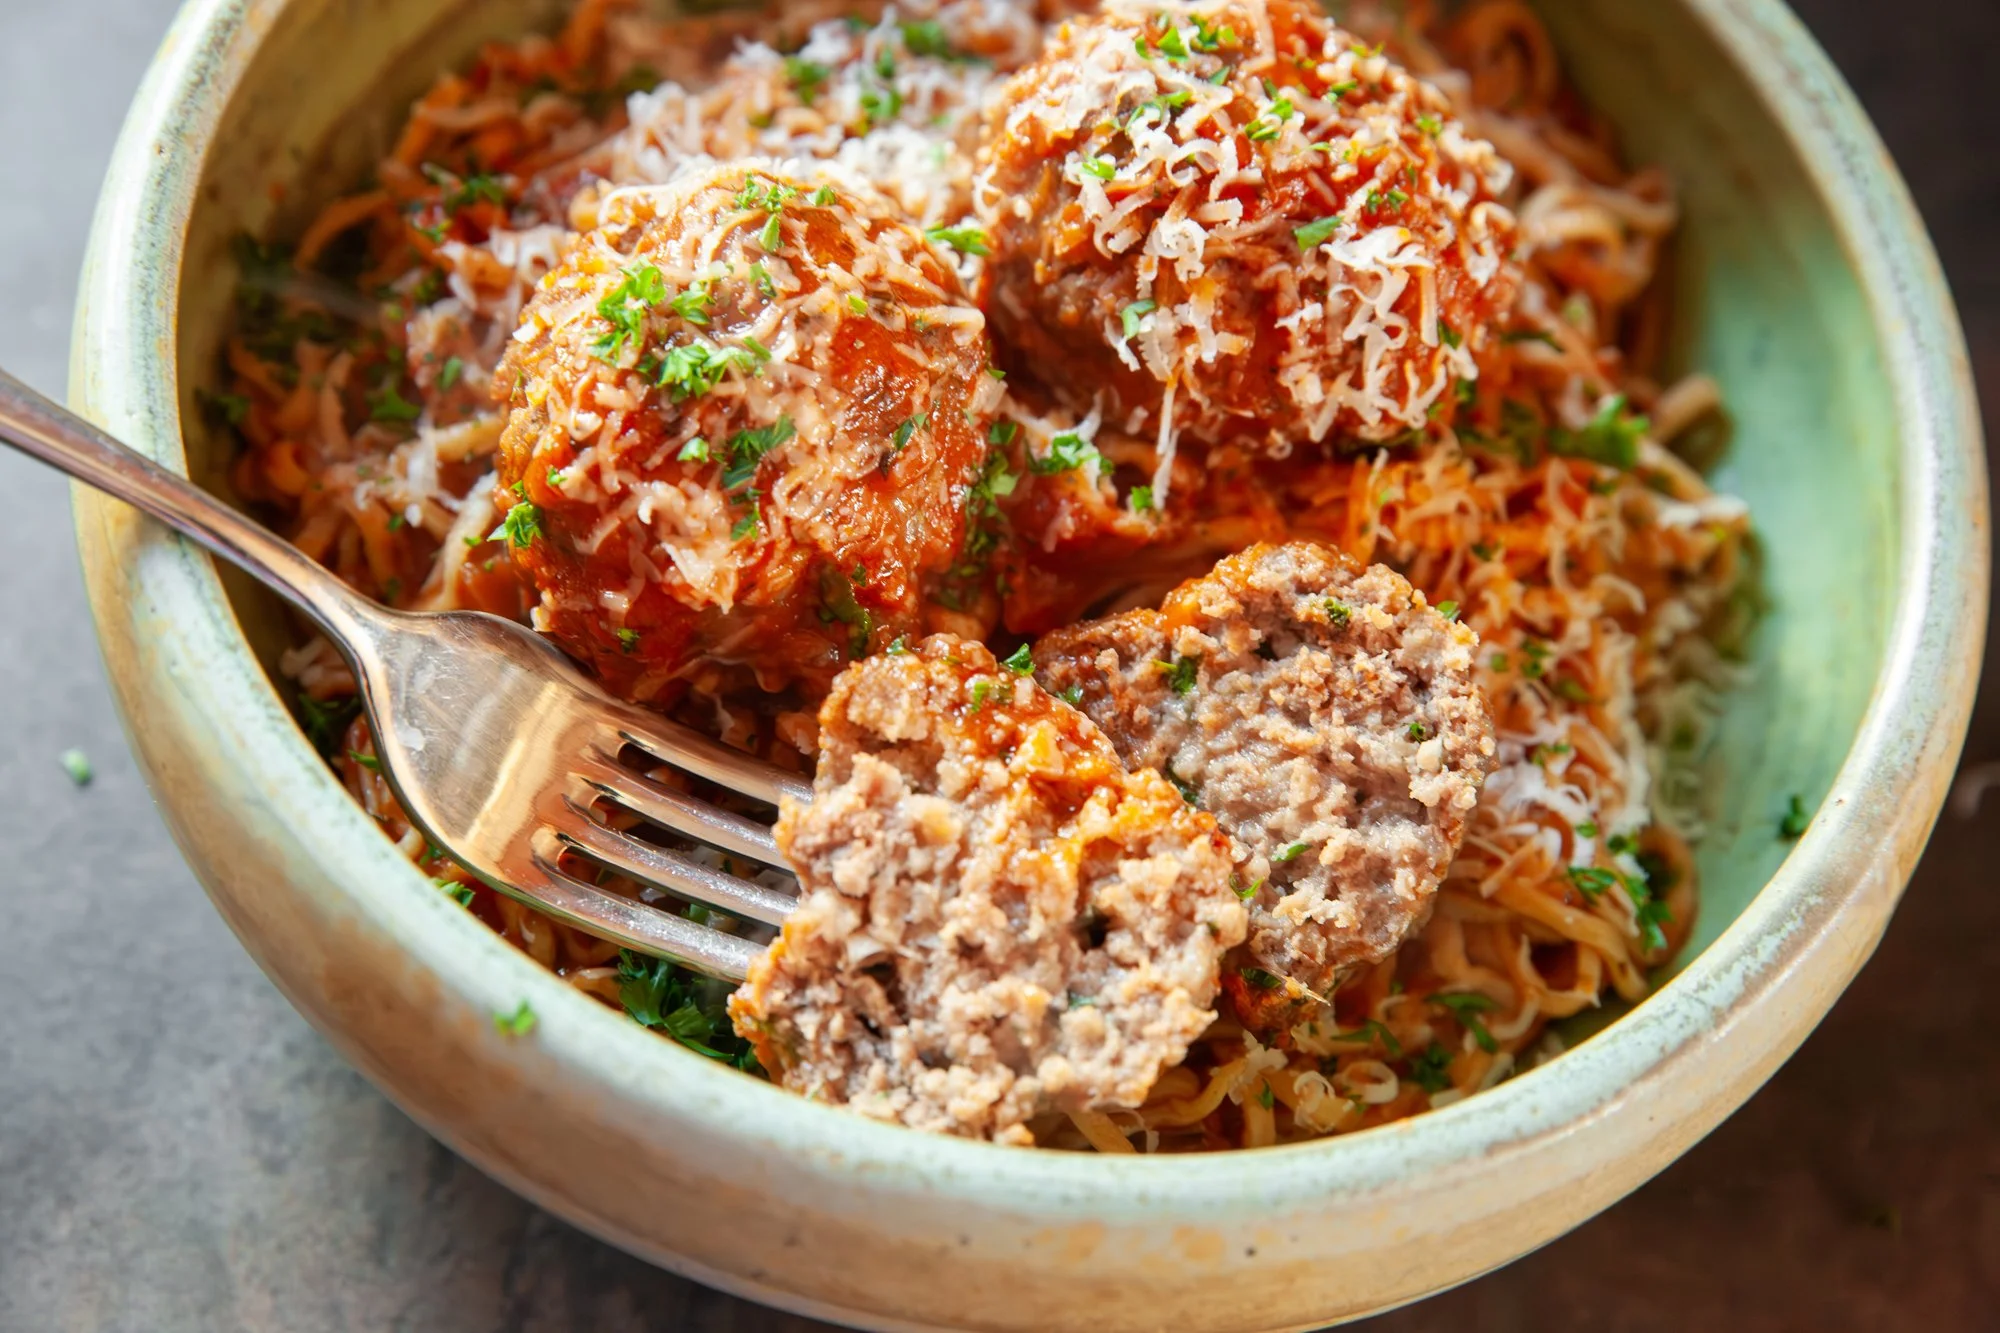
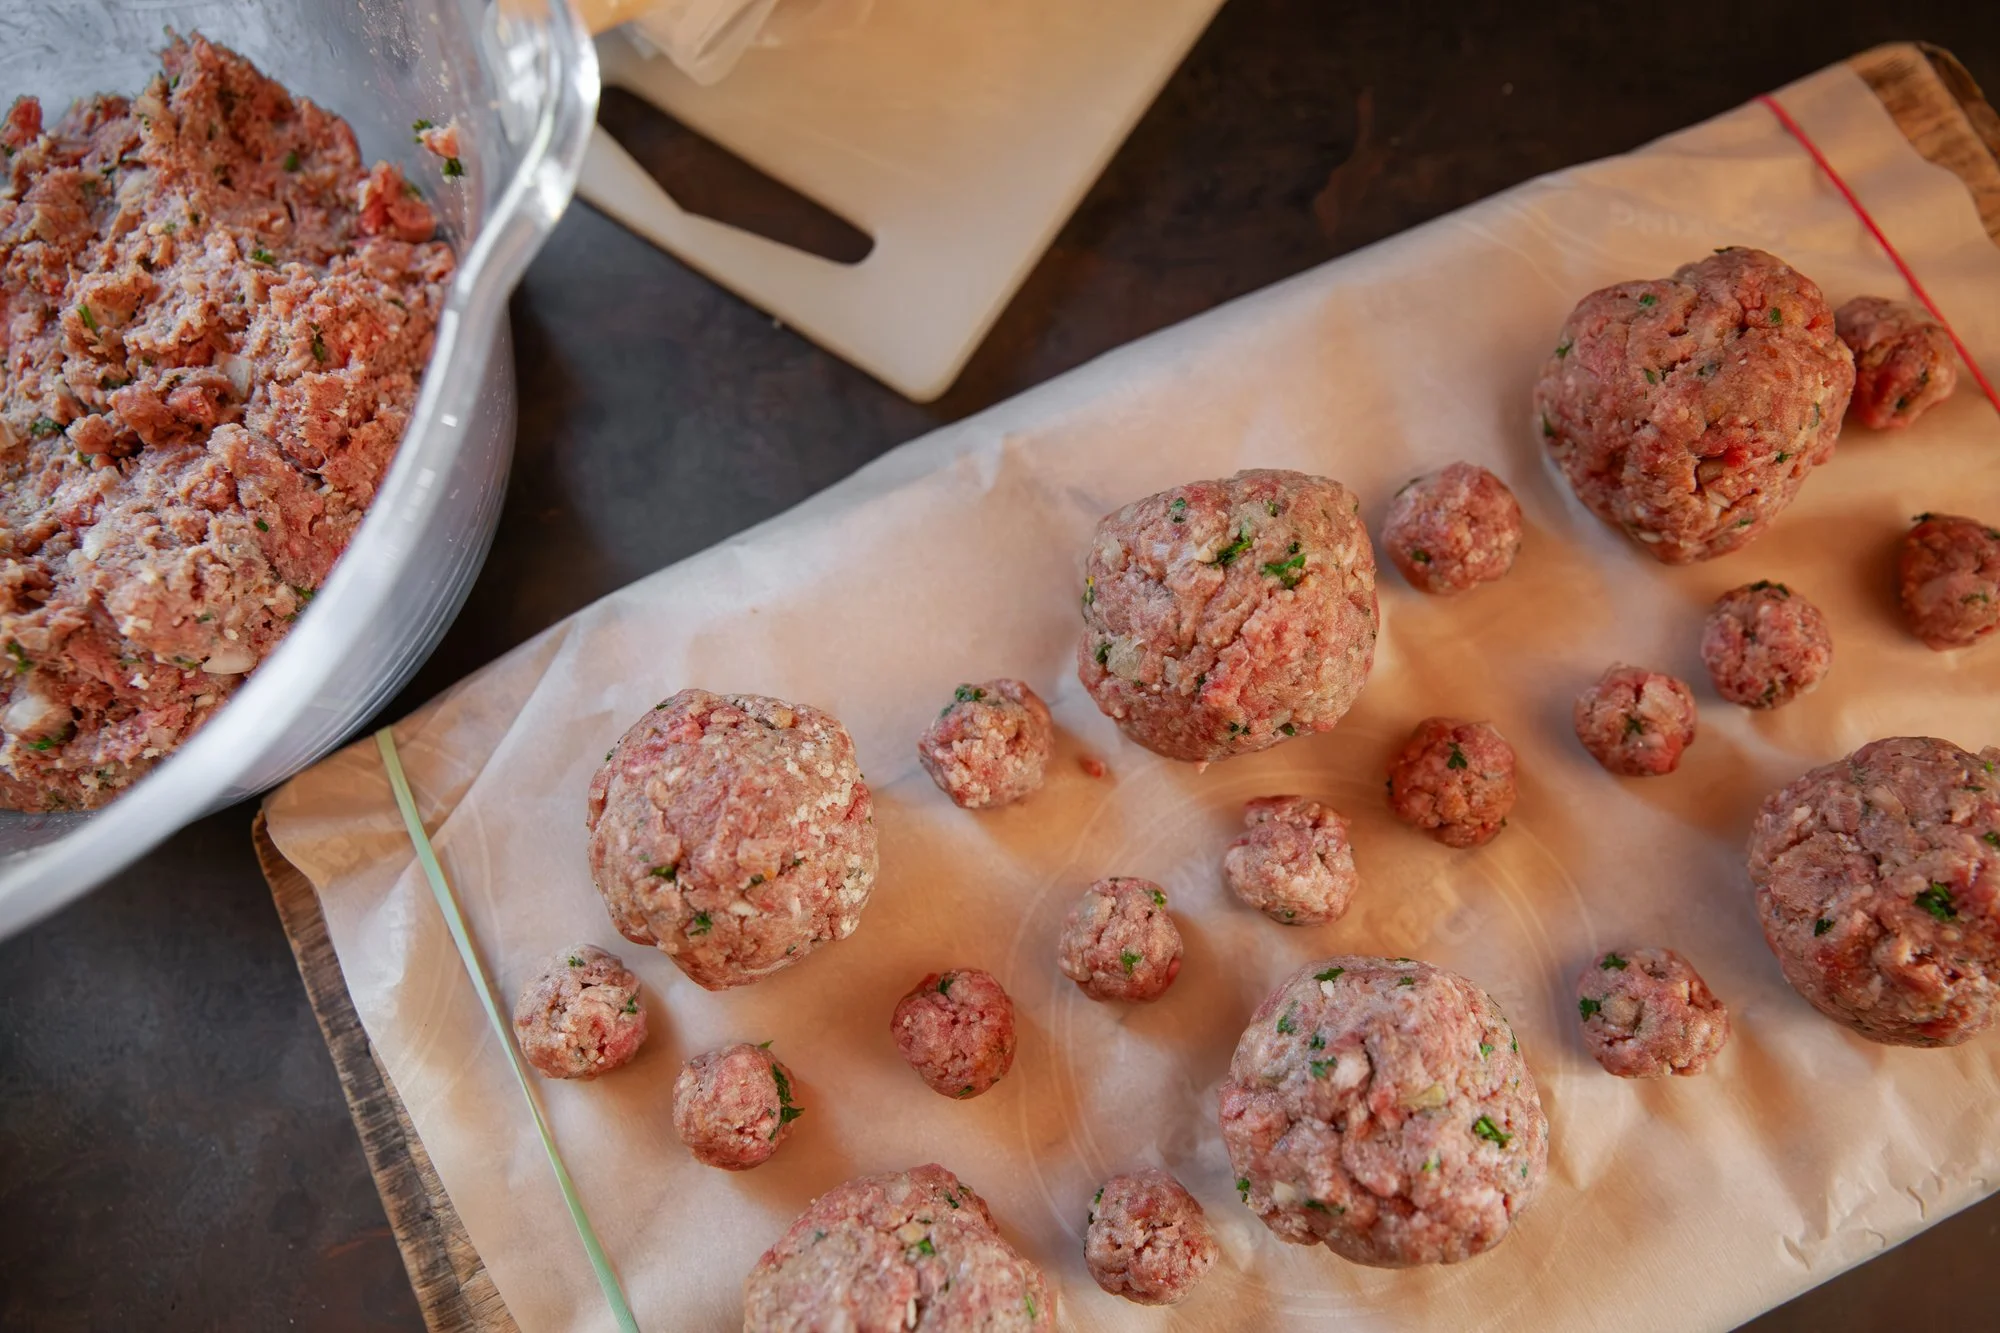
When I made these meatballs, I made two different sizes so I could have larger ones with (homemade) spaghetti, and then smaller ones to add into (obviously homemade) tomato soup! 
I also doubled the recipe so I could freeze some for another day (more on that later). There are also a few ways to cook these, and I’ll give you the options below. 
 
INGREDIENTS 
 
Makes about 20–24 small meatballs or 12–14 larger ones 
 
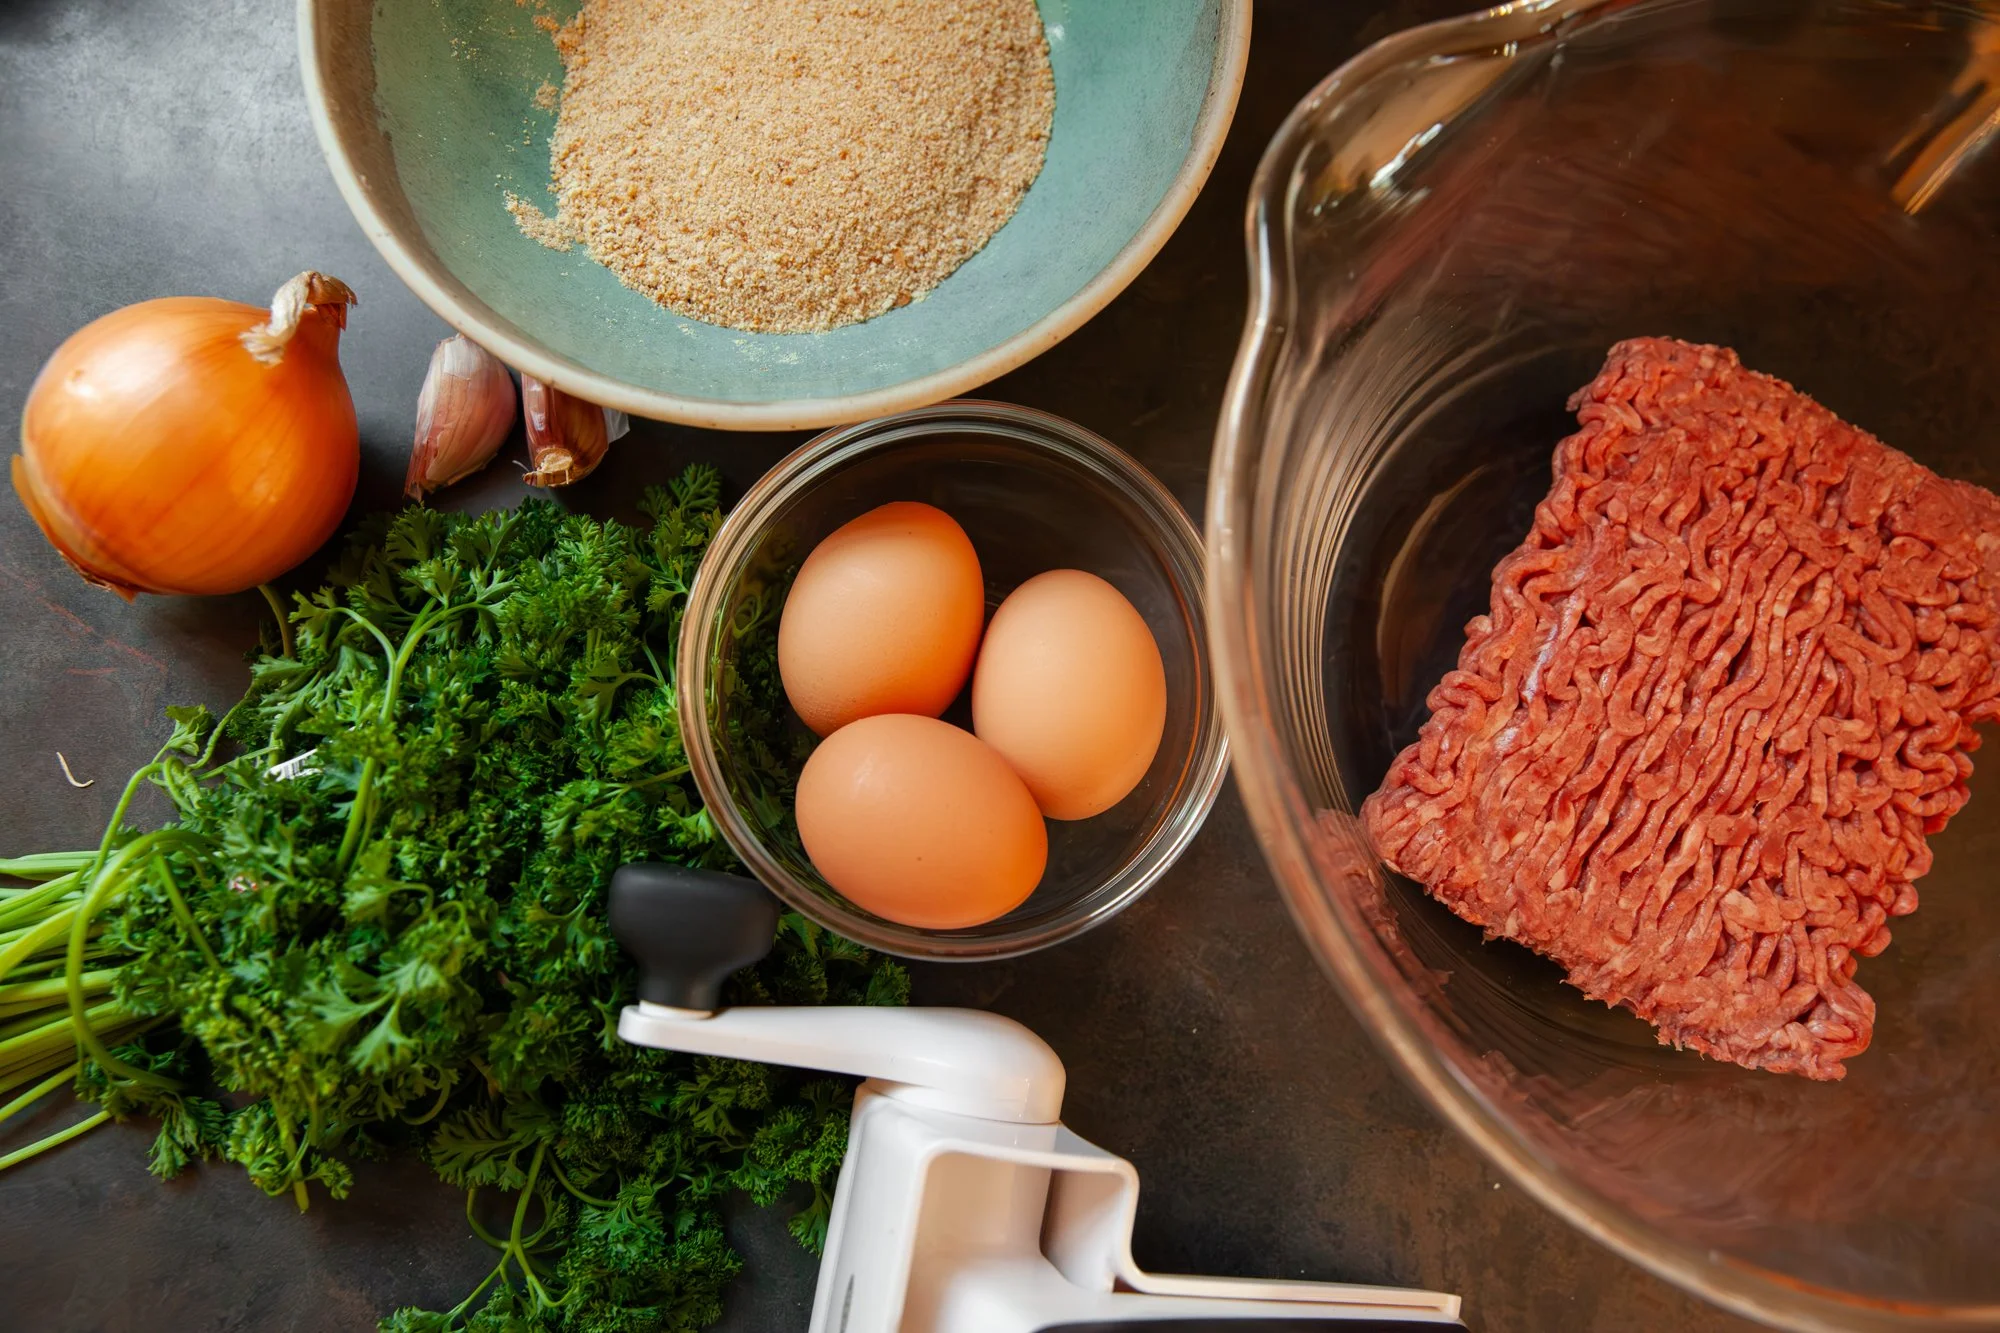
- 450g ground beef (or ground meat of your choosing) 
- 1 egg 
- 1/4 cup breadcrumbs (add more if the mixture feels too wet) 
- ¼ cup of very finely minced onion 
- 2 cloves of garlic, minced  
- ½ tsp each salt and pepper  
- ¼ cup grated parmesan cheese 
- 2 tbsp parsley, chopped 
- optional: 1-2 tbsp milk (keeps them tender) 
 
 
INSTRUCTIONS 
 
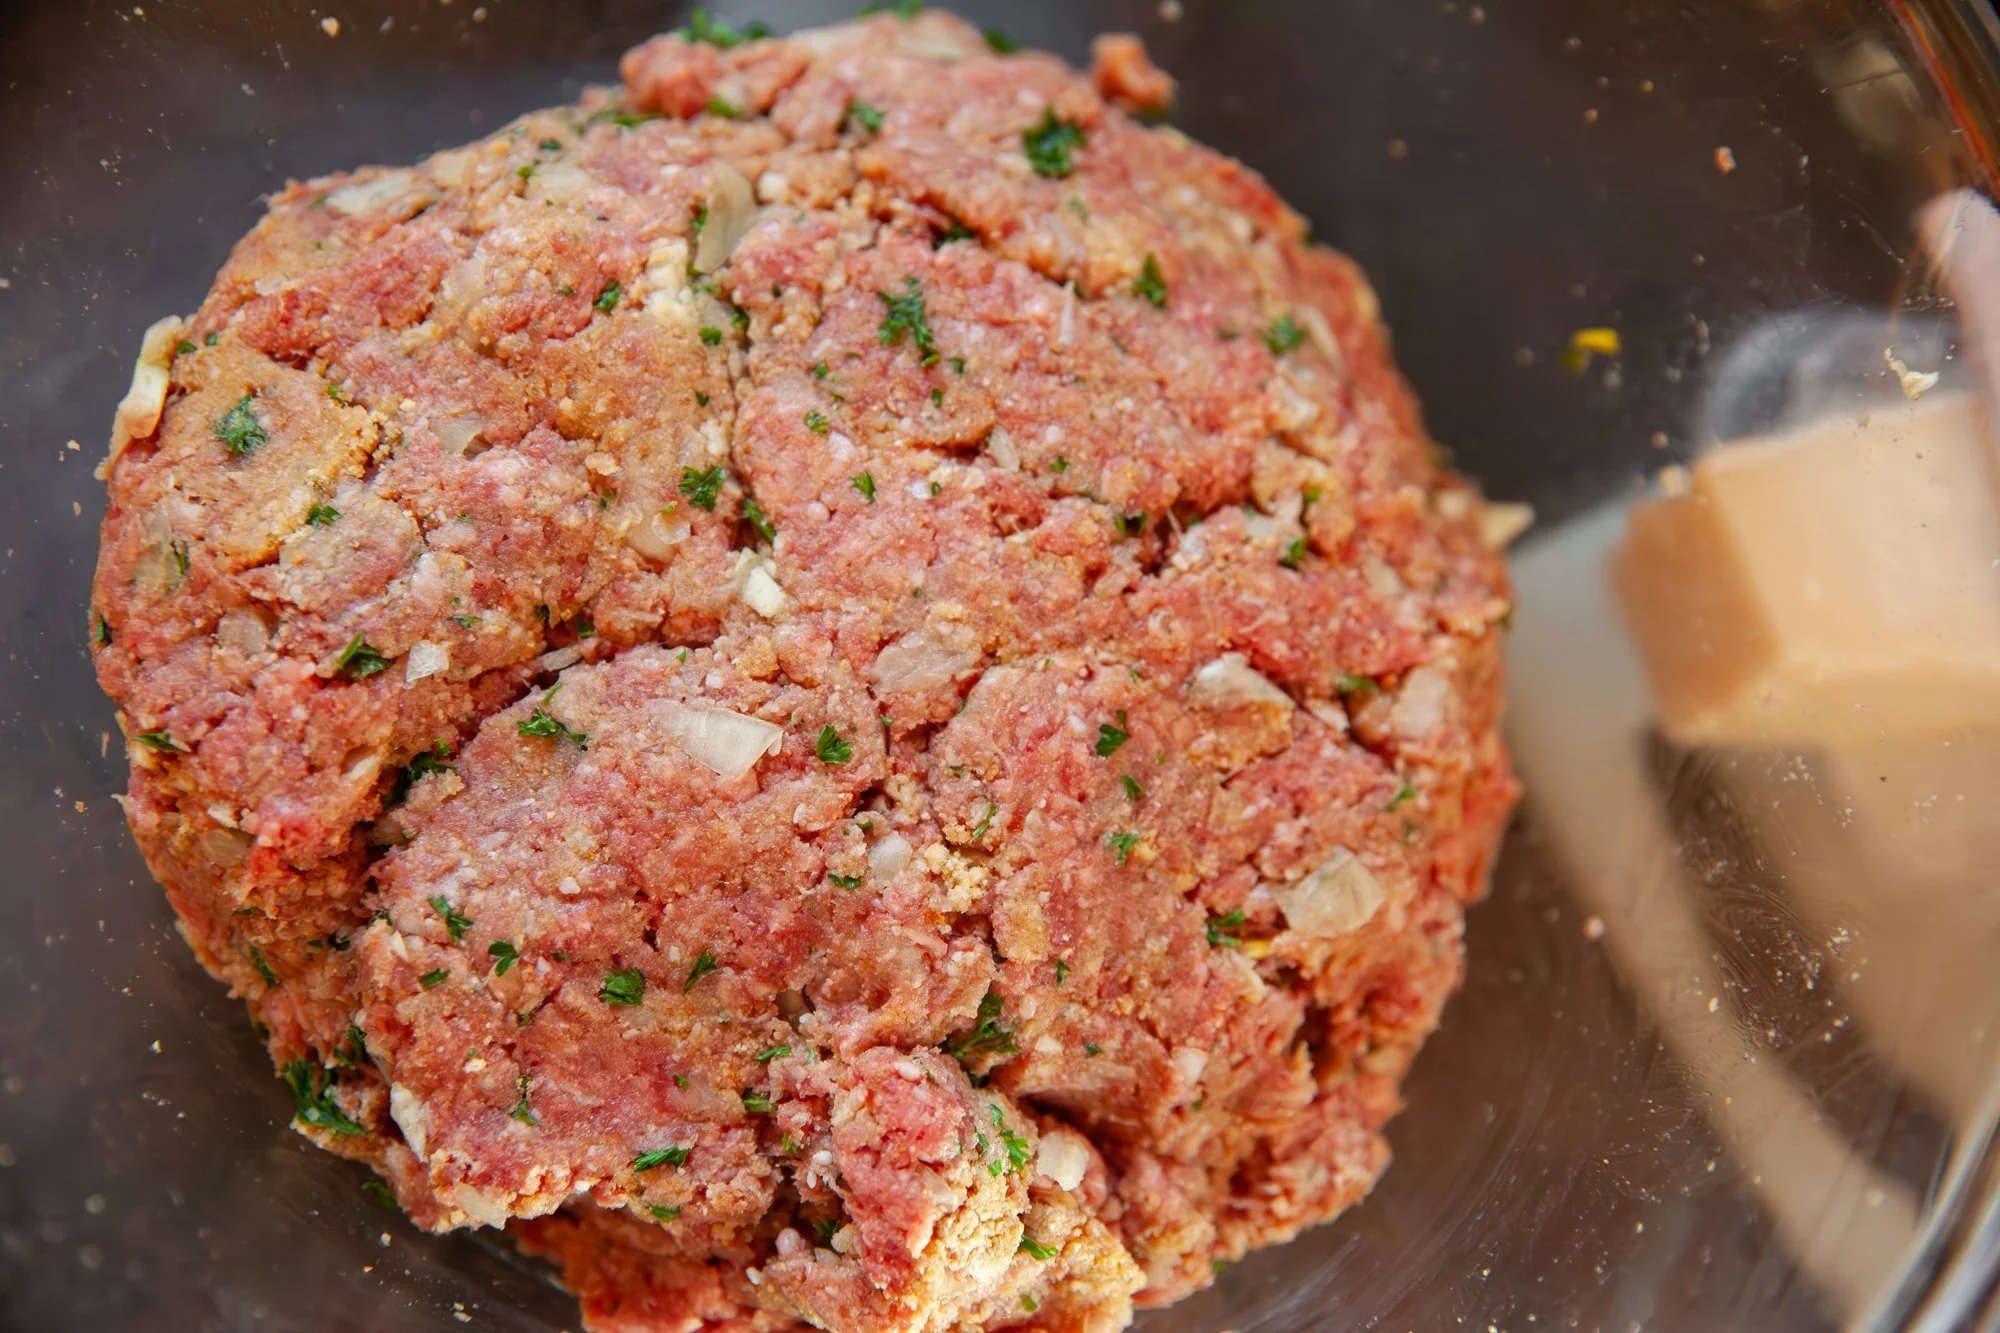
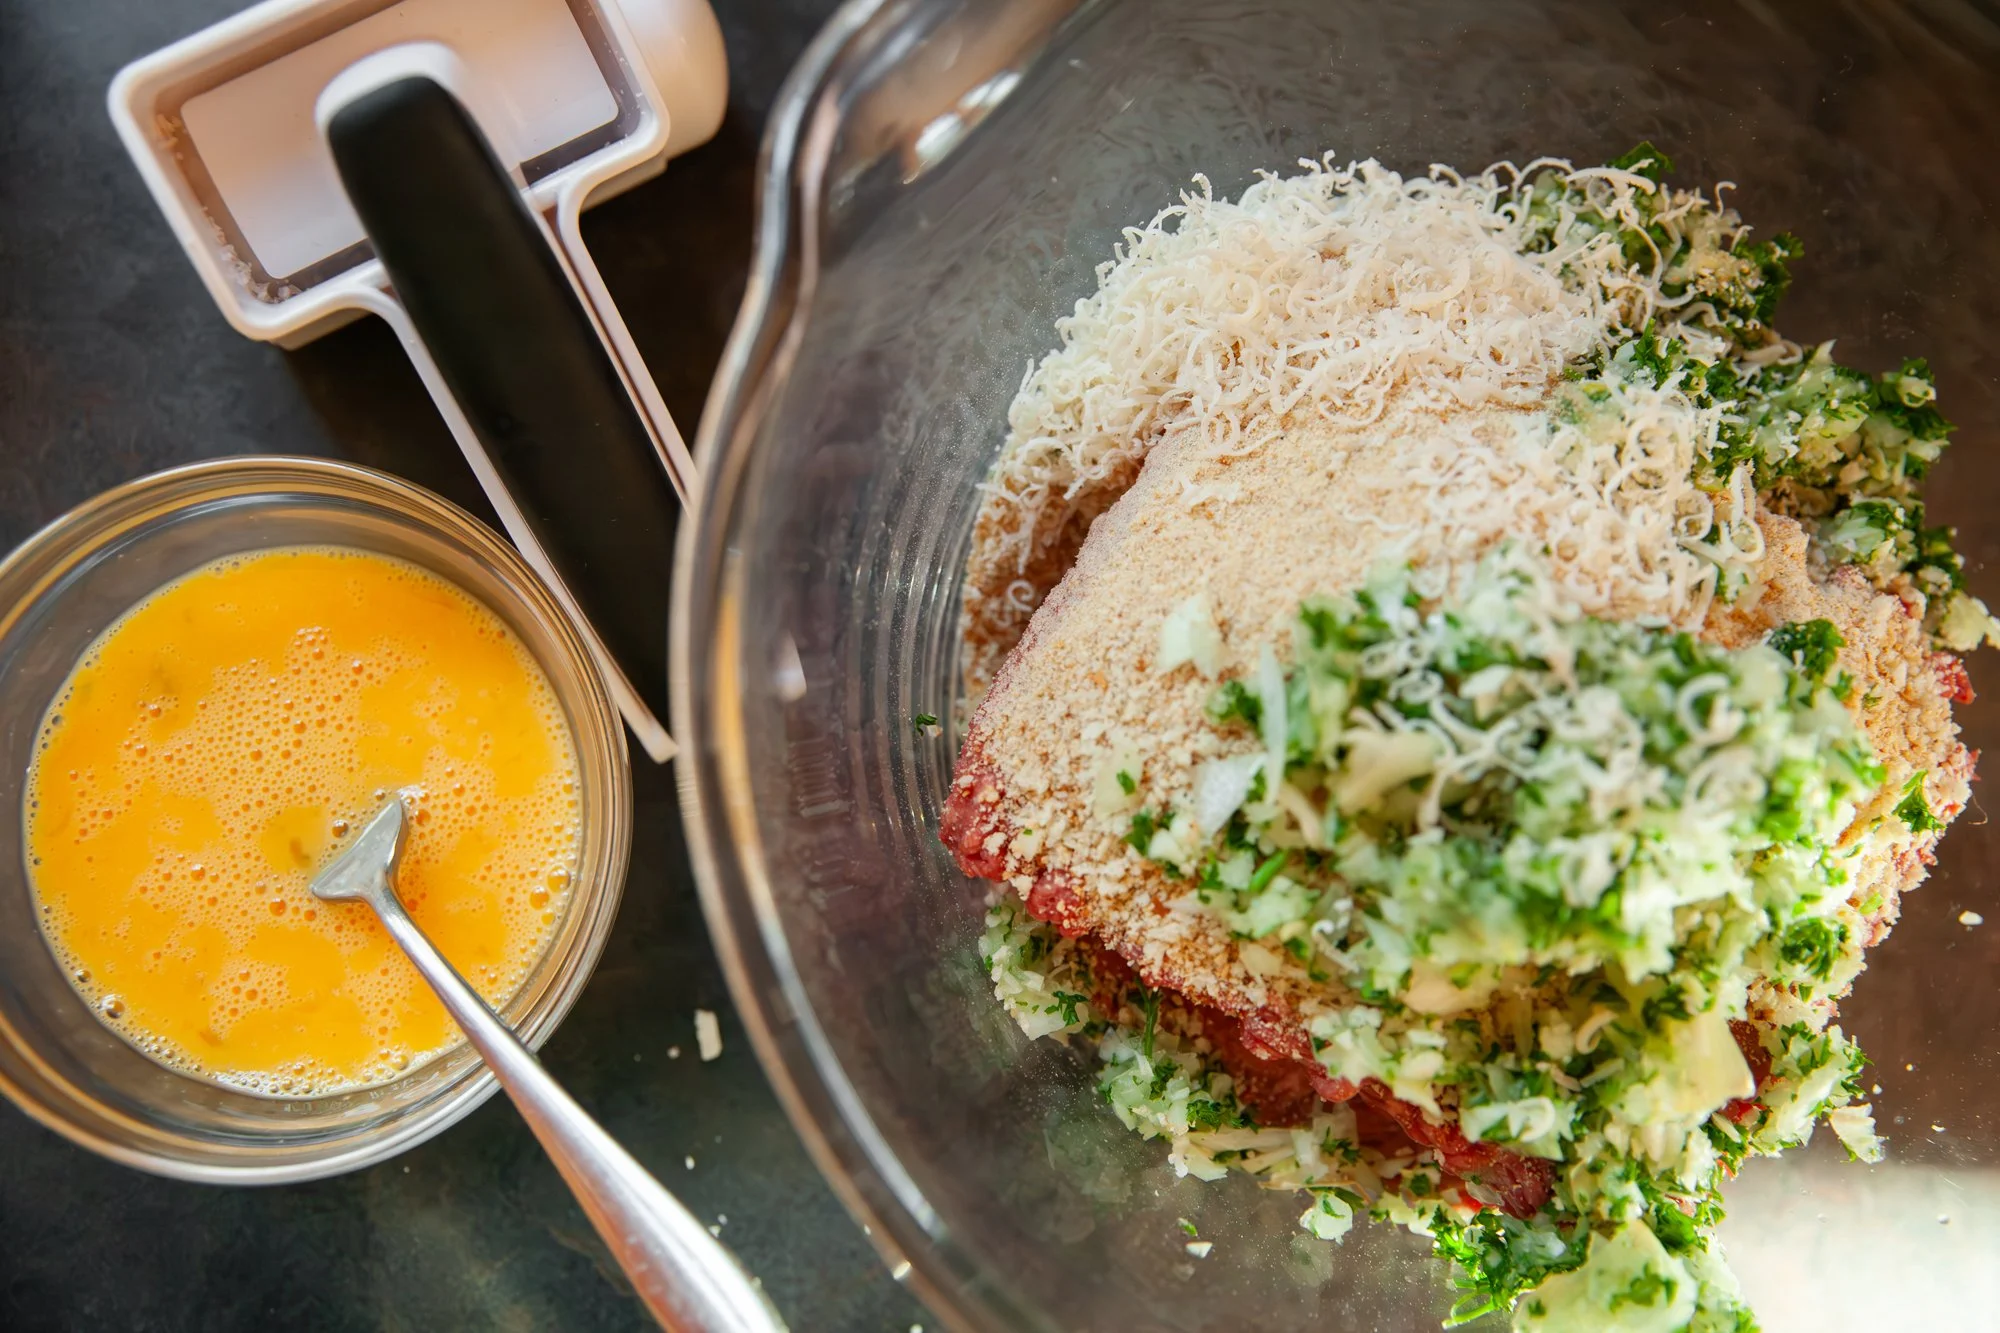
Beat the egg in a small bowl, then in a large bowl combine it with the ground beef (or chosen meat), breadcrumbs, minced onion, minced garlic, parmesan, parsley, salt and pepper. 
 
Use your hands or a wooden spoon to mix until just combined so the meatballs stay tender—avoid overmixing. Then, using either a cookie scoop or your hands, form the mixture into balls. They can be any size you like, but about 1 to 1½ inches works well. 
 
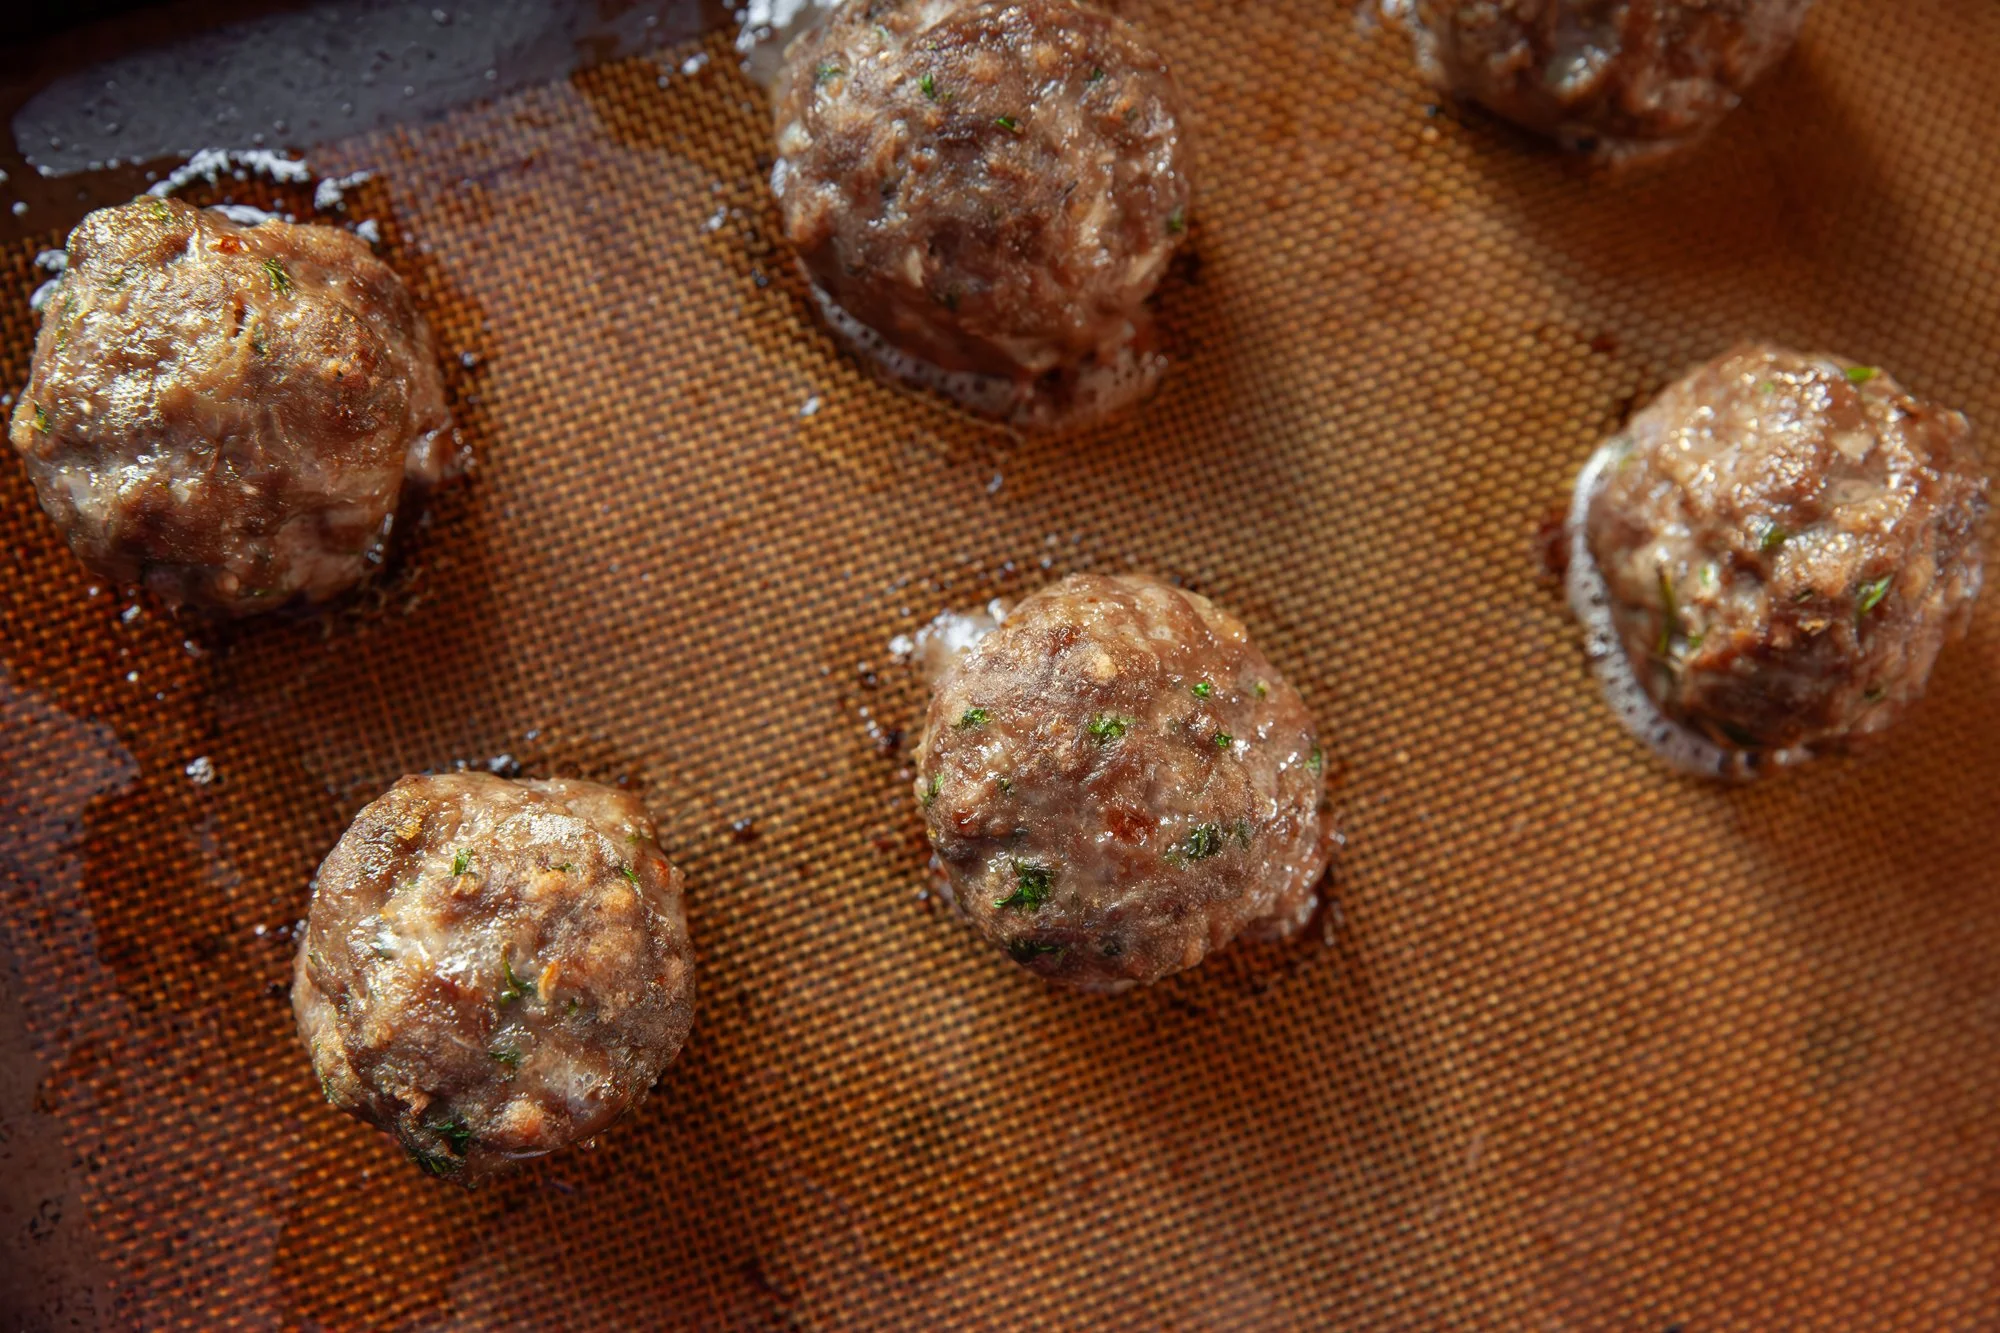
There are a few ways you can cook these, but no matter which method you choose, they should be evenly browned and feel firm but springy when pressed. 
The easiest way is to line a baking sheet with parchment paper and cook in the oven at 400°F for about 20 minutes depending on the size of the meatballs, as larger ones might need more time. 
The internal temperature should be 165°F (74°C) for poultry or 160°F (71°C) for beef/pork. 
 
 
Another method is to fry in a thin layer of oil over medium heat, turning occasionally until deeply browned and cooked through (8–12 minutes depending on size). 
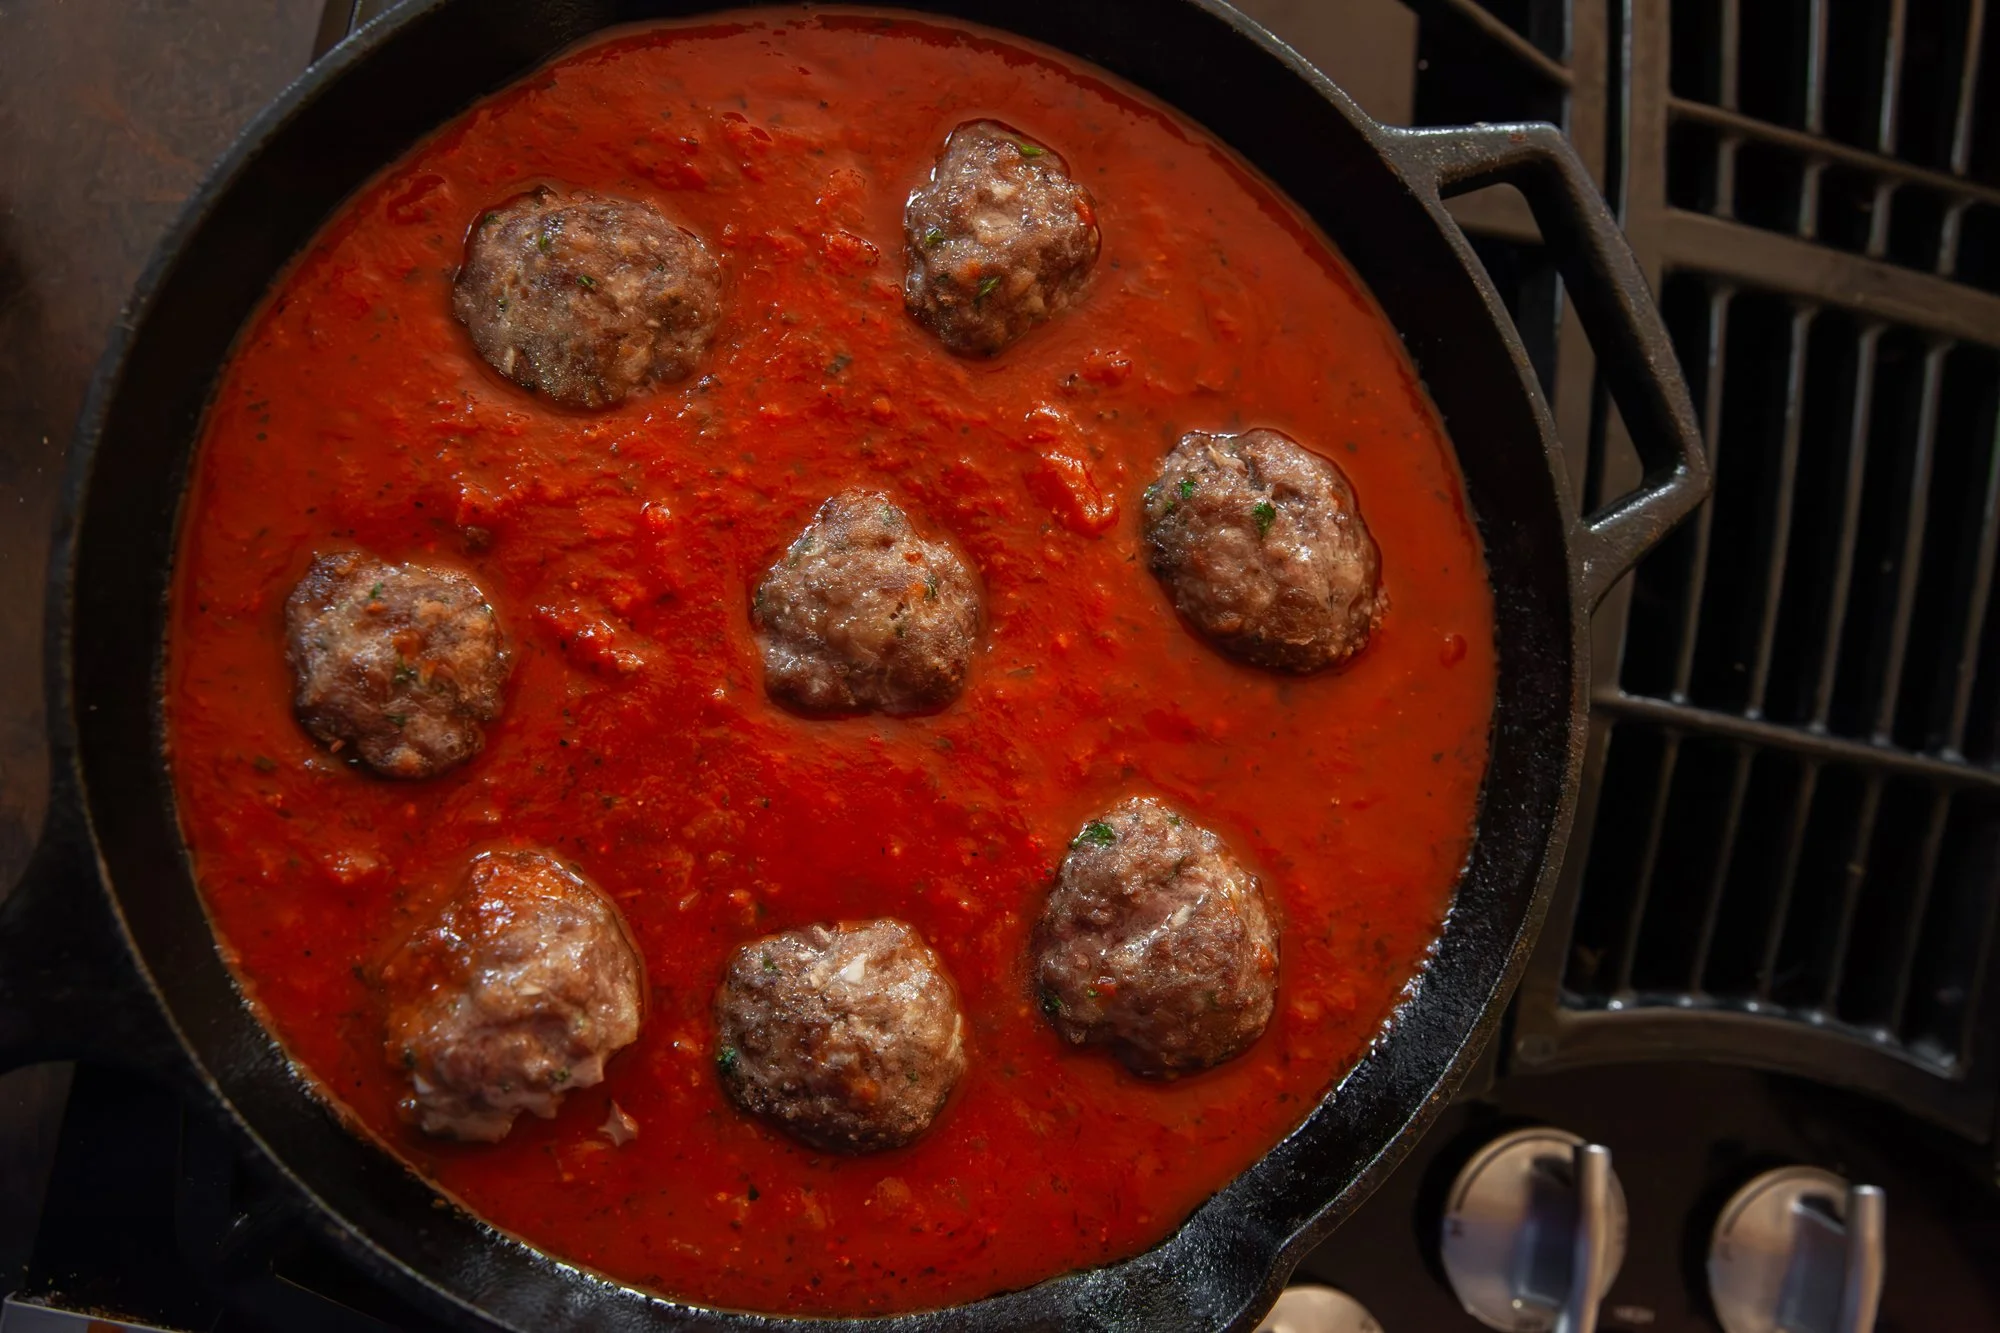
You can also brown the outside in a frying pan, and finish cooking the insides in marinara sauce. 
Also, I haven’t tried air frying them, but I've seen it done. Air fry at 375°F for 10–12 minutes, shaking halfway, checking for correct internal temperature. 
 
 
If you want to freeze them, I suggest cooking them in the oven, then letting them cool completely. Place them on a parchment lined tray or cutting board, and freeze them for about an hour, and then transfer to a freezer-safe container. They should keep for about three months. 
 
Let them defrost in the fridge overnight for when you want to use them, as cooking them from frozen might make them fall apart. Reheat simmered in sauce or baked at 350°F for 10–15 minutes. 
 
Add oregano, basil, red pepper flakes, or other herbs and spices to change the flavor profile.  
For sweeter, softer onions, sauté them briefly before adding to the mixture.  
Try a mix of meats—beef and pork together make exceptionally tender meatballs. 
 
Enjoy them in pasta or soup, or just on their own!