BCLiving

RECIPE: Blueberry Sour Mocktail for Dry January

Blueberry Sour Mocktail
for BC Living
January 13, 2022


If you’re missing your sour/tart beers, this is a fun one to try! The simple syrup was made with frozen B.C. blueberries, but you can use whatever you have on hand. This one will take some planning. Both the syrup and the tea need to cool, so go ahead and get that out of the way the day before you want to make the drink. 

INGREDIENTS 

Blueberry simple syrup: 

  • 1 cup water

  • 1 cup sugar

  • ¼ cup blueberries

Blueberry Sour:

  • 2 oz of fresh brewed and chilled, berry-flavored tea (I used Silk Road’s Berry Victoria)

  • 1 oz blueberry simple syrup

  • 1 oz lemon juice (approximately half a lemon)

  • 1 egg white

  • Ice

INSTRUCTIONS 

  1. To make the simple syrup, place water, sugar and blueberries in a small sauce pan over medium heat. Bring to a low boil, stirring and turning the heat off when the sugar has dissolved.

  2. Let sit for an hour or more until it is cool and has a distinct blueberry taste, then strain the syrup from the berries and cover.

  3. Chill in the fridge.

  4. To make the cocktail, chill coupe glass ahead of time (Optional).

  5. In a shaker, add a handful of ice, the tea, simple syrup, lemon juice and egg white.

  6. Shake vigorously to combine everything and froth the egg white.

  7. Take a strainer and pour the mixture into a coupe glass, shaking to get the froth out.

RECIPE: Homemade Bagels

RECIPE: Bagels
for BC Living column “From Scratch”
November 2021


There’s a certain quality about baking something from scratch that you almost always would get from a grocery store or bakery, and bagels is definitely one of them for me. They’re much easier than you’d expect, and with trials you can nail down the texture you prefer. Not to mention the toppings. And you likely have everything you need in your cupboards already.

INGREDIENTS 

  • 450 grams (approx. 3.5 to 4 cups) of bread flour (unbleached)

  • 2.5 teaspoons of dry active yeast

  • 1.5 cup of warm water (more if needed)

  • 4 teaspoons granulated sugar

  • 1.5 teaspoons salt

  • Sweetener: 2 tablespoons barley malt syrup, brown sugar or honey

  • Toppings (like sesame seeds, 'everything bagel' seasoning or poppy seeds)

INSTRUCTIONS

  1. In a small bowl, add the yeast, sugar, and half a cup of the warm water and let sit for five minutes. Then, stir to combine until all is dissolved.

  2. While the yeast mixture sits, add the salt and the flour into a large bowl and mix together, then make a well in the middle.

  3. When the yeast is ready, pour it into the well, and gradually stir in the flour. Add more of the warm water as needed and continue stirring (hands work well here), until a loose dough has formed.

  4. Turn over onto floured countertop and continue kneading until dough has become a smooth ball (this may take up to 10 minutes). You might need more water, or more flour if they dough is too dry, or too wet.

  5. Grease a large bowl, and place the smooth dough into it, and cover with a greased piece of plastic wrap (or a wet tea towel), and let the dough rest for at least an hour.
    If you’d like to make the bagels in the morning, you can let the dough rest in the fridge at this point, covered overnight, and remove it in the morning. Let it stand for at least 30 minutes to come to room temperature.

  6. Once the dough has risen, punch it down slightly to release some of the air.

  7. Set the oven to 425 F, and fill a large pot with about eight cups of water, and add in the sweetener and bring to a rolling boil.

  8. Meanwhile, divide the dough into eight to ten equal pieces (or more if you want smaller bagels). The best way to do this is to weigh the dough, and then divide the pieces equally, but eyeballing it works just fine. Roll each of the pieces into smooth balls, and then, to make the hole, pinch your index finger and thumb through the center, and stretch slightly until you get the desired size.

  9. Place the bagels on a parchment lined baking sheet. Cover and let rest while the oven preheats and water comes to a boil.

  10. Lowering in the bagels one at a time with a slotted spoon, doing this in small batches (Three or four at a time max), let them cook in the water bath for approx. 30 seconds to one minute per side, flipping with the slotted spoon. The longer they are in the water bath, the chewier the outside of your bagel will be. Once they’ve cooked, remove them, letting them drain, and placing back on the parchment paper.

  11. While the water comes back up to a boil, this is the time to season your bagels, as the toppings will stick to the bagels now.

  12. Repeat until all of the bagels have been cooked in the bath, and had the toppings added, then transfer into the oven.

  13. It will take about 20 to 30 minutes to fully cook and brown, depending on your oven, and how toasty you want them, so keep an eye on them. You can also flip them over (carefully) halfway through if you’d like.

  14. Once done, remove and let cool before cutting into them so they keep their shape.

  15. Serve with cream cheese, or maybe make into a breakfast sandwich!

Makes eight to 10 bagels

RECIPE: Apple Sauce

RECIPE: Apple Sauce
for BC Living column “From Scratch”
October 2021


Some things are just better when they're made from scratch—and making something with your own two hands provides such satisfaction. When you cook from scratch, you know exactly what ingredients go into your meals, and it offers you the flexibility to adjust your recipe for dietary or taste preferences.

It’s apple season, and I just happened to get a huge bag of them for super cheap. I’m not a big pie person, so I knew I wanted to make applesauce. Not only is a great little side dish for all ages, but it's incredibly easy to make. (And it can be used to replace eggs in vegan baking!) By making it from scratch, you can also control the sweetness. 
 
I recommend not putting any sugar into it while you’re cooking. Depending on the apples you have, they might be sweet enough already. You can add sugar in afterwards when you taste test, or on an individual basis when serving. Try just sprinkling some cinnamon sugar on top for an added kick!

INGREDIENTS

  • 4 lbs of apples (about 10 medium)

  • ½ cup water

  • Juice of half a lemon

INSTRUCTIONS

  1. Peel and core the apples. I have an apple peeler which makes this job take far less time, but a regular peeler will do as well. Next, dice into small pieces.

  2. Place the apples into a large pot, and pour juice over the apples to help stop them from browning.

  3. Add the ½ cup of water and set over medium-high heat until the water starts to boil.

  4. Bring it down to a simmer and cover, cooking for about 20 minutes until the apples are fully cooked and easy to mash.

  5. For chunky applesauce, use a potato masher and roughly go over them until you have your desired consistency. Alternatively, process until smooth in a blender or with an immersion blender.

  6. Serve warm or cold, and optionally sprinkle with cinnamon.

Makes approximately four cups

Homemade Fruit Leather Roll-Ups
for BCLiving
July 2021

Making your own fruit leather rolls is way easier than you might think, and the oven or the dehydrator does most of the work for you. Basically, you can make them out of any kind of mixture of fruit you want, and right now is a great time, as there are tons of fruit coming into season.  
Plus, you can make them with frozen fruit, so even after the season is over, pull the fruit out of the freezer! 
One more bonus? They’re great to take camping, on a hike or with you to the beach for a snack.  
 
Makes 6-8 rolls per flavor (depends how long you make them) 

Strawberry-Rhubarb 
 
INGREDIENTS: 
- 1 cup strawberries 
- 1 cup rhubarb chopped 
- 1 tsp honey (or maple syrup) 
 

INSTRUCTIONS: 
Boil some water and blanche the rhubarb for one minute and then drain. 
 
Blend the rhubarb, strawberries and honey in a high-speed blender. and then strain into a bowl through a fine mesh sieve if you want to remove the seeds. 
 
If you are going to use a food dehydrator, follow the instruction for your own machine. 
For the oven, pre-heat it to the lowest possible setting. 
 
Line a baking sheet with parchment paper (or silicone mat) and then pour mixture onto the baking sheet and spread evenly into a rectangle. 
Place in oven and bake for 5 to 6 hours until no longer wet (just tacky to the touch) - keep an eye on it! 
 
Remove from oven and let cool. Cut leather (and parchment) into desired sizes/shapes and roll, tying with string. 
Store in an air tight container so it doesn't dry out for up to 2 weeks, but fresher the better. 
 

Mango-Blueberry 
 
INGREDIENTS: 
- 1 cup blueberries 
- 1 cup mango 
- 1 tsp honey (or maple syrup) 
 

INSTRUCTIONS: 
Boil some water and blanche the rhubarb for one minute and then drain. 
 
Blend the blueberries, mango, and honey in a high-speed blender. and then strain into a bowl through a fine mesh sieve if you want to remove the seeds. 
 
If you are going to use a food dehydrator, follow the instruction for your own machine. 
For the oven, pre-heat it to the lowest possible setting. 
 
Line a baking sheet with parchment paper (or silicone mat) and then pour mixture onto the baking sheet and spread evenly into a rectangle. 
Place in oven and bake for 5 to 6 hours until no longer wet (just tacky to the touch) - keep an eye on it! 
 
Remove from oven and let cool. Cut leather (and parchment) into desired sizes/shapes and roll, tying with string. 
Store in an air tight container so it doesn't dry out for up to 2 weeks, but fresher the better. 

Homemade Mac & Cheese
for BCLiving
June 2021
 
I love homemade mac and cheese. I honestly can’t remember the last time I had the boxed kind, because when I’m going to eat dairy, I’m going to do it right. 
There are lots of little options to make it your own as well, from a crumbly breadcrumb top, to the variety of cheese you pick out. 
 
And like most of the From Scratch recipes I make, you can even freeze it. 
 
Makes ~8 servings 

INGREDIENTS: 
 
- 450g of dried pasta 
- approx. 750g of high-quality cheese – equal parts of your choice  
suggested/what I used: fontina, white cheddar (sharp), parmesan, low-moisture mozzarella, gruyere, (gouda, or Havarti are good choices too) 
 
- optional: additional cheddar & parmesan for the top 
- optional: breadcrumbs 
 
- 60g of butter 
- ¼ cup non-bleached all-purpose flour 
- 4 cups of milk 
- salt & pepper 
 

INSTRUCTIONS: 

Grate all of your cheeses so they’re ready to go when needed and place them in a glass or heat-proof bowl. 
Preheat the oven to 375°F. 
 
In a large pot of salted water, cook your macaroni or, the pasta of your choosing (ones with ridges or tubes are best to soak up the sauce. Cooking until just al dente (if the pasta finishes before the sauce is ready, drain and run under cold water to stop the cooking). 
 

While the pasta is cooking, make the roux. 
 
In a high-walled sauce pan, melt the butter on medium heat and let it cook for a minute or two. Then sprinkle in the flour, and whisk to combine, and cook for 2 or 3 minutes until the flour smell is gone. 
 
Very slowly add small amounts (maybe ¼ or 1/3 of a cup) of the milk, constantly whisking to be sure there are no lumps. Do this until the milk has been incorporated, and continue whisking for a few minutes until the roux thickens. 
 
When ready, pour the roux through a mine-mesh strainer, over top of the cheeses and then fold it in with a spatula to combine fully, and season with salt and pepper. (You can add some other spices here, like cayenne pepper, but taste first as some of the cheeses might have enough flavor already). 
 
Toss the pasta into a casserole dish and pour the cheese over top, folding it in.  
 
Now, you can either top the casserole with more grated cheddar and parmesan, or with breadcrumbs. Or, you know, both! 
 
(You can freeze some in a separate container now if you’d like, so you can bake at another date.) 
 
Bake in the pre-heated oven for 20 mins, and then rotate the dish, and bake for 20 to 25 more, until it’s golden brown and then remove it from the oven. 
 
Let rest for about 8-10 minutes and then serve. 
 
ENJOY! 

Homemade Gnocchi
for BCLiving
May 03, 2021
 
I started making gnocchi about a year and a half ago. It’s a great Sunday afternoon activity as it’s a bit of work, but oh-so worth it. Usually, you find gnocchi on the store shelf in a sealed plastic package and it’s gummy and just doesn’t satisfy the itch. 
 
When you make it from scratch, you can roll them in bulk and freeze them, so you have some fresh ones for dinner that night, and then the next time you want it, just pull the bag out of the freezer and toss some handfuls in the pot. 
 
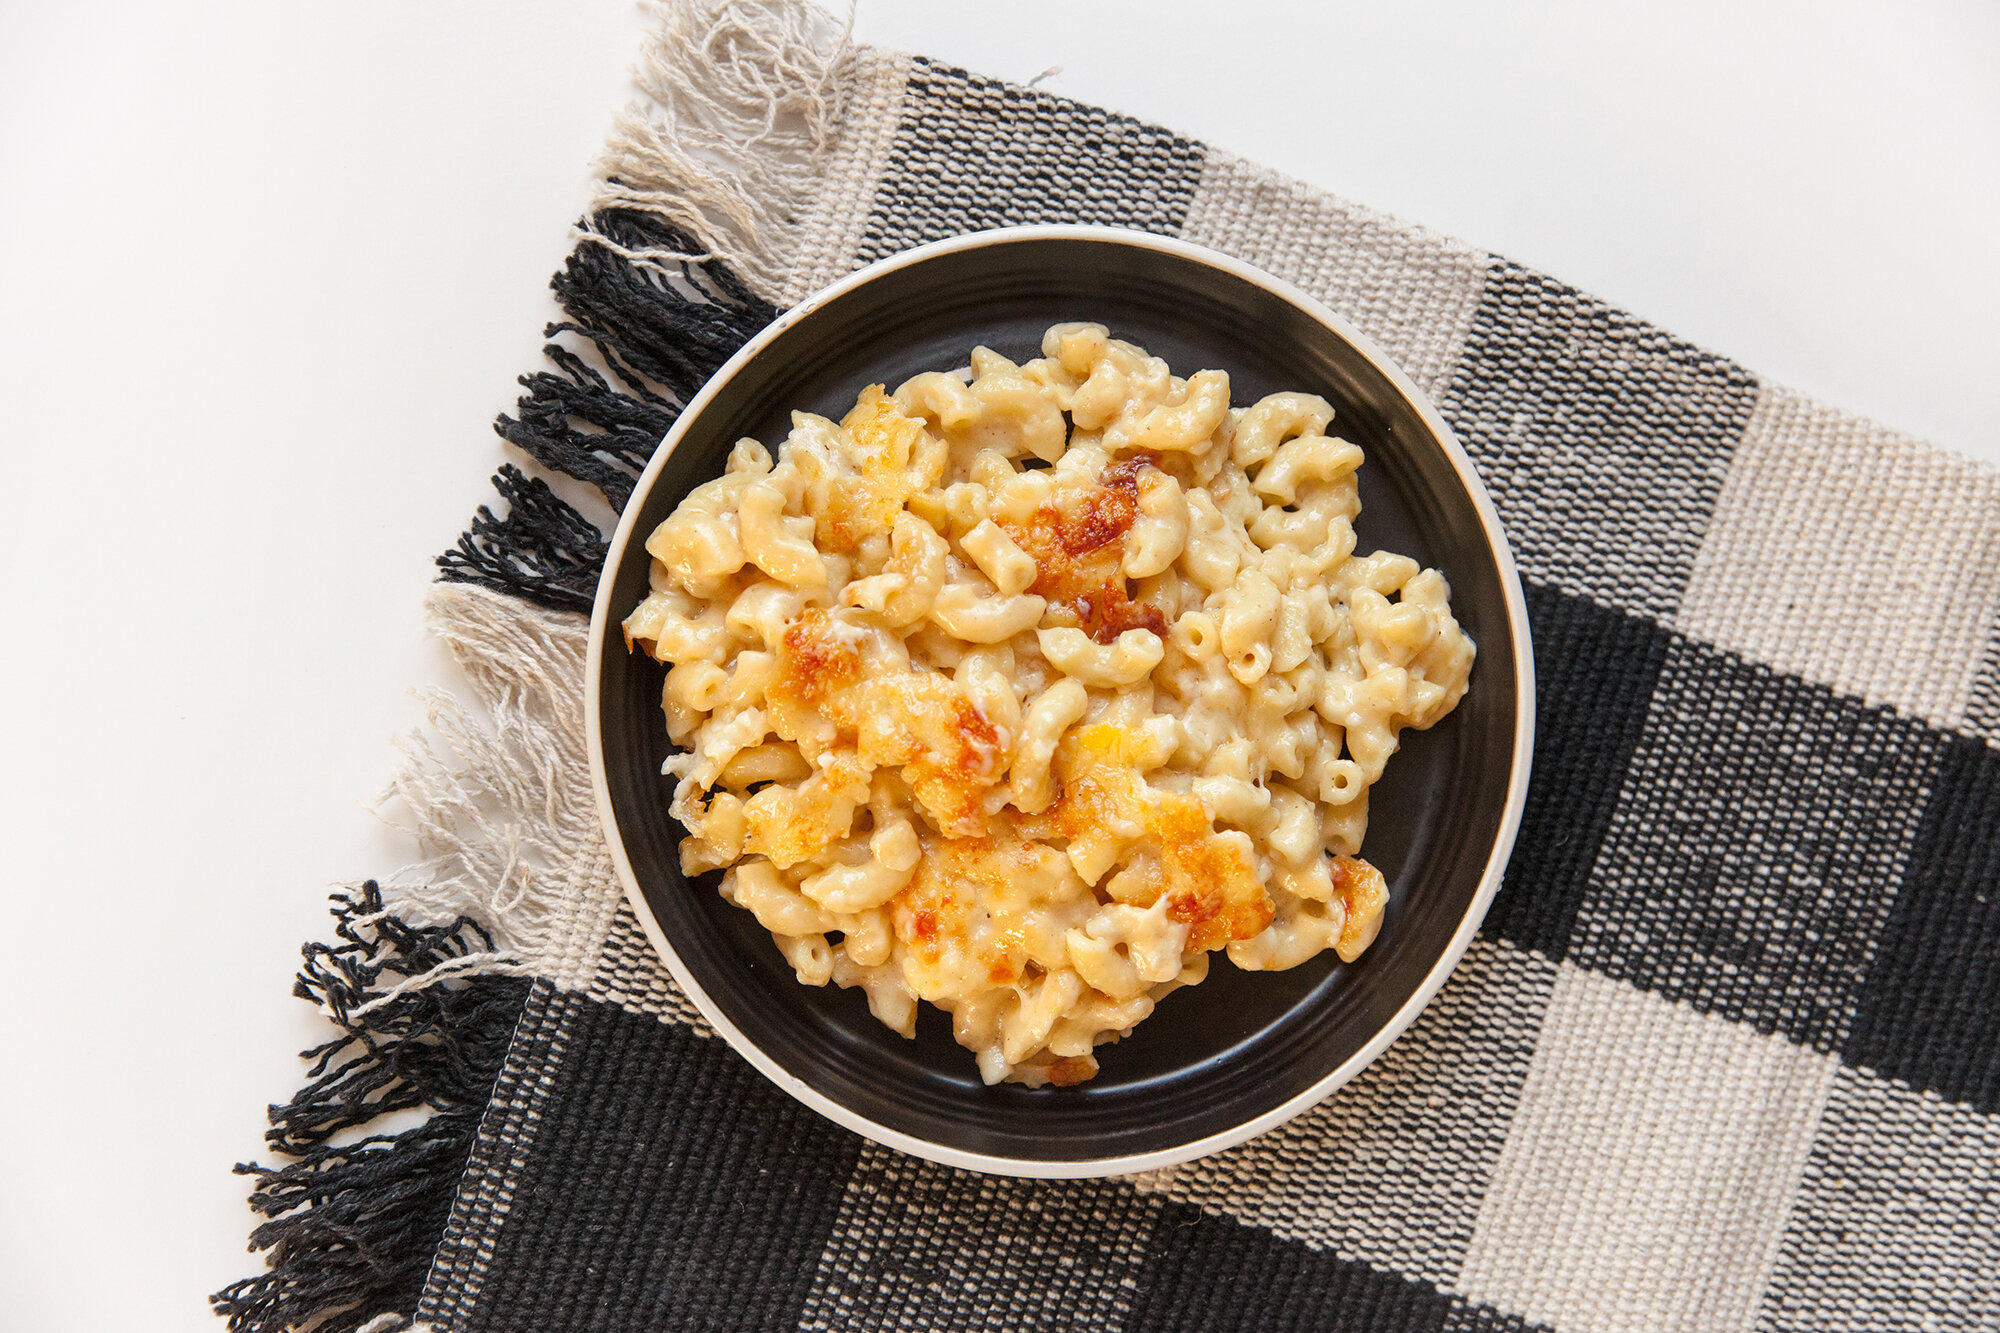
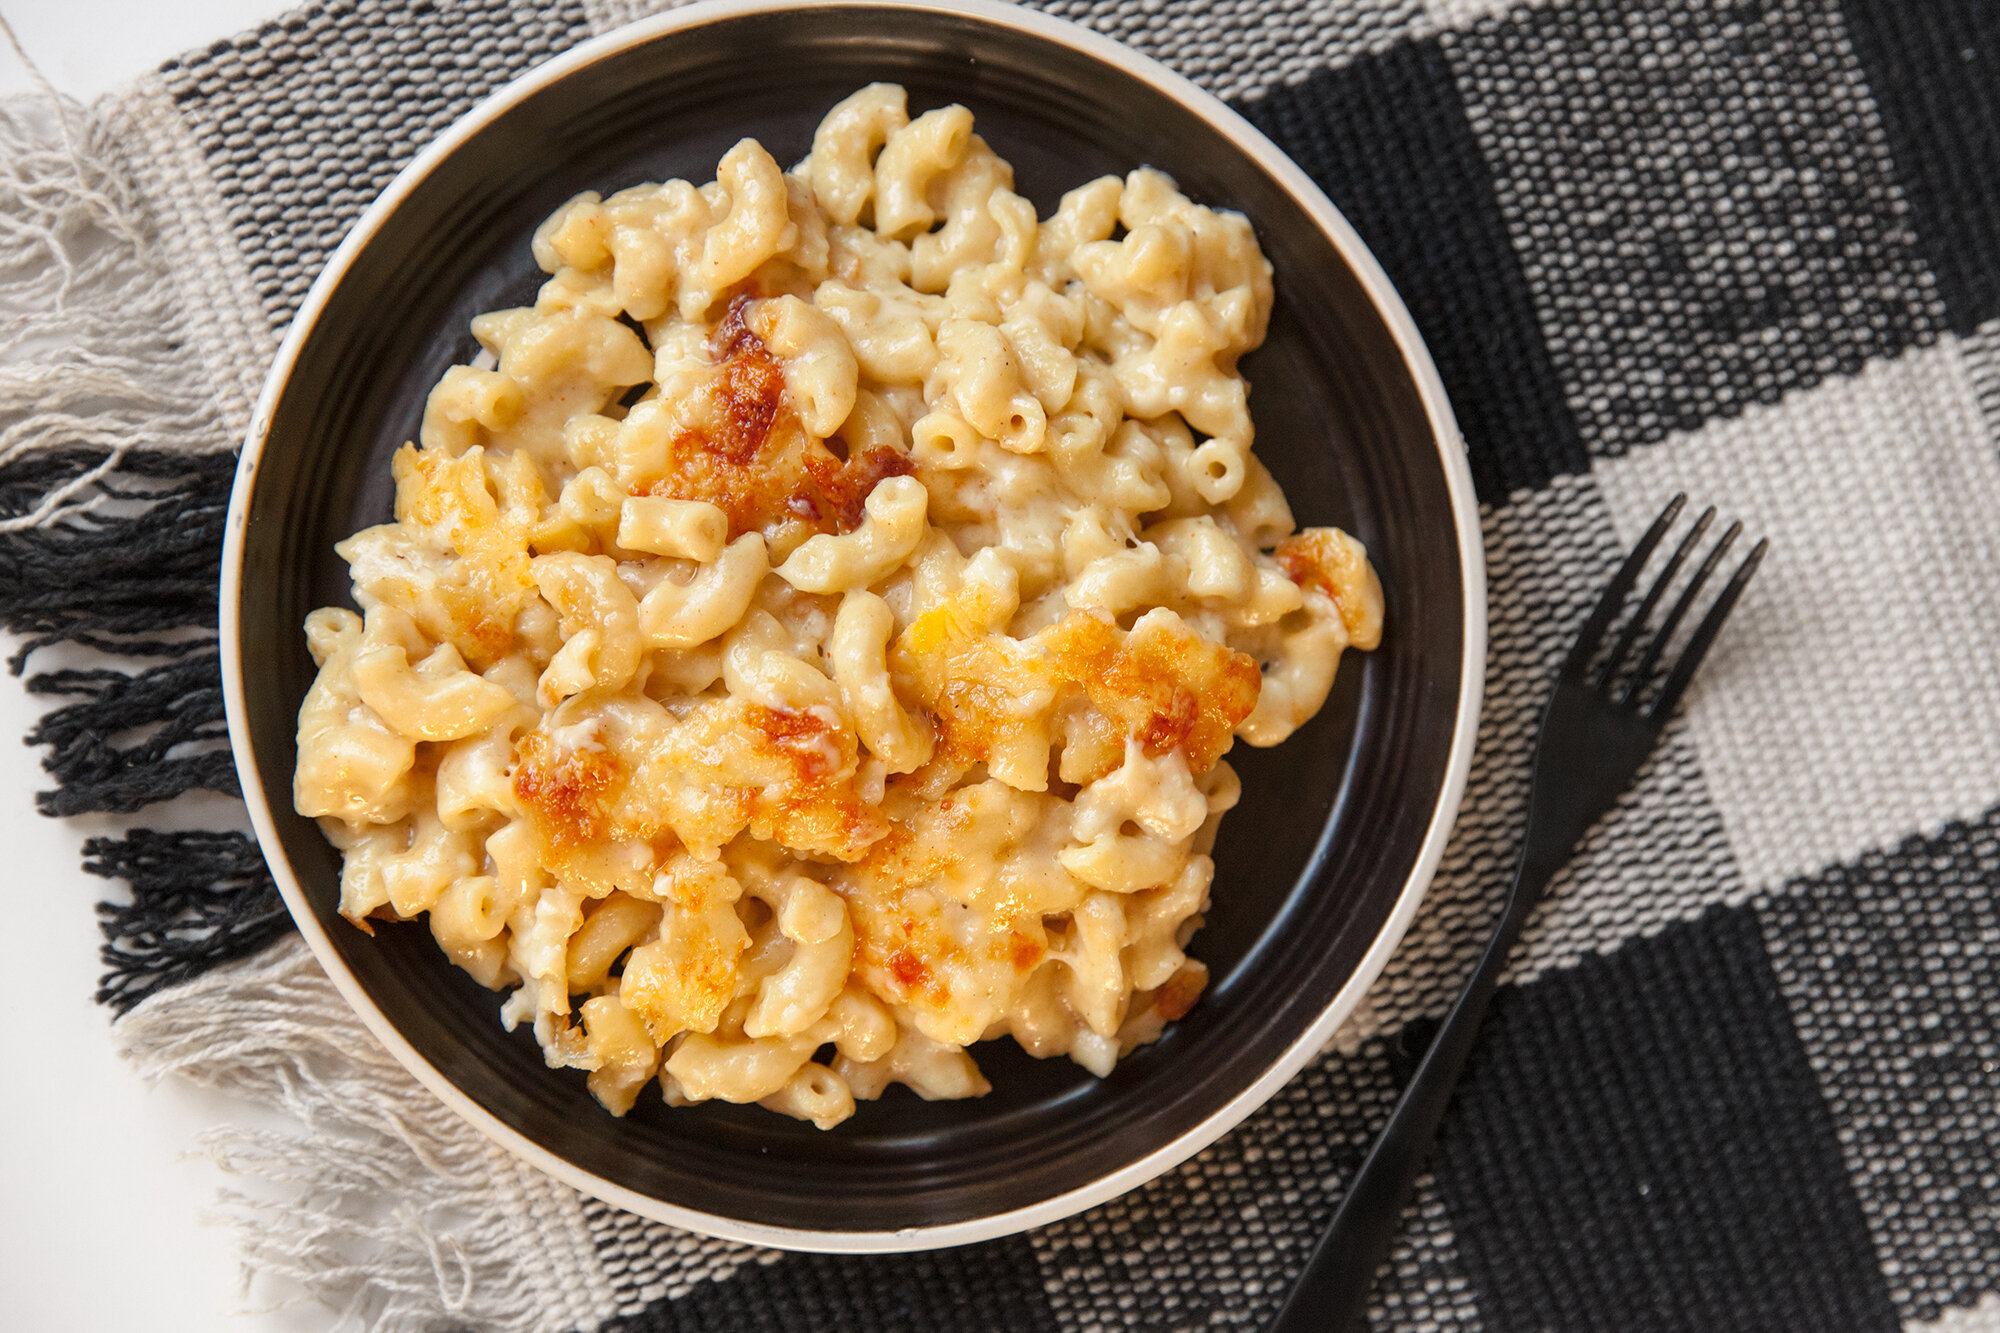
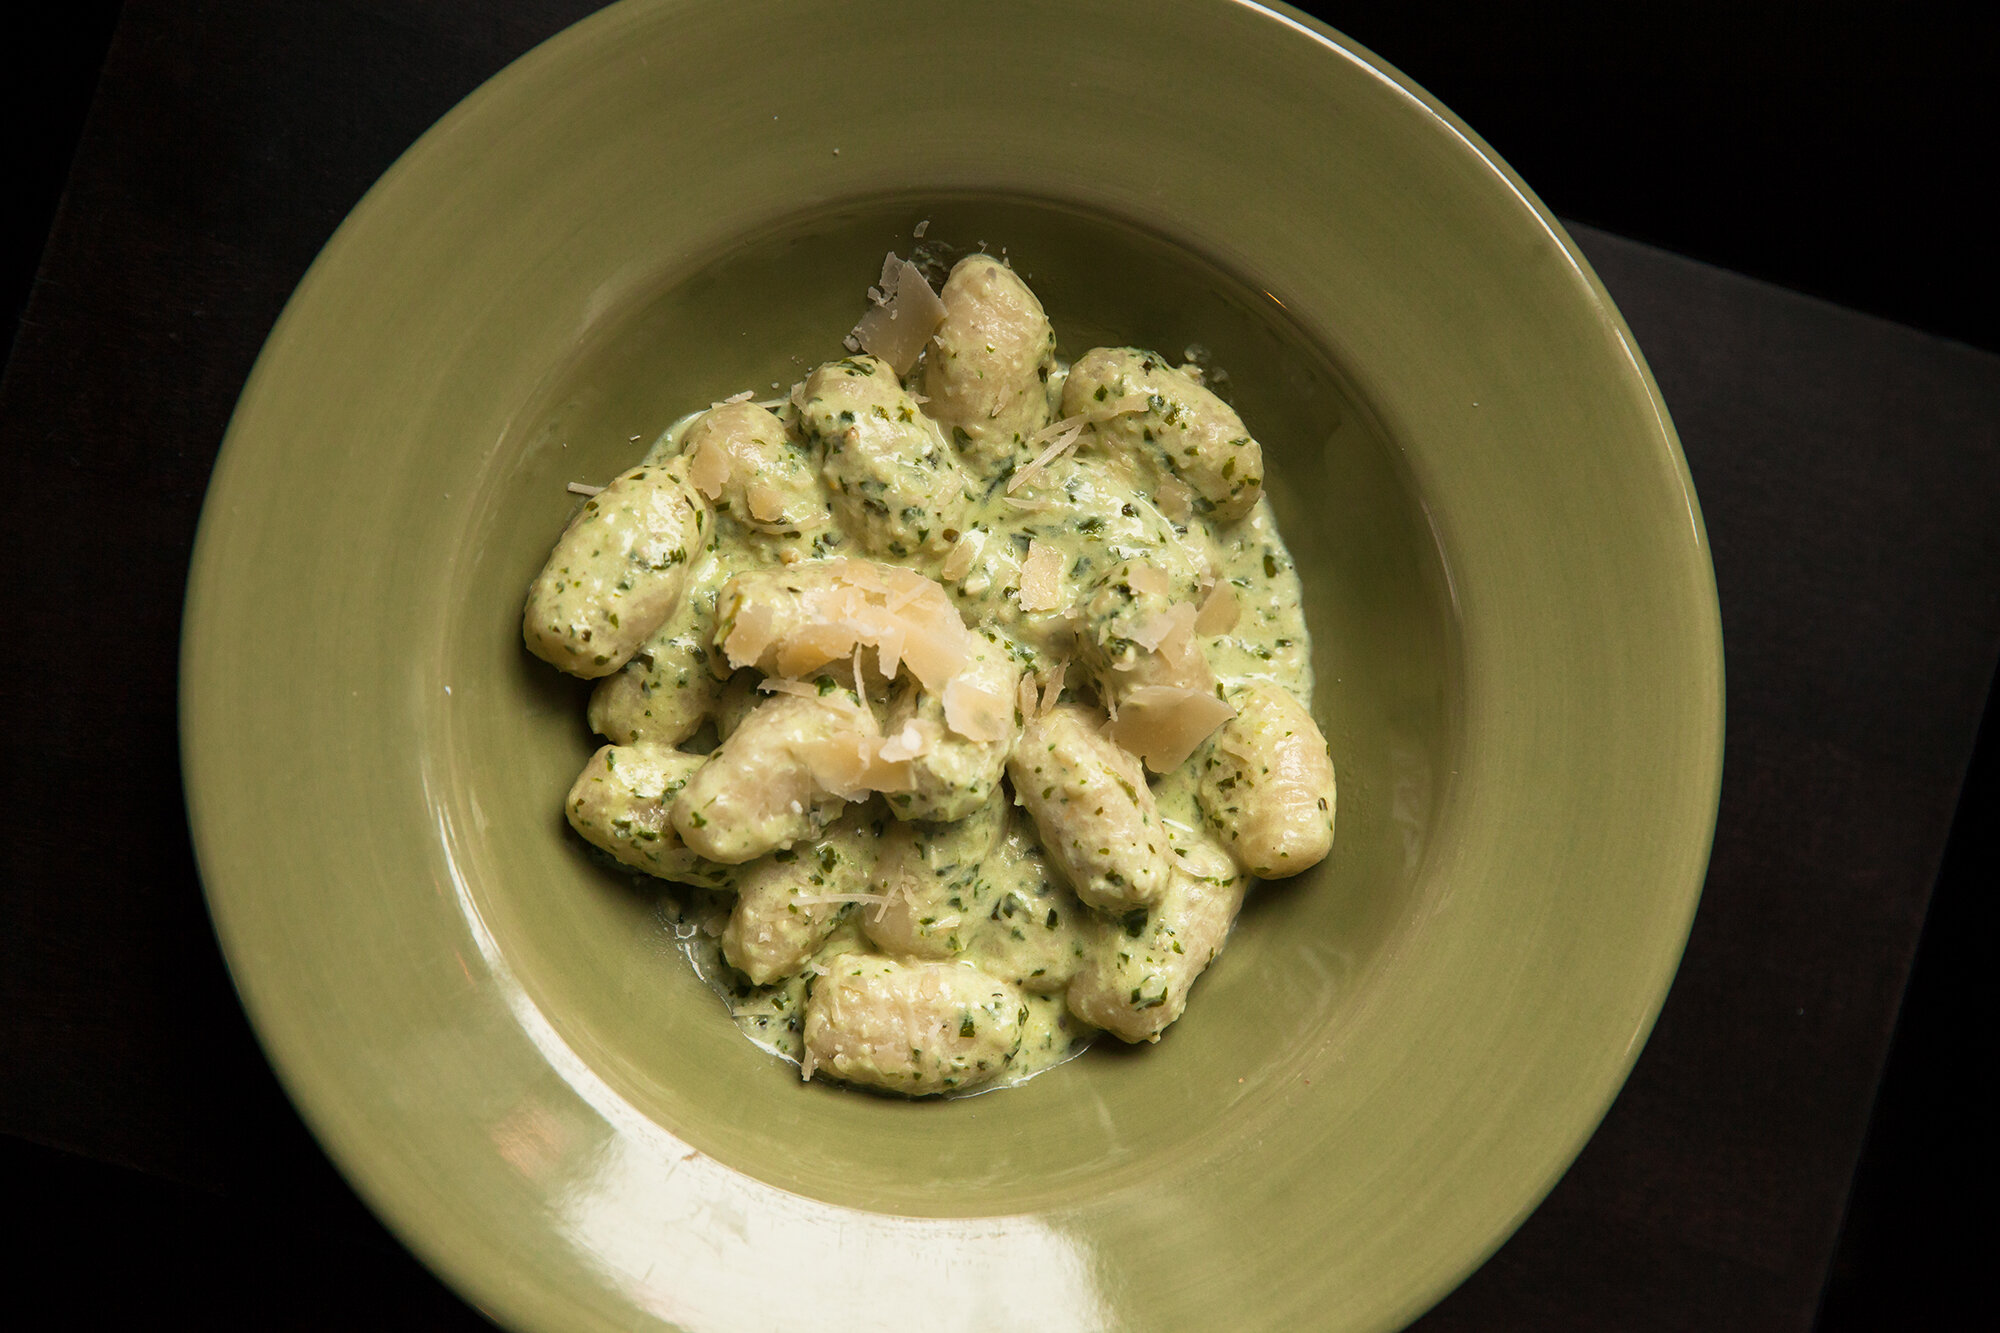
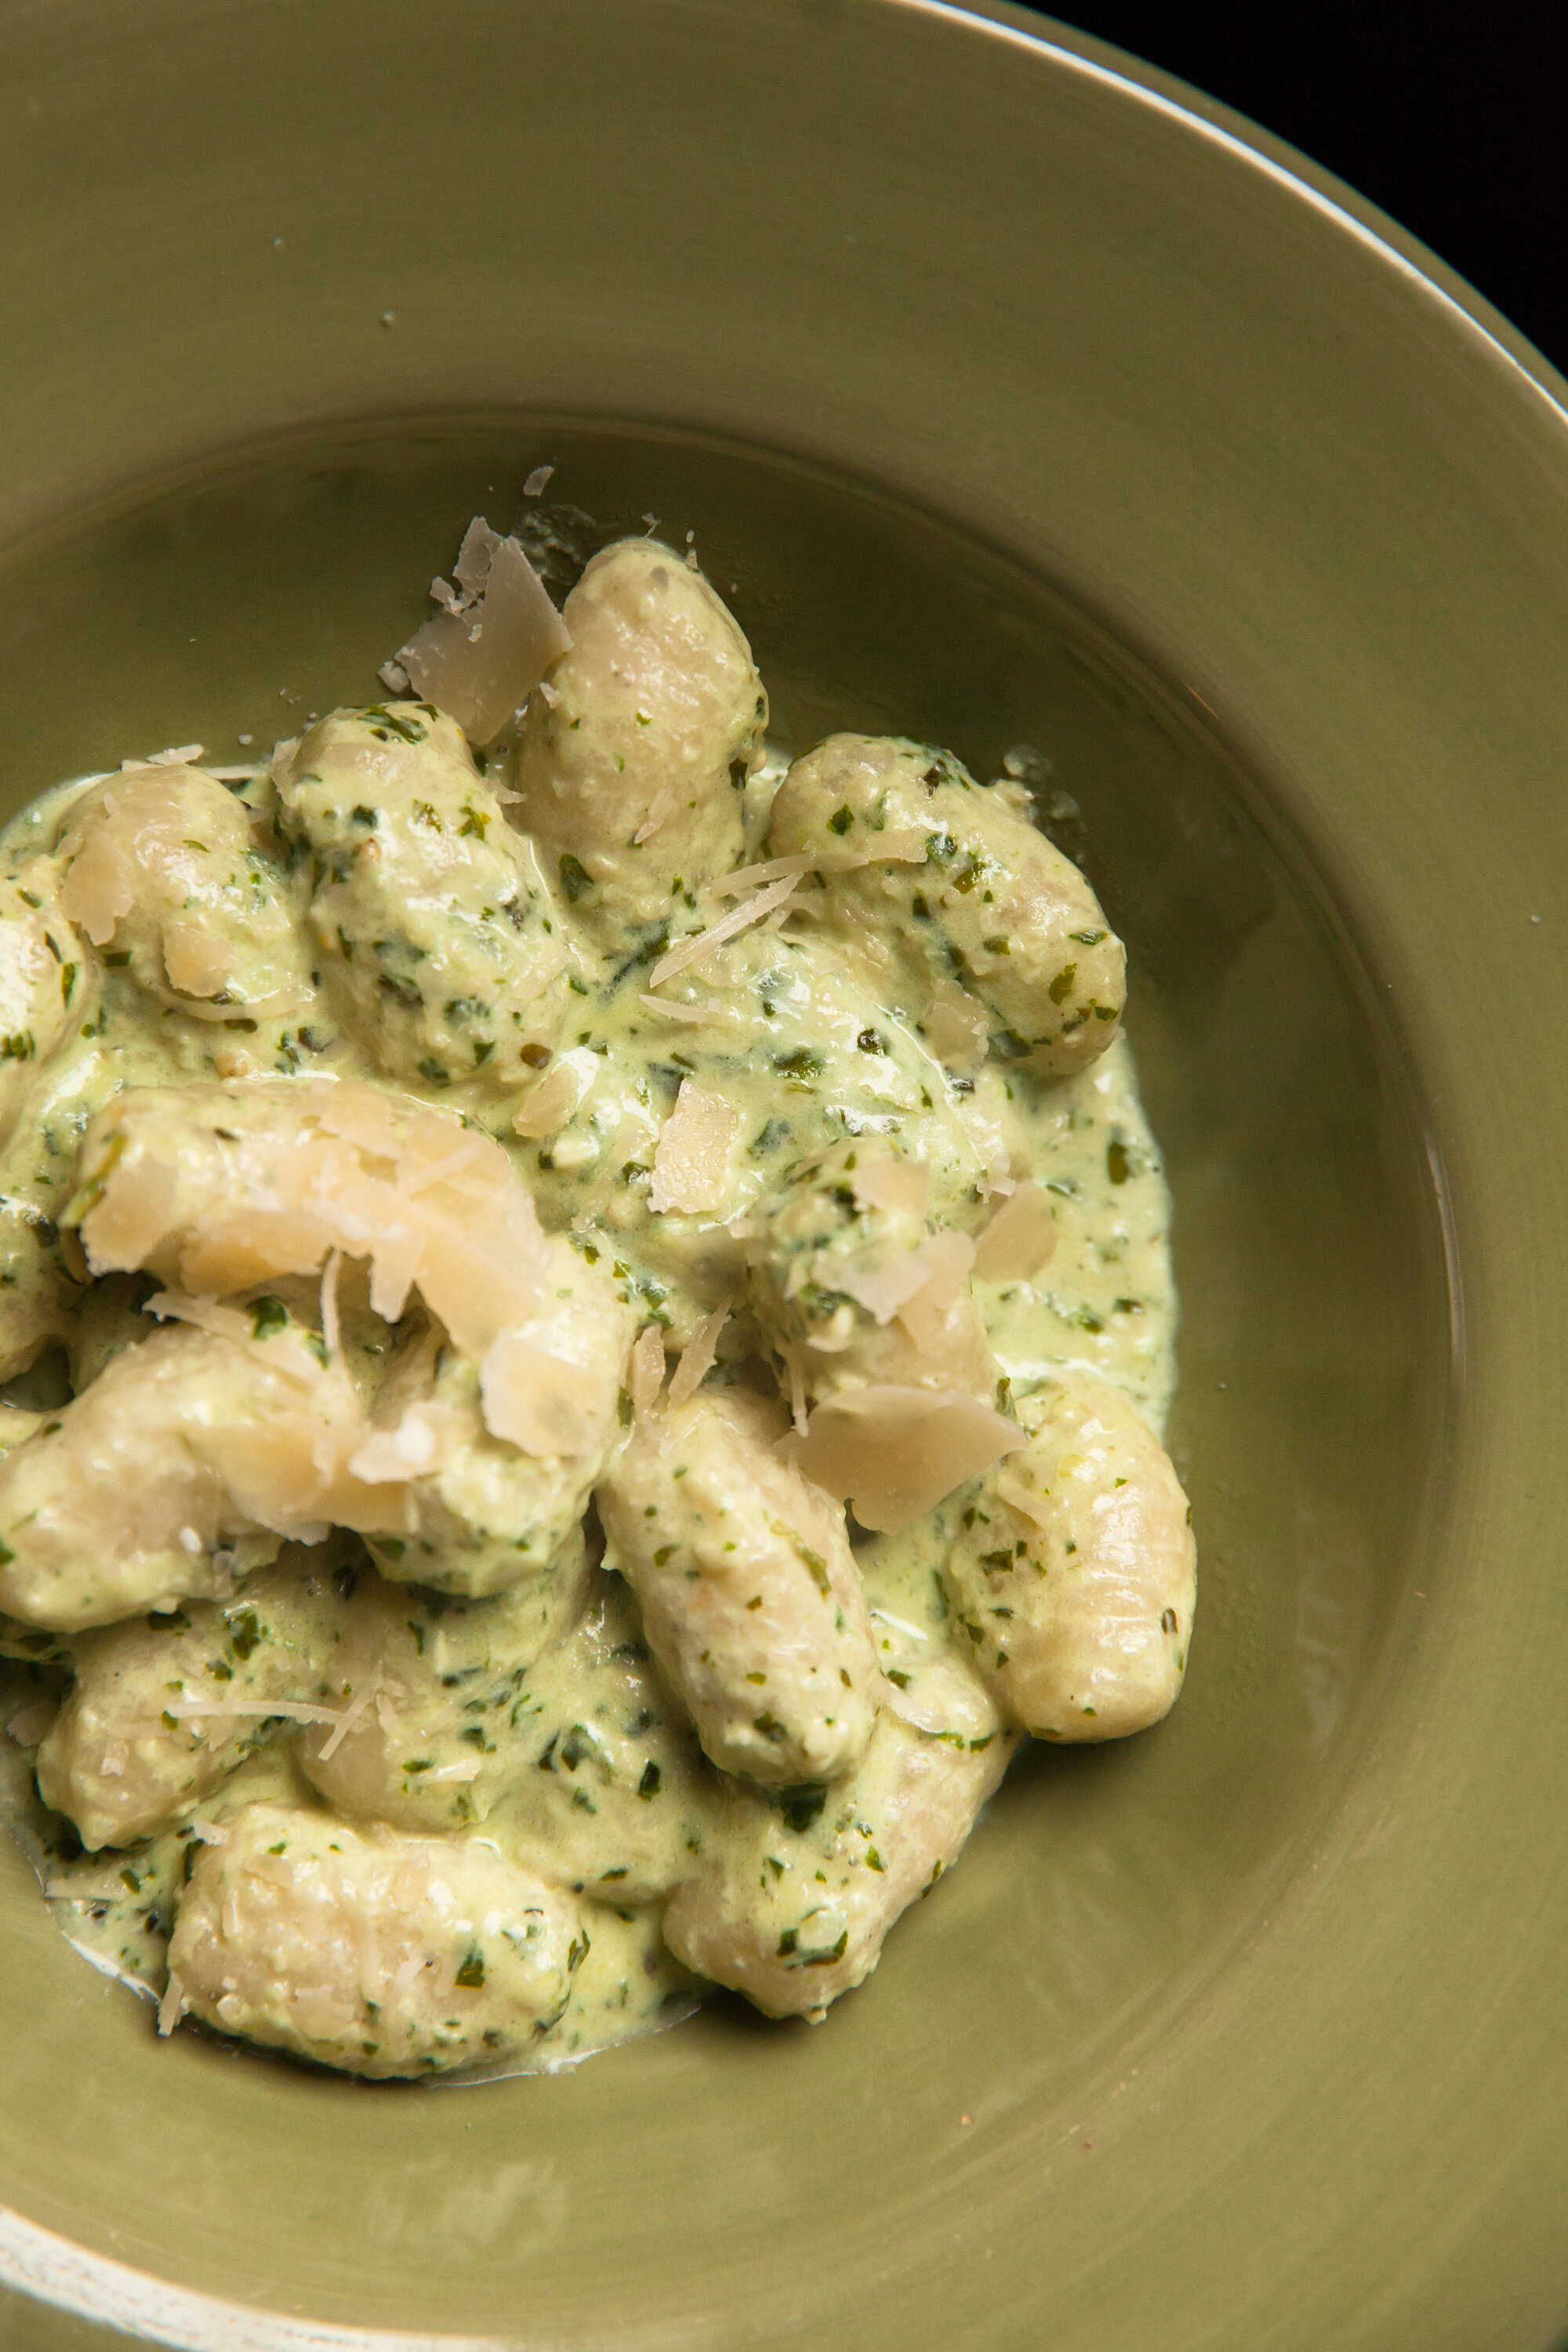
The soak up the sauce they’re in so well, be it pesto, alfredo, or – my mom even says she makes them into a mac-and-cheese. Um, yum. 
 
Makes about 60 Gnocchi (depending on the size you make them) 
You can double this but mix in separate batches of the following. 

 
INGREDIENTS: 
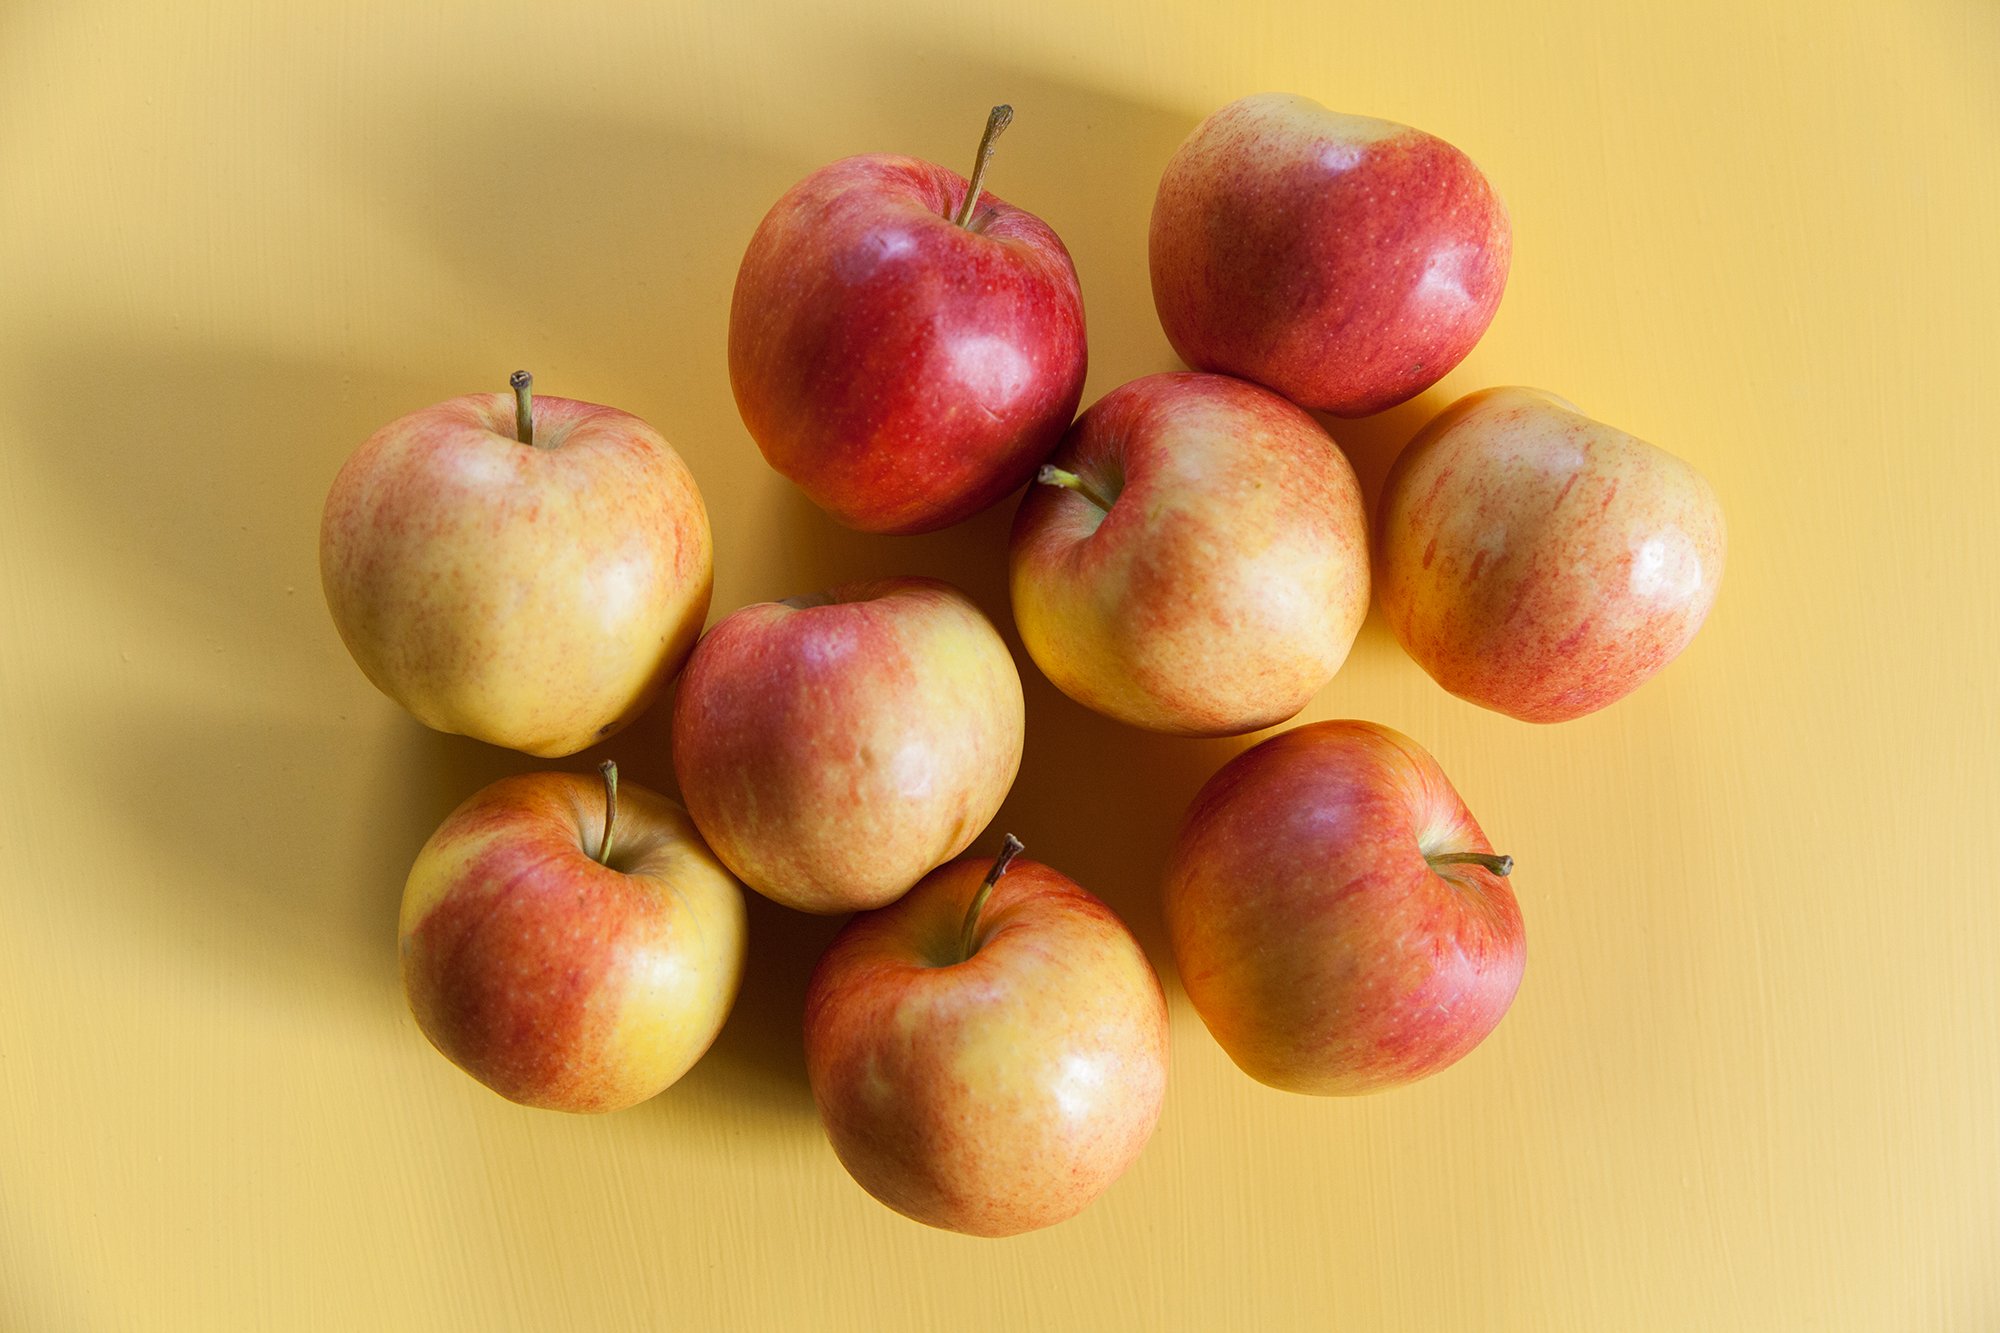
- about 4 to 4 1/2 cups riced potato 
- 1 tsp, or a bit more salt 
- 2 tbsp extra virgin olive oil (more on hand) 
- 2.5 cups all-purpose flour (make sure you get high quality flour) 
 

INSTRUCTIONS: 
 
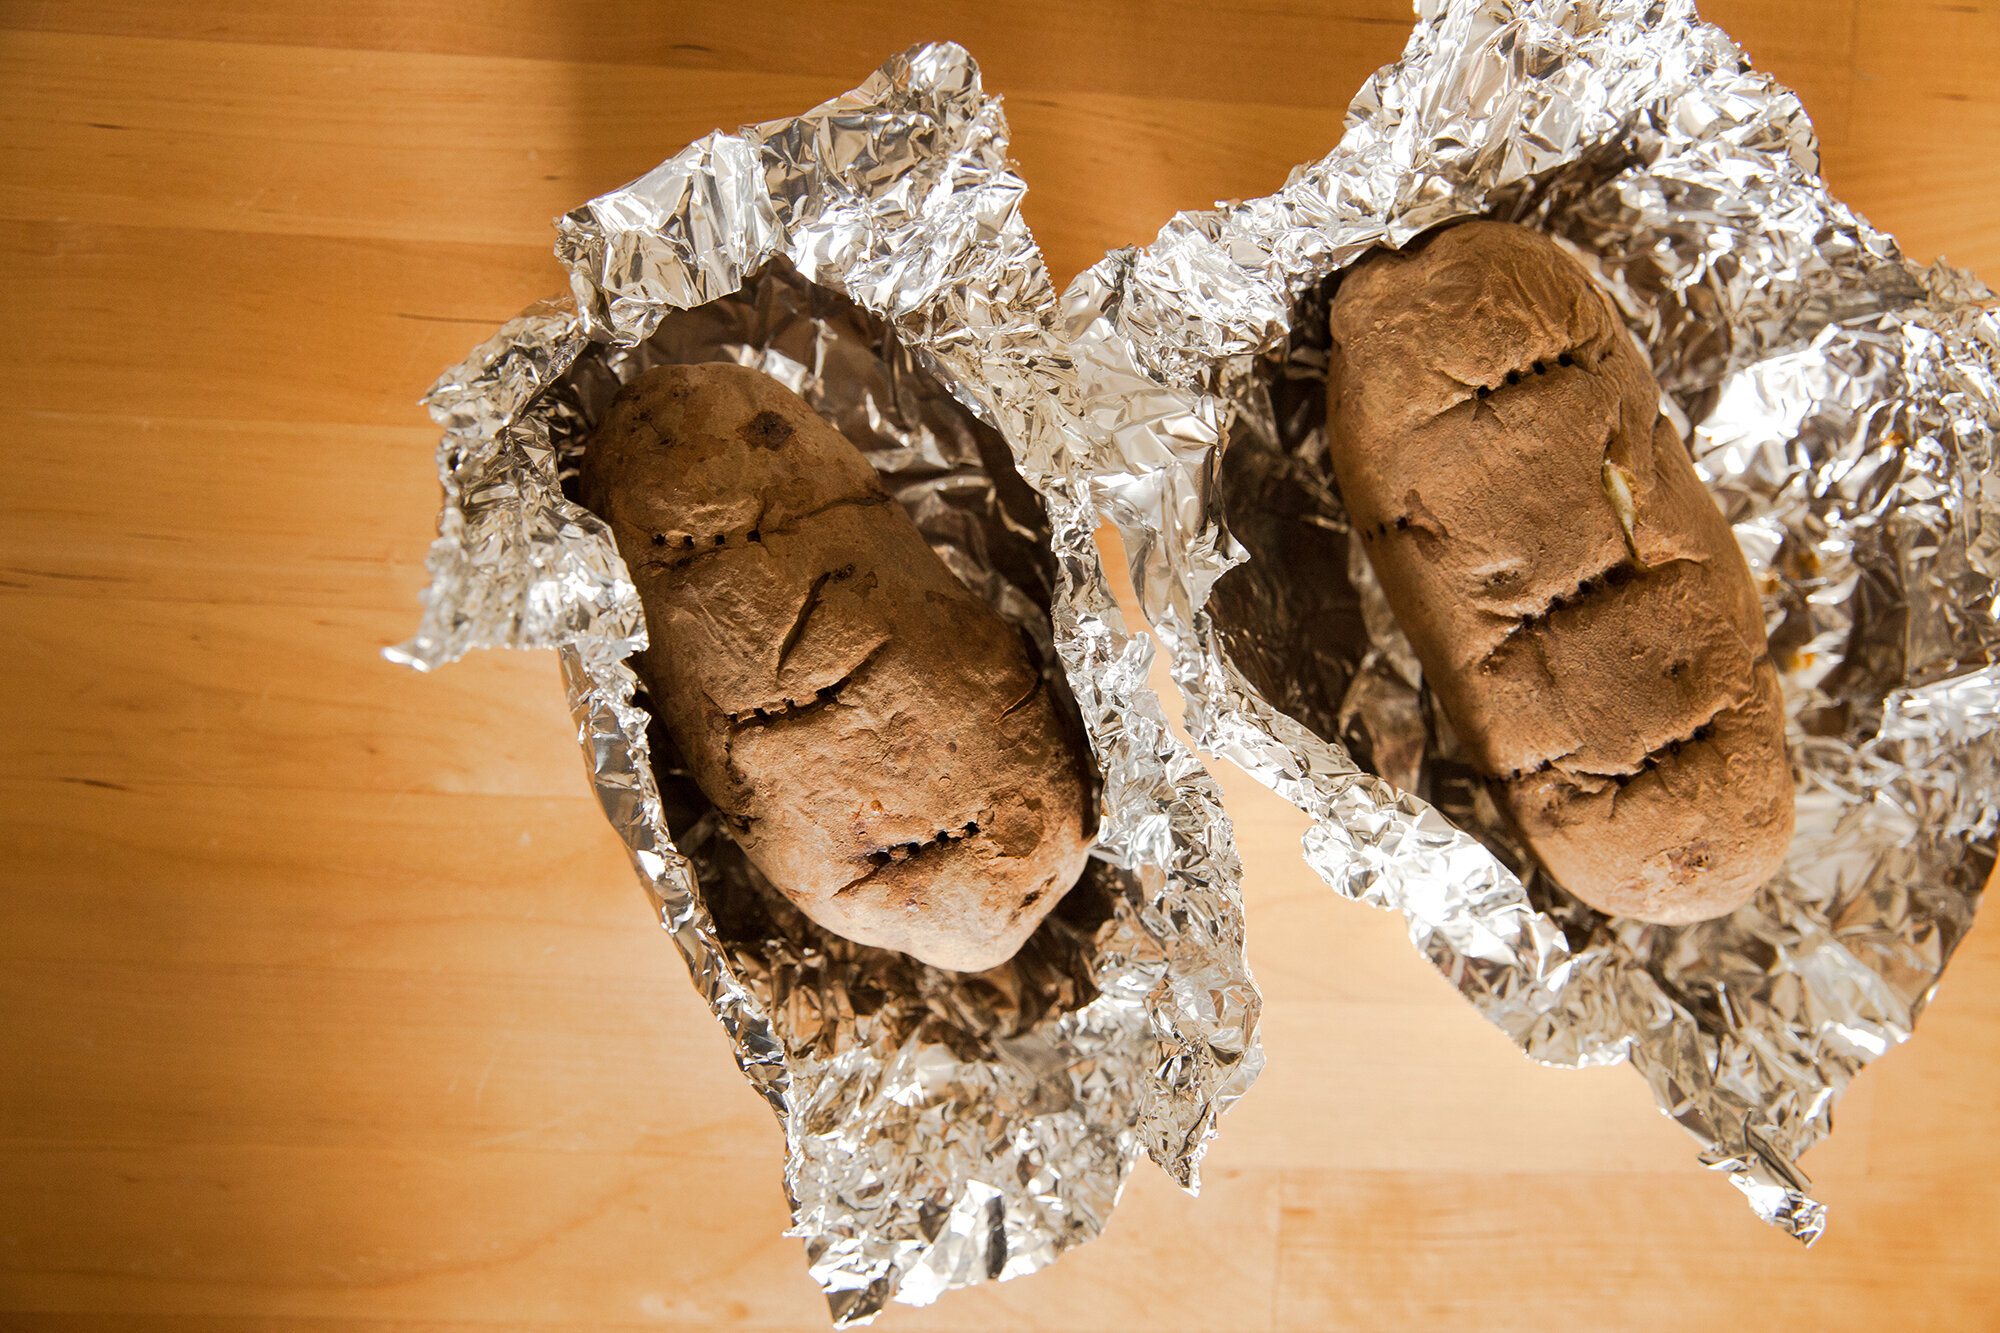
Scrub and then pierce the potatoes a few times with a fork and bake either covered in foil or uncovered in the oven at 425 degrees, for at least 45mins, checking to see if they are done by piercing with a knife or fork. This should be easily done, or else they need more time.  

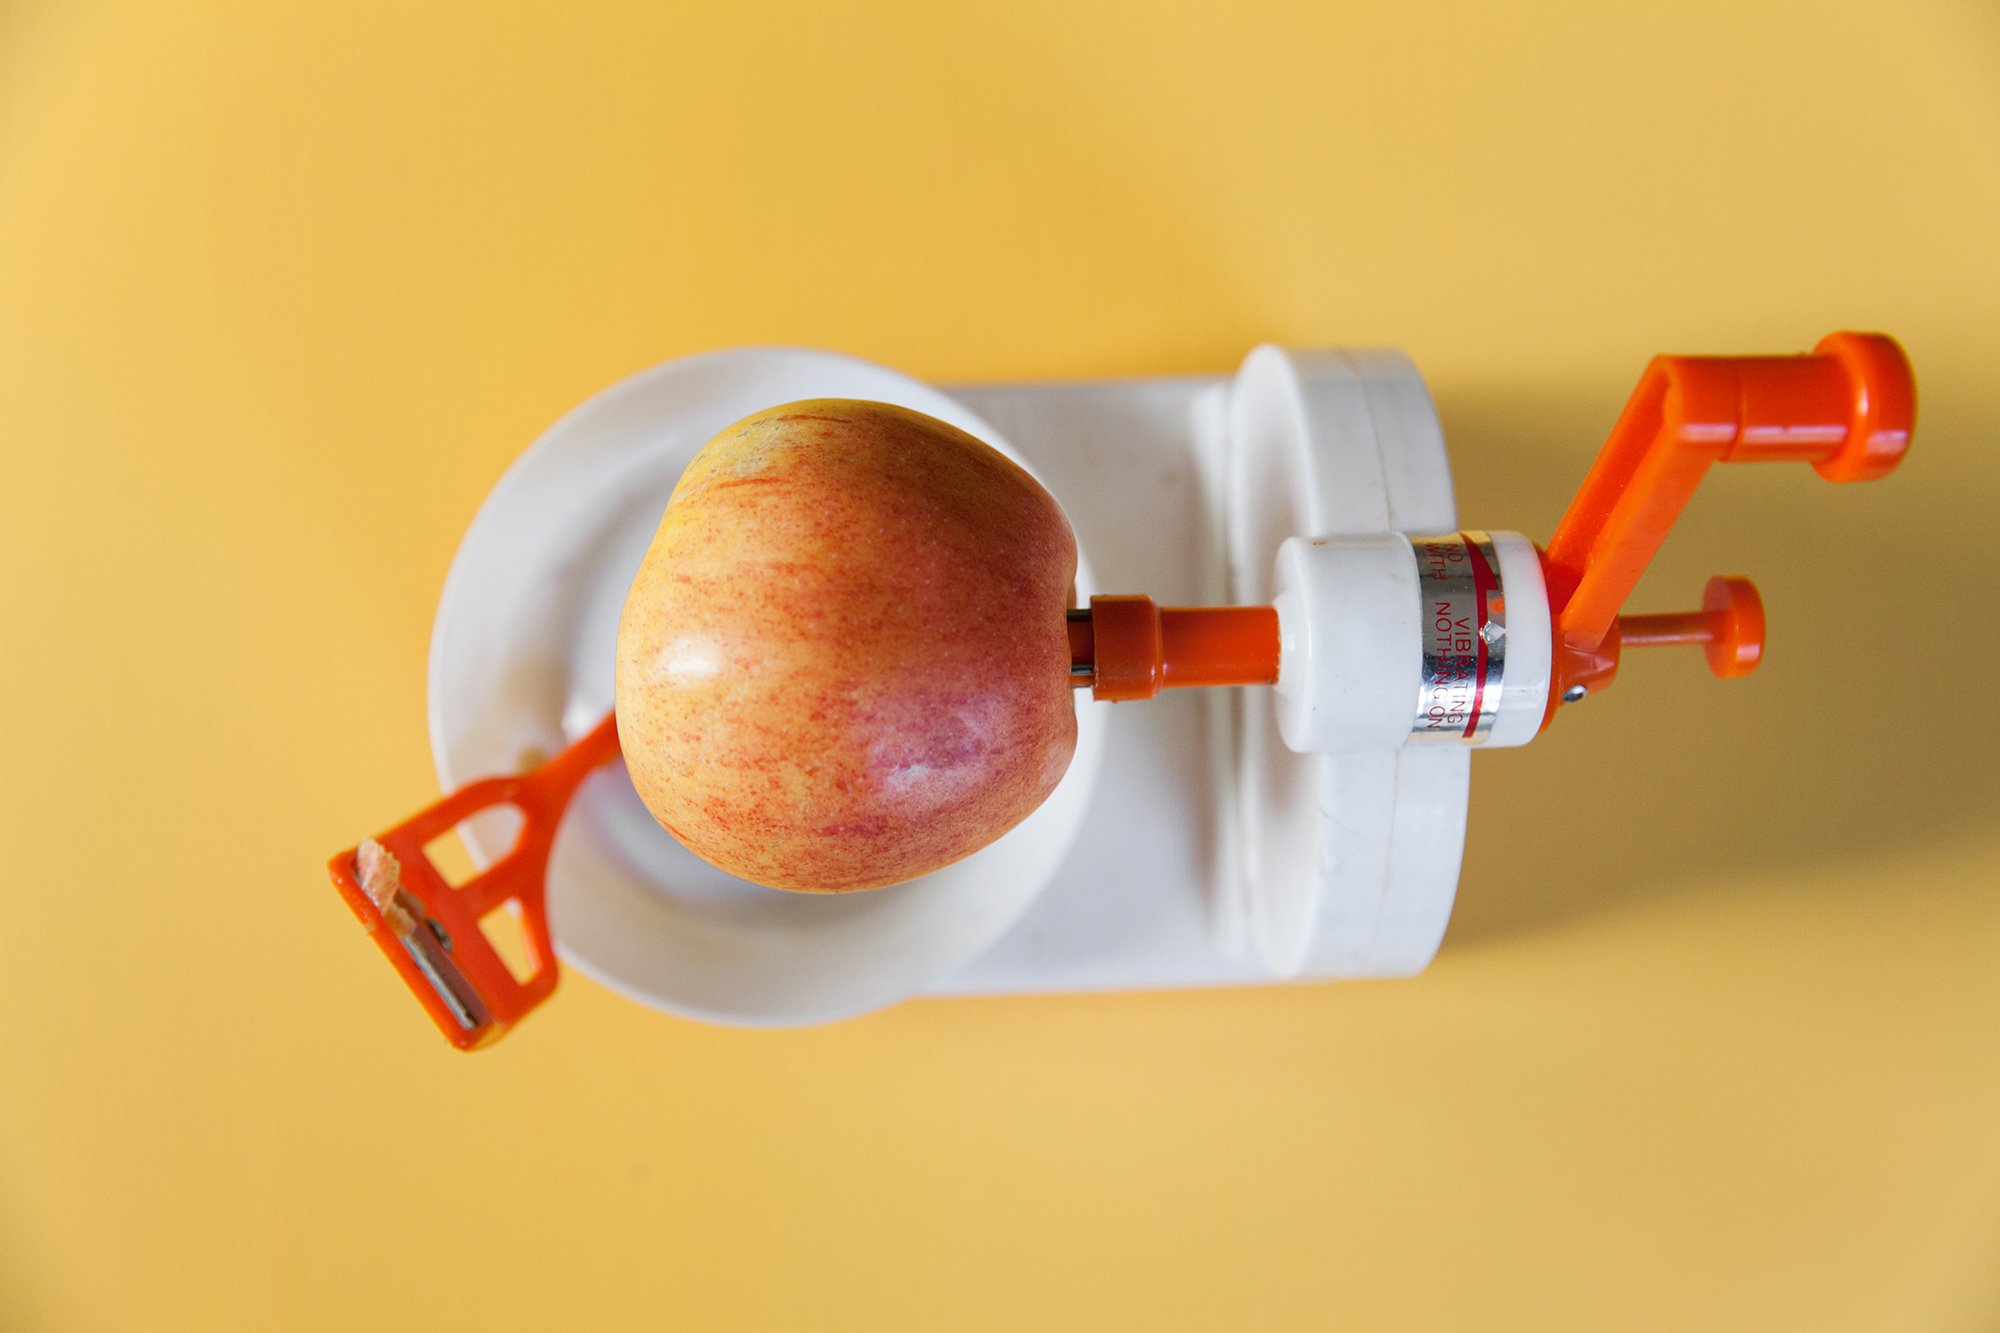
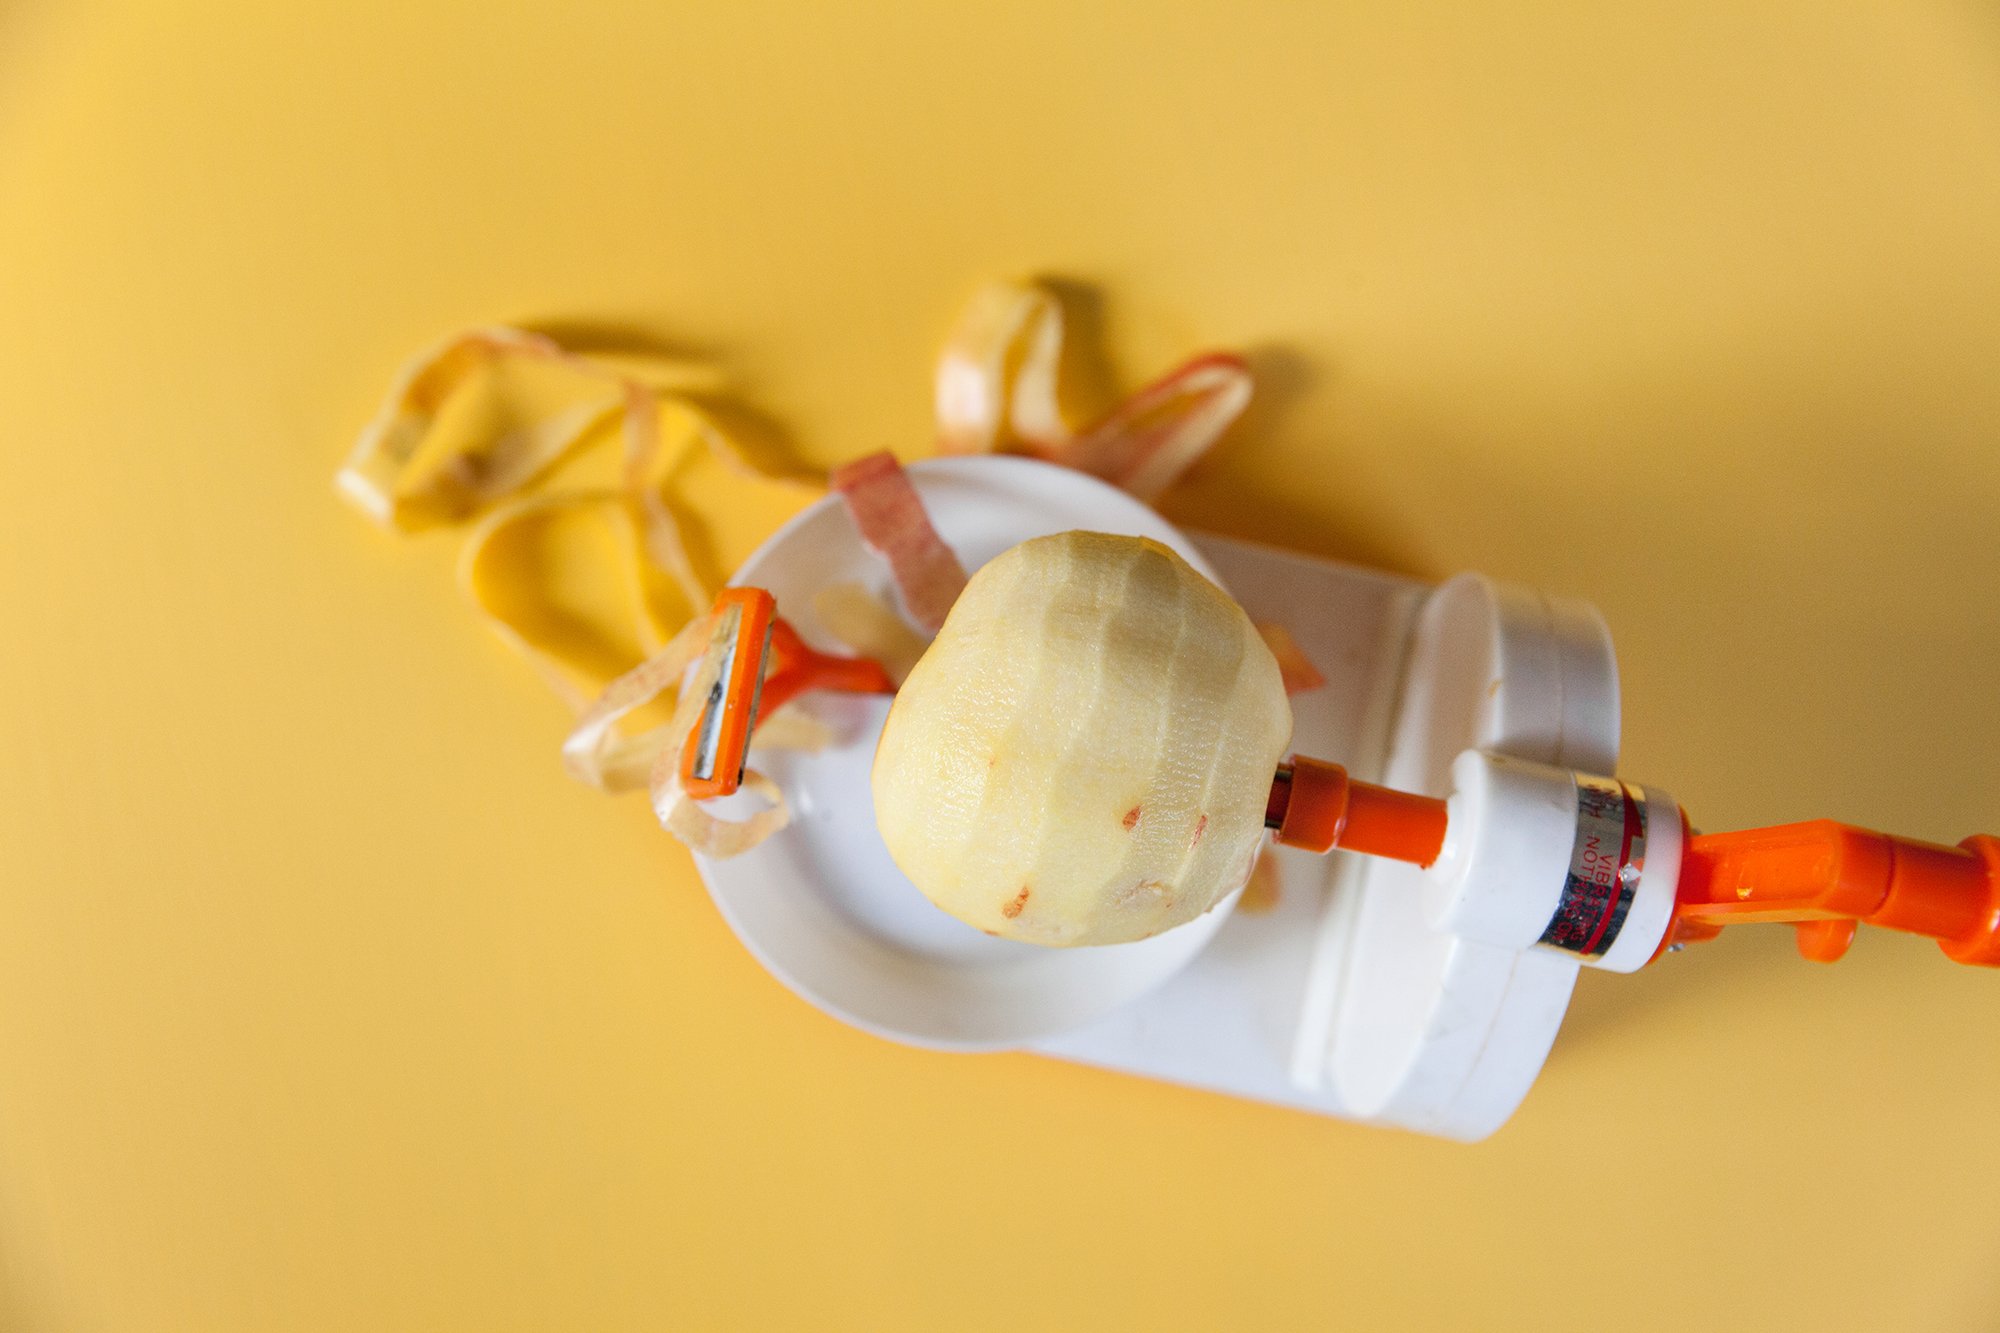
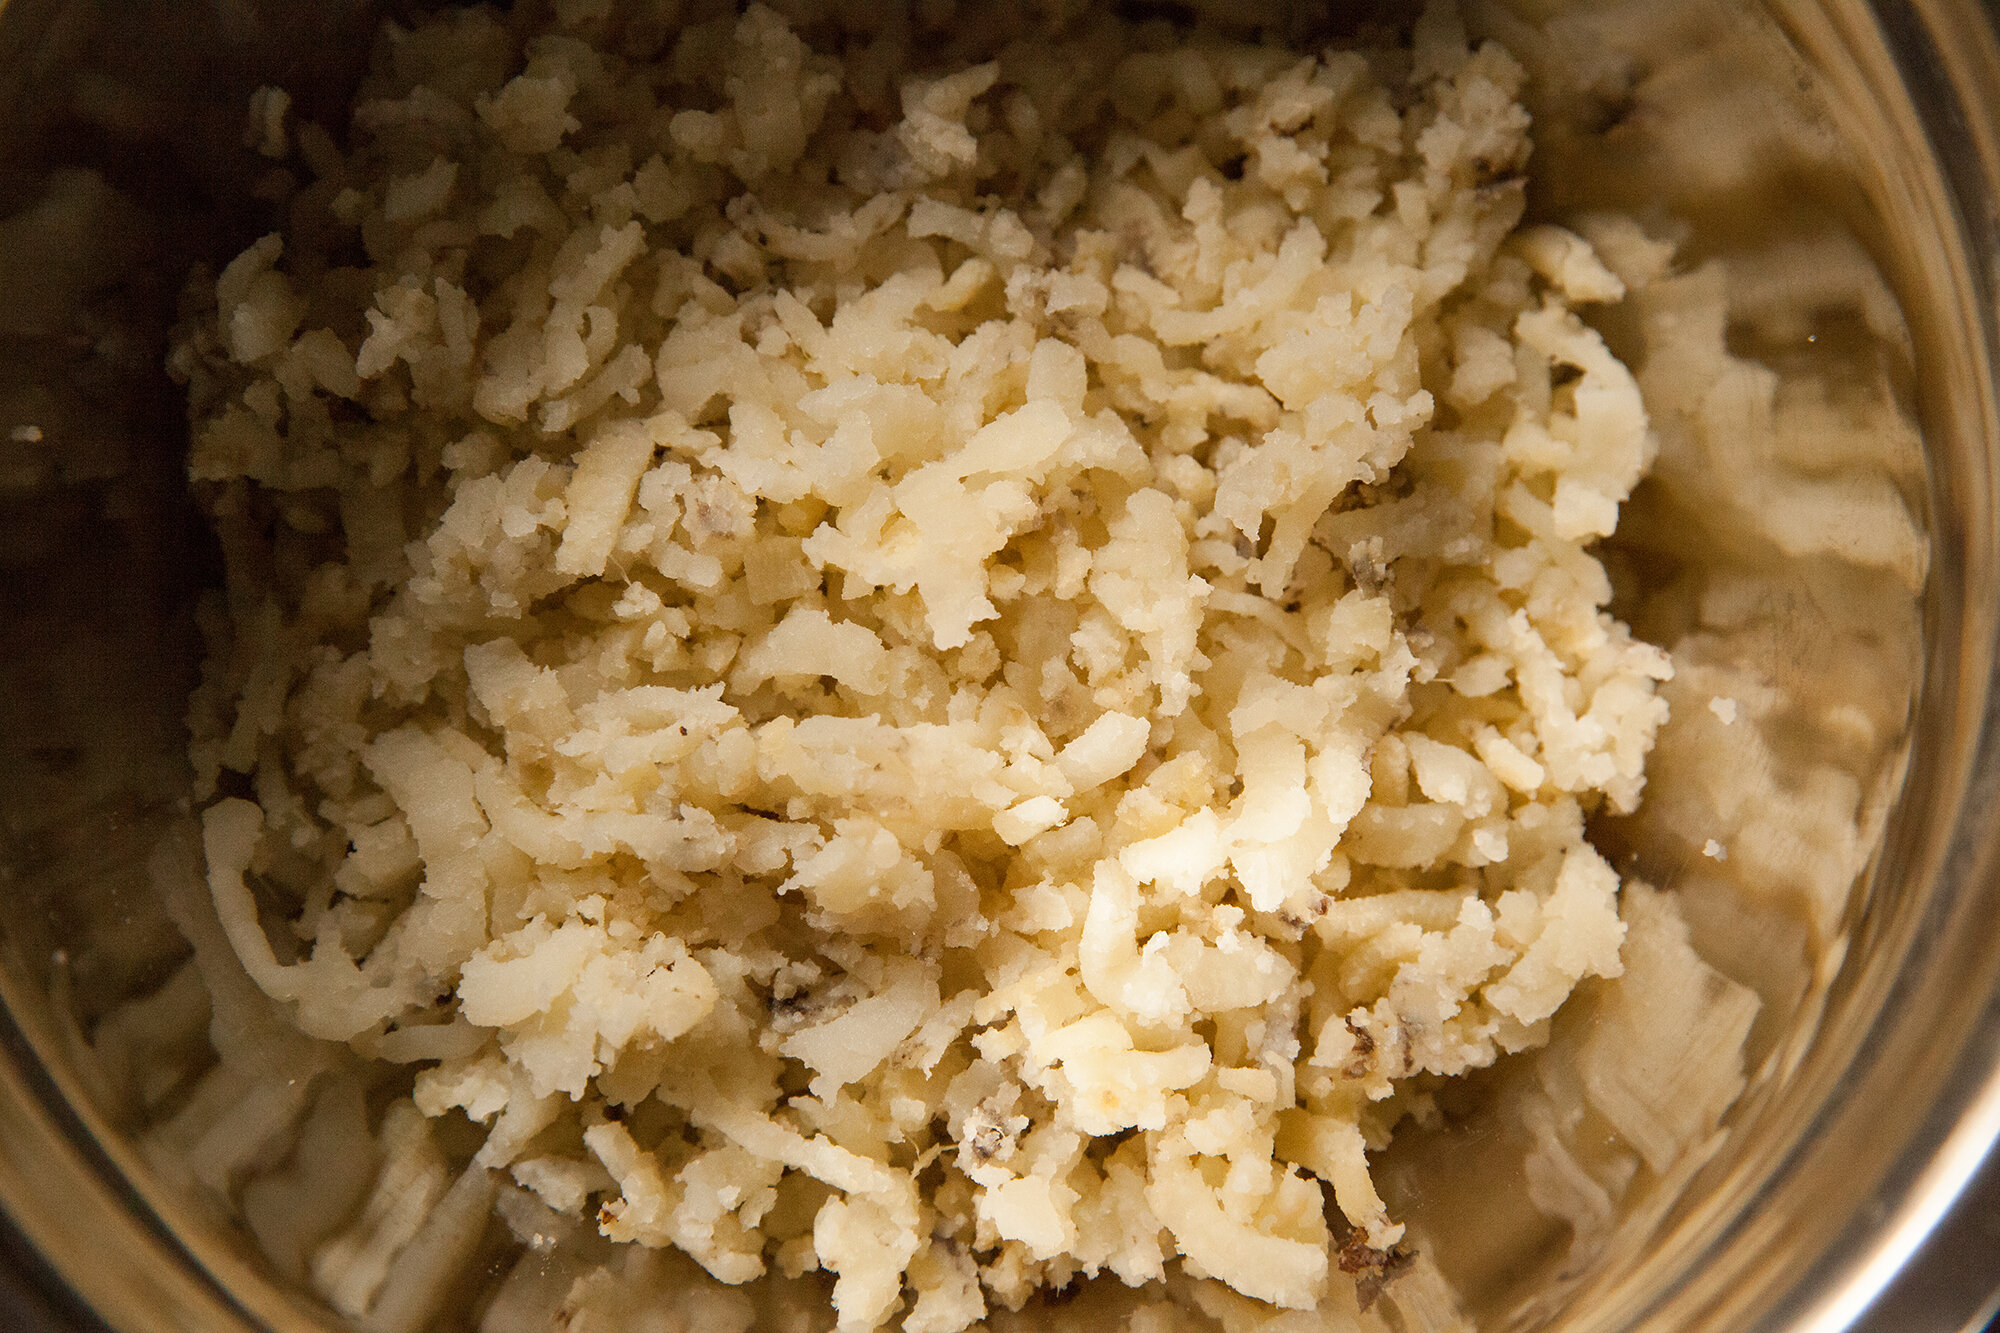
Once the potatoes are cool enough to handle, rice them.  
Usually if you’re using a ricer, there’s no need to peel, as it remains behind (like magic), if you’re mashing with a fork or masher, remove the peel.  
 
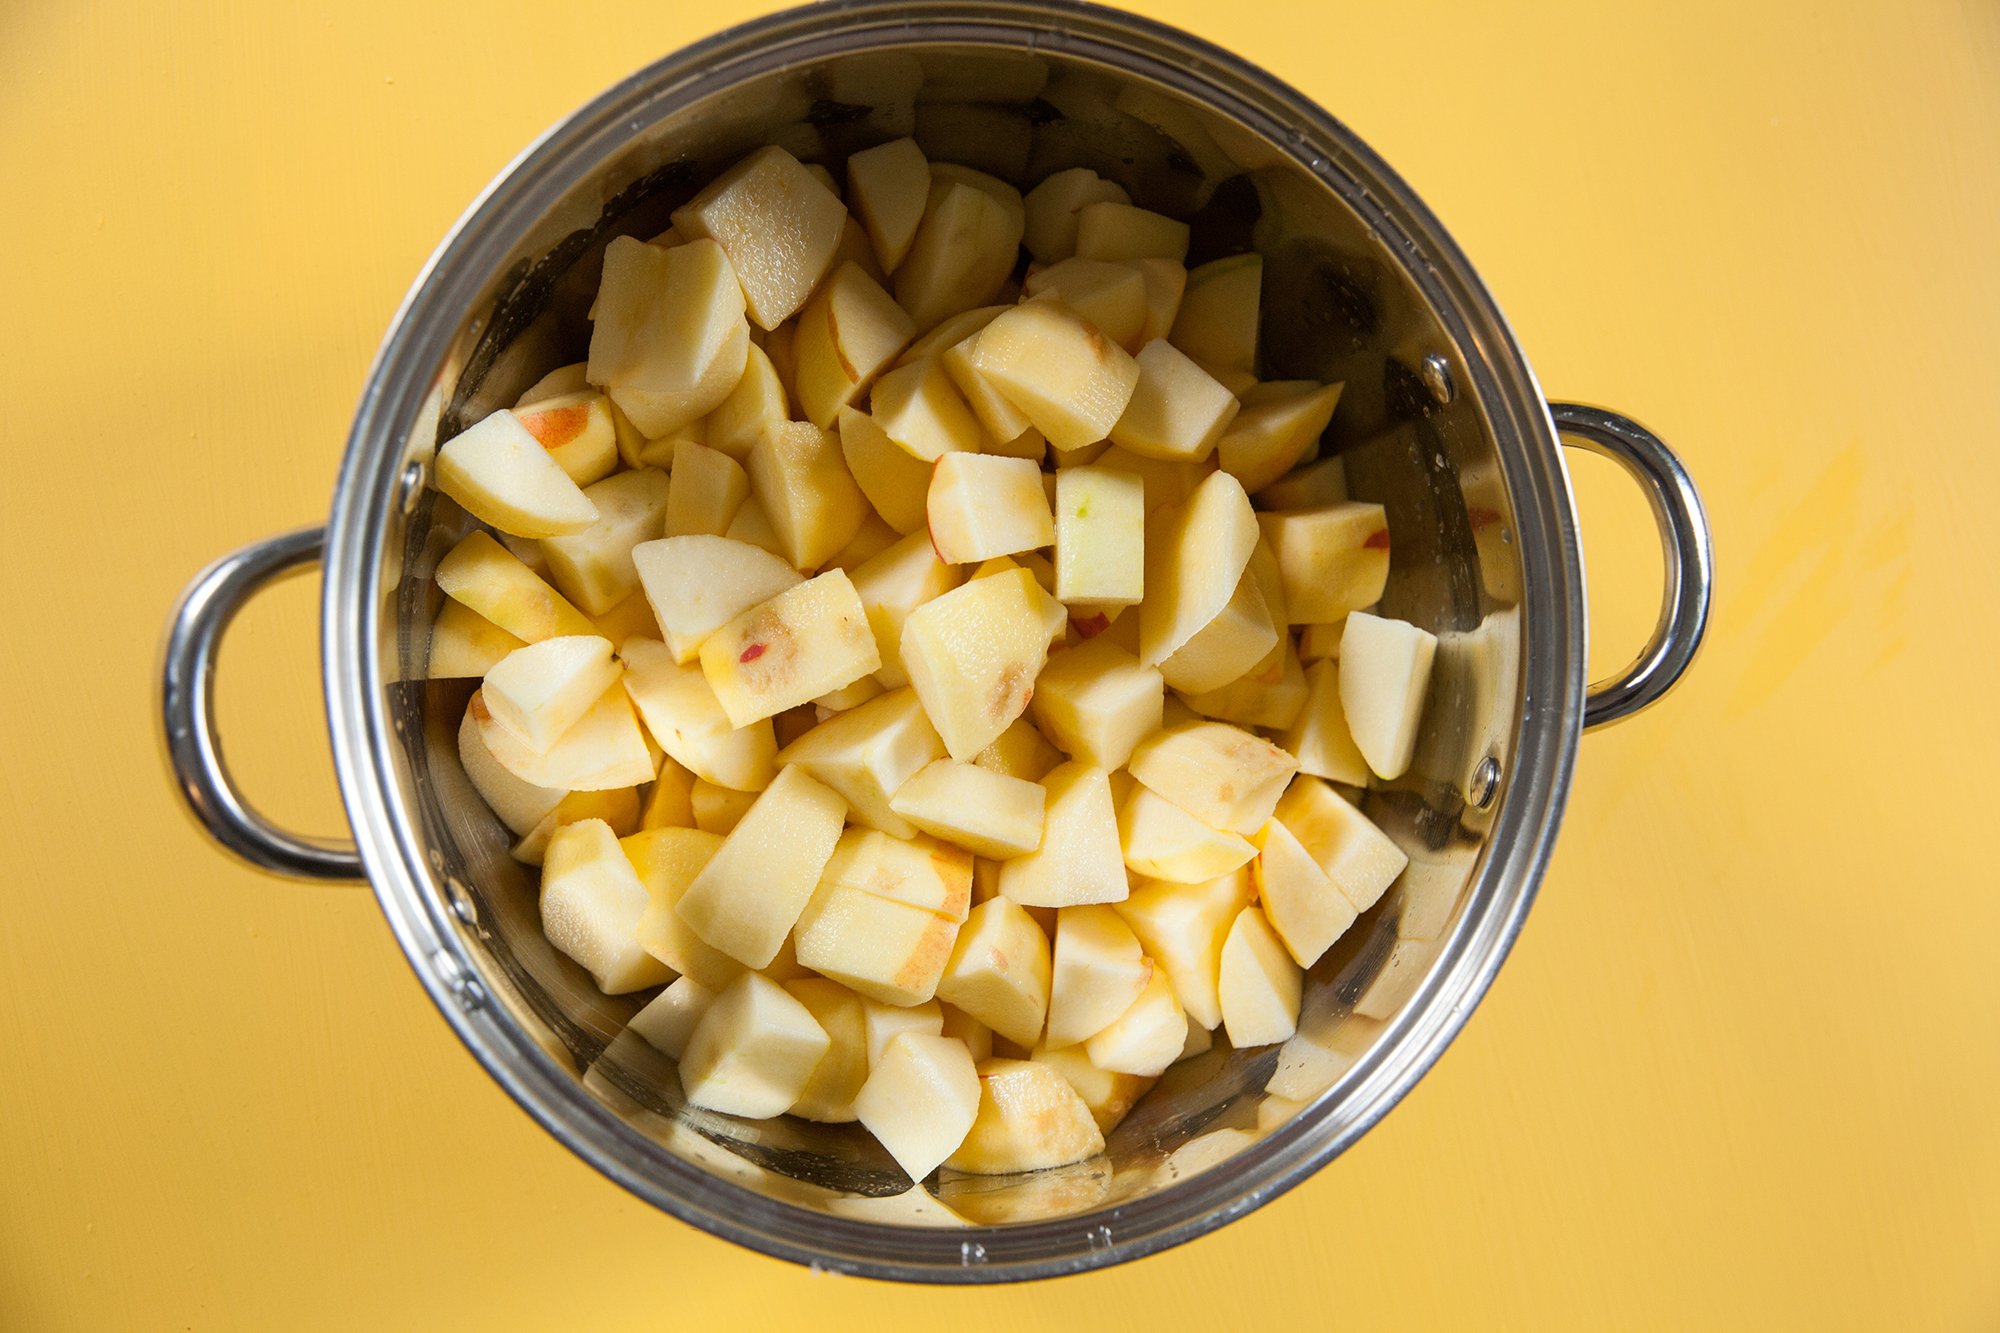
Try not to over mash them as they will get gummy – but aim for no lumps – or else you’ll feel them in the gnocchi and they won’t blend. 
Place the riced potatoes in a large bowl, and then add the flour, salt and olive oil. 
 
Using your hands squeeze everything together until it makes a ball. If it’s too dry, it might need a bit more olive oil, and if it’s too sticky, give it a bit more flour. 
 
Keep the dough covered with either a clean tea towel, or plastic wrap while you form the dumplings. 
 
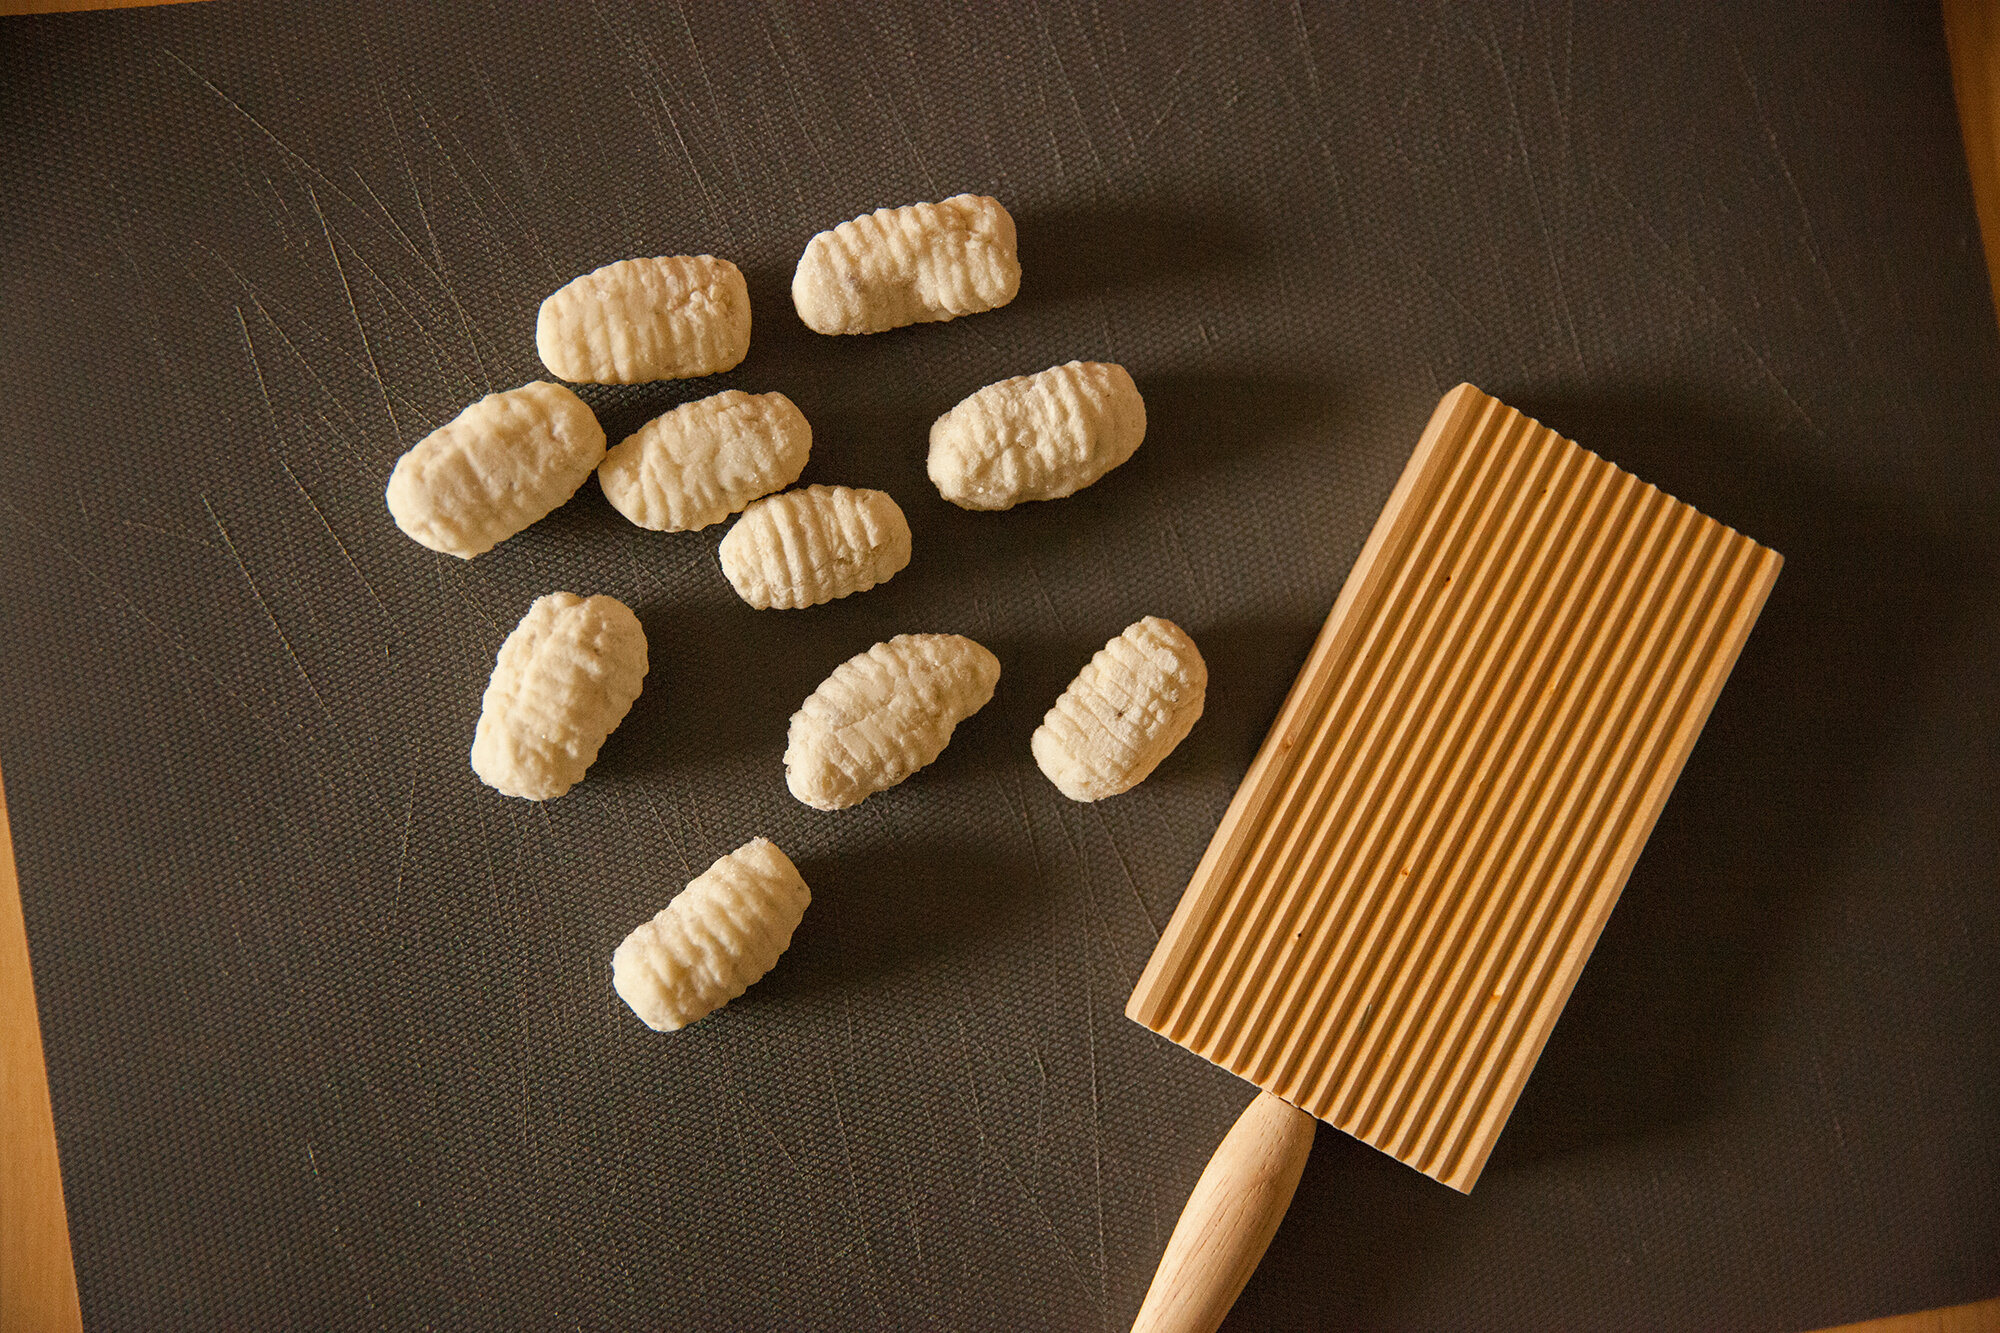
You’ll need about 1 to 2 tsp of the dough, rolled into a ball in your hands, and then roll it into an oblong shape. 
The pattern that lots of gnocchi has can be achieved by rolling it down the backside of a fork, or buying a special board for them (they’re in expensive and save time and effort. 
You don’t HAVE to do this step, but the ridges will help capture whatever sauce the gnocchi go into. 
Plus, it’s prettier. 
 
Place the gnocchi on a flat surface and keep it covered in the fridge as you go.  
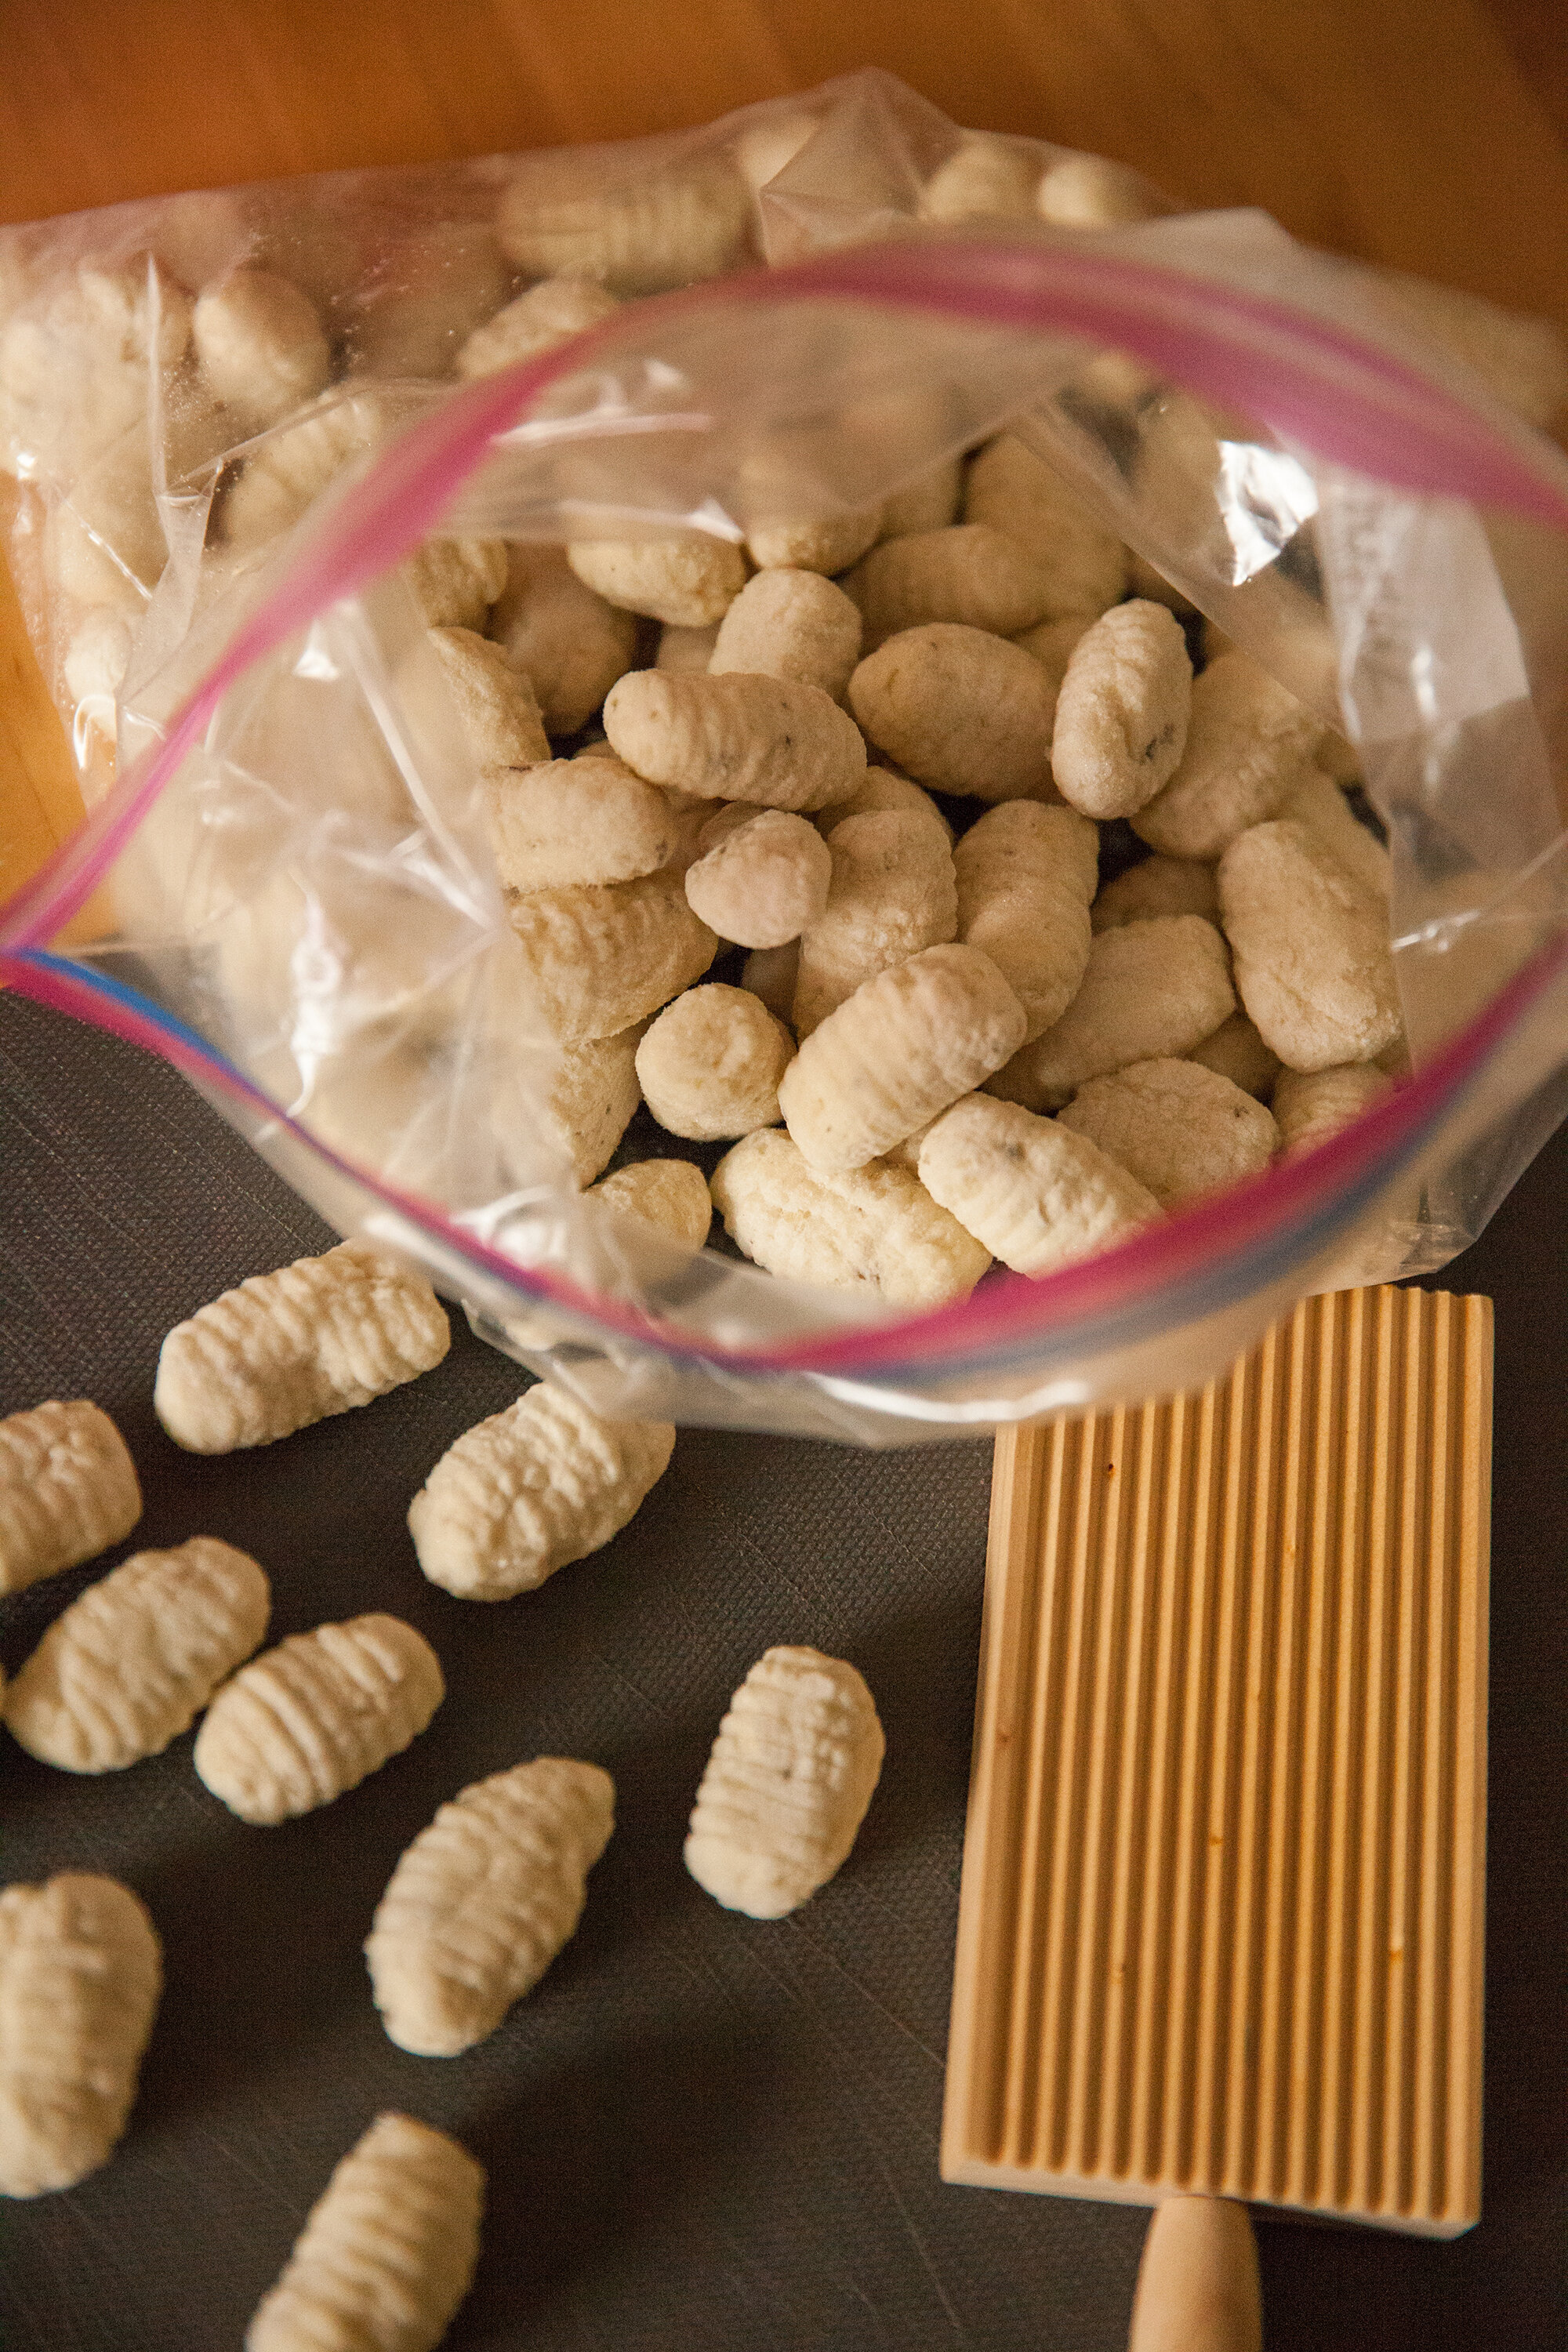
Because you’re making such a big batch, it’s a great idea to freeze some of it while you’re going through this effort. 
To do so place them, separated, on a lined baking sheet flat for at least a few hours in the freezer, and then toss into an air tight container or baggie. 
 
To cook it, place a pot with heavily salted water on the stove and bring to a boil, and then tossing the gnocchi in in batches. It’s done after about a minute of it floating to the top (whole process takes about 5 minutes). For the frozen gnocchi, it may take slightly longer to cook. 
 
Toss in your favourite sauce. I may even try making a gnocchi pizza soon.
ENJOY!