


Tomato Soup
for BC Living “From Scratch”
March 2026
Almost nothing pairs better with a rainy day than tomato soup and grilled cheese—except maybe when that tomato soup is made from scratch.
I find most canned tomato soups far too sugary, but when you make your own, the spice world is your oyster.
You can easily customize this recipe—add heat with red pepper flakes or paprika, or deepen the flavor by tossing in a few Parmesan rinds from the freezer, like I did.
Then get yourself some good, fresh bread and some fancy cheese for your grilled cheese, and you’ve got a perfect lunch - or heck, dinner - that everyone will love.
Serves Approx 6
INGREDIENTS:
4 tbsp extra-virgin olive oil, divided
1 tsp fresh rosemary, finely minced
1 tsp fresh thyme
10 medium tomatoes (on-the-vine preferred; Roma work well)
1 large onion (about 1½–2 cups), roughly chopped
4 cloves garlic, smashed
½ tsp salt (plus more to taste)
2–3 bay leaves
Parmesan rinds (optional)
2½ cups vegetable broth
½ cup freshly grated Parmesan cheese
1 tbsp plain Greek yogurt or sour cream (for serving)
Fresh basil (optional, for serving)
INSTRUCTIONS:
Preheat the oven to 400°F and line a baking sheet with foil (a double layer may be helpful).
In a large bowl, toss the tomatoes with 2 tablespoons of olive oil, thyme, and rosemary until well coated.
Arrange the tomatoes on the baking sheet, stem-side down. Using a knife, cut a small “X” in the bottom of each tomato. Add on any of the rosemary and thyme left in the bottom of the bowl.
Place in the oven and cook for 30 minutes and then turn the broil on and broil the tomatoes for another 10-15 minutes, checking them every so often. A little blackening on the top is what you’re aiming for; do not let them burn.
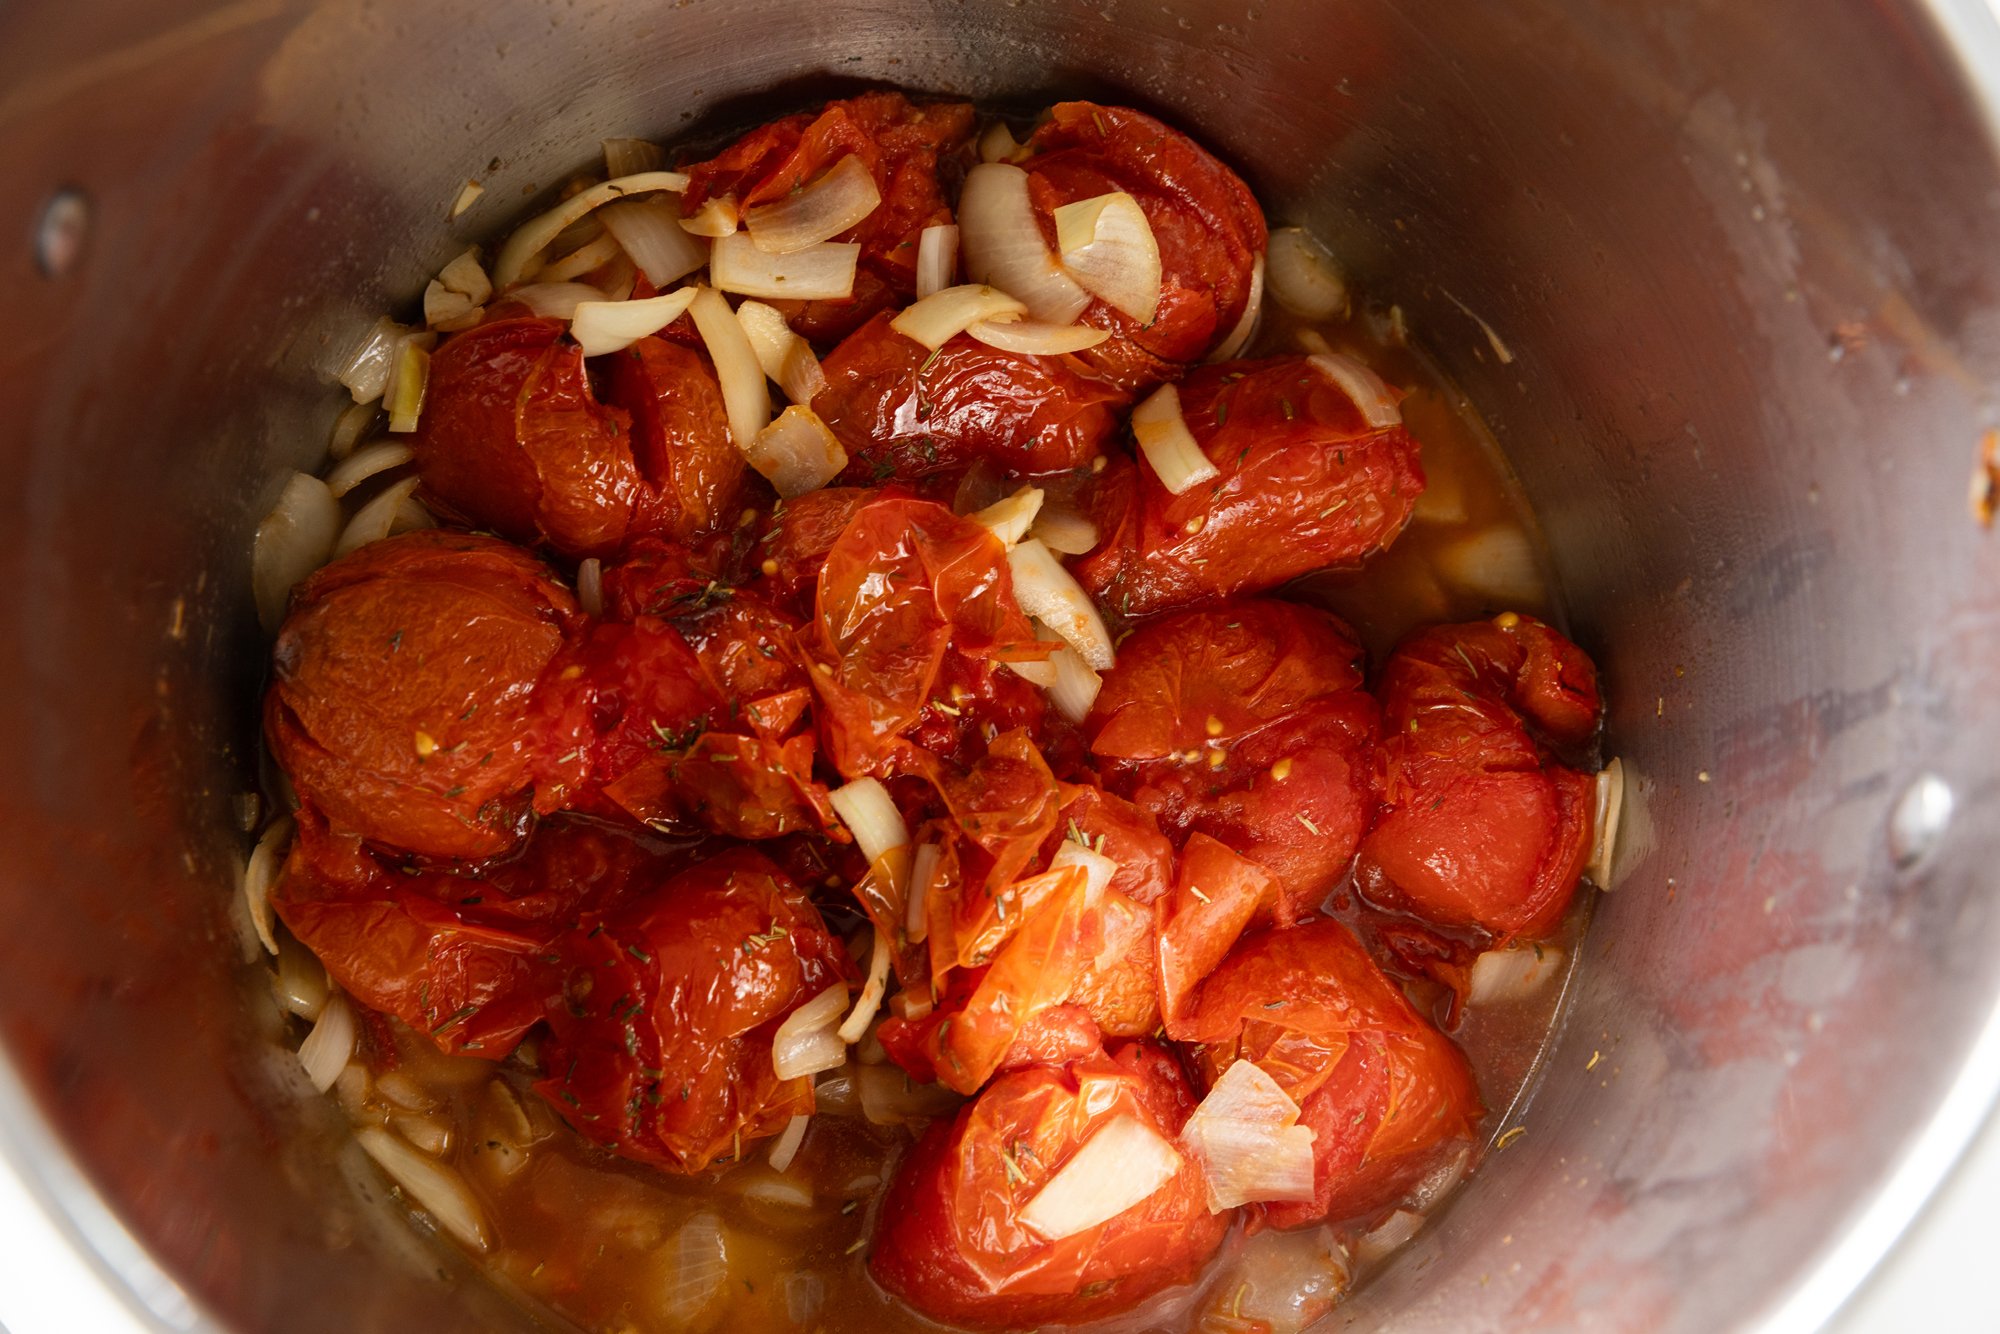
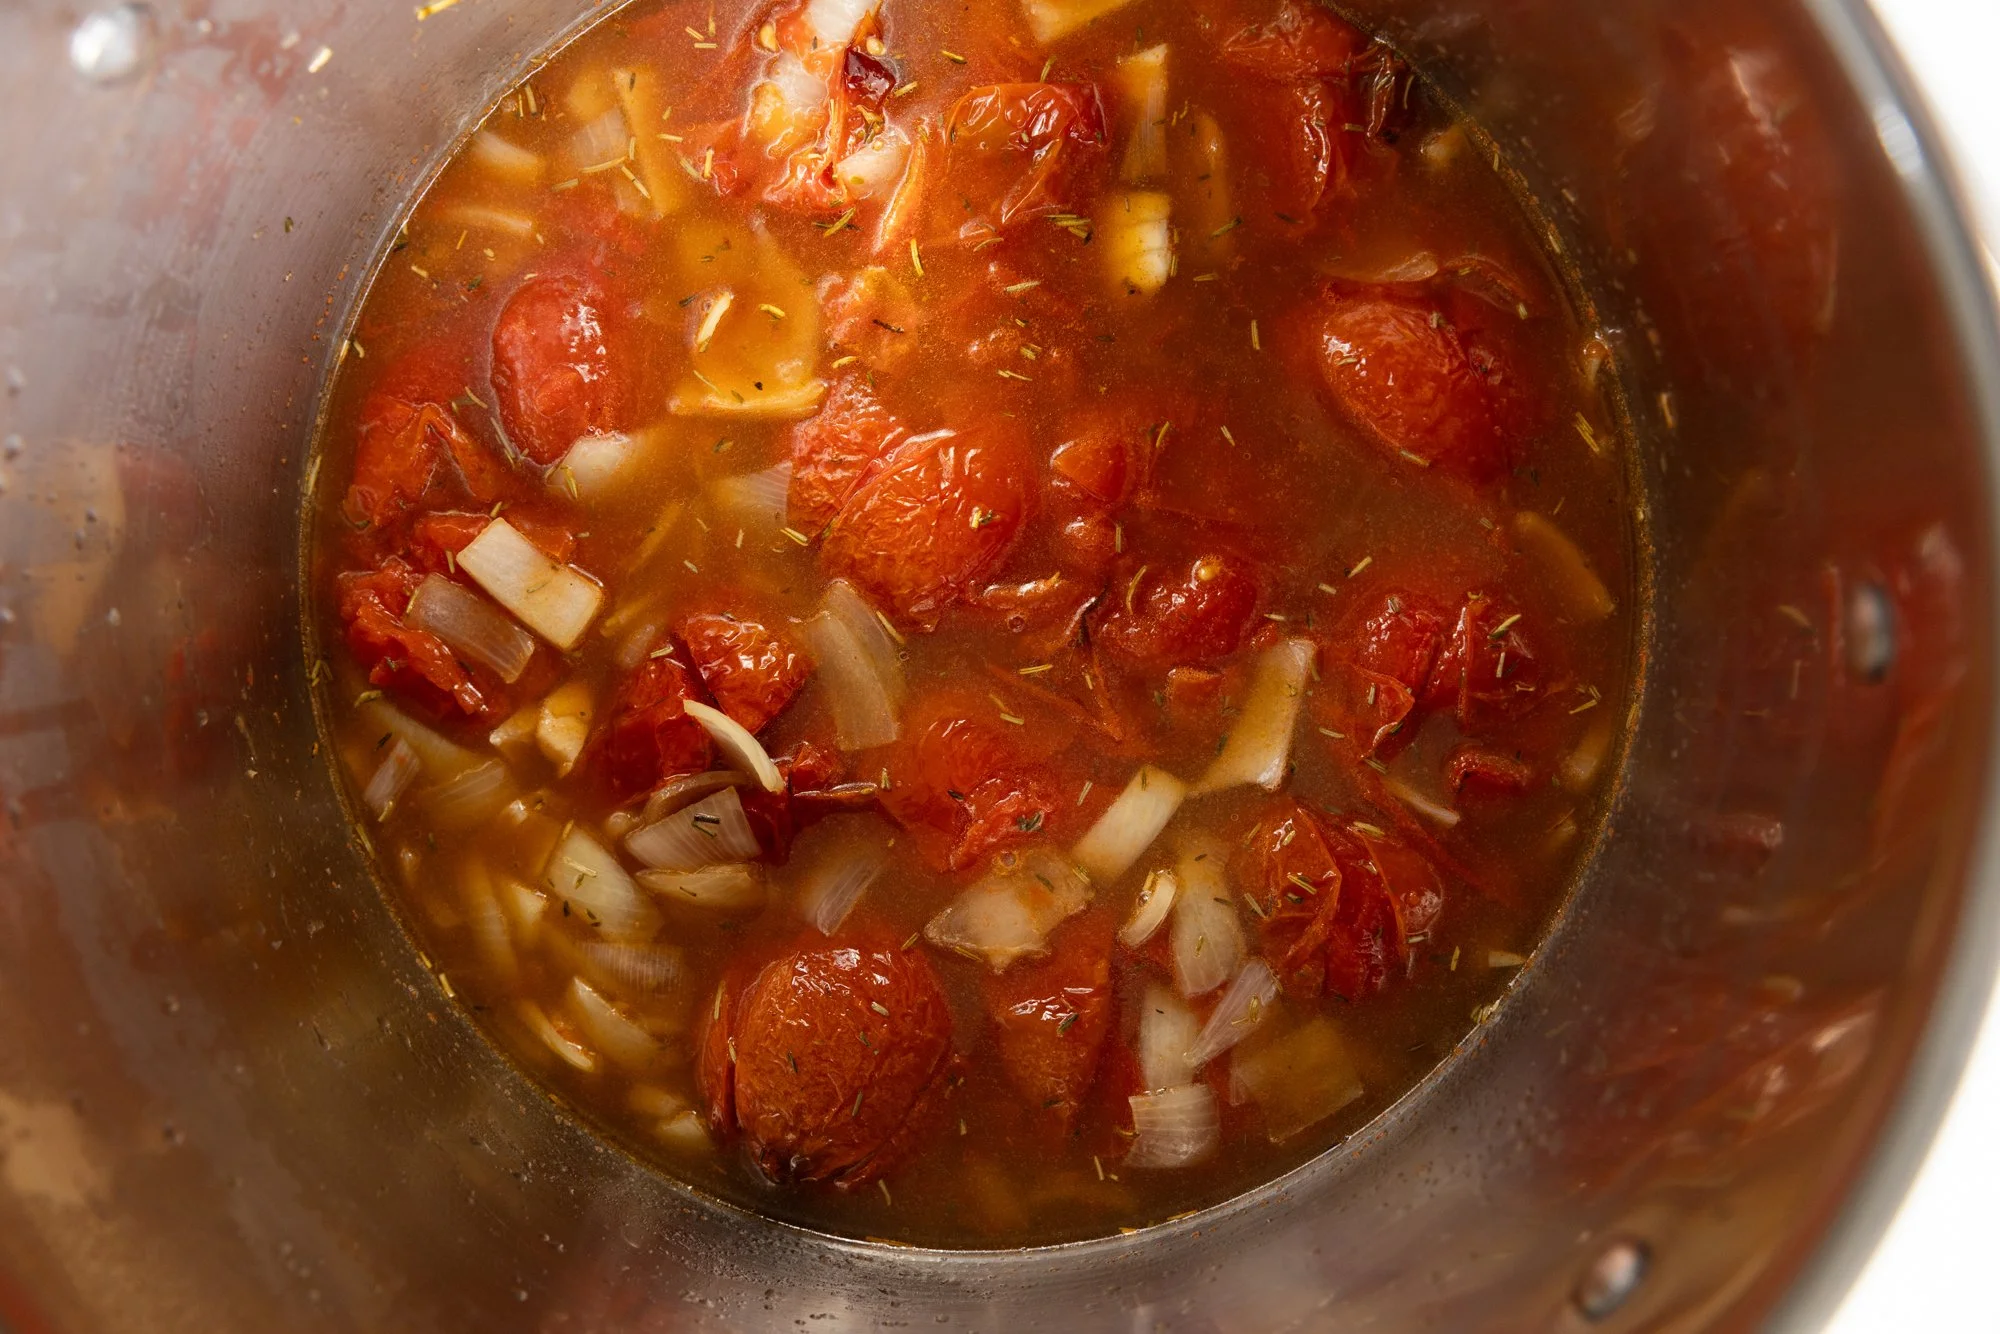
While the tomatoes finish cooking, heat the remaining olive oil in a heavy-bottomed pot over medium heat. Add the onion and garlic, sprinkle with salt and sauté for 5 minutes. Once the tomatoes are done, add them into the pot, along with the vegetable broth, bay leaves, and optional parmesan rinds if you have some in the freezer!
Gently break up the tomatoes with the back of a spoon. Bring to a simmer and cook on low for about 15 minutes, then remove the bay leaves and parmesan rinds.
Carefully blend the soup until smooth using a high-speed blender (in batches if needed), or use an immersion blender directly in the pot.
For an extra smooth texture, strain the soup back into the pot, discarding any remaining solids.
Stir in the grated Parmesan cheese until melted. Taste and adjust seasoning as needed.
Ladle into bowls and top with a swirl of thinned Greek yogurt or sour cream, fresh basil (if you have it), and cracked black pepper and serve with that that extra-gooey grilled cheese!
This soup freezes well, so future-you will thank you on the next cold afternoon.
ENJOY!