

3 Easy Salad Dressings From Scratch
for BC Living
August 2022
Homemade Salad Dressing
Store-bought salad dressing just can’t hold a candle to making it at home. It’s so much fresher, preservative free, and far, far less sugar than most bottled up dressings.
I’ve put together three different kinds for you, two of which are (or can be made) vegan, and you probably have a majority of the ingredients in your kitchen right now.
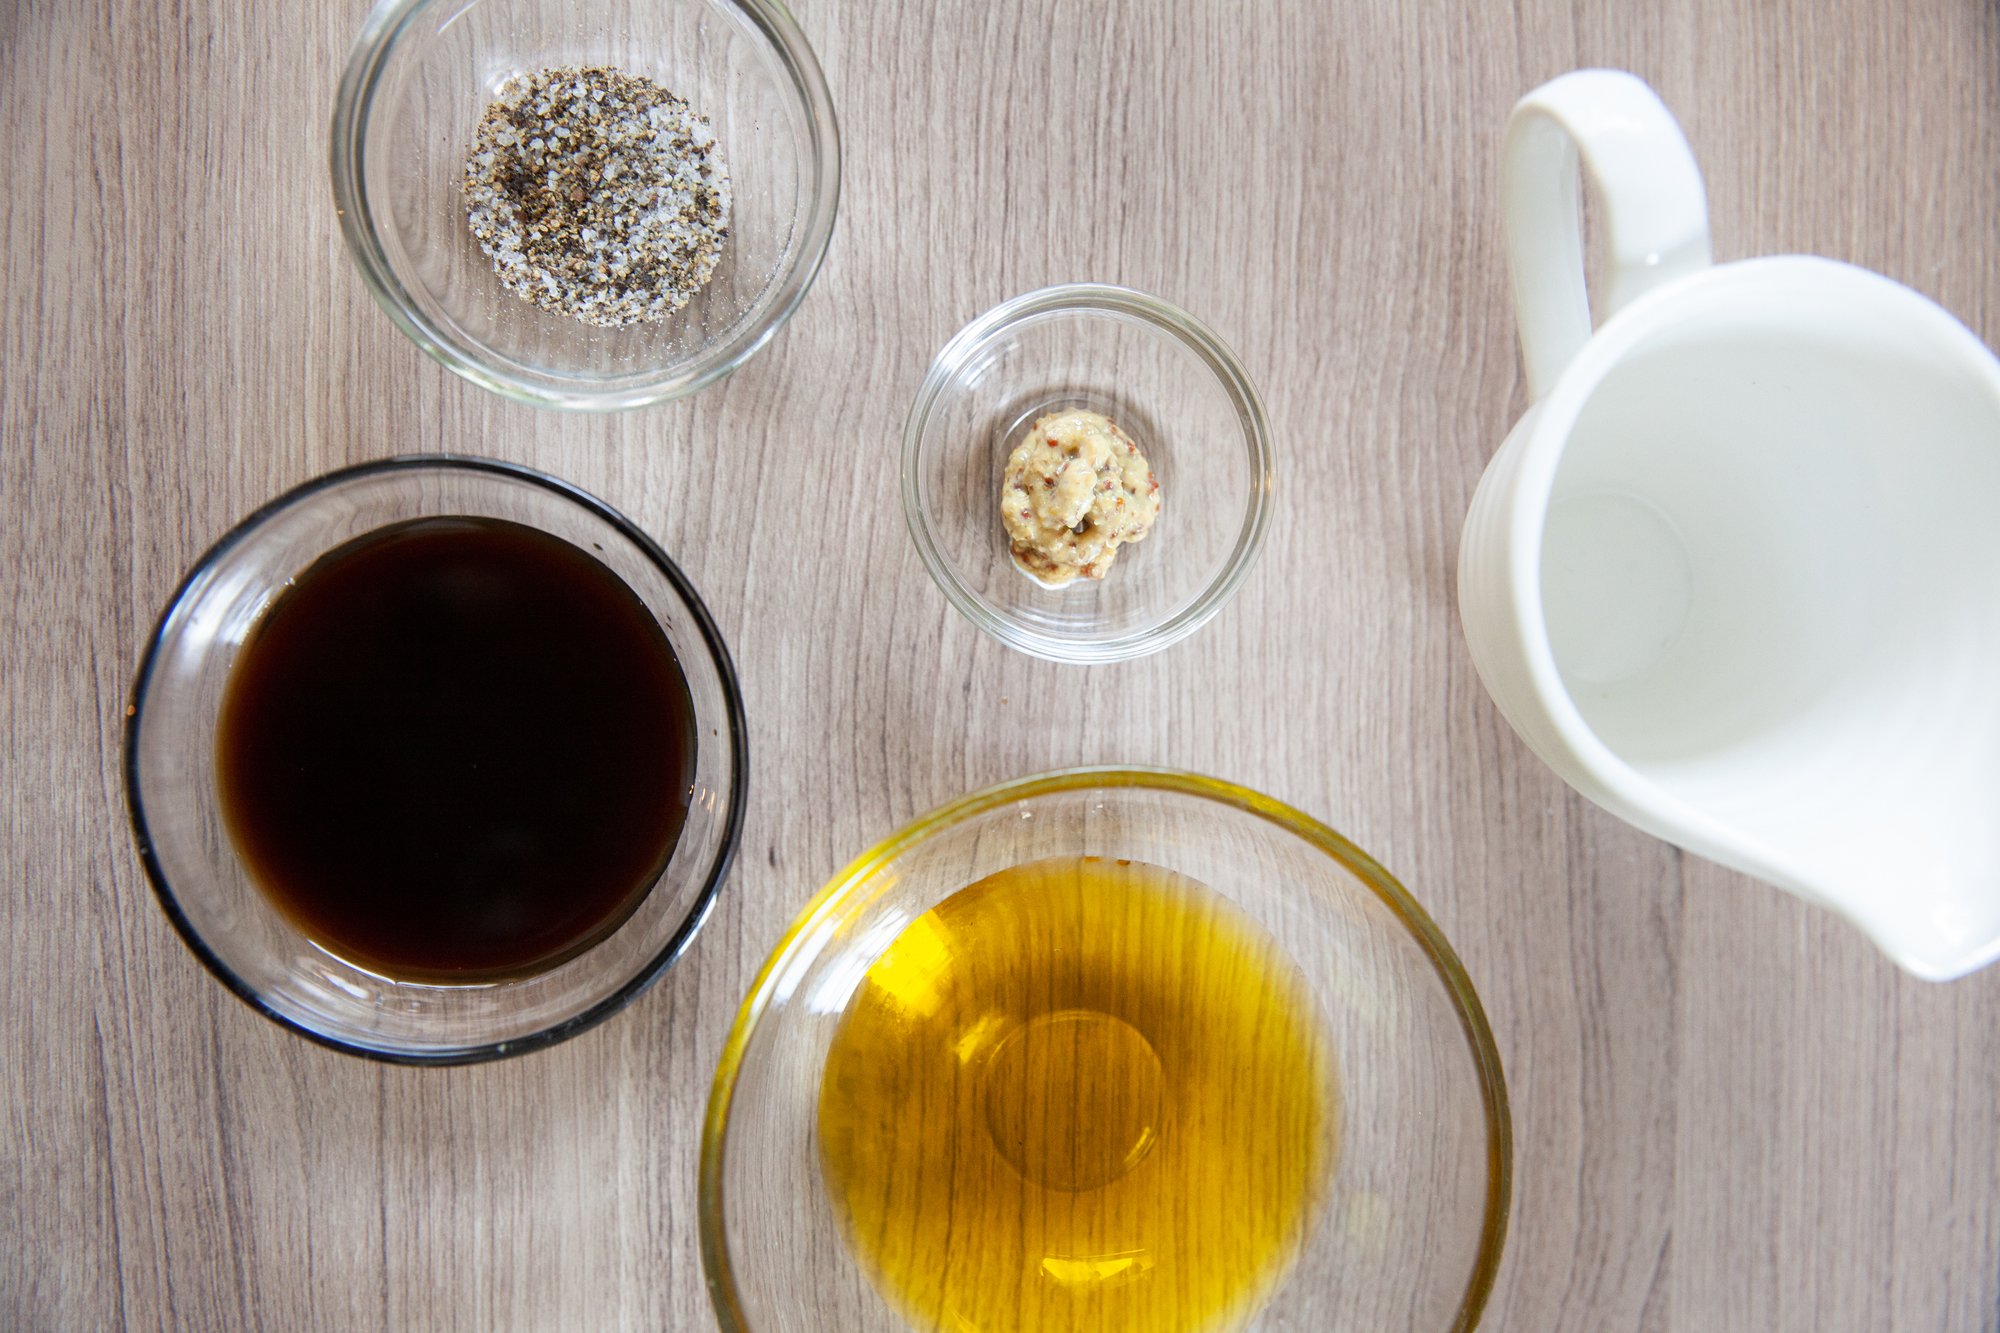
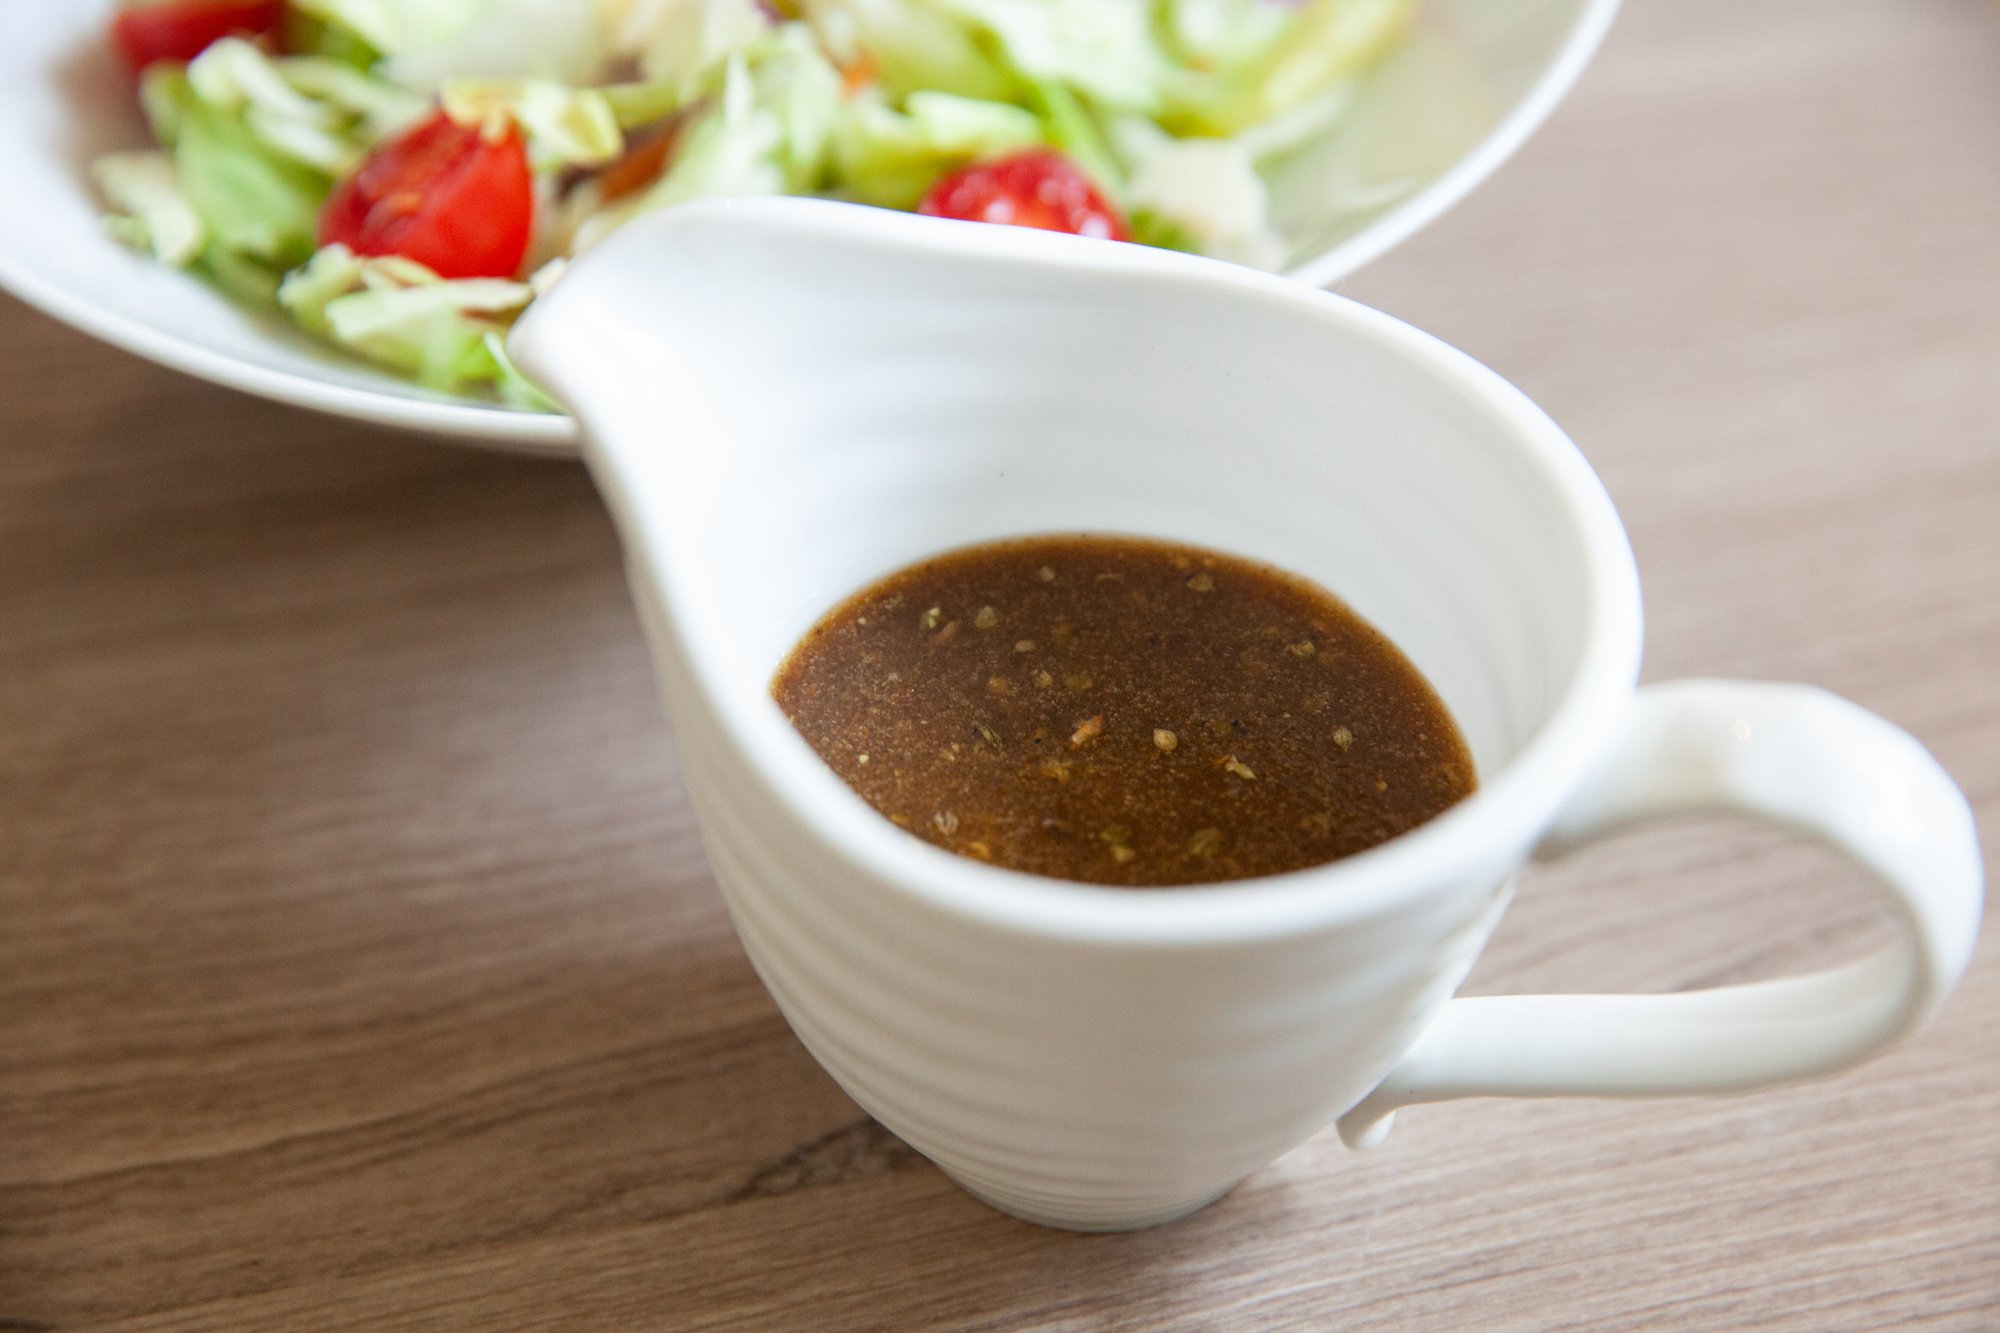
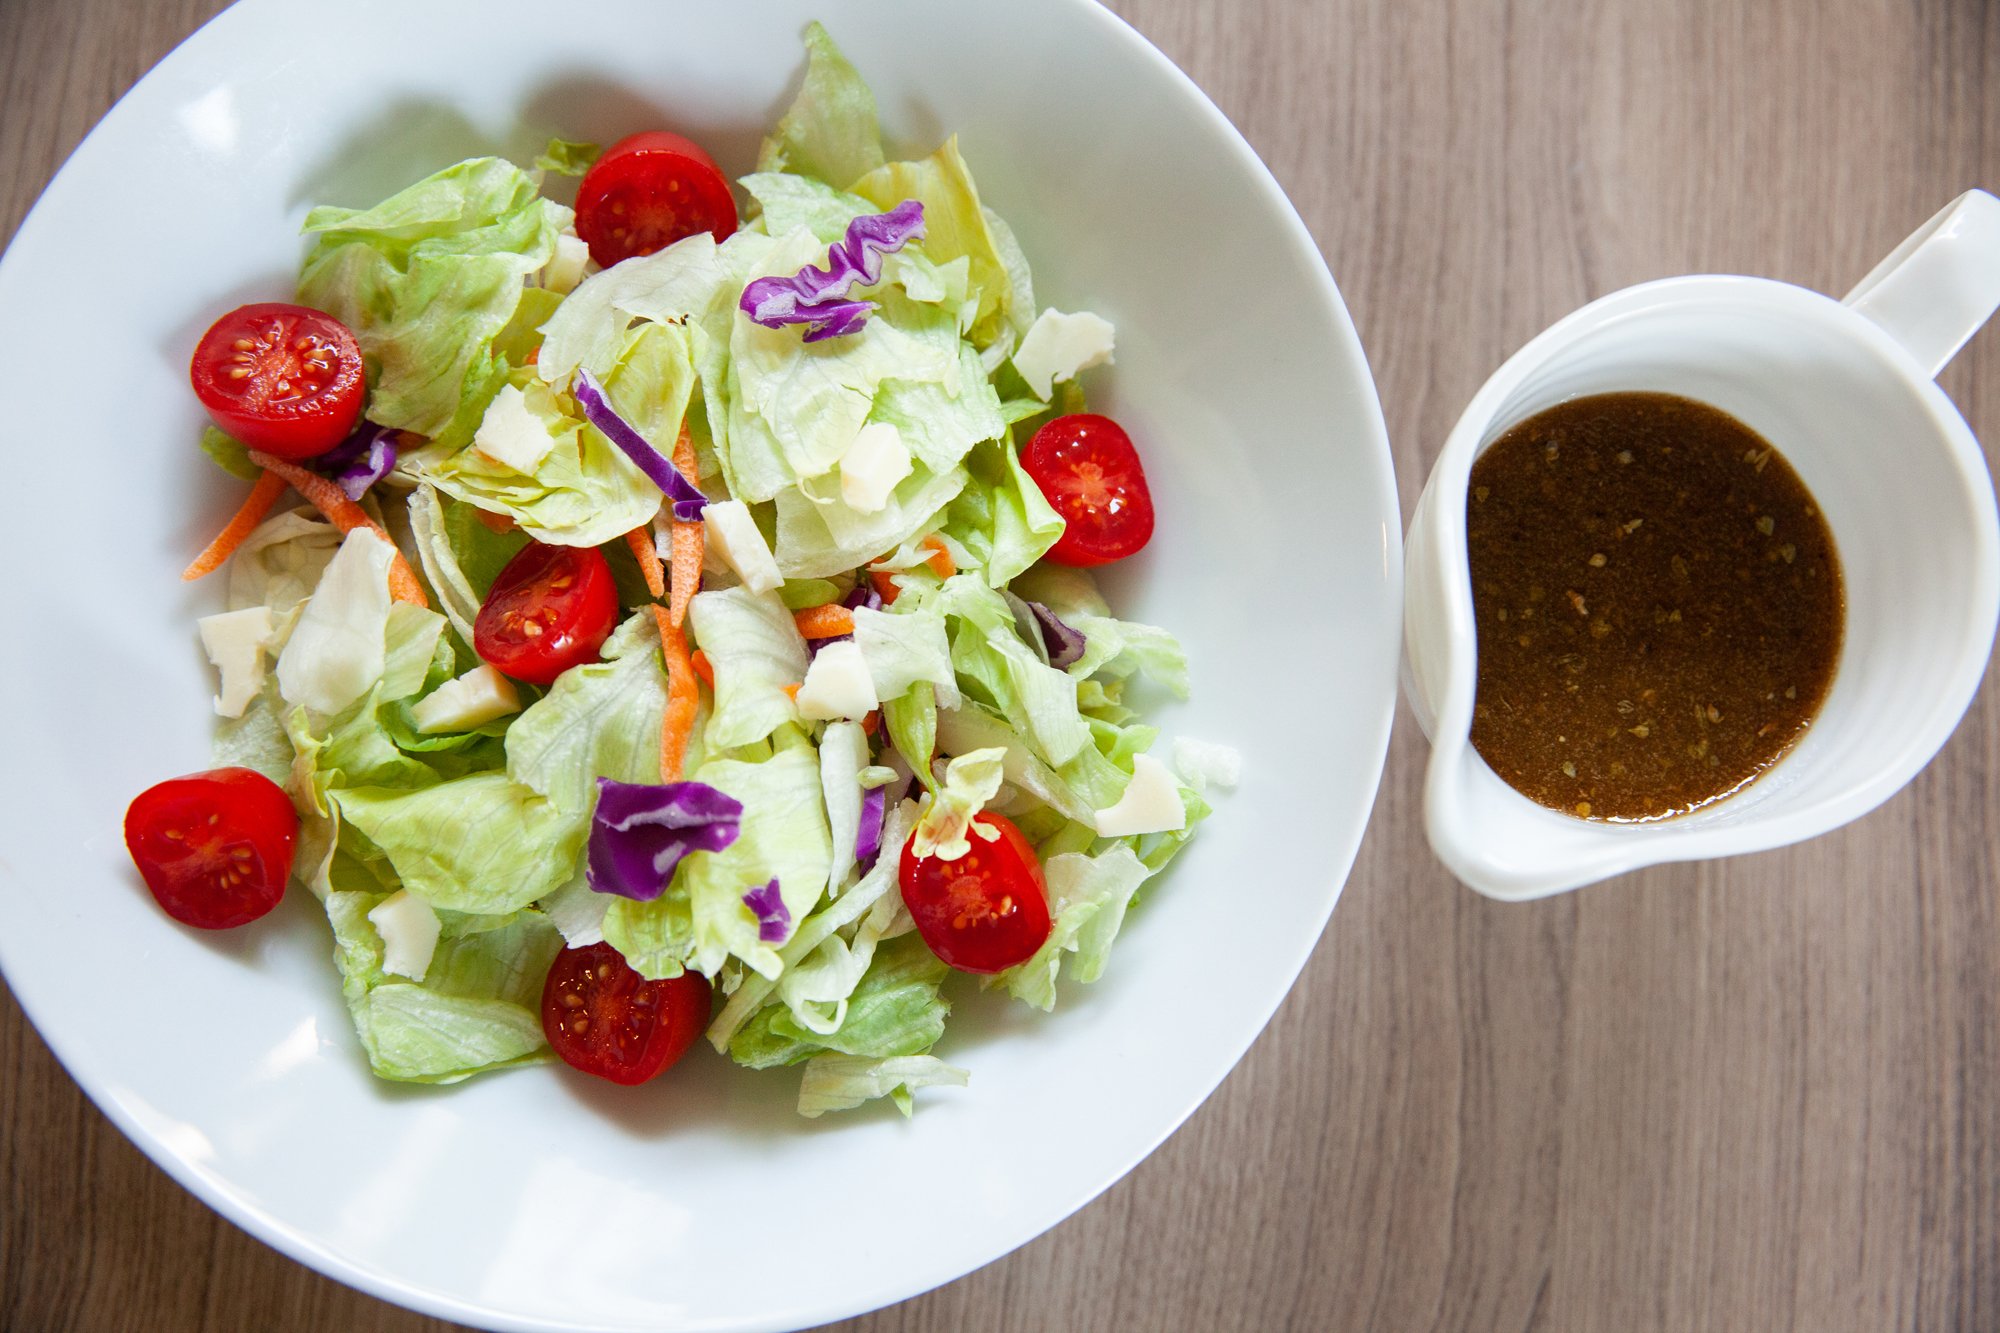
Balsamic Dressing
The easiest dressing to make for sure and versatile on a variety of salads from a regular garden salad to a strawberry spinach one.
INGREDIENTS:
- 1/4 cup balsamic vinegar
- 1/4 cup extra virgin olive oil
- 2 tsp Dijon mustard
- 1/2 teaspoon dried thyme
- Salt and pepper
- Optional: 1-2 tbsp honey or maple syrup if you prefer sweeter
- minced garlic
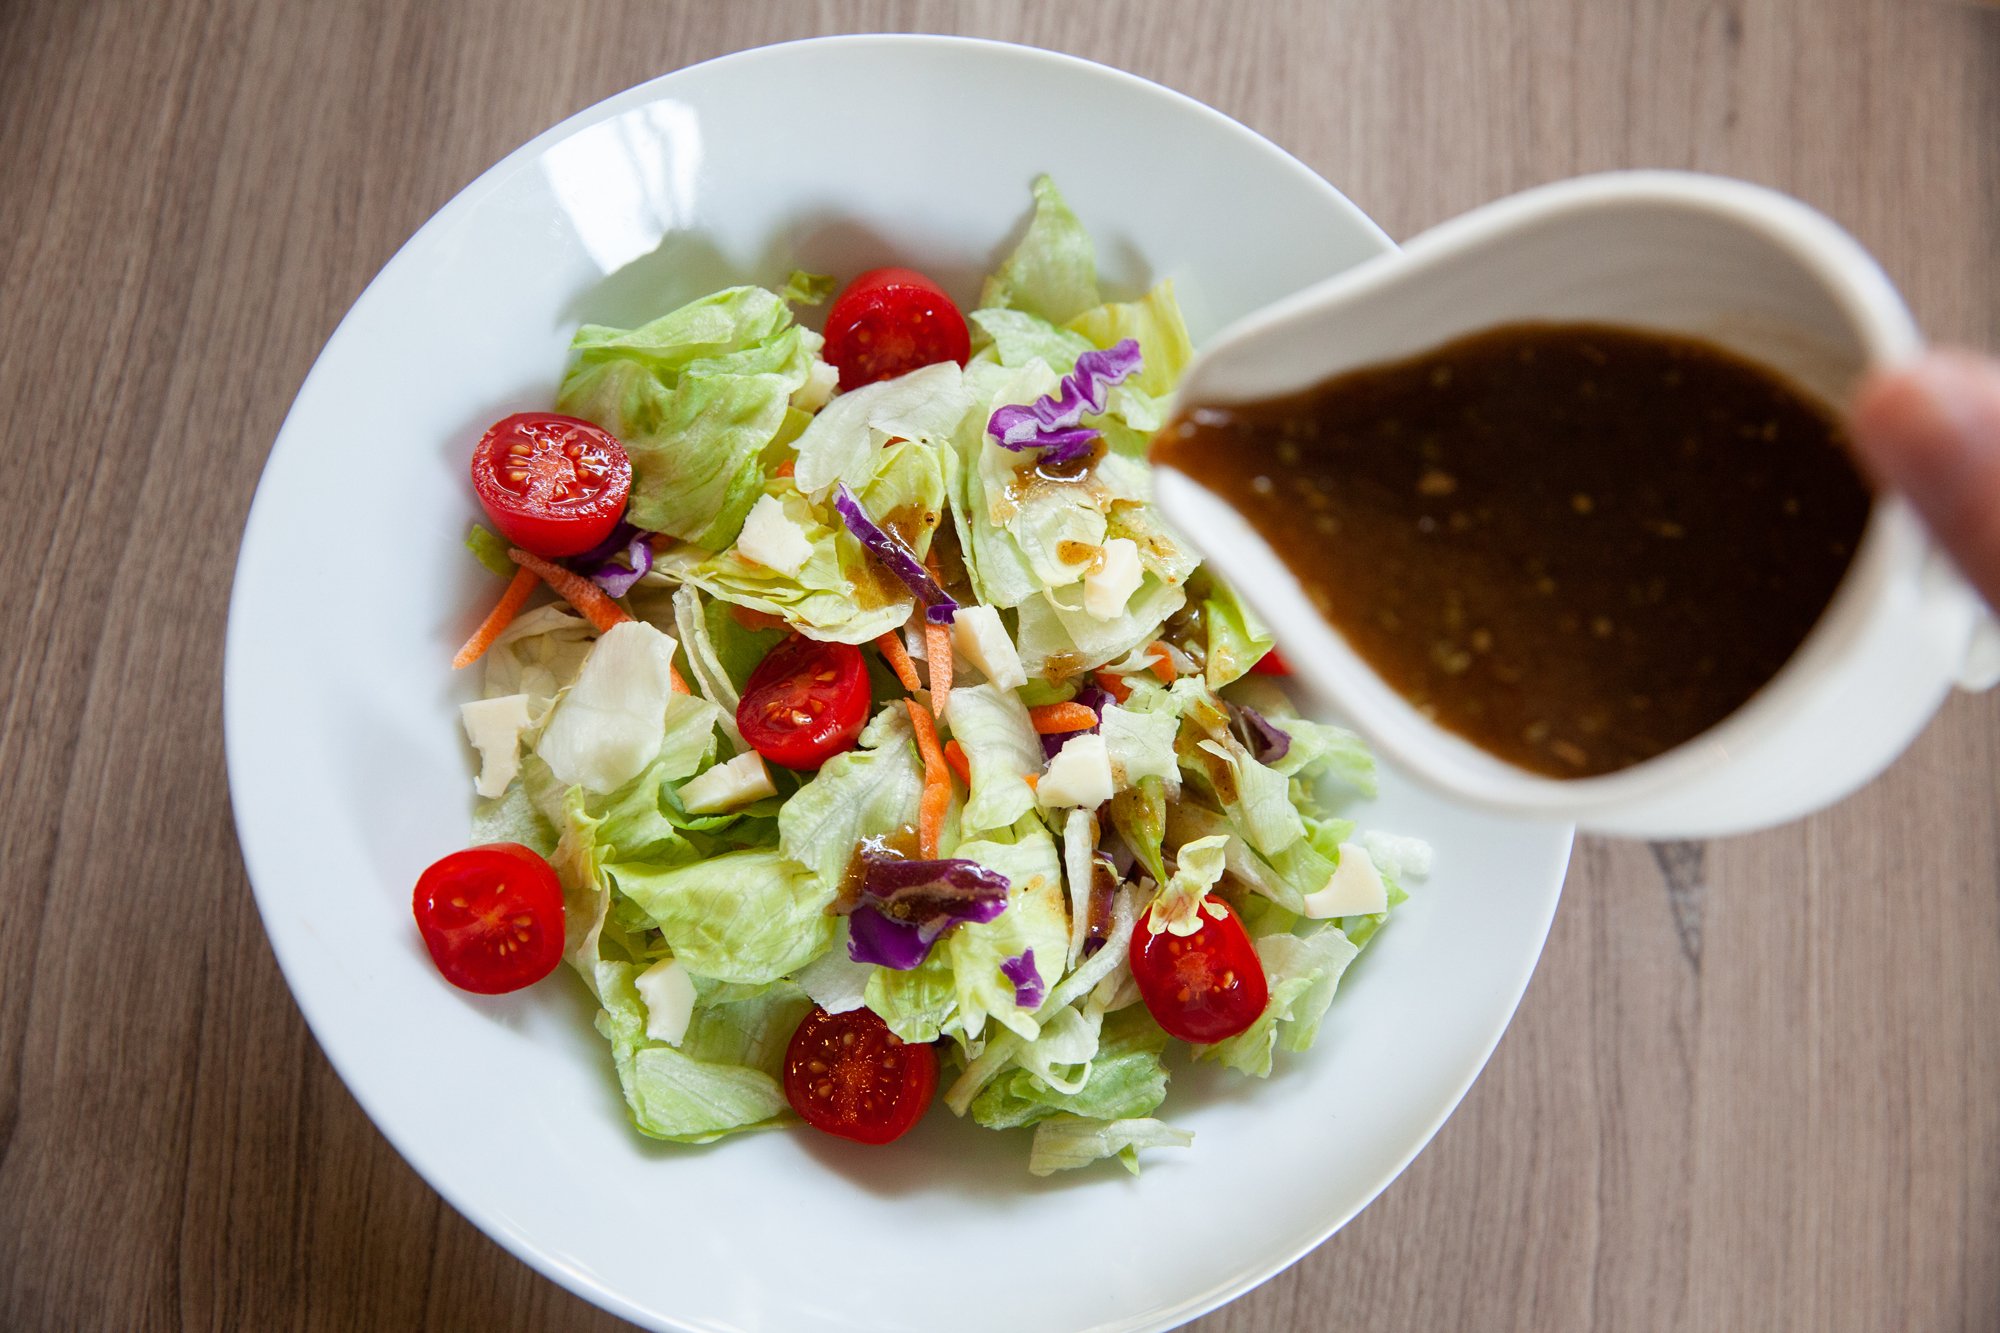
INSTRUCTIONS:
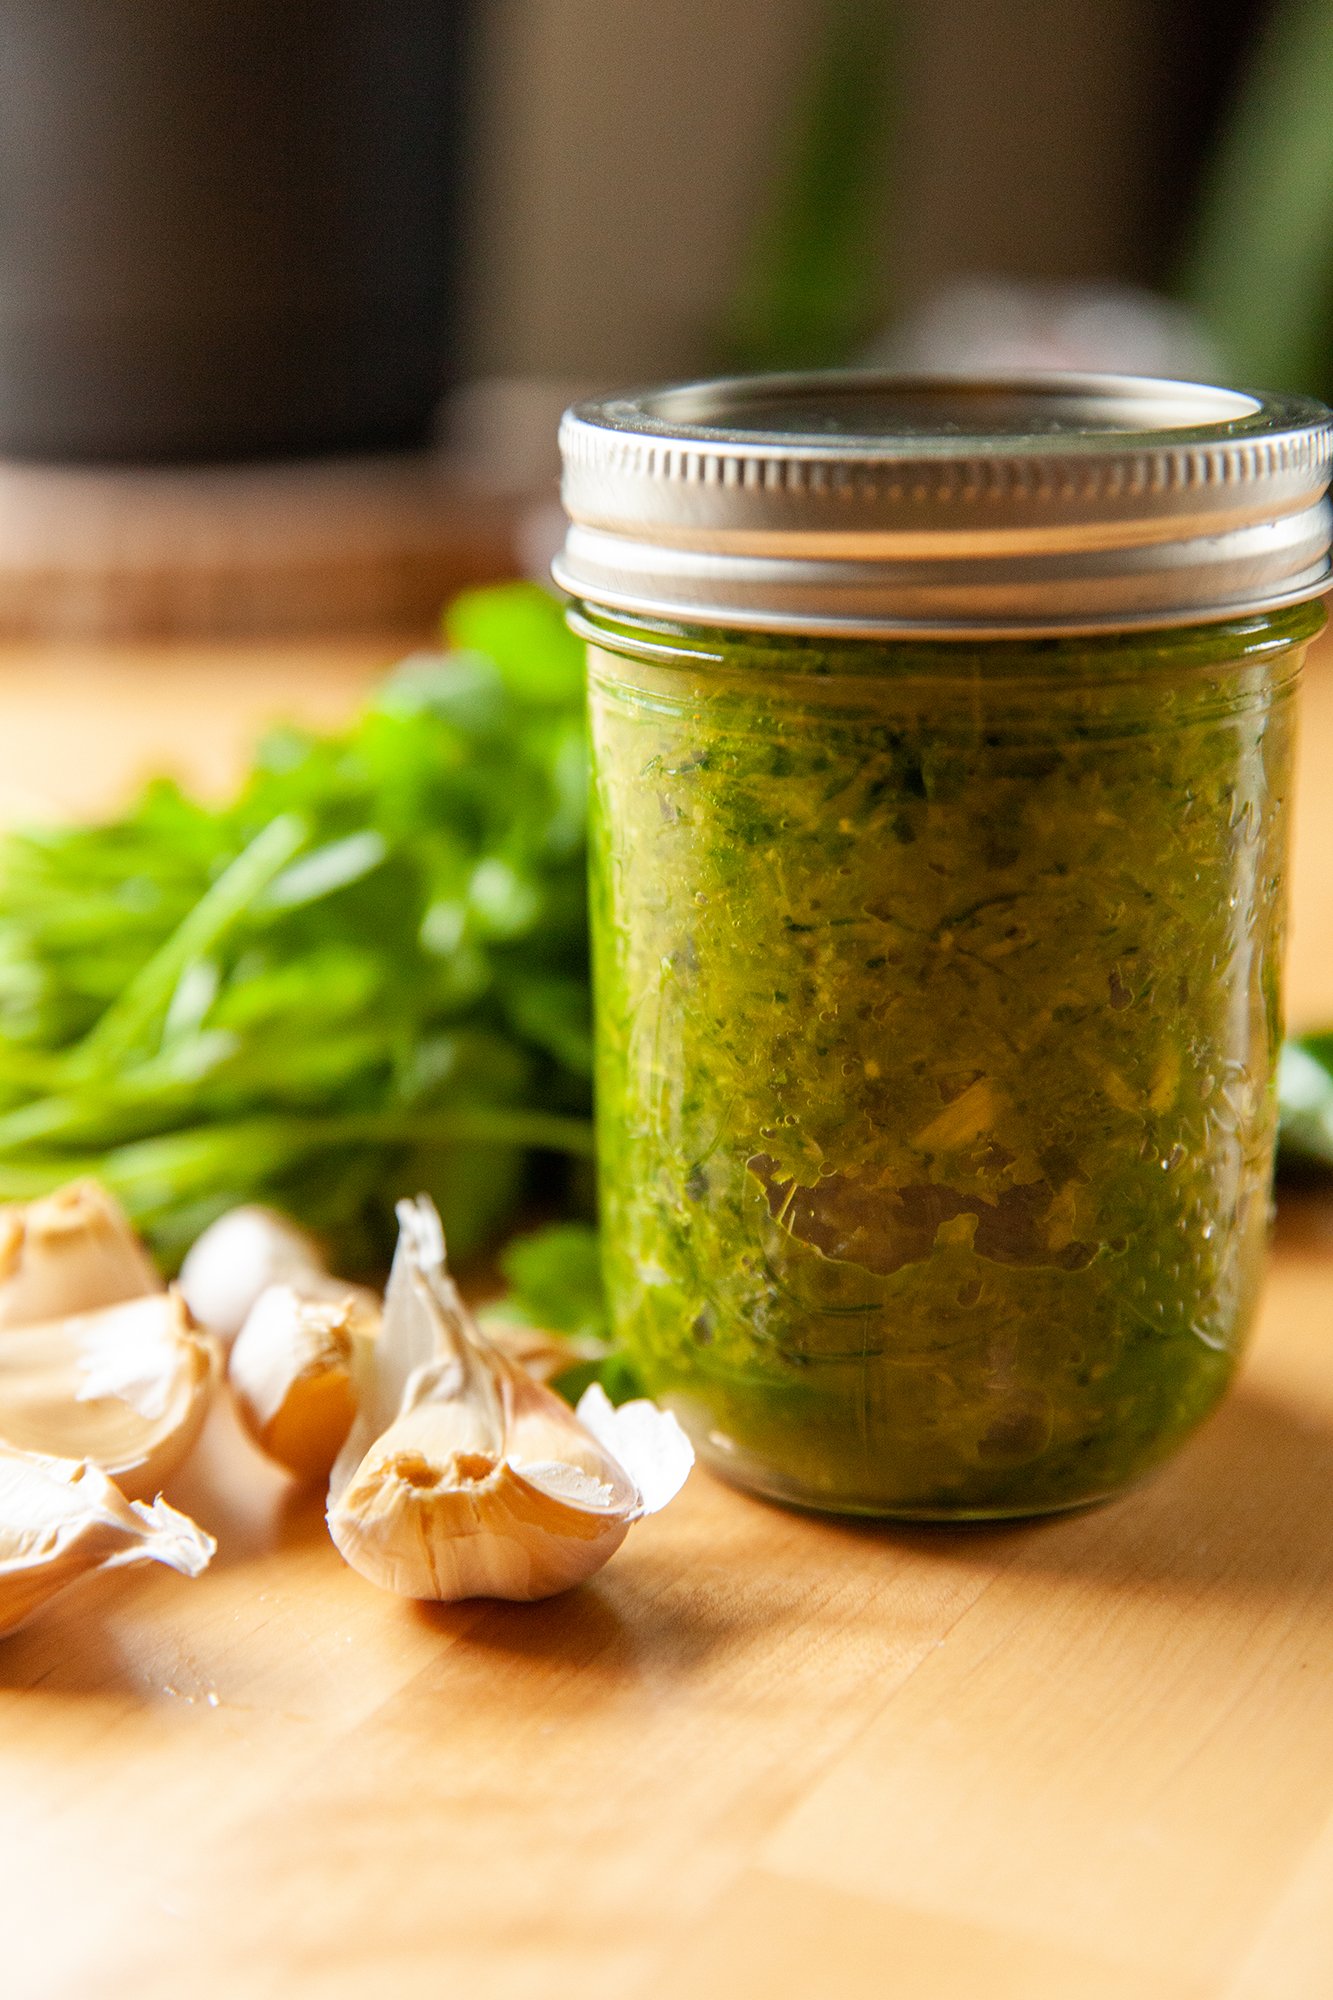
Whisk or shake in a closed mason jar until fully combined.
-----
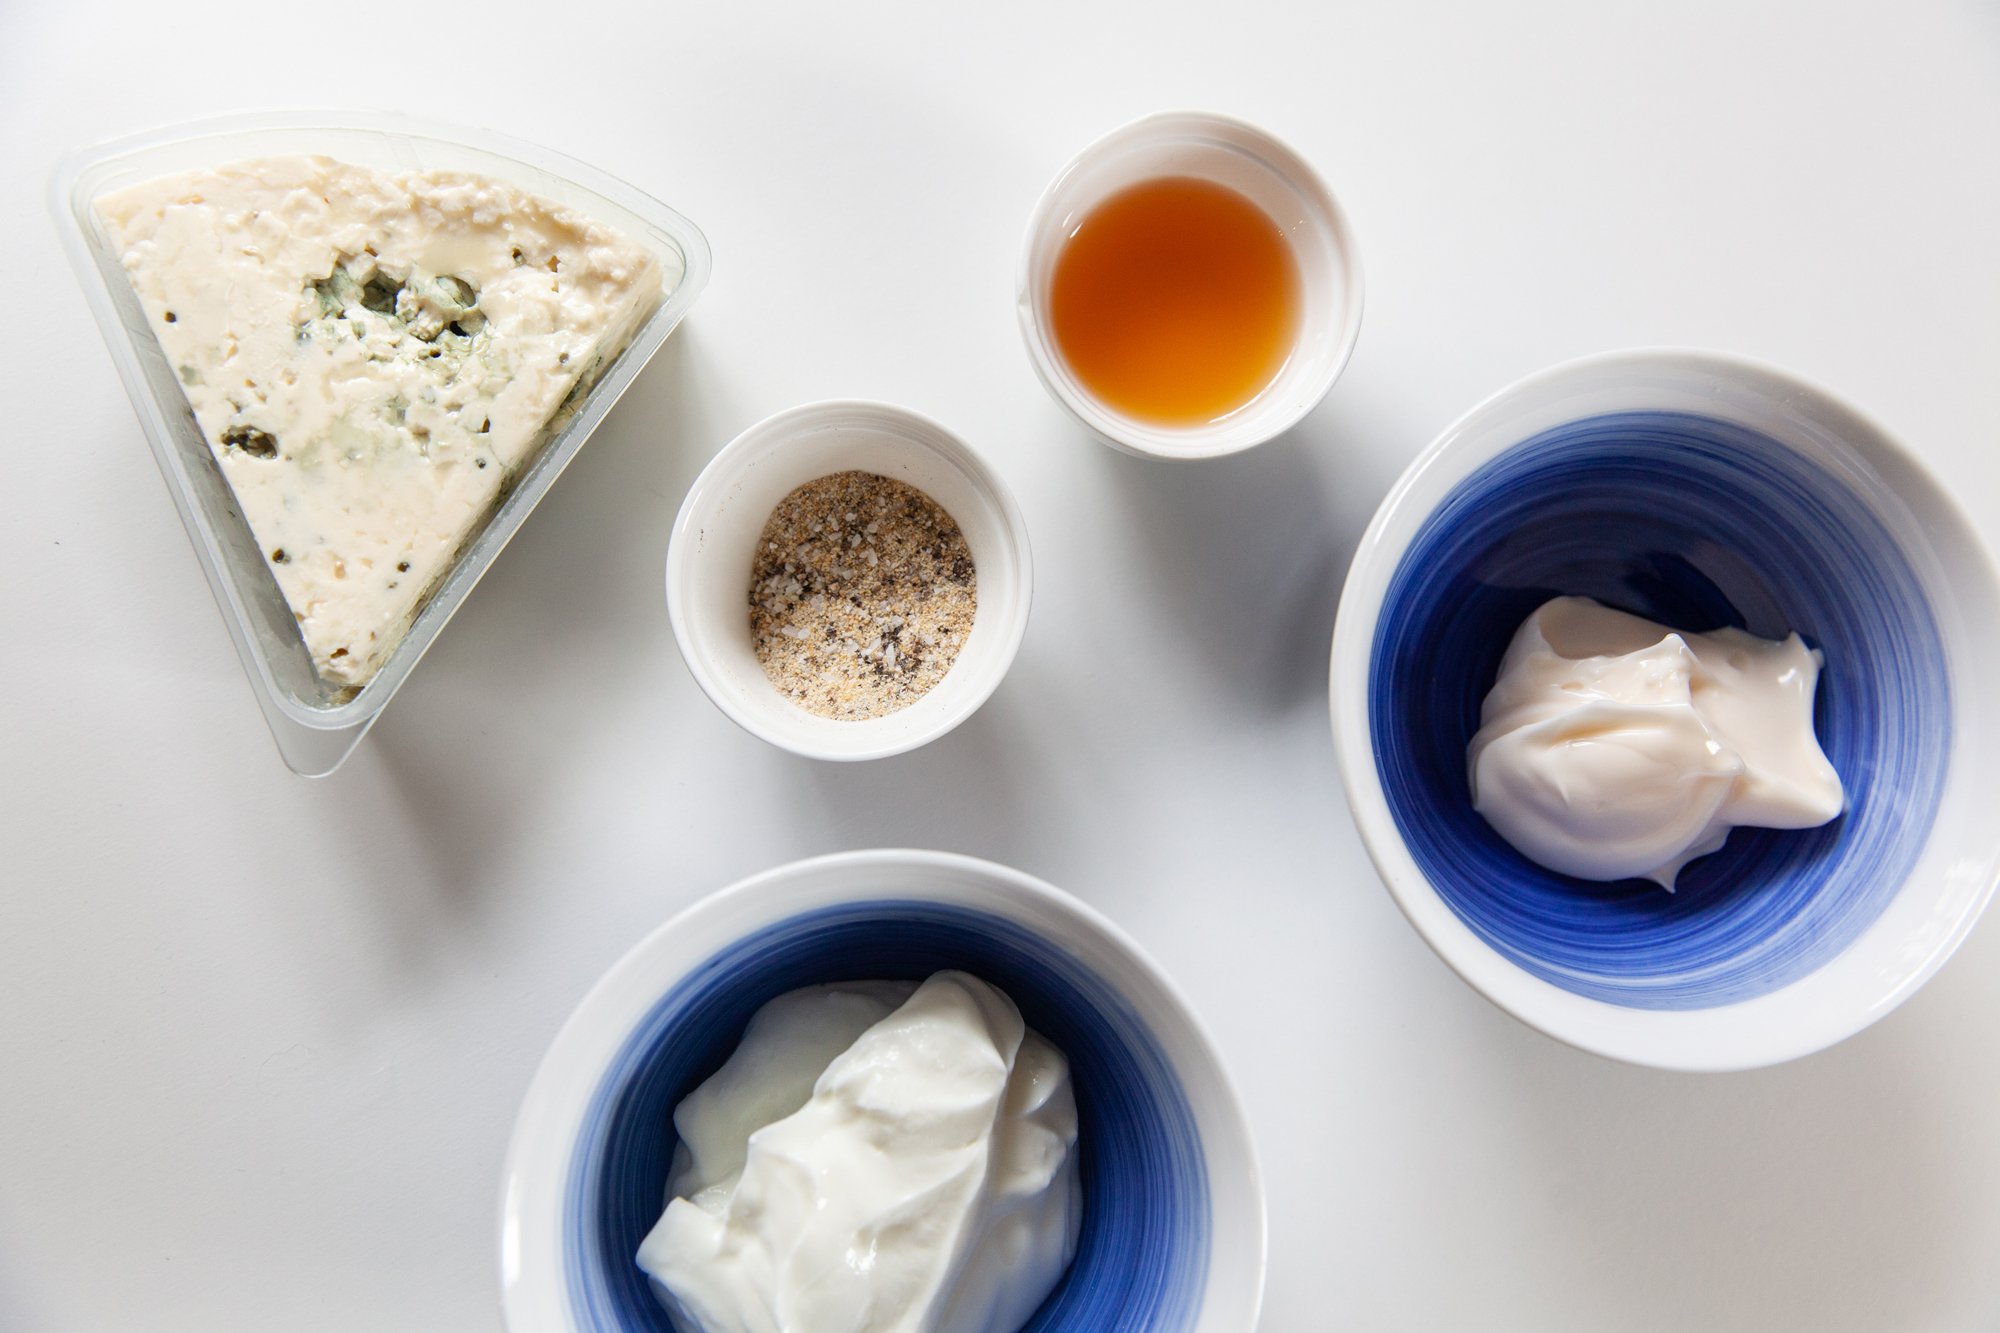
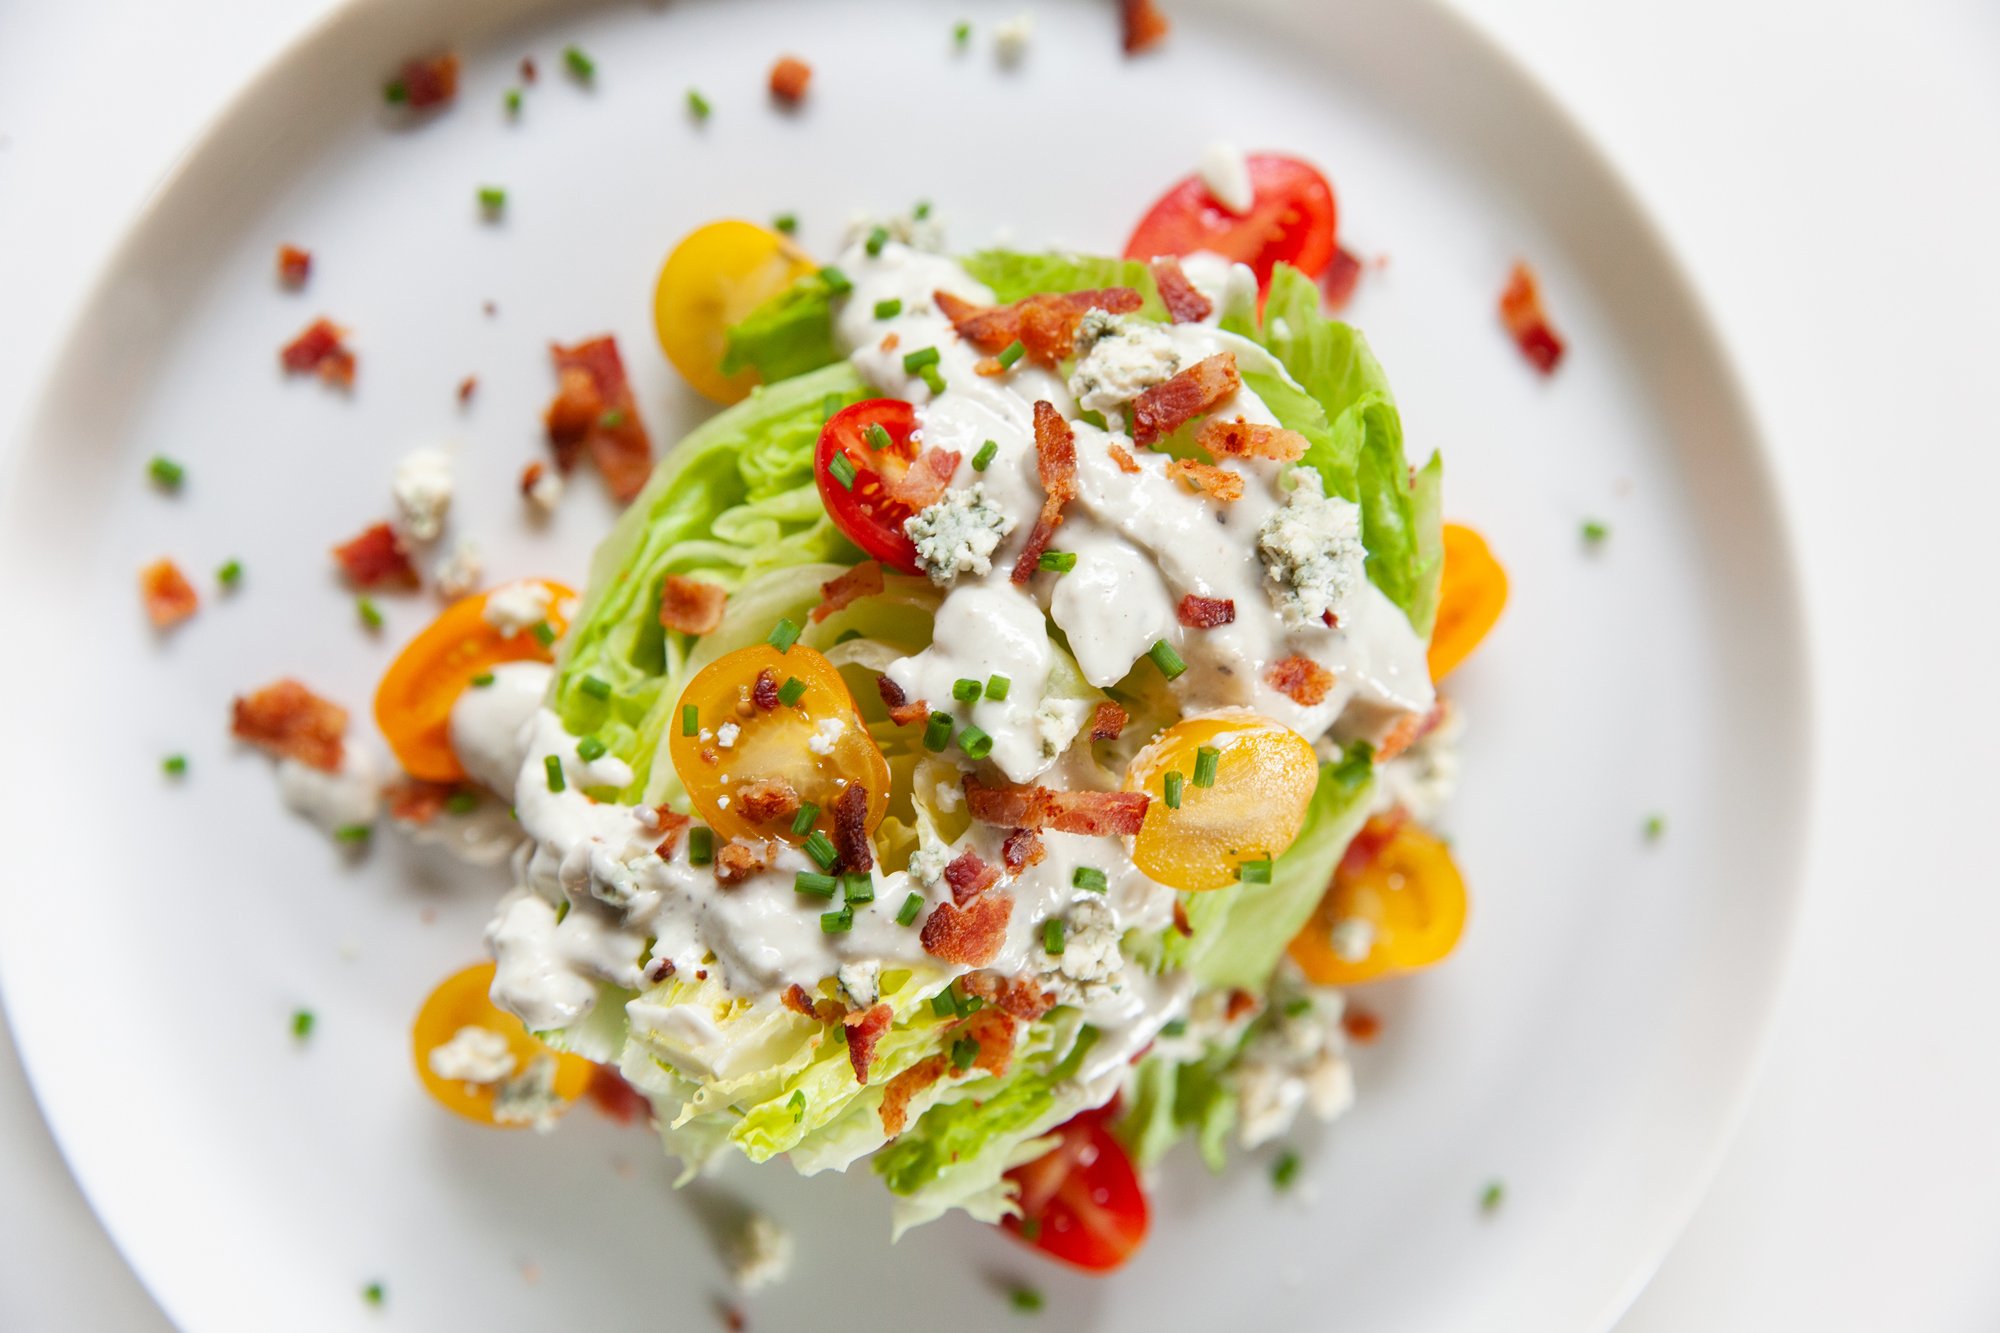
Blue Cheese Dressing:
I don’t have it that often, but when you get a nice, cold, wedge of iceberg lettuce with some blue cheese dressing and bacon bits – it's a slice of stinky cheese heaven.
INGREDIENTS:
- 100g blue cheese (plus more for crumbling)
- 1/3 cup buttermilk (or 1/3 cup of milk + 1 tsp apple cider vinegar)
- 1/3 cup sour cream
- 1/2 cup mayonnaise
- 1/4 tsp garlic powder
- salt and pepper to taste
INSTRUCTIONS:
(If making the homemade buttermilk, at the milk and vinegar and let sit for 5 minutes first before continuing.)
Combine everything but the blue cheese into a bowl – stirring until smooth. Crumble in the blue cheese until you have your desired amount, and then taste for seasoning.
-----
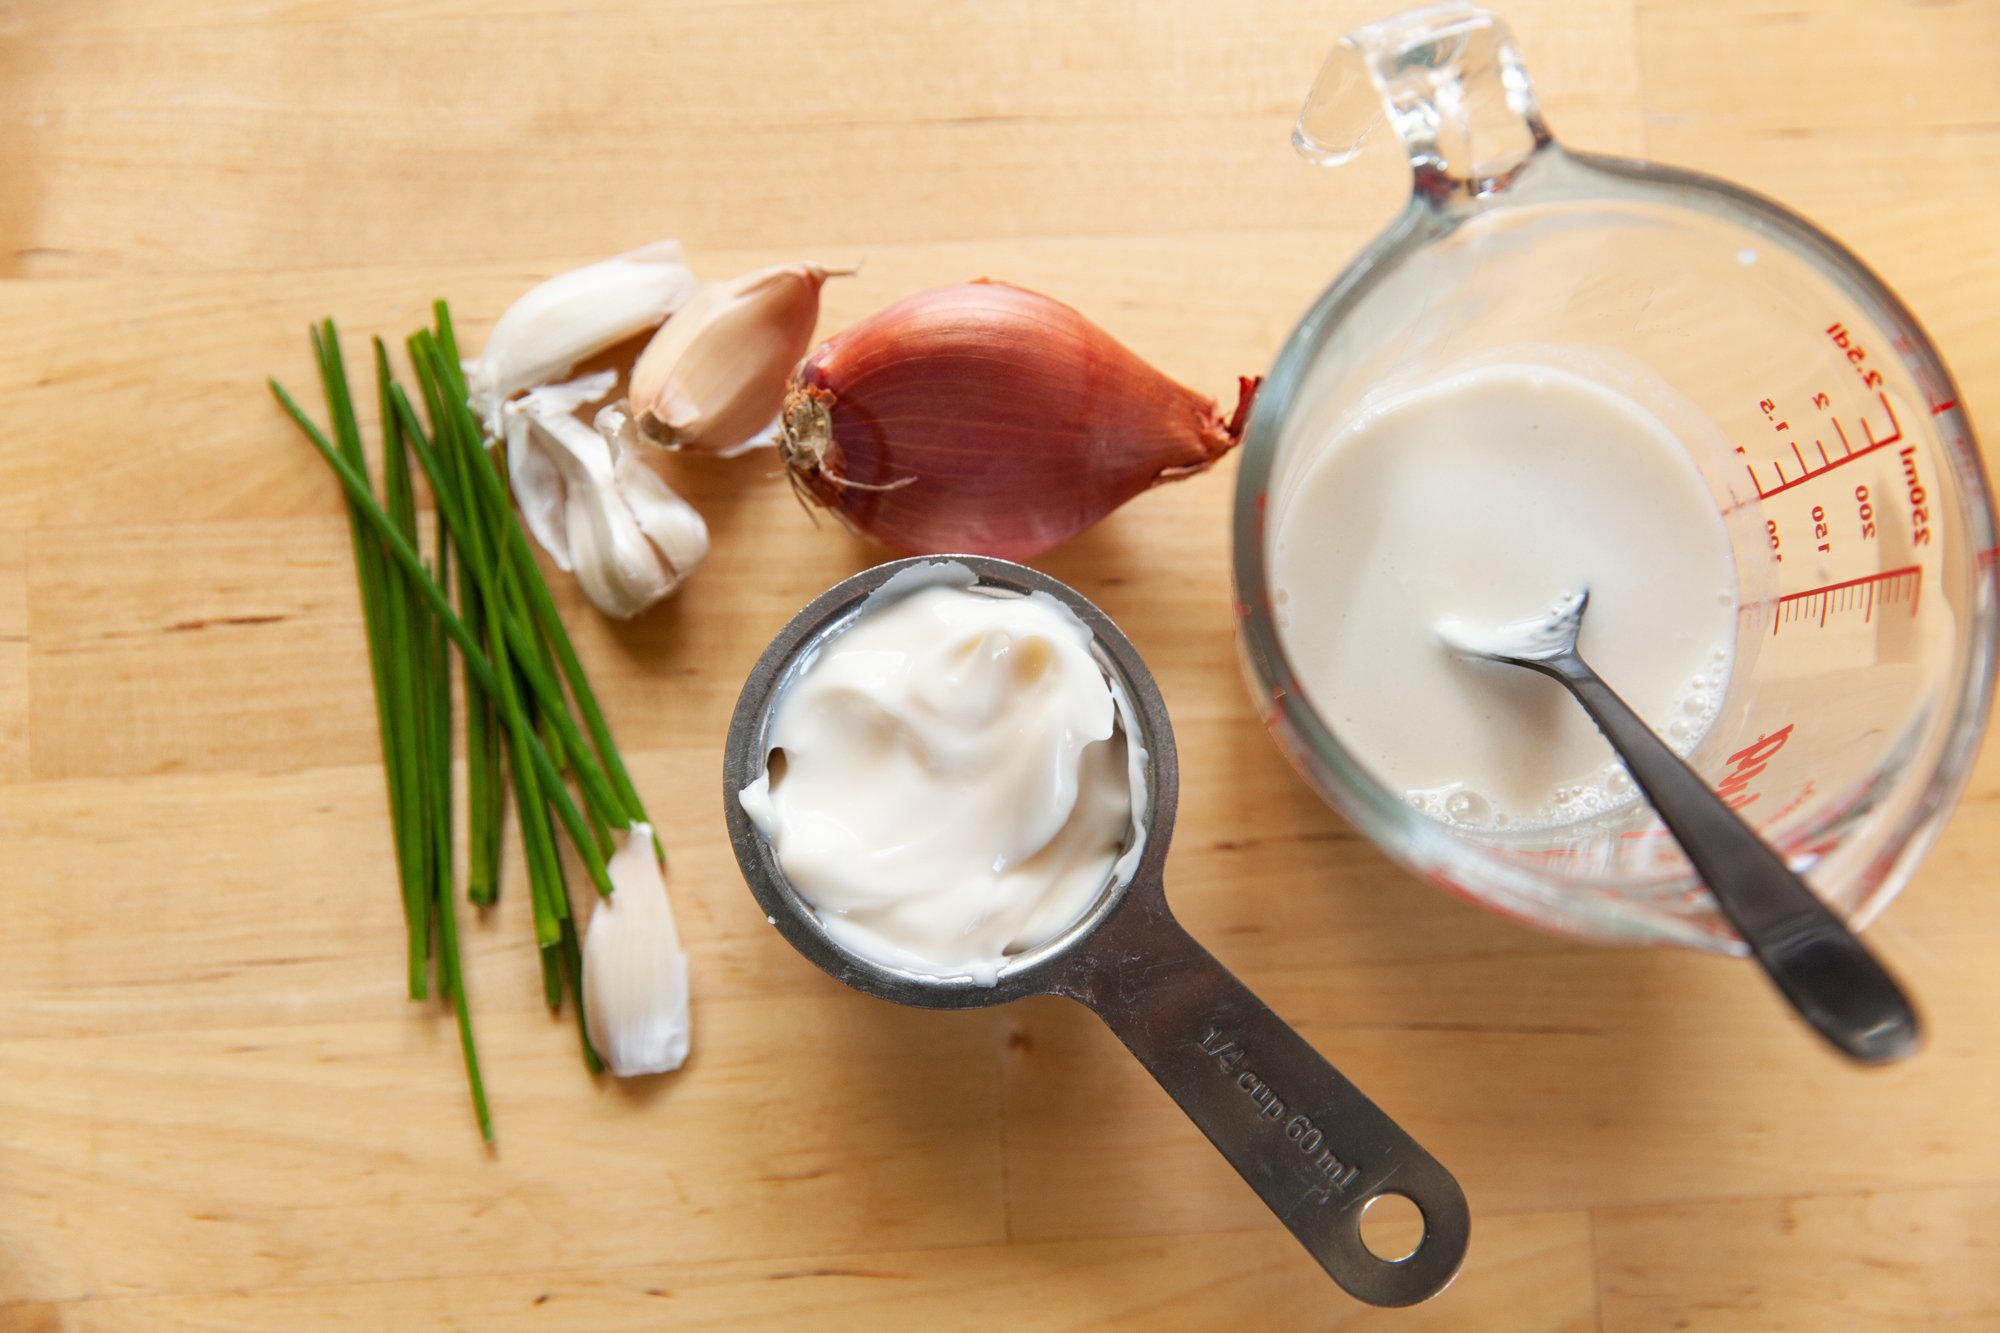
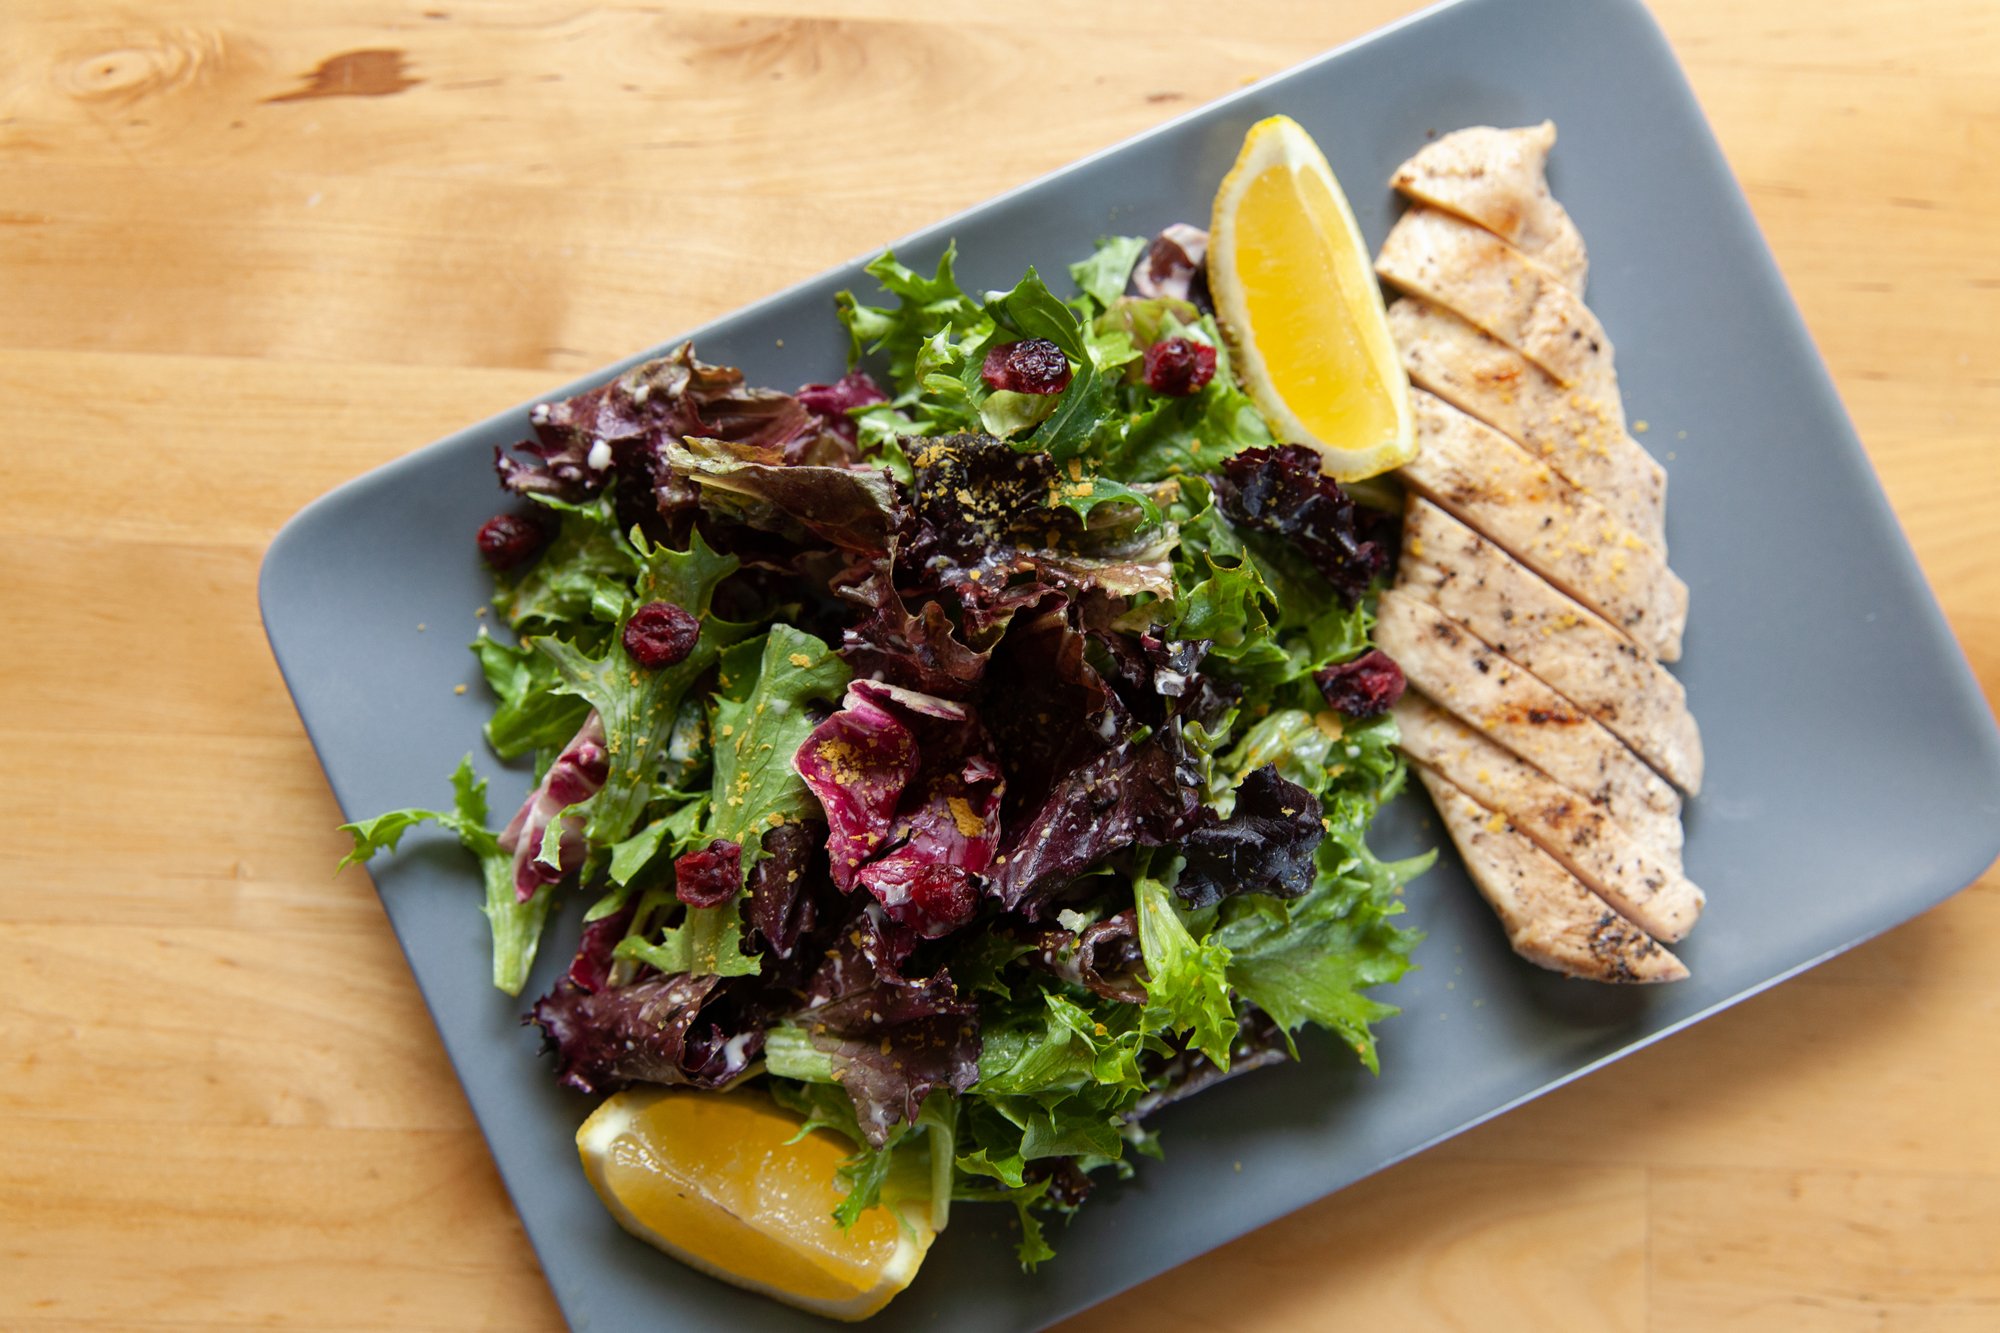
Buttermilk Dressing:
This can be made vegan easily (vegan butter milk and mayo), but it’s also great on a with a warm chicken breast mixed in.
INGREDIENTS:
- ¼ cup buttermilk (or 1/3 cup of milk + 1 tsp apple cider vinegar)
- ¼ cup of mayo
- 1 tsp red wine vinegar
- 1 small shallot, finely minced
- 2 cloves garlic, finely minced
- 2 tbsp chives, finely chopped
- salt and pepper
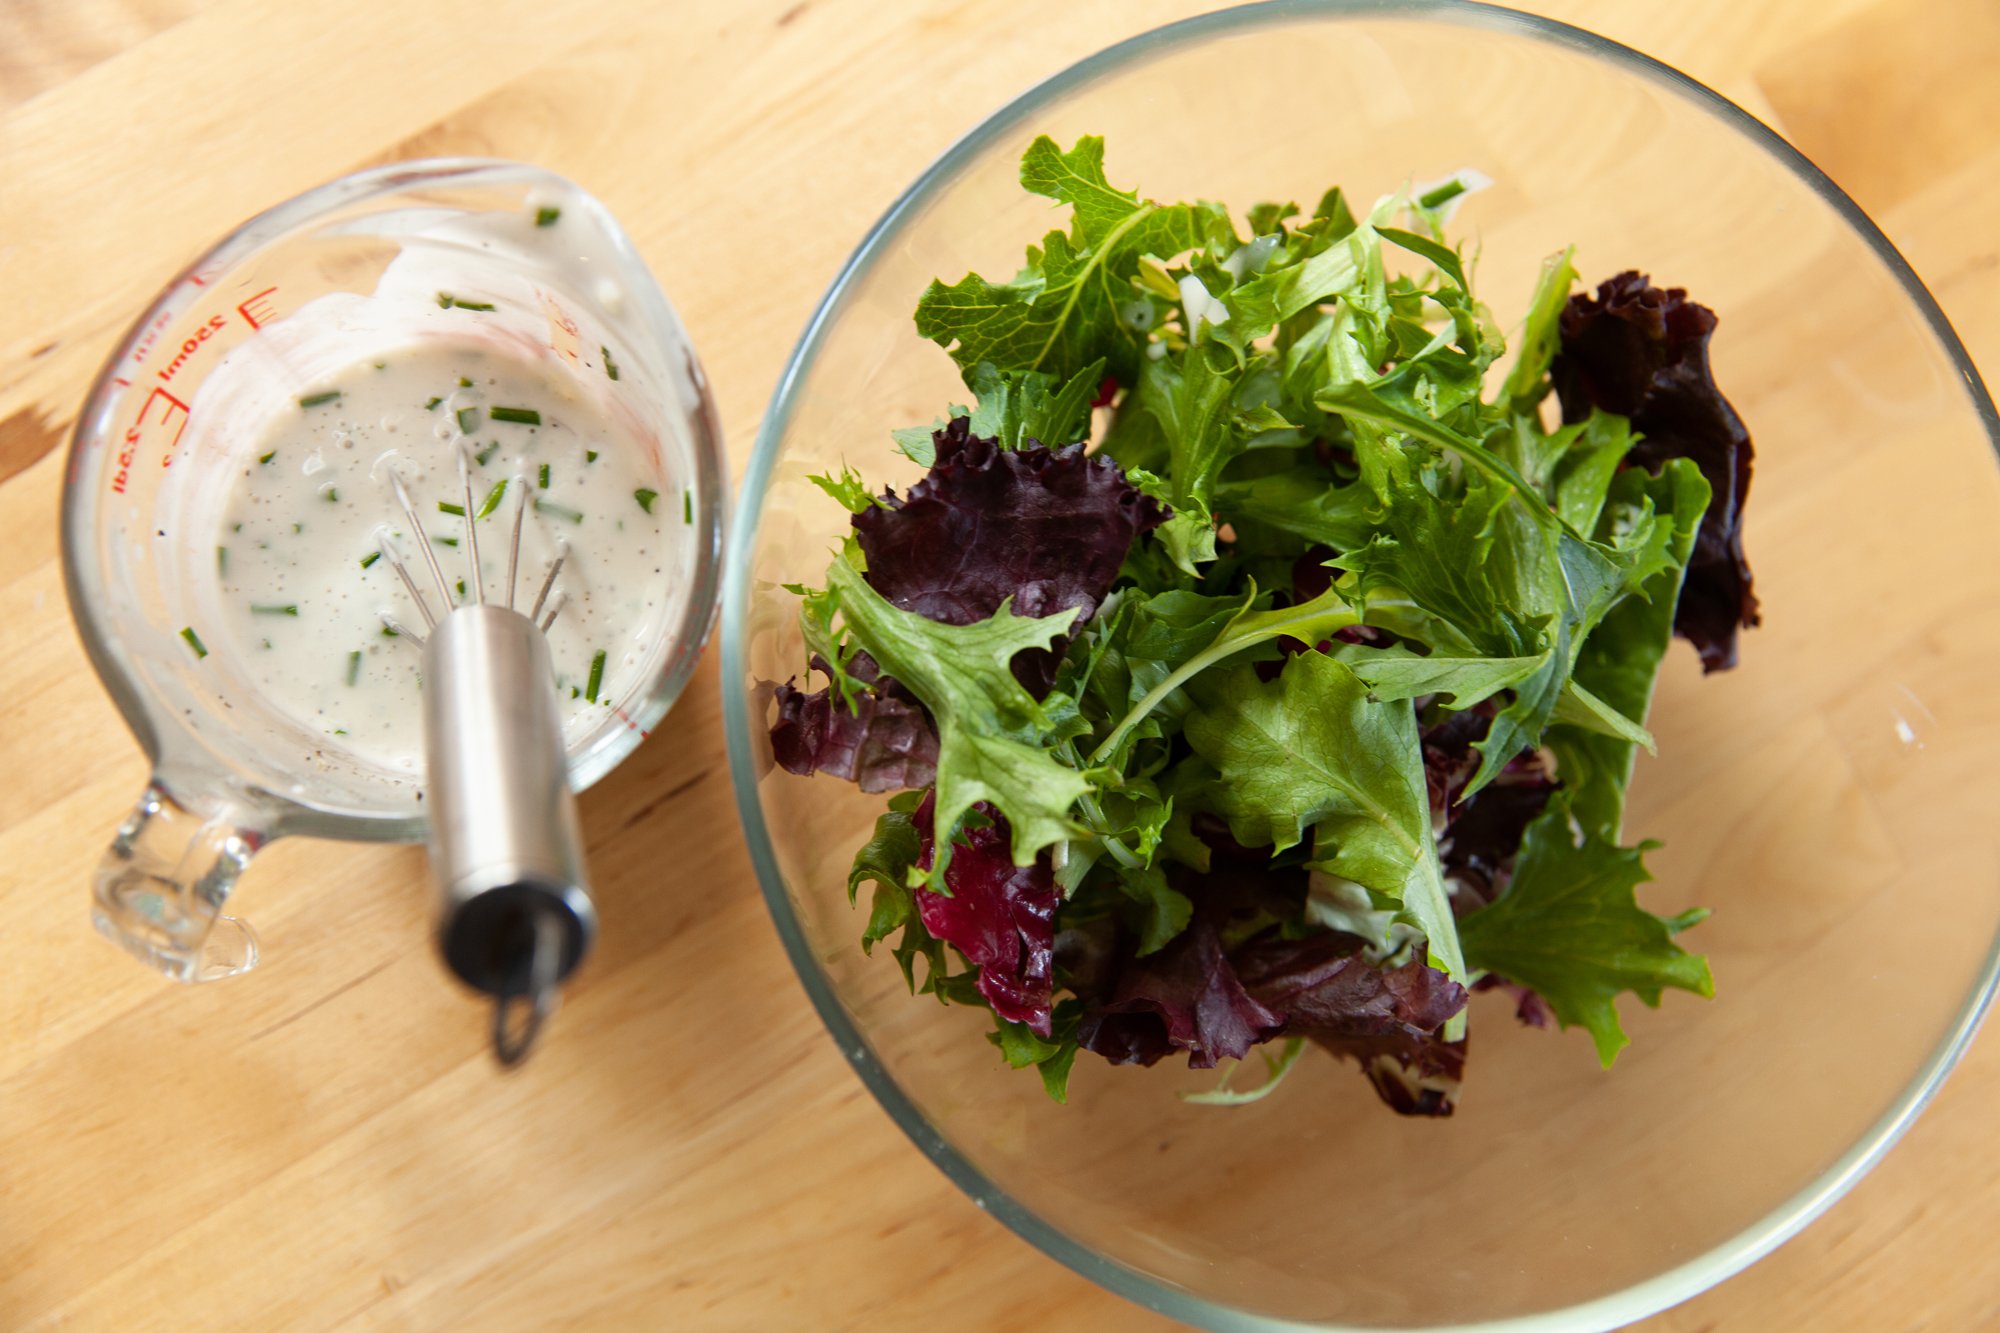
INSTRUCTIONS:
(If making the homemade buttermilk, at the milk and vinegar and let sit for 5 minutes first before continuing.)
Place all ingredients into a small bowl and whisk to combine. If the dressing is too thick you can add a small amount more of buttermilk, or water. Taste for seasoning and add more salt or pepper as needed.