Recipe

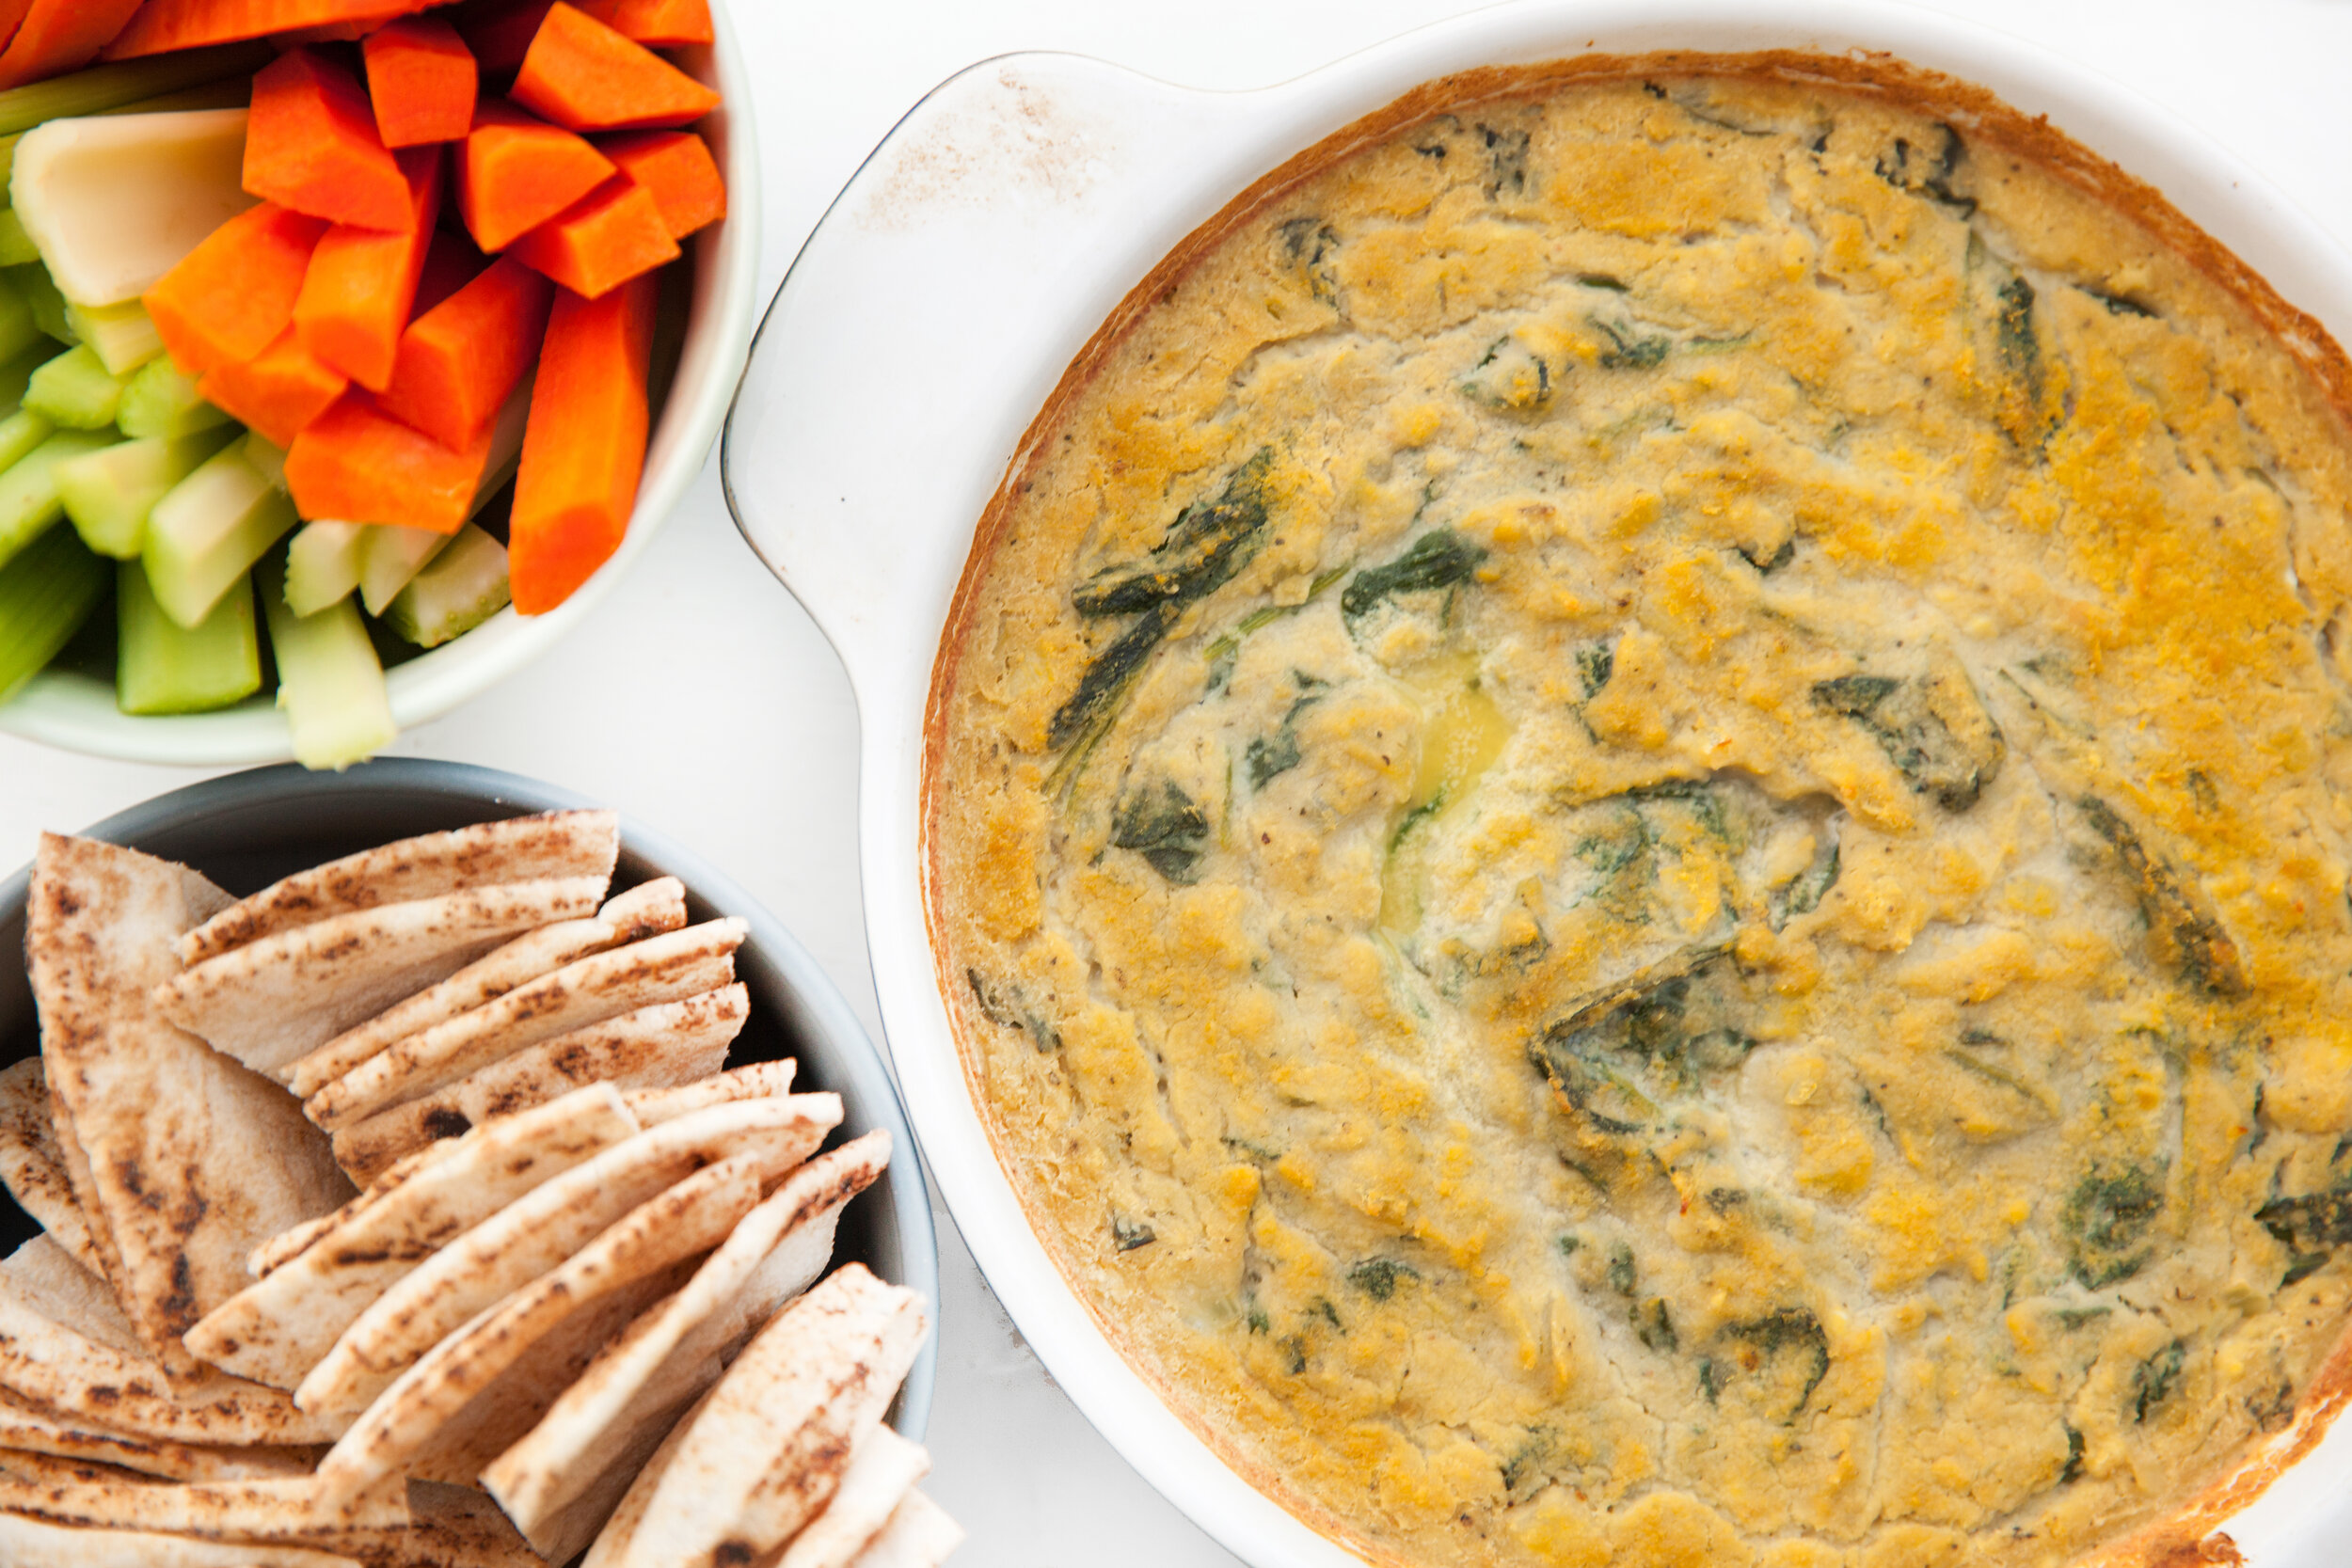
Spinach and Artichoke Dip – But Make It Vegan
for Environment911.org

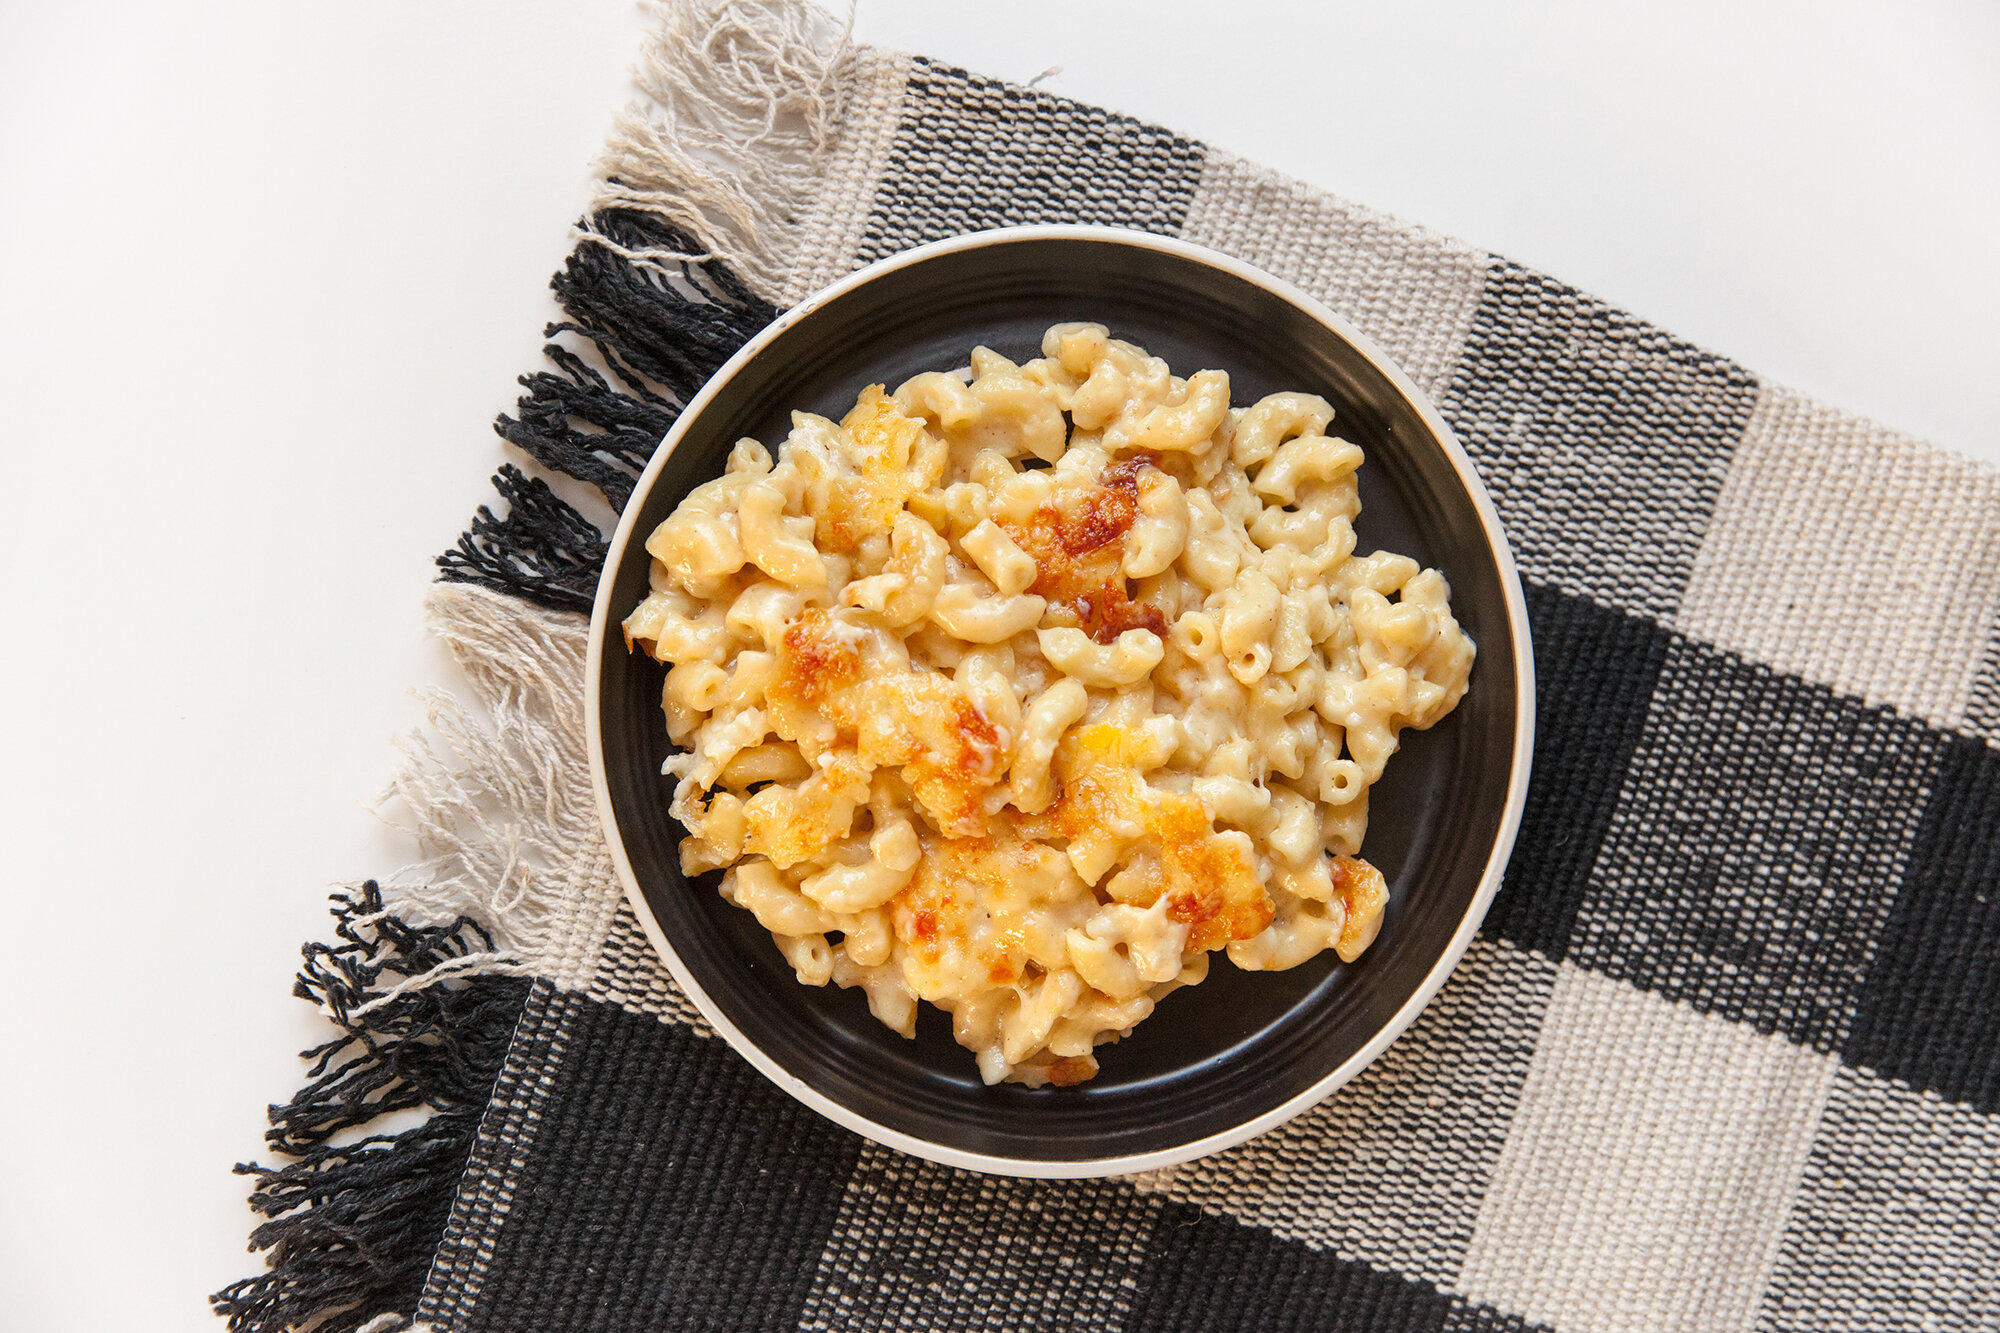
I love a good spinach and artichoke dip and miss sharing some with my friends. This one is easily sharable if you bring plates and a serving spoon and everyone can choose their own dipping materials. 

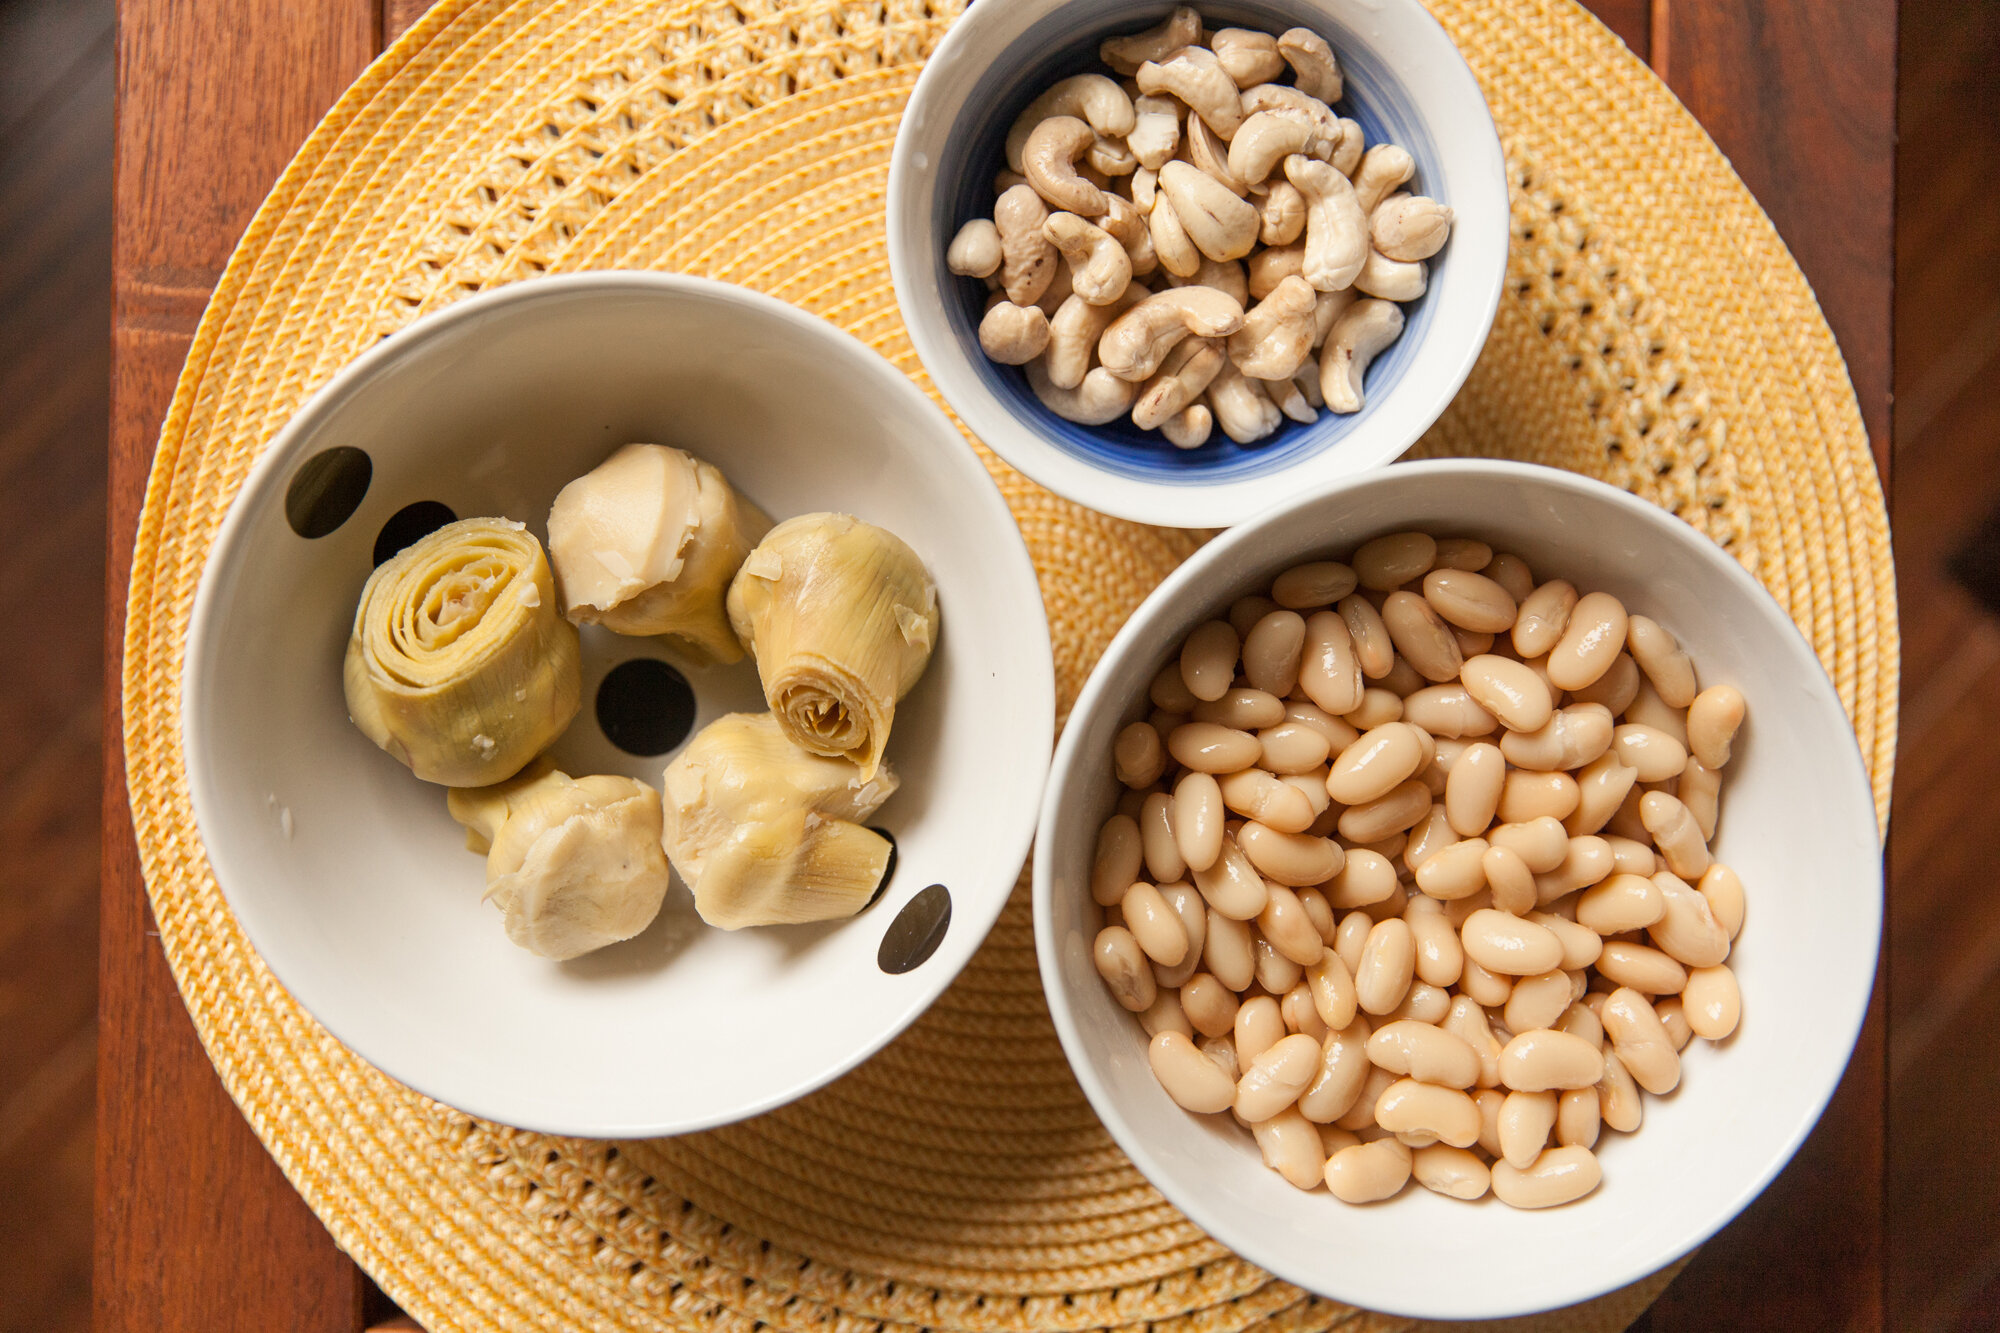
Usually, this dish is full of cheese and dairy, but using white kidney beans as the base and tapioca starch to keep it together, you won't even know it’s dairy-free.  

Serves 6-8 (approx.) 
 
INGREDIENTS: 

- 1 large onion chopped 
- 1 tbsp olive oil 
- 4 cloves of garlic, minced (more or less doesn't hurt, it's all preference) 
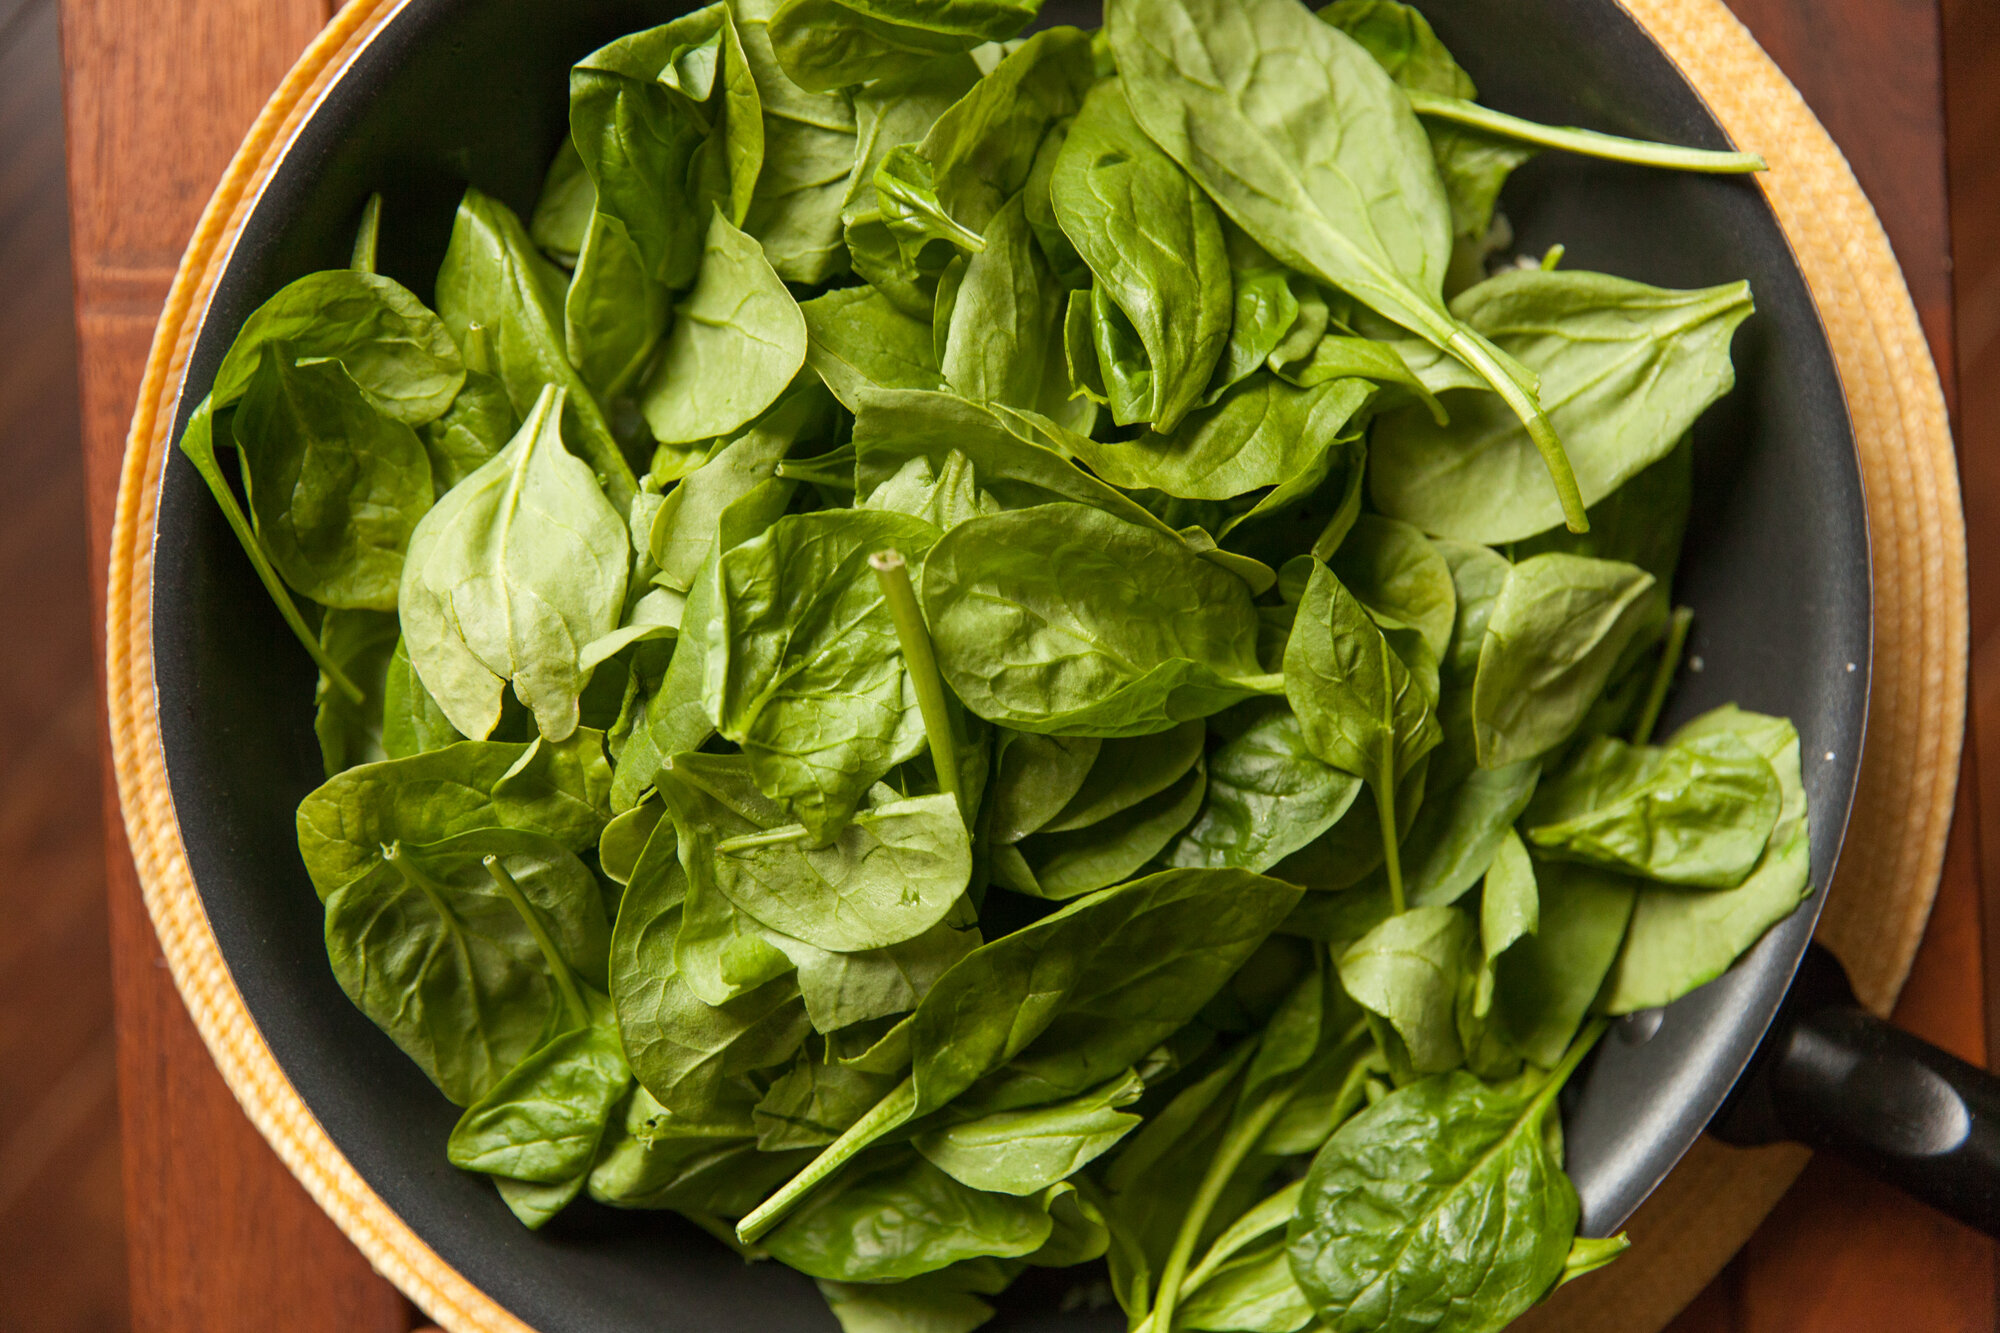
- about 6 cups of baby spinach or kale (or combo of both) 
*- 1/2 cup of soaked raw cashews 
- 3/4 cup of almond milk 
- 1 tsp lemon juice 
- 2 tsp apple cider vinegar 
- salt & pepper 
- 1 tsp onion powder 
- 1/2 tsp dried basil 
- 2 tbsp of tapioca starch 
- 1 395mL can of white kidney beans 
- 1 can of artichokes (in water, not oil), drained 
- 3-4 tbsp of nutritional yeast, additional for sprinkling on top 
 
- veggies, pita, corn chips to dip 
 

INSTRUCTIONS: 

*Soak cashews overnight, or for a least 3-4 hrs, or for an hour in boiling water* 

Preheat oven to 425. 

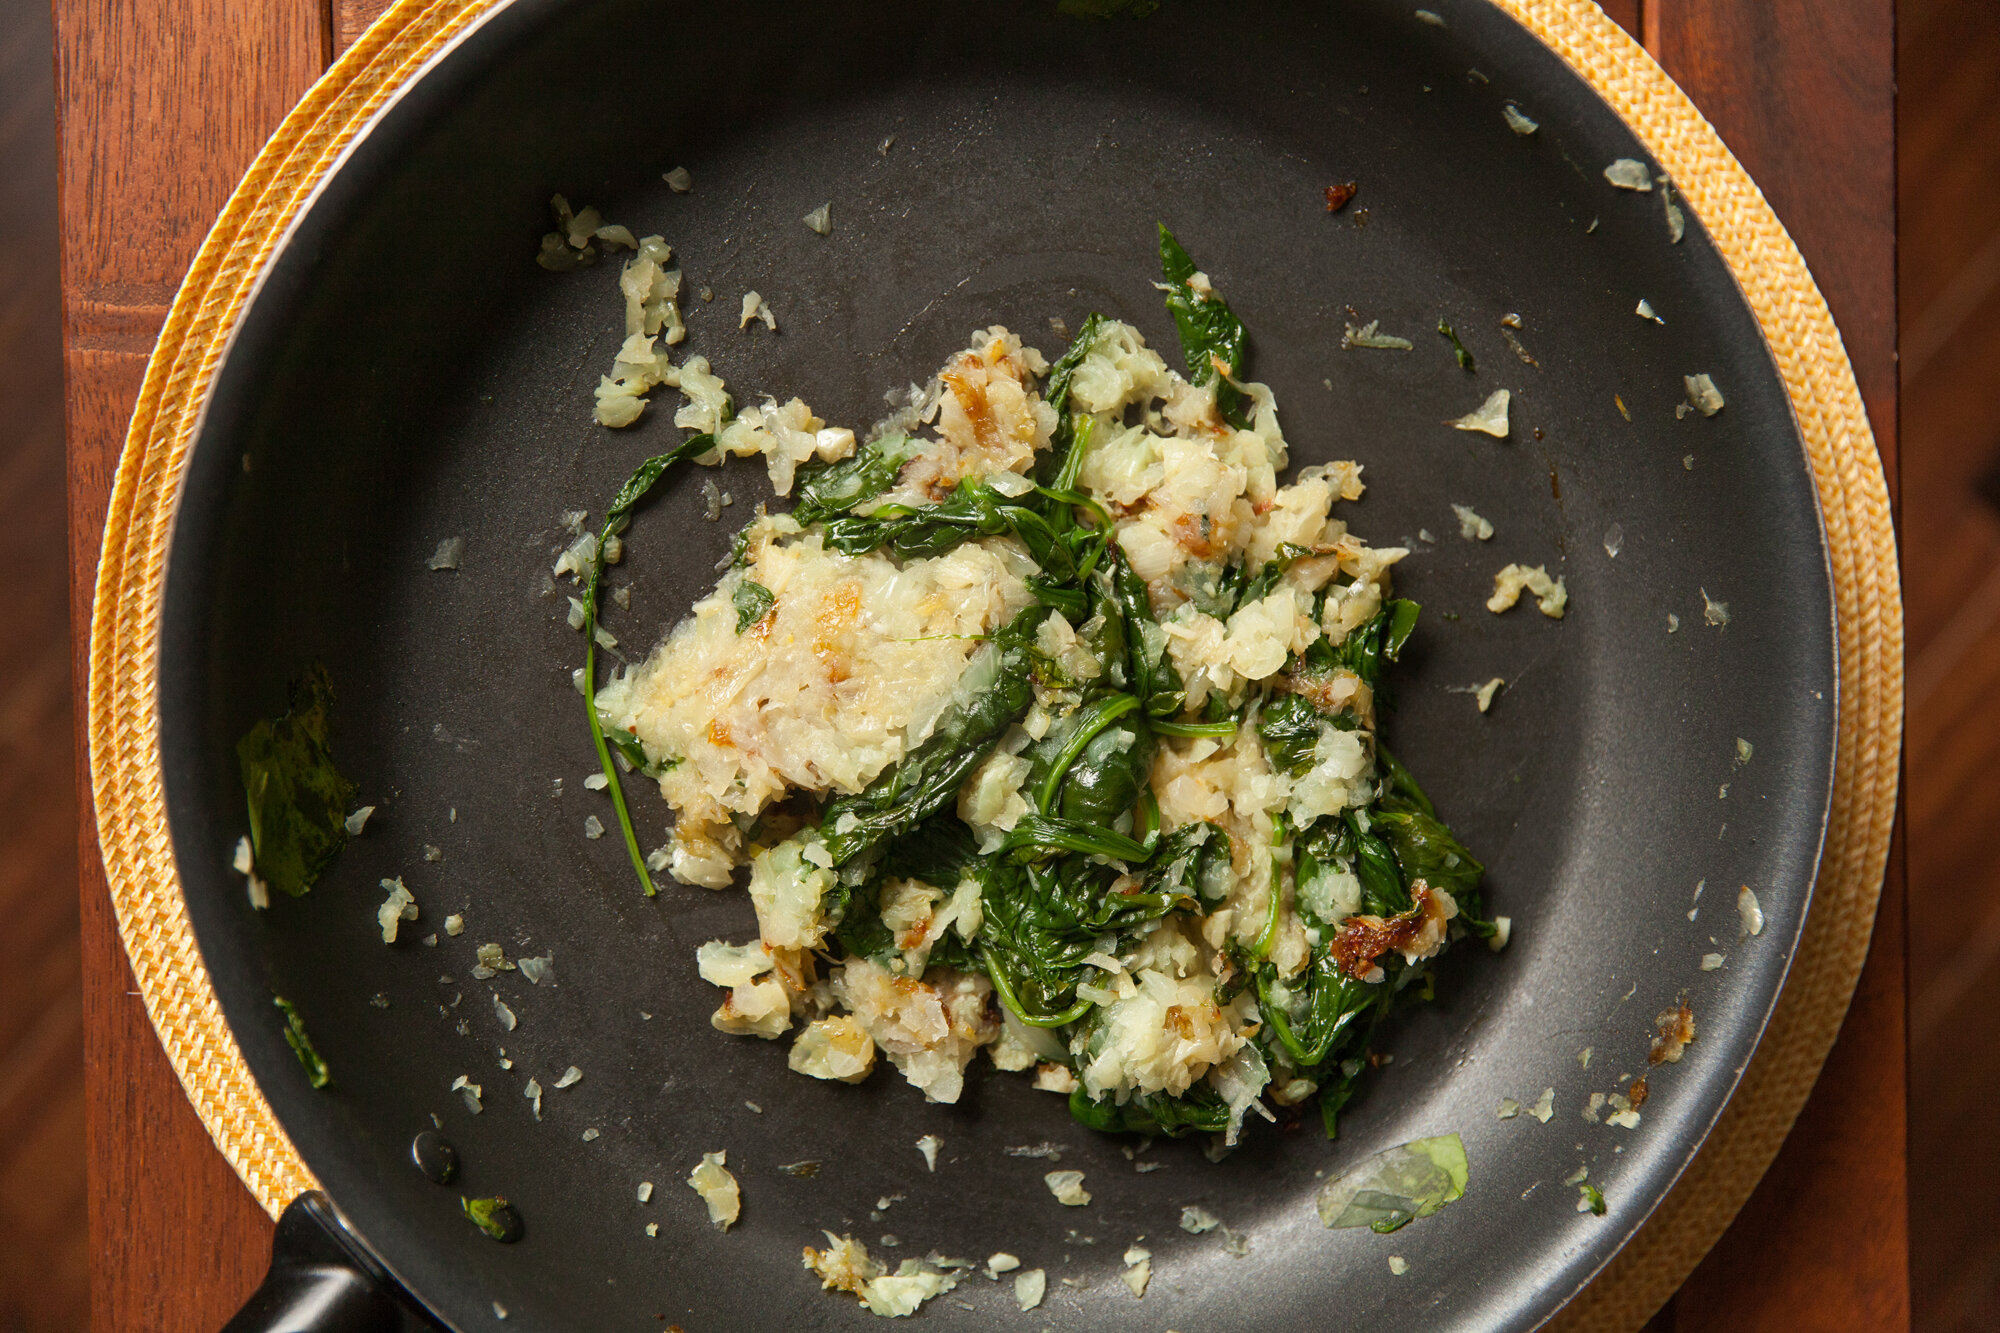
Sauté chopped onions in olive oil in a pan over medium heat for a few minutes until soft and translucent. Add in garlic and stir. 

In batches add in the spinach or kale and stir until it wilts (I used a lid to help this along), until all of the greens have been added and they have wilted. Take off the heat and set aside. 

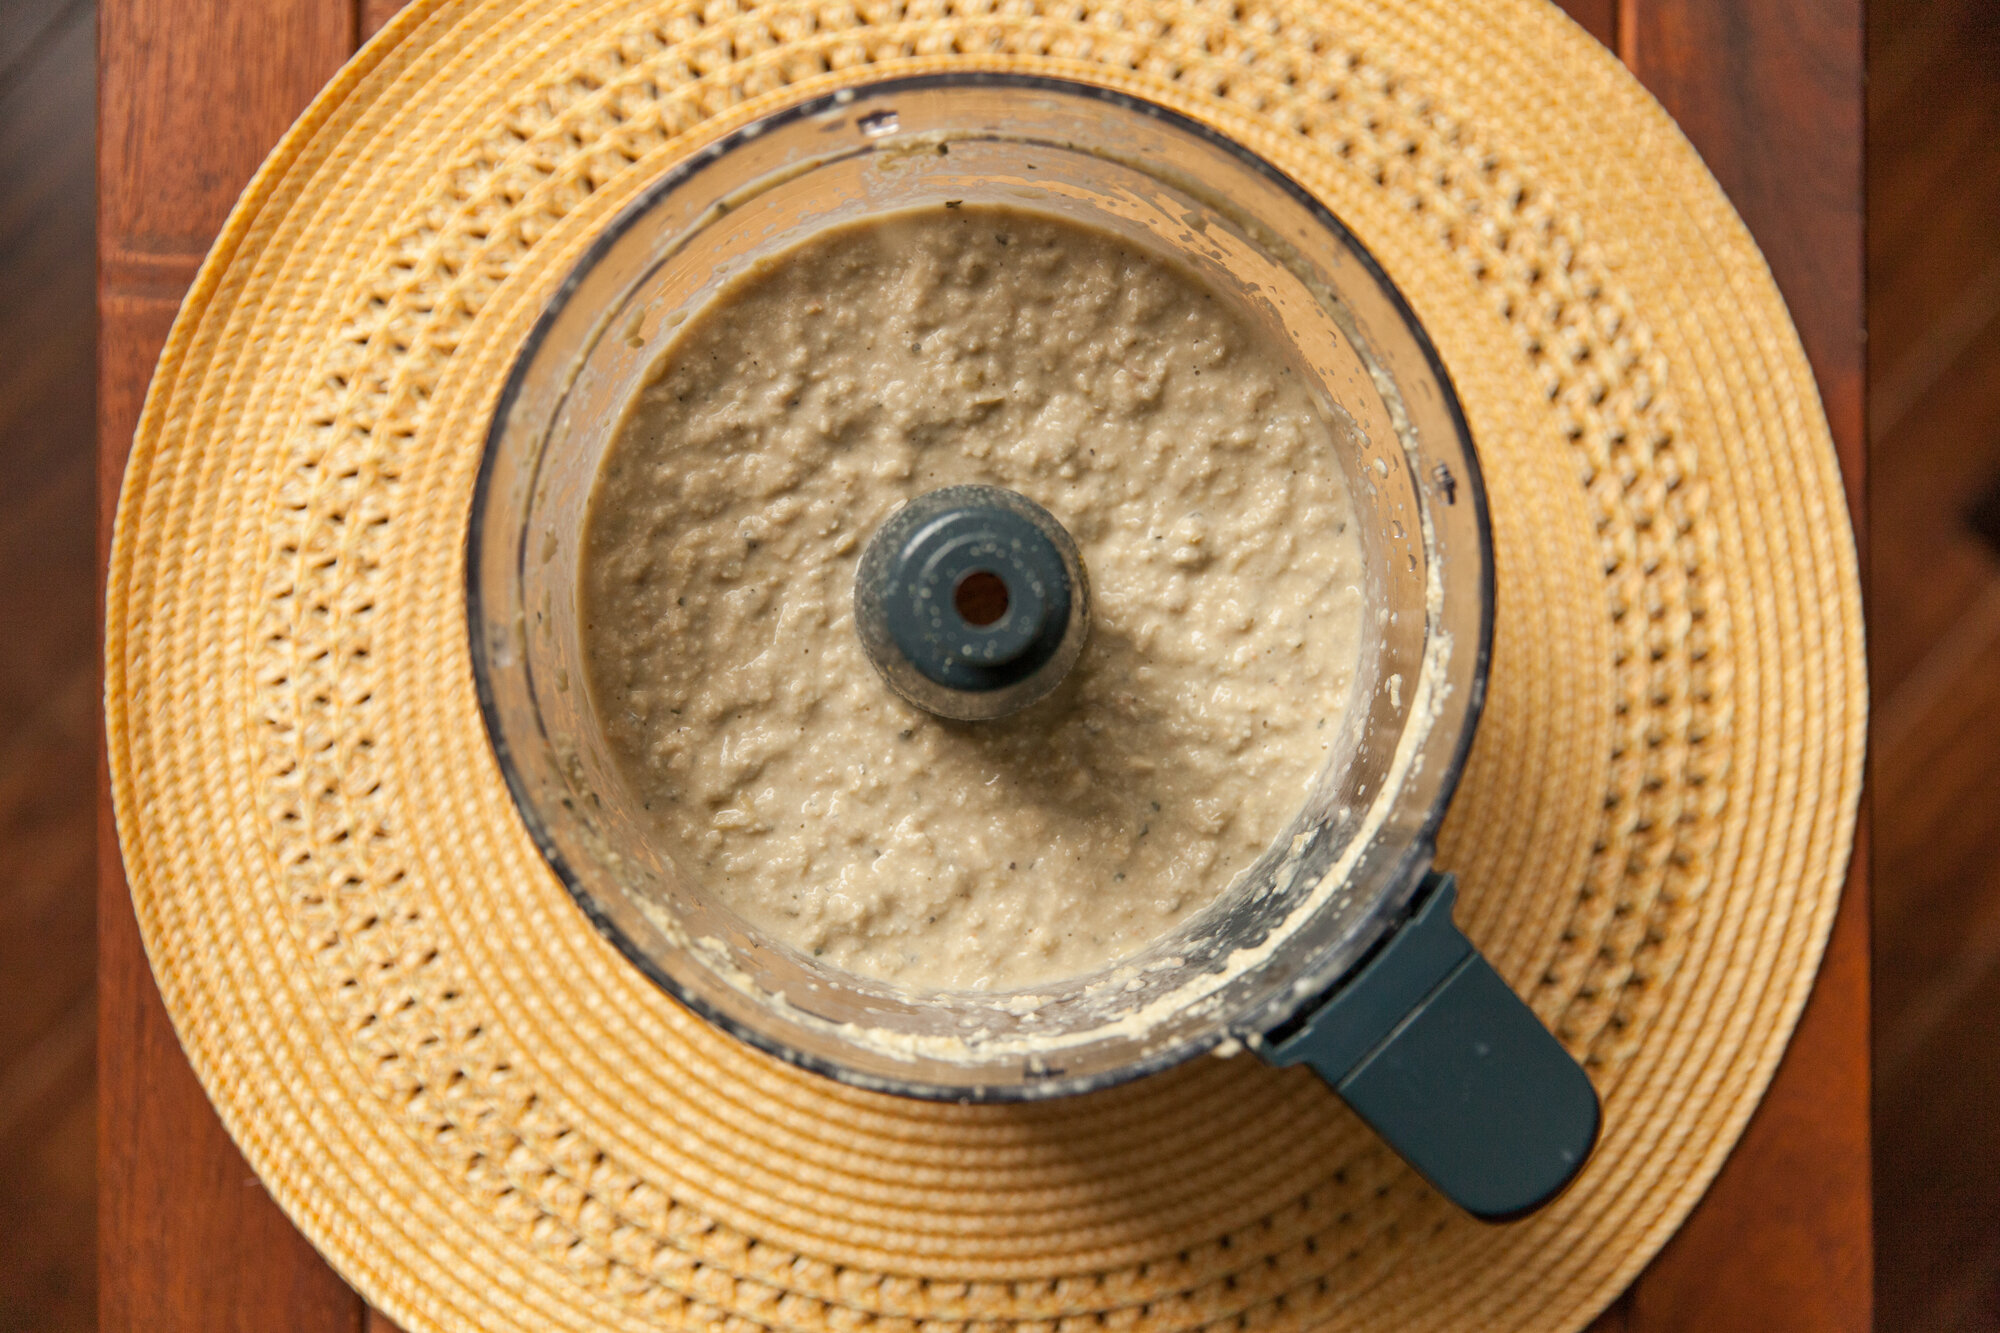
In a blender or food processor, add the drained cashews and blend until broken down. 

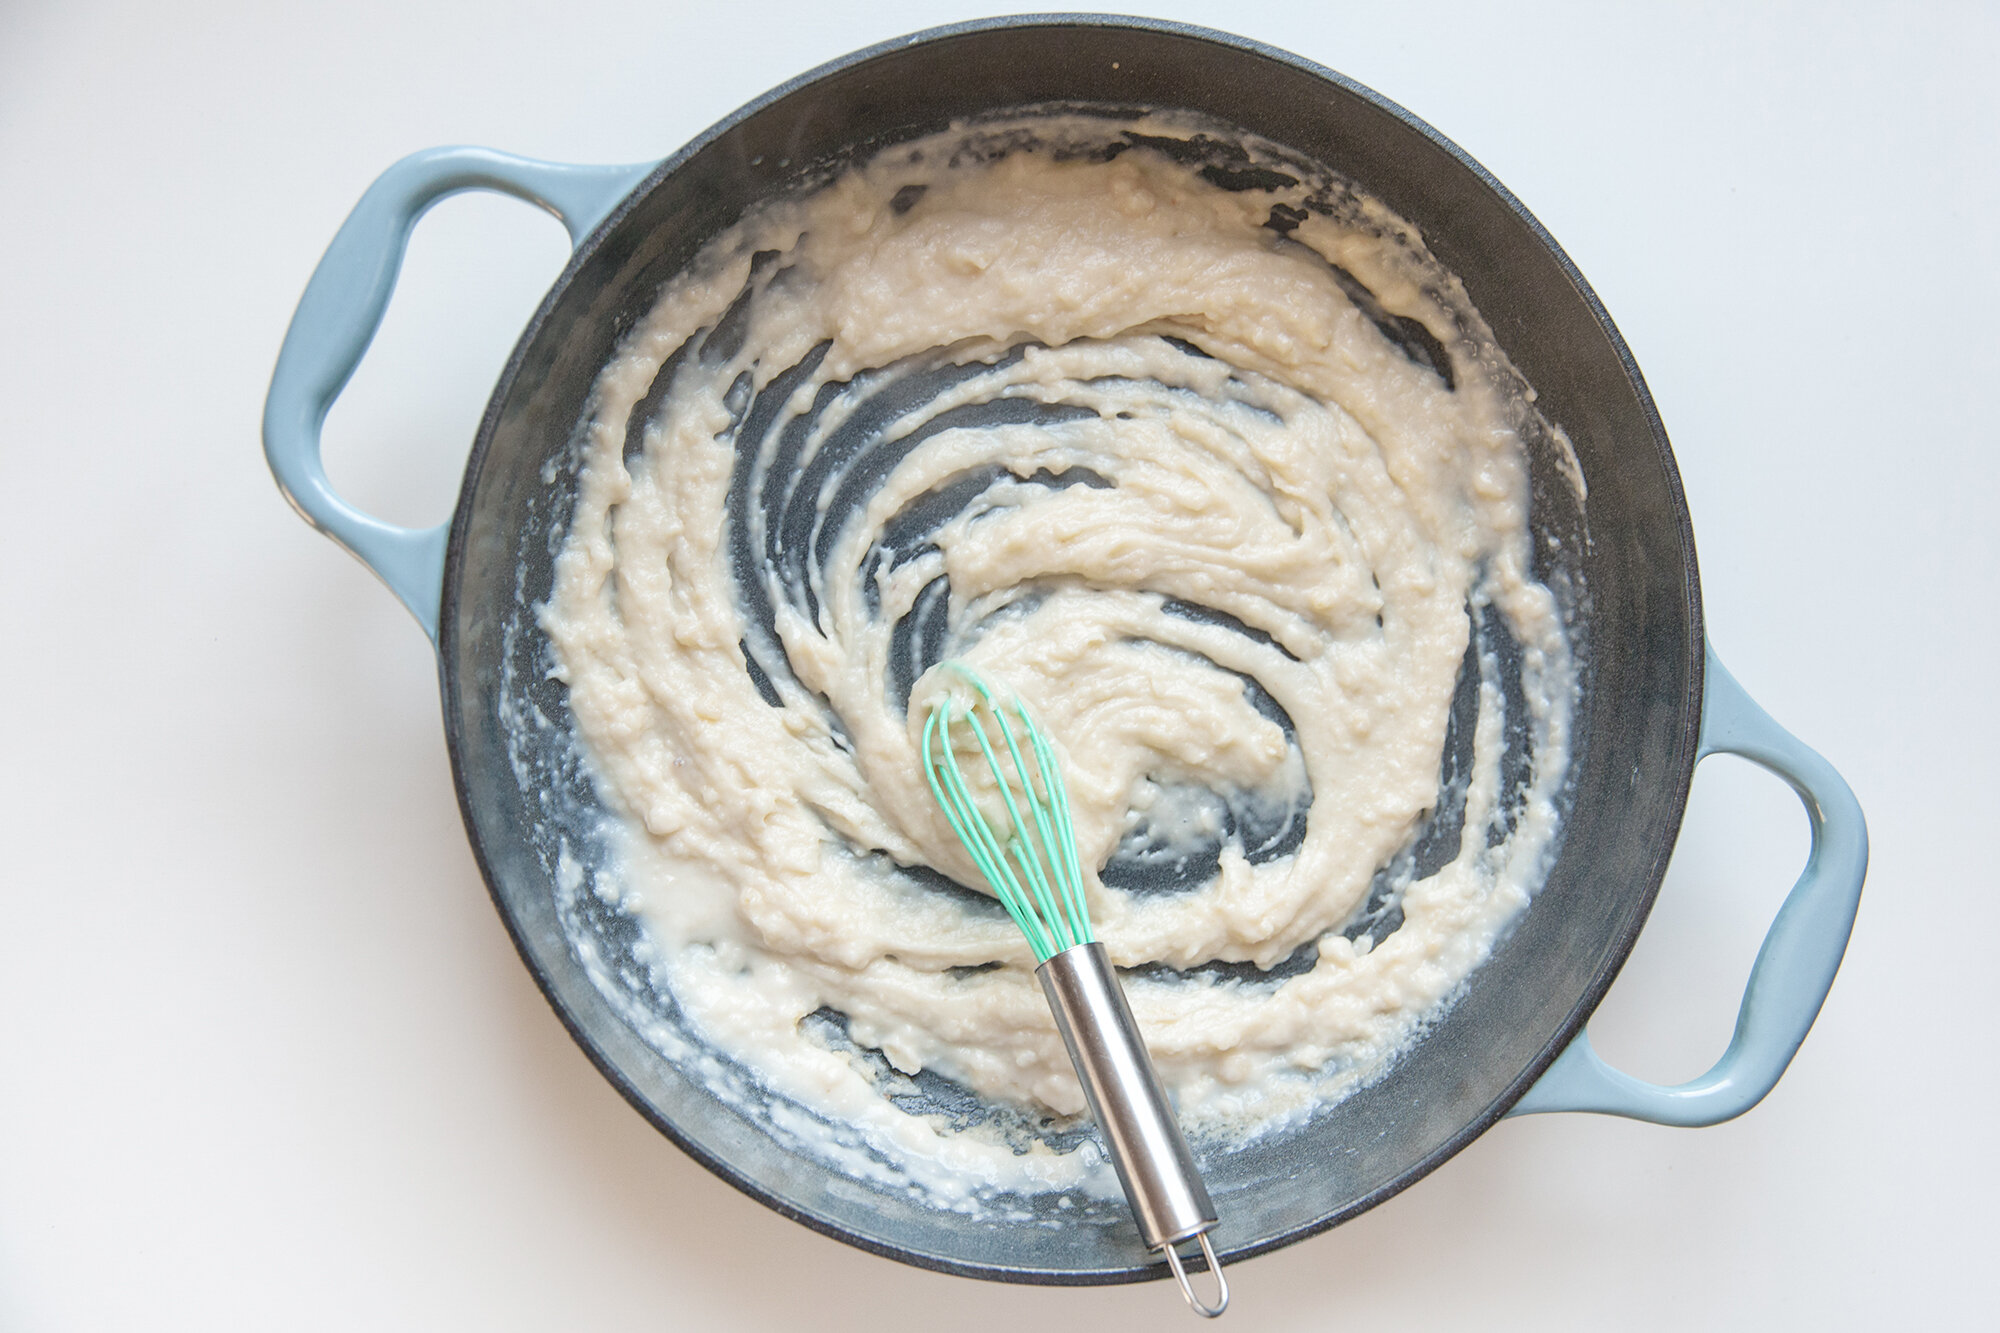
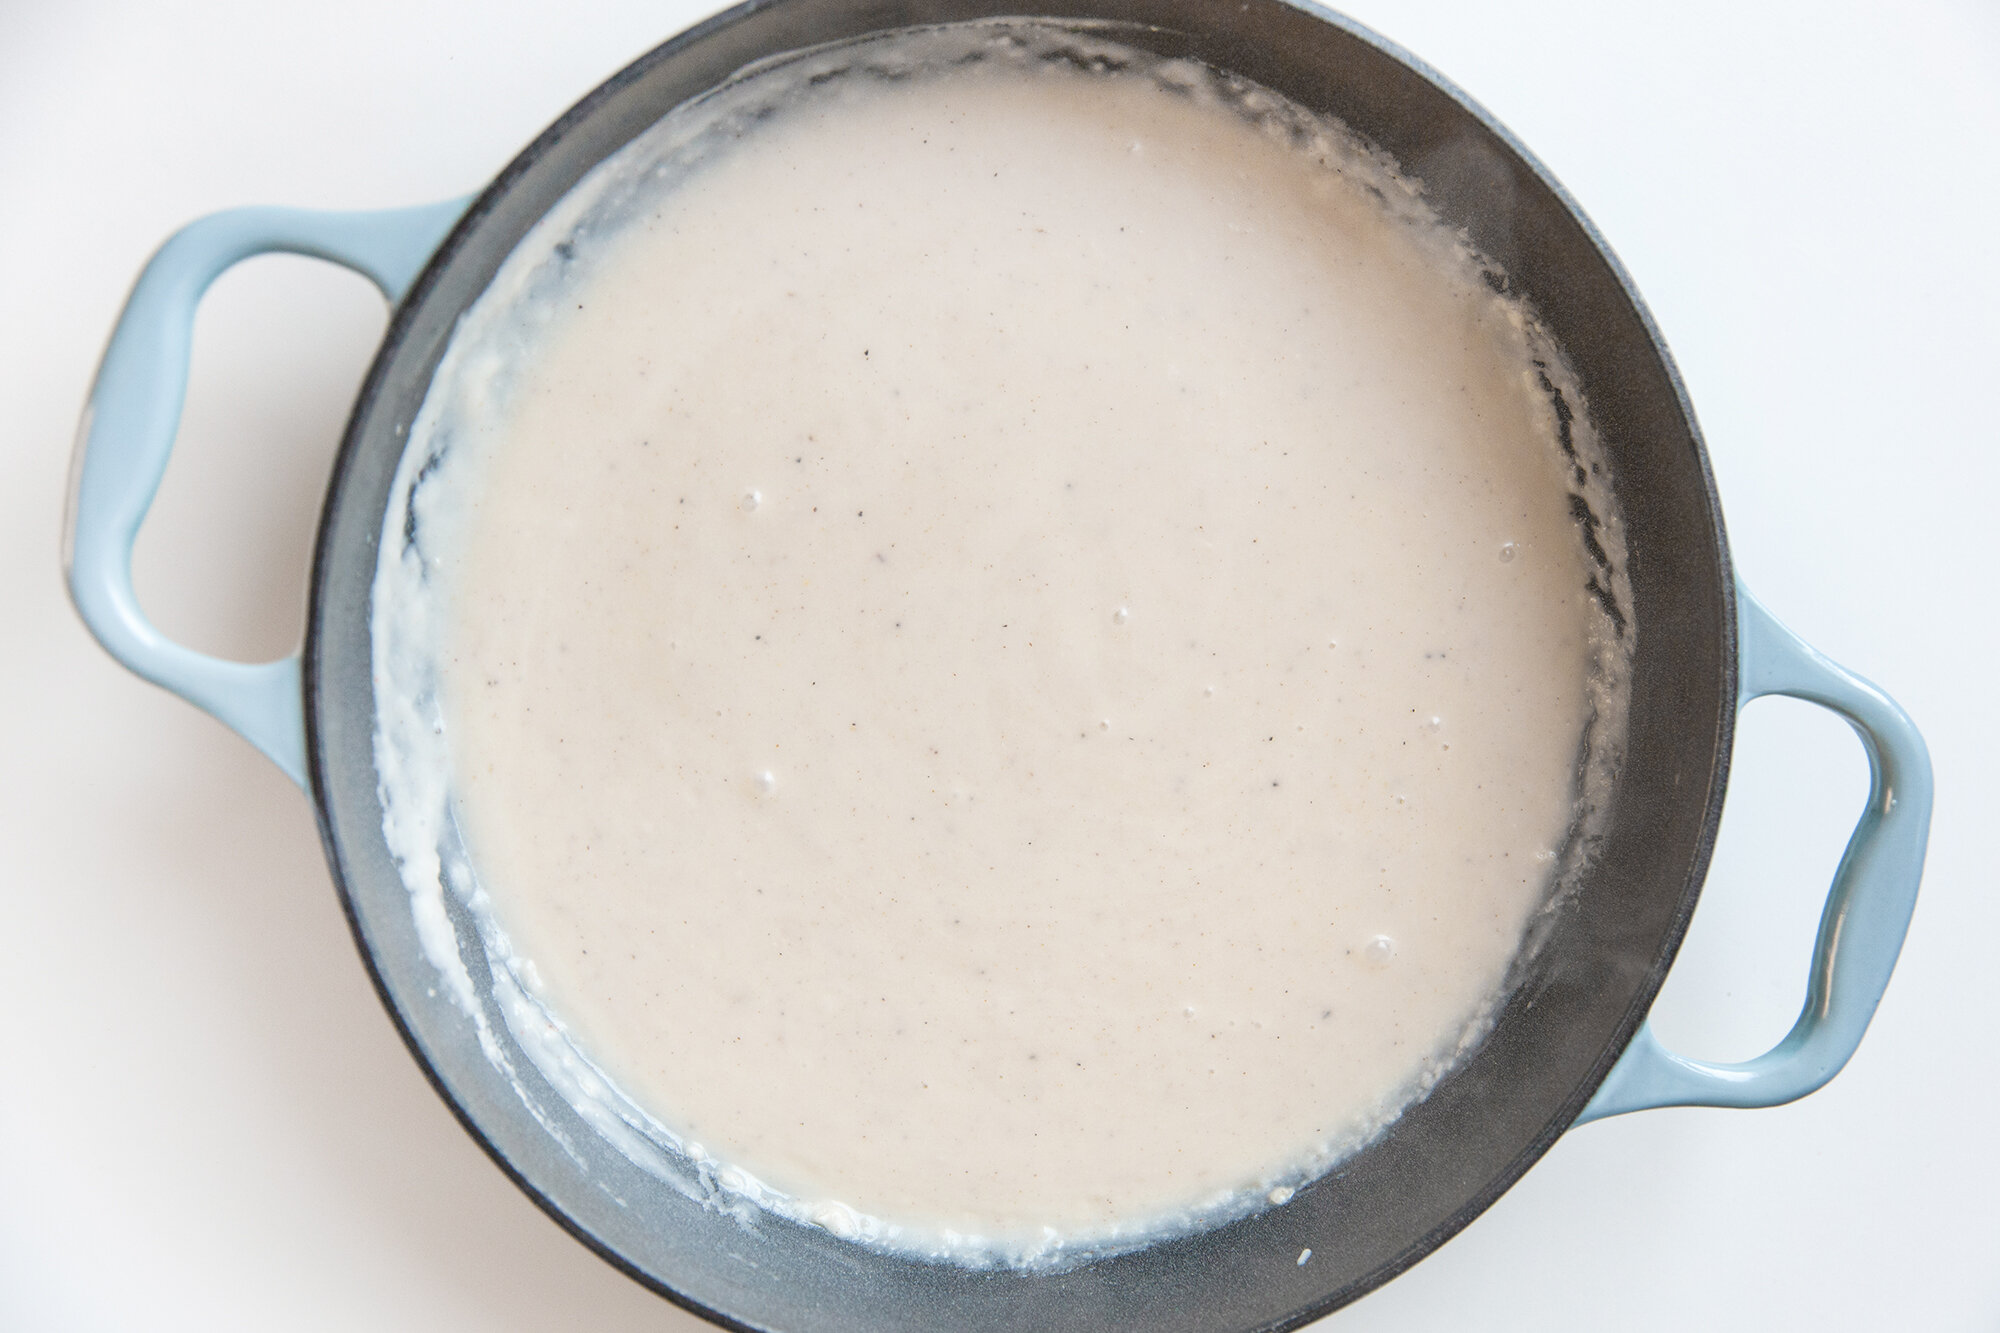
In a small bowl add some of the almond milk to the tapioca starch to dissolve it then add it and another 1/4 cup of the almond milk to the blender with the cashews, along with the apple cider vinegar, lemon juice, salt & pepper, onion powder, dried basil and 2 tbsp of the nutritional yeast. Blend until smooth adding some almond milk if needed. 

Next toss in the kidney beans and the artichokes, as well as the remaining almond milk, and again blend until smooth. You can add a bit more milk if required, but try not to make it soupy! 

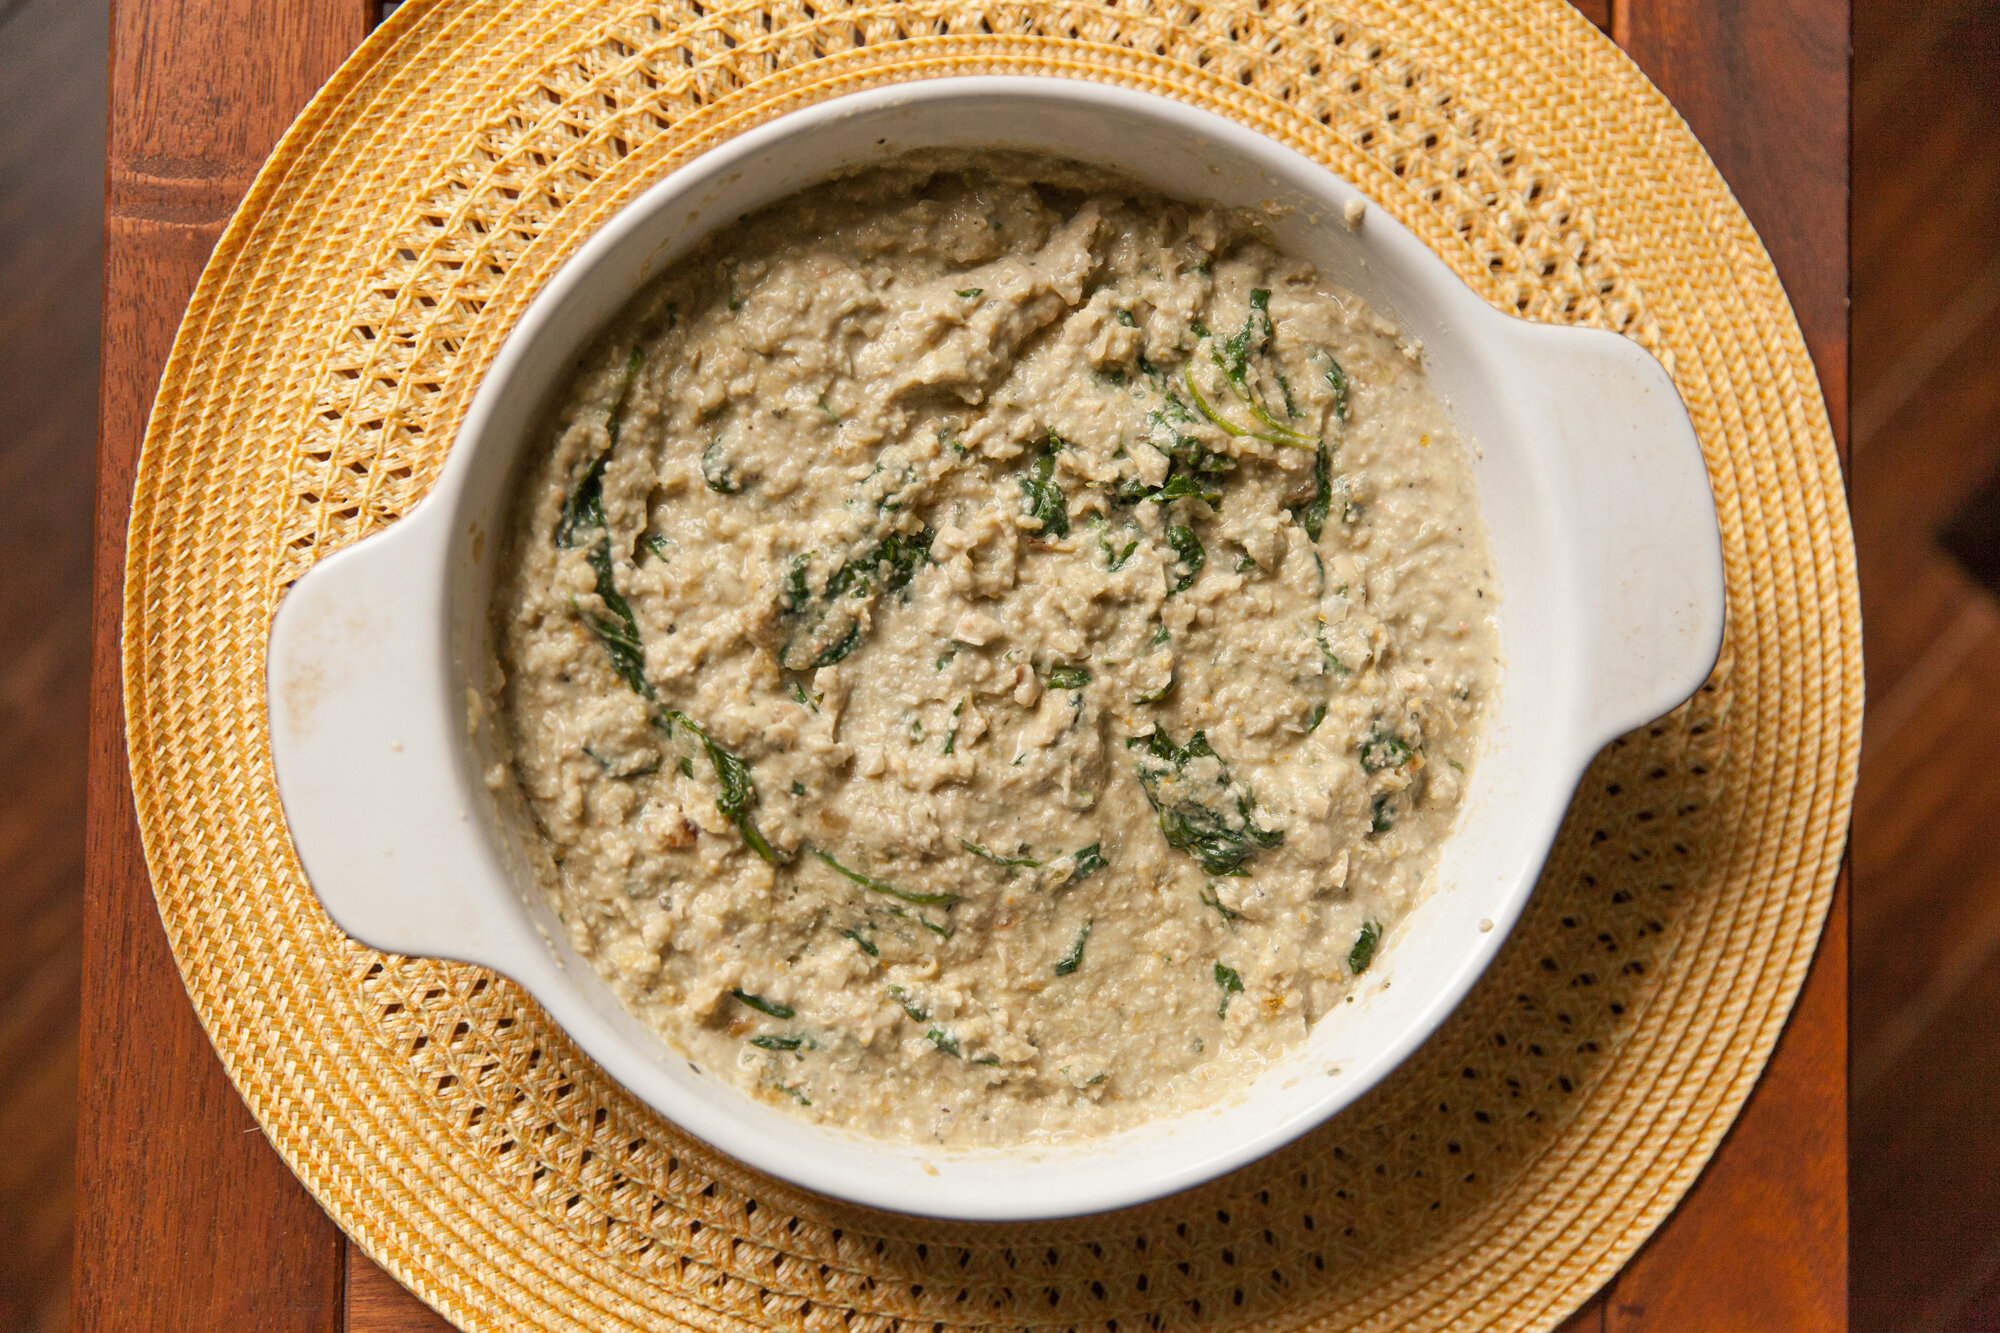
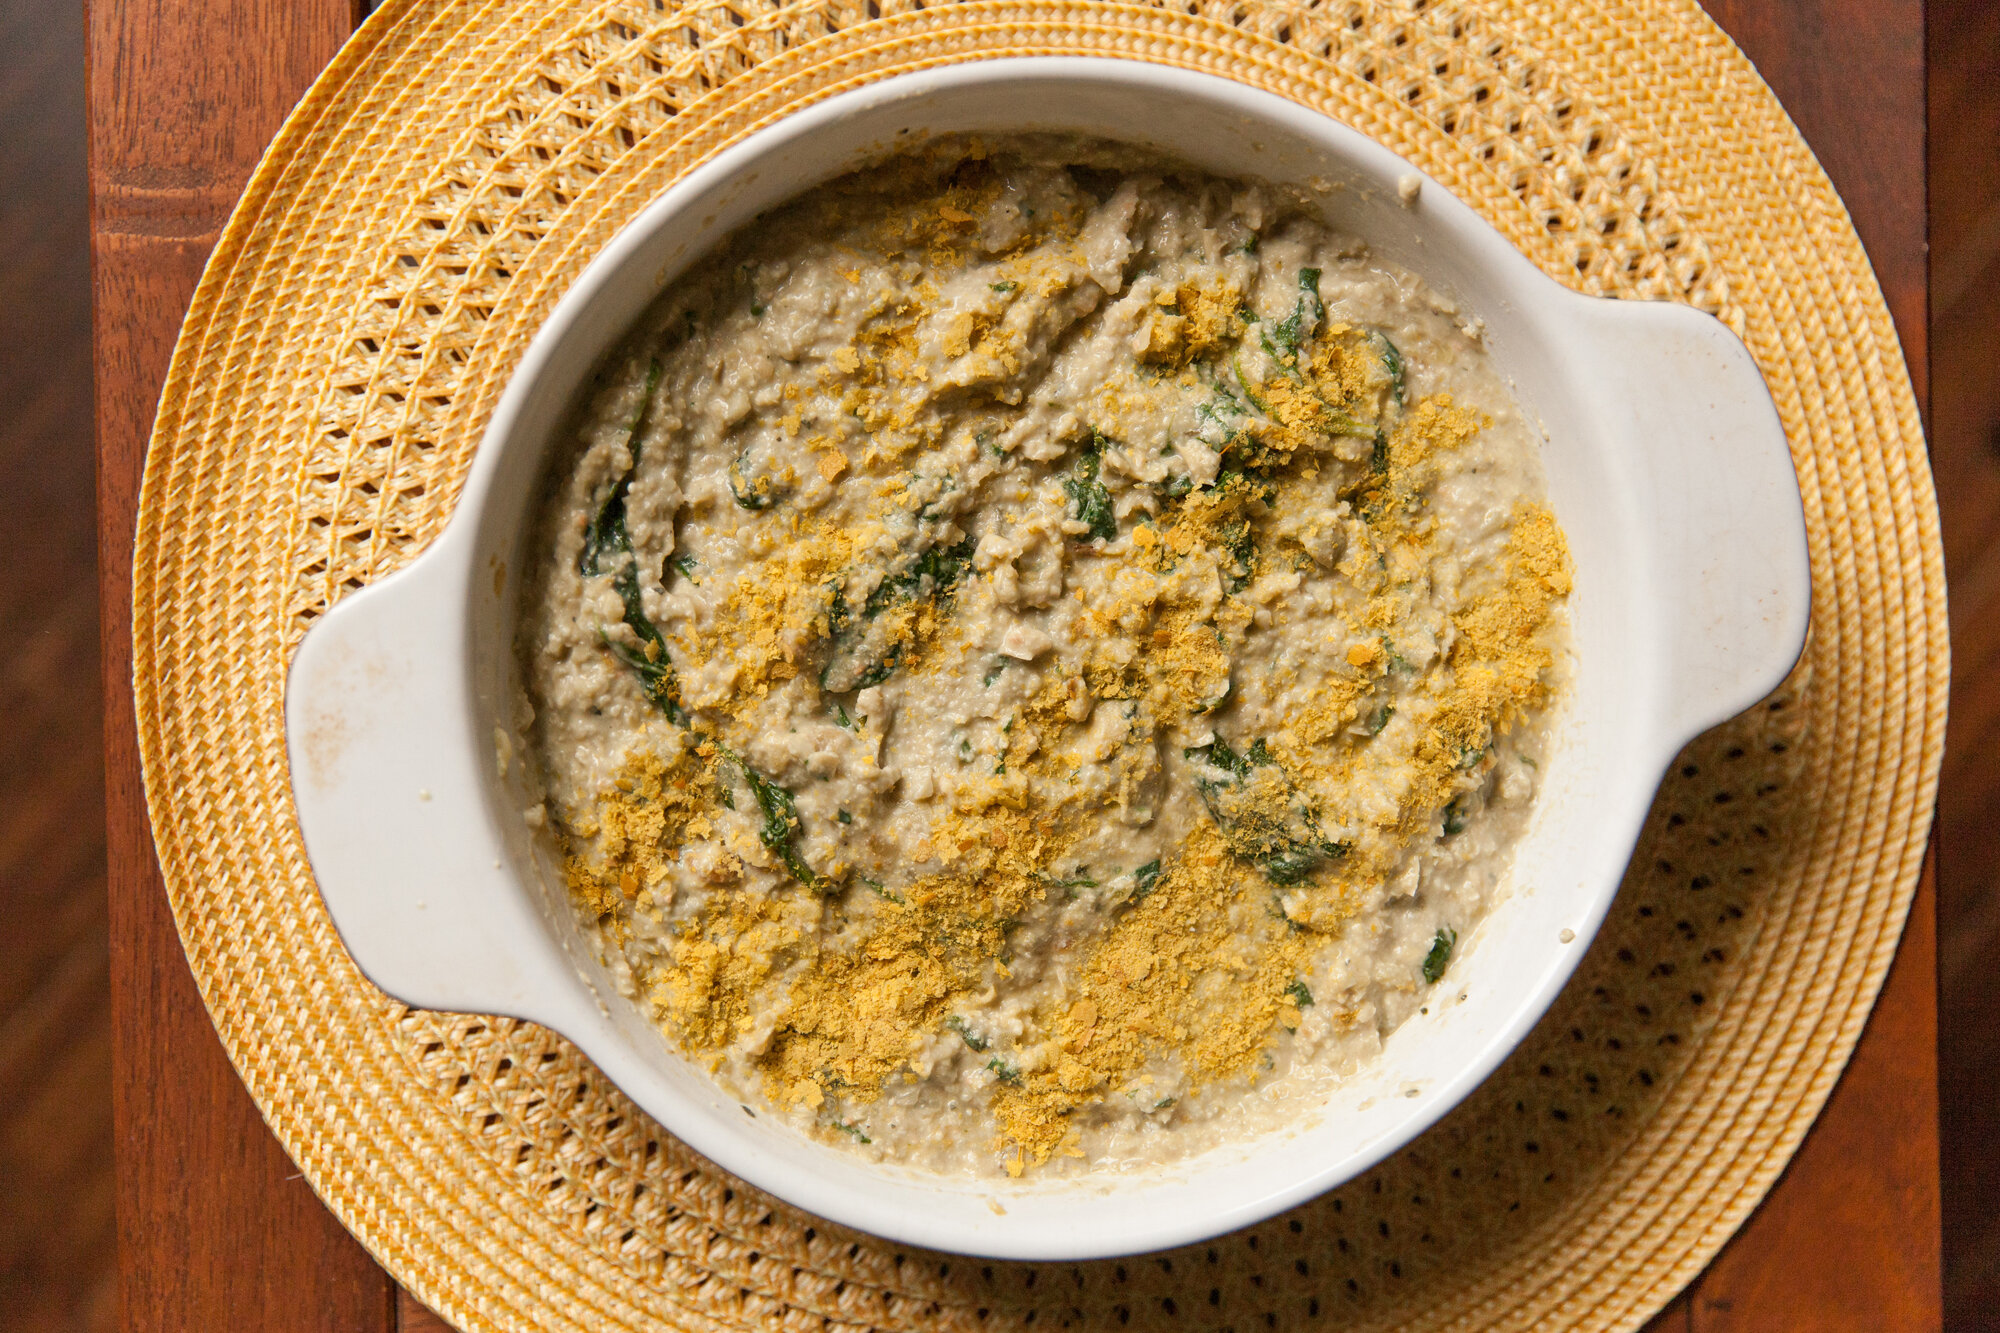
Pour the processed mixture into a baking dish, then stir in the remaining nutritional yeast, and fold in the greens-onion-and-garlic until it's evenly distributed in the dish. 

Sprinkle the top with some more nutritional yeast and you have the option to drizzle some olive oil on the top too. 

Bake in the oven for 20-25 minutes until bubbling, and starting to brown. Switch oven to broil to get a nice toasty layer on the top should only take about 3-5 minutes, just watch it closely. 

Carefully remove and let stand for a few minutes, and then serve with whatever sides you'd like! 


3 Cocktails for Summer At The Pool, Campground & Beach
for BCLiving
July 2021

The heat is definitely on, and you deserve a cocktail while you try to keep cool. Here are three drinks designed specifically for summer fun.  
A punch you can have while you dip your toes into the pool, kiddie or otherwise, a woods-inspired gin frizz to enough after you set up camp, and a sangria to sip while you read a book at the beach. 

 
Pool-Blue Punch 
 
This is a fun one because you get to match the blue of the cocktail to the blue of the pool! It’s pretty boozy, so maybe make some blue Kool-Aid for the kids if you need to. Fun tip if you don’t have a reservoir for ice in your bowl, freeze some grapes and toss them in if it starts to warm up, this way the punch won’t get watered down. 

 
Makes: ~3L of Punch 
Ingredients: 
 
- 750ml Vodka 
- 2L of lemonade 
- several splashes of Blue Curacao  
- 2-3 lemons 
- sugar or simple syrup (optional) 
- lemon flavored sparkling water (optional) 
 
Instructions: 
 
Mix vodka and lemonade together in whatever you’ll be serving the punch in. Add small amounts of blue curacao and stir until you get the color you want. 
 
Give the punch a try and decide if you want it more on the tart-side or sugary-side. If you want more sugar, you can either stir in some white or raw sugar, or add it via a simple syrup. 
 
Slice a lemon into rounds and add to the punch just before it’s ready to be served (or else they’ll start to become quite blue). 
 
For serving, add a lemon wedge, and if you’d like some bubbles, or to cut it down a bit, you can top off with some sparkling water or soda. 


Into The Woods Rosemary Gin Fizz 
 
When you’re surrounded by nature and the fresh woodland air, it just makes sense to have a drink with botanicals in it. Prep the simple syrup before you head to the campground, and bring some fresh rosemary along for garnish. You can use the extra for camping potatoes at breakfast the next day. 
And you can make the drink even prettier by using some purple gin from Victoria Distillers. 
 
Makes: 1 Cocktail 
Ingredients: 
 
- 1.5oz gin 
- 1oz rosemary simple syrup 
- 0.5oz lemon juice (approx. half a lemon) 
- fresh rosemary sprigs (additional for garnish) 
- club soda 
- ice 

Instructions: 
 
To make the simple syrup, bring ½ cup of water to a boil, turn off the heat, then add ½ cup of sugar and stir until it is dissolved. Add a large sprig of rosemary and let steep for an hour then remove the rosemary and cool the syrup in the fridge. 
This can be doubled and should keep for about a week in the fridge. 
 
To make the cocktail, fill your camping glass with ice, then add the gin, simple syrup and lemon juice. Top with soda (you don’t need tonic as you’re using the simple syrup), and garnish with rosemary and admire your camp set up. 
 
Sand & Sunshine Sangria 
 
One of the best things about sangria is that it’s hard to mess it up and it’s incredibly versatile. You can pick the fruit that you enjoy, the wine you prefer, and the sweetness level. 
I went with a dry white wine for this one, so be sure to give the mix a taste and then determine if you’d like more sweetness (add in some simple syrup). 
I also wanted some bubbles, so I added in sparkling wine too right into the glasses at the beach. 

If you want to skip the alcohol, use a dry non-alcoholic wine, and add half a cup of orange juice instead of the triple sec, and ginger ale to top it off. 
 
Ingredients: 
 
- 750mL bottle of white wine (I used a Pinot Grigio) 
- ½ cup triple sec 
- 1 cup strawberries, sliced 
- 1 granny smith apple, thinly sliced 
- 1.5 cup of grapes 
- 1 lemon, sliced into rounds 
- fresh mint, for garnish (optional) 
- sparkling wine, to top (optional) 
 
Instructions: 

 
Slice up your fruit and add to the base of your pitcher. Fill with the white wine, add the triple sec and stir. 
 
Give it a taste and decide if you’d like to add some simple syrup/sugar, and tweak until you have it the way you’d like it. 
Chill for at least a few hours. 
 
Pour into glasses (ice optional), top with sparkling wine, and garnish with fresh mint. 
Should be consumed within 24 hours. 

CHEERS! 

Curry "Chicken" Sandwich – But Make It Vegan
for Environment911.org
July 2021

I've made a similar type dish with chickpeas before, which are much quicker if you want something stat, but if you want to try a new texture, give soy curls a try. 
 
It was my first foray into them as a chicken substitute and honestly, I was quite impressed. They really hold the flavor well, and it was even better the second day – so I’d recommend making it the day before you’re going to eat it. 
 
Many health food and vegan shops will have the soy curls, but you can also purchase bags from the internet. 

Serves 2-3  
(Can be doubled) 
 
INGREDIENTS: 

- ¾ cup soy curls  
- 1 1/4 veg broth or a vegan chicken-style broth  
- ½ cup finely diced celery 
- ¼ cup finely diced red onion 
- 1/3 cup vegan mayo, more if needed 
- 1/4 teaspoon garlic powder  
- 1/4 teaspoon onion powder  
- 2 tsp of curry powder (more to taste) 
- salt and pepper, to taste 

- bun or lettuce cups for serving 

INSTRUCTIONS: 

Bring the broth to a low boil (or use a cup of water and add a vegan Boullion cube and dissolve) and then remove from heat. 

Place the dried soy curls in the broth and gently stir around until they are fully covered with it. 
 
Chop the onion and celery into finely diced pieces. In a small bowl, place the vegan mayo, and the rest of the spice and mix until evenly distributed. 
 
After the curls have soaked for 8-10 mins, drain them and place them on a tea towel to dry. 
 
You can chop them up at this stage and use them as is, but you can also toast them lightly in a very lightly oiled frying pan until they get slightly browned. 
 
Once ready, combine everything into a bowl, adding more mayo if needed. Taste for seasoning, esp. the curry powder. And either serve straight away or let cool in the fridge. 

Homemade Fruit Leather Roll-Ups
for BCLiving
July 2021

Making your own fruit leather rolls is way easier than you might think, and the oven or the dehydrator does most of the work for you. Basically, you can make them out of any kind of mixture of fruit you want, and right now is a great time, as there are tons of fruit coming into season.  
Plus, you can make them with frozen fruit, so even after the season is over, pull the fruit out of the freezer! 
One more bonus? They’re great to take camping, on a hike or with you to the beach for a snack.  
 
Makes 6-8 rolls per flavor (depends how long you make them) 

Strawberry-Rhubarb 
 
INGREDIENTS: 
- 1 cup strawberries 
- 1 cup rhubarb chopped 
- 1 tsp honey (or maple syrup) 
 

INSTRUCTIONS: 
Boil some water and blanche the rhubarb for one minute and then drain. 
 
Blend the rhubarb, strawberries and honey in a high-speed blender. and then strain into a bowl through a fine mesh sieve if you want to remove the seeds. 
 
If you are going to use a food dehydrator, follow the instruction for your own machine. 
For the oven, pre-heat it to the lowest possible setting. 
 
Line a baking sheet with parchment paper (or silicone mat) and then pour mixture onto the baking sheet and spread evenly into a rectangle. 
Place in oven and bake for 5 to 6 hours until no longer wet (just tacky to the touch) - keep an eye on it! 
 
Remove from oven and let cool. Cut leather (and parchment) into desired sizes/shapes and roll, tying with string. 
Store in an air tight container so it doesn't dry out for up to 2 weeks, but fresher the better. 
 

Mango-Blueberry 
 
INGREDIENTS: 
- 1 cup blueberries 
- 1 cup mango 
- 1 tsp honey (or maple syrup) 
 

INSTRUCTIONS: 
Boil some water and blanche the rhubarb for one minute and then drain. 
 
Blend the blueberries, mango, and honey in a high-speed blender. and then strain into a bowl through a fine mesh sieve if you want to remove the seeds. 
 
If you are going to use a food dehydrator, follow the instruction for your own machine. 
For the oven, pre-heat it to the lowest possible setting. 
 
Line a baking sheet with parchment paper (or silicone mat) and then pour mixture onto the baking sheet and spread evenly into a rectangle. 
Place in oven and bake for 5 to 6 hours until no longer wet (just tacky to the touch) - keep an eye on it! 
 
Remove from oven and let cool. Cut leather (and parchment) into desired sizes/shapes and roll, tying with string. 
Store in an air tight container so it doesn't dry out for up to 2 weeks, but fresher the better. 

Lentil Bolognese
for “But Make It Vegan” - Environment911.org
June 2021

I was craving something hearty, and considered making a vegan chili, but I thought a good vegan Bolognese might do the trick.  

I made enough to freeze some for future cravings, and have eaten it both with whole wheat spaghetti and zoodles. Next up will be with homemade pasta. 

Sauces like Bolognese are a great way to sneak in healthy foods like nutritional yeast, or hemp hearts. You won't notice them in the sauce, but your body will take note! 

Serves 4  
(Can be doubled) 
 
INGREDIENTS: 

- 1 tbsp of olive oil 
- 1 onion, finely minced 
- 2 cloves garlic, minced 
- 1/2 cup finely chopped carrots 
- 1/2 cup finely chopped celery 
- 1/2 cup finely chopped mushrooms (your choice, I used shiitake) 
- 1/2 cup dry brown or red lentils 
- salt & pepper 
- 1/2 tsp dried basil 
- 2 tbsp tomato paste 
- 1/2 tsp red pepper flakes (optional, if you like heat you can add more) 
- 2 tbsp nutritional yeast 
- 2 bay leaves 
- 1/4 cup of white wine 
- 2 cup vegetable stock (or water) 
- 2 tsp chopped parsley to top 
- vegan parmesan 
- pasta to serve 

INSTRUCTIONS: 

Finely chop the onion, carrot, celery, garlic and mushrooms. I did these in a food processor to get it super fine, but you can also do it by hand. 
 
In a frying pan with high sides, heat the olive oil over medium heat, and then add the onion, garlic, carrots, celery and mushrooms mix. Cook until soft (approx. 15mins). 

Add in the tomato paste and cook for another minute until it begins to caramelize. 
Pour in the white wine and deglaze the pan, getting any browned bits loose and letting the wine evaporate. 

Then add the lentils, vegetable stock, basil, optional red pepper flakes, nutritional yeast, bay leaves and some salt and pepper. 

Stir to combine, cover and then cook over medium heat until lentils are cooked through - this will take about 30 mins to an hour. You may want to add more water if the lentils need more cooking time. Test them to see how soft they are and go from there – you don’t want it to be watery. 

When done, remove from the heat and check the spices, adding anything more that might be needed. 
 
Cook the pasta you’re using until just al dente, and then reserve some of the pasta water and drain. 
In the warm pasta pot, add the pasta back and scoop some of the Bolognese into it, adding some of the pasta water to finish cooking the pasta and making the Bolognese creamier. You can add vegan parmesan here as well. 
 
Plate the noodles, then top with a small extra scoop of the Bolognese, and sprinkle on some chopped parsley and more vegan parm! 

Homemade Mac & Cheese
for BCLiving
June 2021
 
I love homemade mac and cheese. I honestly can’t remember the last time I had the boxed kind, because when I’m going to eat dairy, I’m going to do it right. 
There are lots of little options to make it your own as well, from a crumbly breadcrumb top, to the variety of cheese you pick out. 
 
And like most of the From Scratch recipes I make, you can even freeze it. 
 
Makes ~8 servings 

INGREDIENTS: 
 
- 450g of dried pasta 
- approx. 750g of high-quality cheese – equal parts of your choice  
suggested/what I used: fontina, white cheddar (sharp), parmesan, low-moisture mozzarella, gruyere, (gouda, or Havarti are good choices too) 
 
- optional: additional cheddar & parmesan for the top 
- optional: breadcrumbs 
 
- 60g of butter 
- ¼ cup non-bleached all-purpose flour 
- 4 cups of milk 
- salt & pepper 
 

INSTRUCTIONS: 

Grate all of your cheeses so they’re ready to go when needed and place them in a glass or heat-proof bowl. 
Preheat the oven to 375°F. 
 
In a large pot of salted water, cook your macaroni or, the pasta of your choosing (ones with ridges or tubes are best to soak up the sauce. Cooking until just al dente (if the pasta finishes before the sauce is ready, drain and run under cold water to stop the cooking). 
 

While the pasta is cooking, make the roux. 
 
In a high-walled sauce pan, melt the butter on medium heat and let it cook for a minute or two. Then sprinkle in the flour, and whisk to combine, and cook for 2 or 3 minutes until the flour smell is gone. 
 
Very slowly add small amounts (maybe ¼ or 1/3 of a cup) of the milk, constantly whisking to be sure there are no lumps. Do this until the milk has been incorporated, and continue whisking for a few minutes until the roux thickens. 
 
When ready, pour the roux through a mine-mesh strainer, over top of the cheeses and then fold it in with a spatula to combine fully, and season with salt and pepper. (You can add some other spices here, like cayenne pepper, but taste first as some of the cheeses might have enough flavor already). 
 
Toss the pasta into a casserole dish and pour the cheese over top, folding it in.  
 
Now, you can either top the casserole with more grated cheddar and parmesan, or with breadcrumbs. Or, you know, both! 
 
(You can freeze some in a separate container now if you’d like, so you can bake at another date.) 
 
Bake in the pre-heated oven for 20 mins, and then rotate the dish, and bake for 20 to 25 more, until it’s golden brown and then remove it from the oven. 
 
Let rest for about 8-10 minutes and then serve. 
 
ENJOY!